


SIG Four-Star 60 Build
 07-07-2019, 12:00 PM
#226

Thread Starter
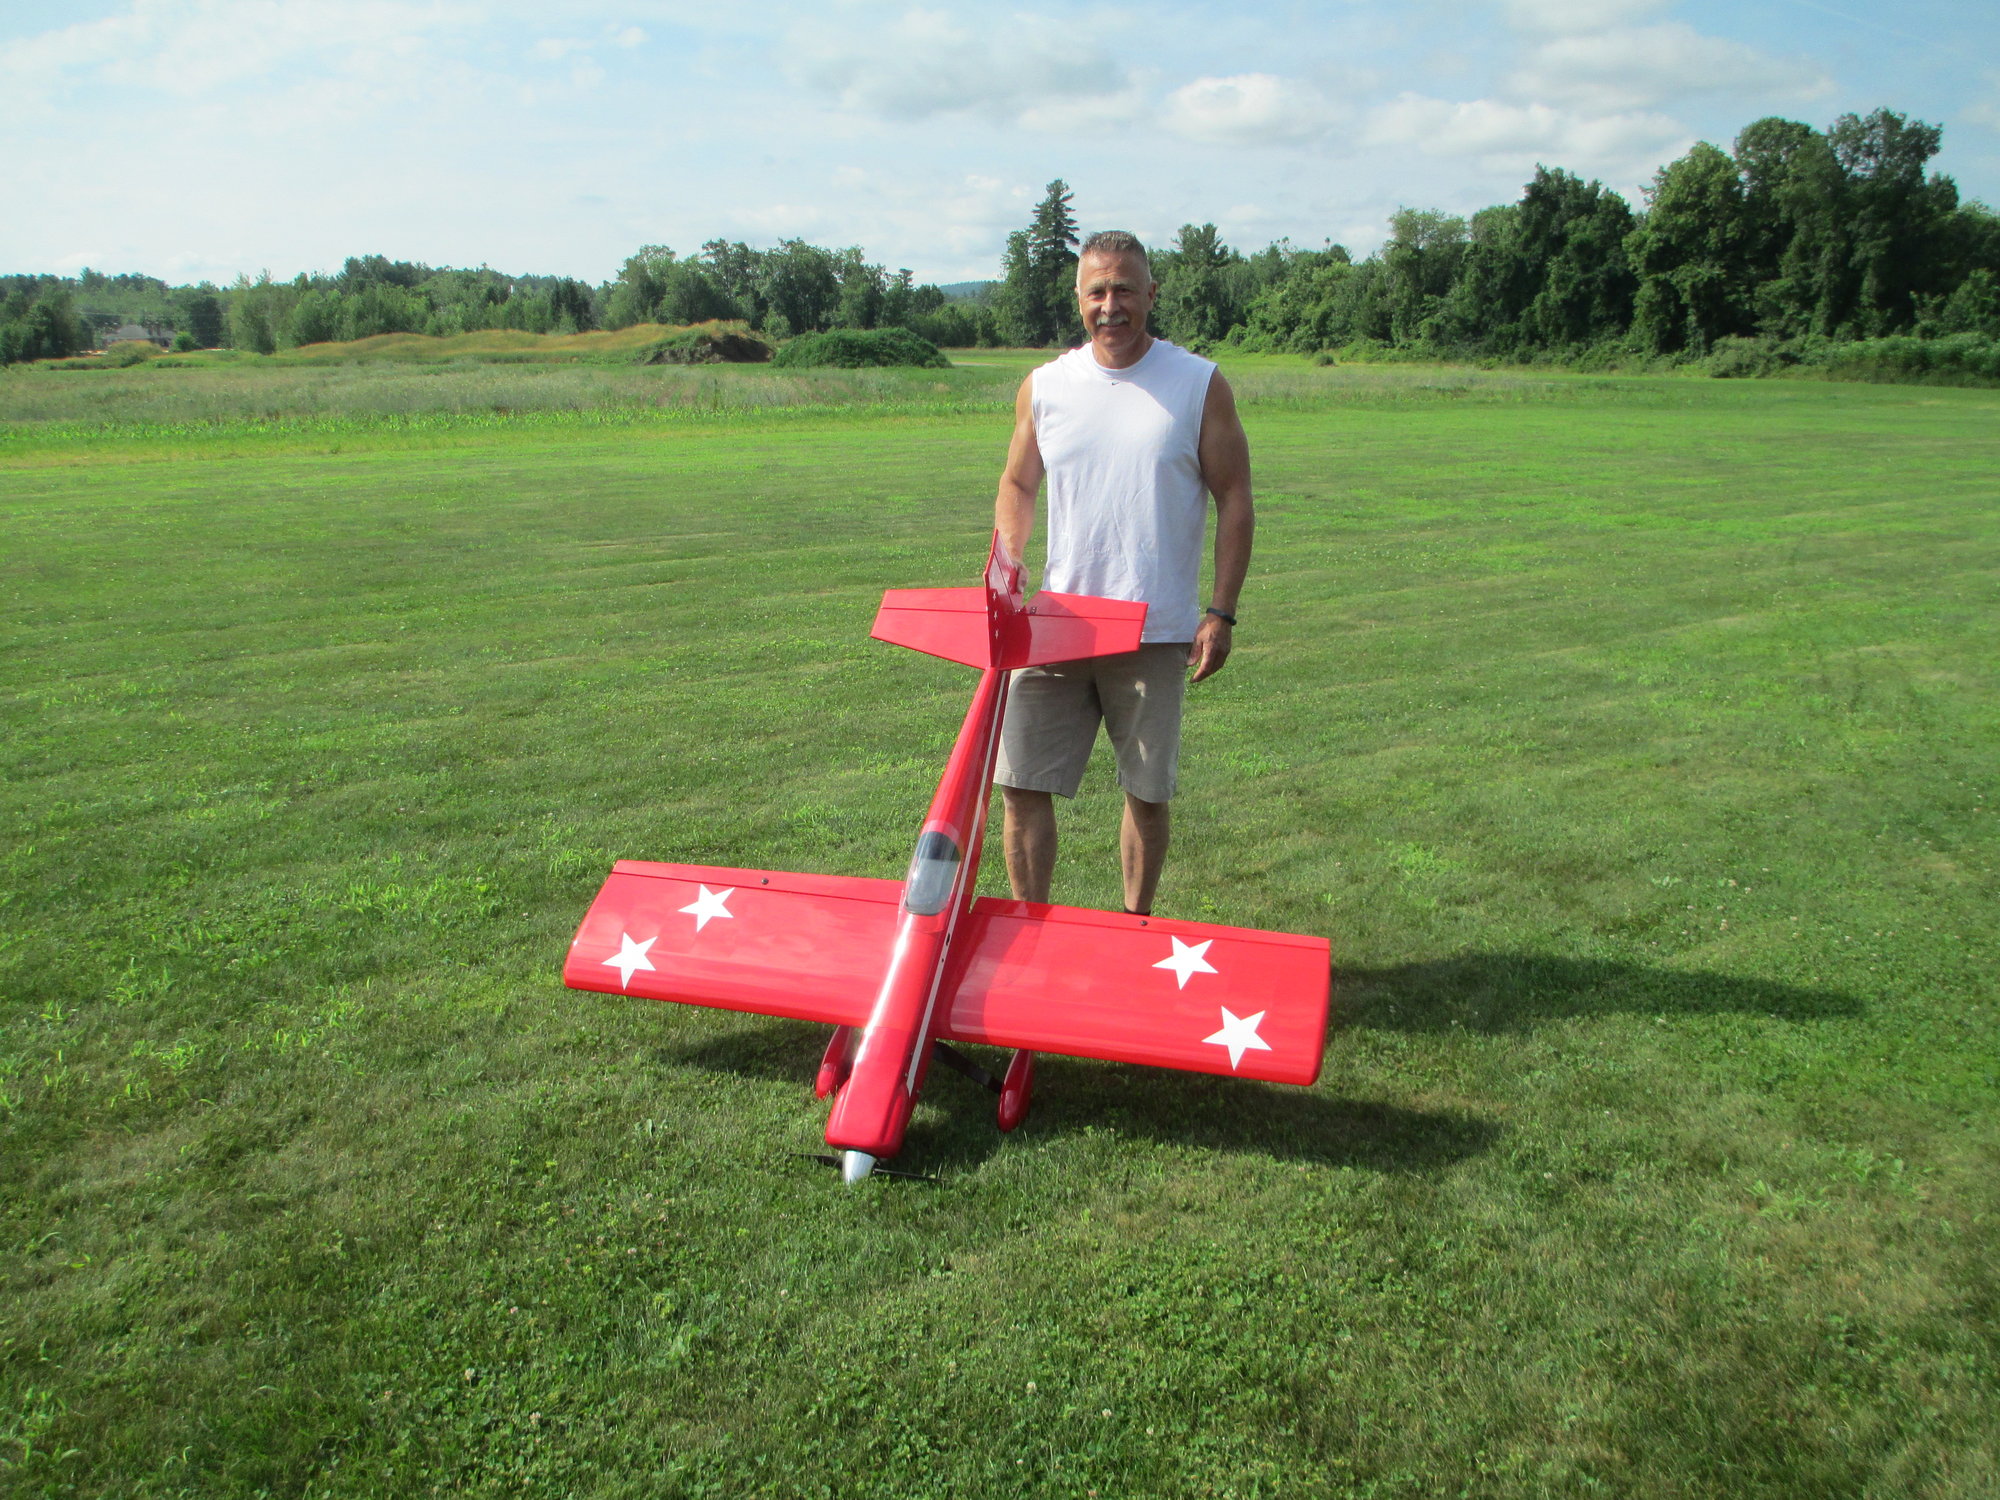
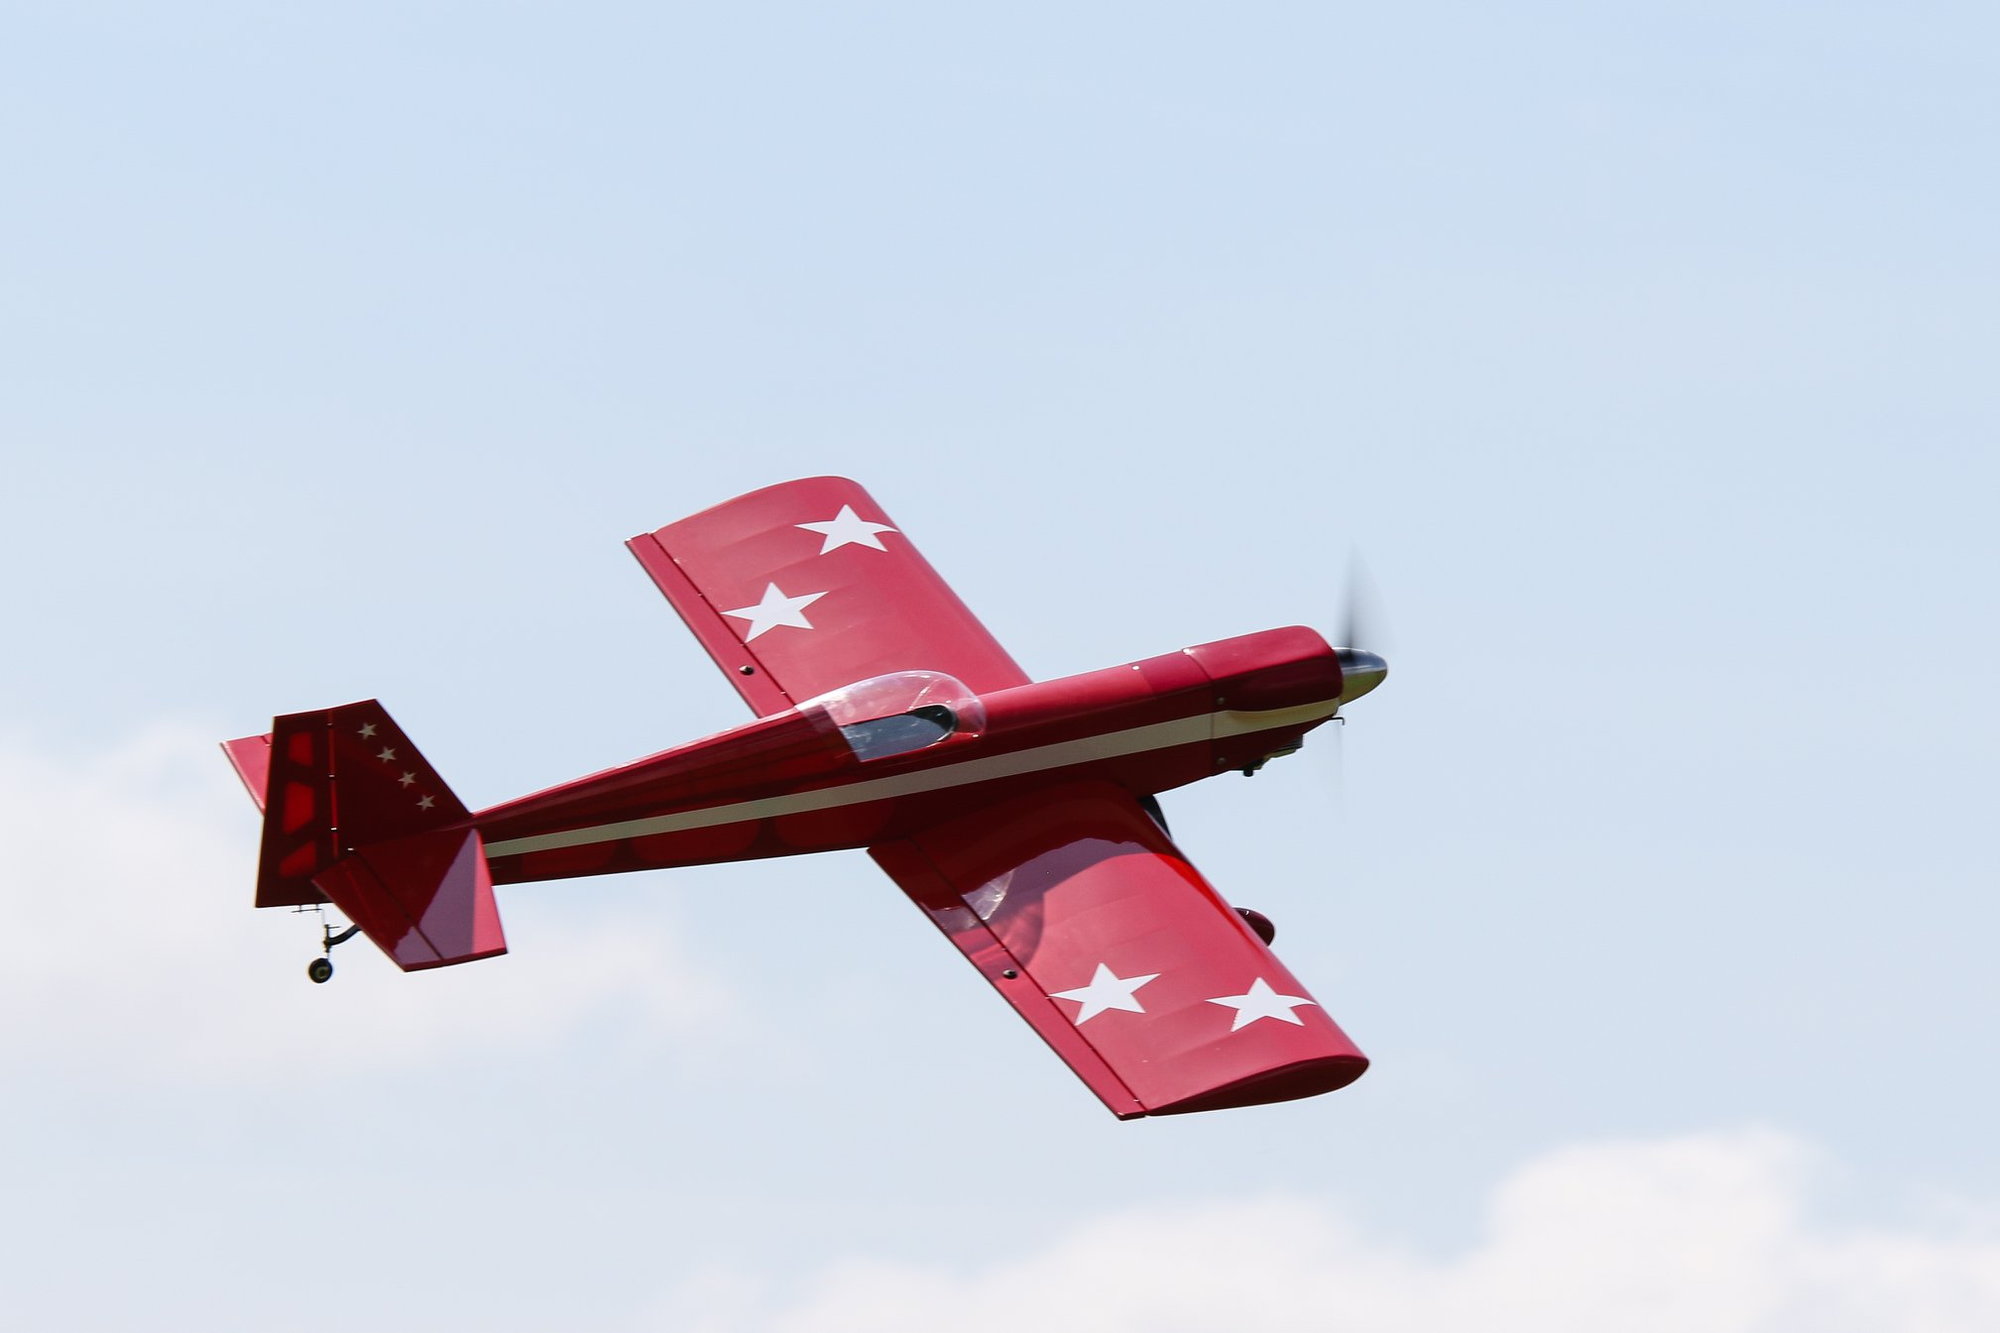
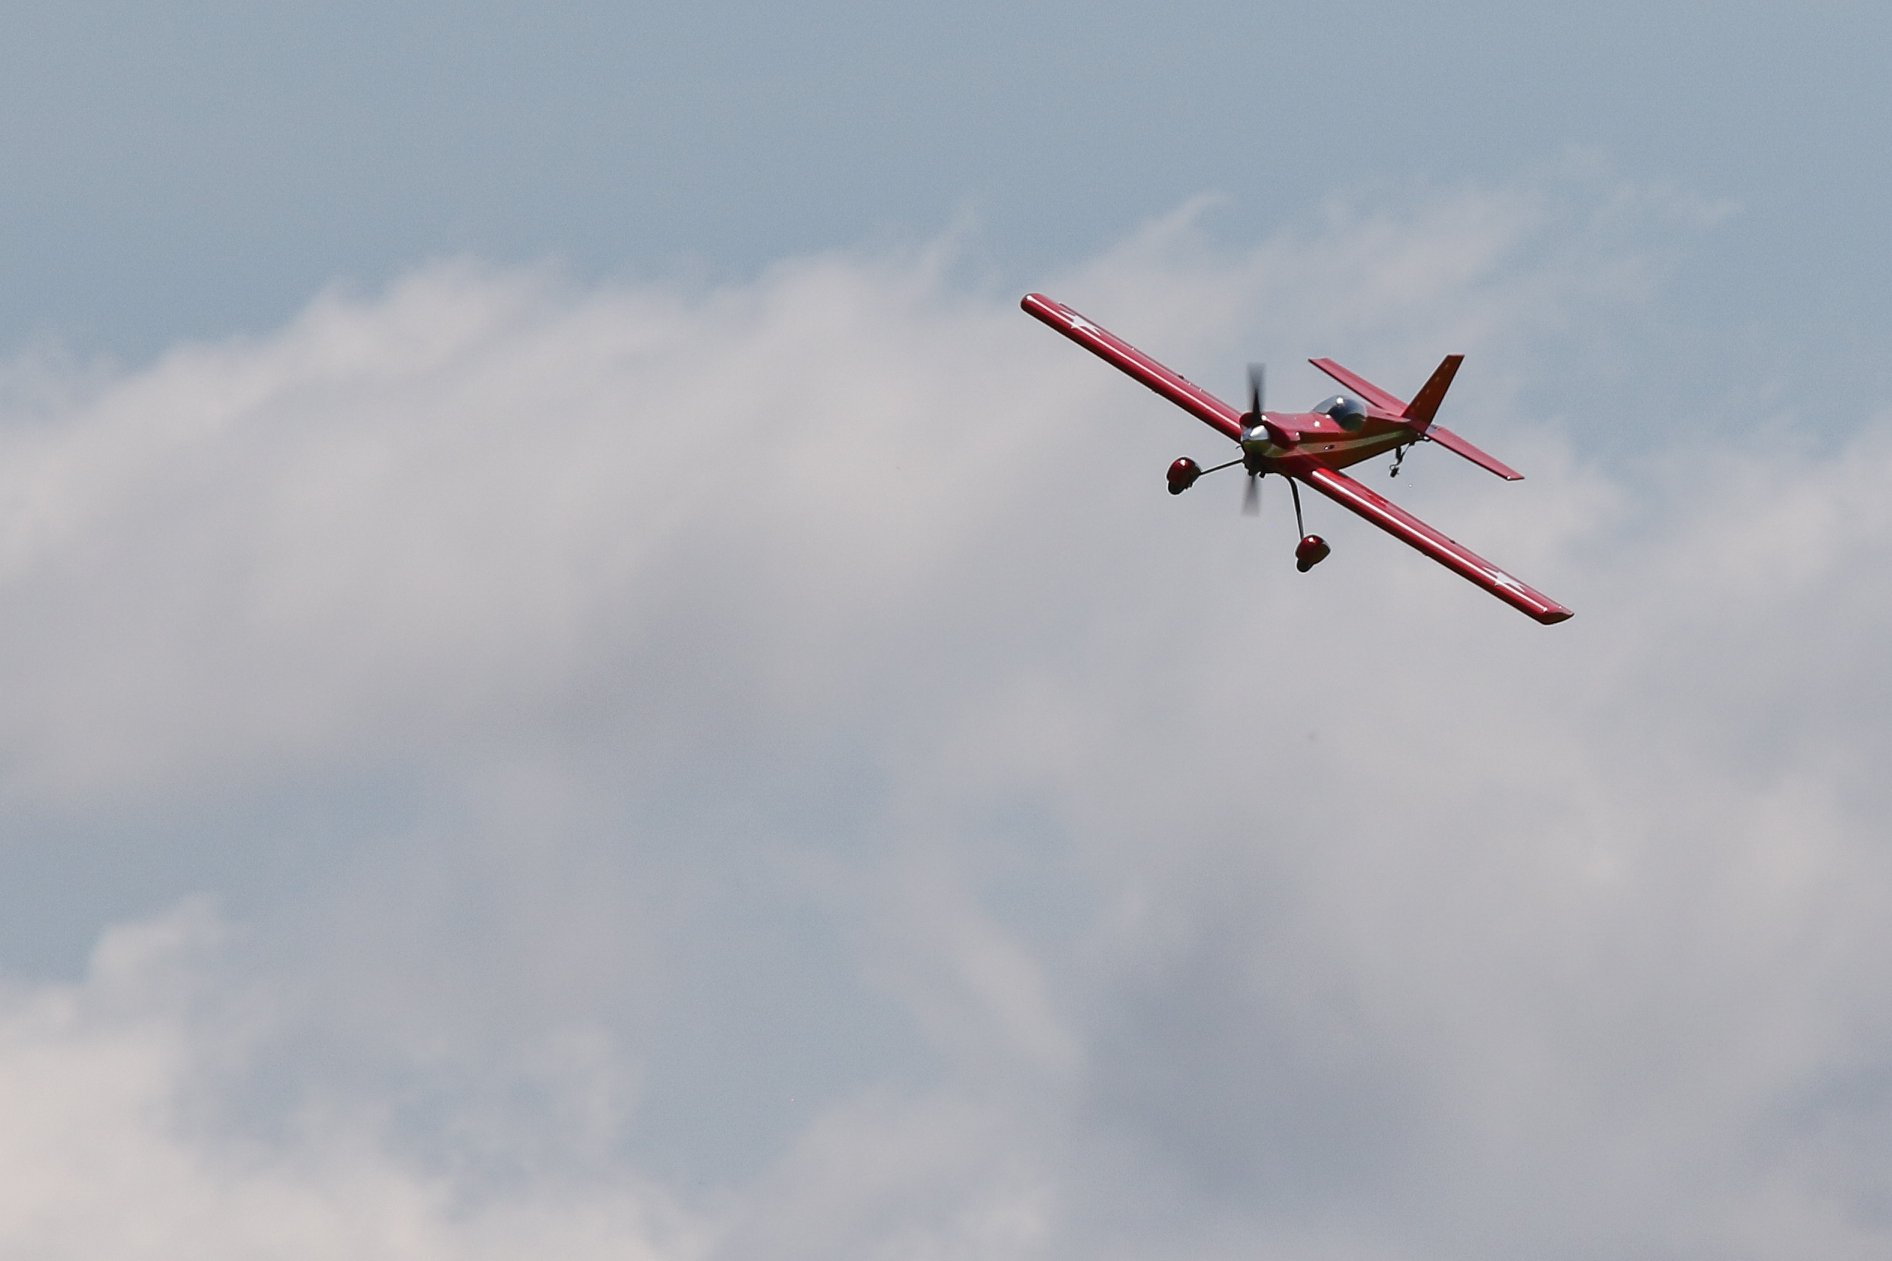
The weather today was perfect, and so went my maiden! It flew really well. I will try and get some pictures of her in flight as soon as they are available. Don't let anyone tell you a DLE-20 is too big for this plane! It has tons of power and I think that I made the engine look like it was designed for this application.
Last edited by VincentJ; 07-07-2019 at 12:07 PM.
 07-07-2019, 12:06 PM
#227
Thread Starter
Thanks to all that have followed along on this thread. I hope it was both enjoyable and maybe even a little informative for you. I would like to take this opportunity and extend an invitation to follow my next build, a Top Flite Beechcraft Bonanza. Here's the link. Thanks again and God Bless...
http://www.rcuniverse.com/forum/kit-...33a-build.html
http://www.rcuniverse.com/forum/kit-...33a-build.html
Last edited by VincentJ; 07-07-2019 at 12:39 PM.
The following users liked this post:
Balou88 (11-27-2023)


 07-08-2019, 07:06 AM
#231

Well Done!. It is always interested to see a detail oriented builder do his thing.
07-17-2019, 05:43 AM
#233
Thread Starter
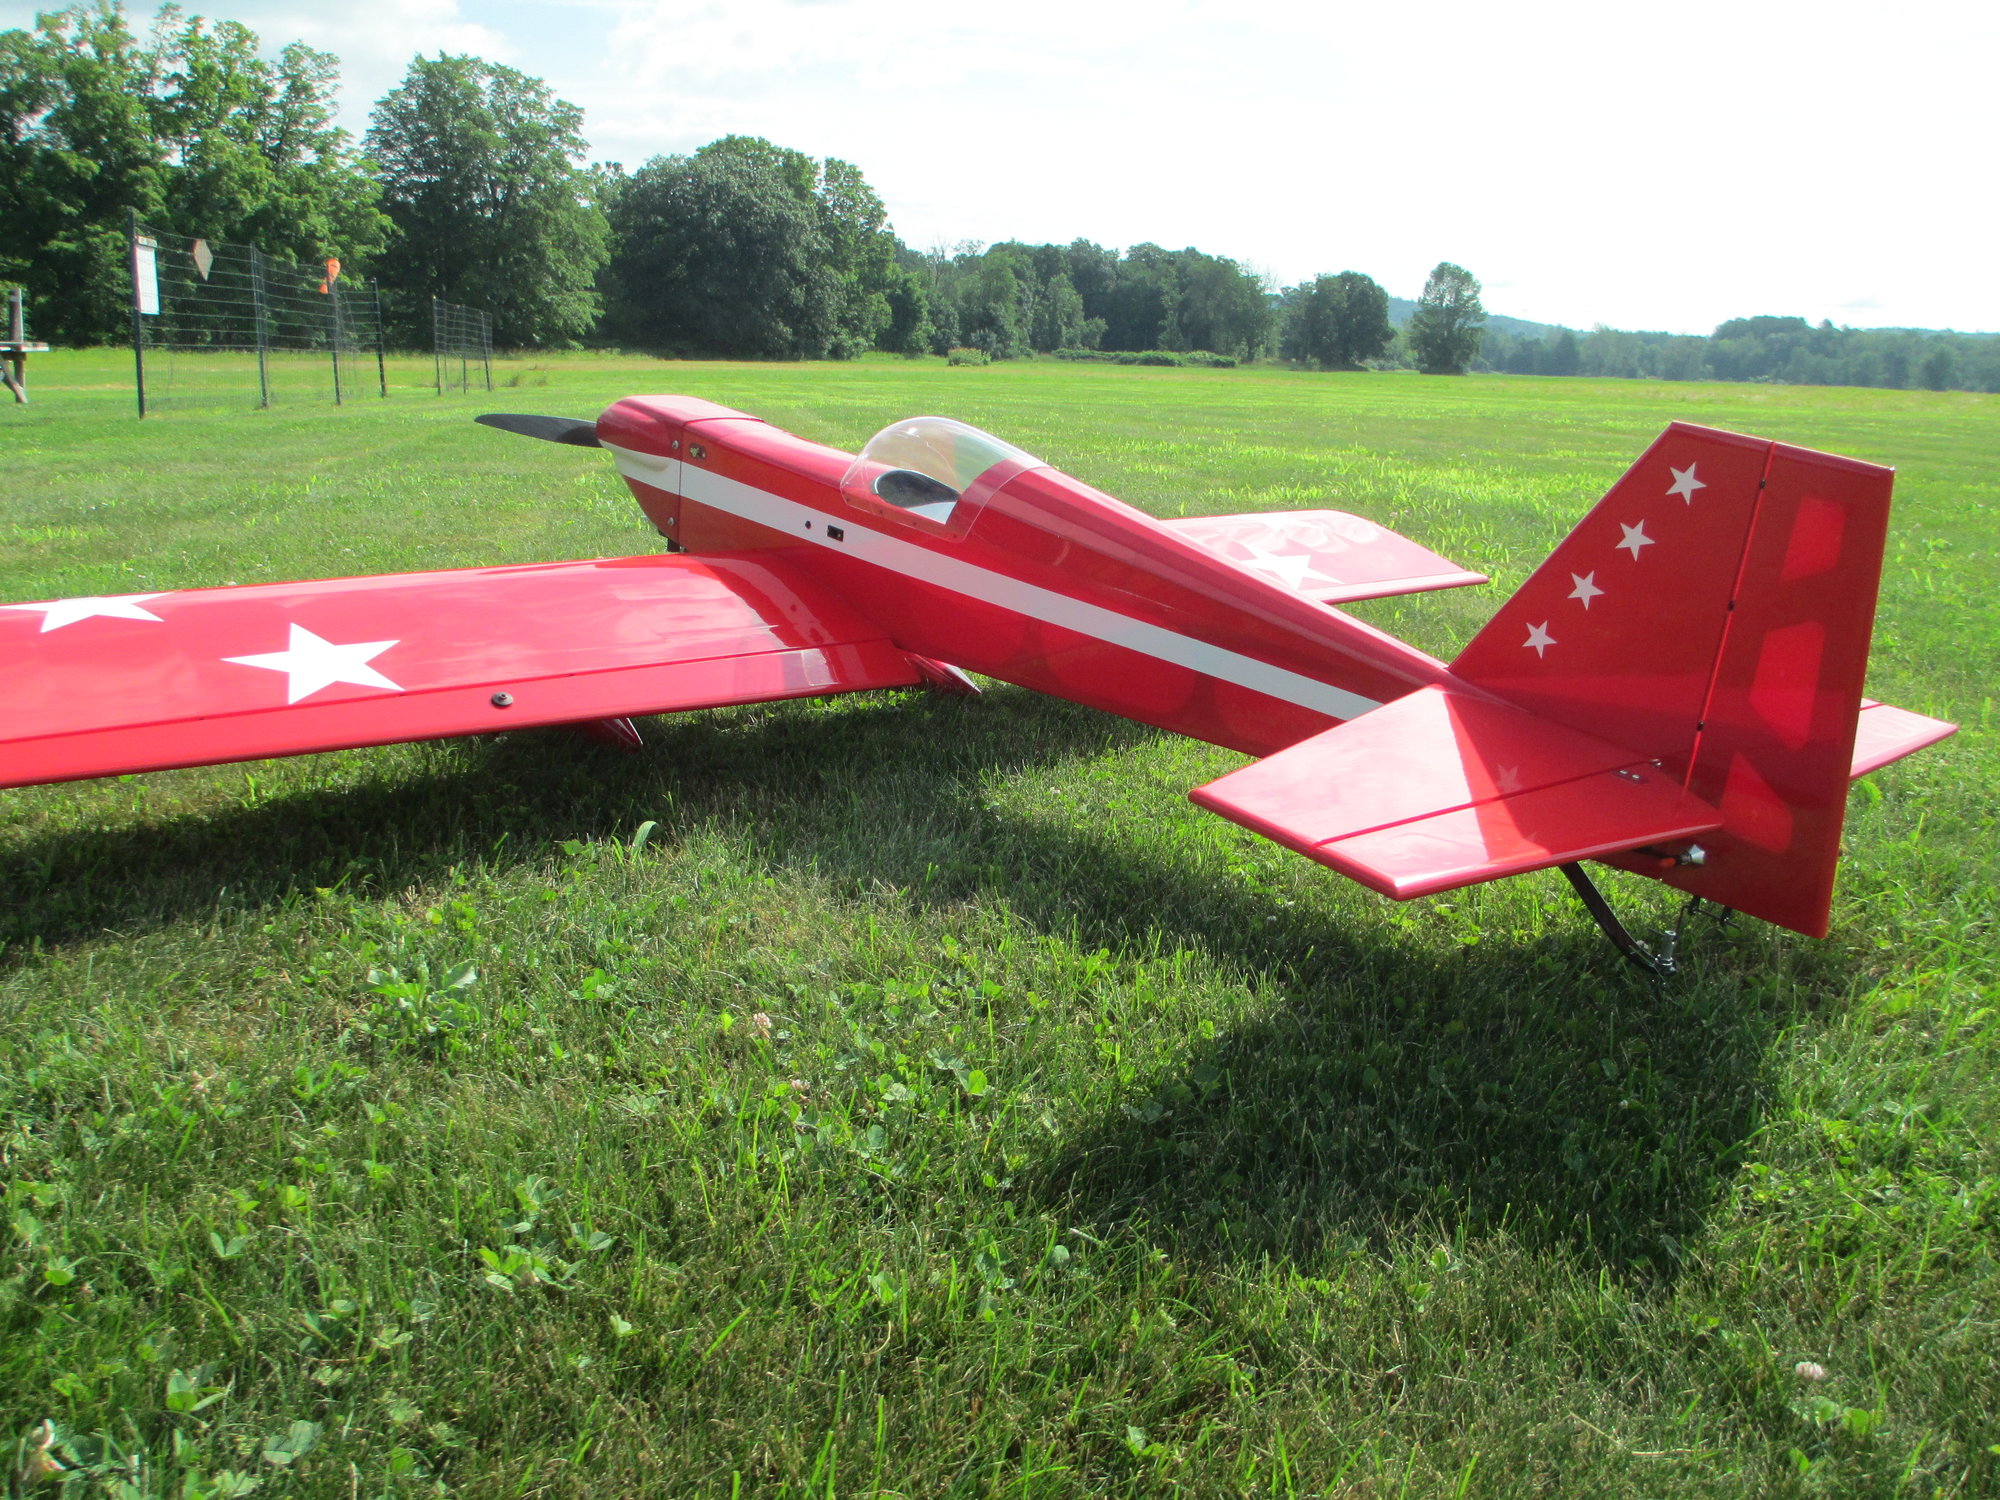
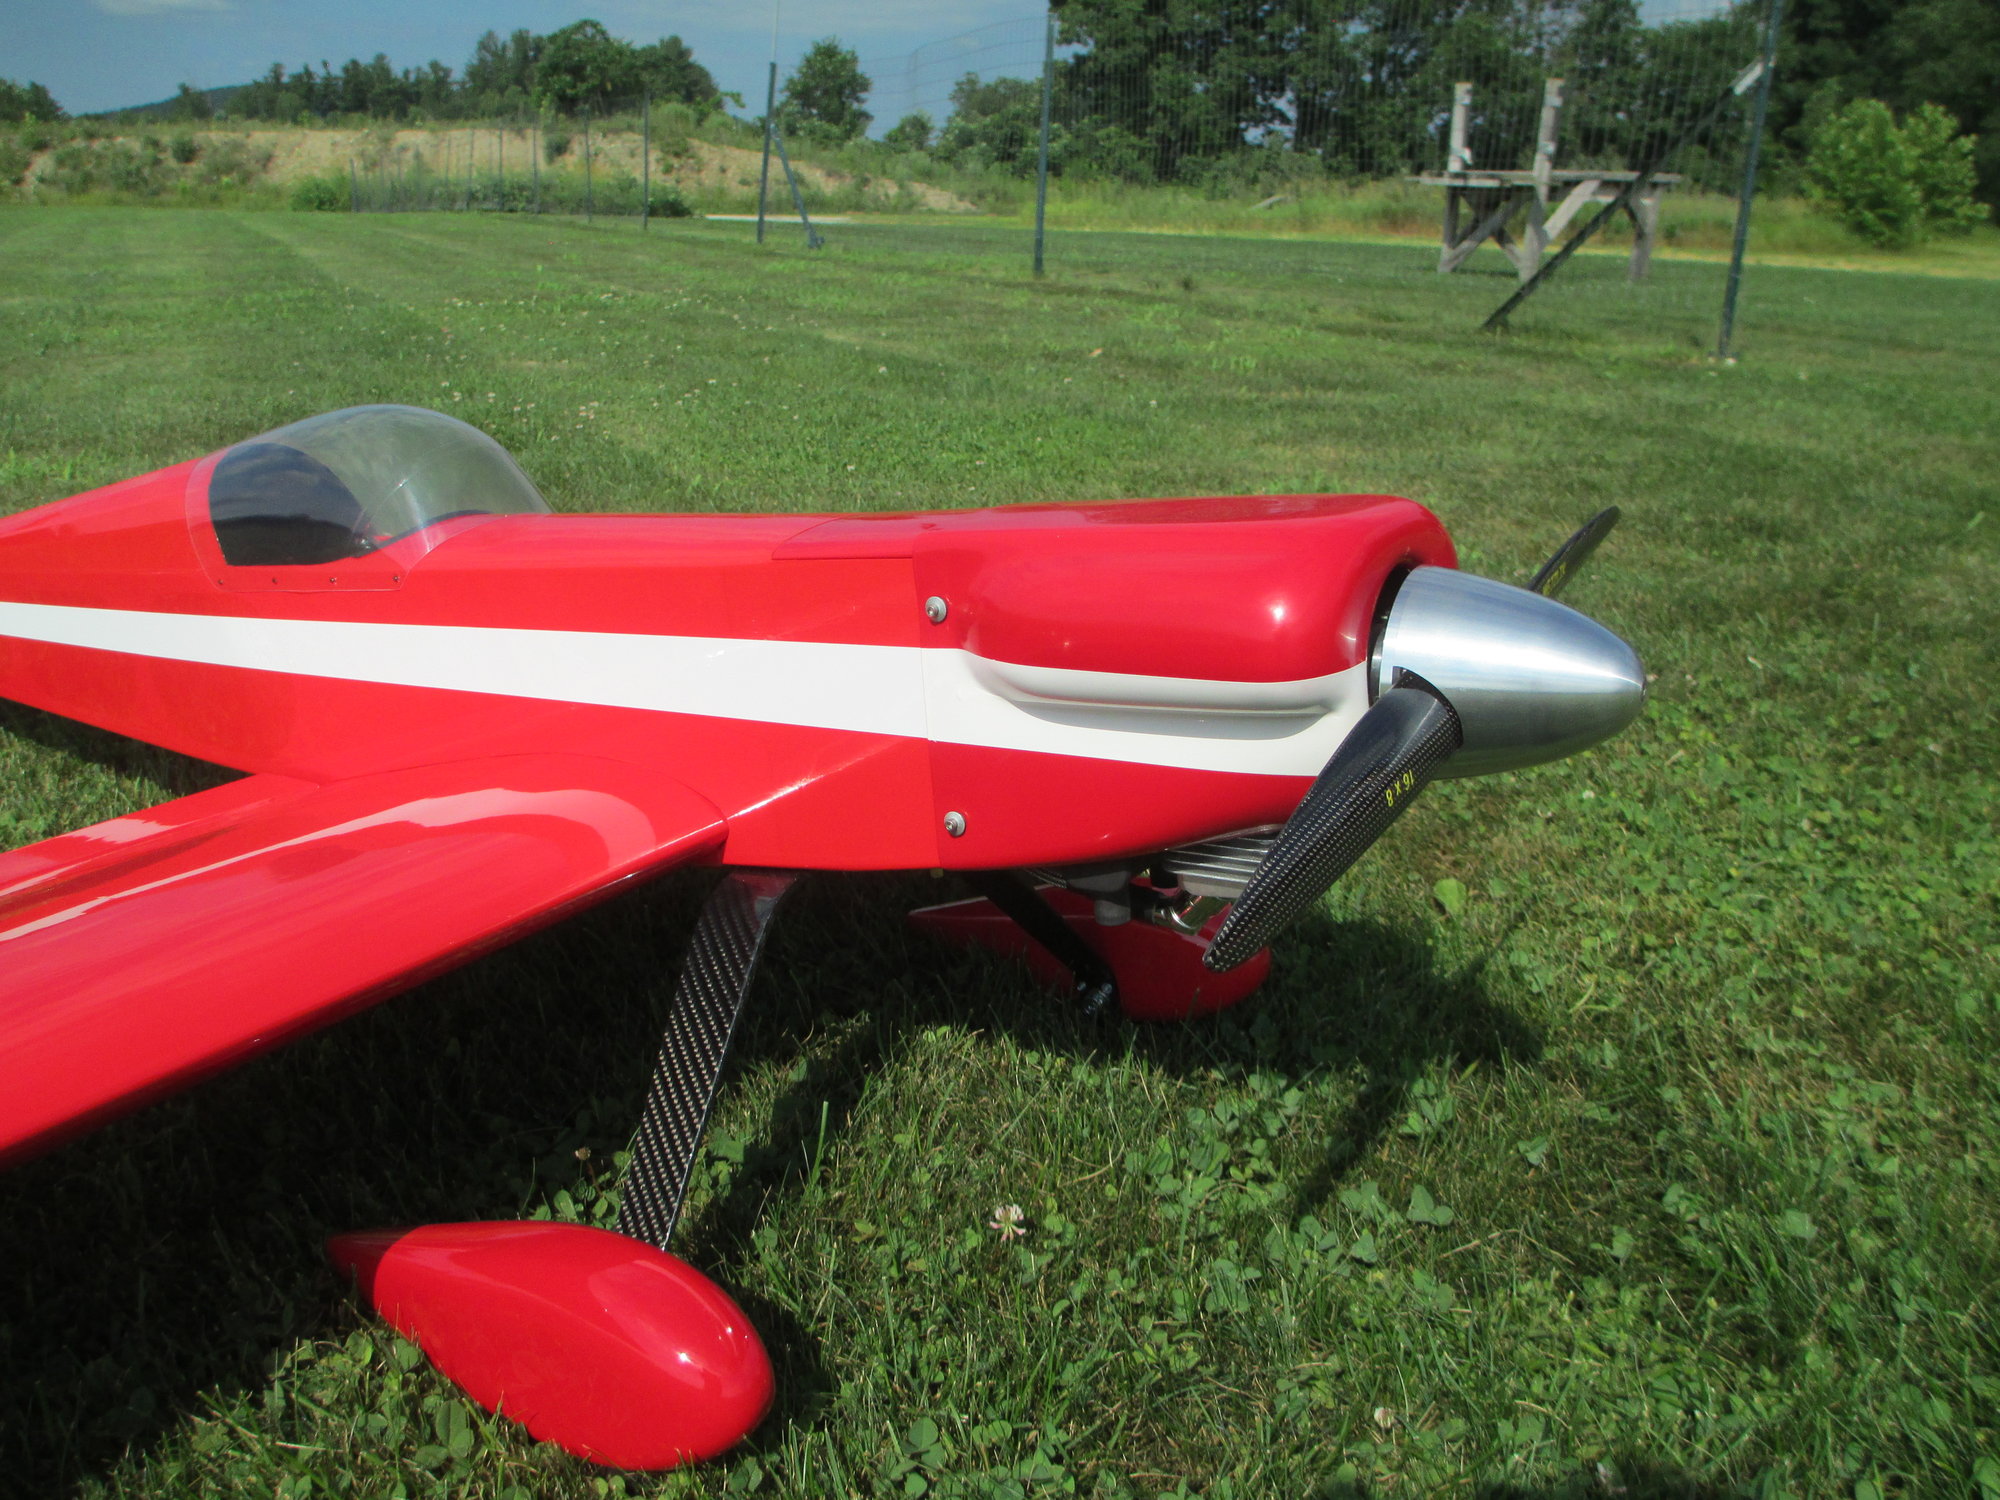
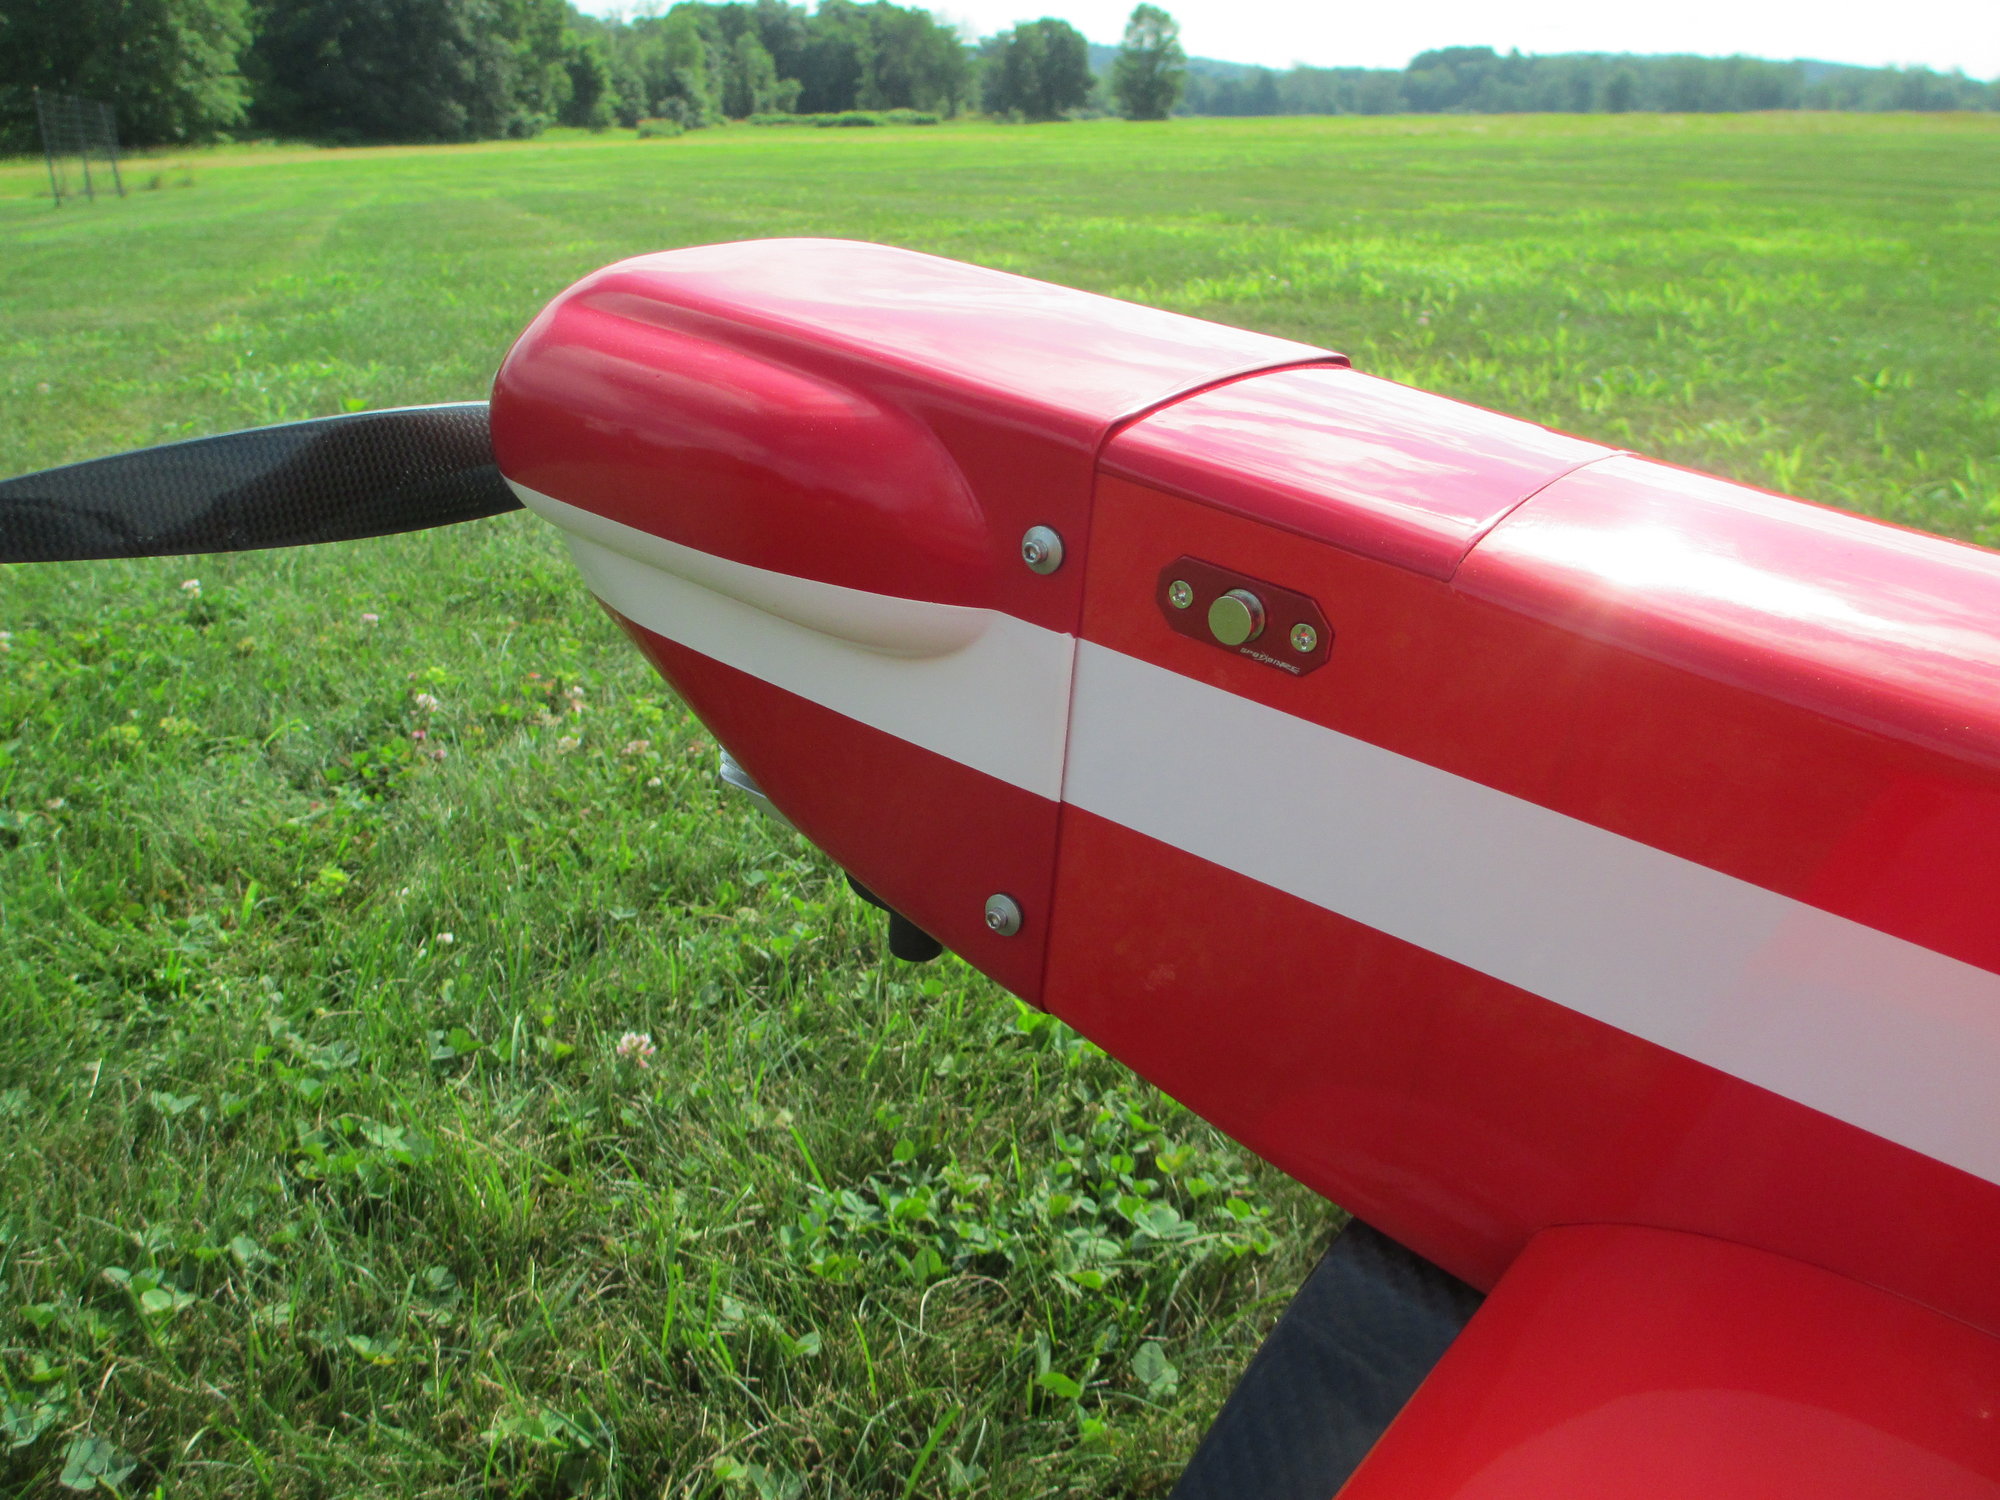
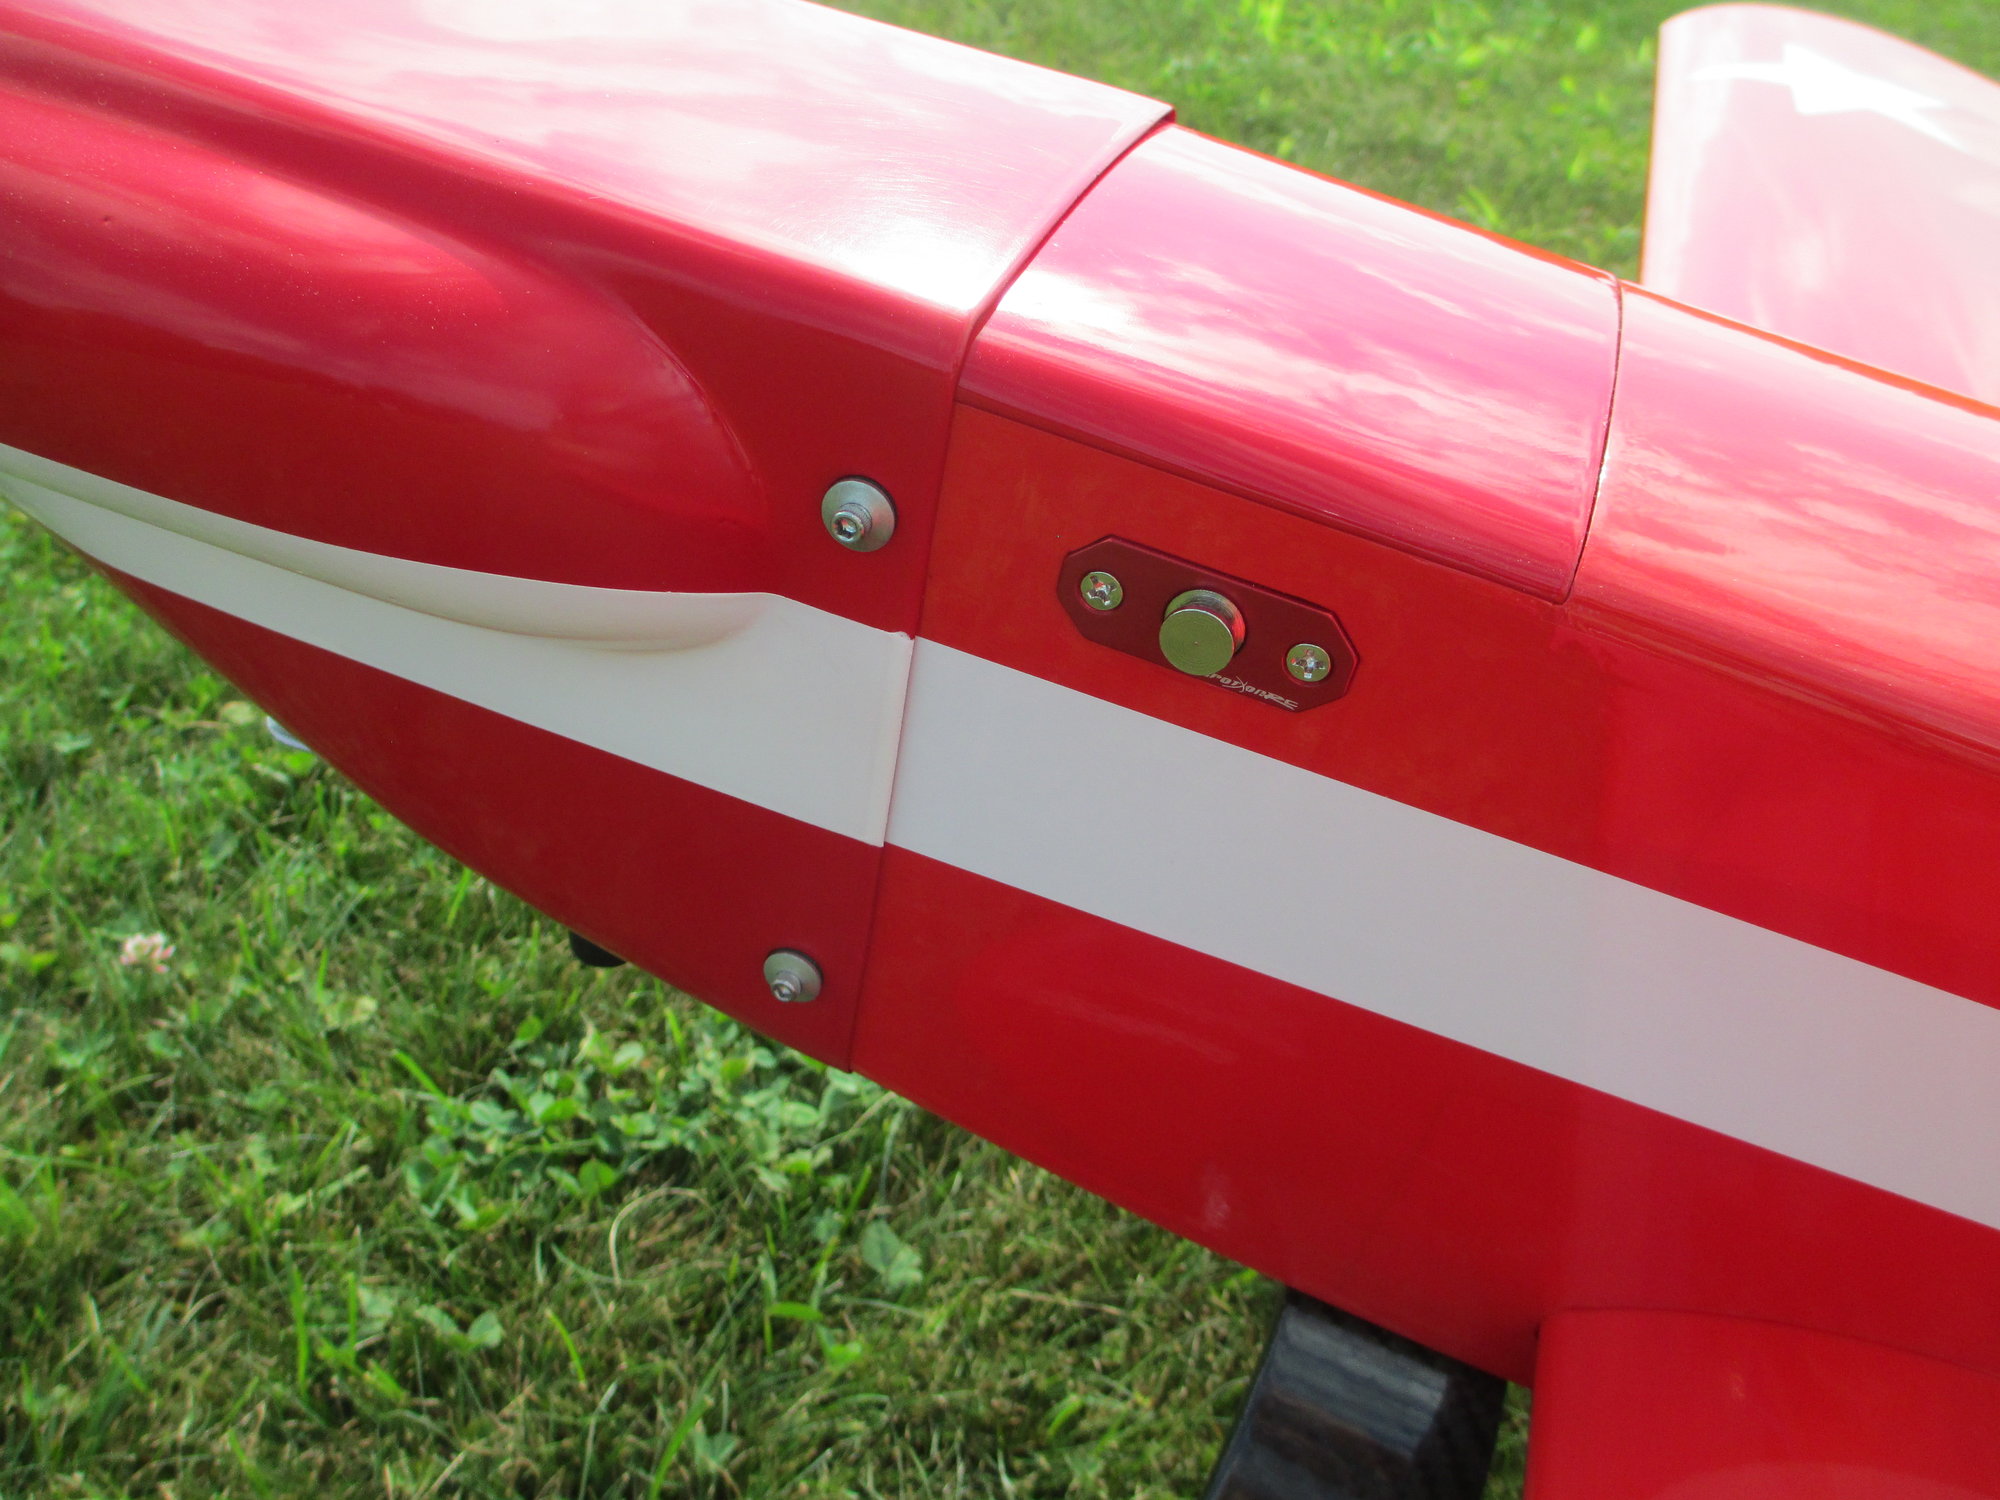
Having flown my Four Star now for a few weeks, I thought I could better describe what a jewel this plane is. I couldn't be happier with how well all of the modifications I made turned out. From clipping a bay from each wing panel, reducing the dihedral, custom landing gear, custom tail wheel assembly to the DLE-20RA engine that pulls this beast with authority.
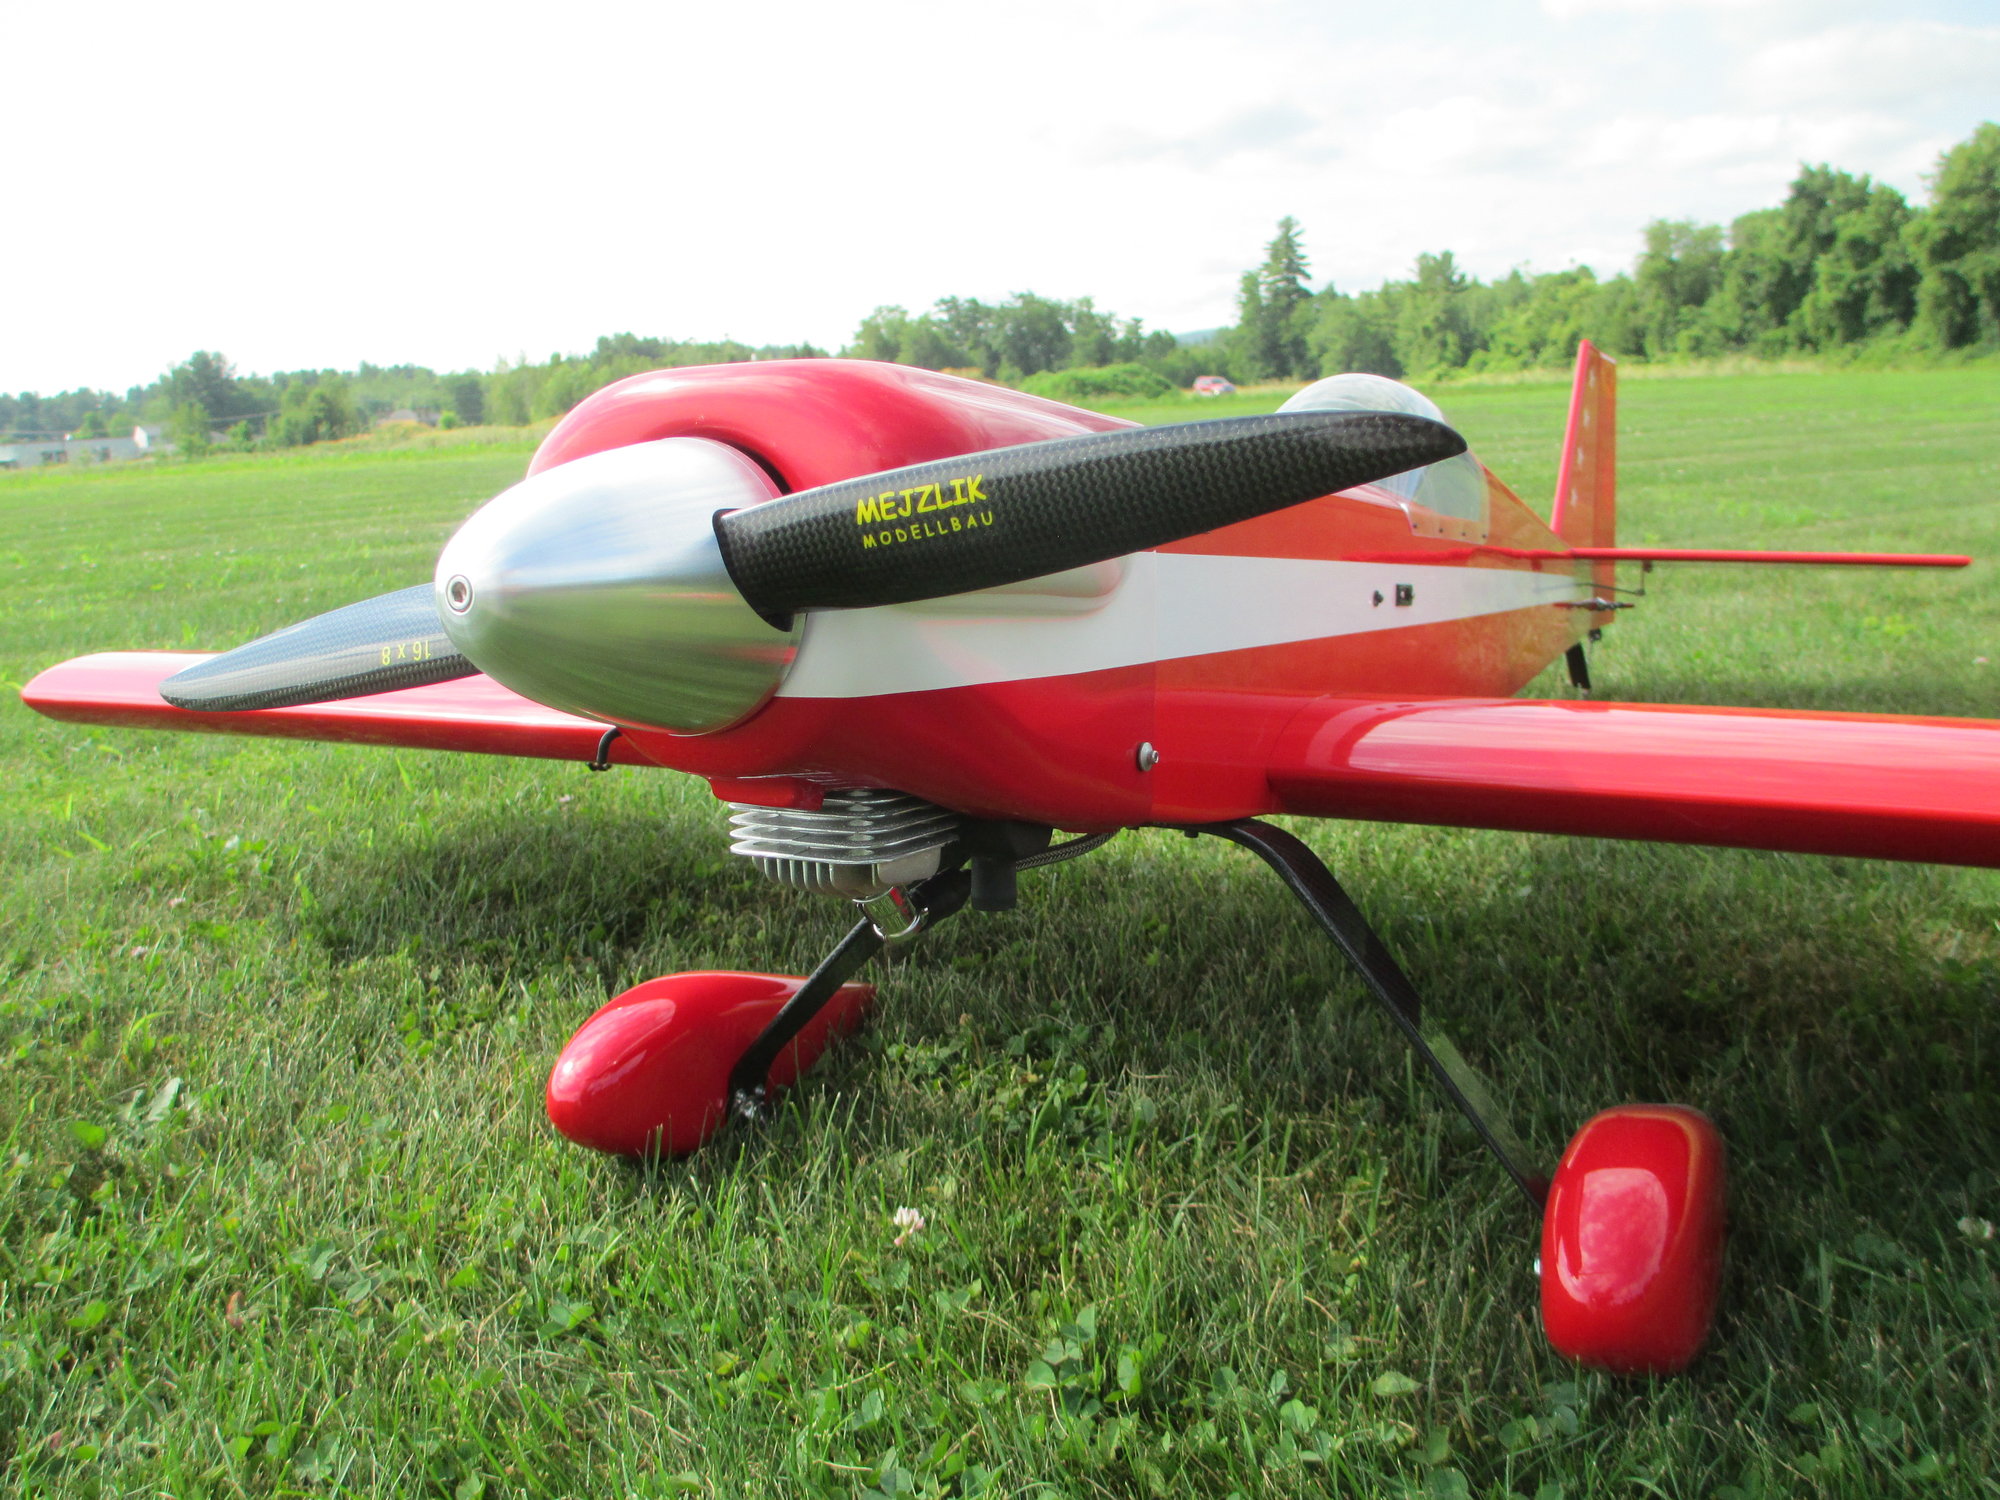
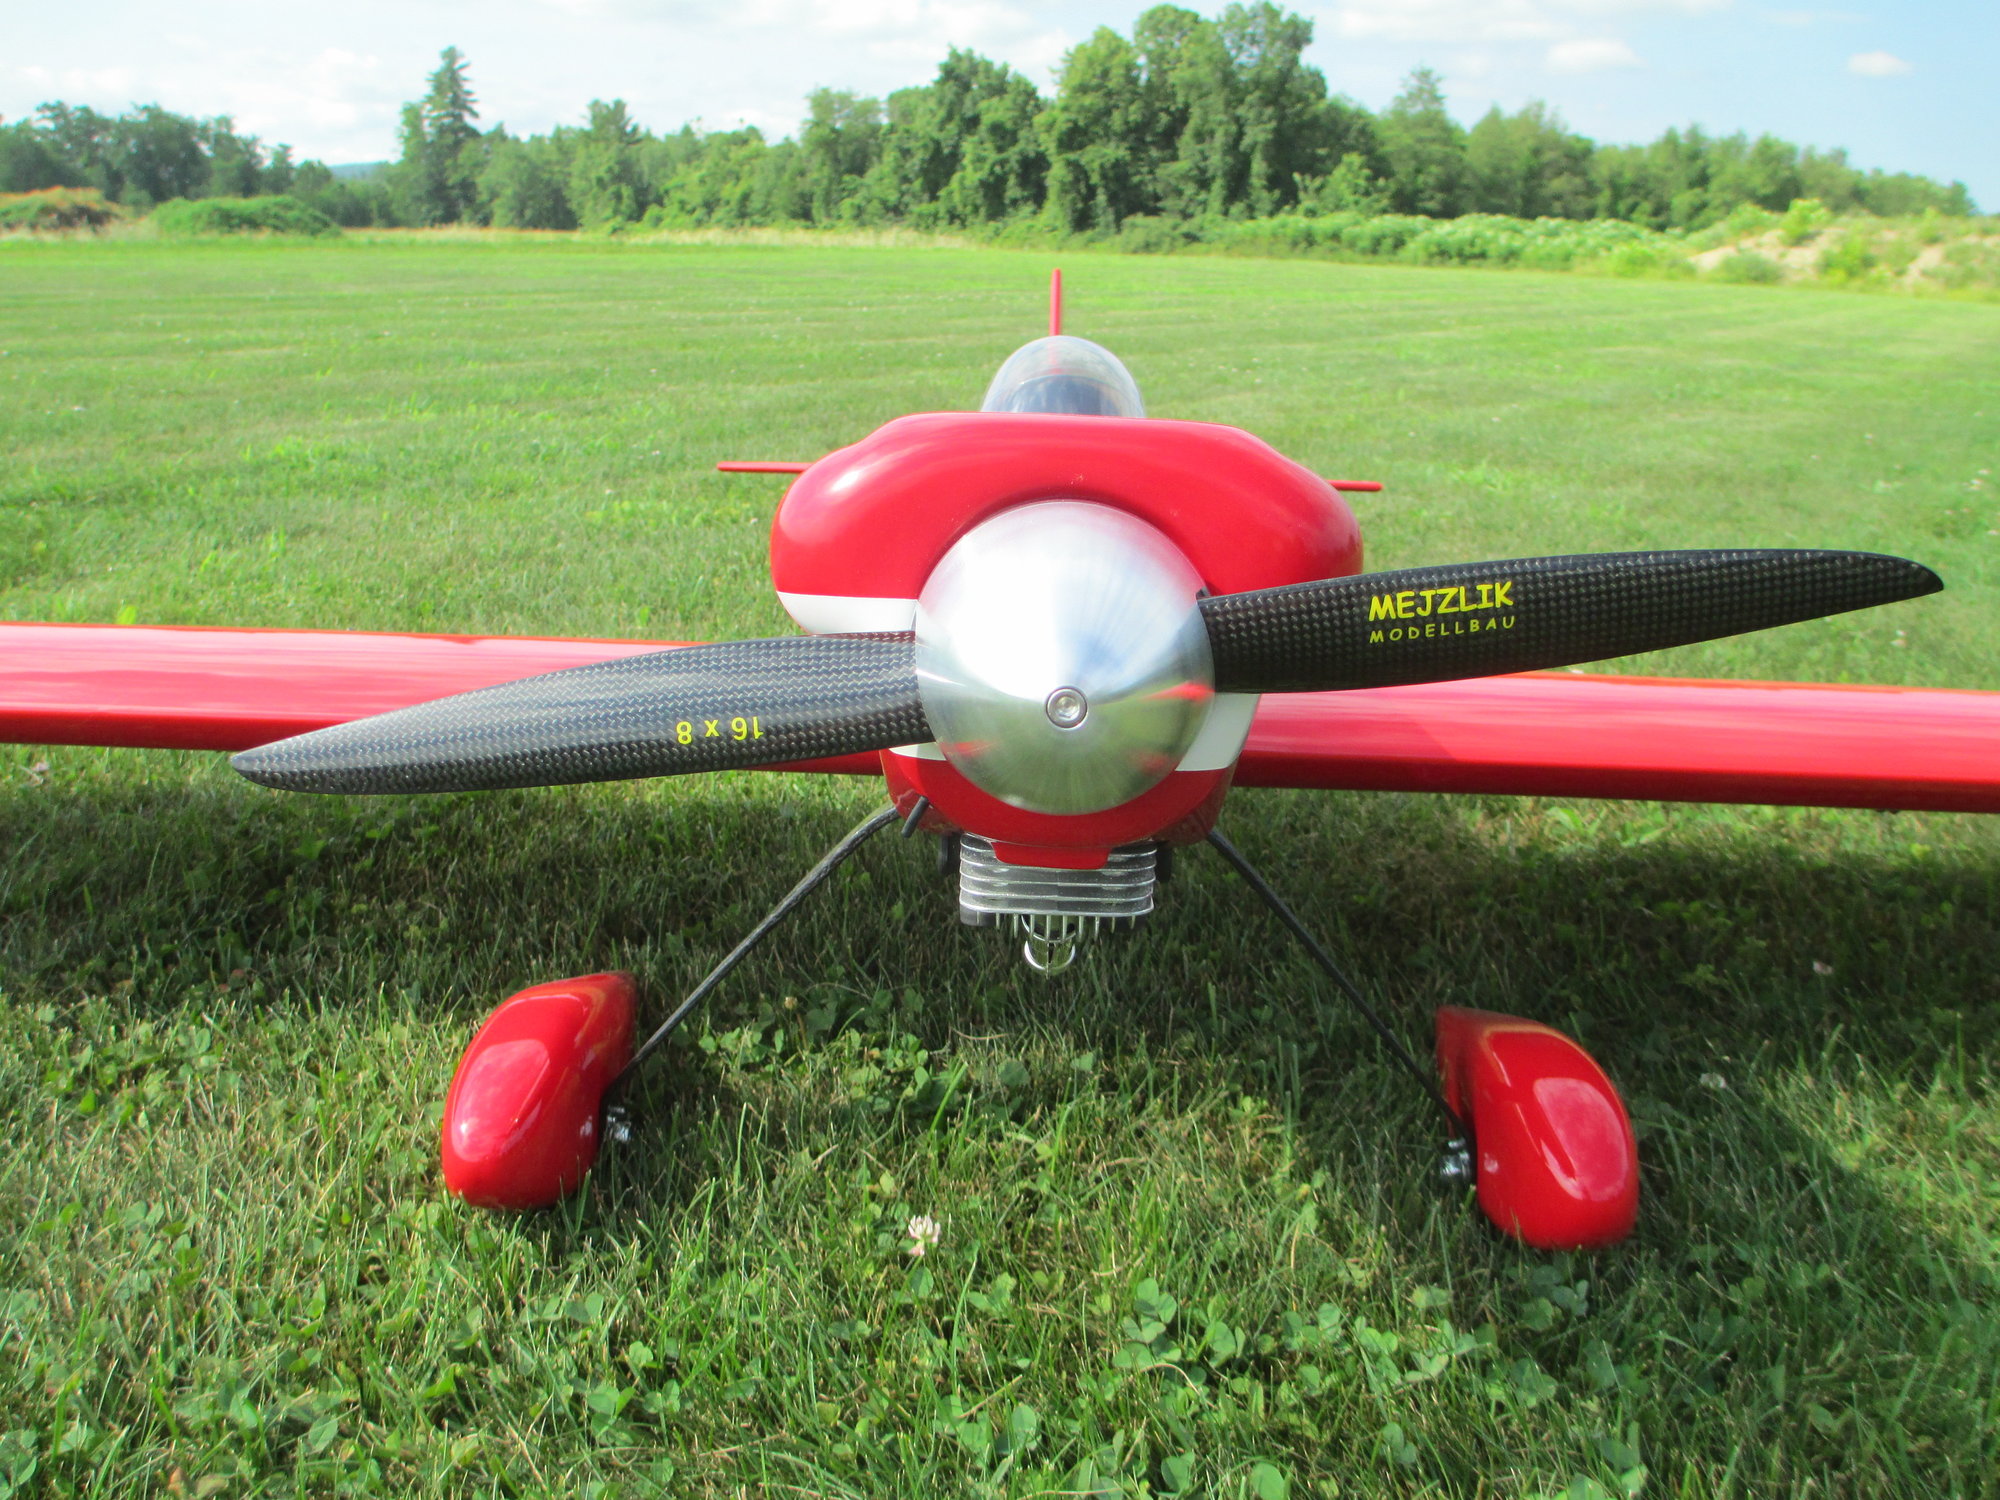
It tracks straight and true on take off and with the minimal dihedral, along with the shortened wingspan it does not float as many have described. It slows down and almost lands itself! Rolls are crisp and quick. The DLE-20RA equipped with a 16x8 carbon fiber prop is a perfect match for this plane and the 8 oz. tank is more than enough for 10-12 minutes of flying. I think I nailed the position of the CG on the first try!
If you're thinking about building a Four Star, then consider the mods I have incorporated in this thread. I promise you won't be disappointed!!!
Last edited by VincentJ; 07-17-2019 at 05:48 AM.
The following users liked this post:
rcFLYBOY14 (04-15-2020)
07-17-2019, 08:03 AM
#234
Member

I am in the middle (okay not so much the middle but more like the beginning!) of building this kit. I've completed sheeting the left wing adding the leading edge sheeting. For the most part I've had no gotchas. I decided to use the stock aileron servo bay parts that came with the kit mainly because I do not have the means to cut a good slot in a new door like you did. On another build I tried my hand at slots (without an end mill) by doing the two holes and cutting straight lines connecting the holes and finishing with sanding the edges. It was less than perfect.
I am going to replace the wood screws that hold the door with 2-56x1/2" cap head screws and blind nuts. They are about the same size as the wood screws that came with the kit so the small additional weight of the nuts shouldn't be too bad. For me being new to flying I left the dihedral and wing length to the plans. I'm hoping this will still be a floater. Another guy at the field has one, an ARF from years ago with no mods and he says it floats so much on landing he has to pitch down and add some power depending on the conditions just to get it down smoothly!
I'm going to use an OS .91 4-stroke which is the upper end of motor that's called out by SIG. I'm also probably going to use the pushrods and clevis' for the ailerons but I want to add hard points anyway. What do you use for hardpoints under rectangular horns?
I will be replacing the nylon pushrods in nylon sleeves with metal pushrods.
07-17-2019, 12:30 PM
#236
Member
Depending on the size of the ply I can see how it increases the surface contact area but if there is balsa sandwiched between the ply on both sides of the aileron I think it can still crush if the screws are tightened. Not as good as the dowel running completely through to both sides of the aileron but probably better than doing nothing to add reinforcement to the horns.
07-17-2019, 01:37 PM
#237
Thread Starter
Depending on the size of the ply I can see how it increases the surface contact area but if there is balsa sandwiched between the ply on both sides of the aileron I think it can still crush if the screws are tightened. Not as good as the dowel running completely through to both sides of the aileron but probably better than doing nothing to add reinforcement to the horns.
07-17-2019, 01:53 PM
#238
Member
08-14-2019, 11:07 AM
#239
Member
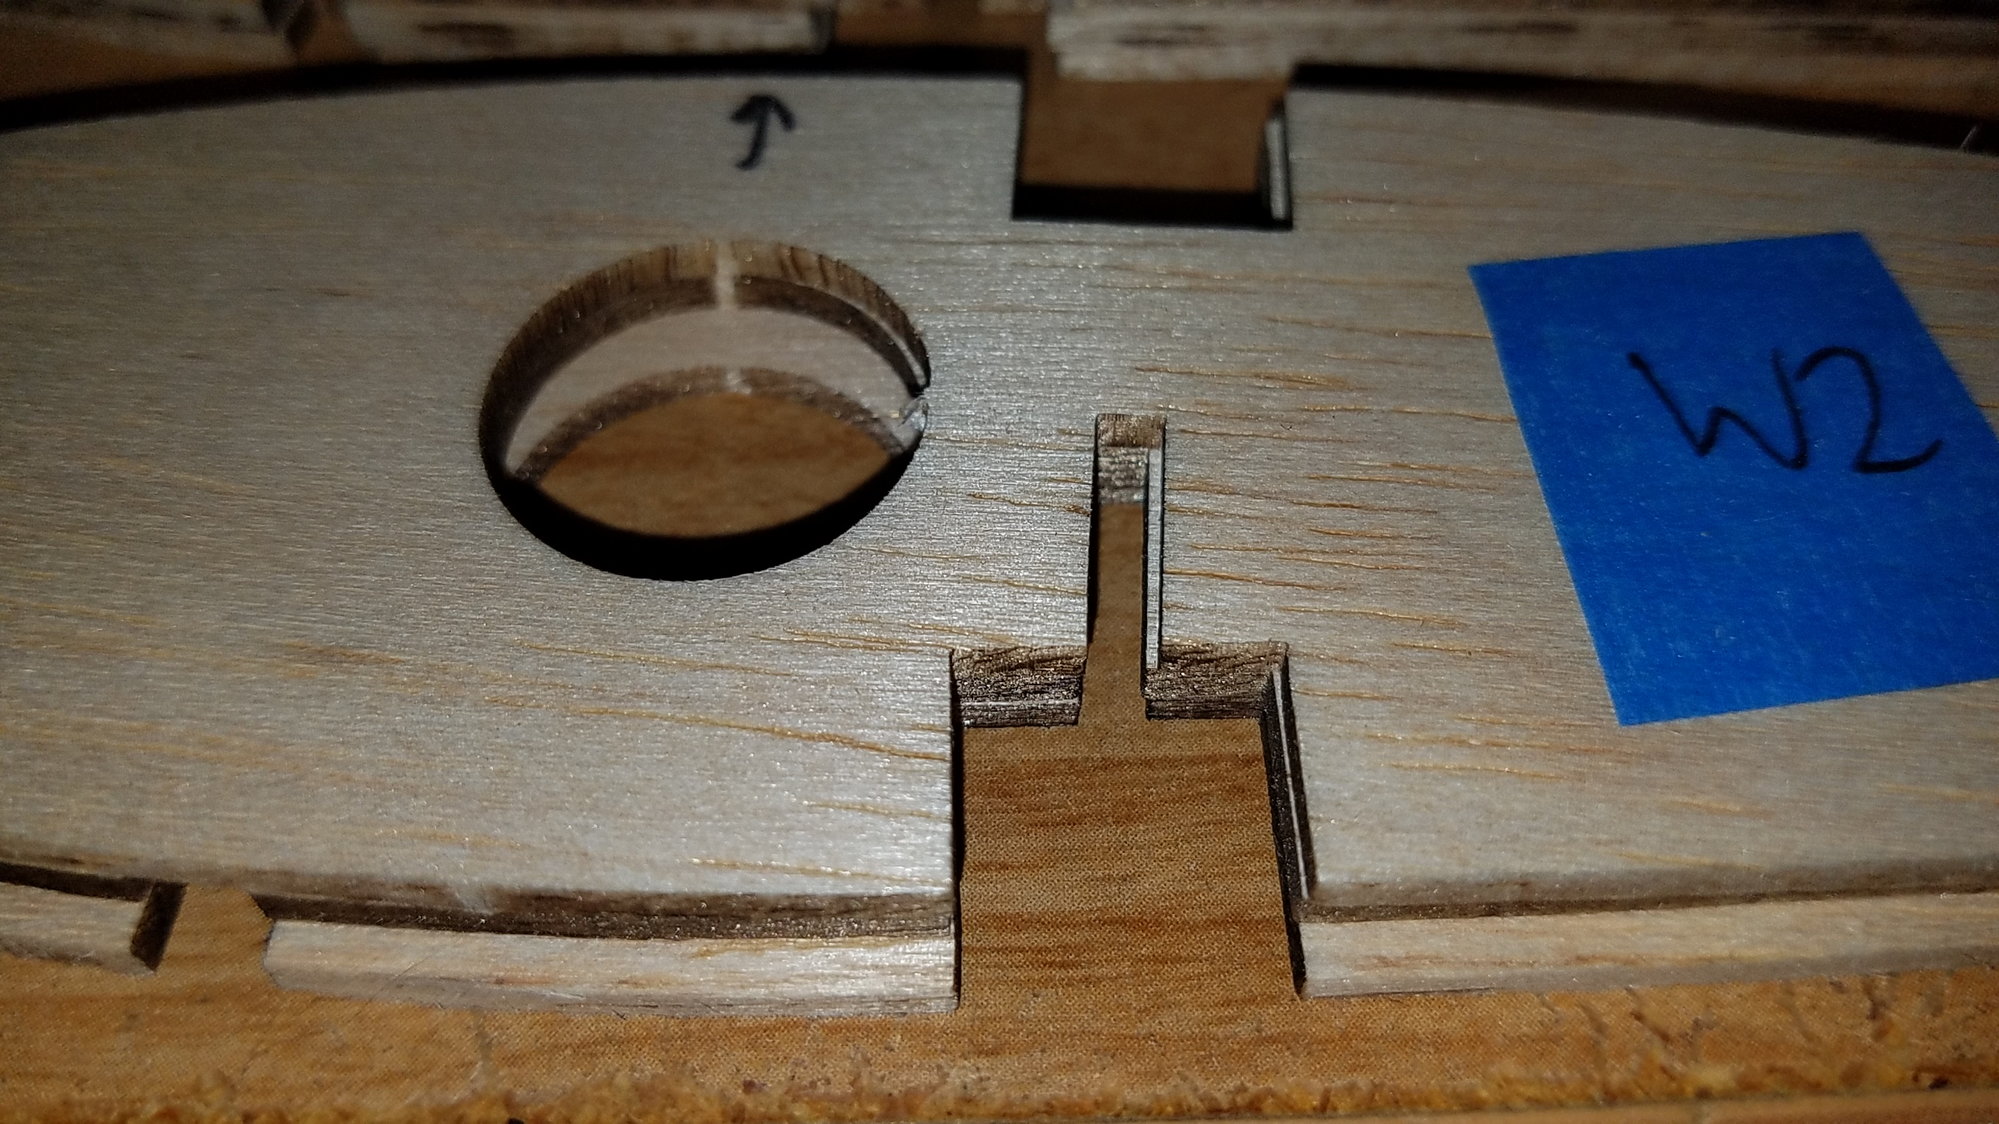
Getting started on the second half of the wing but before I do I reached out to SIG to see about a design error in some ribs. The wire tube holes for ribs W-2 and W-3 are misaligned with all other ribs.
Pretty clear in this photo. The bottom rib in the photo is W-1 or W-4 I forget but all other ribs have holes that line up together except for W-2 and W-3. I didn't notice it until I had glued the left wing half up and tried to slide the rocket tube through. Yes I like your rocket tube replacement over the rolled paper thing Sig has you do for this kit. So I had to try and cut the holes wider for W-2 and W-3 while in place. Not fun. I was hoping to get new (fixed) rib sheets from SIg but its not going to happen. I sent this image and a description of the issue and they responded that he has been there for 14 years and has never received a complaint. He also said the supplied paper tube will crease when going through the misaligned holes and should still work. That was it. I was not happy and replied back letting them know that's BS and I expected more from Sig. I also stated of course it can be remedied on my part to carve out the holes or replace the ribs. I am choosing to carve. But that wasn't the point. Up to that point I've had a great experience with Sig customer support. This guy happened to be a designer for Sig and was less accommodating or even sympathetic. Basically he didn't believe me. I've no idea why my particular kit (fairly new because of laser cut parts) had the flaw because your kit seemed to be okay. I would have expected this design or mfg flaw and response to my concerns from a short kit mfg or from an Asian RC kit builder but not from Sig.
Pretty clear in this photo. The bottom rib in the photo is W-1 or W-4 I forget but all other ribs have holes that line up together except for W-2 and W-3. I didn't notice it until I had glued the left wing half up and tried to slide the rocket tube through. Yes I like your rocket tube replacement over the rolled paper thing Sig has you do for this kit. So I had to try and cut the holes wider for W-2 and W-3 while in place. Not fun. I was hoping to get new (fixed) rib sheets from SIg but its not going to happen. I sent this image and a description of the issue and they responded that he has been there for 14 years and has never received a complaint. He also said the supplied paper tube will crease when going through the misaligned holes and should still work. That was it. I was not happy and replied back letting them know that's BS and I expected more from Sig. I also stated of course it can be remedied on my part to carve out the holes or replace the ribs. I am choosing to carve. But that wasn't the point. Up to that point I've had a great experience with Sig customer support. This guy happened to be a designer for Sig and was less accommodating or even sympathetic. Basically he didn't believe me. I've no idea why my particular kit (fairly new because of laser cut parts) had the flaw because your kit seemed to be okay. I would have expected this design or mfg flaw and response to my concerns from a short kit mfg or from an Asian RC kit builder but not from Sig.
Last edited by GameEngineer; 08-14-2019 at 11:14 AM.
08-14-2019, 12:00 PM
#241
Thread Starter
Sorry for how Sig treated you Steve. If the rib is already in place, just get a 1/4" drive deep socket that's the right diameter and wrap it with sandpaper, the kind that you use on your sanding bars. Then insert and slide back and forth until the hole is in proper alignment.
08-14-2019, 02:30 PM
#242
Member
YES! Vindicated! I'm not the only one. Your description is exactly what I am going to do. If I cut carefully I can use the section I cut to glue on the opposite side.
08-14-2019, 02:34 PM
#243
Member
Sorry for how Sig treated you Steve. If the rib is already in place, just get a 1/4" drive deep socket that's the right diameter and wrap it with sandpaper, the kind that you use on your sanding bars. Then insert and slide back and forth until the hole is in proper alignment.
You are certainly good at coming up with slick ways to build. I didn't think of that for the existing built wing half. I used a blade to cut from a precarious angle. It looks horrible but that portion of the wing is covered in sheeting anyway so in the end you can't see it. The right wing half is not started so I plan on cutting the holes BEFORE I do anything with them.
08-19-2019, 12:43 PM
#244
My Feedback: (6)
I built one this spring. Actually there was a 4*60 fuse in the club house that needed a wing so I repaired the cracks in the fuse and bought a wing and tail feathers from Sig. I had no problems with the aileron servo wire holes. They all lined up.
I bought the cowl for the ARF version and I used the same aileron push rod connection .LOL
Mine is powered by a Cobra 4120/14 series outrunner and 6S pack.
14X7 APCE :900+ watts and 40 A.
I might give a 15X6 or 15X8 prop a try. I should actually go for 1KW.
I bought the cowl for the ARF version and I used the same aileron push rod connection .LOL
Mine is powered by a Cobra 4120/14 series outrunner and 6S pack.
14X7 APCE :900+ watts and 40 A.
I might give a 15X6 or 15X8 prop a try. I should actually go for 1KW.
08-22-2019, 02:57 PM
#245
Member
I built one this spring. Actually there was a 4*60 fuse in the club house that needed a wing so I repaired the cracks in the fuse and bought a wing and tail feathers from Sig. I had no problems with the aileron servo wire holes. They all lined up.
I bought the cowl for the ARF version and I used the same aileron push rod connection .LOL
Mine is powered by a Cobra 4120/14 series outrunner and 6S pack.
14X7 APCE :900+ watts and 40 A.
I might give a 15X6 or 15X8 prop a try. I should actually go for 1KW.
I bought the cowl for the ARF version and I used the same aileron push rod connection .LOL
Mine is powered by a Cobra 4120/14 series outrunner and 6S pack.
14X7 APCE :900+ watts and 40 A.
I might give a 15X6 or 15X8 prop a try. I should actually go for 1KW.
You won't see it anyway.So I was debating on a cowl or not. Still not sure and I'll decide once I start the fuse. I like Vince's mods but I am not that polished of a builder to do them all. Plus they take more time and cost. I do like the look of the cowl though. There are a couple guys at the field who have the 4* 60 and 4* 120 and they are no-cowl versions. If I showed up with a sweet looking cowl'd 4* 60 that would be cool!
I did buy balsa blocks for the wing tips but decided I don't have the energy to carve them and will just leave the flat, ply ones.
So you used the nyrods that came with the kit? I was going to replace them with piano wires and not the pull-pull like Vince did. One of the guys who owns a 4*60 said his nyrods (came in ARF version) are sensitive to temperature and humidity and has to trim a little each time he comes out. That convinced me to replace them with something else.
Last edited by GameEngineer; 08-22-2019 at 03:00 PM.
 12-10-2019, 01:20 AM
#247
Thread Starter
Fiberglass Specialties Inc Catalog
 04-07-2020, 12:01 PM
#250
Member
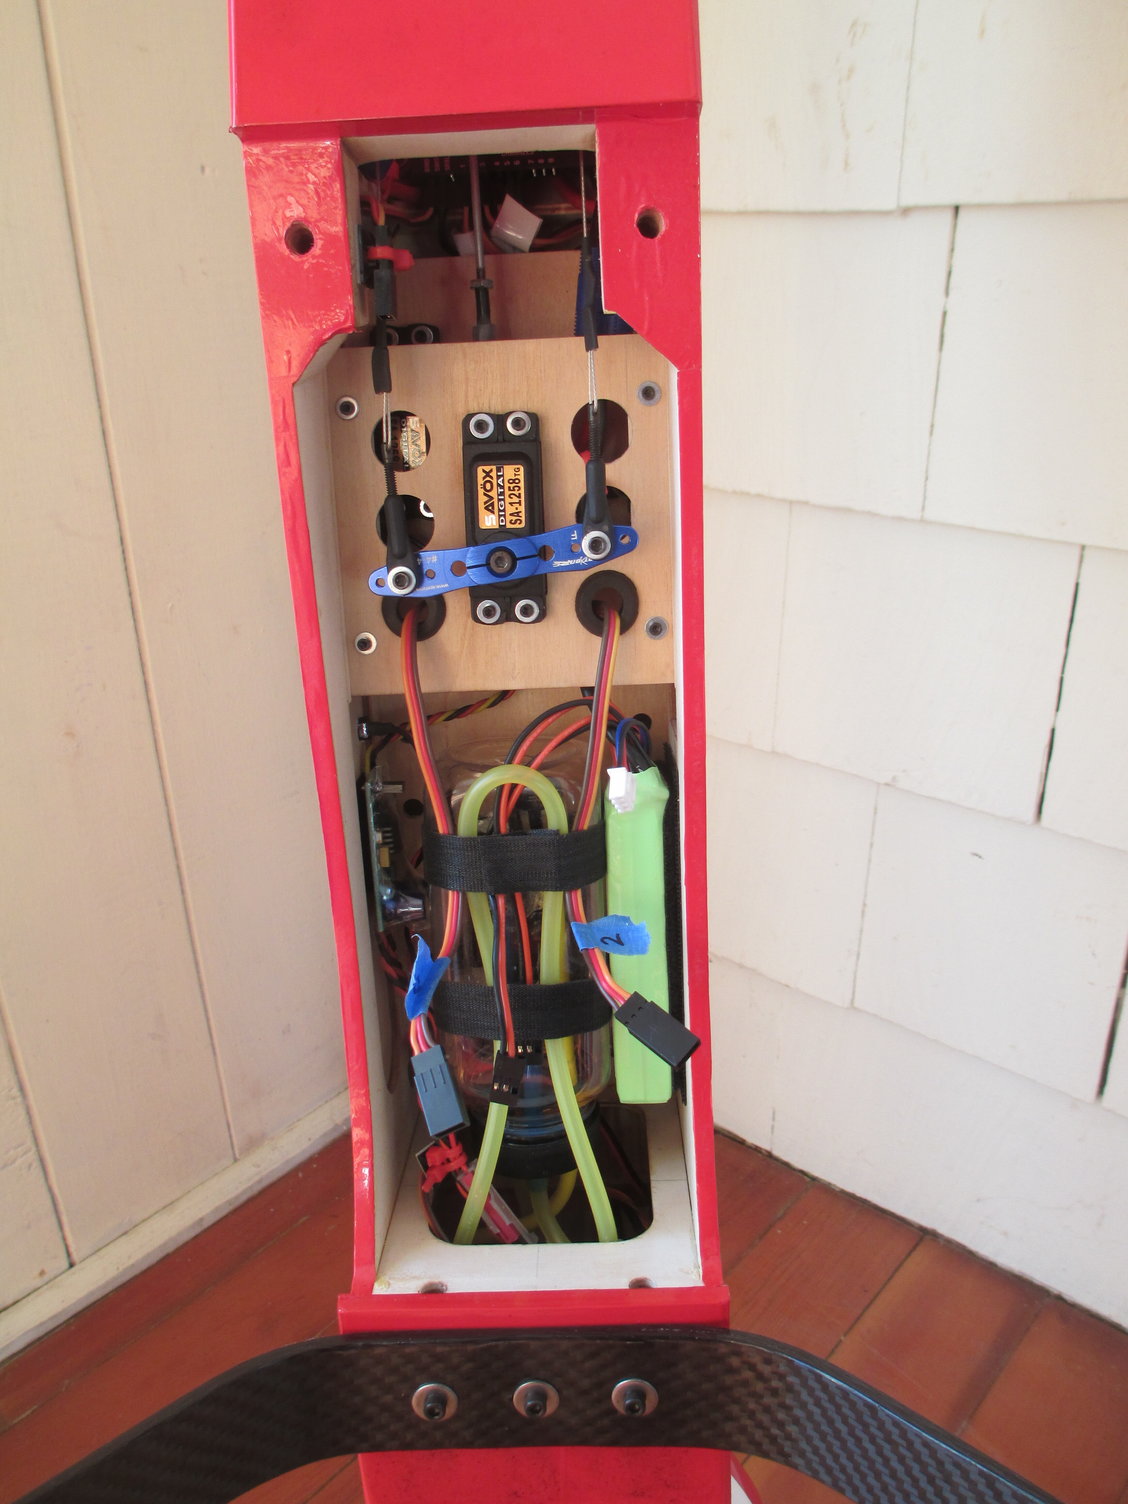
Ok so you mounted your gas tank aft of where the plans tell you to put it. You put your throttle servo in that location.Did you find any balancing issues with the tank pushed back? That location would certainly be easier to get to. I am following the stock build for the most part although I am making some mods that you have in this thread. But the fuse will be what the plans call for. The tank in the stock build as you know is only accessible from the inside through the F2 former. Not the most easy to get to especially if you strap it down with velcro or tie wraps.
-Steve
-Steve