


Hangar One Blue Angel


 04-20-2021, 01:27 AM
#27
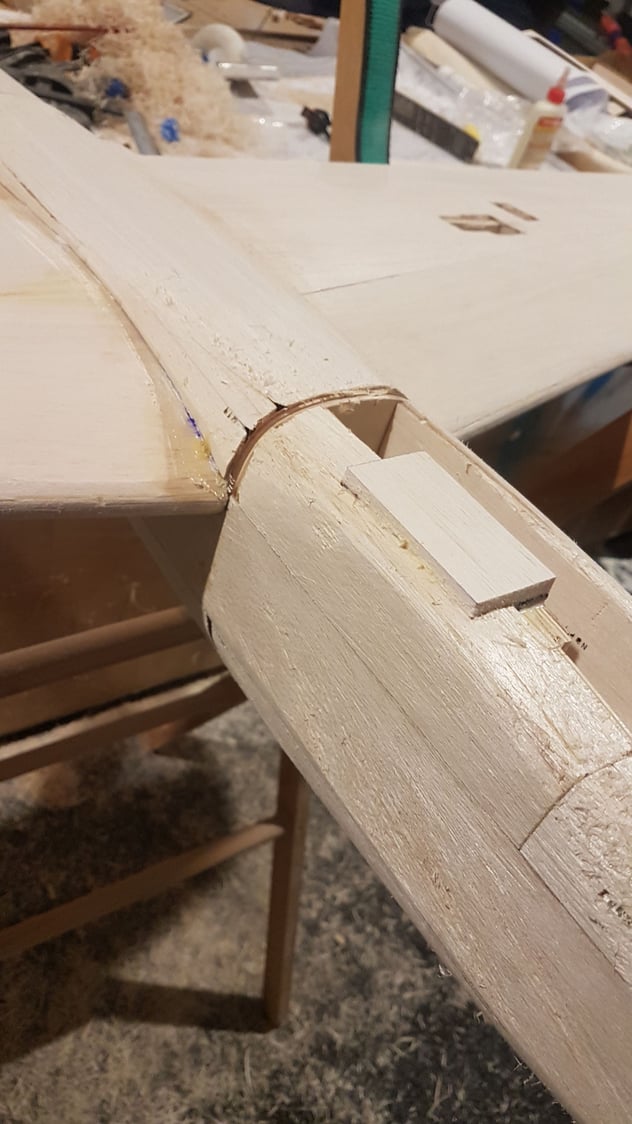
A little more progress this evening. I glued W17 (labelled as F17 on the wood) to the wing. This is the front former of the belly pan. It took a little figuring out trying line the parts up with what was built off the plan. The dowels aren't glued yet, they are just making sure W17 aligns perfectly with F3. The scrap balsa between the two formers will give me the clearance i need to get the wing in and out, if its too much I'll glue some balsa in! Much easier than making the gap bigger...
I also managed to get the main retracts sitting in place and starting carving the top of the nose into shape.
04-23-2021, 02:53 PM
#28
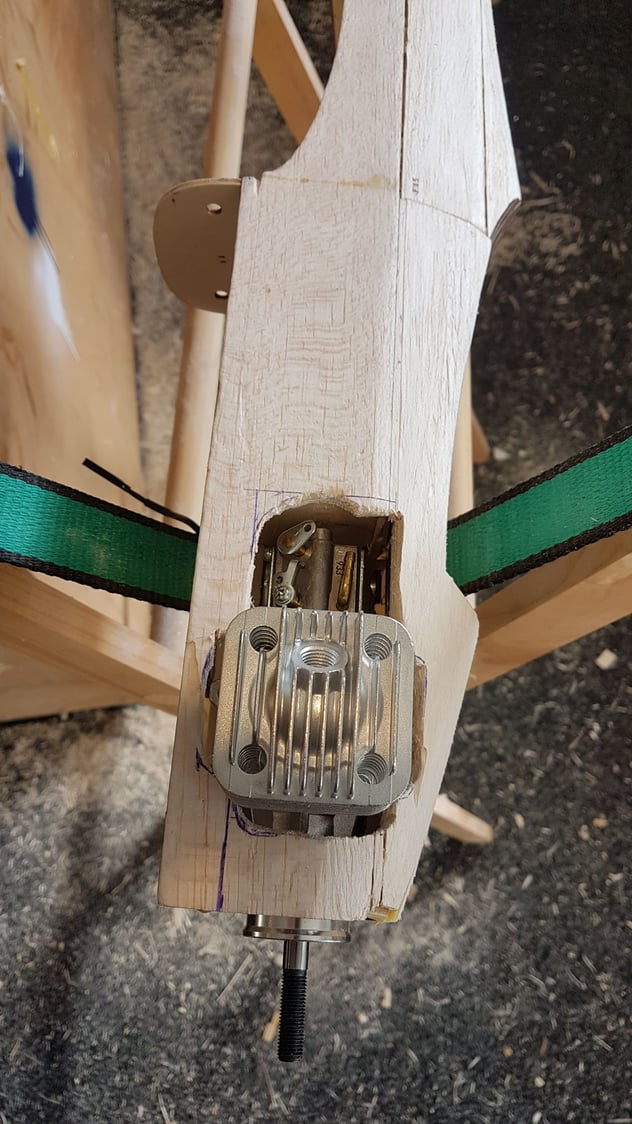
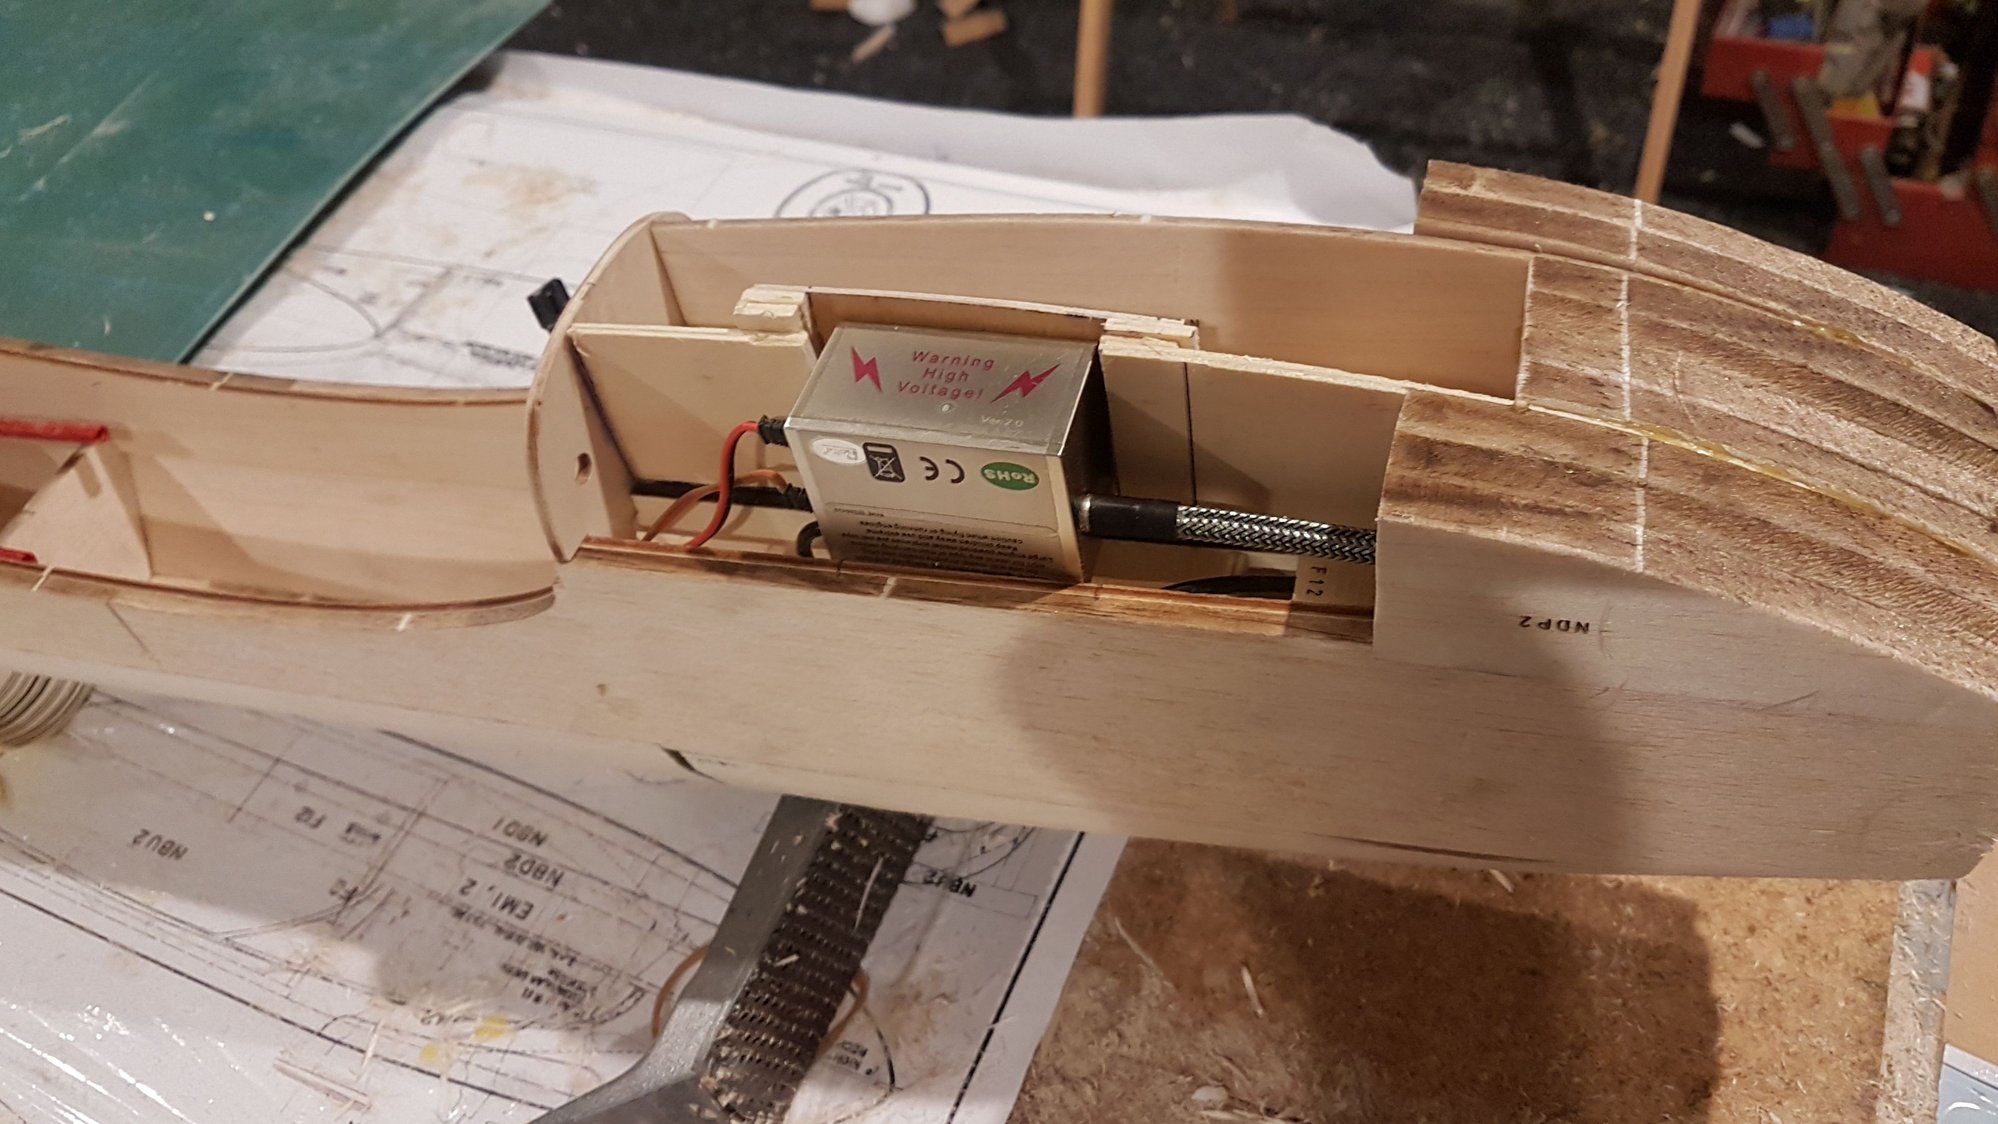
Well that was painful,but the motor is in. I'm contemplating making a removable hatch over the carb, however its a rear exhaust so that way hide alot too.
of course i also need to work out where to put the ignition module. It should fit here with a minor reshape of the nose but hopefully won't be too obvious.
04-30-2021, 01:16 AM
#29
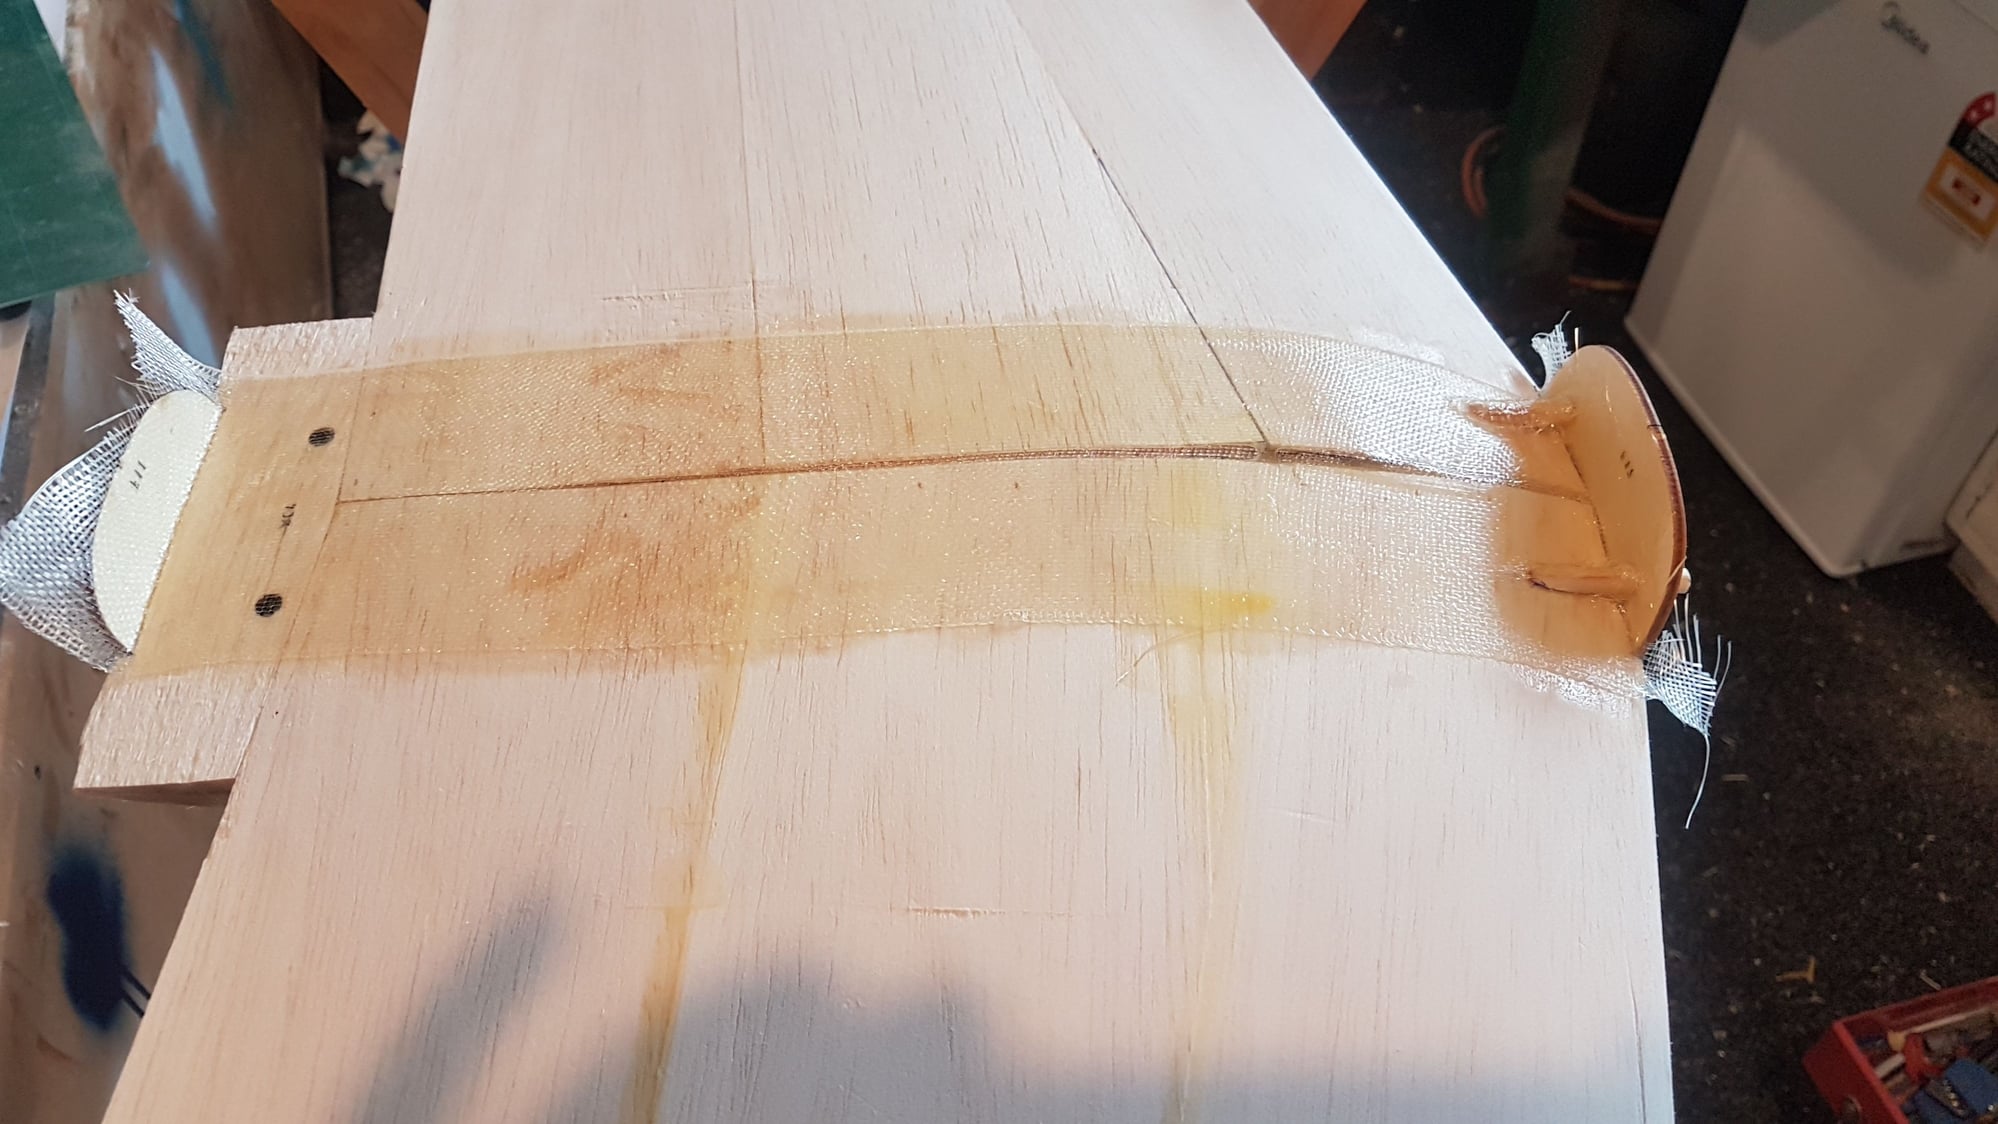
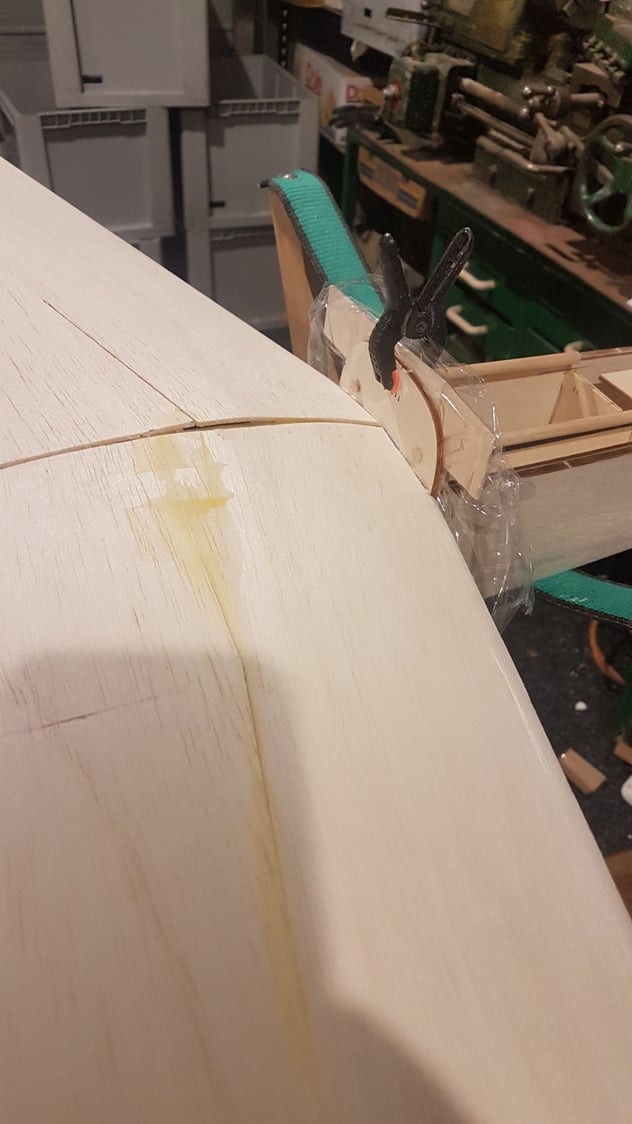
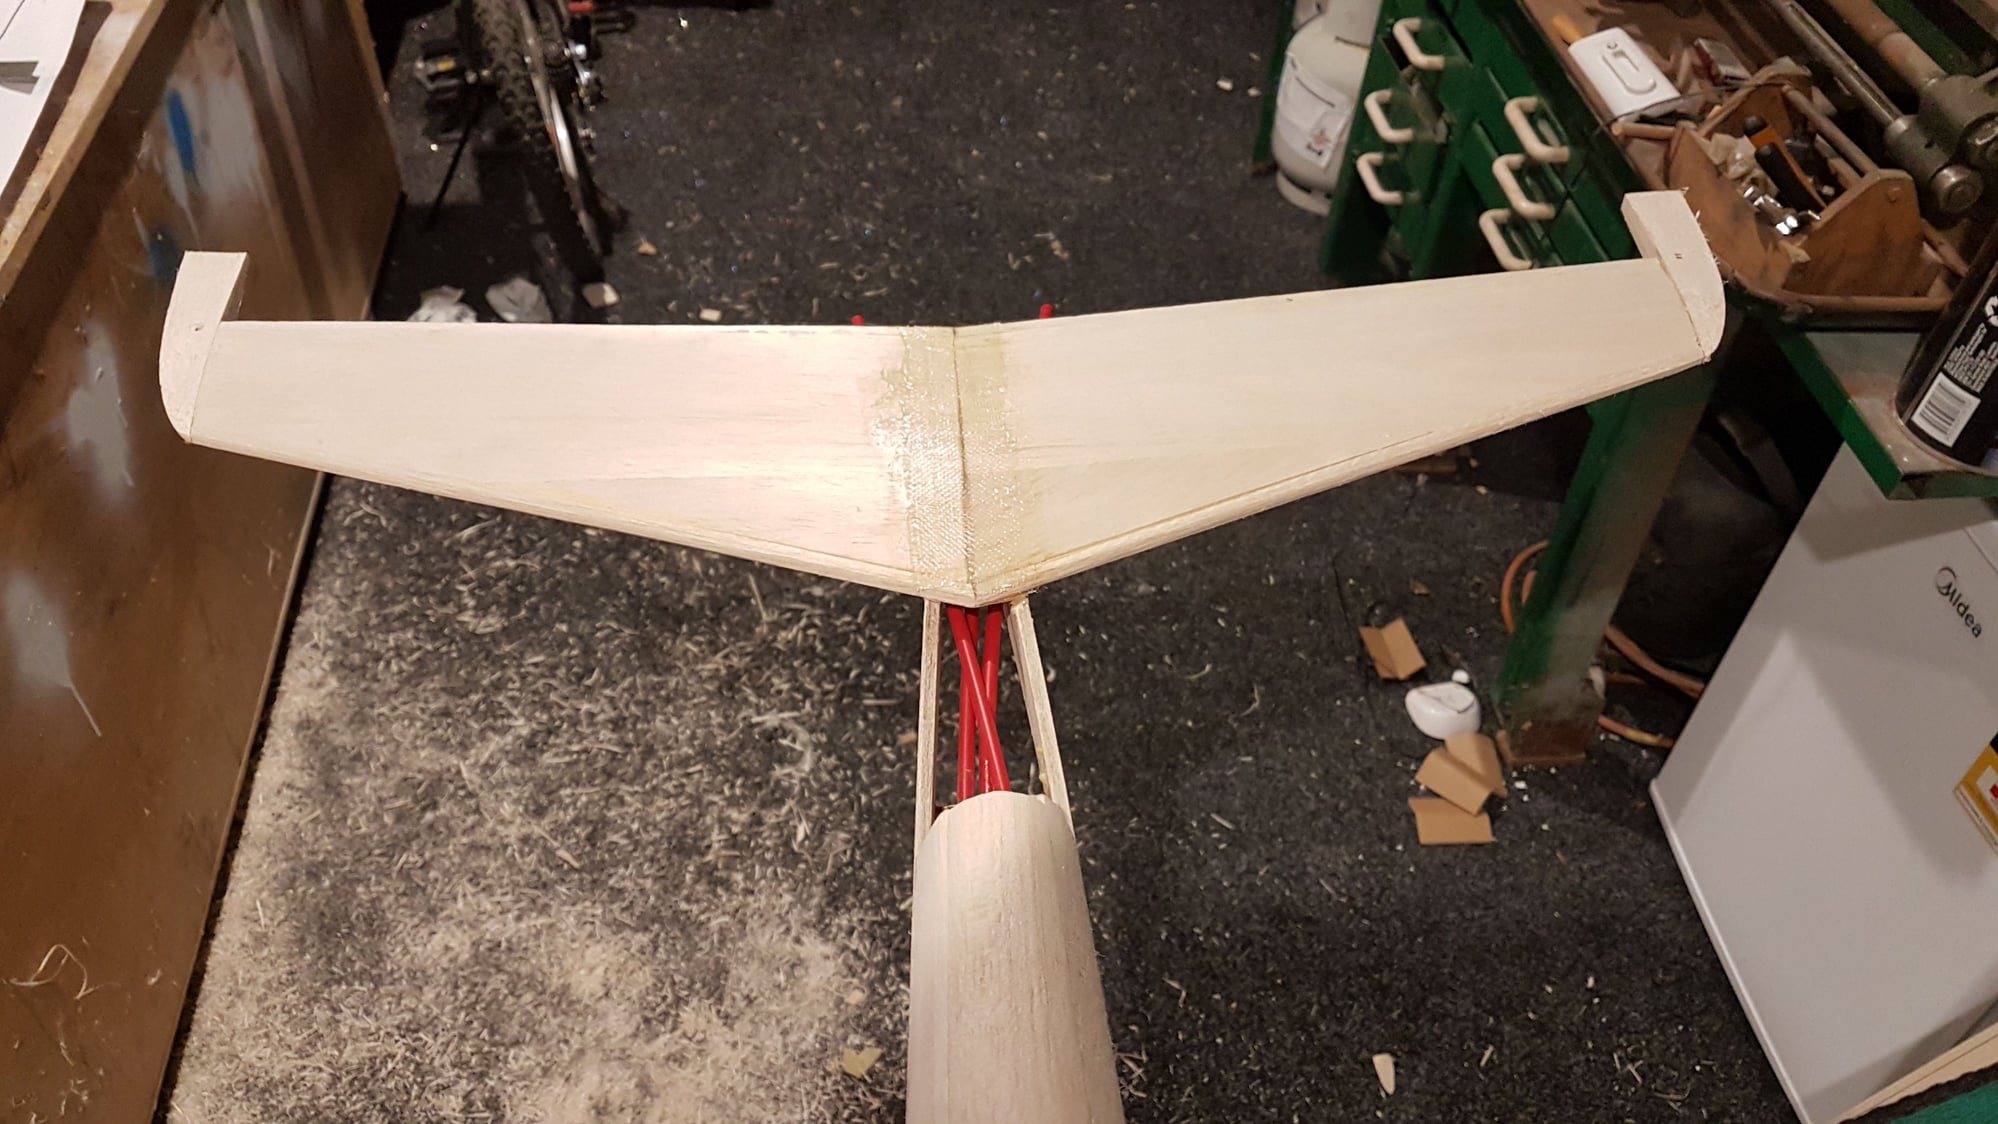
Today I fibreglassed the wing joint. I also used the fiberglass to strengthen the locator dowels. No tricks for keeping it tidy, just being careful.
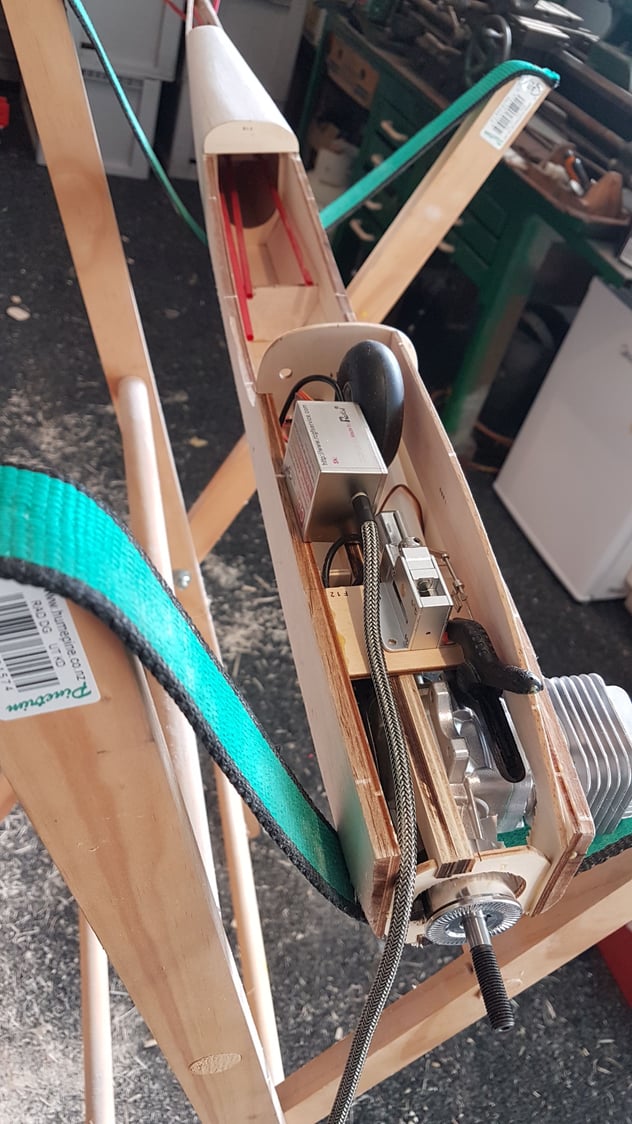
I also decided to build in the ignition module. I've never had one fail before so hopefully I don't regret this now!
Last edited by grahamj4; 04-30-2021 at 03:18 AM.
05-05-2021, 01:41 AM
#30
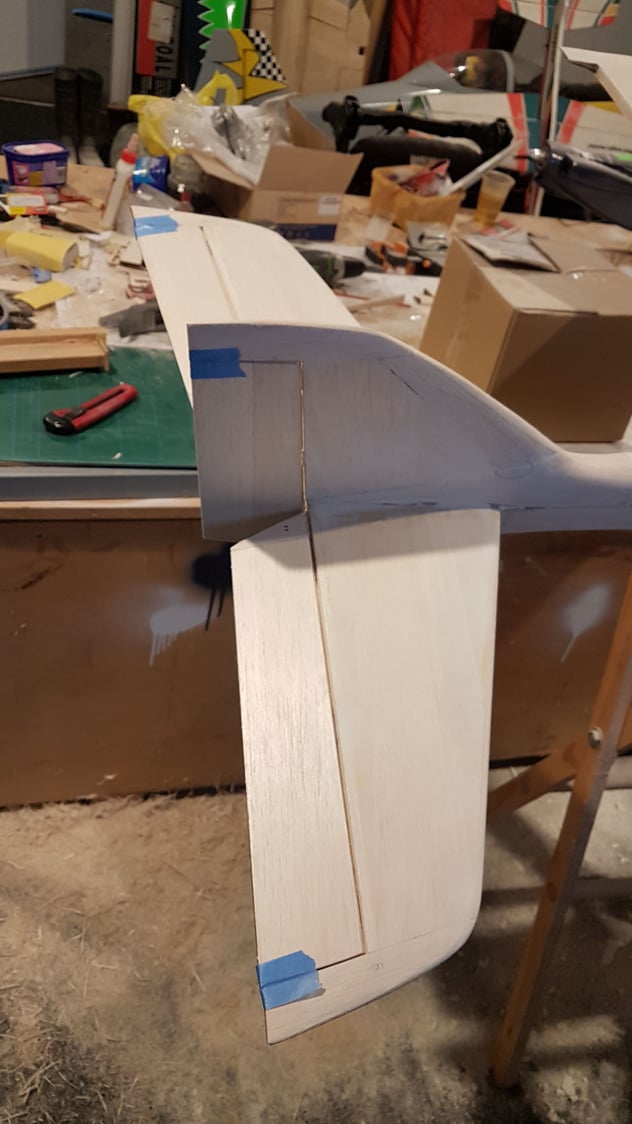
Bit by bit I've been blocking in underneath the nose ready to carve it to shape, so now I think I'm ready to start that. I started builing up the belly pan now the centre joint has been fibreglassed. I'll have to take the wing off to finish or I'll end up building the bolts in!
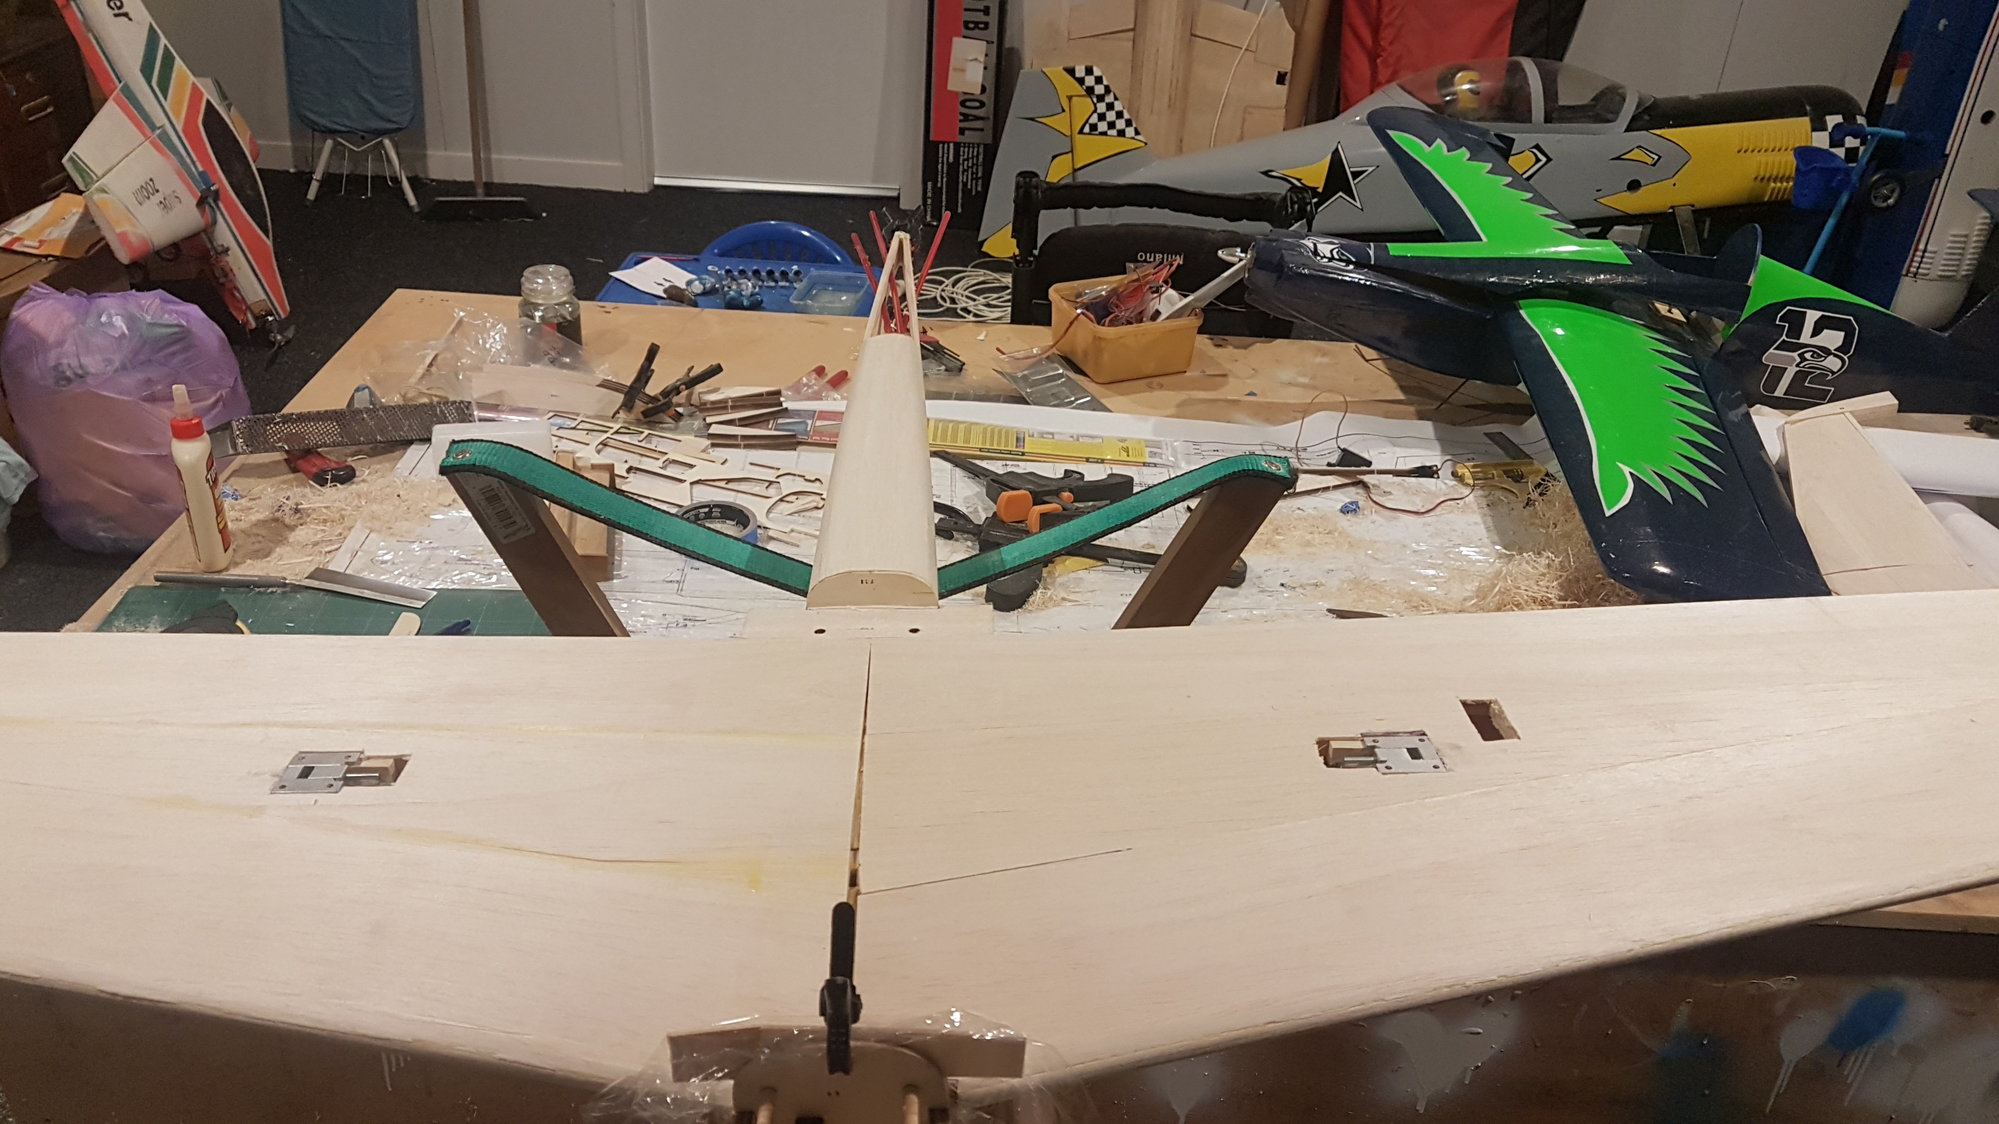
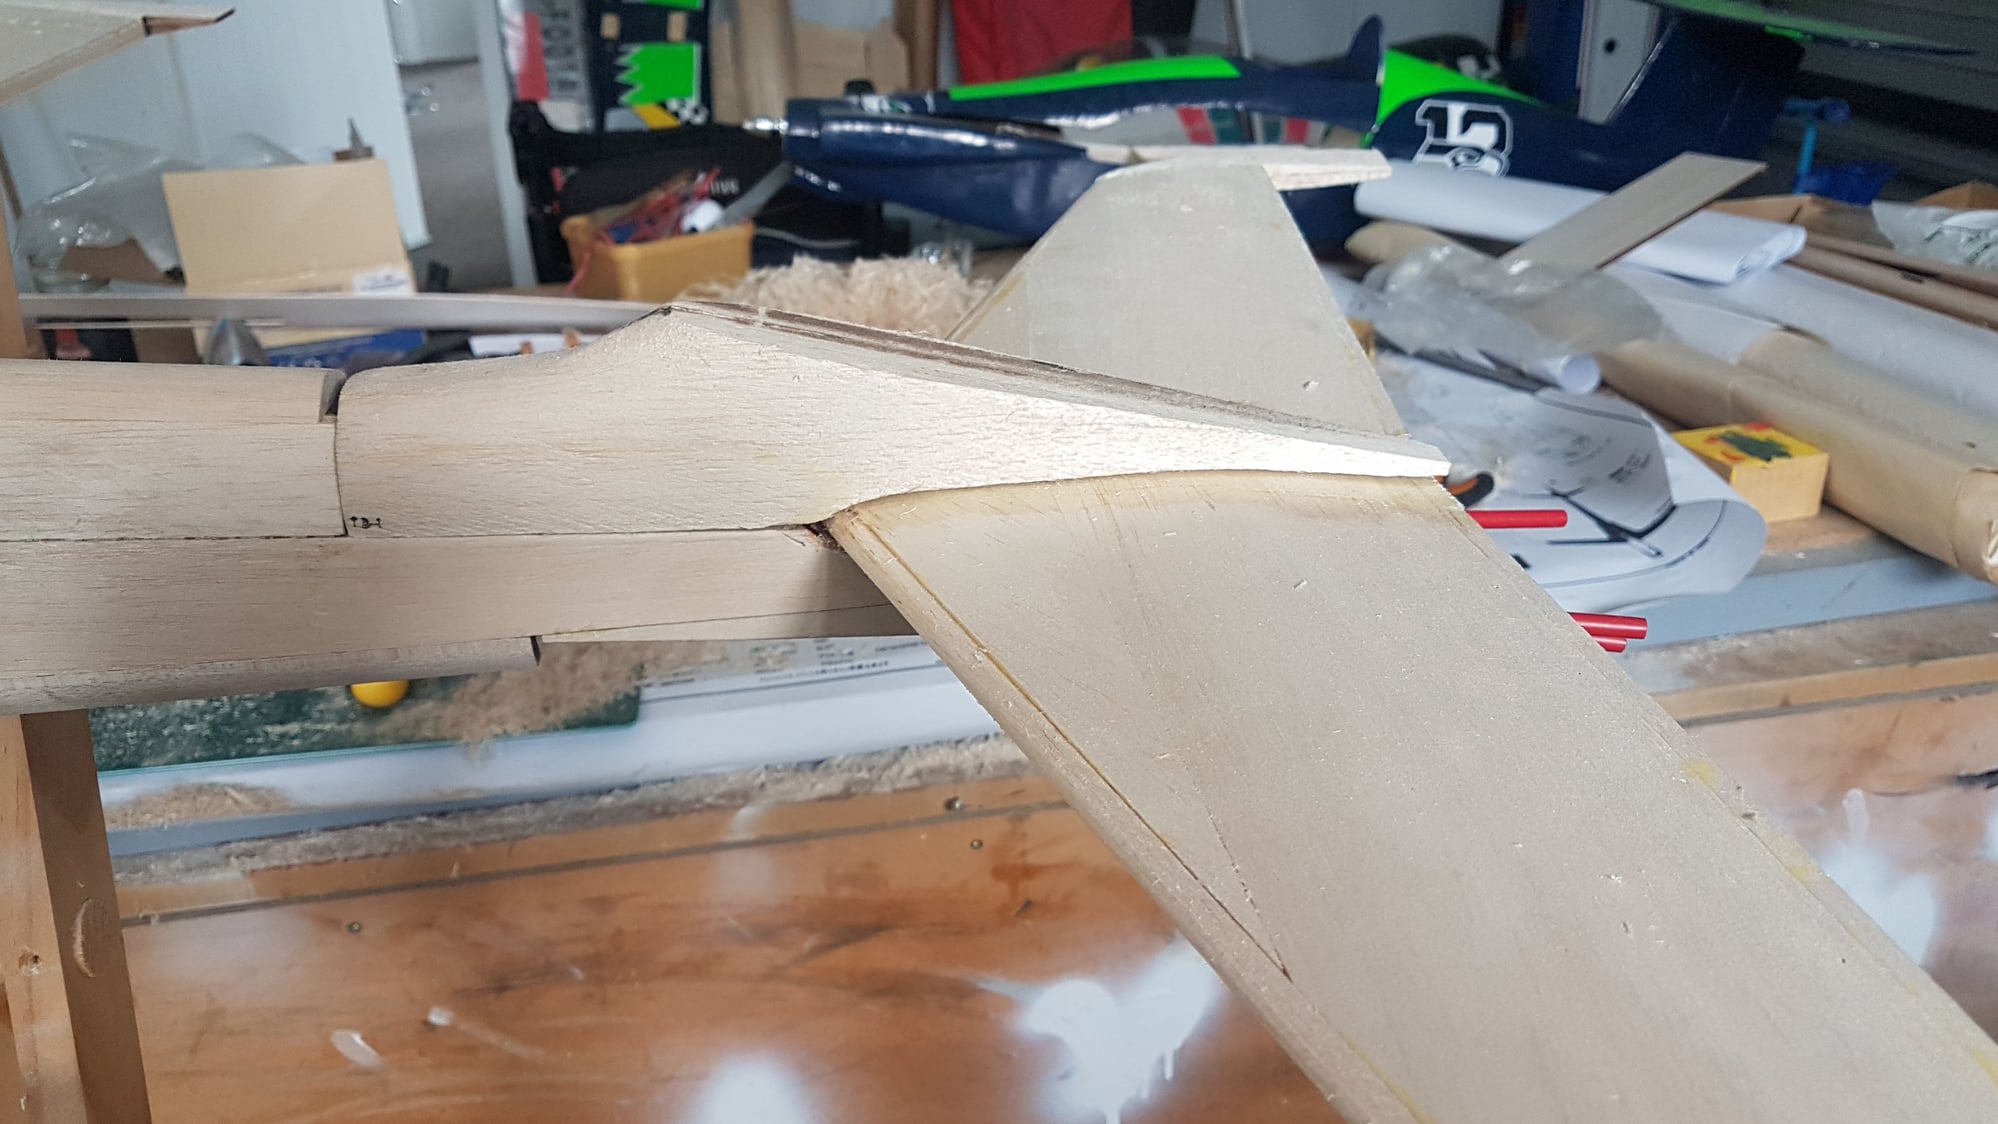
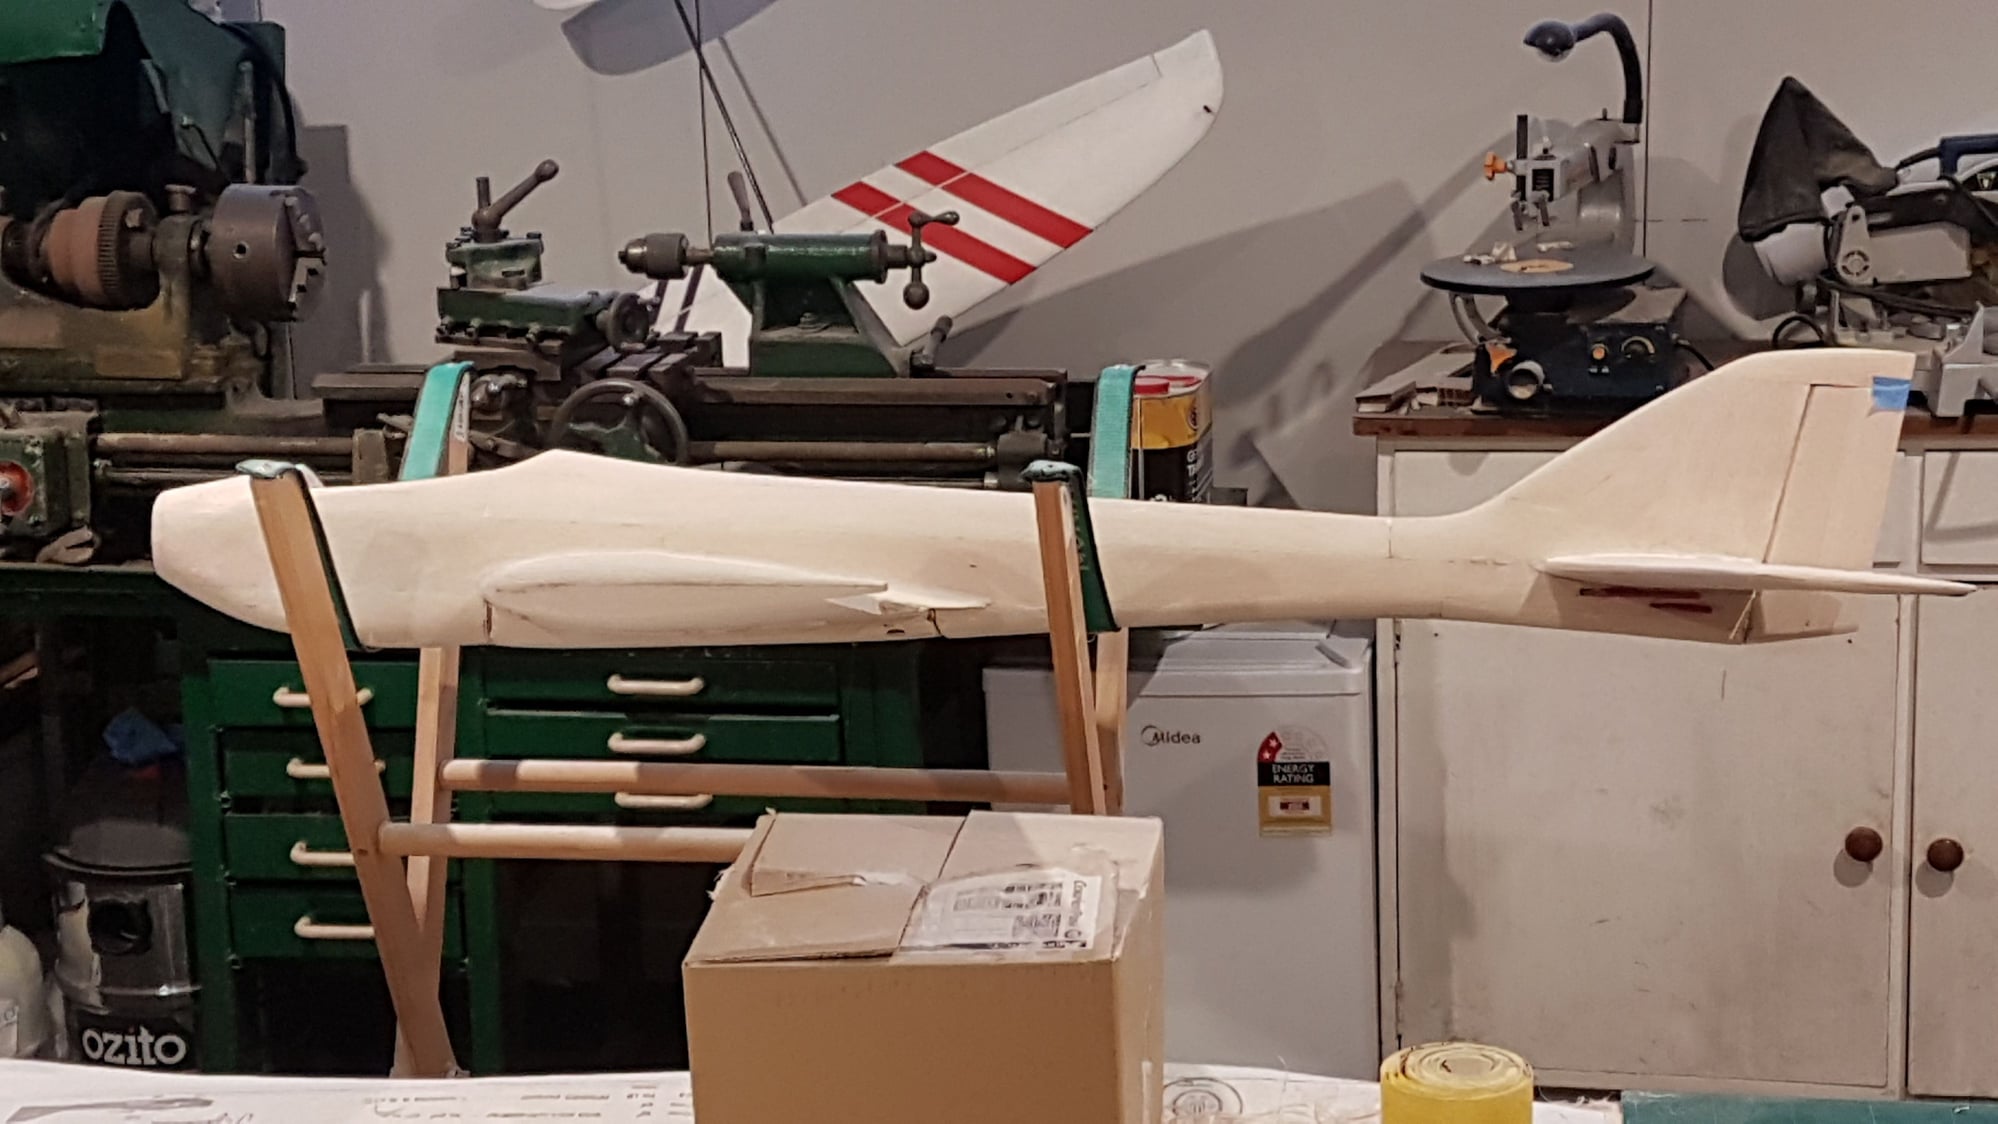
I built the fin. OK i built it twice 'cos i stuffed up and it was the wrong shape the first time... Good thing about these laser cut parts is if the next piece doesn't fit them something went awry before that. I've rough carved it so far and will finish it off a little more before I glue it to the TB1 block. Then I laminated TB2 which does under the tail. I felt it was necessary to sandwich in an extra 2mm balsa layer to make sure the block was thick enough.
Lastly I epoxied the stabiliser in place. It was necessary to use epoxy because of the fiberglass join. I had to sand the cutout for the stabiliser for a better fit, and now that it is glued in I'll need to triple check the incidences for accuracy.
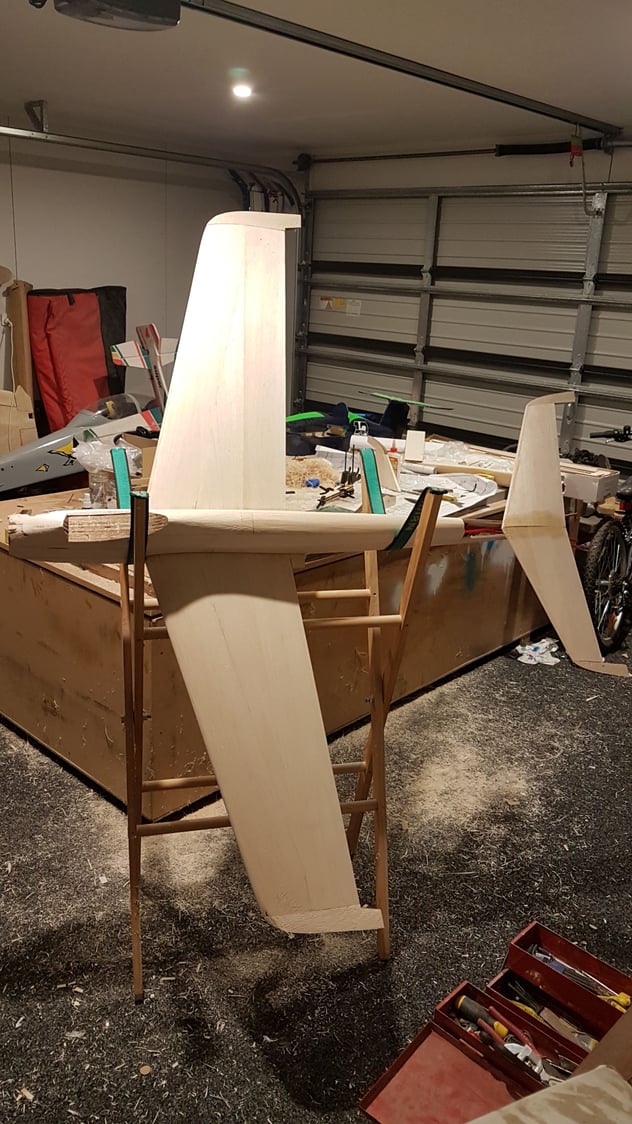
Does make a nice silhouette though!
Take care everyone, Graham
Last edited by grahamj4; 05-05-2021 at 01:44 AM.
05-08-2021, 07:33 PM
#31
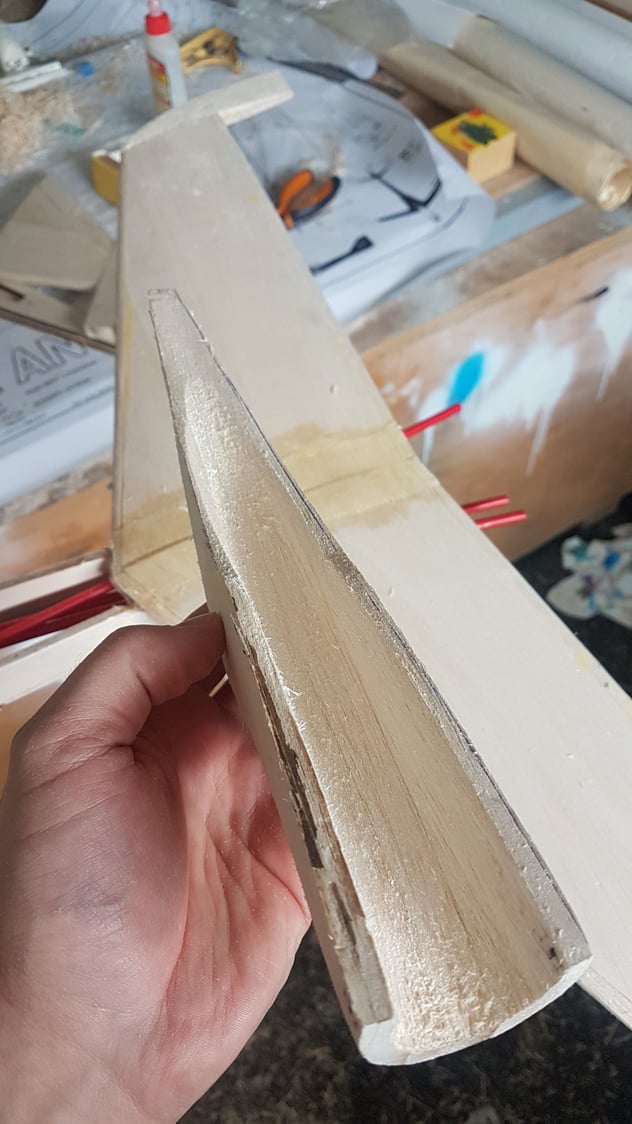
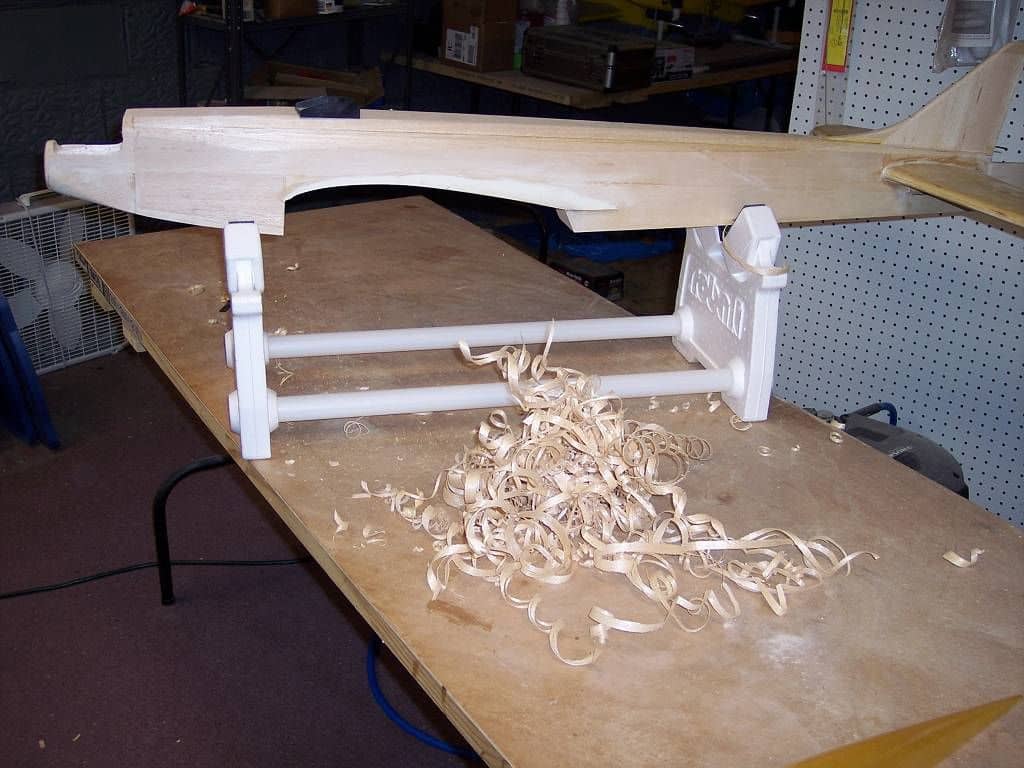
I rough carved the block from the rear fuselage/stabiliser/fin to shape. Its not exact it I'll finish it off once its glued on.
And because that wasnt enough carving,.i hollowed it out as well!
And because that wasnt enough carving,.i hollowed it out as well!
05-10-2021, 02:42 PM
#32
Time to glue on the fin, in an effort to make sure it is straight i set up the laser level from the centre of the tail post tracing a line to the centre line on the nose, or the mounting surface of the wooden engine bearers. Mark where fin leading edge is and start gluing.
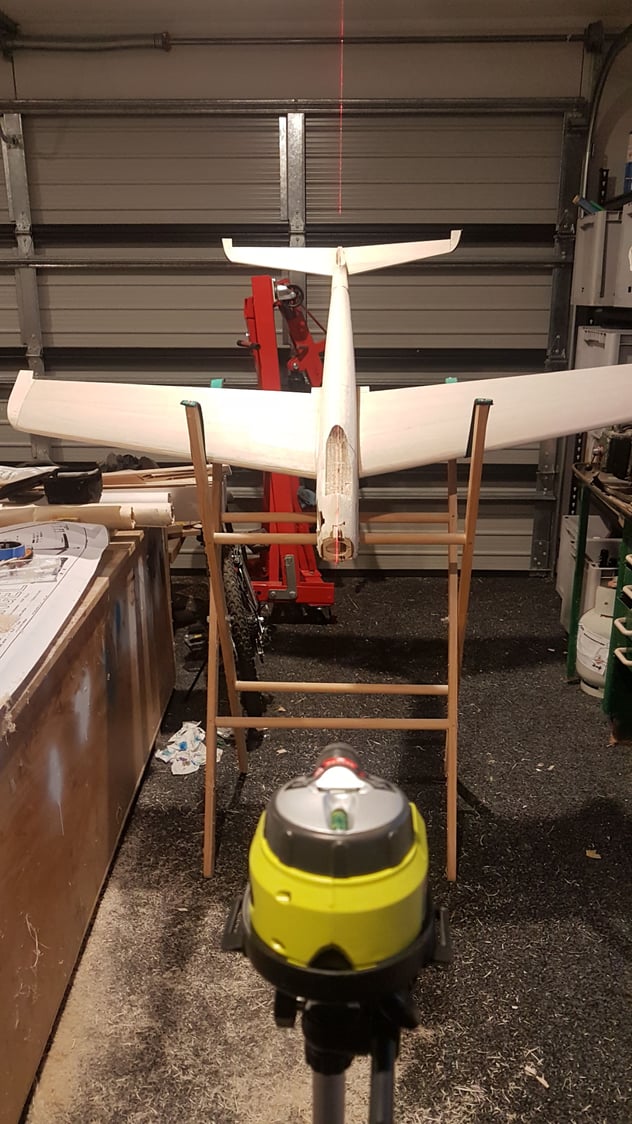
the laser also confirmed I did not carve the upper fuselage quite straight enough so will have to remedy that as well
the laser also confirmed I did not carve the upper fuselage quite straight enough so will have to remedy that as well
05-14-2021, 10:08 PM
#33
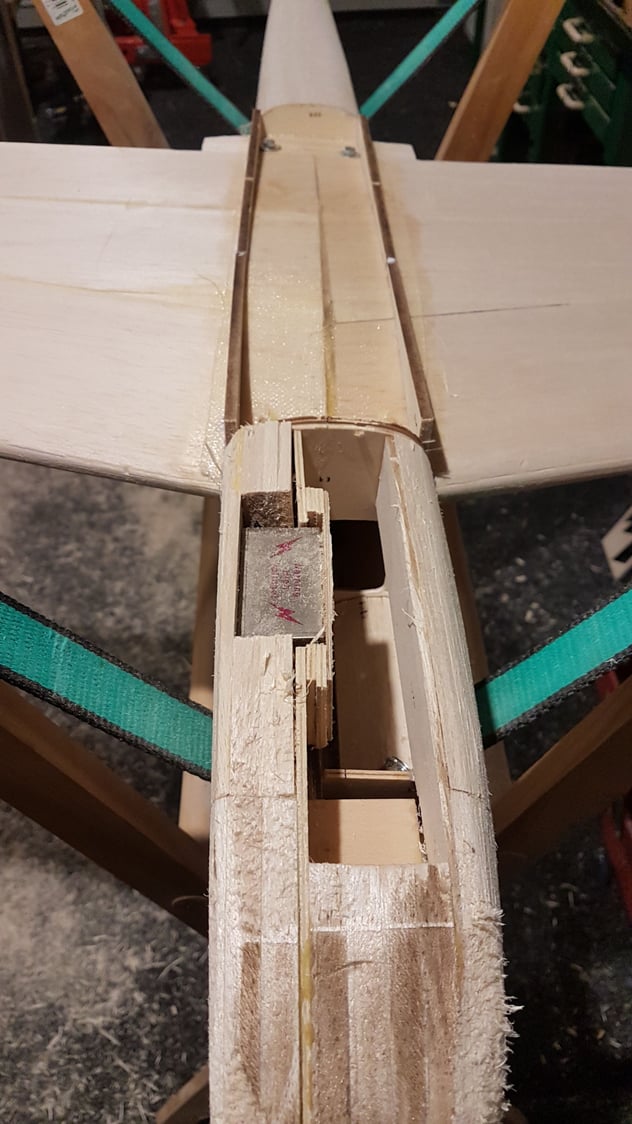
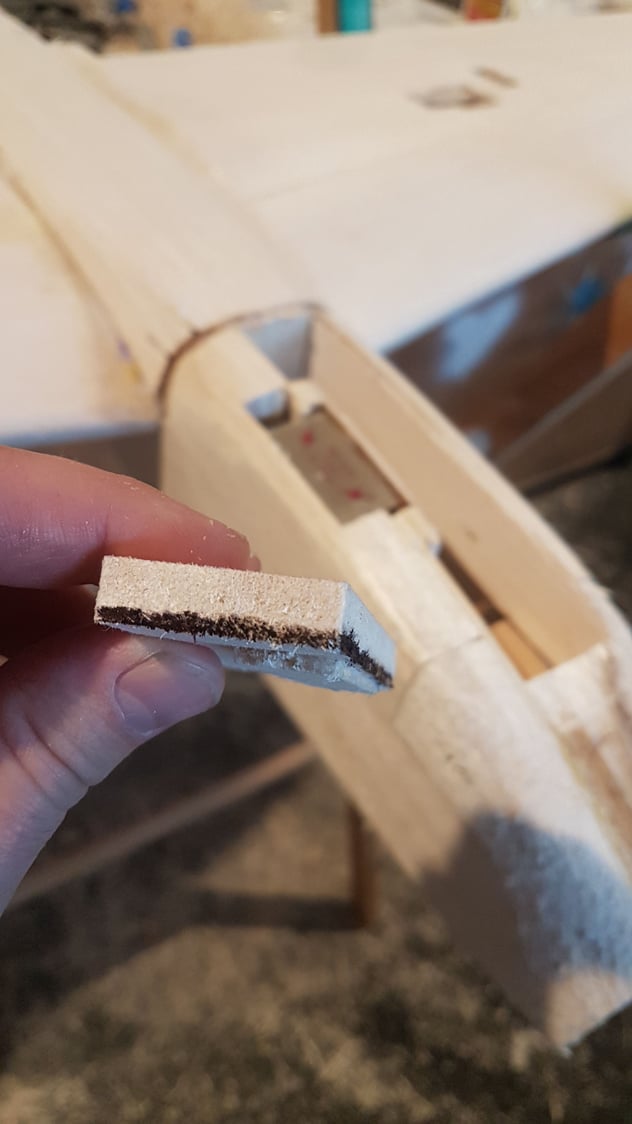
Whelp.... finally summoned up the courage to fully build in the ignition module. In an attempts to not carve a hole in the block, i traced a black line around the bottom edge. My idea being that when i see black when sanding it's time to stop!
05-14-2021, 10:42 PM
#34
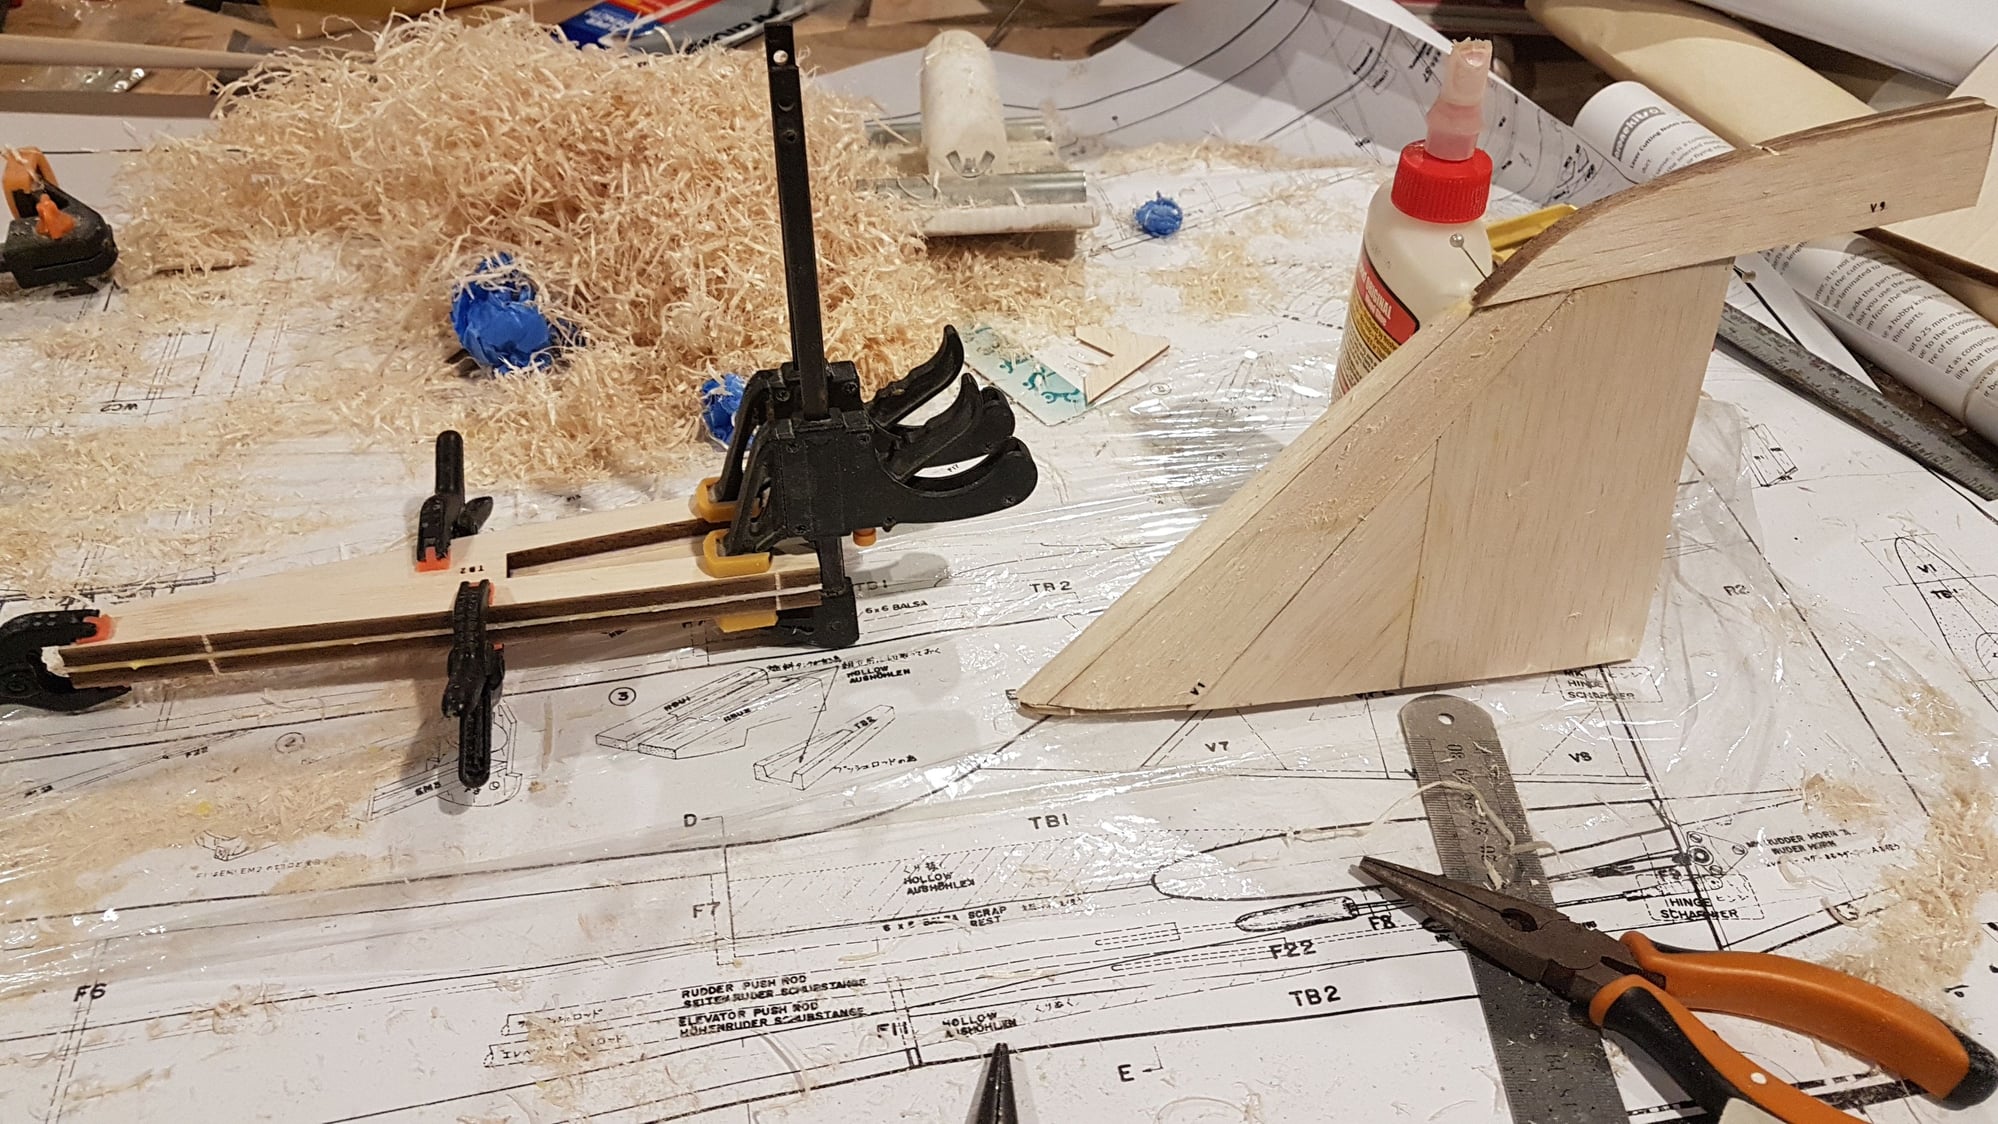
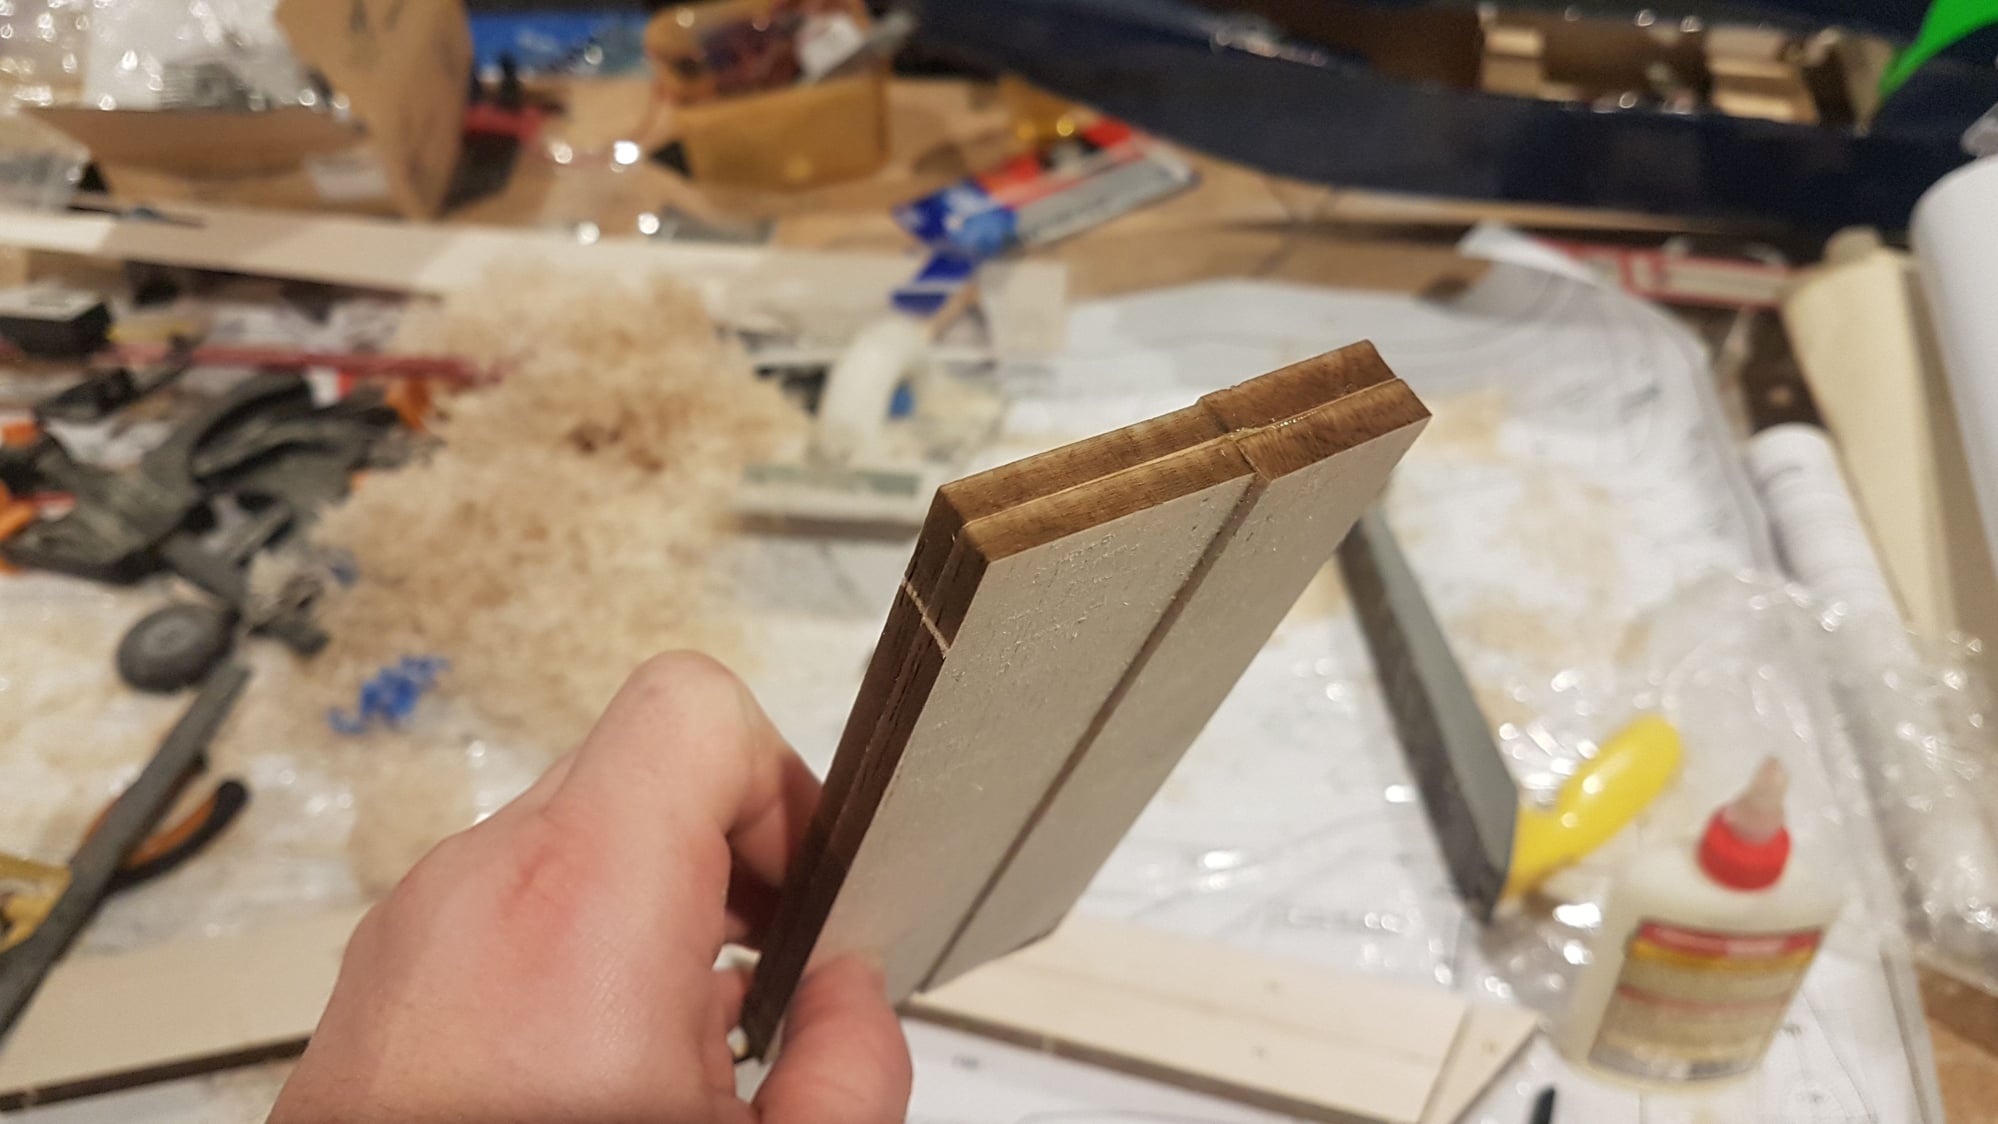
I've also been building up the control surfaces, first the rudder. In the kit R and R2 are different thickness prices of balsa. So i edge jointed them flat on the building board paying special attention to make sure i got a left amd right side! Laminated those together then added R3 to the bottom as per plan.
Then the elevators. There is E1 and E2 which edge joint together amd match the shape of an unnumbered part, so.laminate those. Then there is E3 (2 of) that laminate together and make the inside shape of the elevators, as per plan.
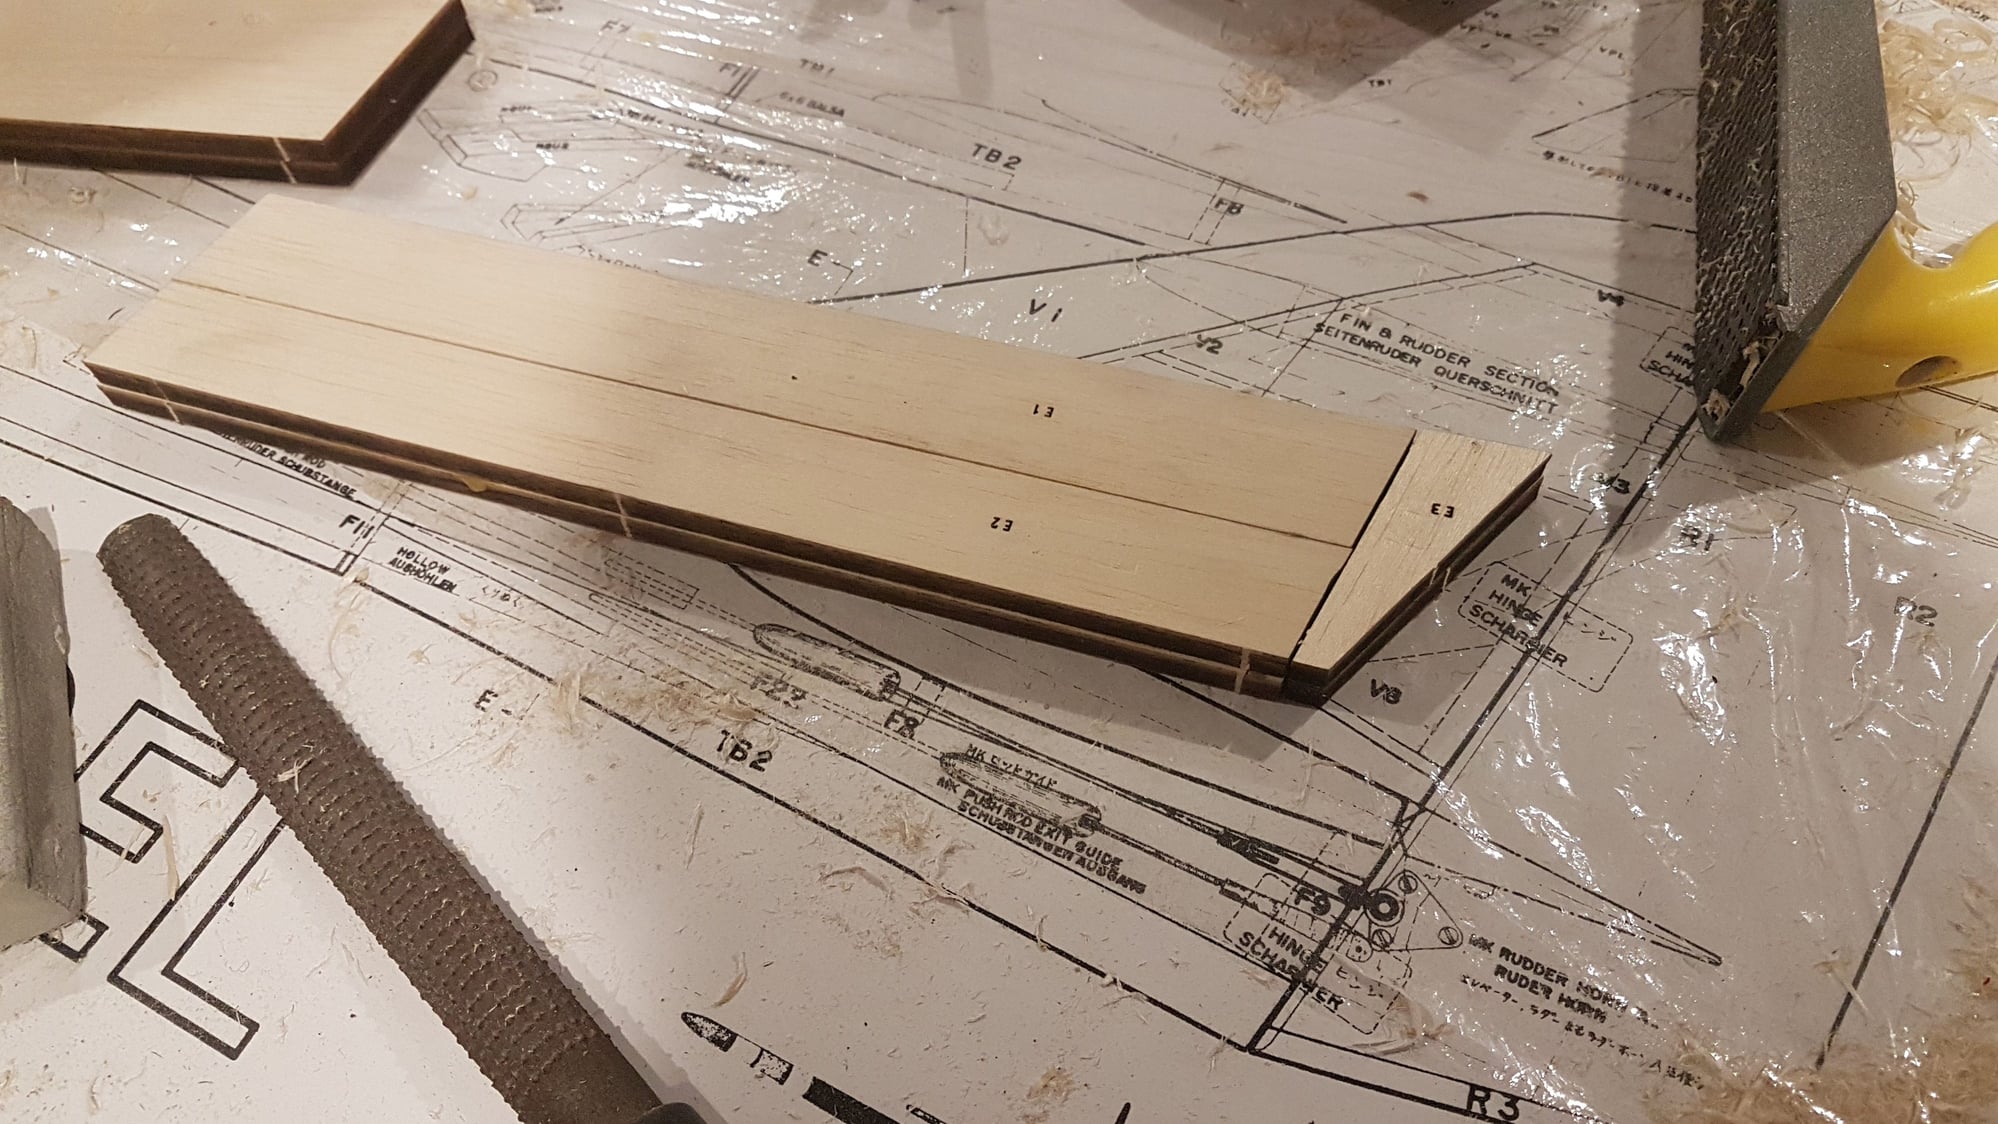
Then there are 2 aileron pieces to laminate together, pretty simple.
Lastly since i glued on the fin I've been working on making sure the shape is reasonably close amd i think it looks OK, but oh my there is alot of carving in this build hahaha!
looks like i have a hot date with some sandpaper now.

Take care all, Graham
Then the elevators. There is E1 and E2 which edge joint together amd match the shape of an unnumbered part, so.laminate those. Then there is E3 (2 of) that laminate together and make the inside shape of the elevators, as per plan.
Then there are 2 aileron pieces to laminate together, pretty simple.
Lastly since i glued on the fin I've been working on making sure the shape is reasonably close amd i think it looks OK, but oh my there is alot of carving in this build hahaha!
looks like i have a hot date with some sandpaper now.
Take care all, Graham


 05-15-2021, 12:52 PM
#36
I've been enjoying this build so much I'm looking at a Bridi UFO soon...
 05-16-2021, 09:56 PM
#40
For those that have built a BA already, does this seem within an acceptable range of where I should be?
05-20-2021, 04:15 PM
#42
I'm finally happy enough with the shape to start final surfacing and sanding. A method i have successfully used for a while now may make some you cry, but it works!!
I use a light weight surface filler from the l9cal hardware store, and apply liberally to any area with a joint or that has been carved somehow. Which on a Blue Angel fuse is basically everywhere hahahaha!
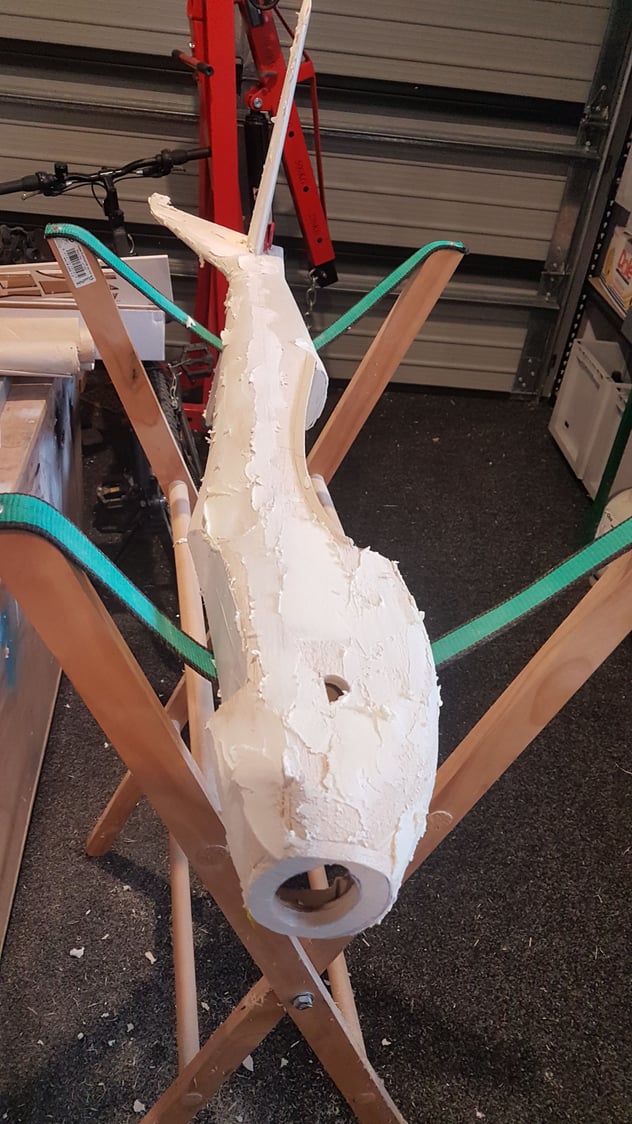
Then get work with some 80 grit paper. This filler as well as being light, sands really well so 25 minutes later here it is. It needs a few small touch ups on the nose, wing fillets and underneath but mostly i can now go to some 400 grit.
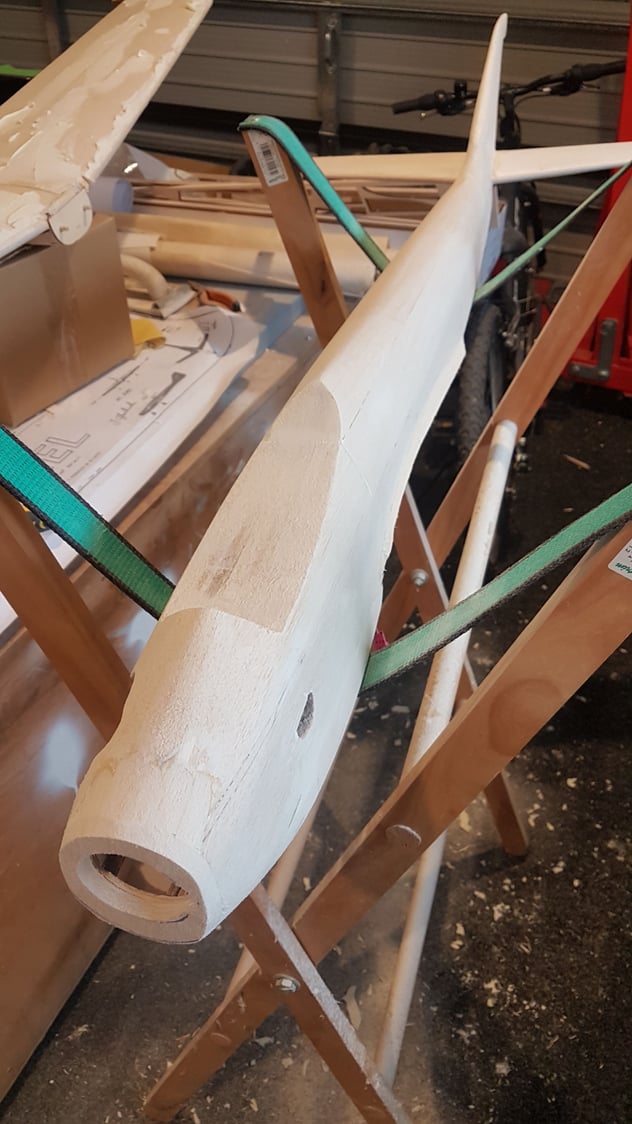
Now to repeat the process on the wing.
I use a light weight surface filler from the l9cal hardware store, and apply liberally to any area with a joint or that has been carved somehow. Which on a Blue Angel fuse is basically everywhere hahahaha!
Then get work with some 80 grit paper. This filler as well as being light, sands really well so 25 minutes later here it is. It needs a few small touch ups on the nose, wing fillets and underneath but mostly i can now go to some 400 grit.
Now to repeat the process on the wing.
 05-21-2021, 04:43 PM
#45
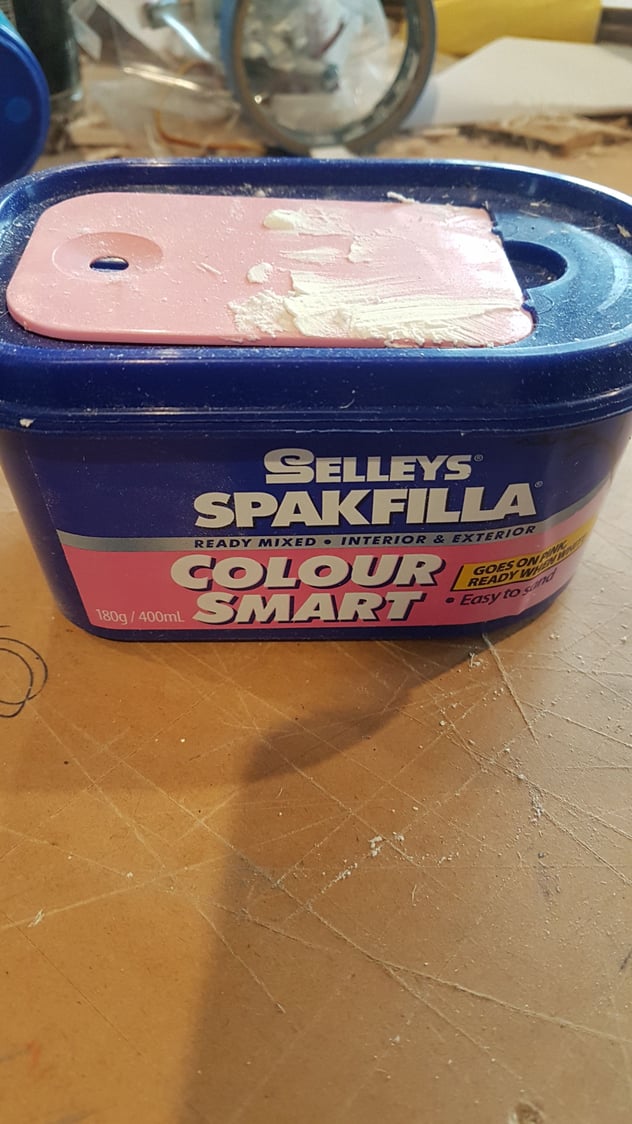
This is the one I use. 400mL and 180g. Its only good underneath covering or fibreglass as it dries quite brittle, but for this job its ideal.
FYI, since last weigh in I've glued on some extra balsa here and there, the wing fillets and done the surface filling and sanding over the whole airframe. This added a whopping........23g!! I think I can live with that.
regards Graham
 05-25-2021, 12:58 AM
#48
05-29-2021, 11:53 PM
#49
One more job ticked off before i can start covering. The wheel wells in the wing. I drew an outline where i thought they should be then cut undersize and sanded to shape.
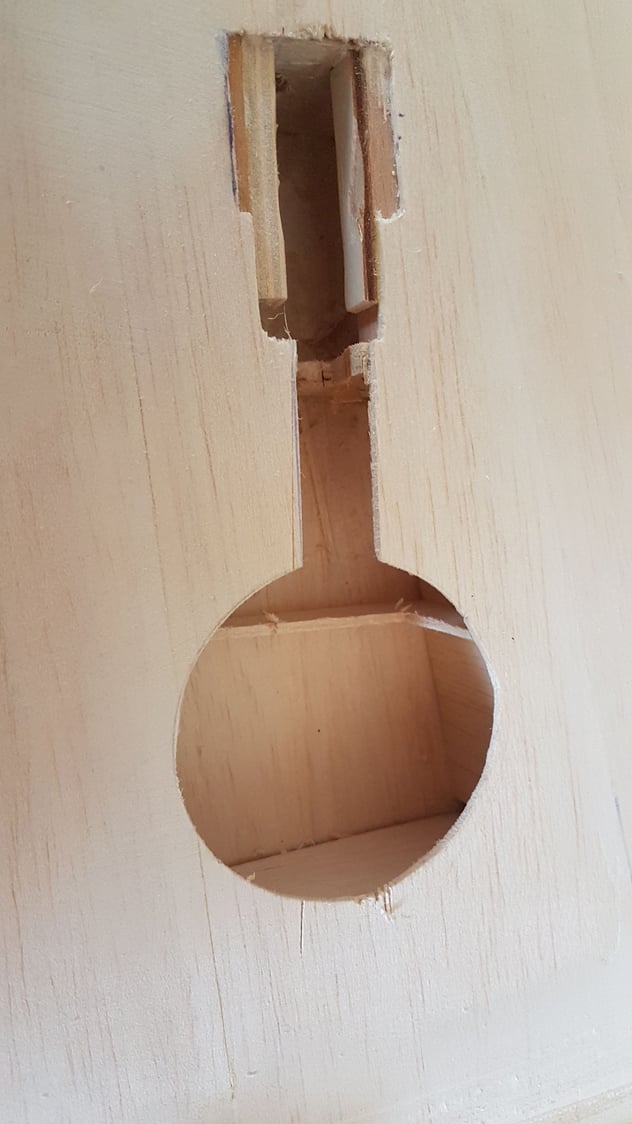
I've seen others use 1/64 ply, which is fine on a foam wing but with an open wood structure i beefed up to 1mm balsa! It is simply shaped to fit against the top surfave, and cut slightly over height amd CA'd into place.
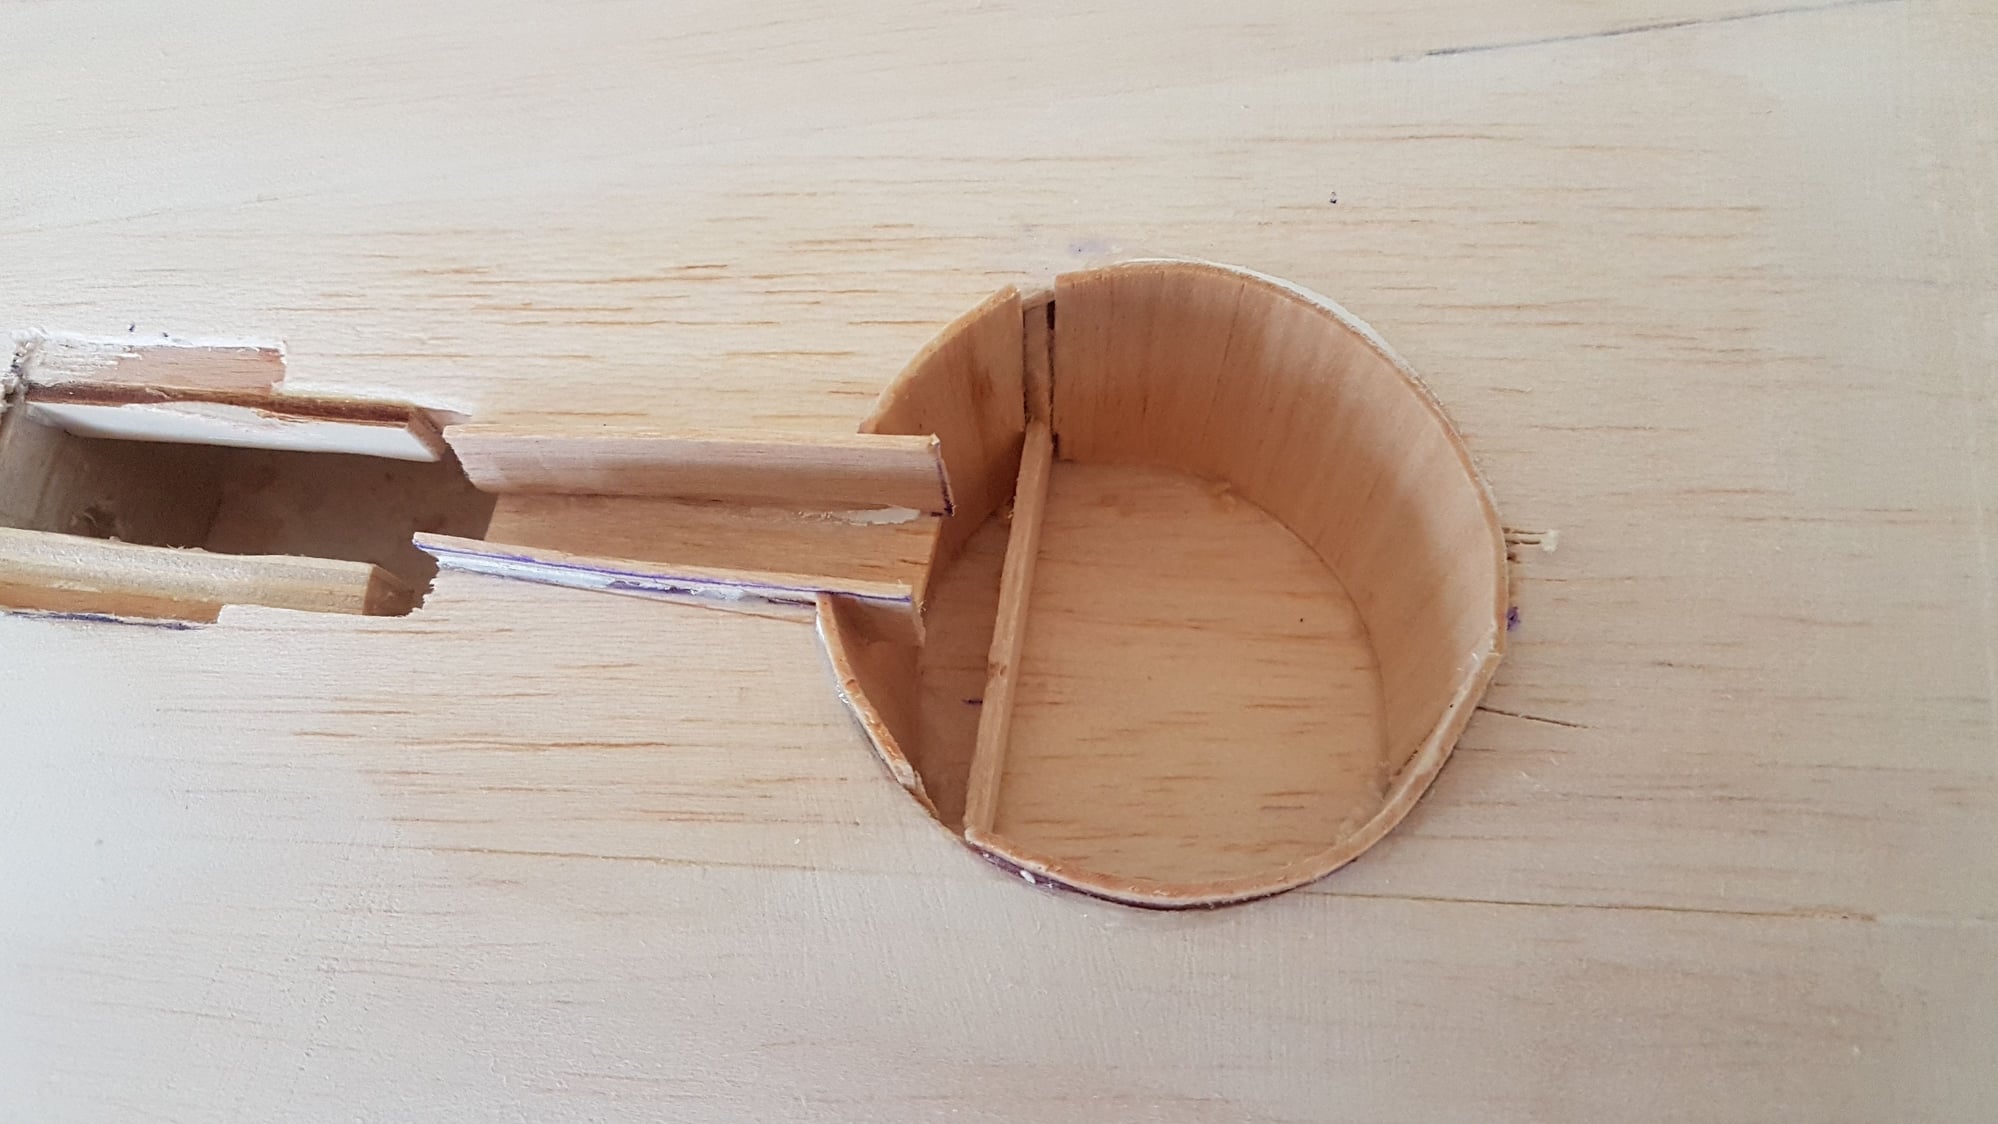
Lastly, sand everything back flush with the wing botton surface amd make sure the retract still fits. Once the whole airframe has had a final sand ill seal the balsa and paint it white.

I've seen others use 1/64 ply, which is fine on a foam wing but with an open wood structure i beefed up to 1mm balsa! It is simply shaped to fit against the top surfave, and cut slightly over height amd CA'd into place.
Lastly, sand everything back flush with the wing botton surface amd make sure the retract still fits. Once the whole airframe has had a final sand ill seal the balsa and paint it white.
Last edited by grahamj4; 05-30-2021 at 12:04 AM.
The following users liked this post:
ini (06-01-2021)
06-11-2021, 08:12 PM
#50
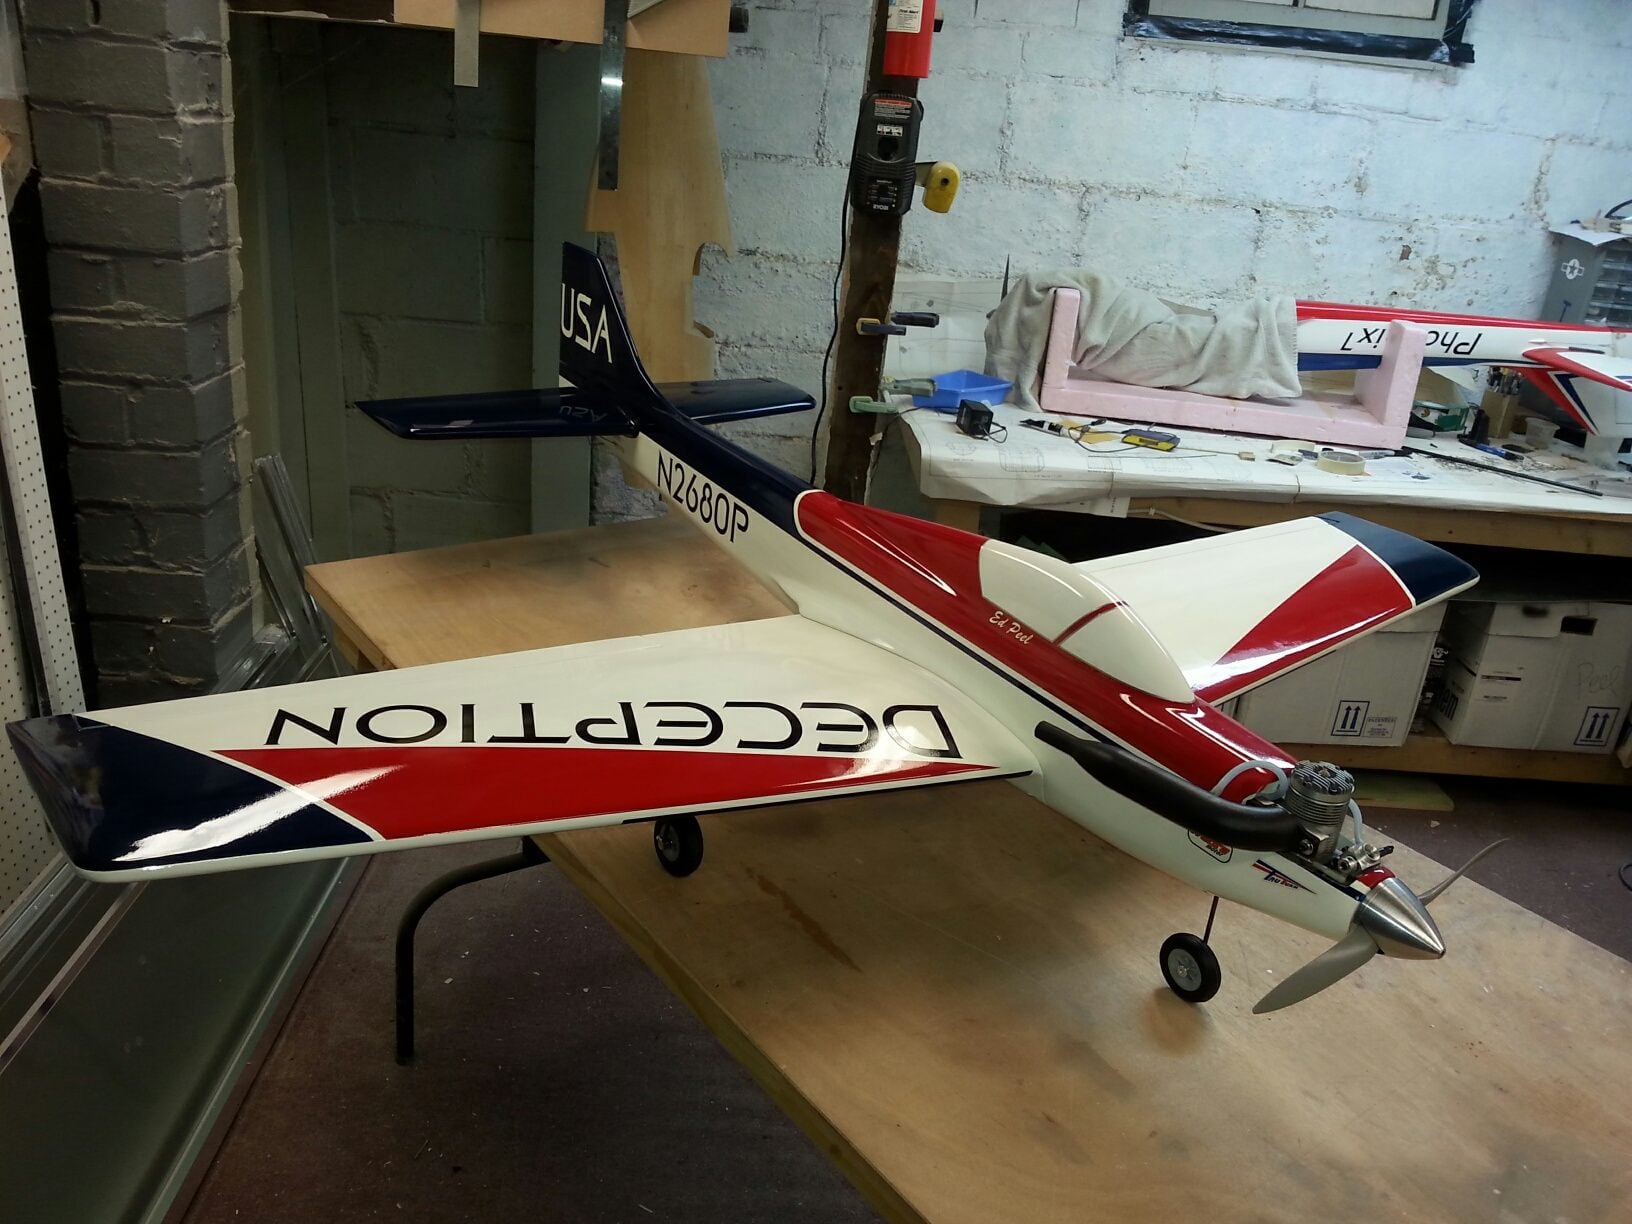
I've been sidetracked from the BA this week since i picked up a receiver ready 70" P-51 at a great price, which if course also needs a thorough check over before it even gets fuel! Conveniently I was also waiting on covering but that has now arrived.
Another job to be ticked off is the exhaust. I looked at usual comfort mounts etc but everything would have to be ordered from overseas so i figured I would gamble on making one. A basic hose clamp, countersunk screw, some washers and rubber amd here we go! I've got some pipe here so will start on a header shortly.
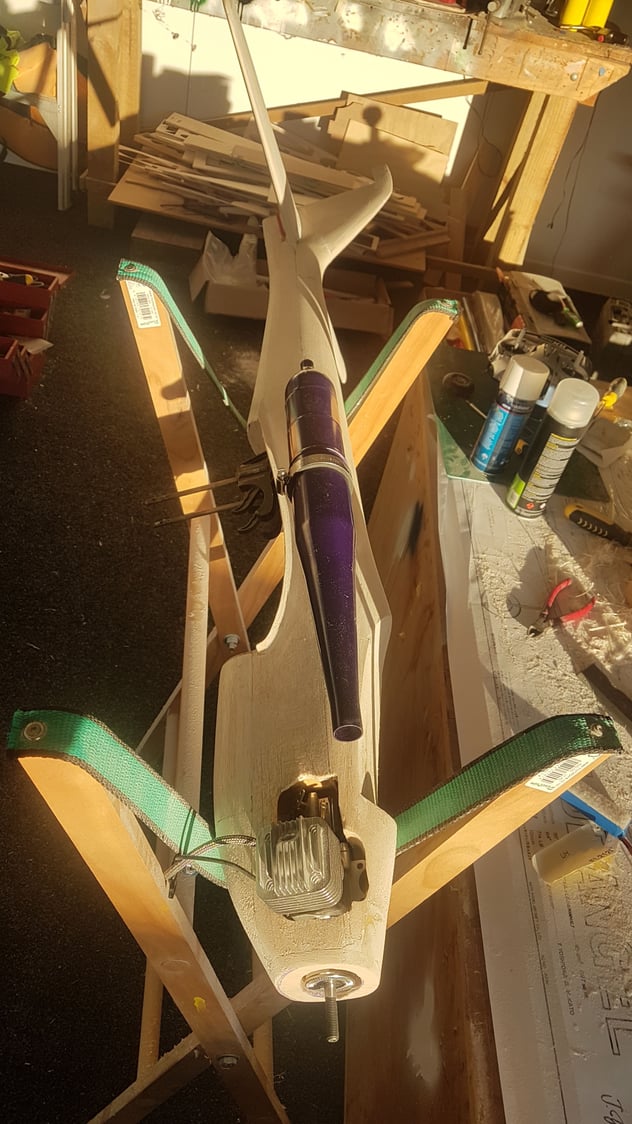
And yes, I'll remove that ugly paint!!
Another job to be ticked off is the exhaust. I looked at usual comfort mounts etc but everything would have to be ordered from overseas so i figured I would gamble on making one. A basic hose clamp, countersunk screw, some washers and rubber amd here we go! I've got some pipe here so will start on a header shortly.
And yes, I'll remove that ugly paint!!