


Scale finishing my BVM Hun

 05-21-2020, 08:28 PM
#156

My Feedback: (13)
The last couple days have been a lot of monotonous crap. Sand fill sand fill flaps/rudder etc. I was also unhappy with one of the two canopy retention pins so I tore it out and started over on that side. Additionally the nose gear door was wrong so I did some major surgery to set that right. This kit would go faster if I got stuff right the first time.
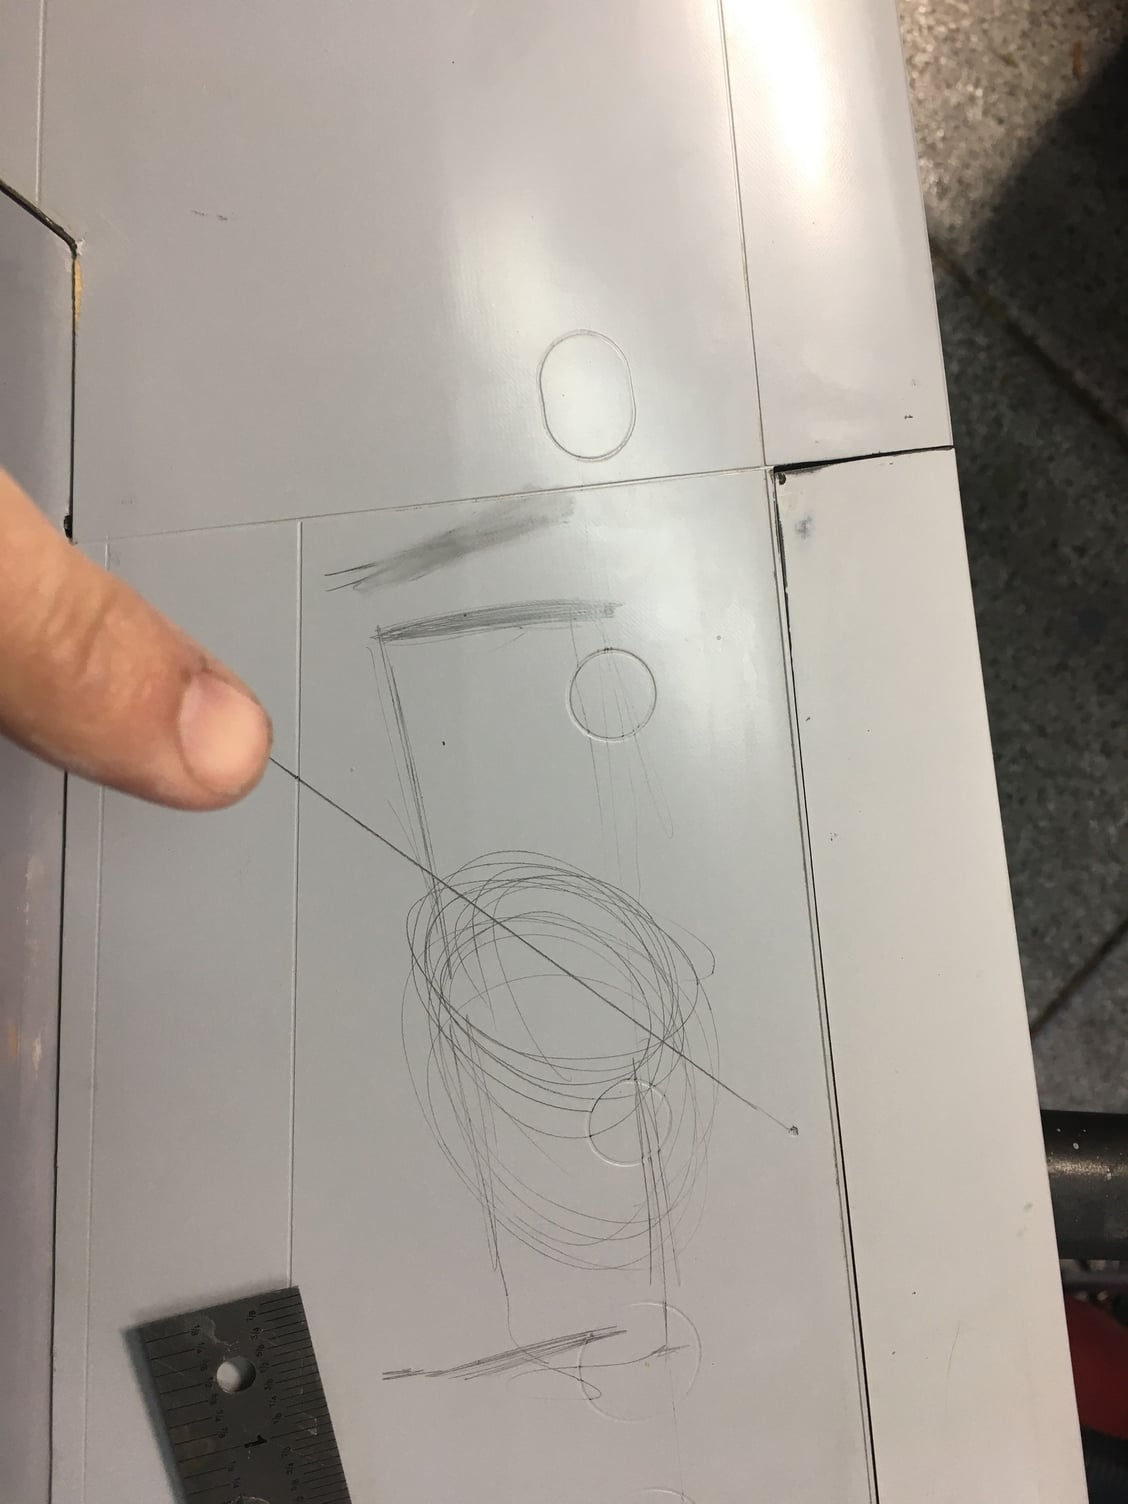
Rough measurements for the paint masks
Zoom in on the nose art
Rough measurements for the paint masks
Zoom in on the nose art
05-21-2020, 08:39 PM
#157
My Feedback: (13)
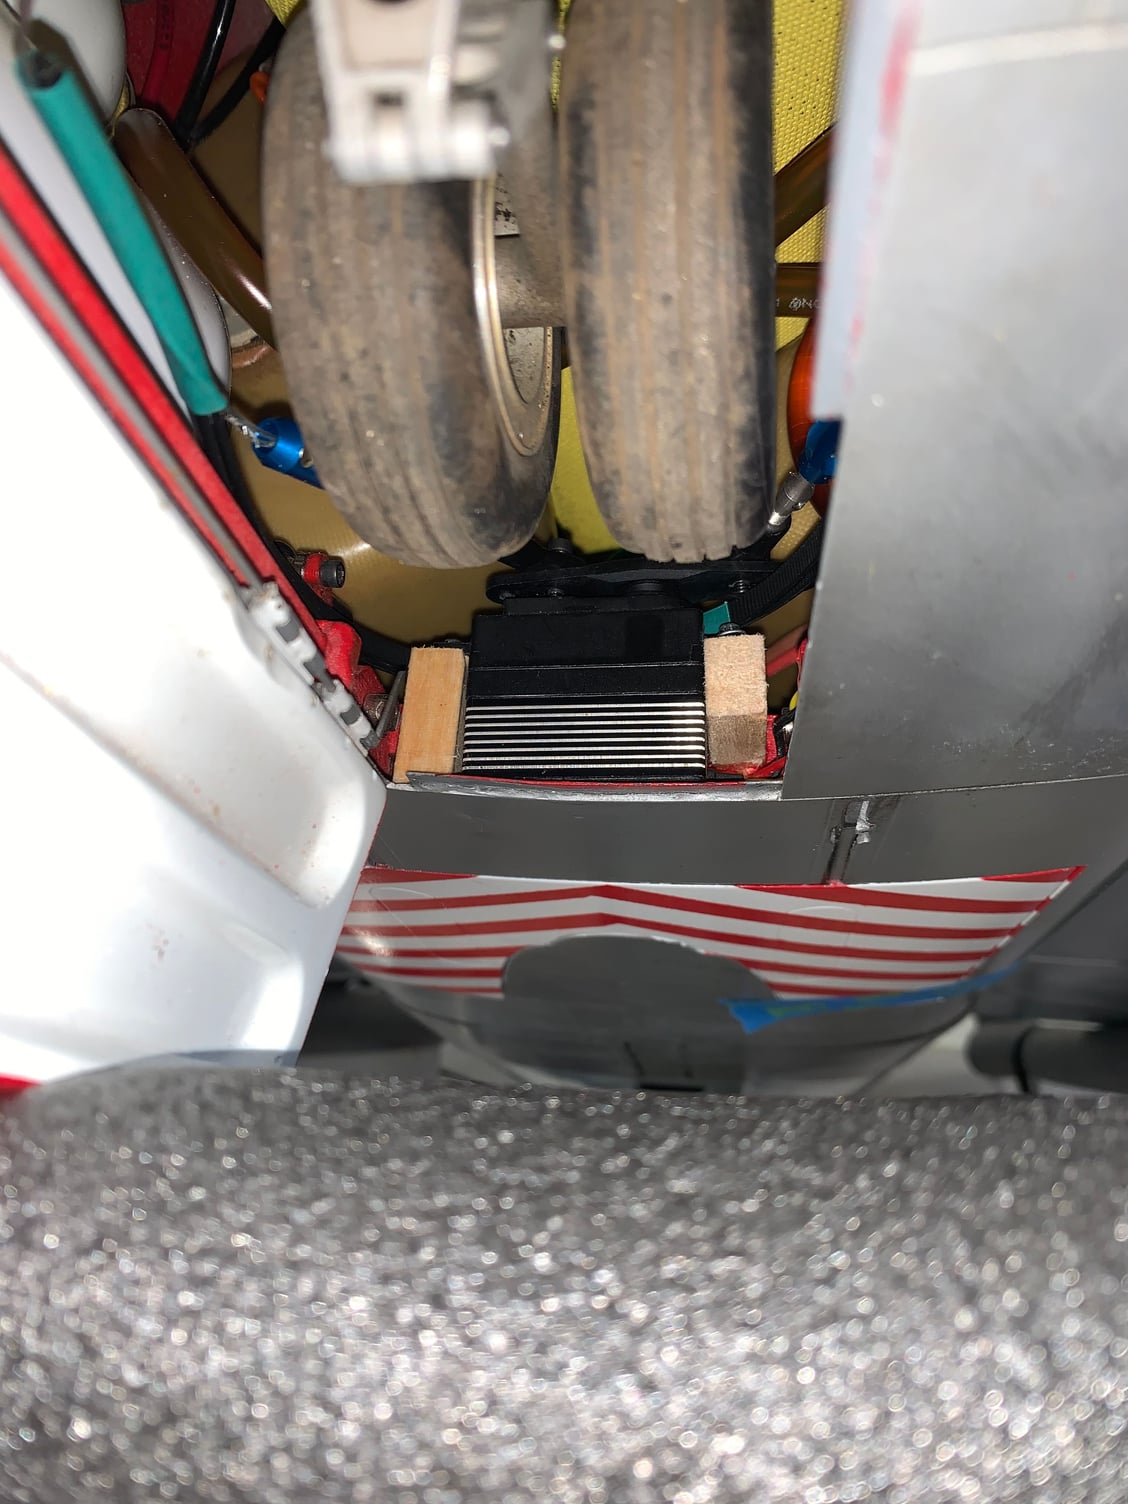
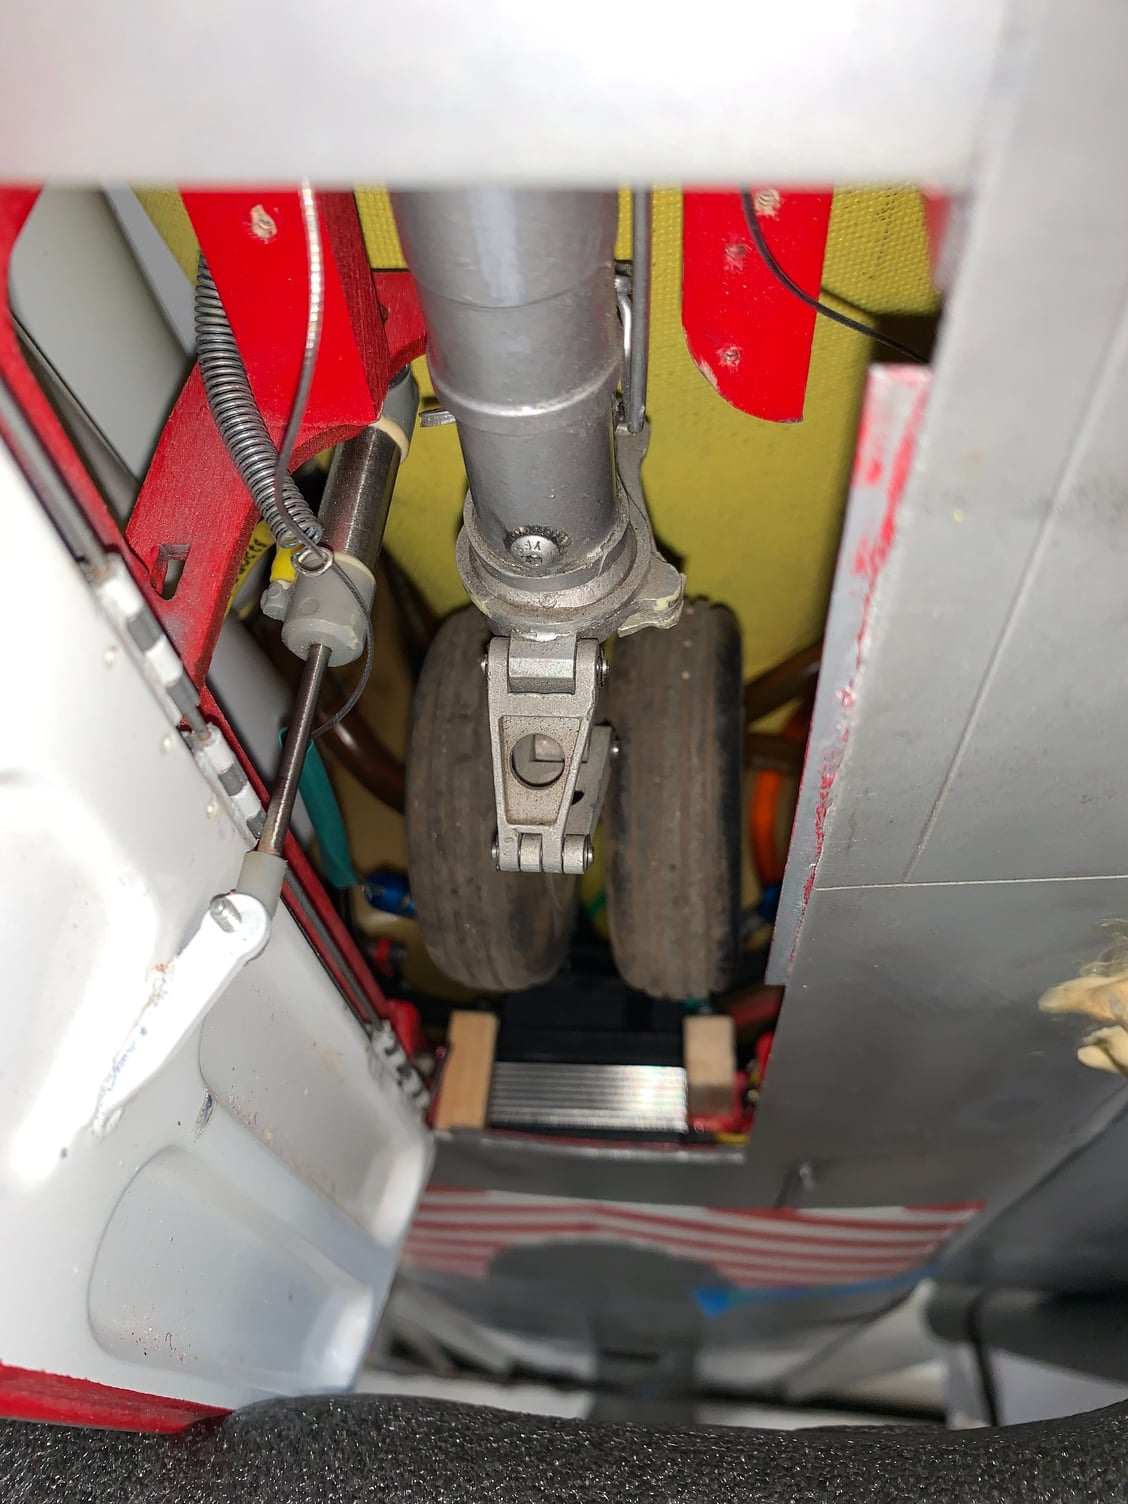
I also changed the 9411HV servos on nose wheel steering and rudder to MKS 747s so that it puts all the flight control servos to MKS and makes it easier to replace with a “standard size” servo in case something needs to be changed later. It also makes for four 747s in the plane for interchangeability
Here’s the NWS servo now
Here’s the NWS servo now
Last edited by ozief16; 05-21-2020 at 08:43 PM.
05-22-2020, 08:40 PM
#158
My Feedback: (13)
Today was spent on wing fences, marking support etc.
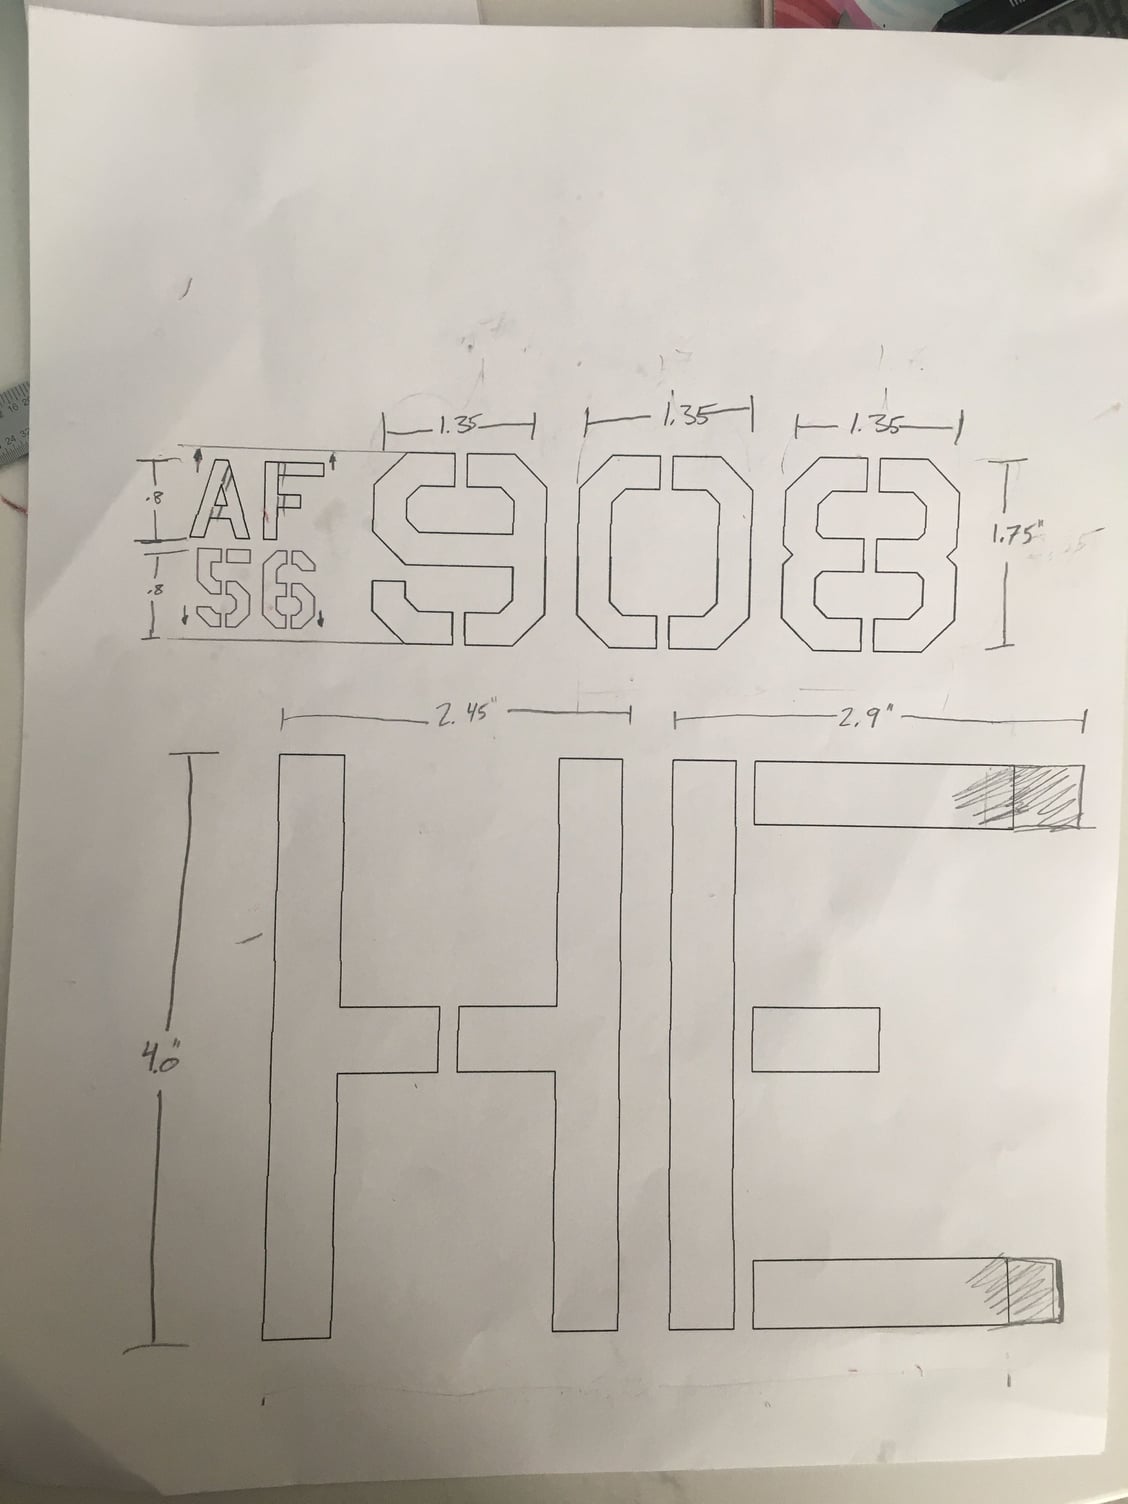
my buddy Dave is going to do paint masks for me so I’m working on sizing the markings. He’s amazingly talented and is working overtime on this. I gave him some rough dimensions and so I cut out paper in the dimensions I gave him
still no luck on the nose gear steering installation or light installations. I’ve emailsed and called Dan but no response yet. If anyone has them I’d love a copy.
thanks
Dave

Tail marking dimensions
Nose marking dimensions
Stars and bars
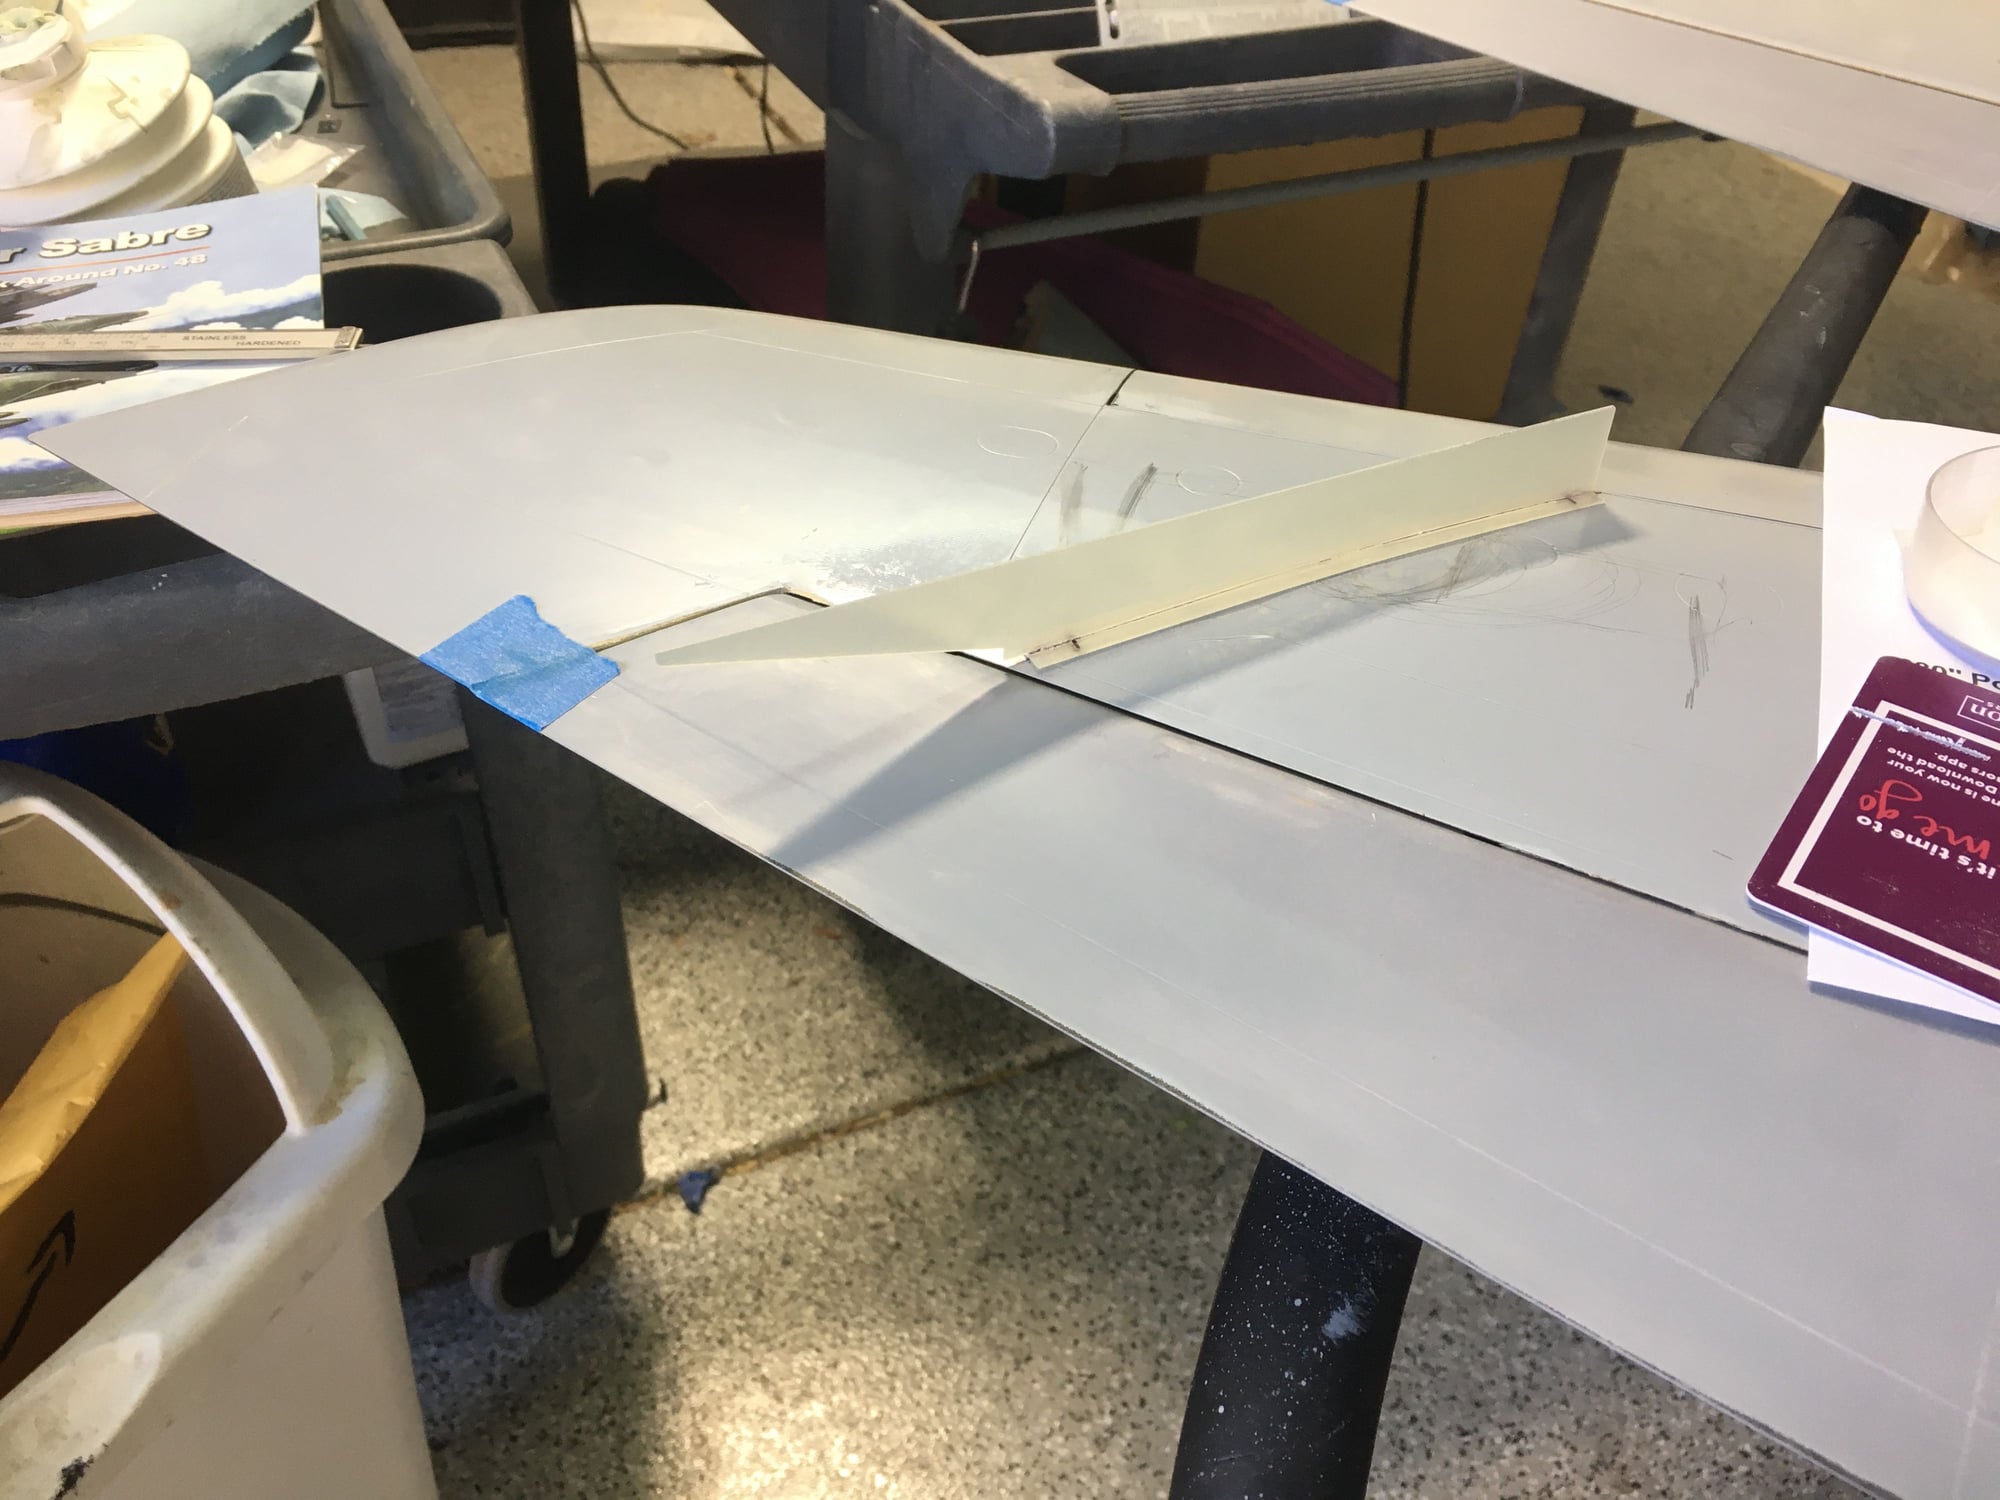
Wing fences
my buddy Dave is going to do paint masks for me so I’m working on sizing the markings. He’s amazingly talented and is working overtime on this. I gave him some rough dimensions and so I cut out paper in the dimensions I gave him
still no luck on the nose gear steering installation or light installations. I’ve emailsed and called Dan but no response yet. If anyone has them I’d love a copy.
thanks
Dave
Tail marking dimensions
Nose marking dimensions
Stars and bars
Wing fences
Last edited by ozief16; 05-22-2020 at 08:43 PM.
05-23-2020, 01:26 PM
#159

I haven't been watching this thread, but didn't know Ozie is running it in the second half... Nice work!  Didn't realize so much filler work on the fuselage...
  I'll get to mine eventually, and when I do, I'll be studying this thread with a magnifying glass! Until then - Quarantine in your Shop!
Oh, and by the way - stop scribbling on your wing!
Didn't realize so much filler work on the fuselage... I'll get to mine eventually, and when I do, I'll be studying this thread with a magnifying glass! Until then - Quarantine in your Shop!Oh, and by the way - stop scribbling on your wing!
Last edited by Ron S; 05-23-2020 at 01:27 PM. Reason: smart alecky comment
05-23-2020, 02:40 PM
#160
My Feedback: (13)
I’m not a smart man Ron and I’m a visual learner. That was me figuring out stars and bars sizing
Do you have a D or F?
Roger was kind enough to let me add to his thread. Figured it made sense to put all the data together and since I learned so much from his (I never would have cut the vents out under the cockpit but when you see a FS those are VERY prominent etc etc) it seemed to make sense
Do you have a D or F?
Roger was kind enough to let me add to his thread. Figured it made sense to put all the data together and since I learned so much from his (I never would have cut the vents out under the cockpit but when you see a FS those are VERY prominent etc etc) it seemed to make sense
Last edited by ozief16; 05-23-2020 at 02:43 PM.

 05-25-2020, 06:35 PM
#162

Thread Starter

Roger was kind enough to let me add to his thread. Figured it made sense to put all the data together and since I learned so much from his (I never would have cut the vents out under the cockpit but when you see a FS those are VERY prominent etc etc) it seemed to make sense
This thread for instance is really very narrowly focused, and has all the info in one place. If I had posted this on face book, it would just get lost in the general mishmash of news feeds and you would have no chance of finding it all.
05-25-2020, 06:43 PM
#163
Thread Starter
05-26-2020, 08:59 AM
#164
My Feedback: (13)
Roger,
I agree. Consolidation is great for folks interested in doing this model.
the last few days have been spent tearing out things that were there and redoing them “better”. I tore out the canopy hold down mechanism (opening canopy is standard in the two seater) to make one side more smooth. I also tore out the hinges on the little nose gear door and put in a piano hinge. I’m debating the big nose gear door for a piano hinge but have already started on the inner main doors.
when I was building my full scale years ago I was obsessing over some small part and someone stopped by and said “you’re building a plane, not a monument” so I’m trying to remember that right now! Craig Gottschang emailed me and said he was laughing that I put more effort into the drop tanks than a normal kit. He then went on to say building the ordnance for his Mibo A-10 took him forever so I didn’t feel as bad!
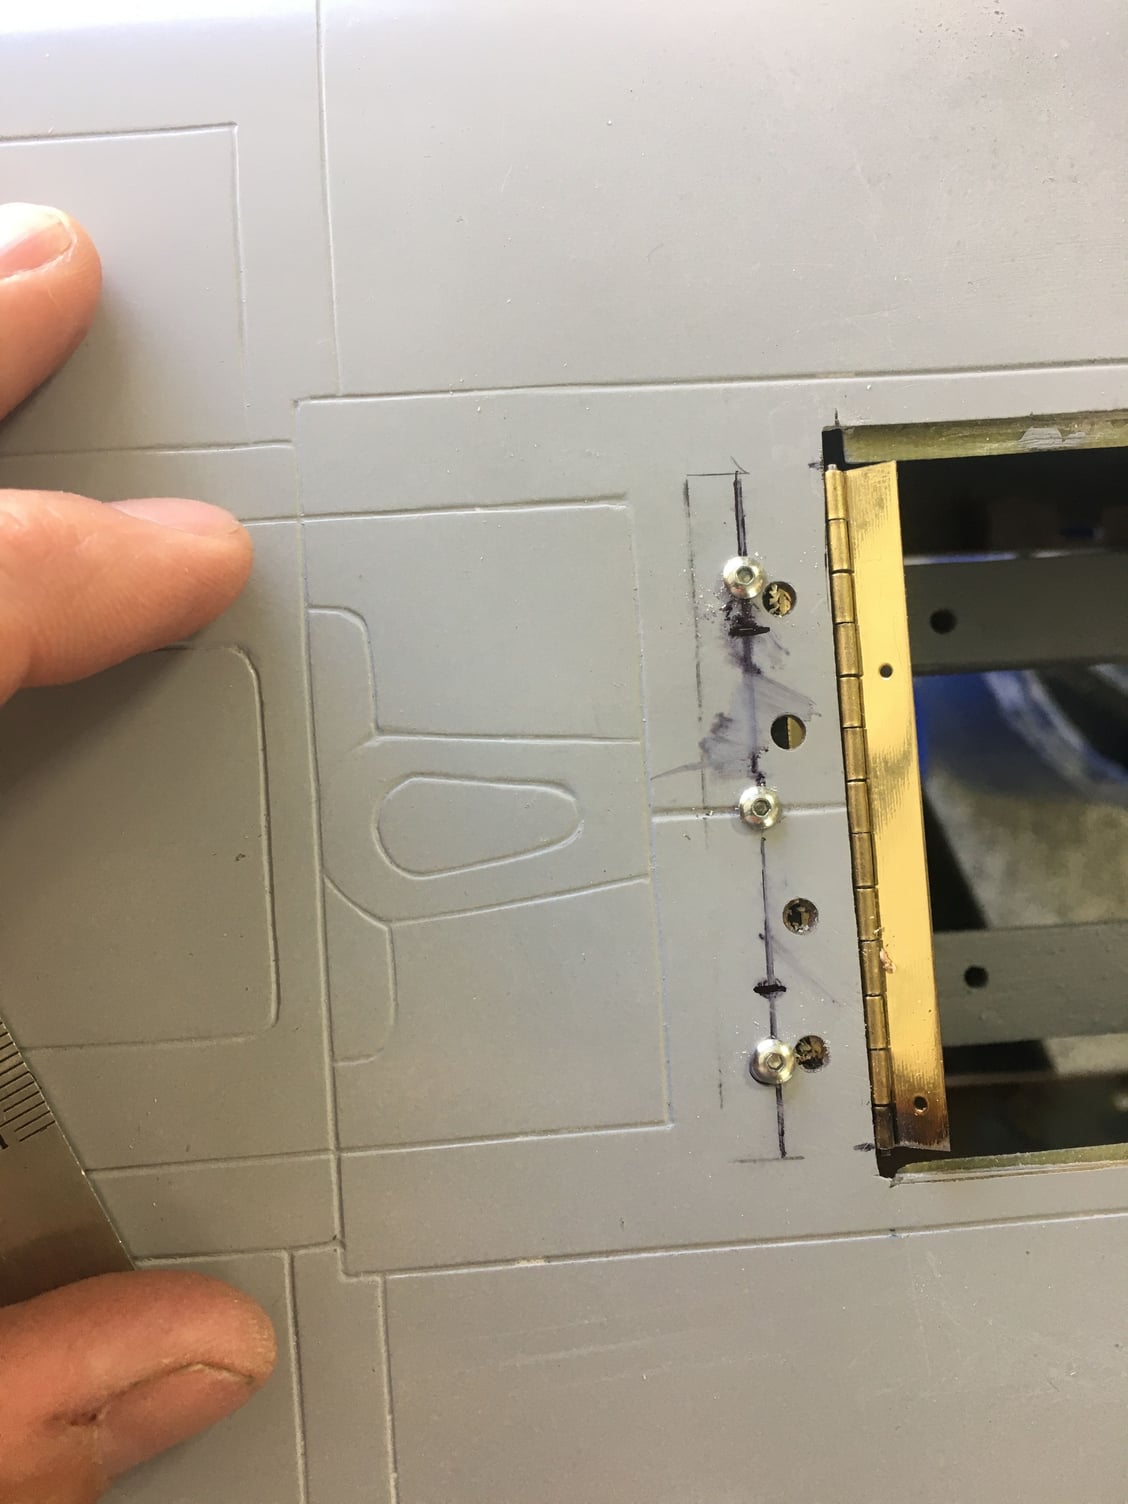
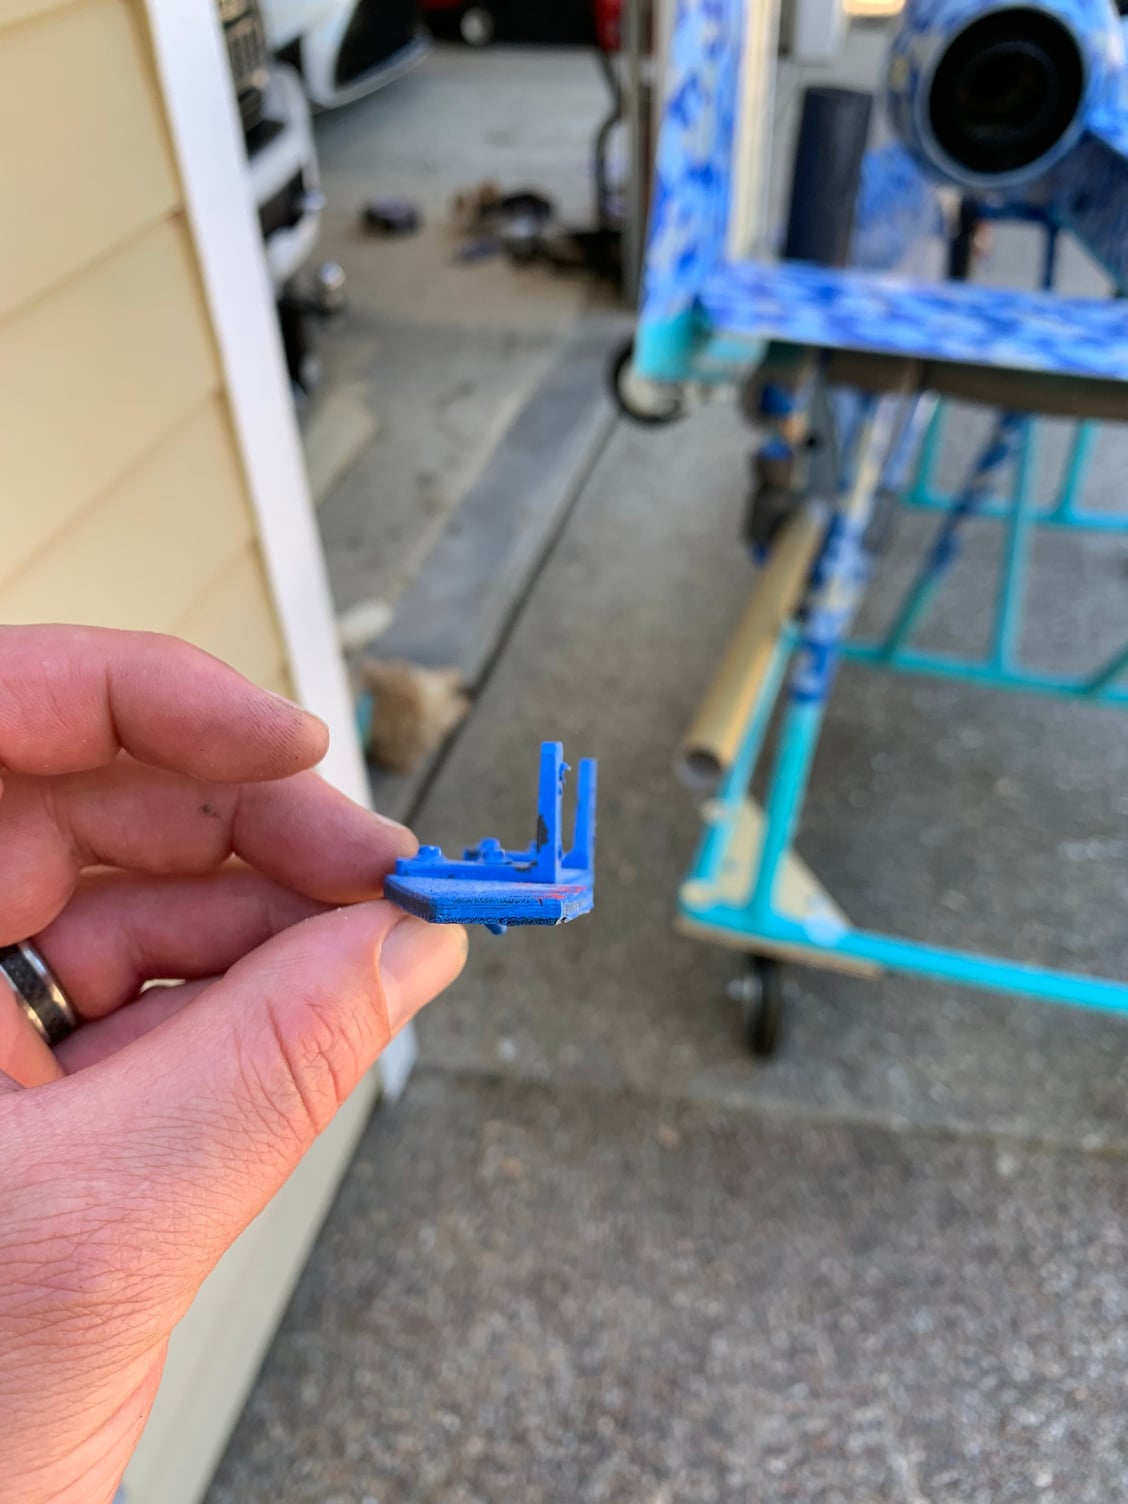
Here is the piano hinge. The button head screws will stay in order to make the hinge/door removeable
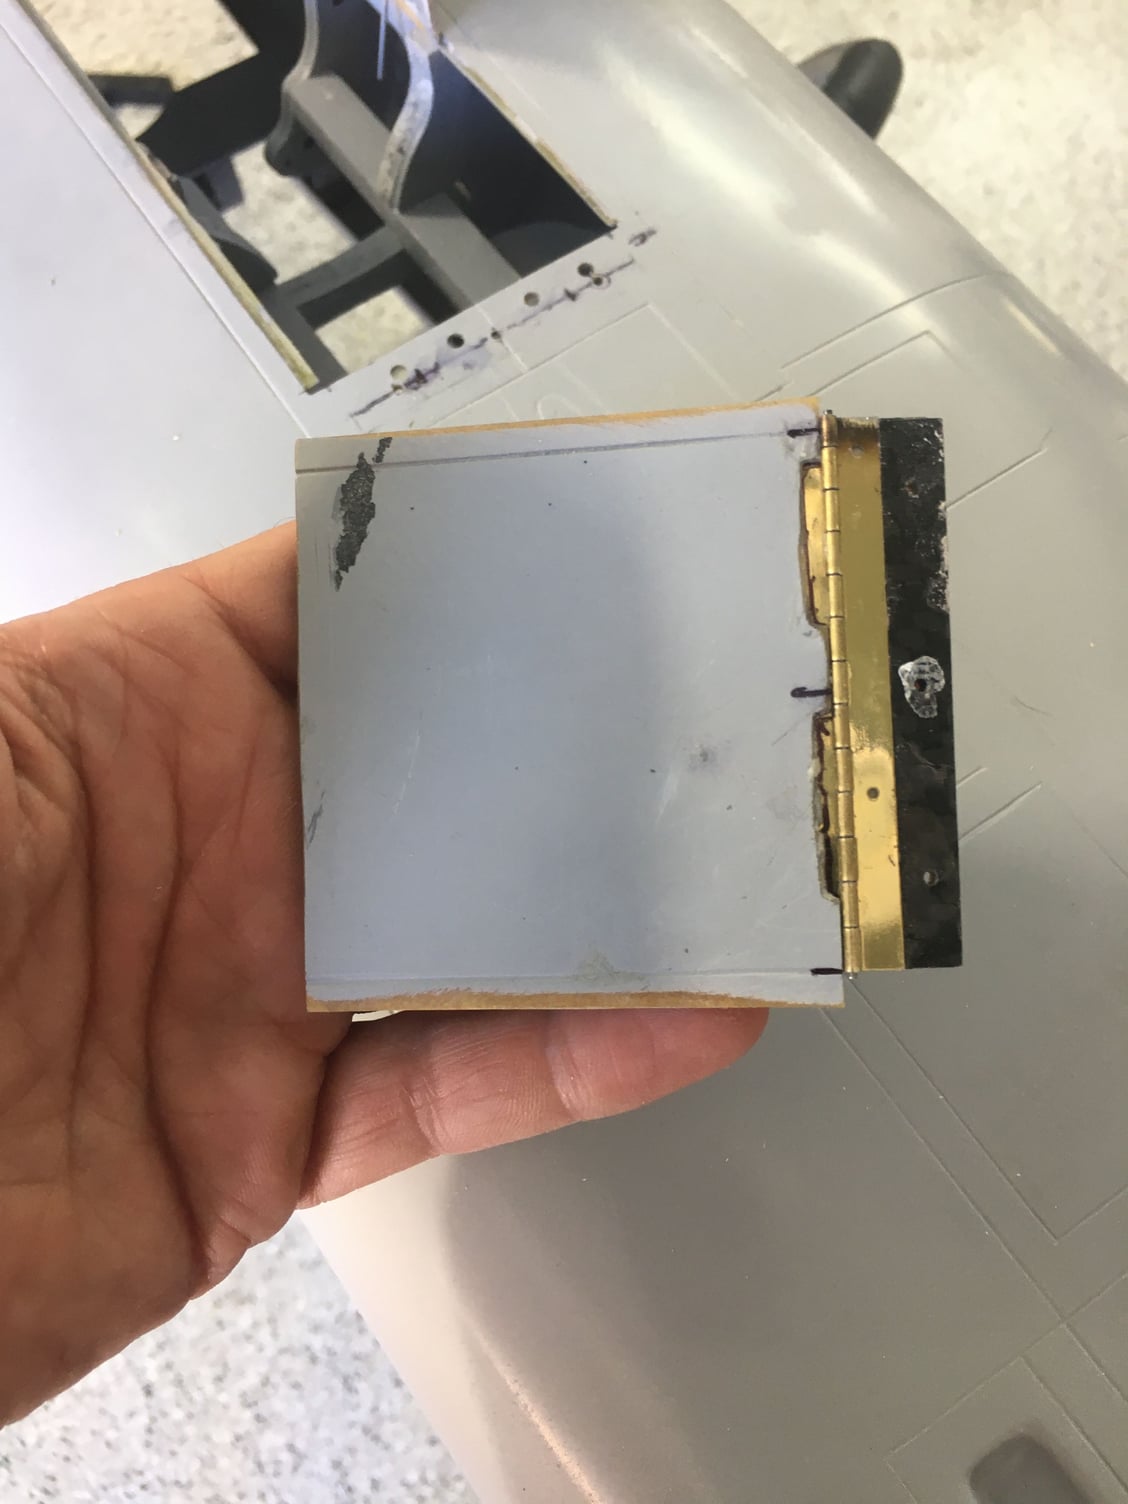
Door with hinge outside the plane
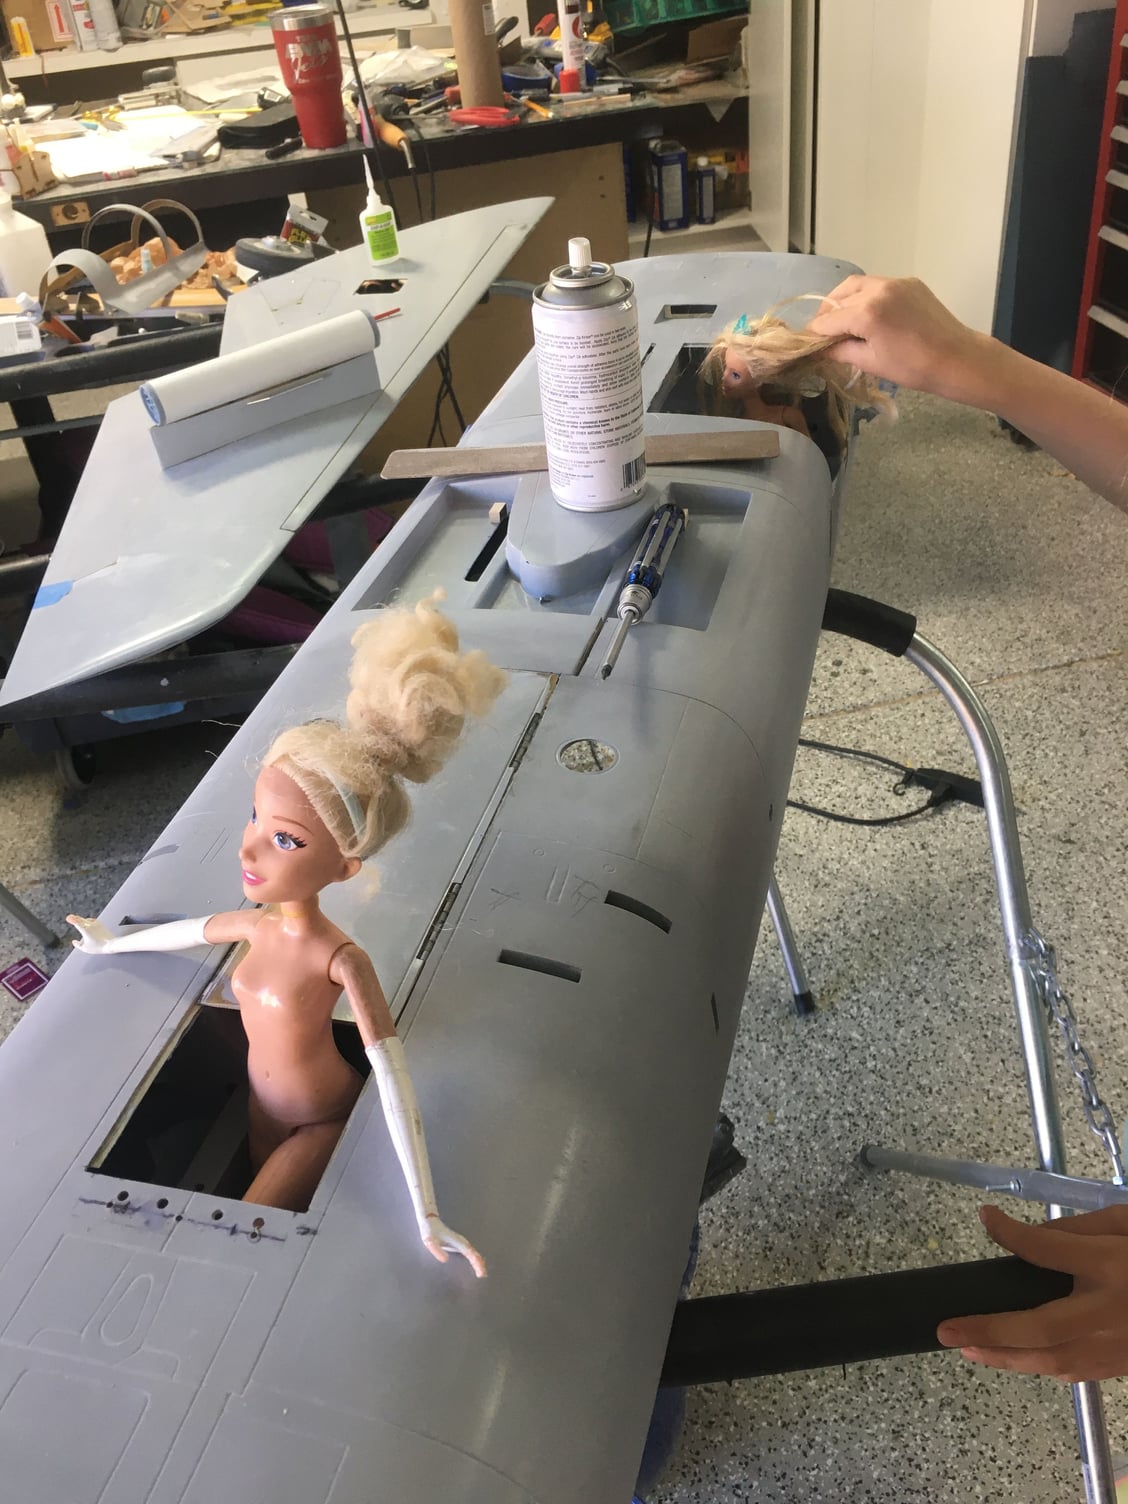
Proof that chicks dig fighter pilots (even (especially?) plastic ones).
My daughter was out “helping”
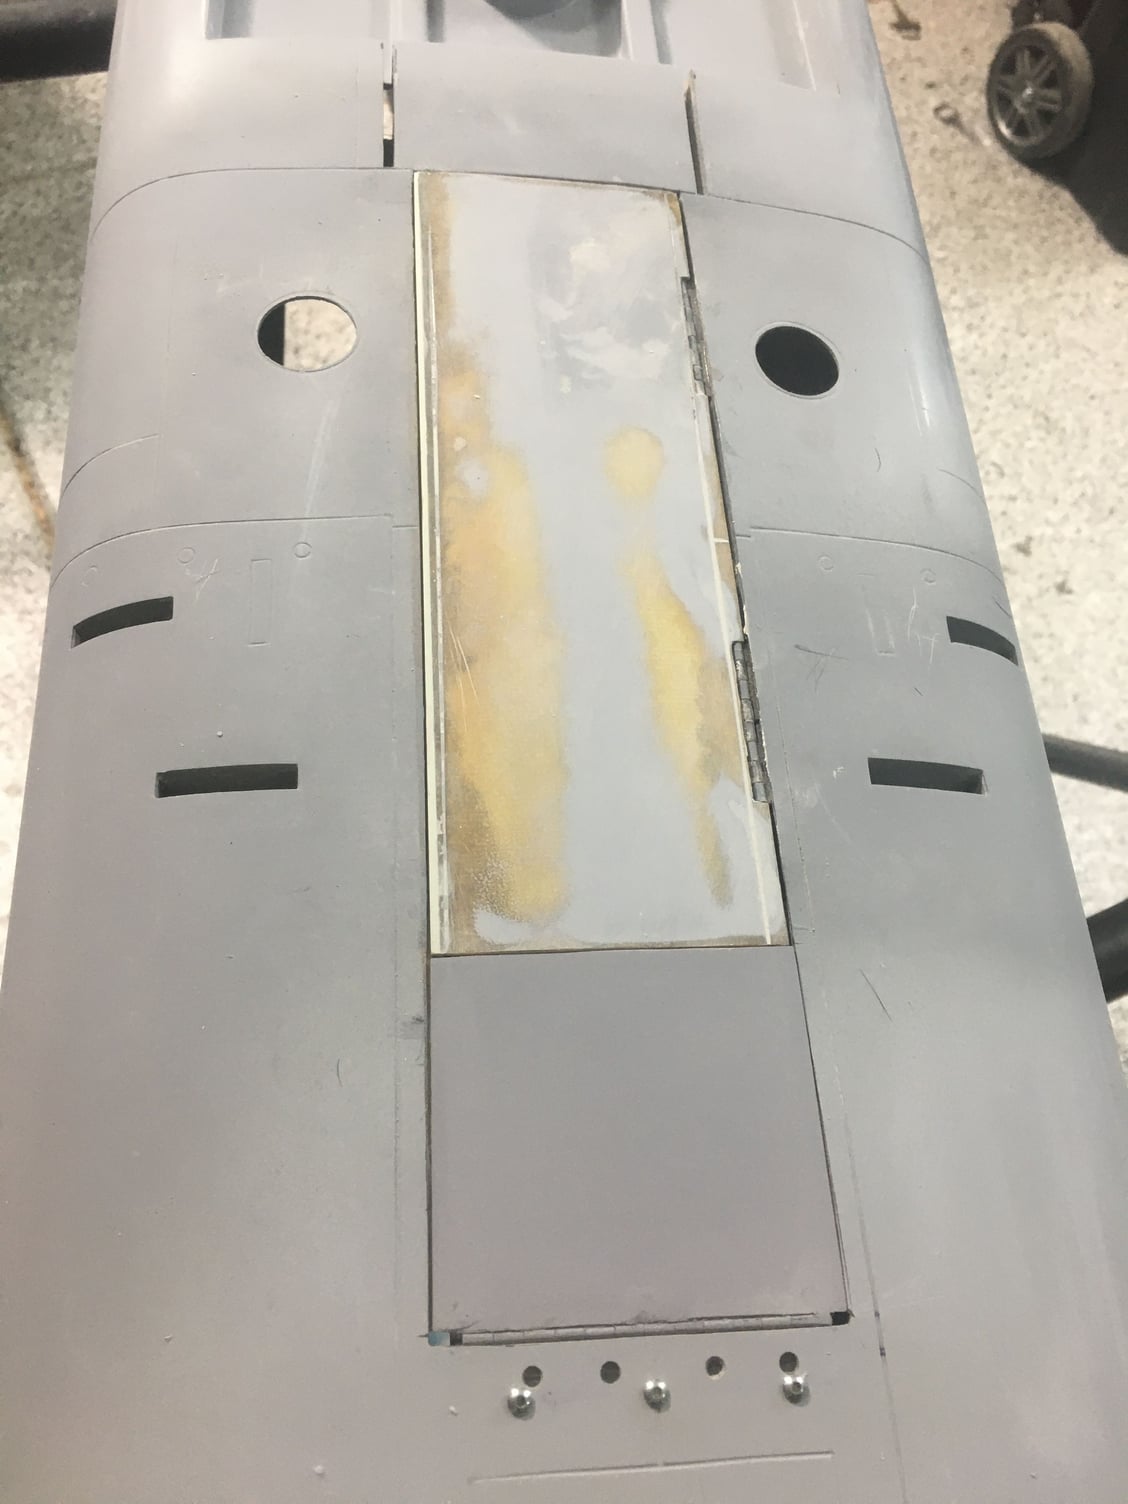
Finished nose gear door. Also in this pic you can see the two green (filler) lines on the larger nose gear door. I widened the nose gear opening 1/8” on either side to prevent the wheels hanging up on the door as some guys have experienced. The green lines are the original panel lines you’re supposed to cut
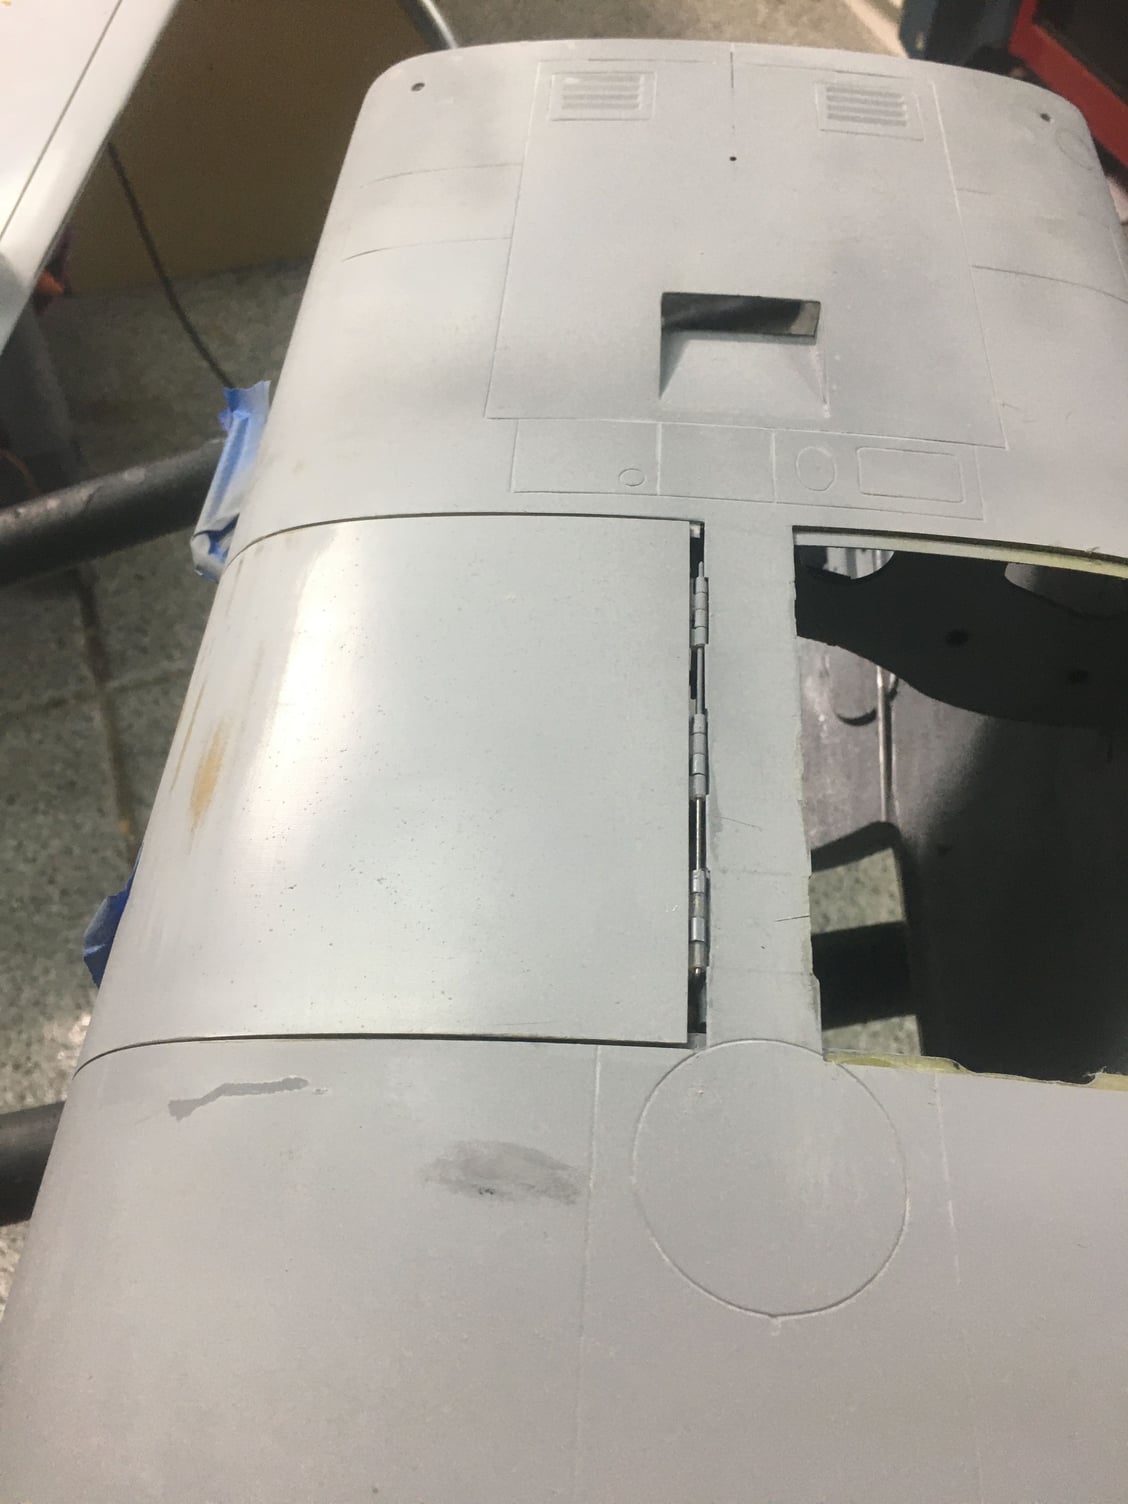
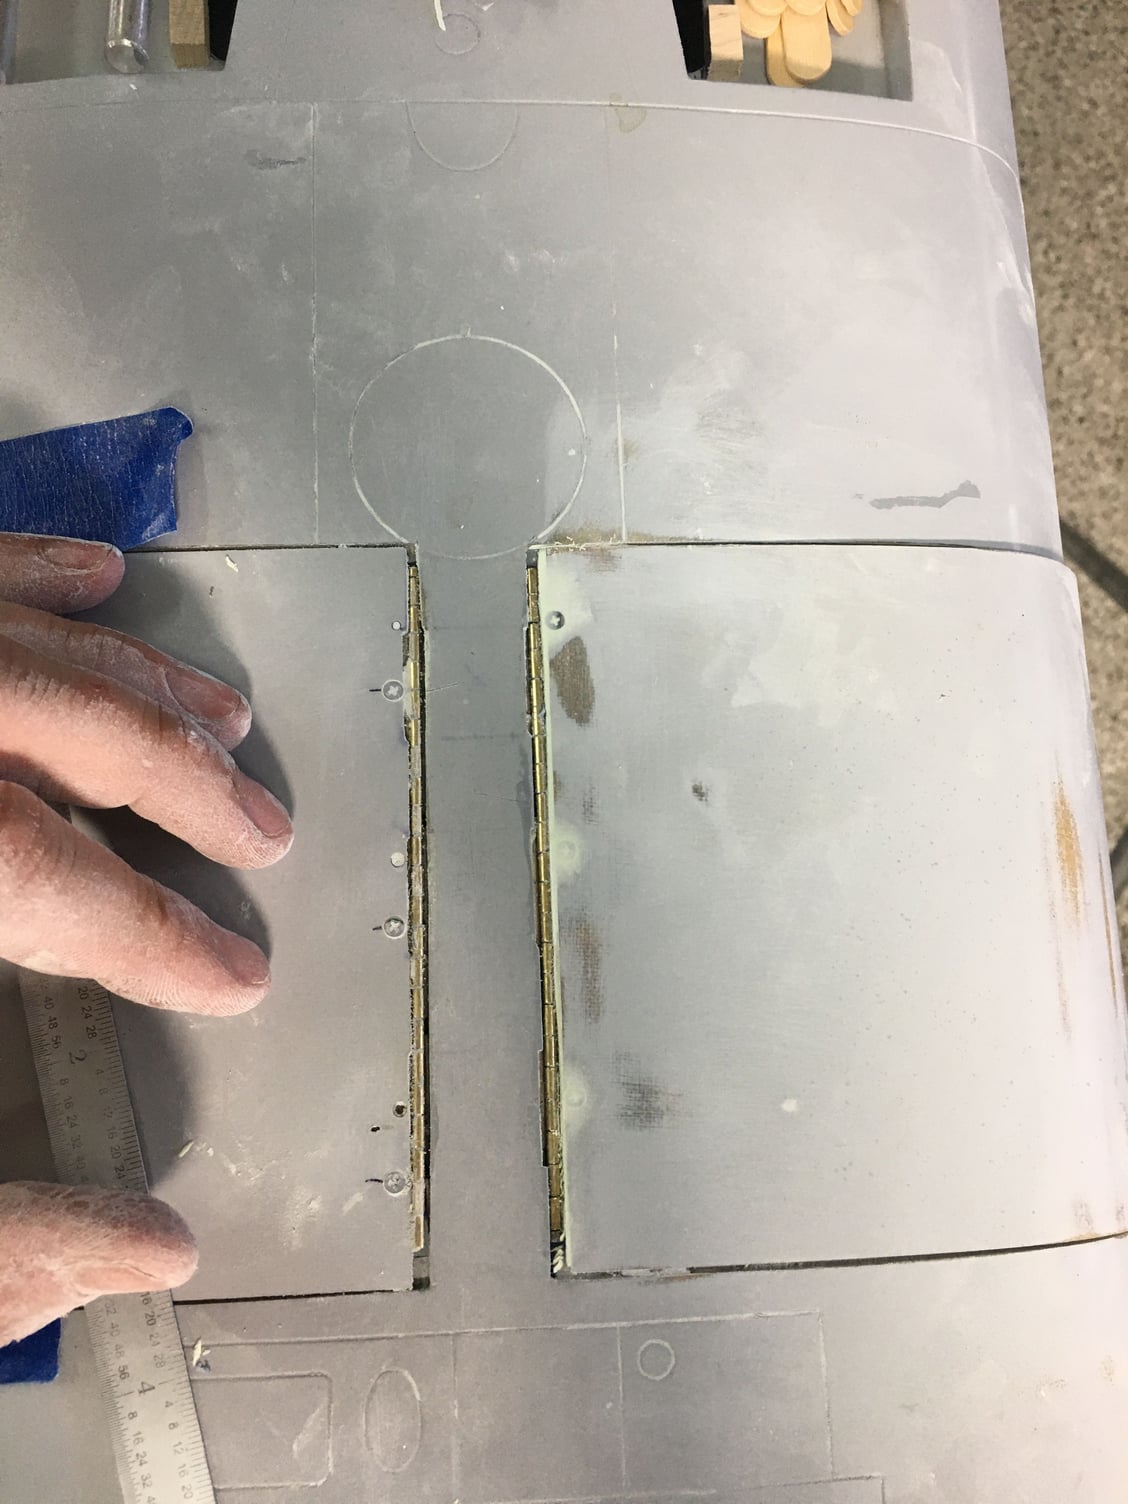
Main gear doors. Gap is required with the Dubro hinges to allow door to open 90. I’m tearing this out for piano hinges currently
I agree. Consolidation is great for folks interested in doing this model.
the last few days have been spent tearing out things that were there and redoing them “better”. I tore out the canopy hold down mechanism (opening canopy is standard in the two seater) to make one side more smooth. I also tore out the hinges on the little nose gear door and put in a piano hinge. I’m debating the big nose gear door for a piano hinge but have already started on the inner main doors.
when I was building my full scale years ago I was obsessing over some small part and someone stopped by and said “you’re building a plane, not a monument” so I’m trying to remember that right now! Craig Gottschang emailed me and said he was laughing that I put more effort into the drop tanks than a normal kit. He then went on to say building the ordnance for his Mibo A-10 took him forever so I didn’t feel as bad!
Here is the piano hinge. The button head screws will stay in order to make the hinge/door removeable
Door with hinge outside the plane
Proof that chicks dig fighter pilots (even (especially?) plastic ones).
My daughter was out “helping”
Finished nose gear door. Also in this pic you can see the two green (filler) lines on the larger nose gear door. I widened the nose gear opening 1/8” on either side to prevent the wheels hanging up on the door as some guys have experienced. The green lines are the original panel lines you’re supposed to cut
Main gear doors. Gap is required with the Dubro hinges to allow door to open 90. I’m tearing this out for piano hinges currently
Last edited by ozief16; 05-26-2020 at 01:36 PM.
05-26-2020, 05:03 PM
#166

I also changed the 9411HV servos on nose wheel steering and rudder to MKS 747s so that it puts all the flight control servos to MKS and makes it easier to replace with a “standard size” servo in case something needs to be changed later. It also makes for four 747s in the plane for interchangeability
Here’s the NWS servo now
Here’s the NWS servo now
Just a heads up!

 05-27-2020, 03:40 PM
#172
'Main gear doors. Gap is required with the Dubro hinges to allow door to open 90. I’m tearing this out for piano hinges currently'
Unless you feel the need for extra strength just fill the gaps with more Dubro hinges.
Or, easier still, small pieces of plastic tube will fill the gaps & look exactly the same.
A friend's Harvard had a scale baggage hatch to hide the retract air valve & switches with what looked exactly like
a piano hinge, all was revealed when he opened it, six Dubro hinges with a removable pivot pin like yours.
 05-28-2020, 01:55 PM
#173
My Feedback: (13)
Boomerang
Brilliant. Just a bit too late. Damnit! I think I’ll do that for the nose gear long door rather than redoing that. I did need extra strength on the main gear outer doors but not the inner. Oh well. It’s basically done now

Door is removeable still for painting and maintenance

a little filler and it’ll look good
Brilliant. Just a bit too late. Damnit! I think I’ll do that for the nose gear long door rather than redoing that. I did need extra strength on the main gear outer doors but not the inner
. Oh well. It’s basically done nowDoor is removeable still for painting and maintenance
a little filler and it’ll look good
05-28-2020, 01:59 PM
#174
My Feedback: (13)
I’ve also been working on the markings for the plane. A buddy is phenomenal with cutting paint masks etc so these were his proofs. I’m trying to do mine based off the Lou Drendle drawing on the back of a squadron book. The problem is that the drawing isn’t exactly scale so it’s making the creation of the markings difficult. You can’t simply measure the drawing and scale it up;(
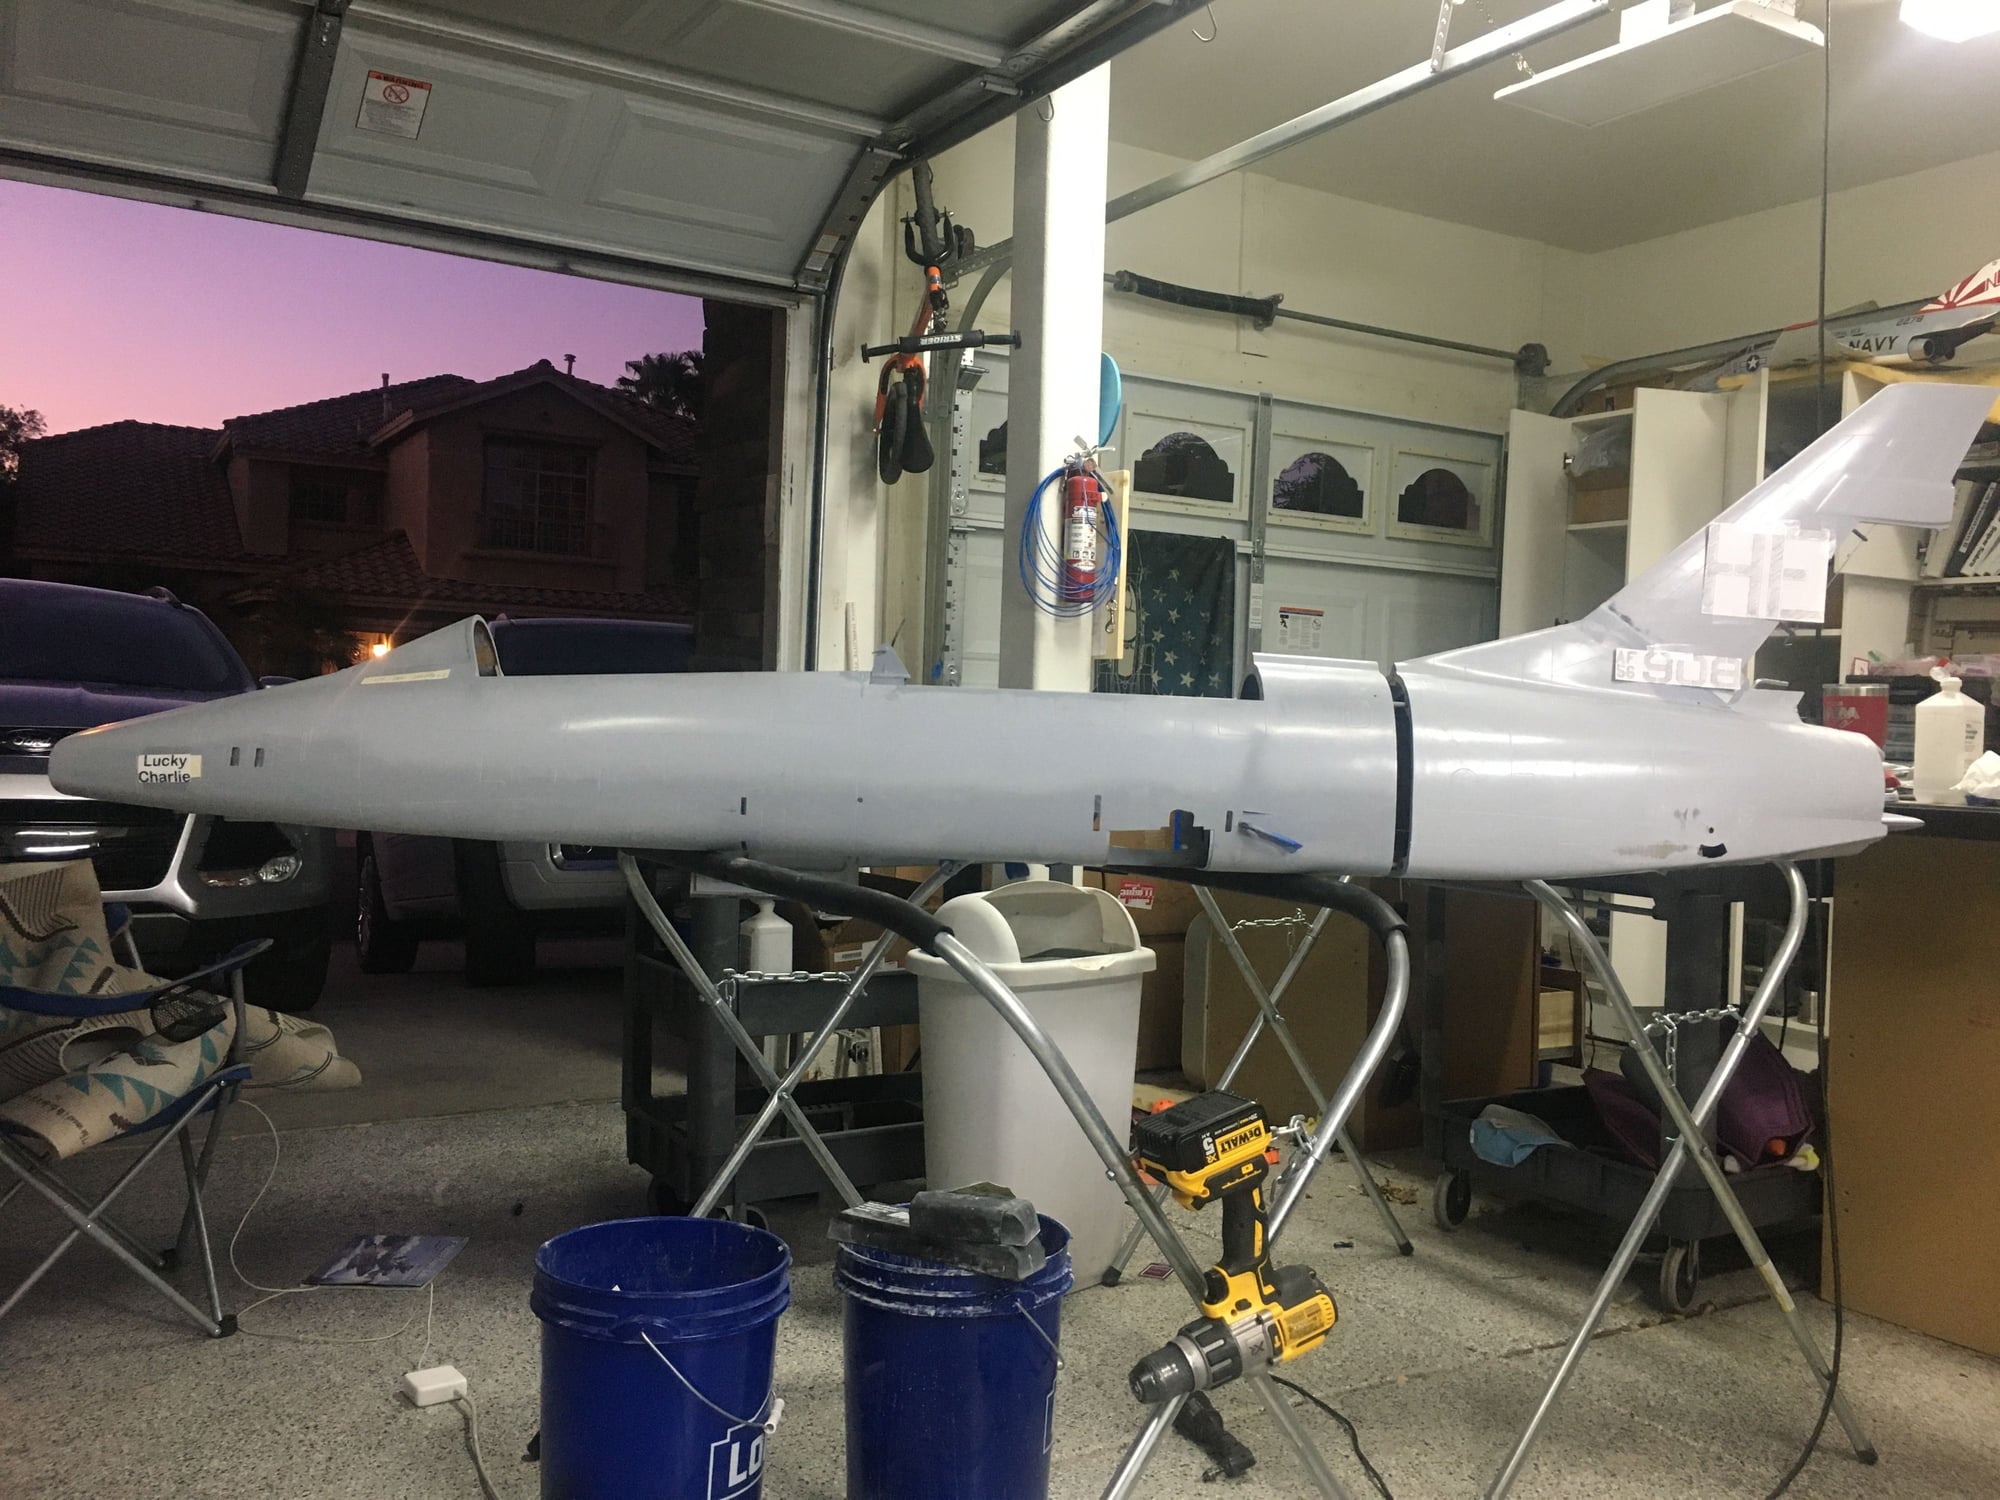
Proofs taped in place
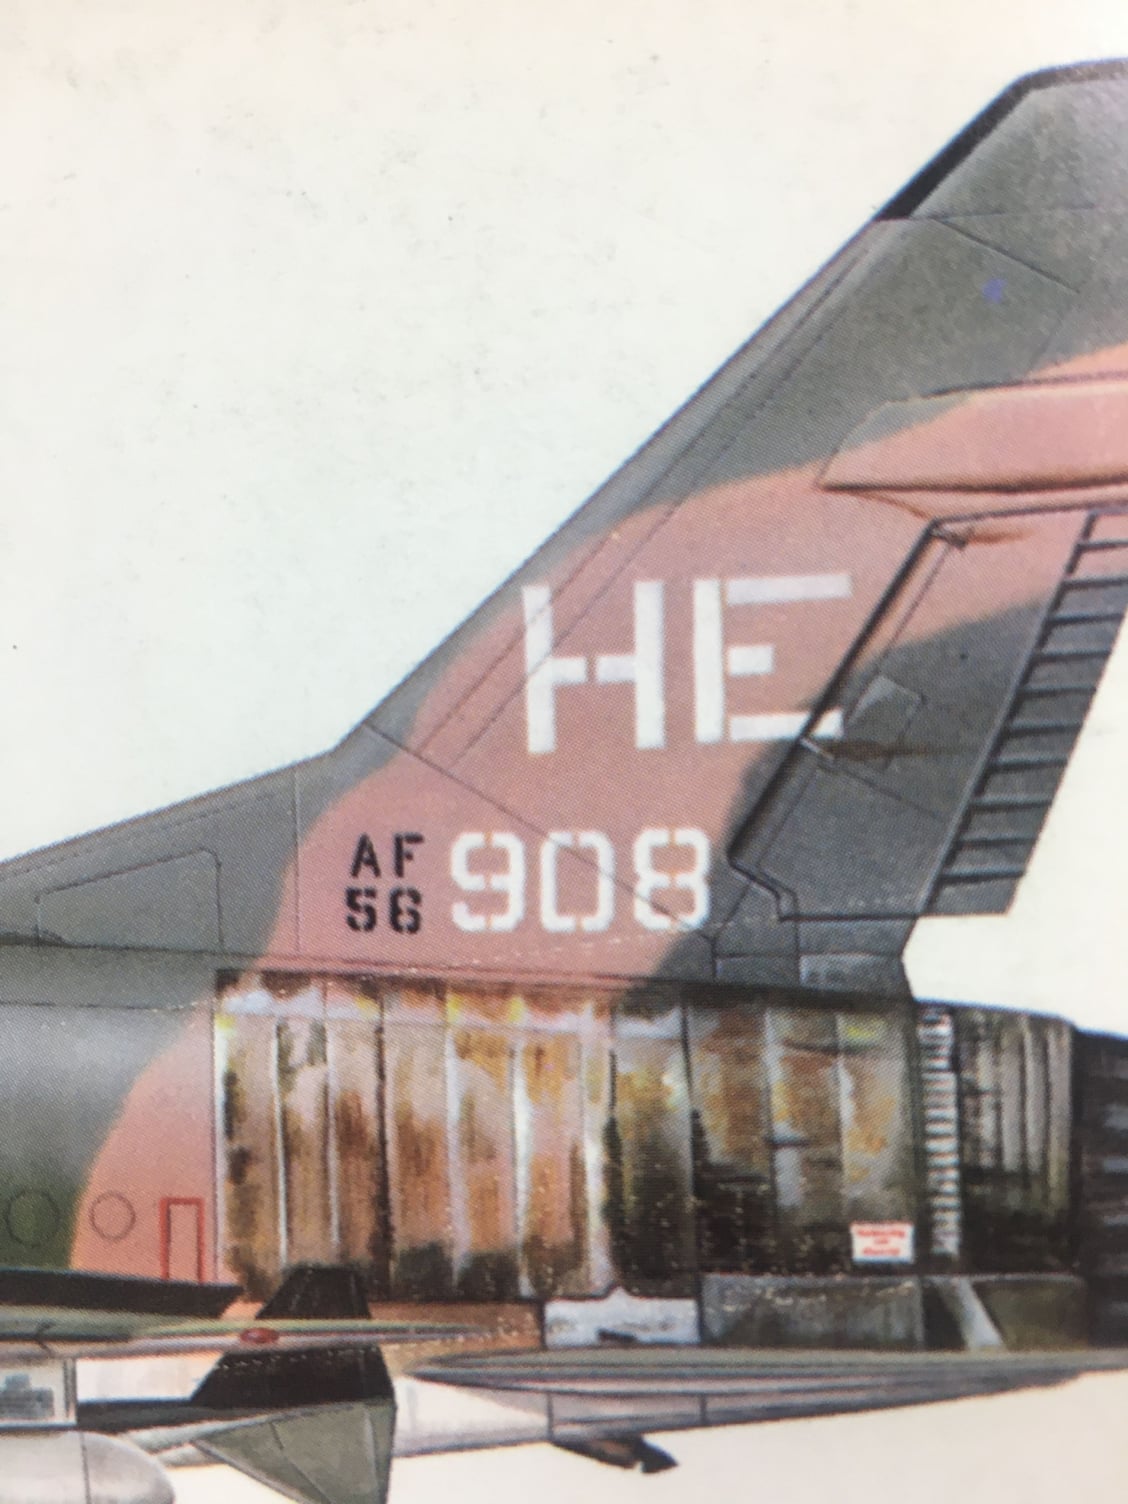
Tail in this drawing has a much larger chord than scale.
Rough measurements
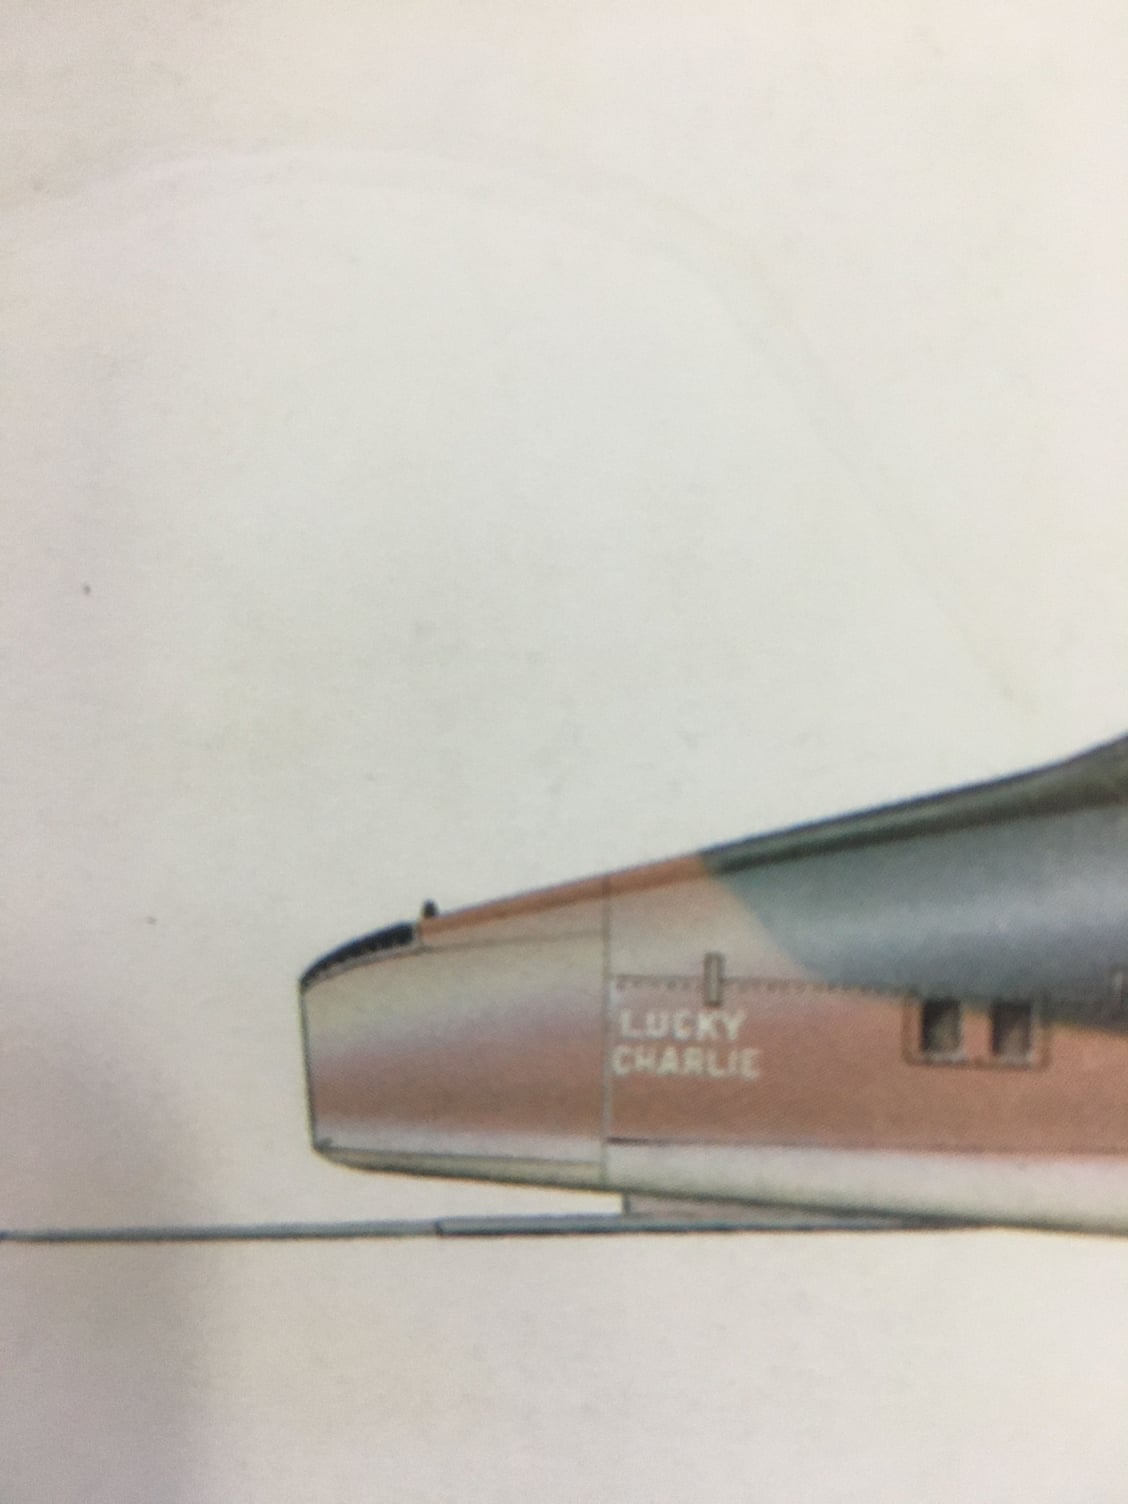
Nose art
Proofs taped in place
Tail in this drawing has a much larger chord than scale.
Rough measurements
Nose art
05-28-2020, 08:23 PM
#175
My Feedback: (13)
I also did some filling and sanding on the doors tonight. My CDO (like OCD but alphabetically like it should be) kicked in and now it is smooth
One side filled, one to Go
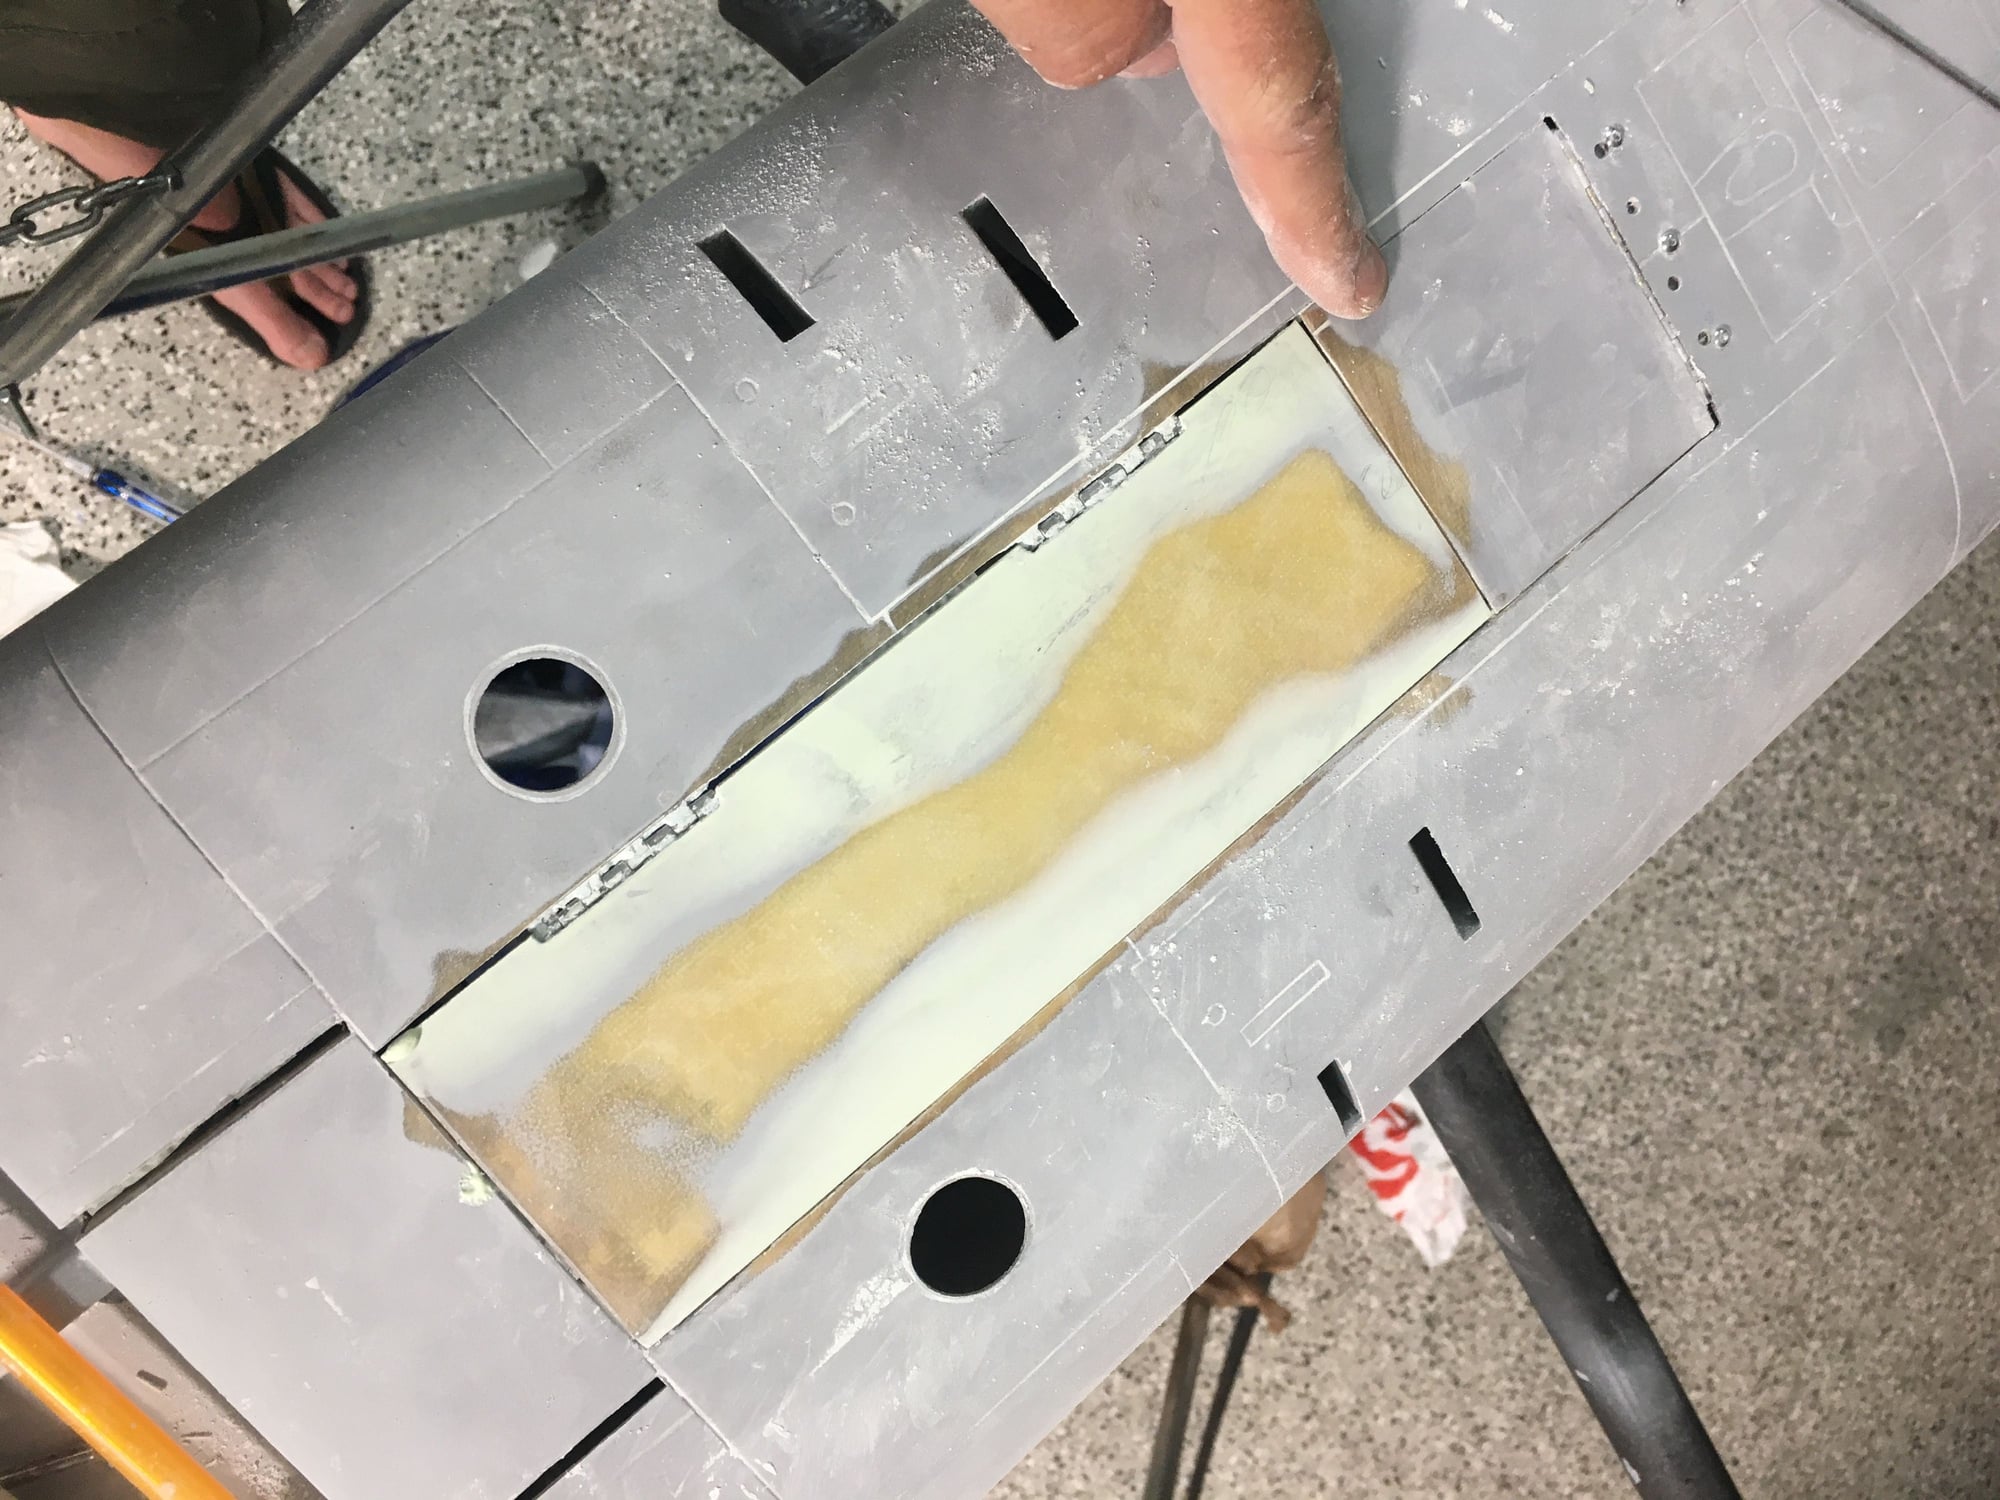
Nose door was off and I explored lots of ways to fix it. Simply filling and sanding was easiest I could think of
One side filled, one to Go
Nose door was off and I explored lots of ways to fix it. Simply filling and sanding was easiest I could think of