


Welcome to Club SAITO !

 05-16-2021, 03:11 AM
Lean out the lsn and keep 2-3% castor. The lsn controls fueling from idle to upwards of 80% throttle. Some, but not all Saitos run very rich in the midrange when the lsn and hsn are set up to what we would call acceptable standards. That is, 250-300 rpm rich of peak and a sustainable idle with snappy transition. If you spend all of your time flying at 0-50% throttle adjust the lsn for cleaner running at those rpms. Once you get it running leaner on the bottom end you may find it wants to cough out and die when slamming the throttle open from idle. If so then slow your throttle servo speed a bit.
Last edited by Glowgeek; 05-16-2021 at 05:53 AM.
05-16-2021, 05:15 AM
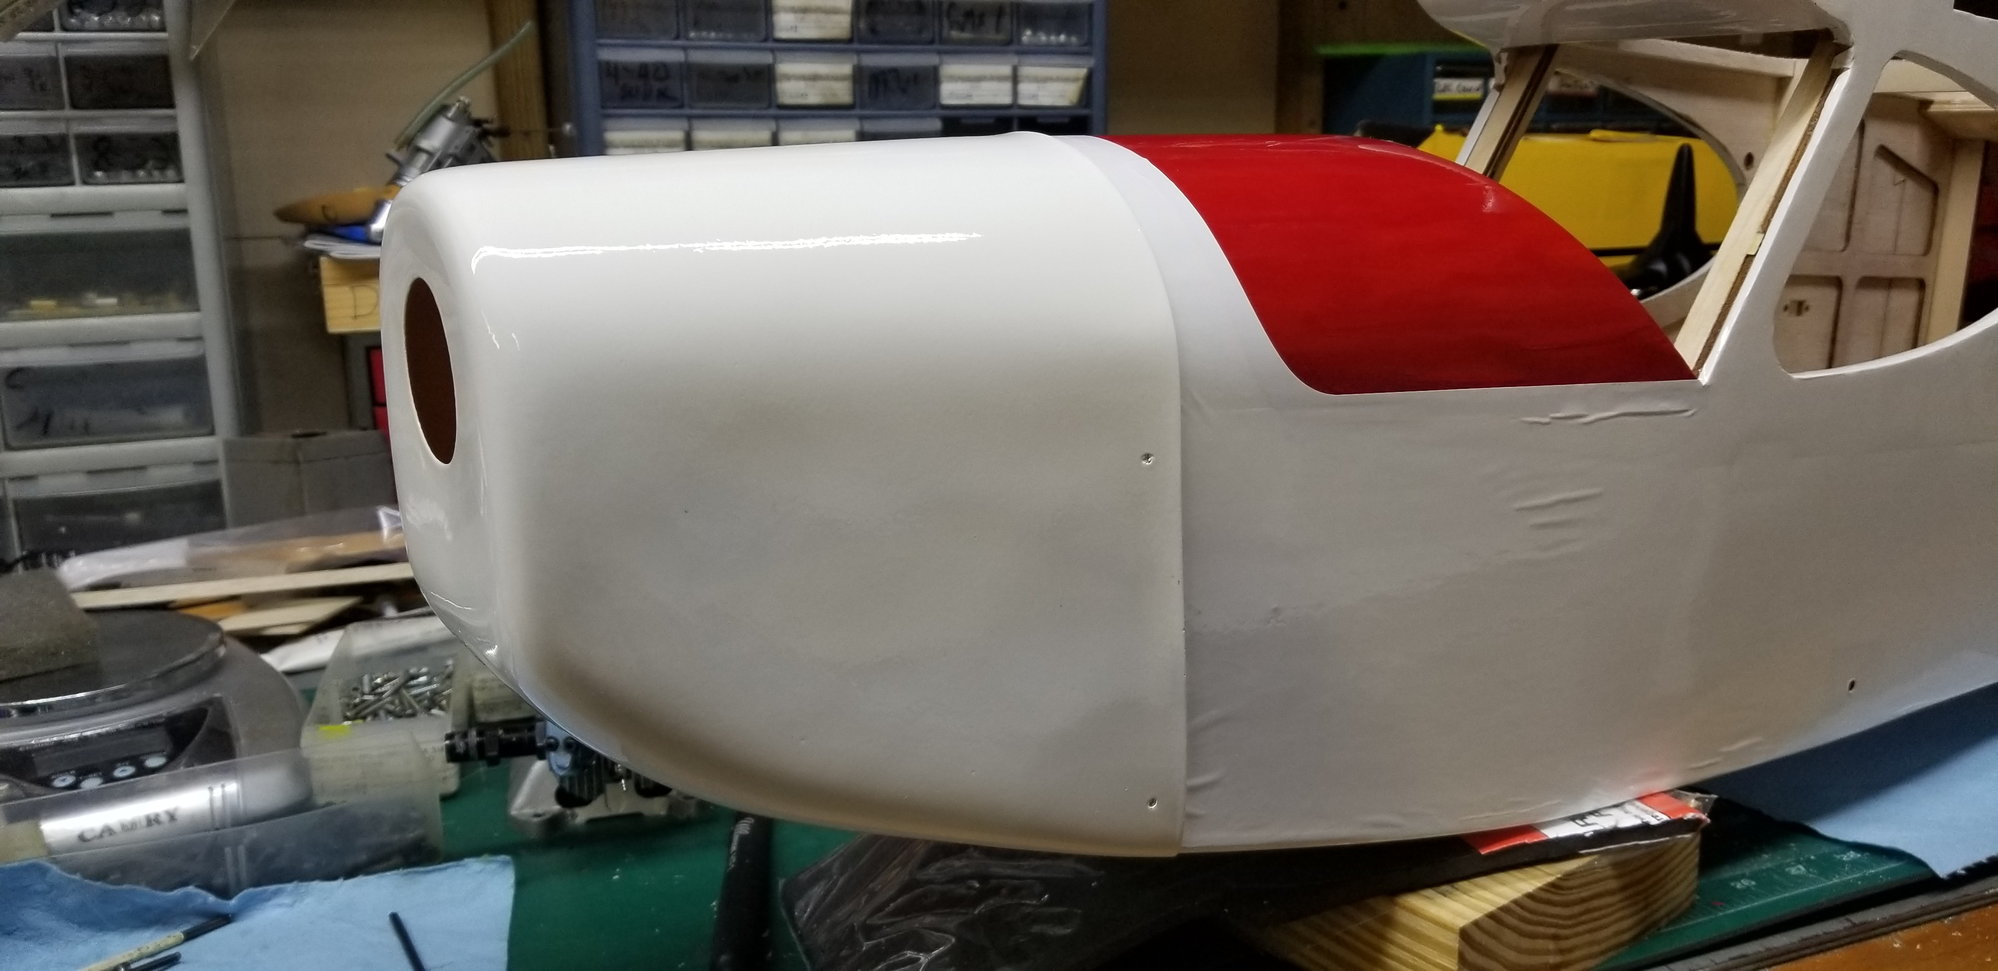
Airplane ready and airplane hauler reader, the Leer 180 XL cap was installed yesterday, the K&N pipe, (by me) the day before. I'll most like fly the 62 with a Turbo Header. Jim, do you have any Turbo Headers? Thanks

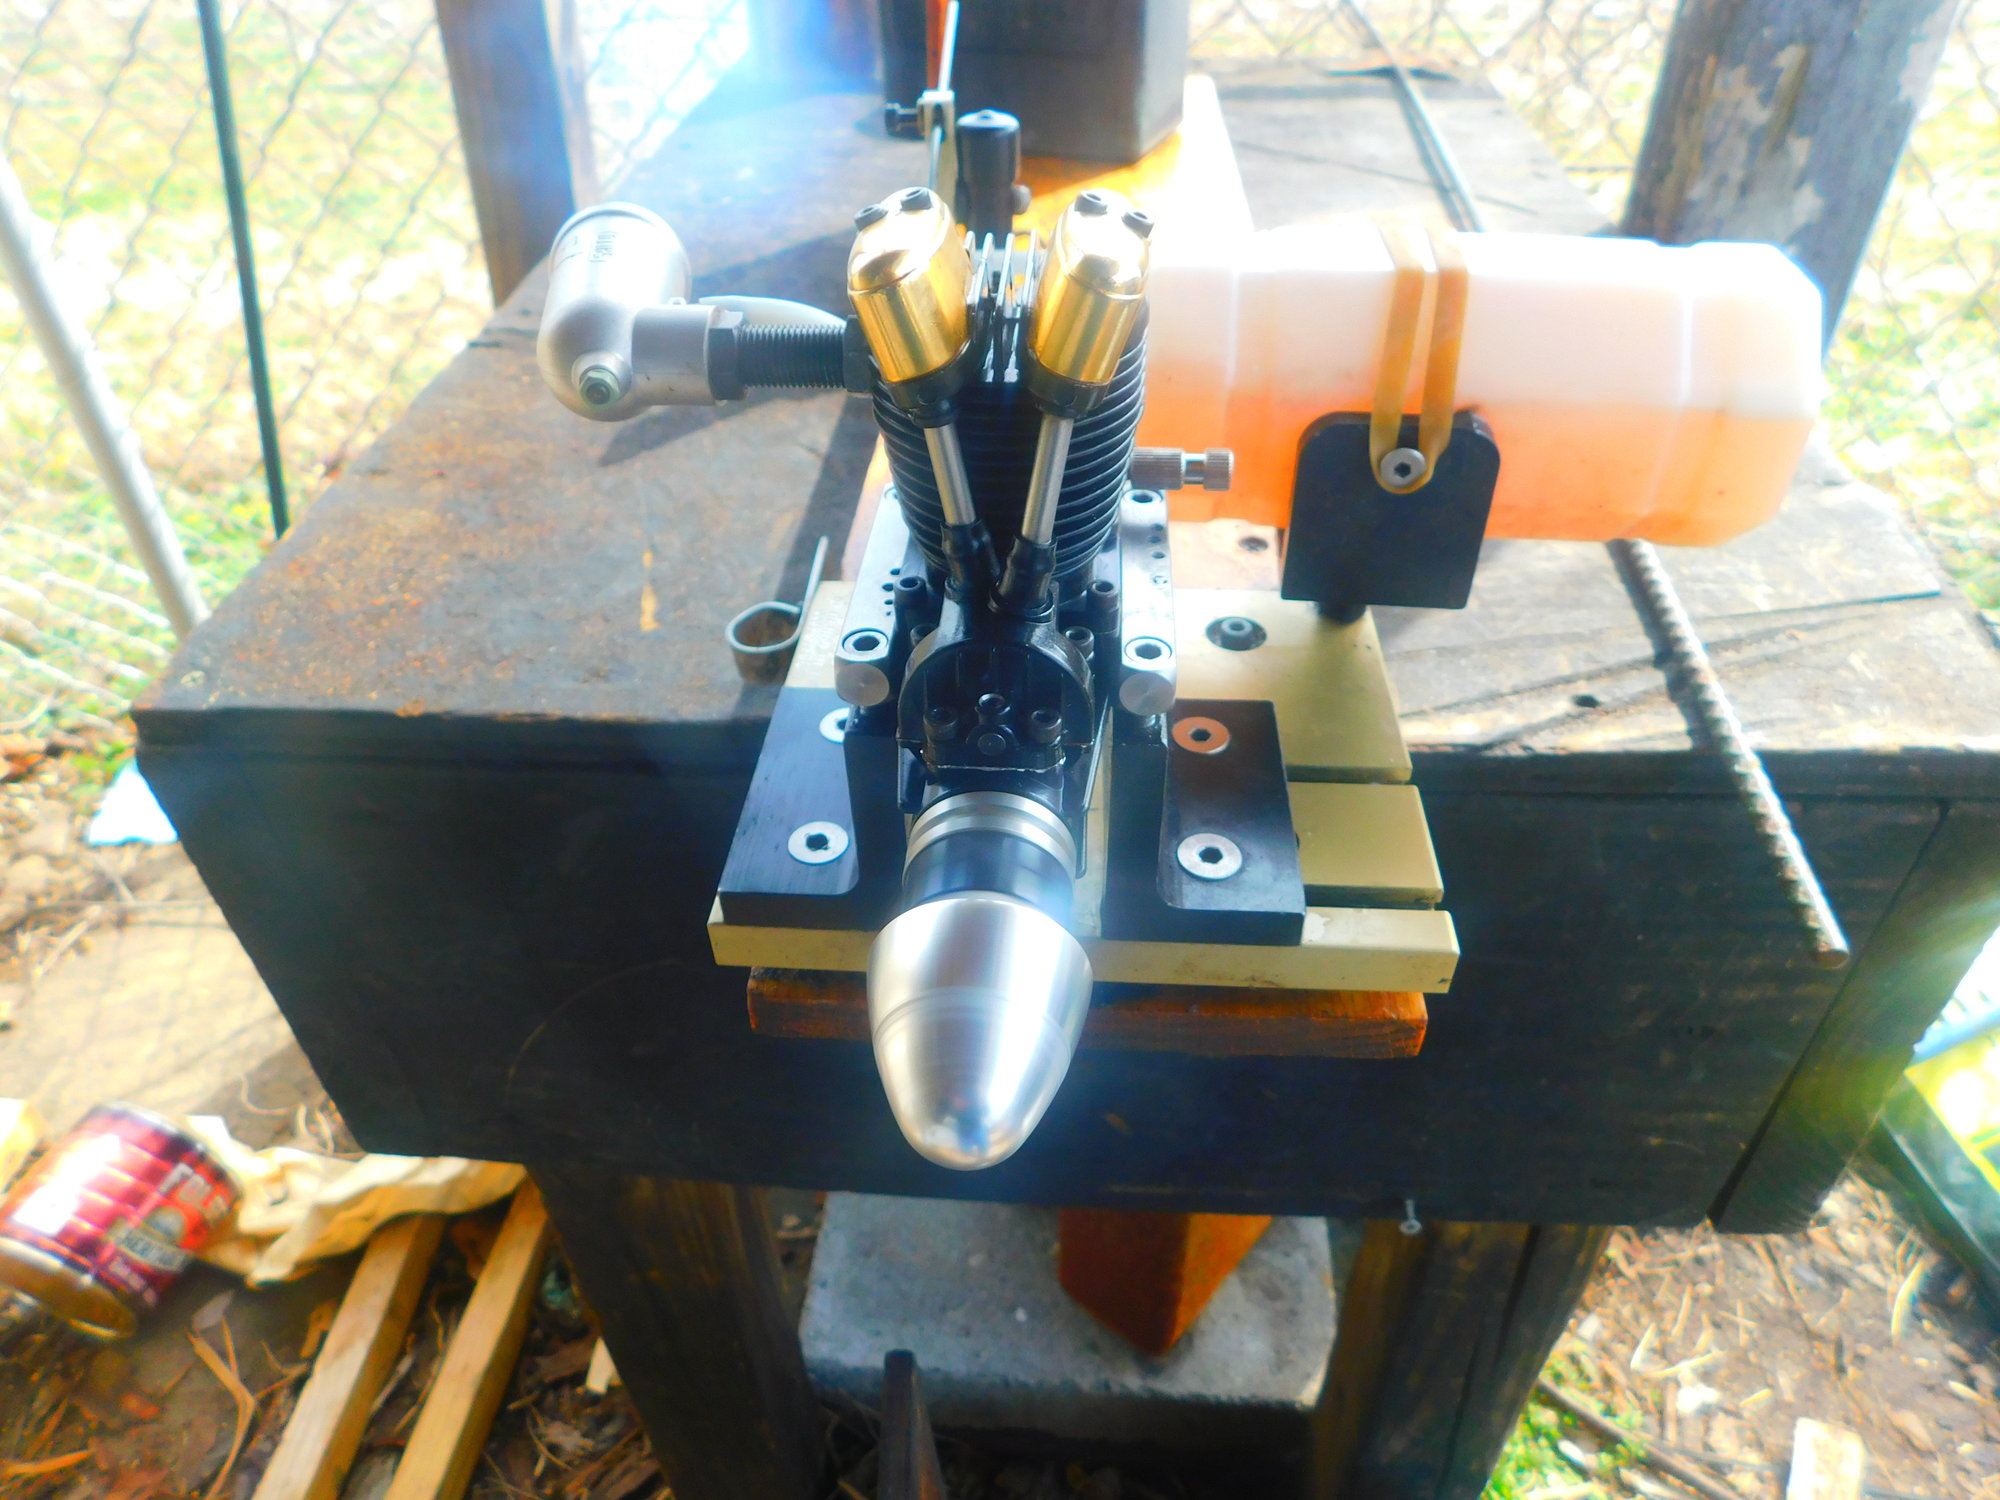
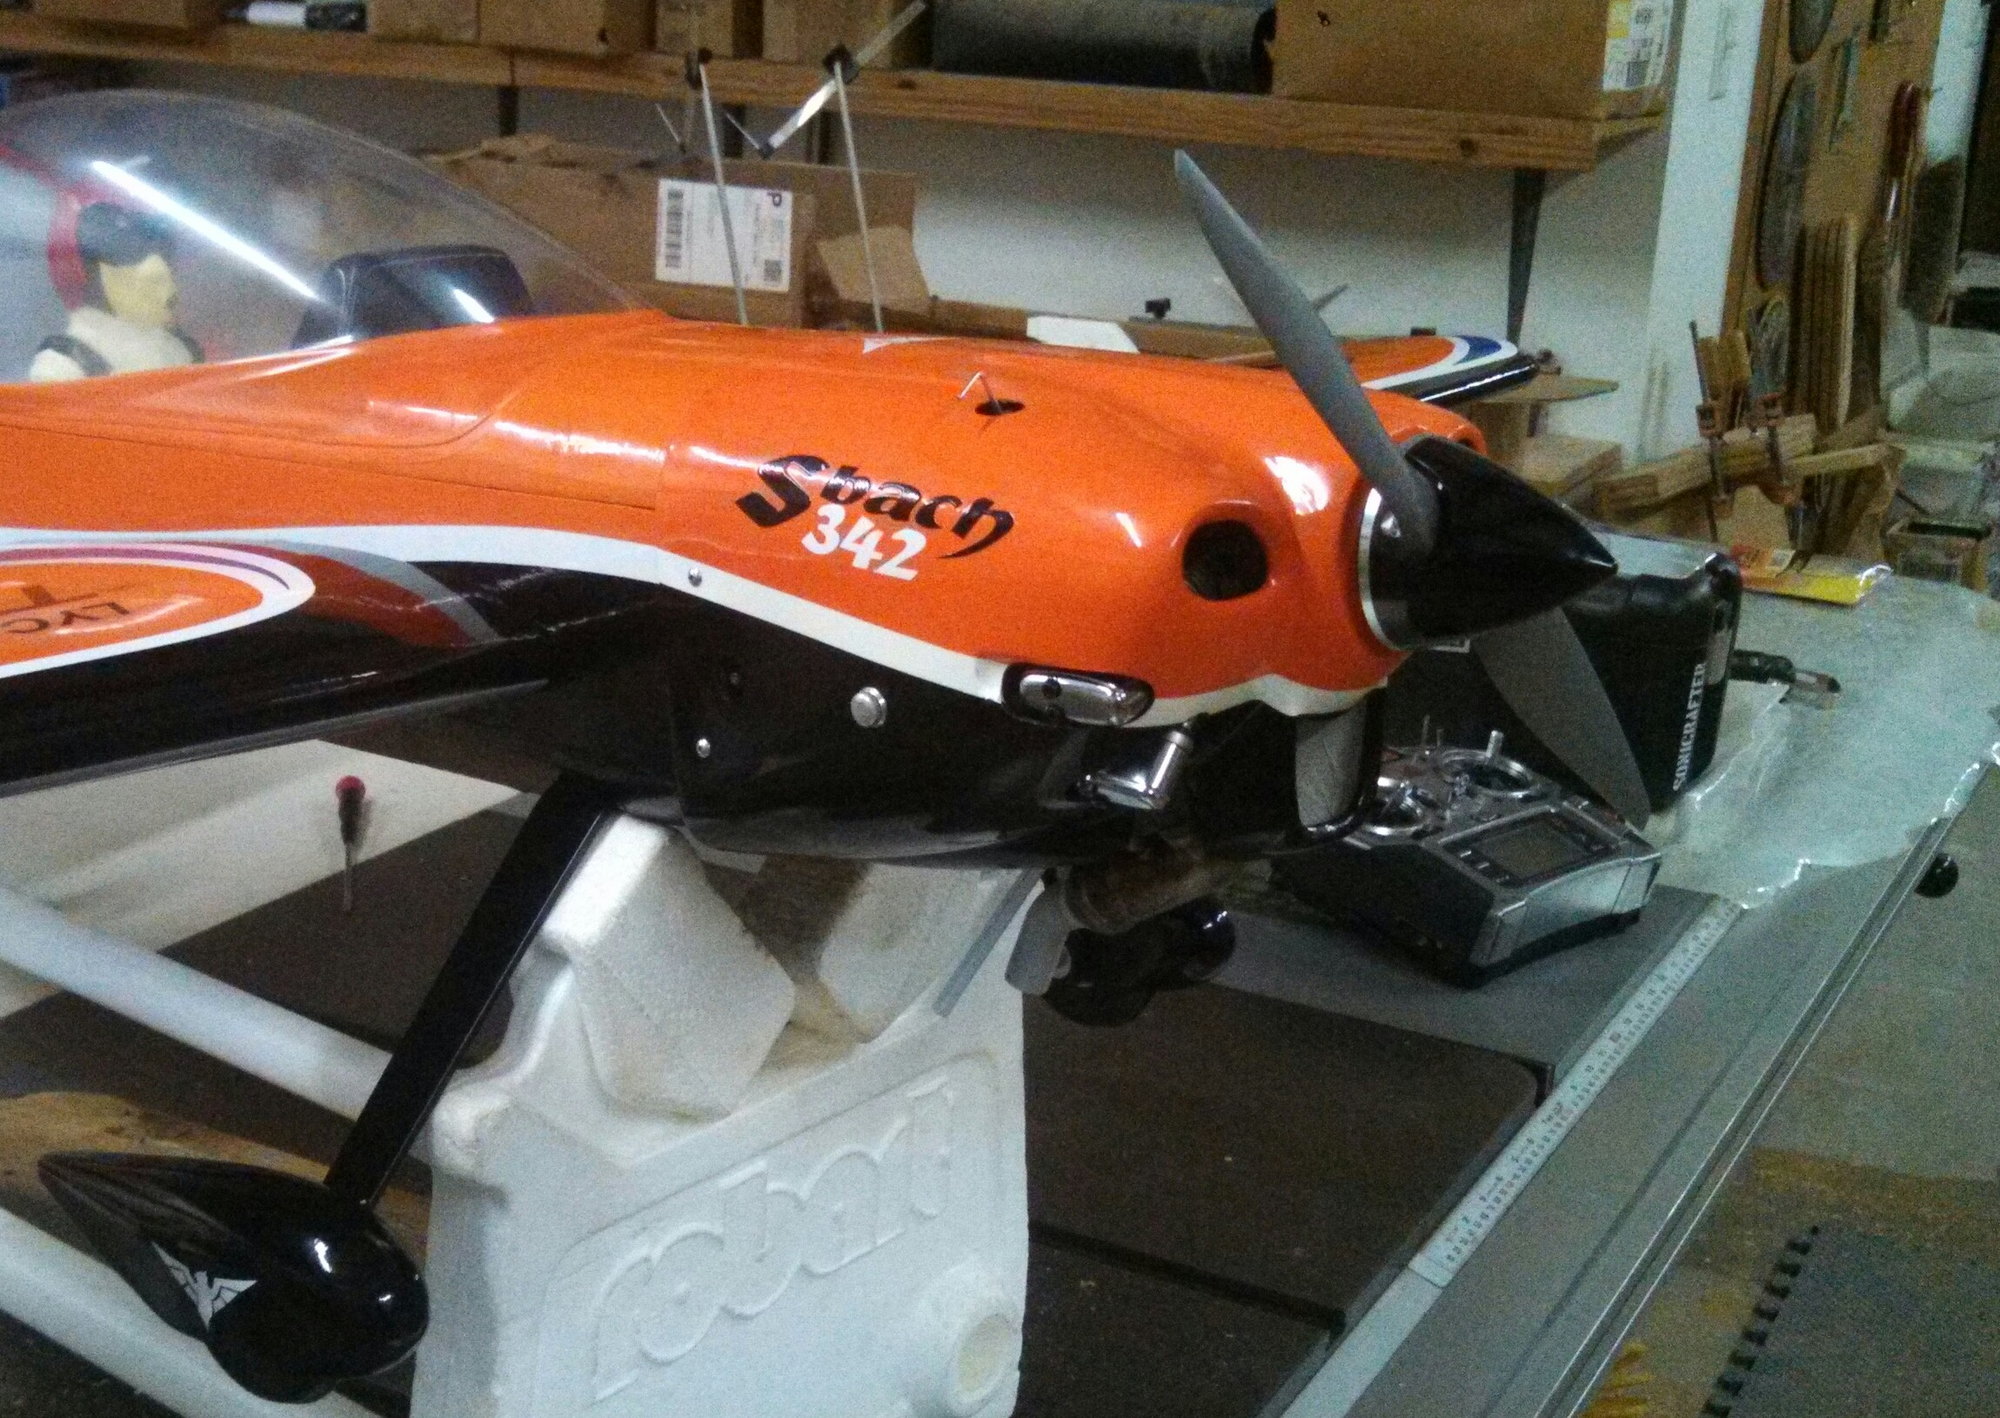
Sig Four Star with Saito 62 and 12 x 6 three blade.

Sig Four Star with Saito 62 and 12 x 6 three blade.
Looks great with the slash cut.

 05-16-2021, 09:06 AM

My Feedback: (27)
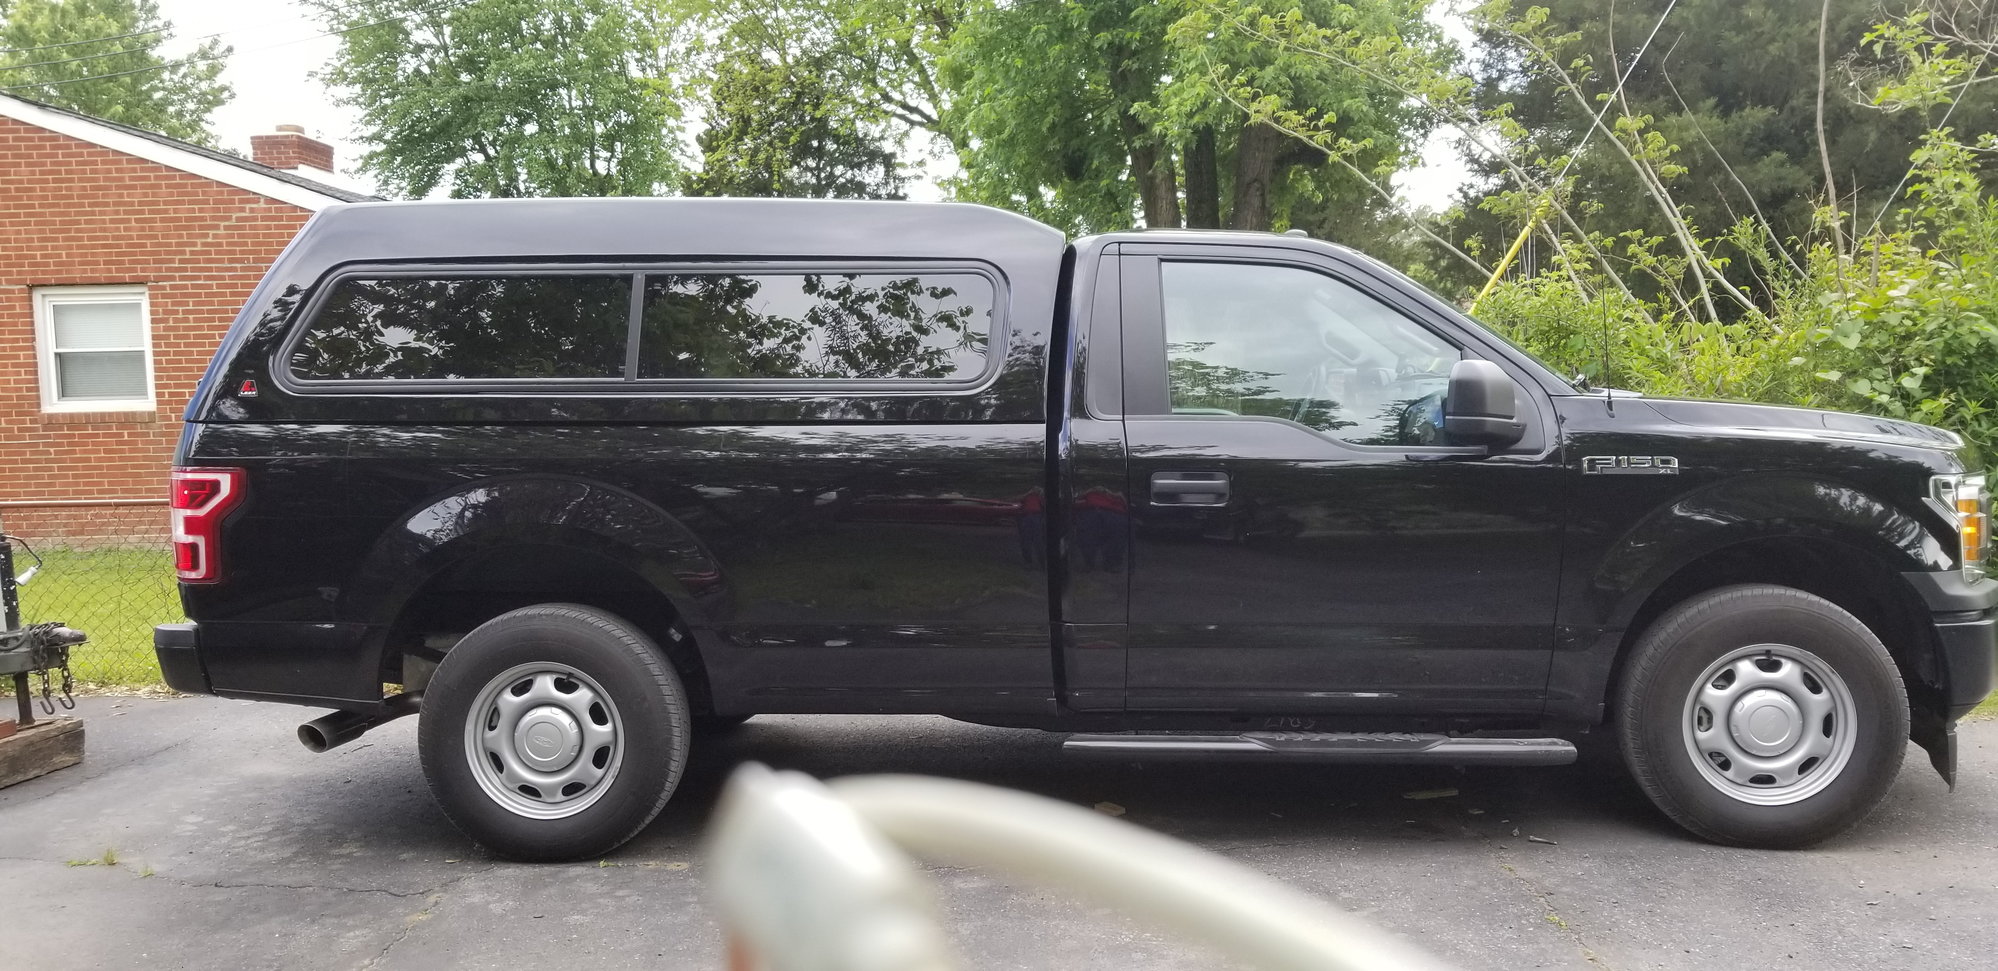
Dave, I have a similar topper on my Chevy Colorado. About 3 or 4 times a year I have to slide the topper back about a foot to clean the back cab window and the topper window. If I don’t it gets to the point I can’t see out of the back. Part of the problem is that I live on a gravel road and the road dust gets in there.
05-16-2021, 11:38 AM
Dave, I have a similar topper on my Chevy Colorado. About 3 or 4 times a year I have to slide the topper back about a foot to clean the back cab window and the topper window. If I don�t it gets to the point I can�t see out of the back. Part of the problem is that I live on a gravel road and the road dust gets in there.
05-17-2021, 03:15 AM
Senior Member

Are there any Saito you guys would like to see run with certain sized props? I need something to do besides mowing.
Saito 50
05-17-2021, 03:35 AM
When I was a teen I remember my Dad's F150 having a Leer Bed Topper. IIRC there was an inflatable donut that went around the rear truck window between the cab and topper to keep dirt and grime off.
 05-21-2021, 03:52 AM
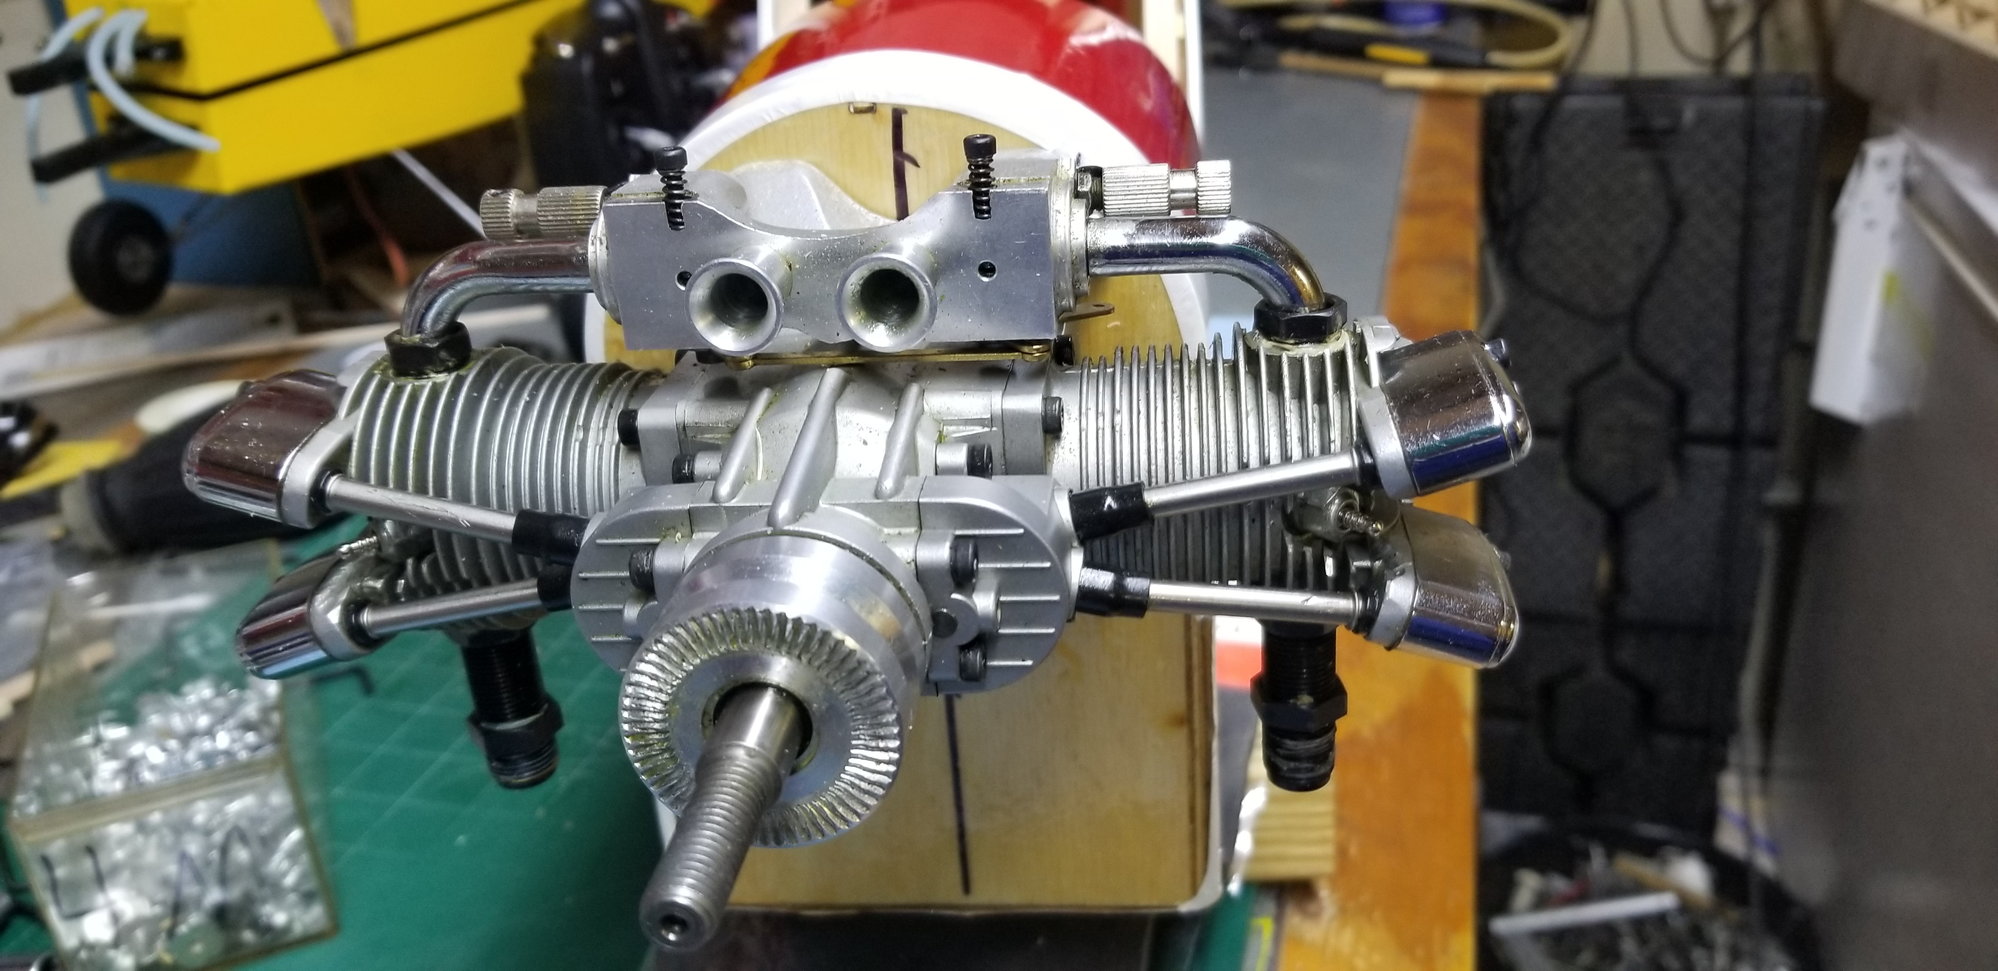
How about a split cowl? It's not too hard to put in a couple of basswood beams for it and you have to cut away a lot less cowl, usually. Those intake tubes and needles make it a challenge either way.
Last edited by Glowgeek; 05-21-2021 at 04:05 AM.
05-21-2021, 04:05 AM
Looks like a perfect fit. Even mo betta, the heads and valve covers will peek out the sides for awesome aesthetics and great cooling. I have mounted my 300 twin (lesser liked OS) on a third scale spacewalker and it is eye catching as it passes by. And idles all day long with no onboard glo thingies. I say go for it Hobbsy! And send video!!!
Looks like an offset to the left? never seen that before?
Unrelated but Saito. Like to learn the history of the R3 engines. This series with its multiple problems intrigues me. My R450 early nitro motor runs so sweet. Seems like the three problems the later engines display is related to the conversion of fuel to "dryer" gasoline and heat related to its use vrs methanol and its cooler running and additional oil unburnt by the excessive heat?
Sorry guys, excessive covfefe this morning. LOL nervously.
05-21-2021, 07:40 AM
Split the cowl at the centerline of the heads. That will make it easier and give the cowl a more realistic look too. I glued strips of PVC to the top, and had it overlap the bottom so that there was something to screw into with small #2 screws. I used round head allen screws. This is how I attached the Liberty Sport and the Rascal 168 cowls.
05-21-2021, 09:16 AM
PVC strips, great Idea. I've used basswood beams in the past but pvc sounds better, no chance of splitting and semi-pliable. Thanks for the tip.
Last edited by Glowgeek; 05-21-2021 at 09:18 AM.
05-21-2021, 07:49 PM
 05-22-2021, 02:59 AM
I don't really "measure" anything when making cowl cutouts. This vid shows the tried and true method I use.
First used the method on my Sbach and it came out perfect on the first try. Been using it ever since.
First used the method on my Sbach and it came out perfect on the first try. Been using it ever since.
Last edited by Glowgeek; 05-22-2021 at 03:15 AM.
 05-24-2021, 02:45 AM
Senior Member
It certainly is different, it flies and that certainly deserves credit. It would be easy to model.
Last edited by 1200SportsterRider; 05-25-2021 at 02:37 AM.
05-25-2021, 03:10 AM
Senior Member
Let us suppose a guy, (me) for instance wanted to build a model of this thing and use an FA 30 s for power and a 6" tube. How do I figure the length, wing span, tail feathers etc. An FA 40-a is available also. Some of you may have some software that might help.
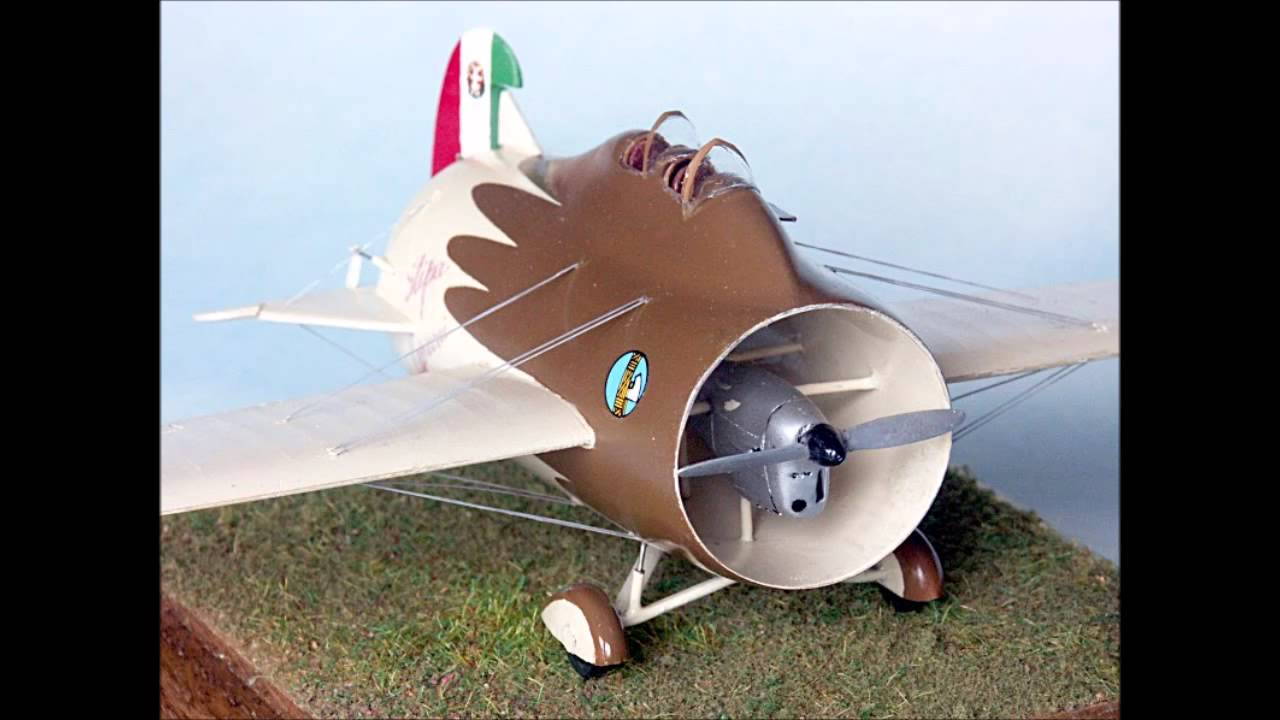
1933 Voli
1933 Voli
Last edited by 1200SportsterRider; 05-25-2021 at 03:20 AM.
05-25-2021, 03:43 AM
Senior Member
Now I'm getting somewhere:
Specs
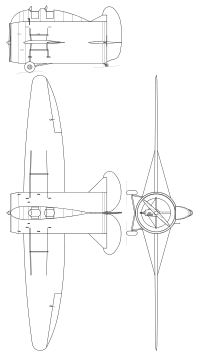
More coming Data from NACA Technical Memorandum n� 753 : Stipa Monoplane with Venturi Fuselage,[5] Aeroplani Caproni: Gianni Caproni and His Aircraft, 1910-1983[6]
General characteristics
Specs
More coming
Specifications (original Stipa-Caproni)[edit]
General characteristics
- Crew: 1 or 2
- Length: 5.88 m (19 ft 3 in)
- Wingspan: 14.28 m (46 ft 10 in)
- Wing area: 19 m2 (200 sq ft)
- Empty weight: 570 kg (1,257 lb)
- Gross weight: 850 kg (1,874 lb)
- Powerplant: 1 � de Havilland Gipsy III 4-cylinder inverted air-cooled in-line piston engine, 90 kW (120 hp)
- Propellers: 2-bladed ground-adjstable propeller
- Maximum speed: 133 km/h (83 mph, 72 kn)
- Landing speed: 68 km/h (42 mph)
- Service ceiling: 3,700 m (12,100 ft)
- Time to altitude: 3,000 m (9,843 ft) in 40 minutes
- Wing loading: 44.73 kg/m2 (9.16 lb/sq ft) at 850 kg (1,874 lb)
- Power/mass: 0.105 kW/kg (0.064 hp/lb)
- Take-off run: 180 m (591 ft)
- Landing run: 180 m (591 ft)
Last edited by 1200SportsterRider; 05-25-2021 at 03:44 AM. Reason: Add content.