Welcome to Club SAITO !

My Feedback: (1)
that 130 I had, and traded it with Harley Dave was in a Stick. sorry I don't know the size. but I thought it had a span shorter than 70 inches. and at that time I didn't even know the plane had a twin in it. BTW, that 130, it was once rebuilt by Horizon,,, then of course by Dave.
Jim

My Feedback: (1)

Sending them your way.
The 130 ran just fine after the rebuild . It was the tonnage (weight) of those 130 turds that was just awful in the Dragonlady! The combination was awesome to see but a brick to fly!
The disappointment was the real turn-off.
The methanol fueled FA-125 was an awesome package. The YS 115 will be better yet!
Never wanted to see another 130, I was tempted to nail it on a wall and shoot it full of .223 fmj!
Last edited by Jesse Open; 11-12-2021 at 08:54 PM.

My Feedback: (1)

Heck, my wife puts food on the front seat, fills the tank, puts a cooler of beer in back with blankets and pillows.
She shoves me out the door and locks it behind me!
She says its all about love, must be!
Moderator
My Feedback: (58)
Hi guys, I have replaced all the o-rings in my Saito 125. The intake manifold o-ring at the head was in real bad shape, but since I took down the engine from the plane, I decided to change all the o-rings.
@ Lonnie (Glowgeek), Dave (1200SportsterRider) & Bert (1967Brutus) I just read your earlier comments on the o-rings. Thanks a lot. On the current Saito carb gasket replacement set (SAI125a91), if they don't include the viton o-ring for the intake manifold anymore, does it mean that it has been replaced by the same type used between the manifold and carb body?
@ Lonnie (Glowgeek), Dave (1200SportsterRider) & Bert (1967Brutus) I just read your earlier comments on the o-rings. Thanks a lot. On the current Saito carb gasket replacement set (SAI125a91), if they don't include the viton o-ring for the intake manifold anymore, does it mean that it has been replaced by the same type used between the manifold and carb body?
Last edited by rajul; 11-14-2021 at 07:23 AM.
Hi guys, I have replaced all the o-rings in my Saito 125. The intake manifold o-ring at the head was in real bad shape, but since I took down the engine from the plane, I decided to change all the o-rings.
@ Lonnie (Glowgeek), Dave (1200SportsterRider) & Bert (1967Brutus) I just read your earlier comments on the o-rings. Thanks a lot. On the current Saito carb gasket replacement set (SAI125a91), if they don't include the viton o-ring for the intake manifold anymore, does it mean that it has been replaced by the same type used between the manifold and carb body?
@ Lonnie (Glowgeek), Dave (1200SportsterRider) & Bert (1967Brutus) I just read your earlier comments on the o-rings. Thanks a lot. On the current Saito carb gasket replacement set (SAI125a91), if they don't include the viton o-ring for the intake manifold anymore, does it mean that it has been replaced by the same type used between the manifold and carb body?
Good luck on your project. Nothing sounds better than a Saito that you've had a part in reviving.
Moderator
My Feedback: (58)

My Feedback: (1)
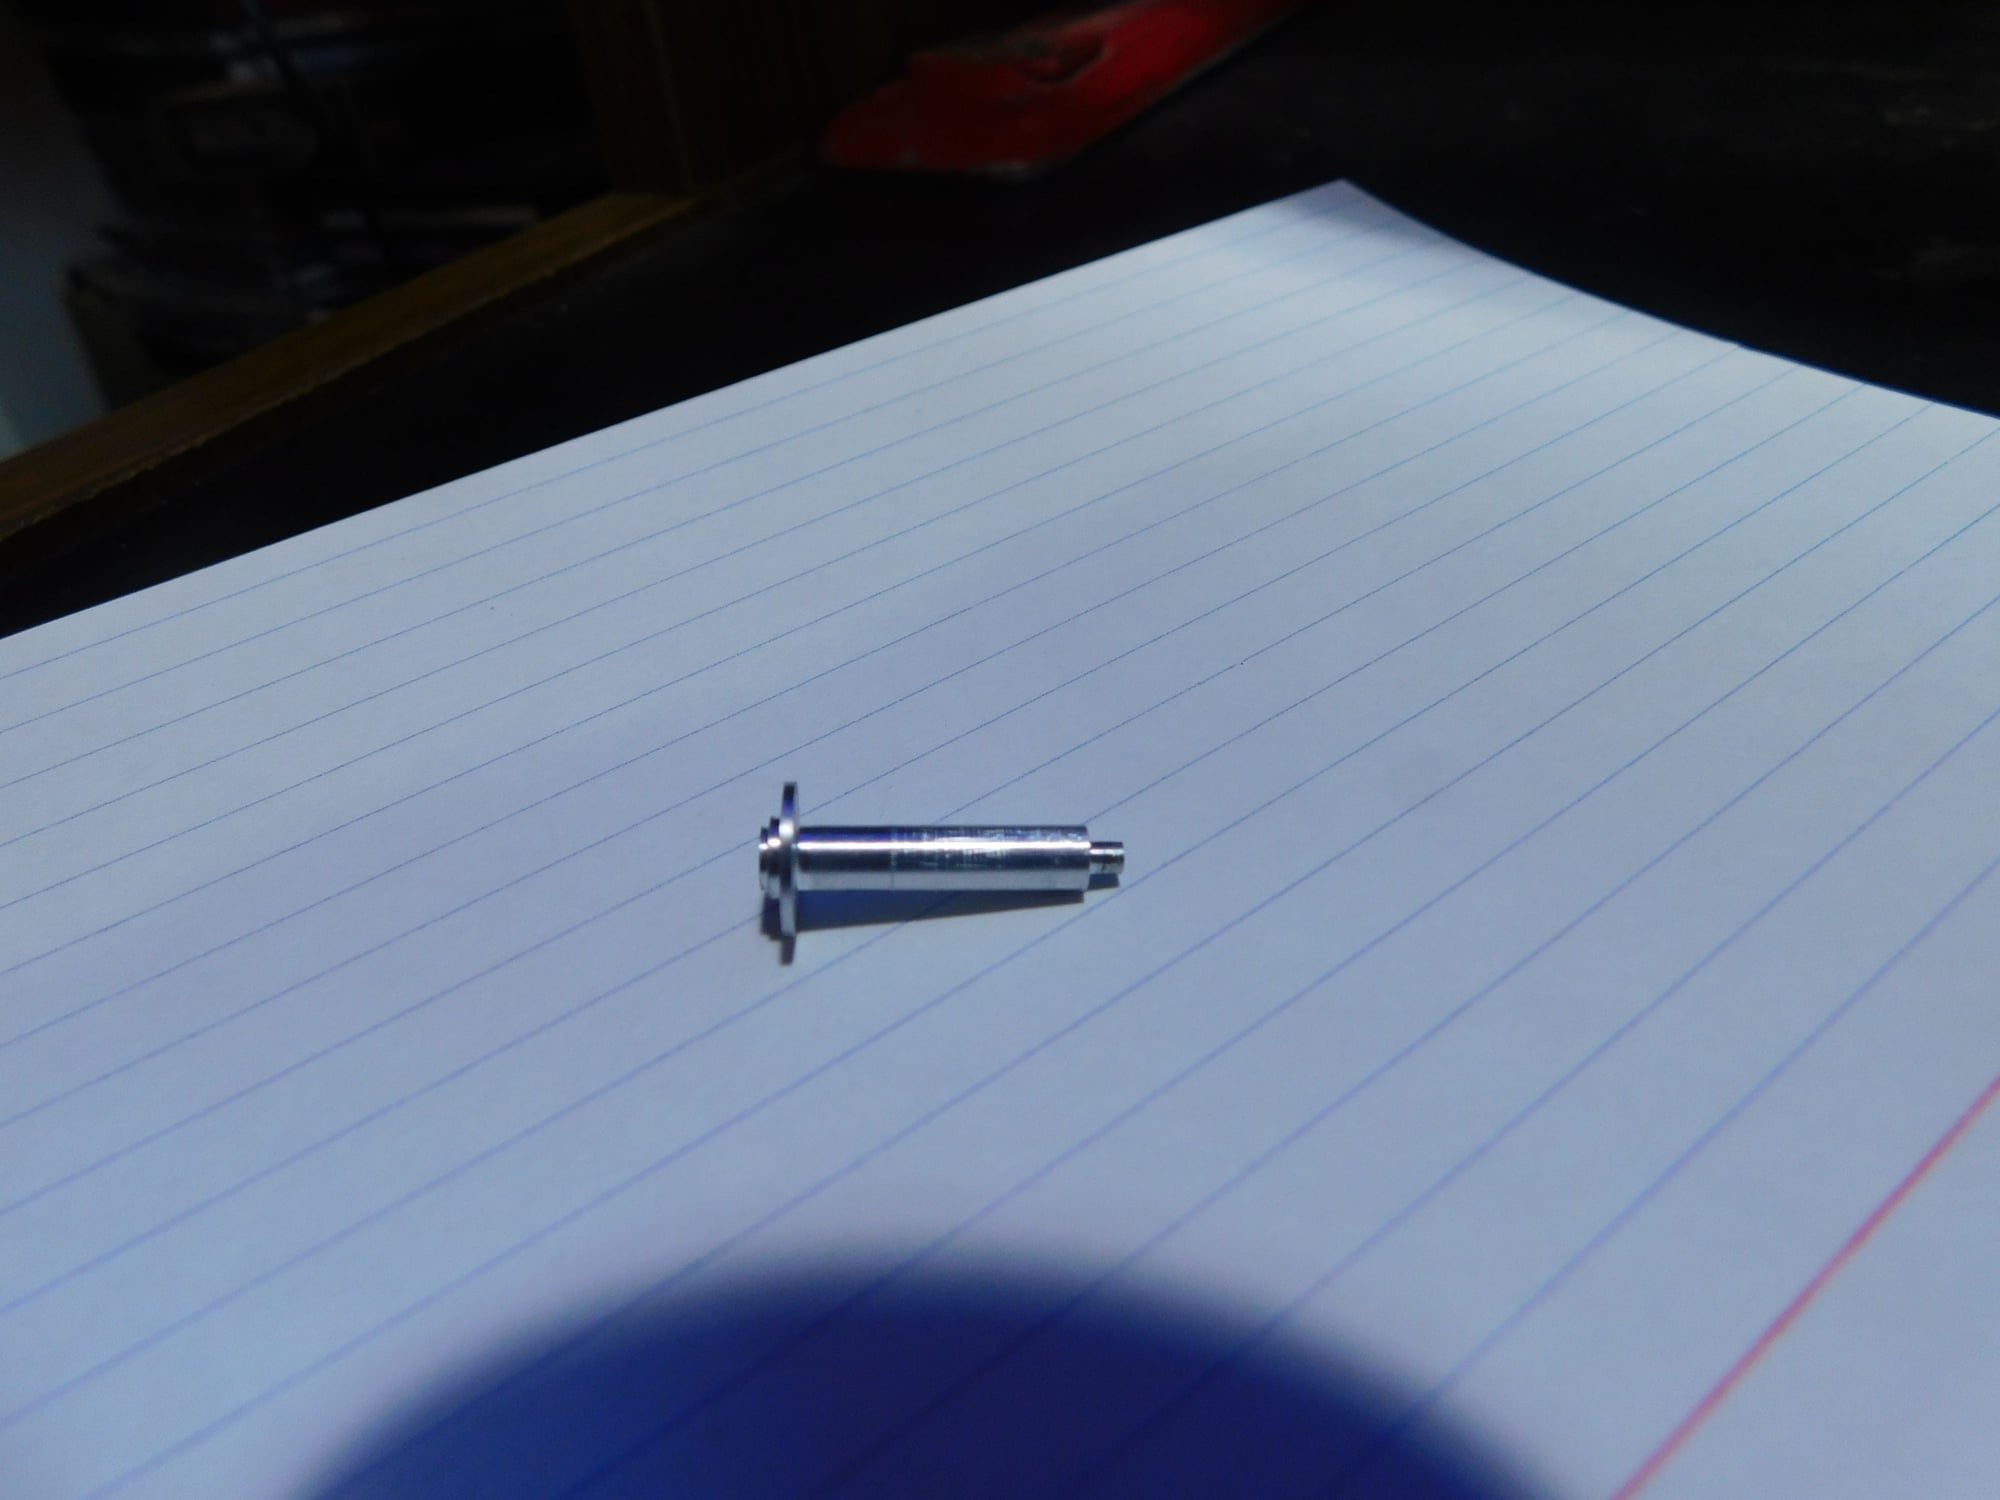
here's mine : )
it's tight and works well, but I should make another one, this one is made from soft Chinese aluminum, it don't shine well
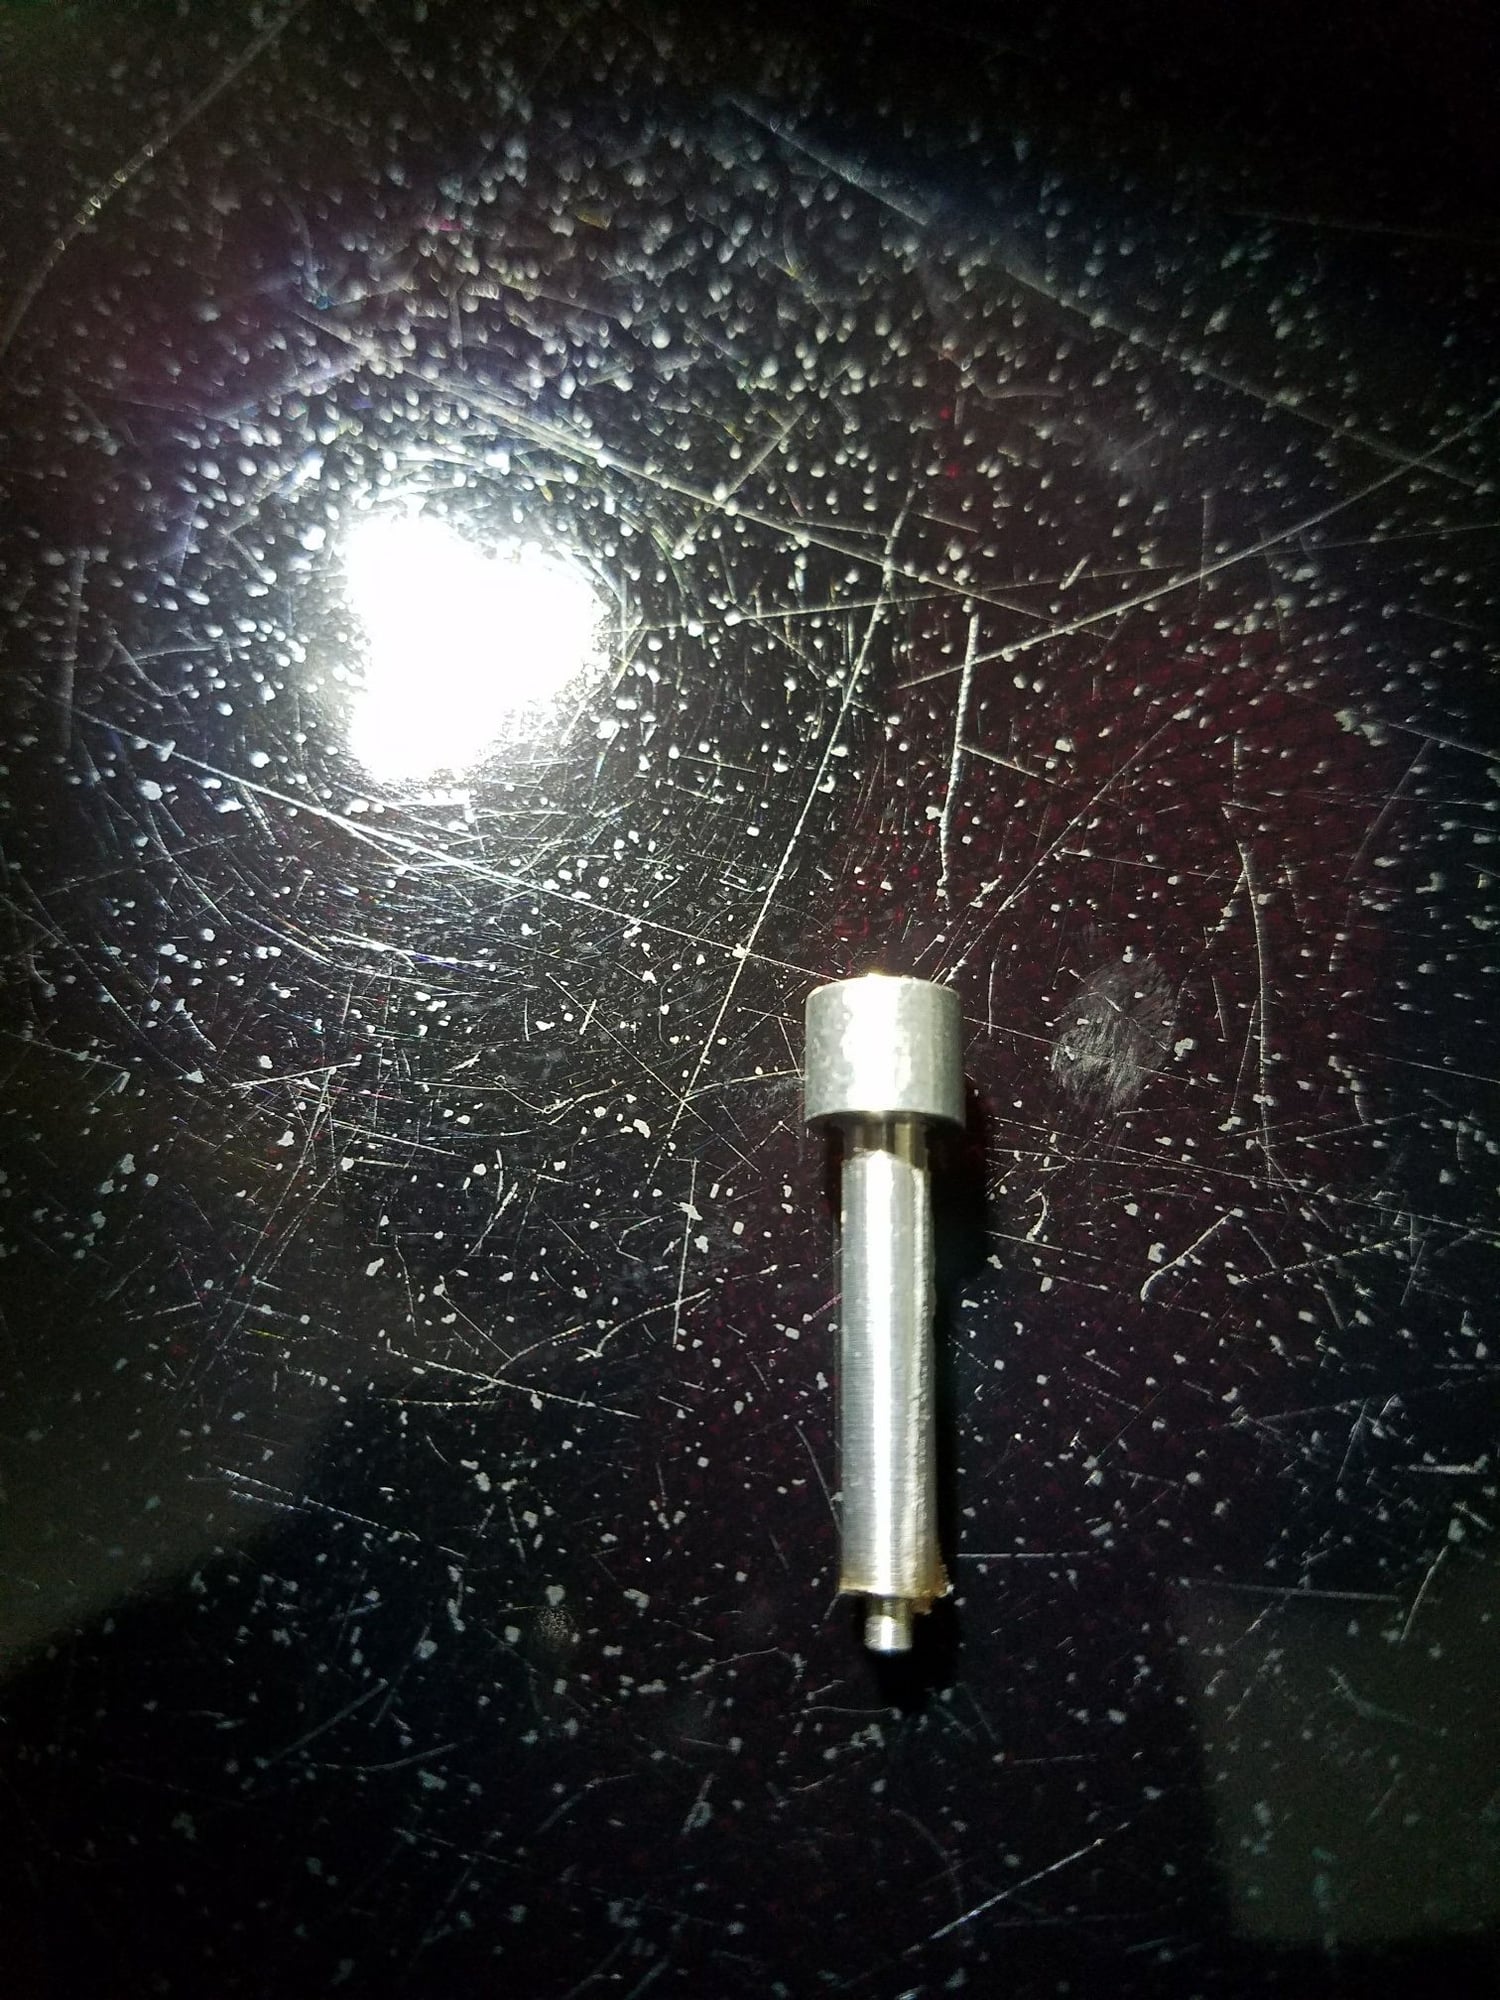
it's tight and works well, but I should make another one, this one is made from soft Chinese aluminum, it don't shine well

Last edited by the Wasp; 11-15-2021 at 06:30 PM.

LOL!
Tossed mine, it was total overkill.
So overkill it was useless.
I will be using a toothpick wrapped with masking tape to check all the engines I did with the other tool. Surprised they run at all.
"Overkill is overtimed"
Nice tools there fellas.
Really, nice
Tossed mine, it was total overkill.
So overkill it was useless.
I will be using a toothpick wrapped with masking tape to check all the engines I did with the other tool. Surprised they run at all.
"Overkill is overtimed"
Nice tools there fellas.
Really, nice

Last edited by Jesse Open; 11-15-2021 at 10:06 PM.

My Feedback: (27)
I’m back home for a bit. I go back to the hospital for a couple hours this morning for IV treatments. I will be doing this every day till this bug is completely out of me.
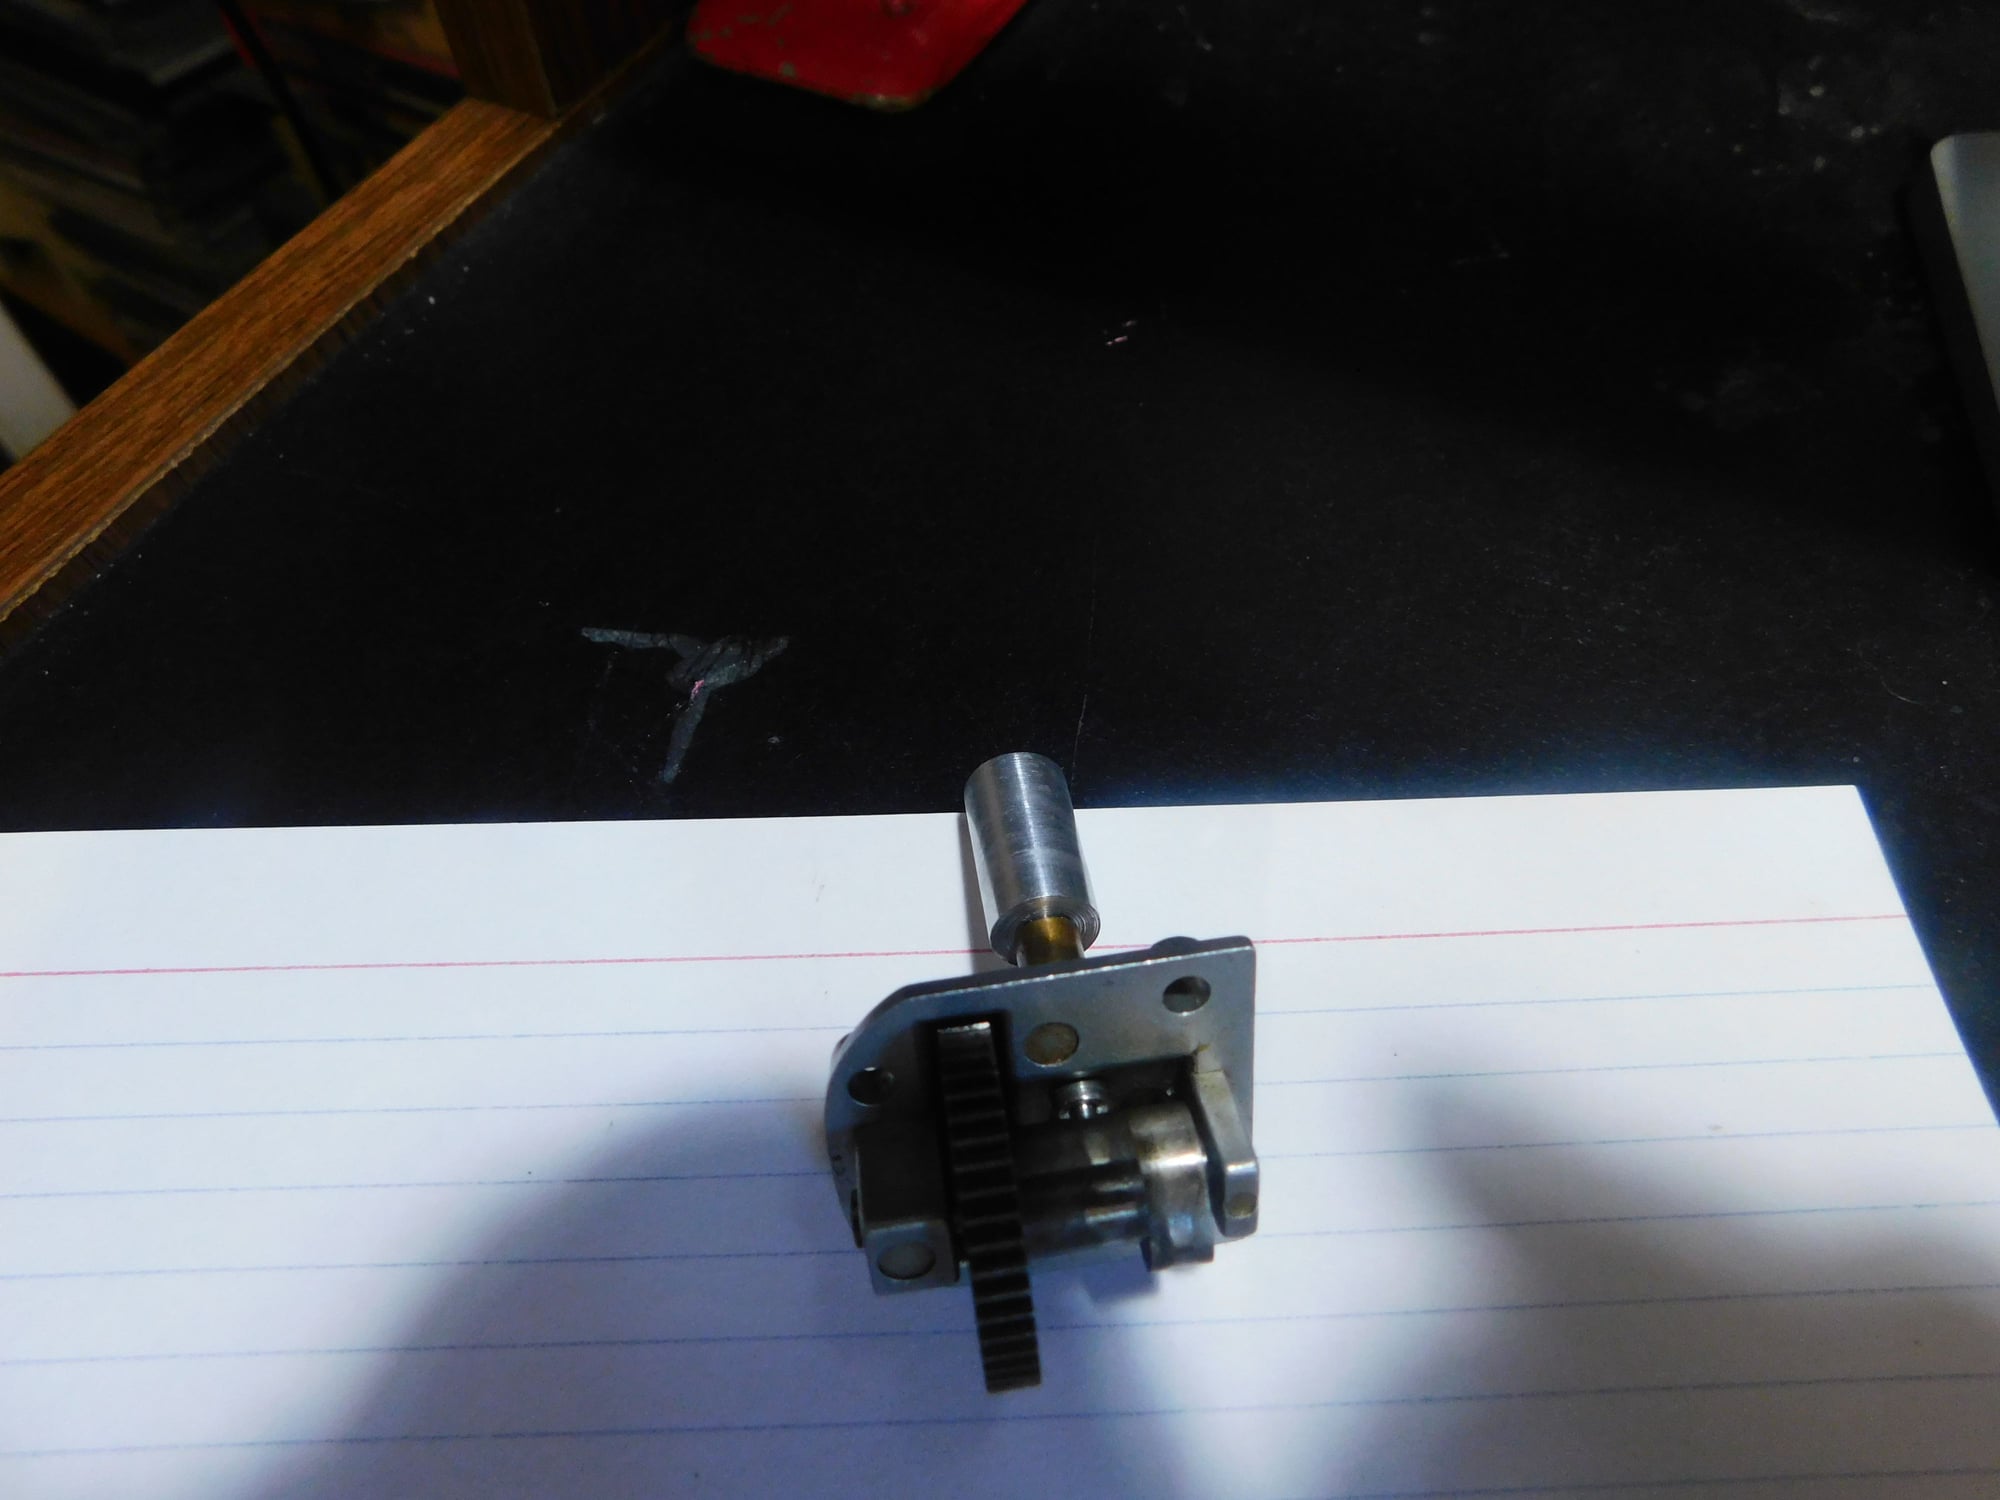
Here are the 2 timing tools I use. Dave had sent me a picture of one made from Nyrod that I made first. Then I machined one. I use the Nyrod one all the time and I think I have only used the machined one twice. I would say the Nyrod is the simple way to go.
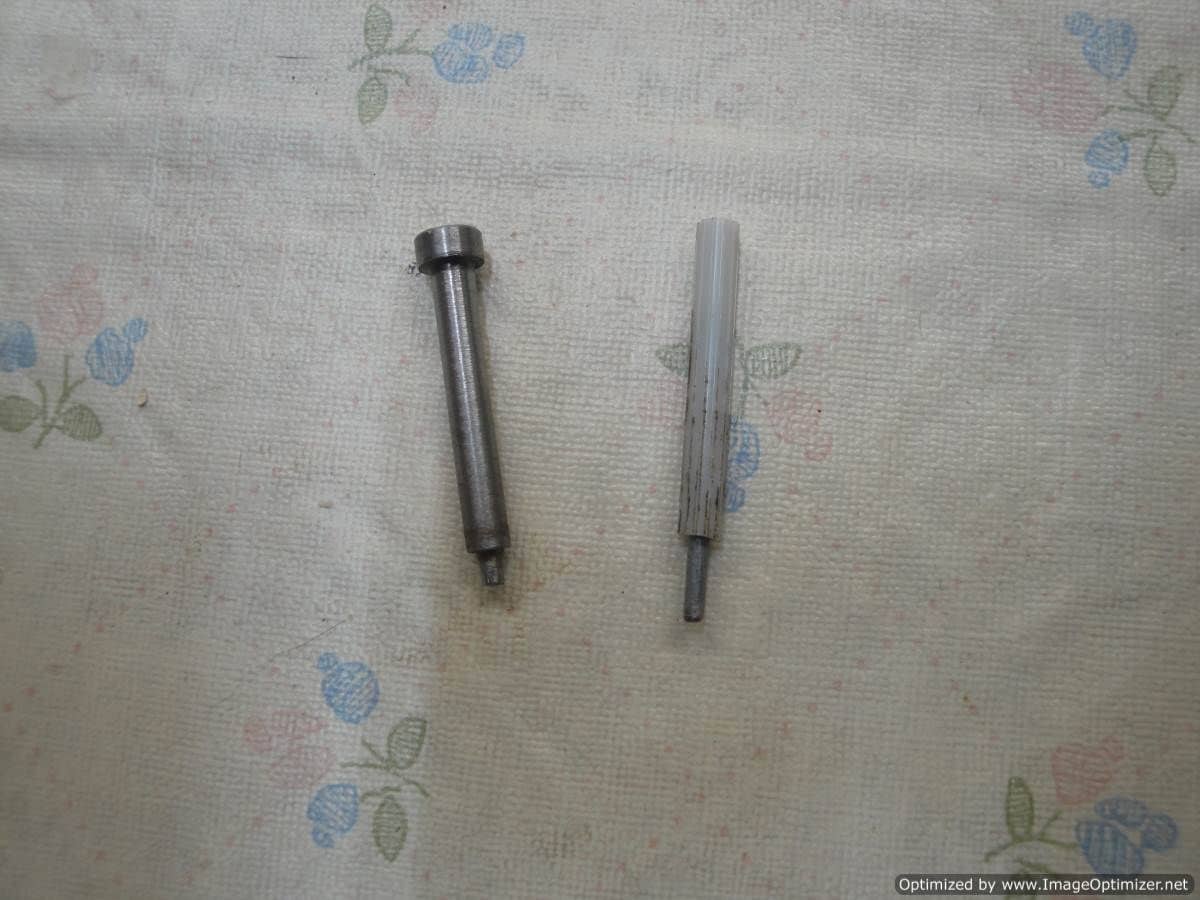
Here are the 2 timing tools I use. Dave had sent me a picture of one made from Nyrod that I made first. Then I machined one. I use the Nyrod one all the time and I think I have only used the machined one twice. I would say the Nyrod is the simple way to go.


Senior Member
To satisfy, the message is too short notice.
Moderator
My Feedback: (58)
How do you ensure that the crank is exactly at TDC? It would be nice if some video instruction on setting the engine timing is available.
Last edited by rajul; 11-16-2021 at 09:01 AM.

Use a rubber band to pull it to top.
I would be happy to show you a tool I made for the purpose but not in this forum
Same tool is used for setting CDI sensor pickup.
Spot on every time
I would be happy to show you a tool I made for the purpose but not in this forum

Same tool is used for setting CDI sensor pickup.
Spot on every time

Last edited by Jesse Open; 11-16-2021 at 09:15 AM.
Visual. The teething on the crank is coarse enough that, as long as that timing tool is used (camshaft locked) there is zero possibility for mistakes: one tooth out would mean appr 30 degrees before or after top, and that is VERY visible.

Actually iirc there are 24 teeth on the crank pinion so 1 tooth equals 15 degrees of crank angle.
Since I made a crank tool for initial setup on CDI, I simply use that tool to index TDC.
Not really a must but super easy and very positive.
You can do well by using a rubberband to hold the crankpin at TDC, easy enough to utilize.
Makes a 2-1/2 hand job real easy
I don't happen to have a Saito apart right now but next time, I will post pics.
Since I made a crank tool for initial setup on CDI, I simply use that tool to index TDC.
Not really a must but super easy and very positive.
You can do well by using a rubberband to hold the crankpin at TDC, easy enough to utilize.
Makes a 2-1/2 hand job real easy

I don't happen to have a Saito apart right now but next time, I will post pics.

My Feedback: (1)
well, there's more that one way to brake a leg LOL
Jim

My Feedback: (1)
Jim

My Feedback: (1)
Senior Member
Something I picked up on when trying the tool out was that the oil hole in the cam bushing is seldom lined up precisely. If the little "nub" on the end of the tool is too long and cannot bottom out, the cam can move around a little.


