


SIG Four-Star 60 Build
 05-13-2019, 02:34 PM
#151

Thread Starter
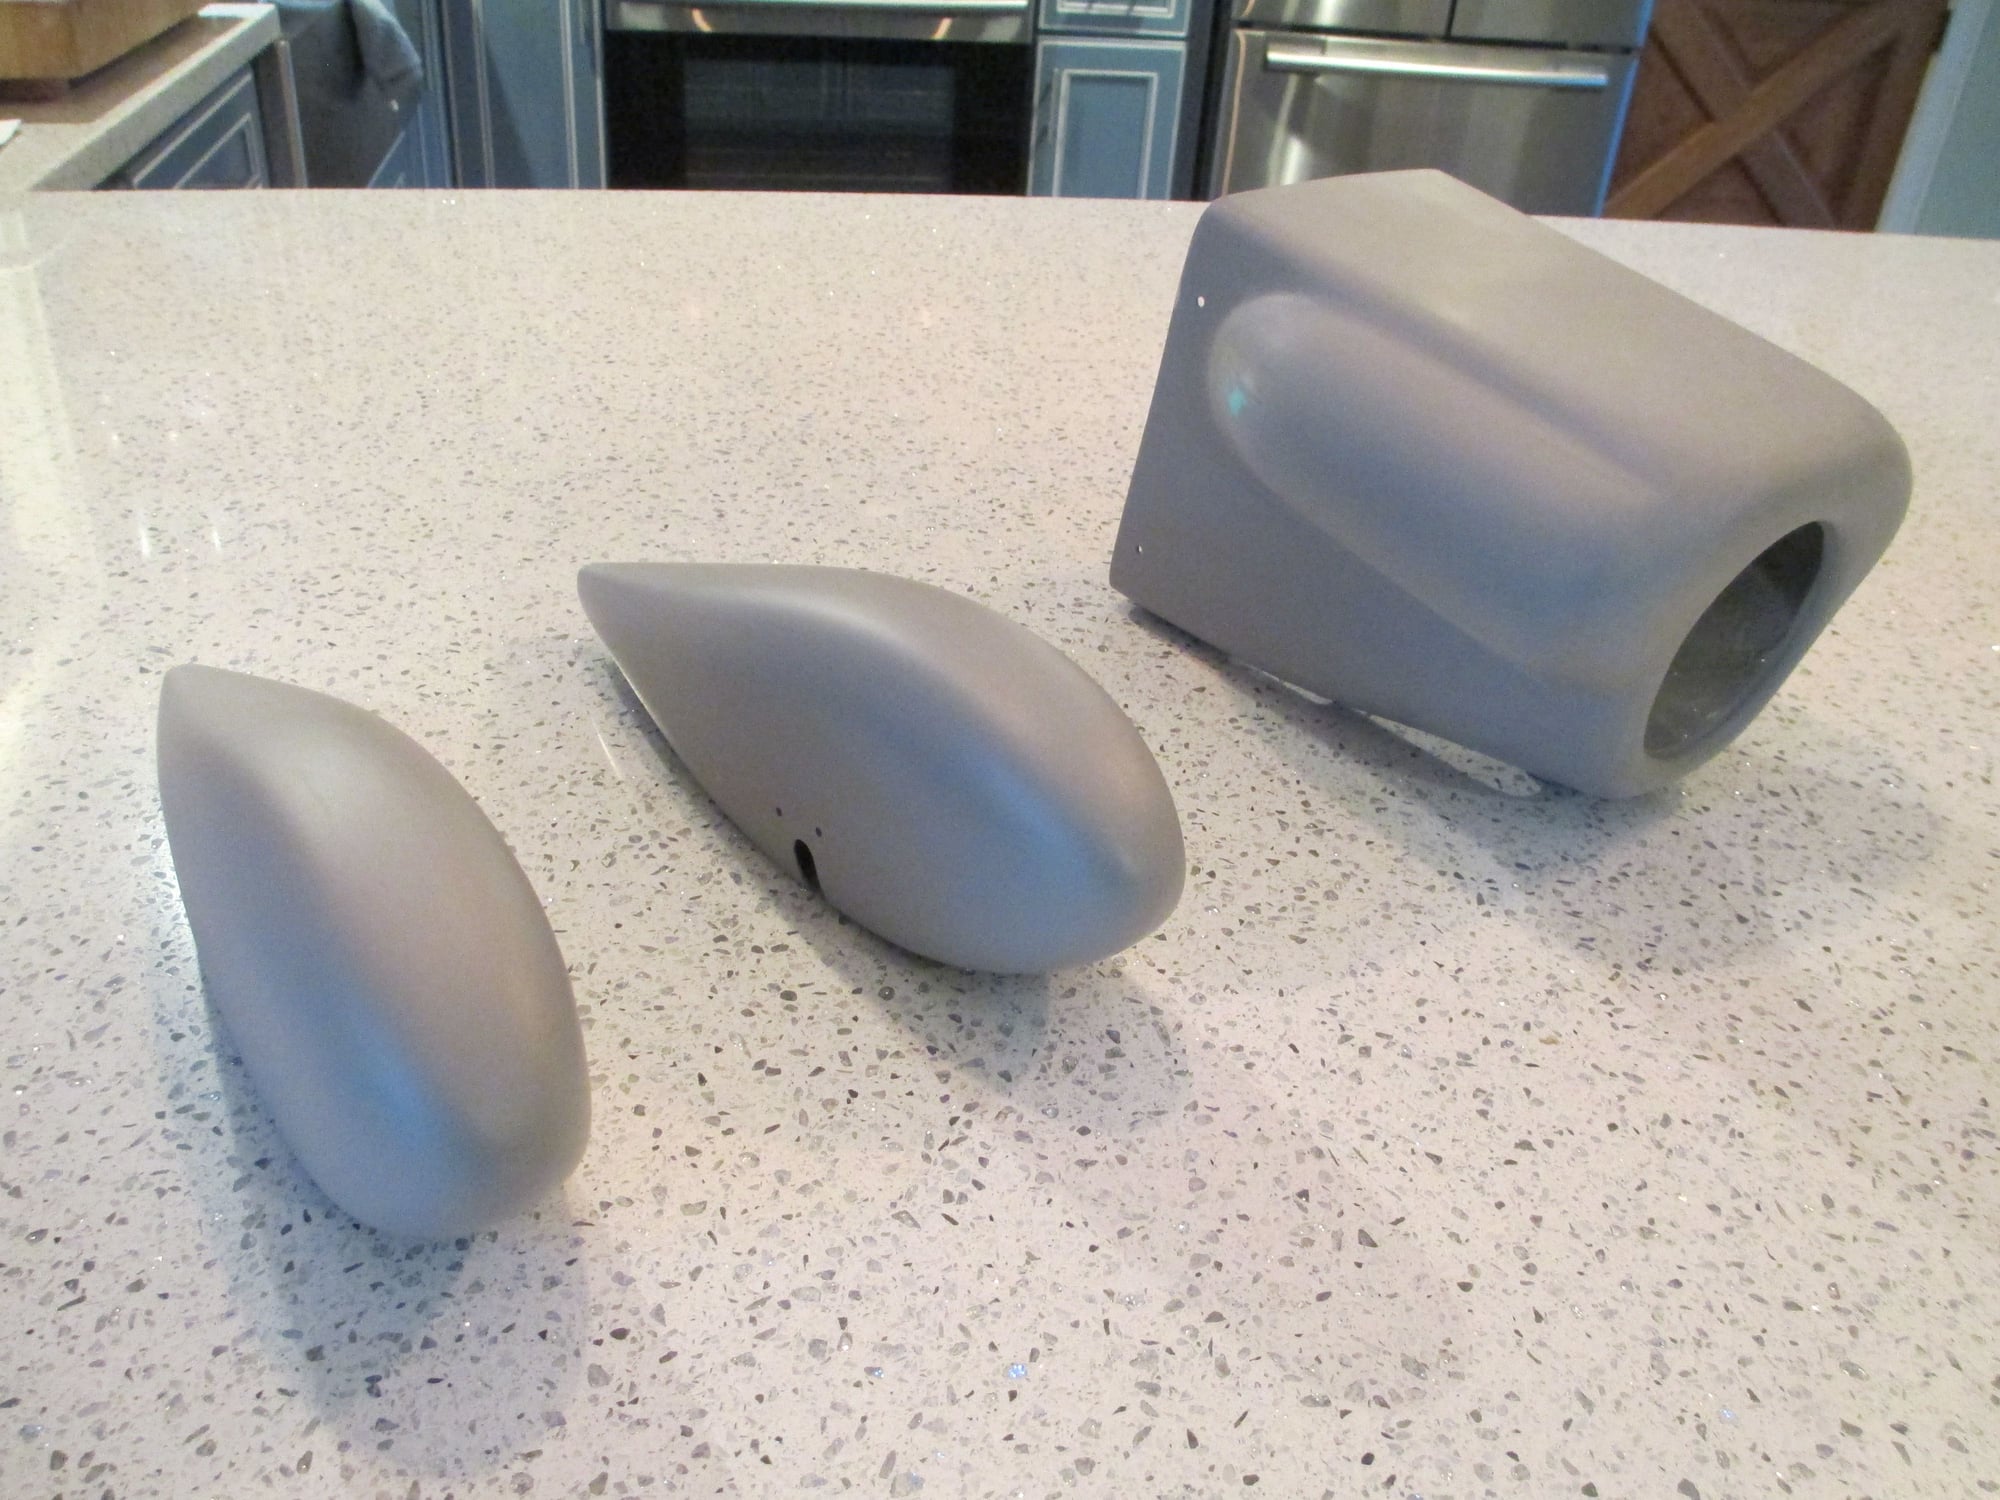
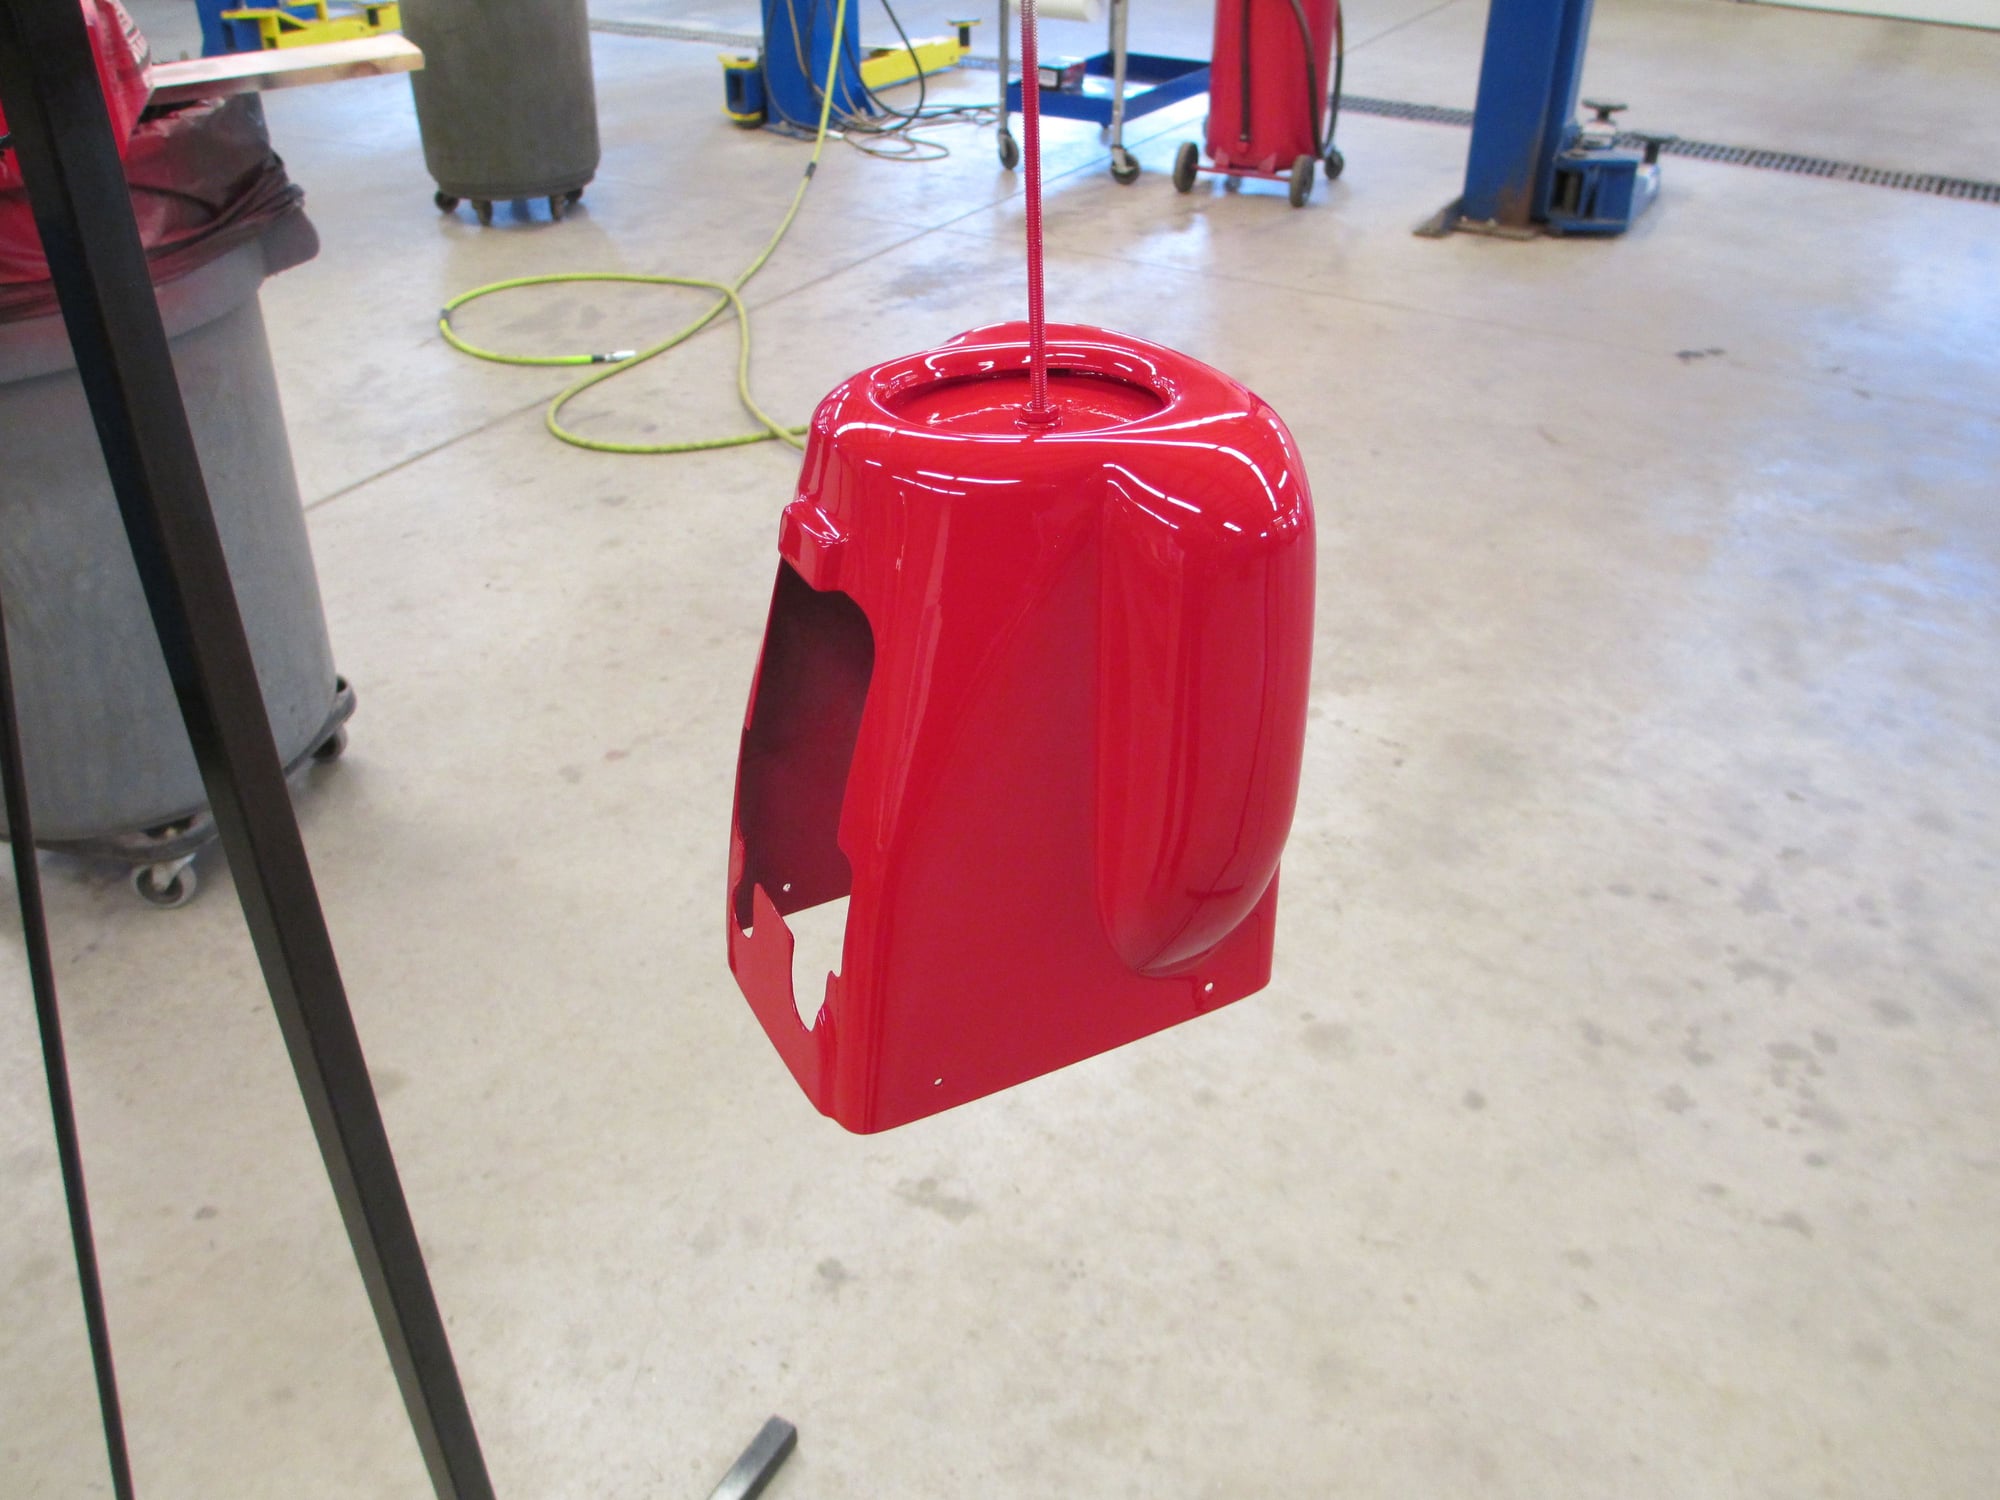
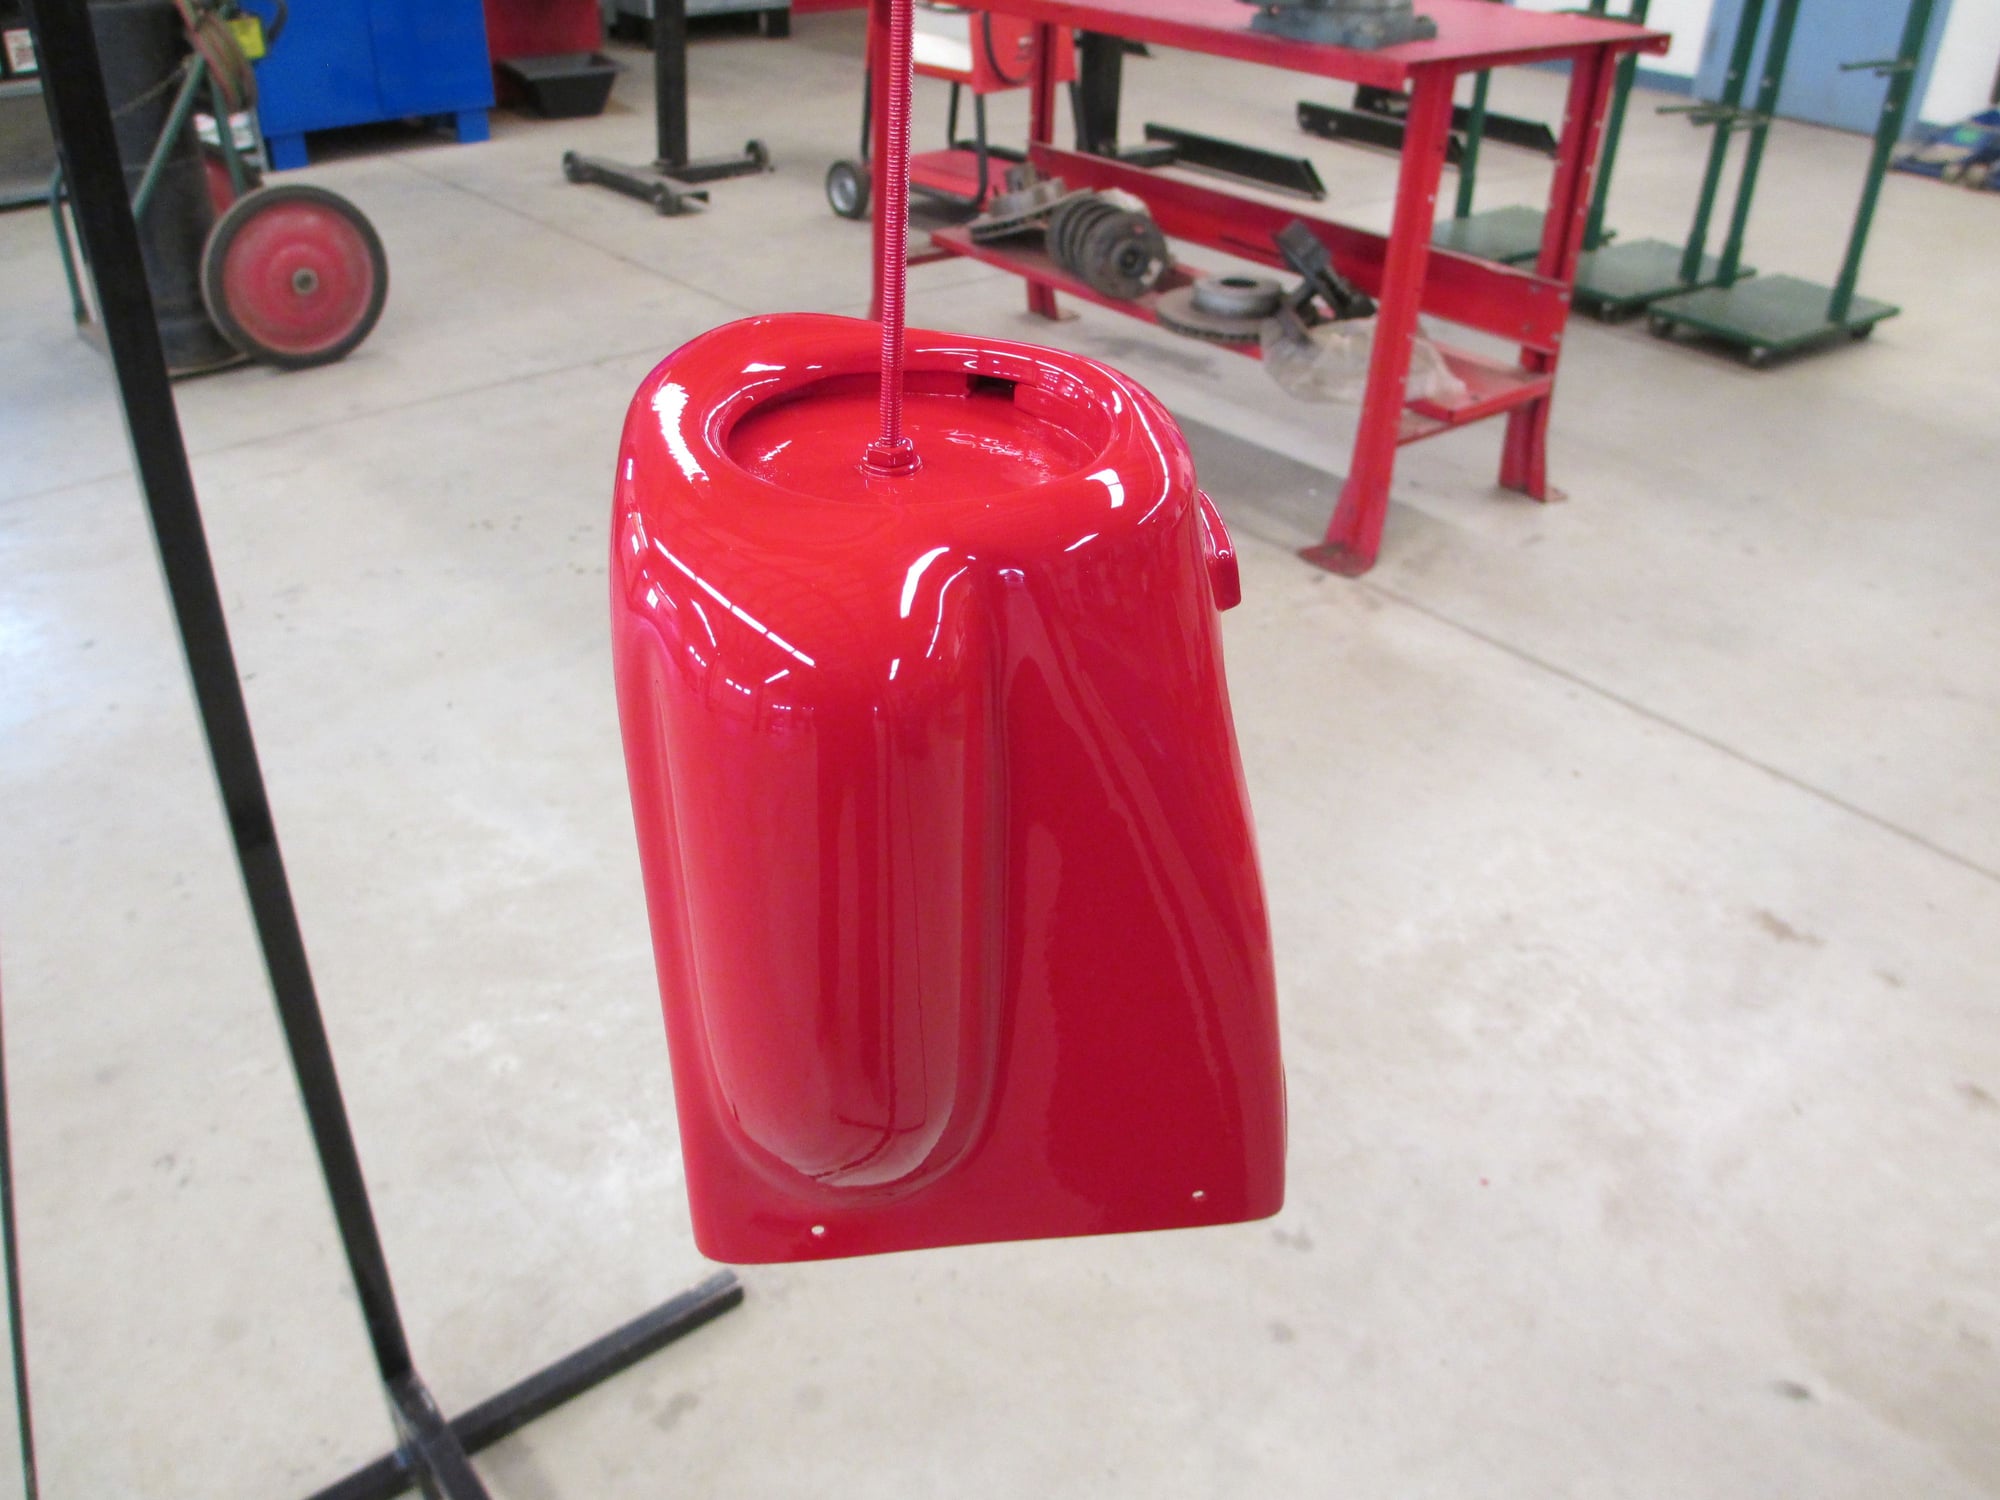
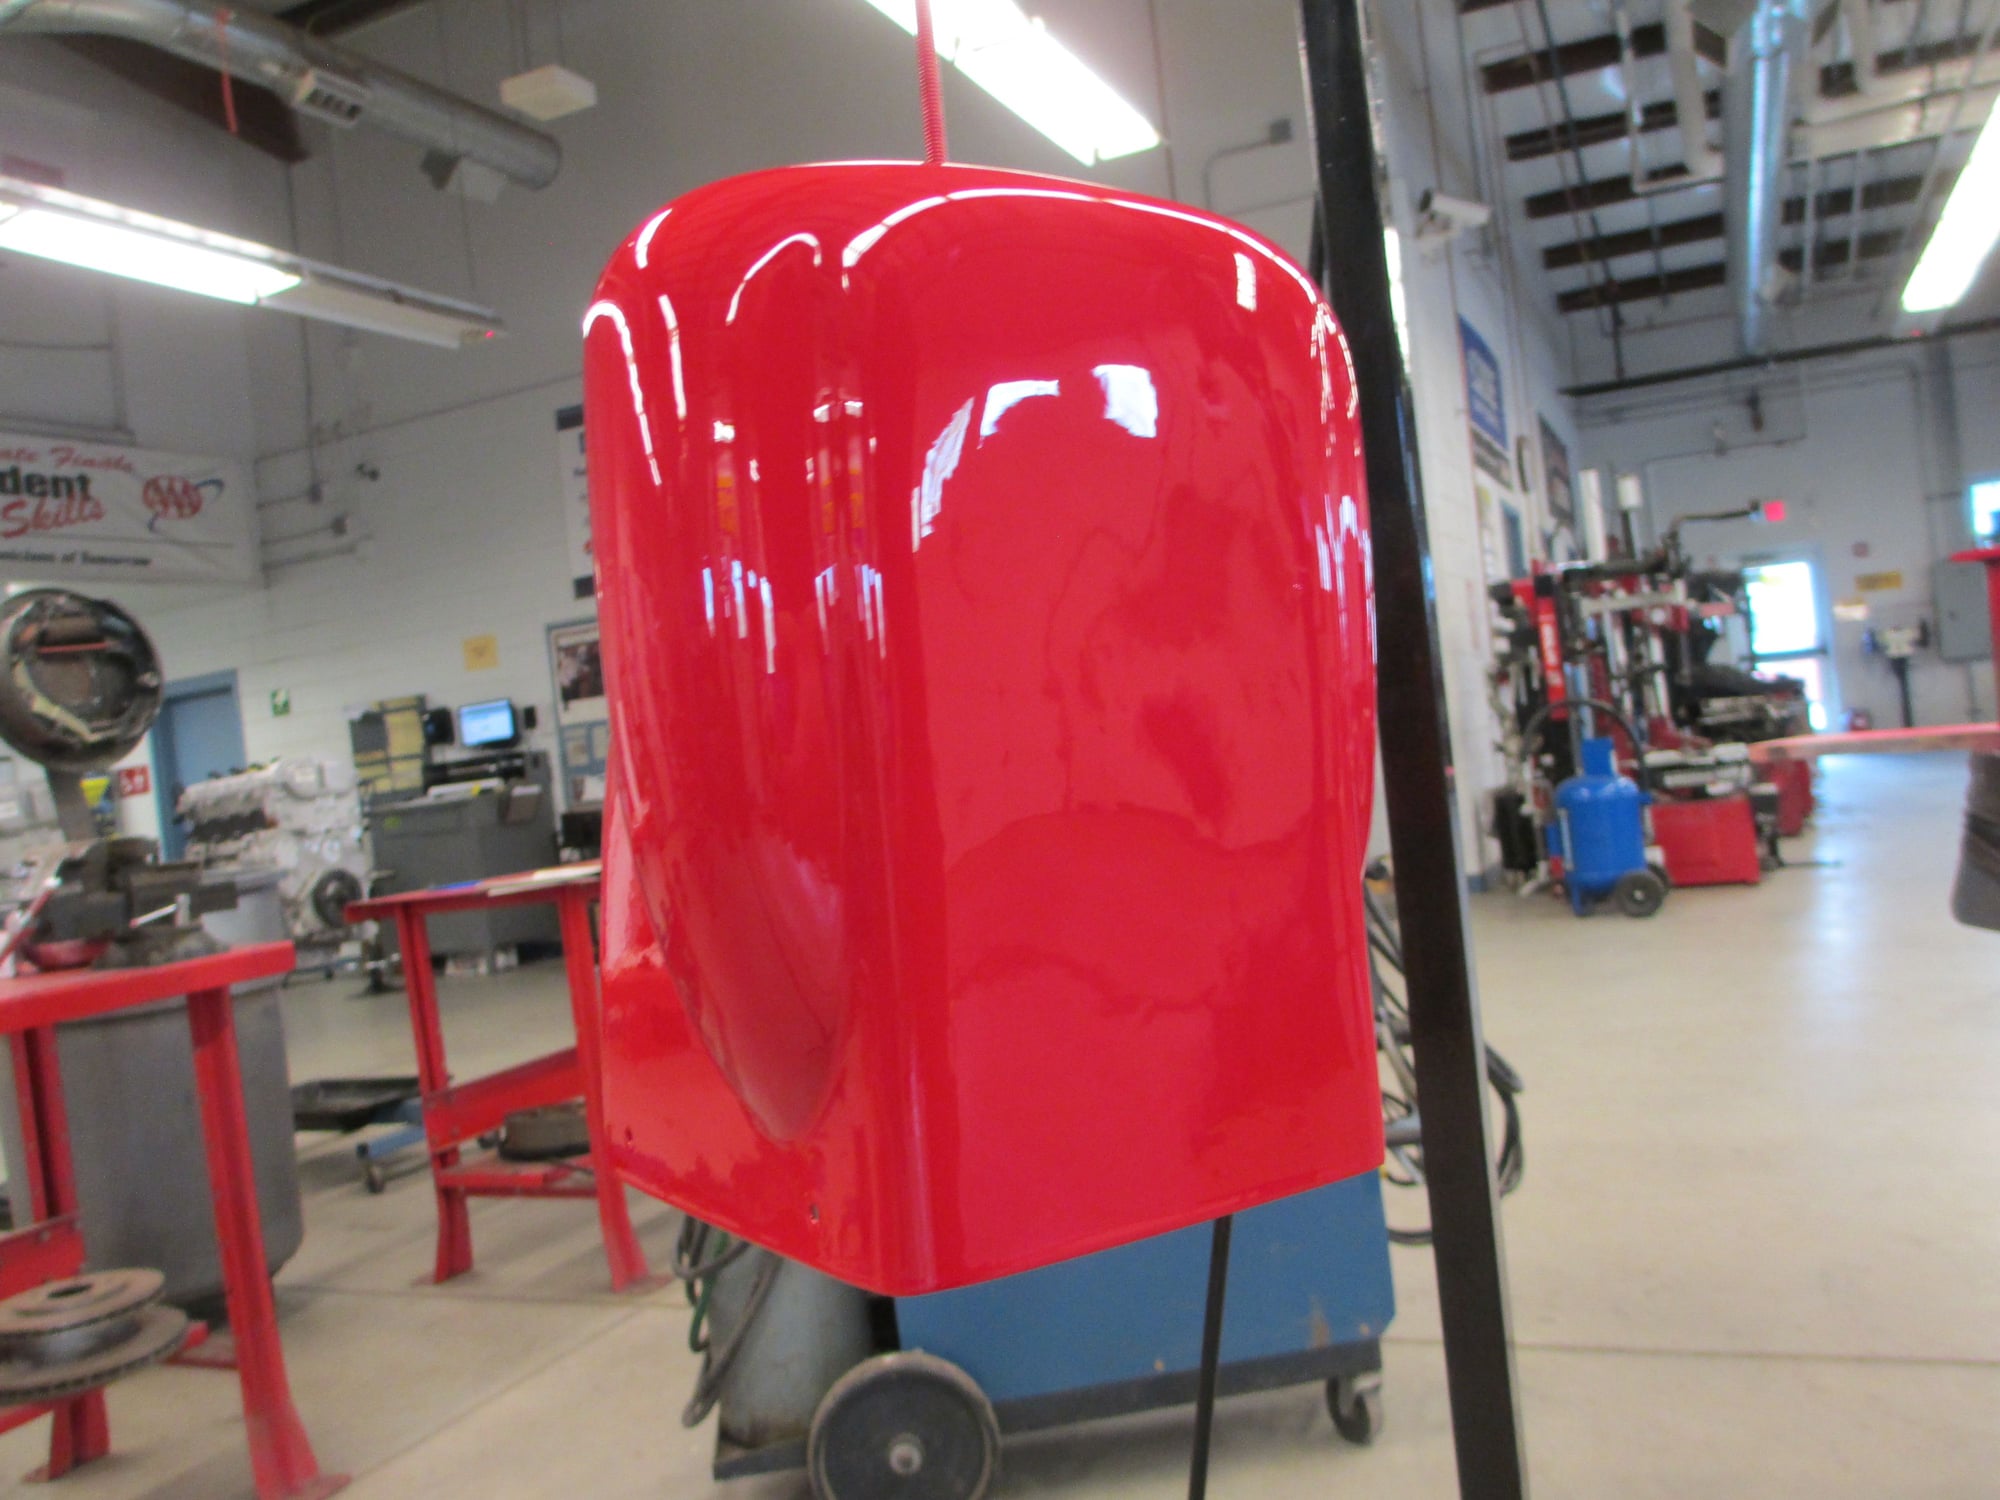
All of the fiberglass components have been primered, filled and final sanded with 400 grit paper.
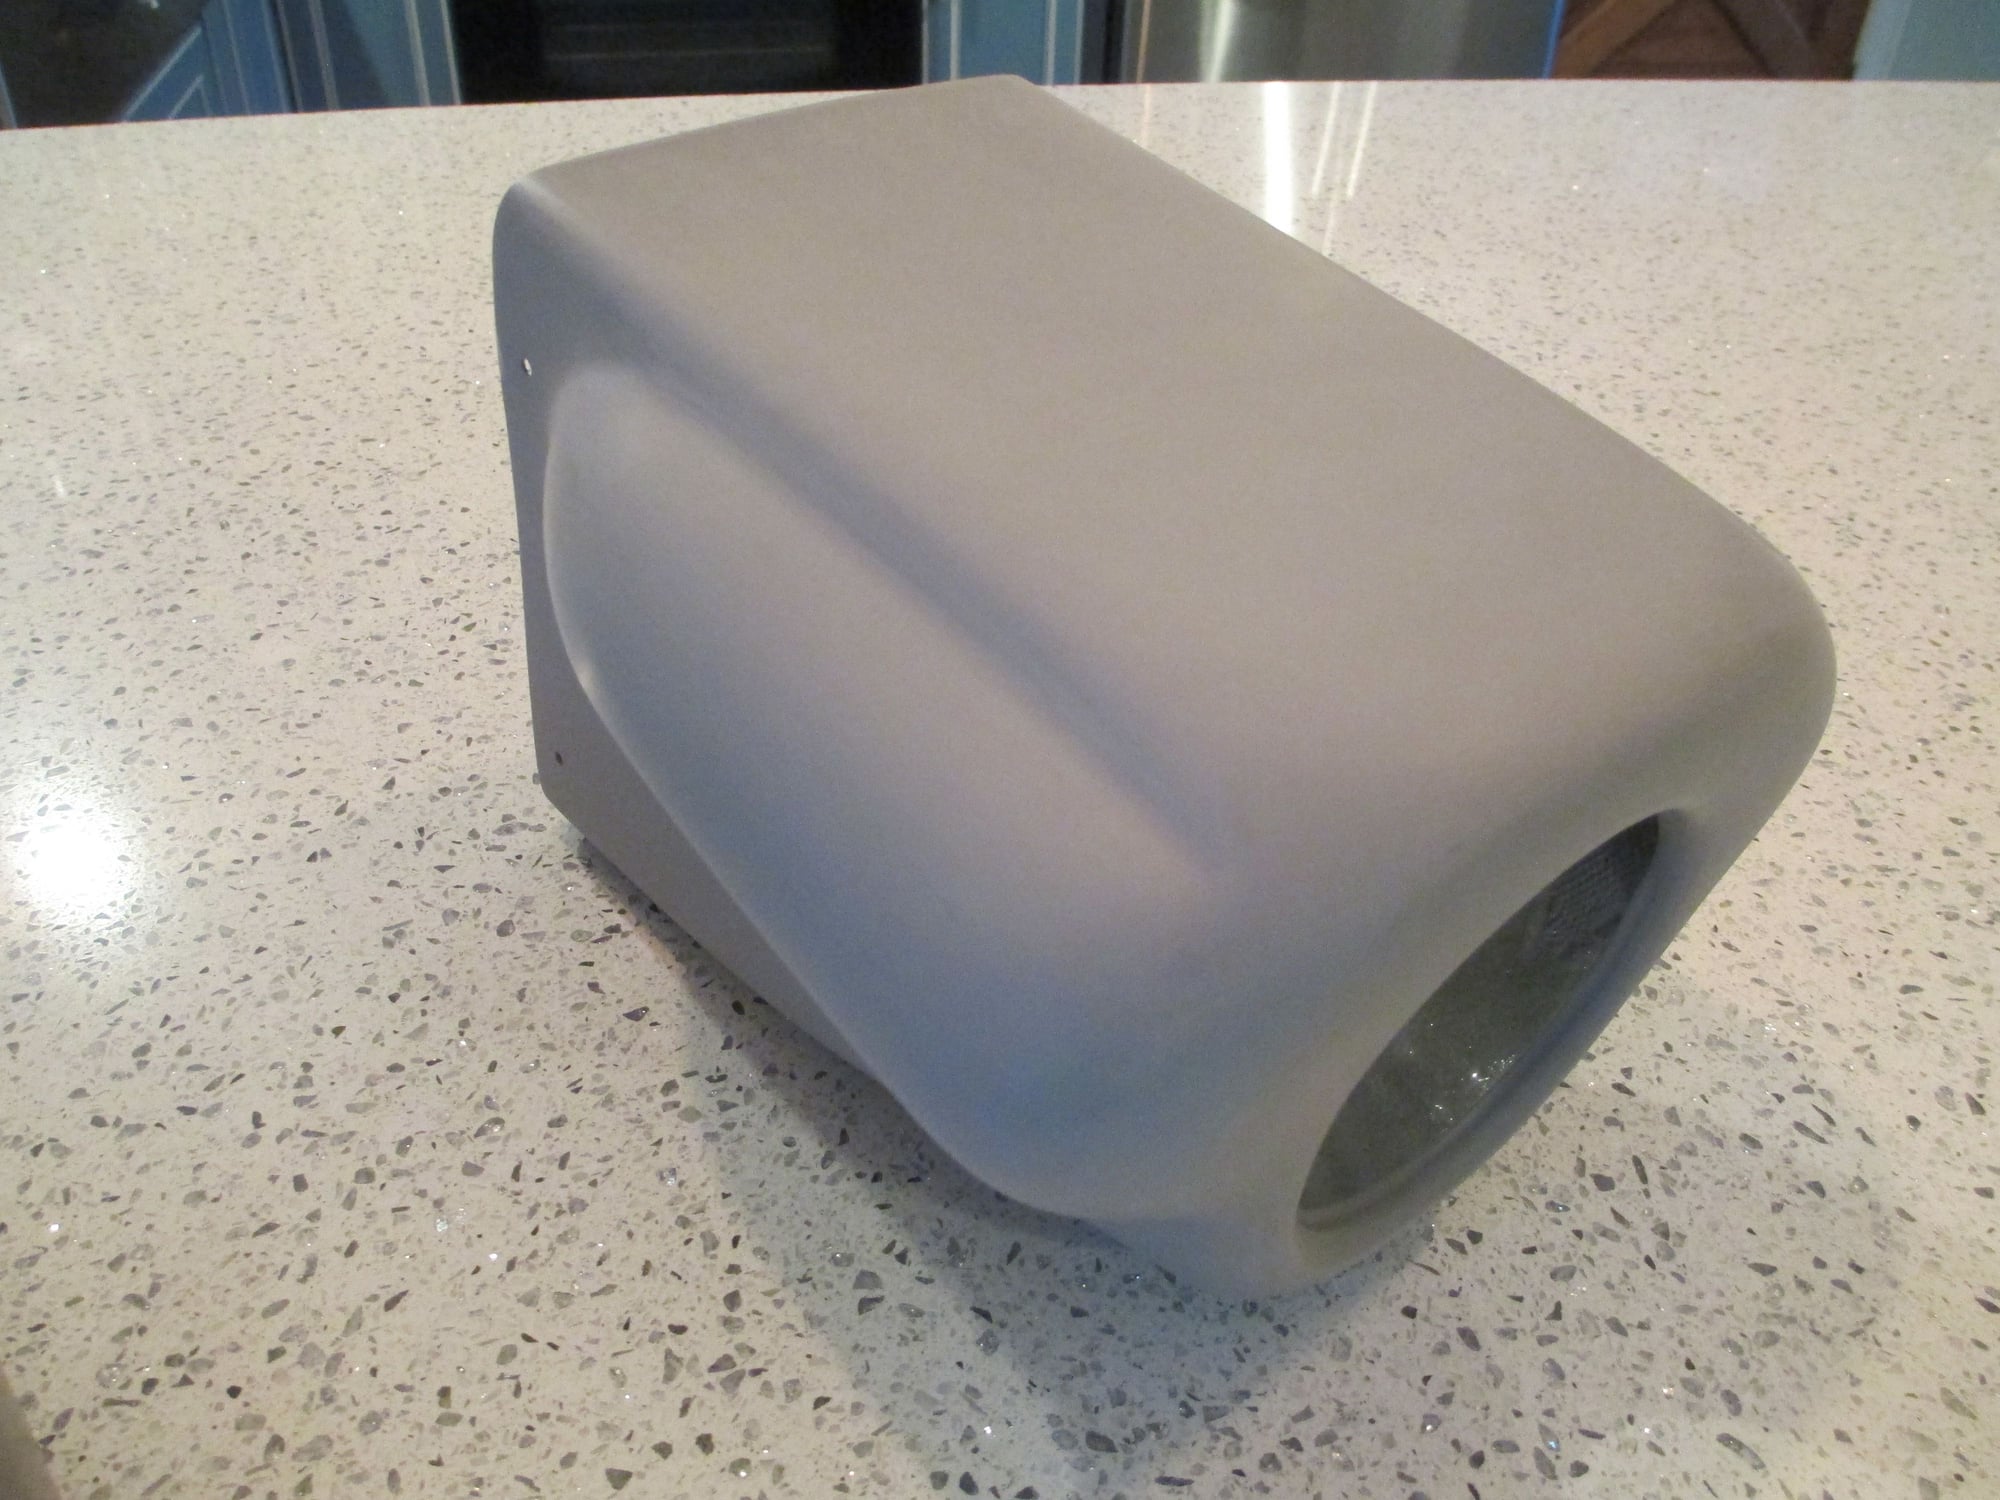
I think I'll give these parts a few more days to fully dry before I spray them with color.
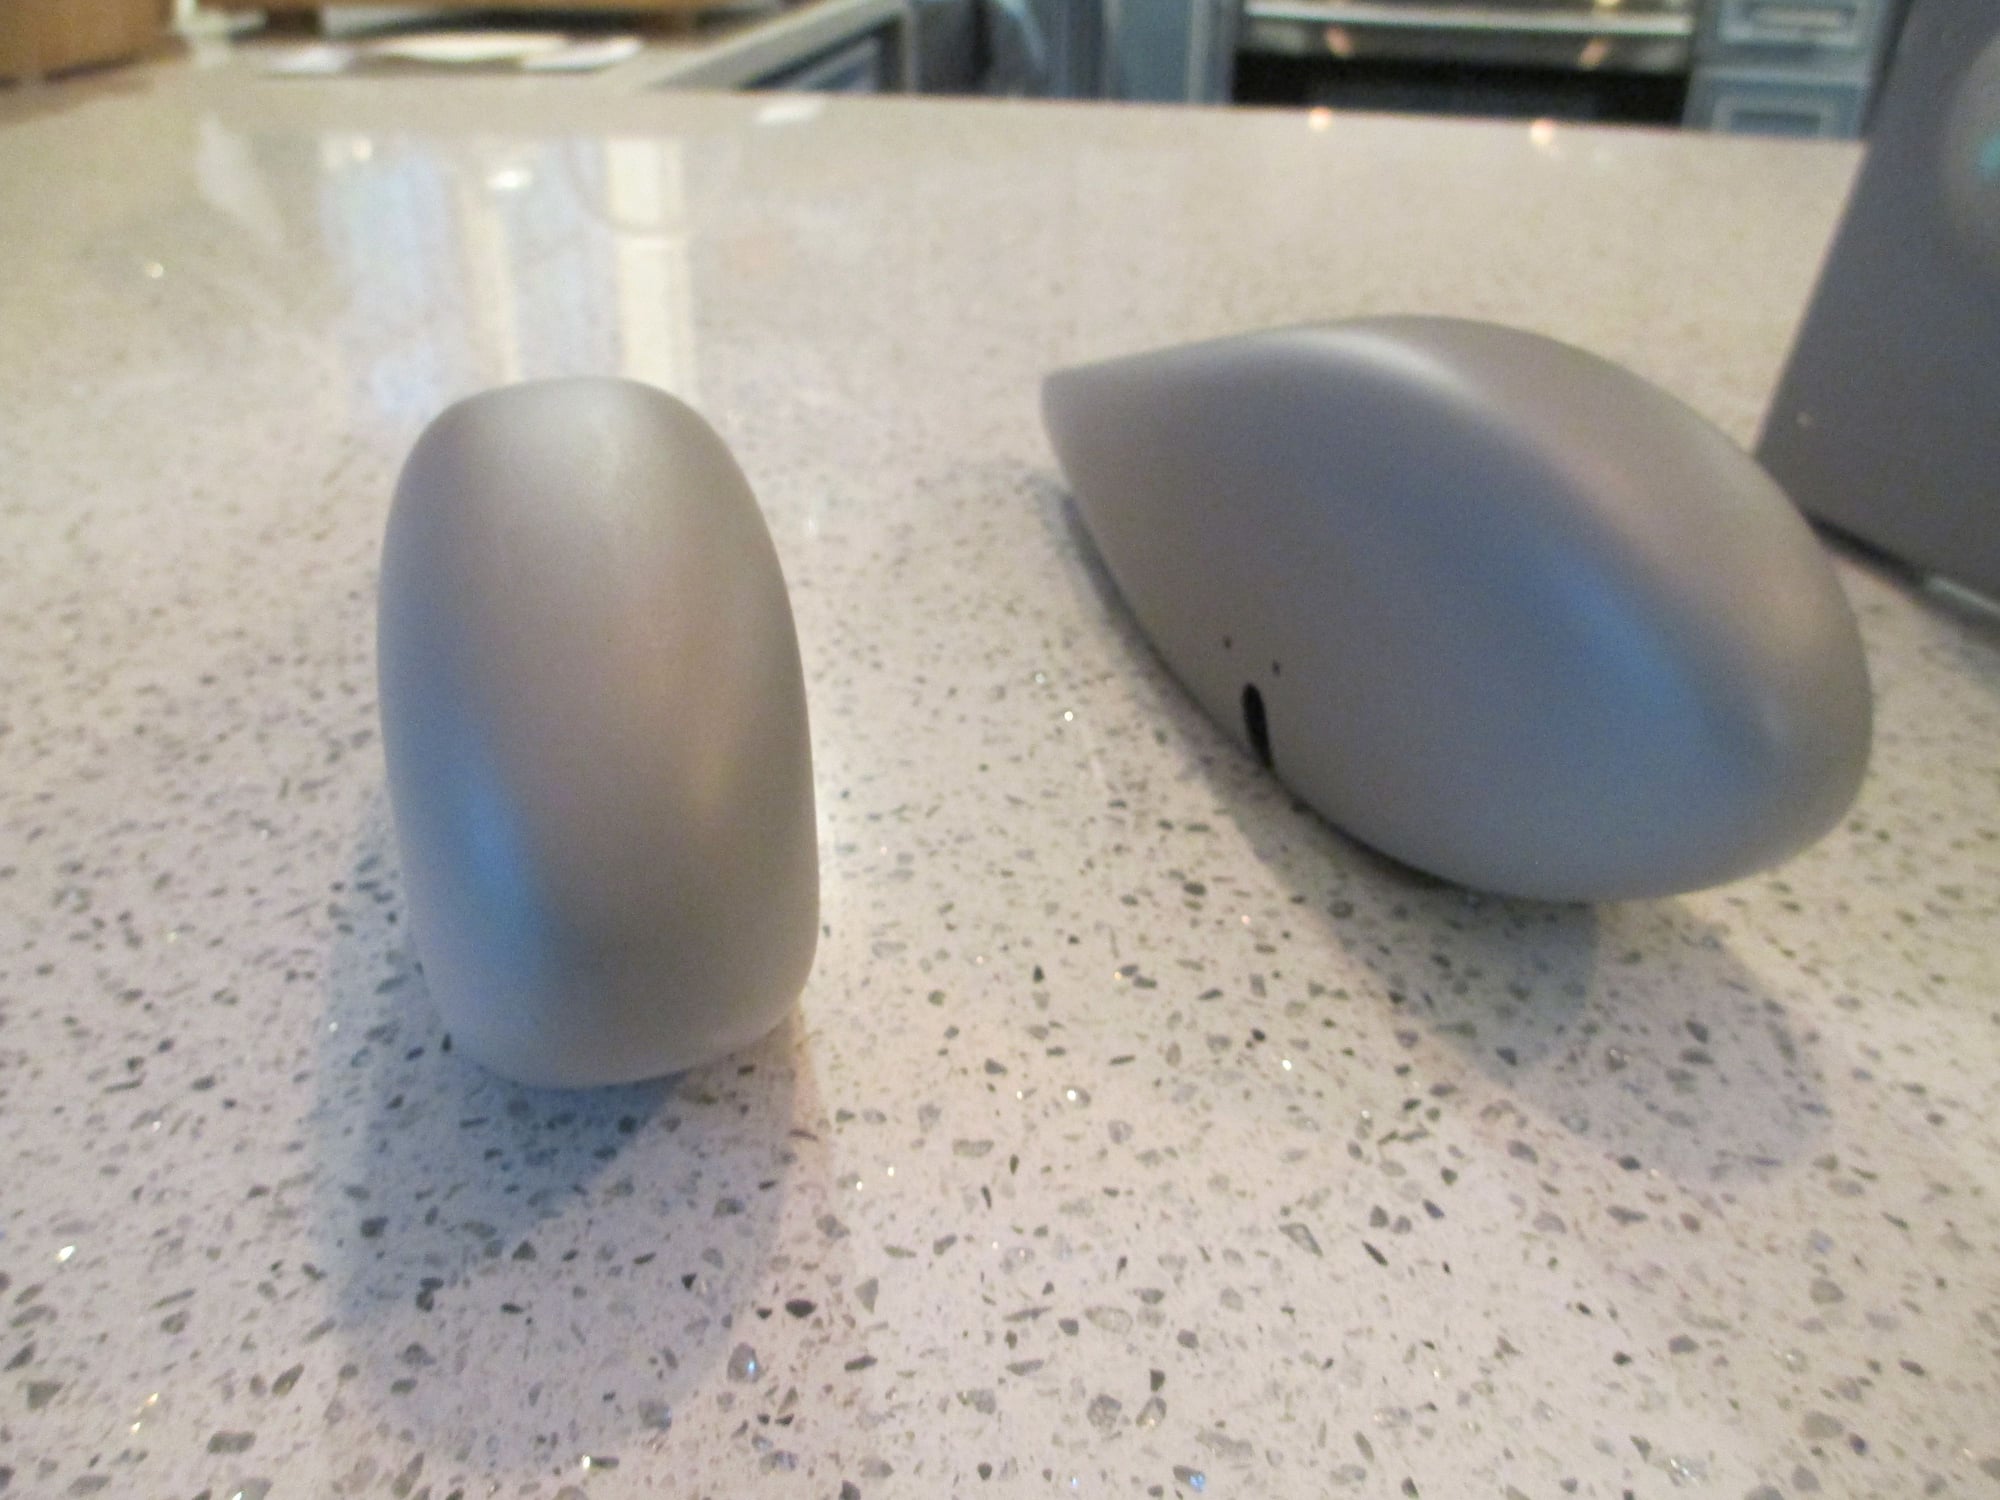
I'll be using an epoxy paint by Klass Kote. I've bought their paint many times and have been extremely happy with how the paint flows from the gun. More on that later...
Last edited by VincentJ; 05-14-2019 at 02:52 AM.

 05-14-2019, 05:28 AM
#153
Thread Starter
Tim, if I were to primer the entire plane I would opt to use my spray gun. Since I had only a few small items to do, I used a good quality sandable primer from a rattle can.

 05-15-2019, 08:28 AM
#155
Thread Starter
Thank you SA Flyer, glad you found this thread!
Last edited by VincentJ; 05-15-2019 at 08:32 AM.
05-16-2019, 12:39 PM
#157
Thread Starter
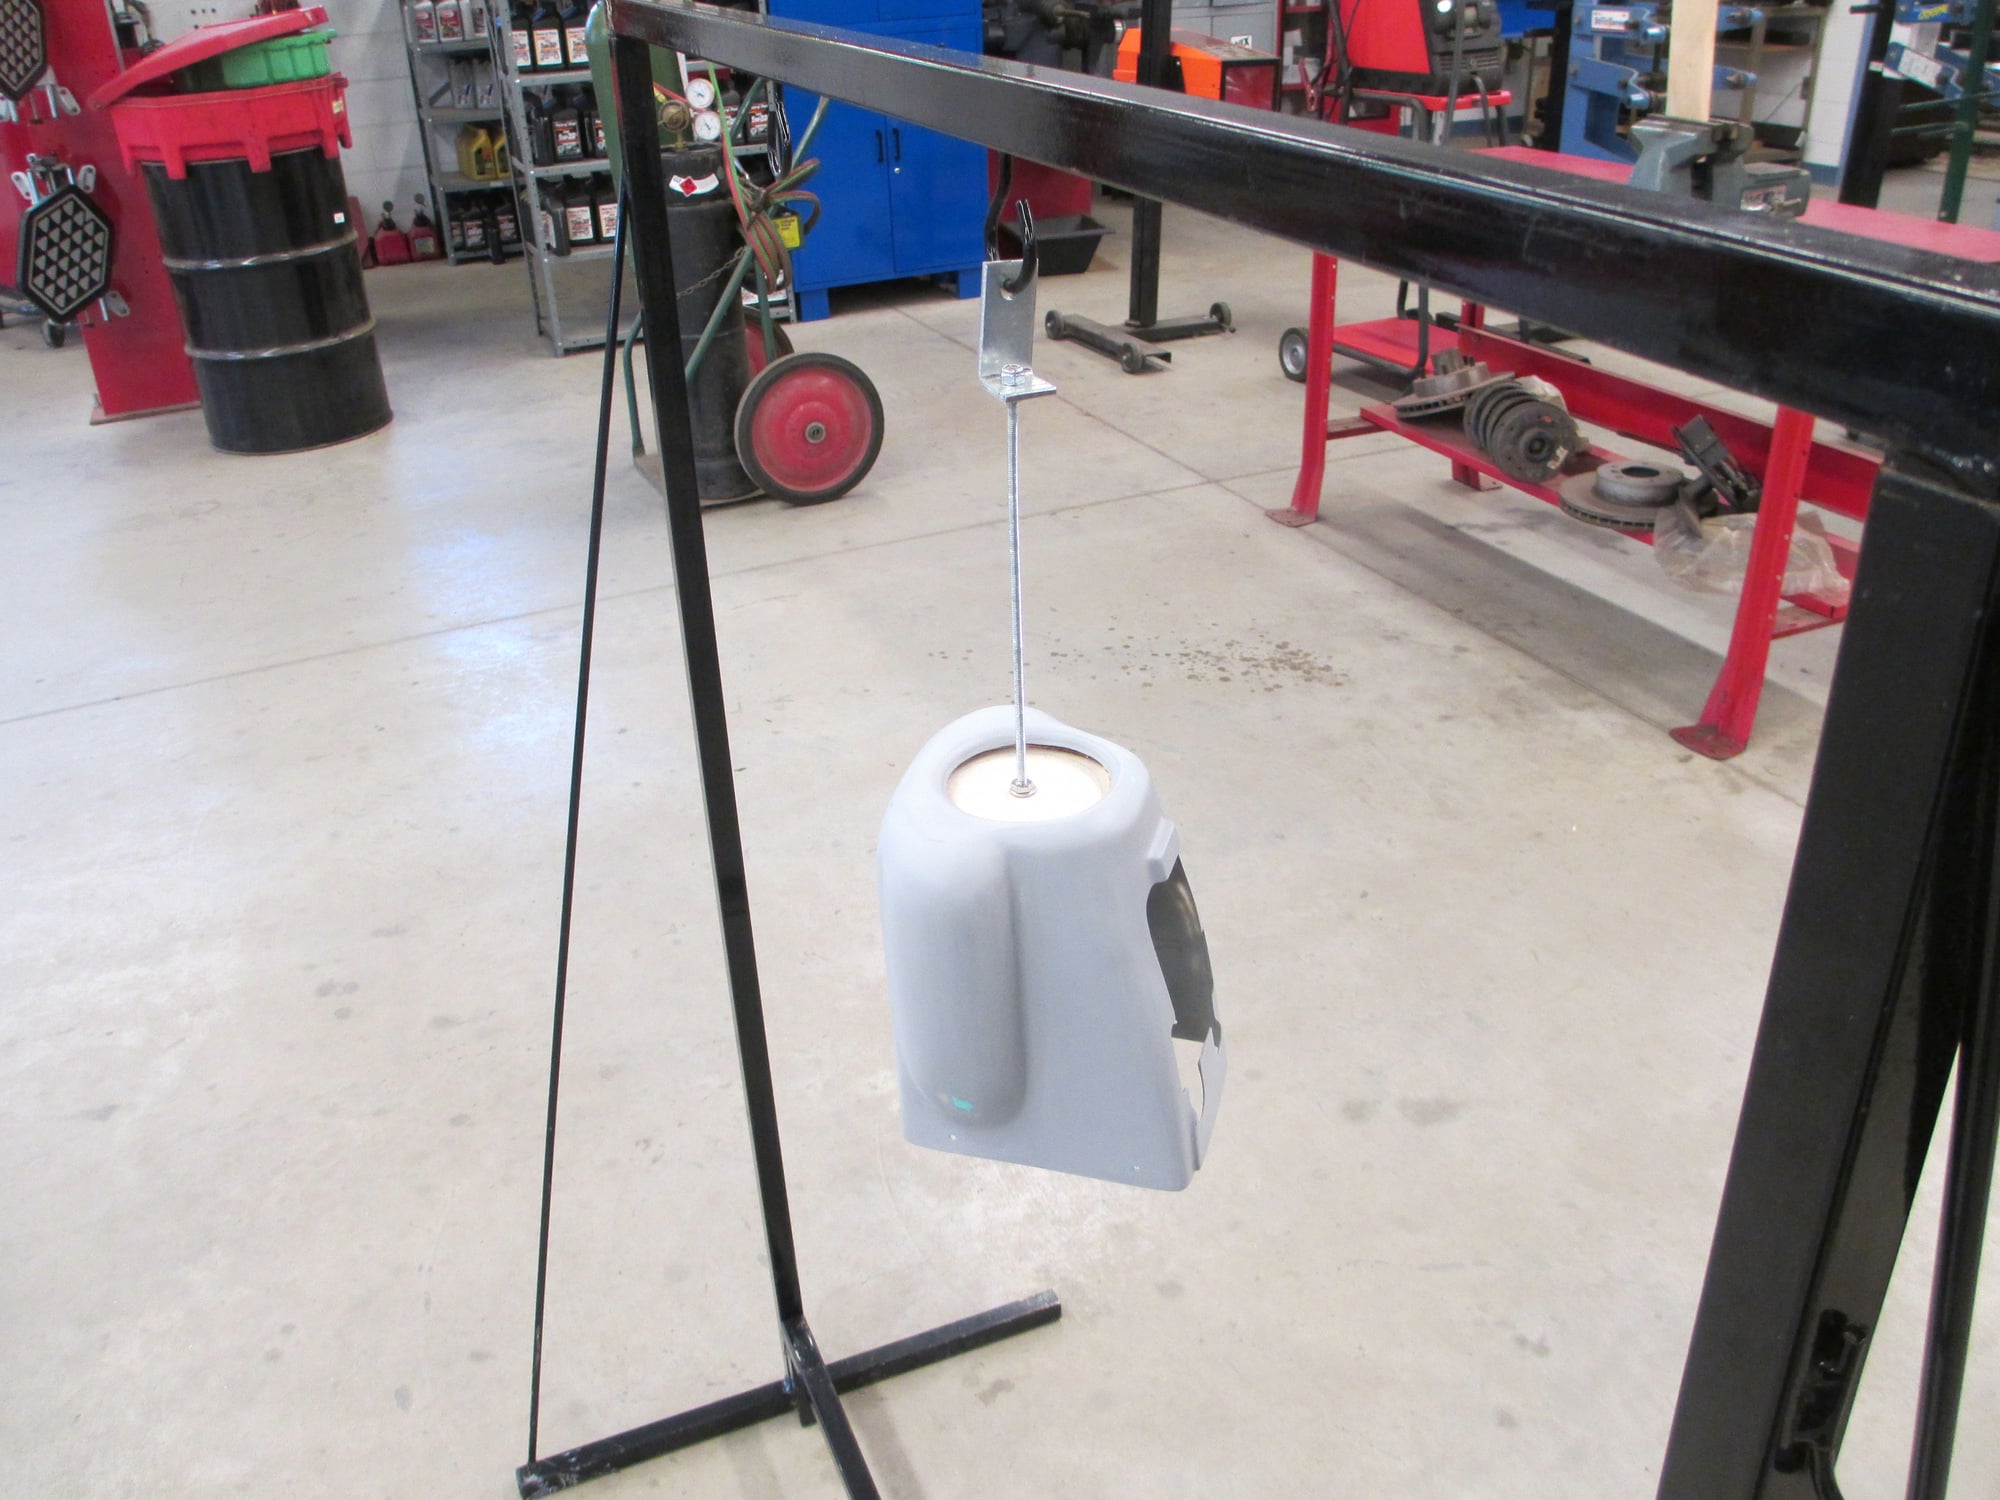
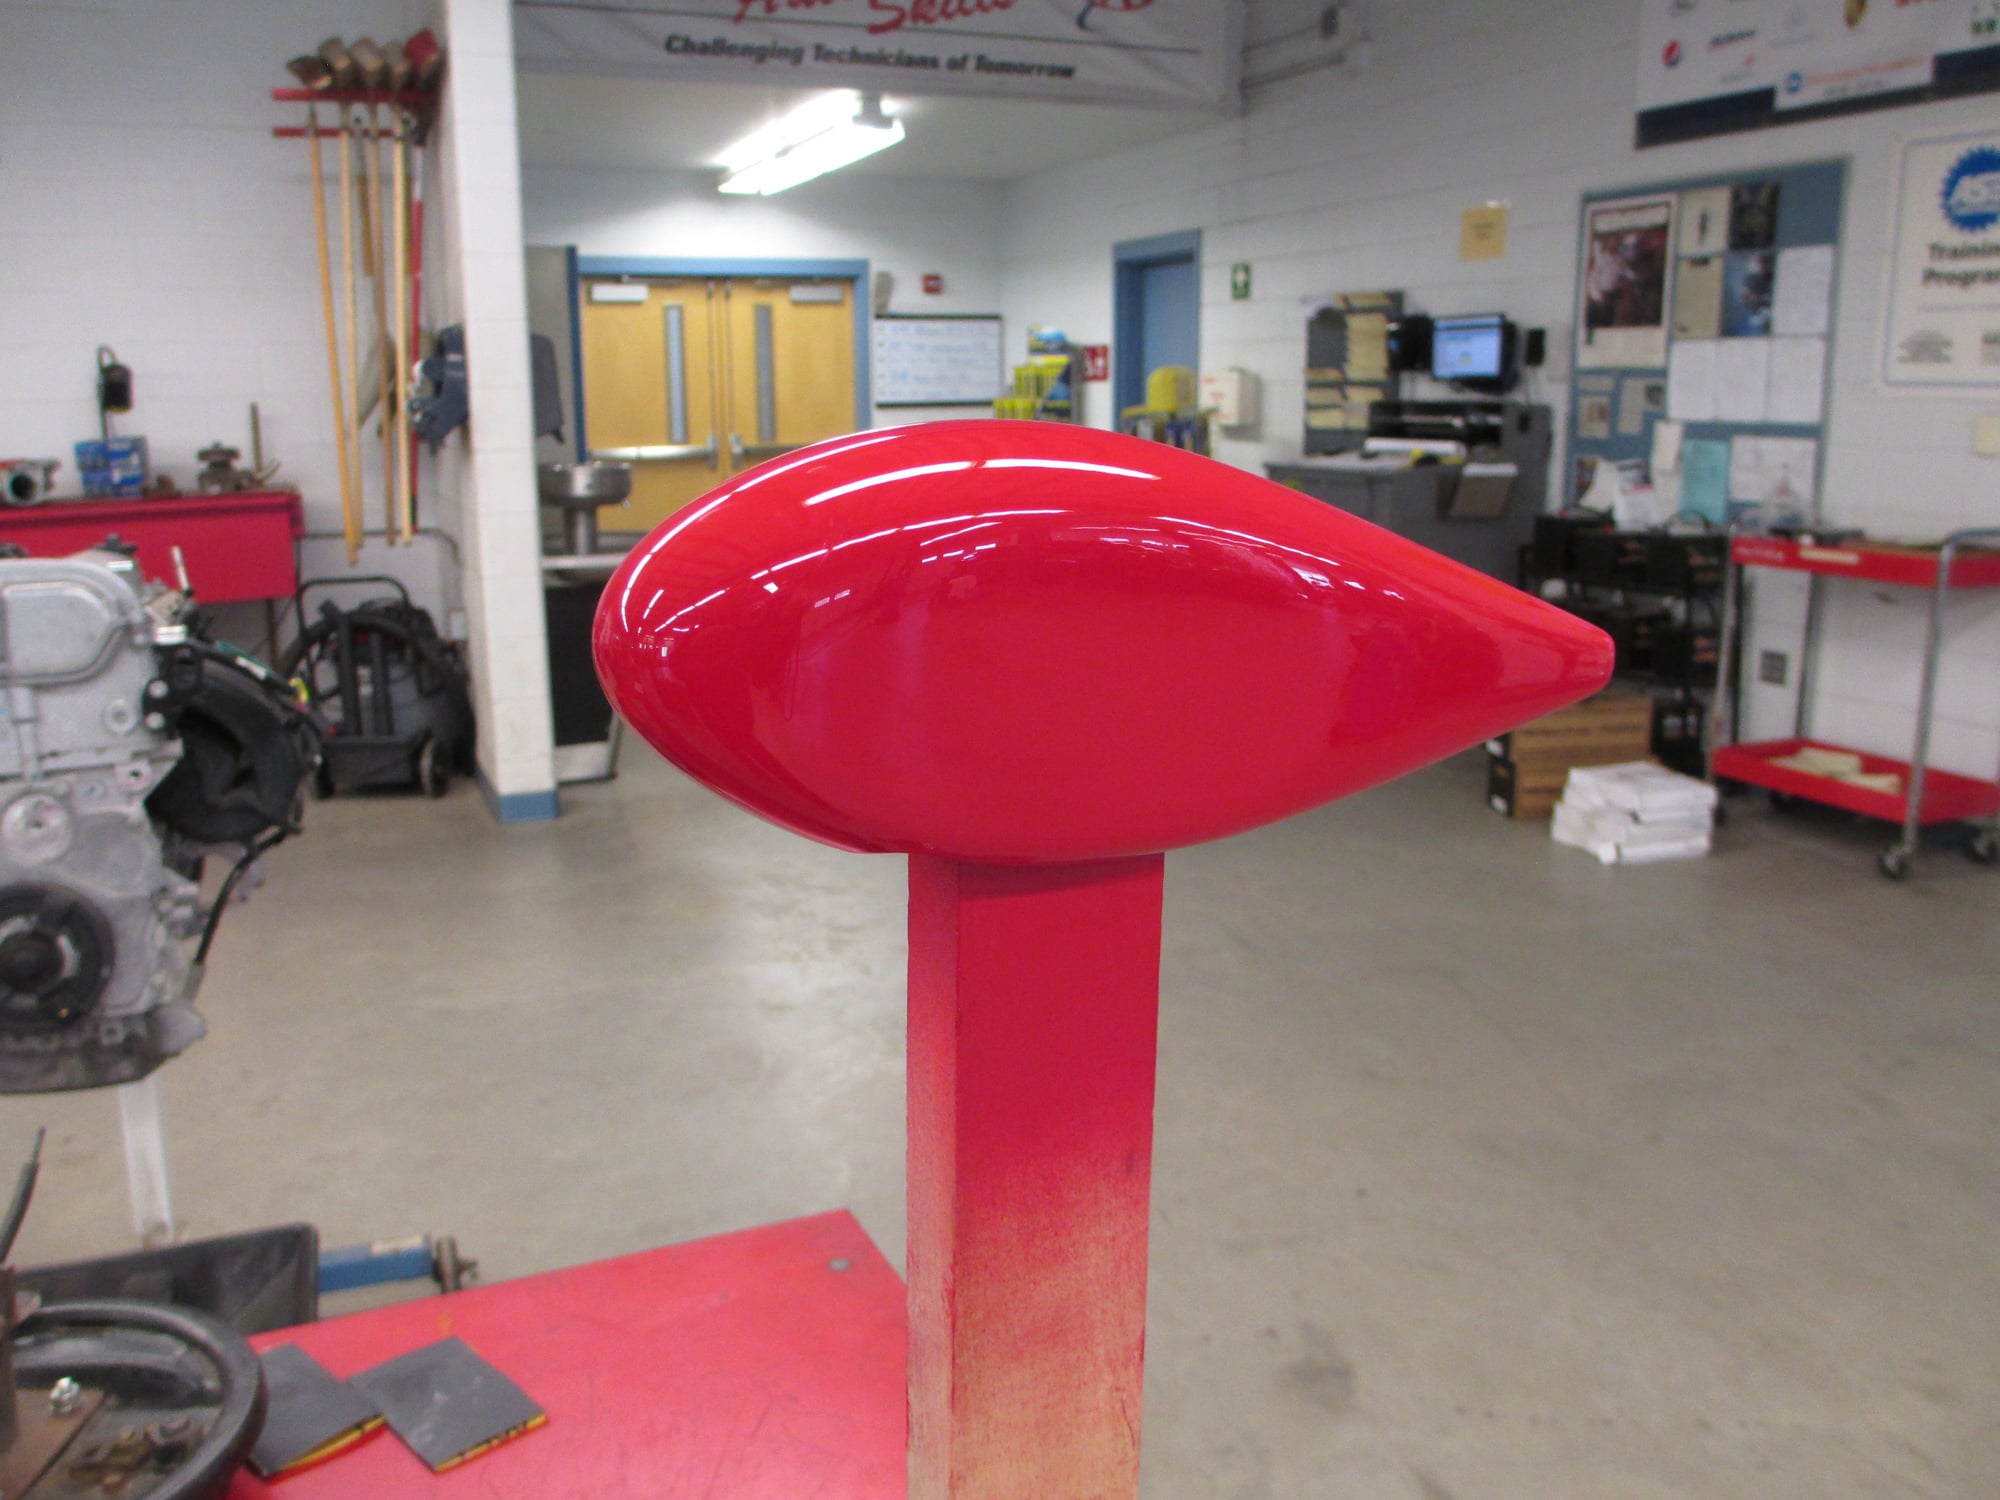
It's always wise to spend a little time and be sure that you have a way to hold the parts that you want to spray.
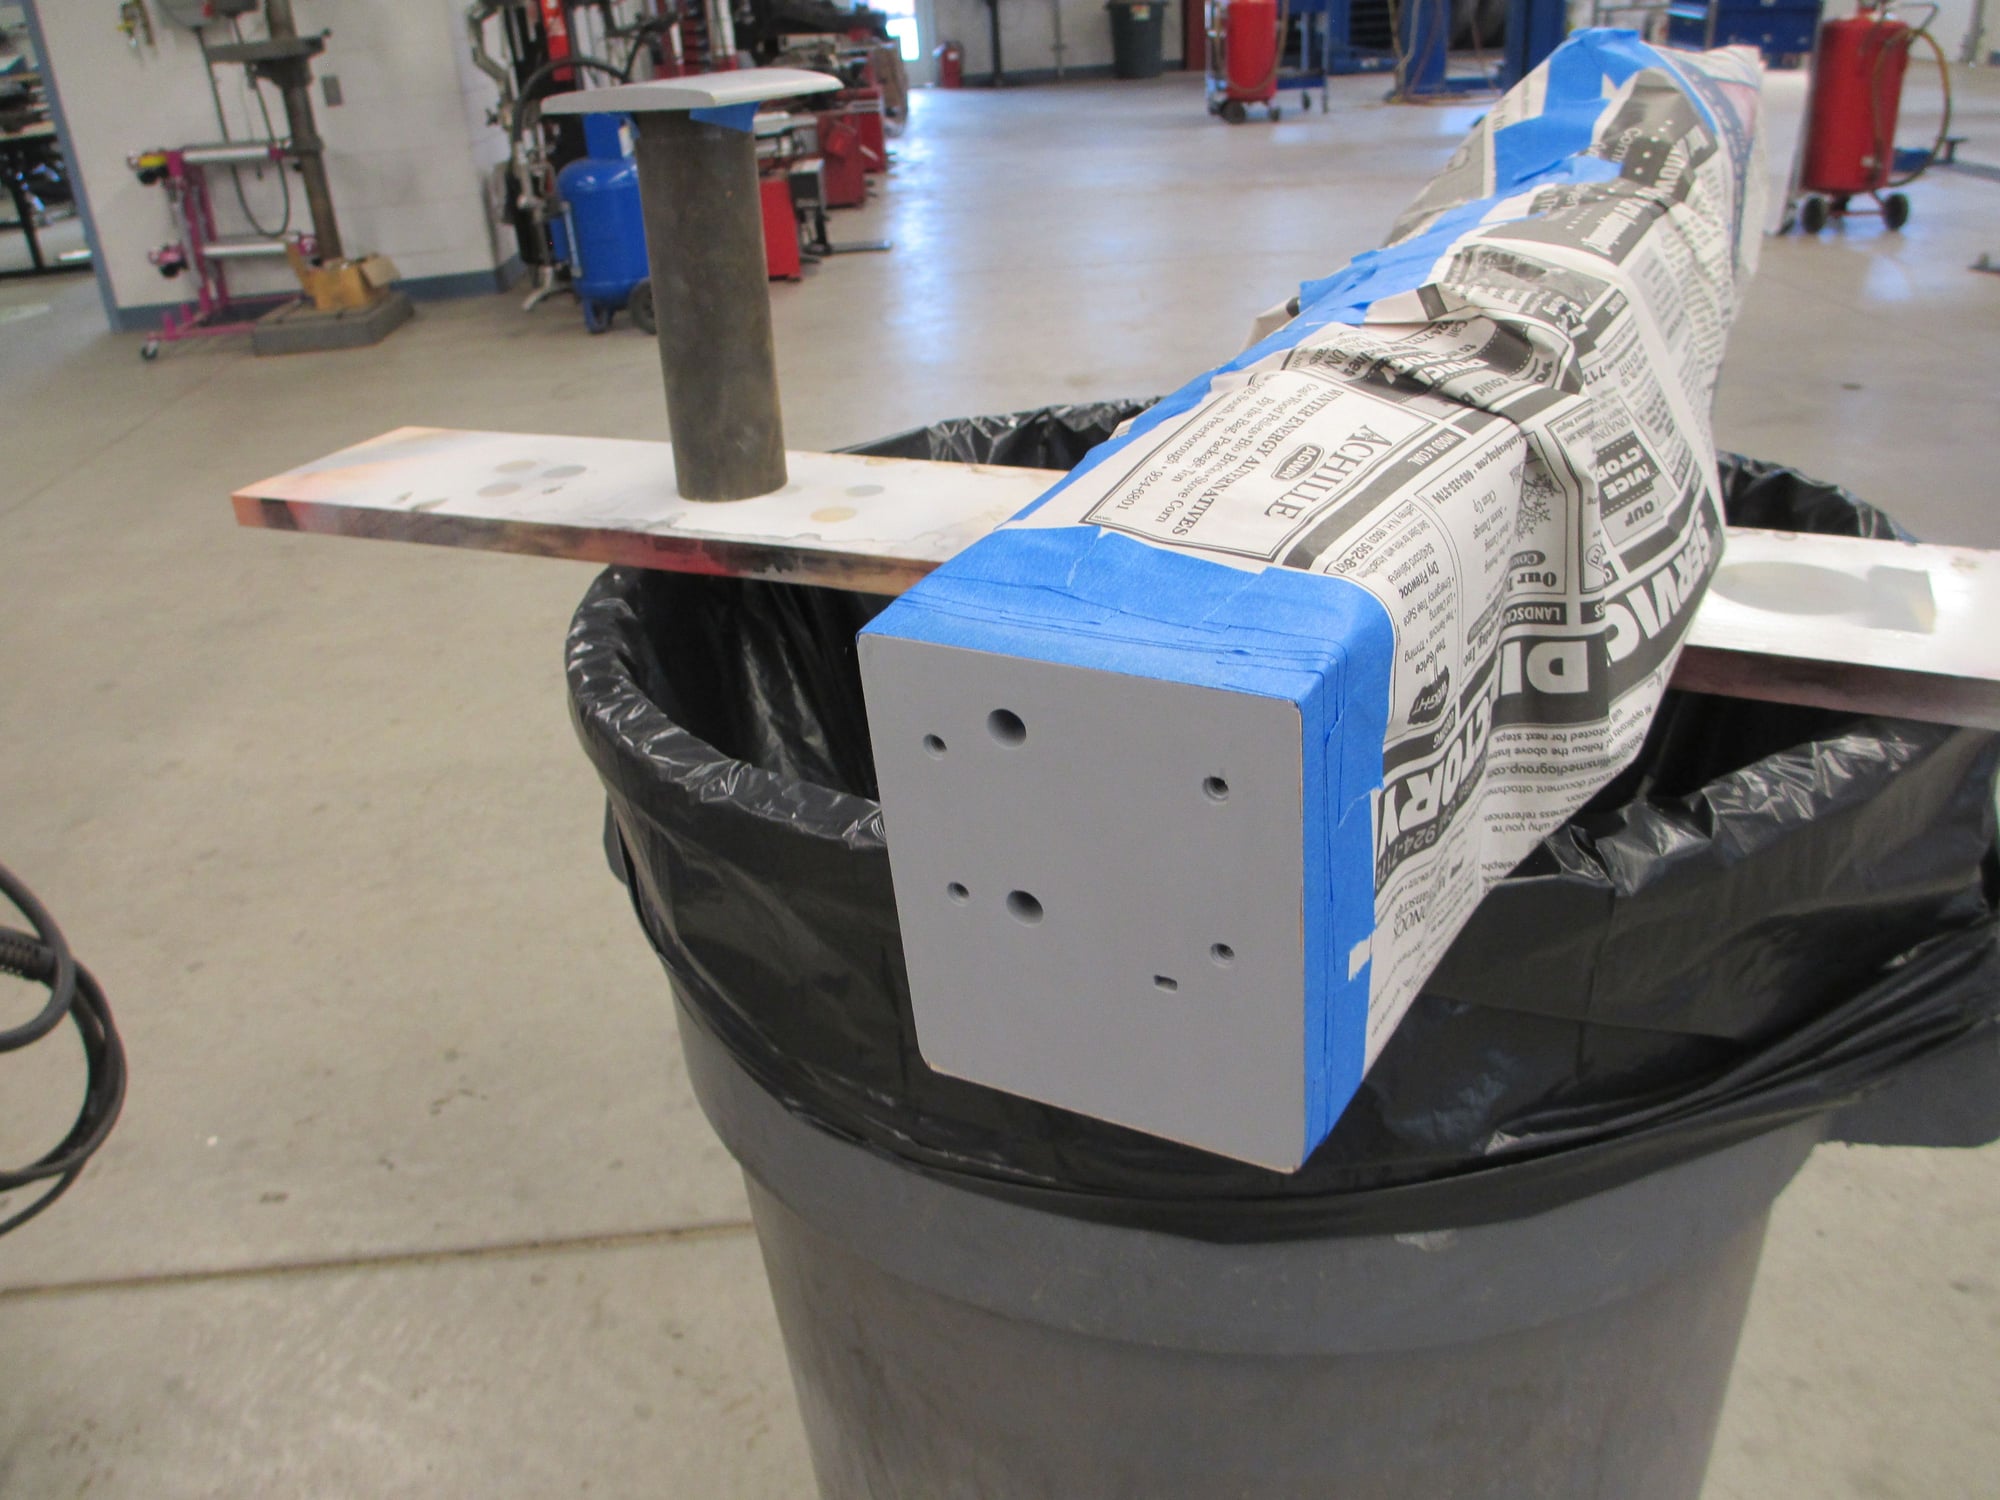
Just before I sprayed, everything was wiped down using a lint free wipe wet with lacquer thinner.

As I had mentioned before, I like to use Klass Kote Epoxy Paints. Yes it's expensive, but I am convinced that their paints are worth the money... Part "A" and Part "B" are mixed together in equal parts and allowed to sit or as it's referred to as "induction time" for 30-45 minutes before you mix in your reducer. (I'm using a good quality lacquer thinner) Once mixed well as shown in the mixing cup on the right, I pour that mixed amount into the cup on the left before loading the gun.
Pouring the mixed paint into the next cup is good insurance that guarantees that what's in the cup is mixed and that there won't be any surprises.
 05-18-2019, 03:30 PM
#158
Thread Starter
Covering can now start! I made sure to vacuum all the parts thoroughly as well as blow them off with compressed air to make sure that the substrate was as clean as I could make it. The glue on the covering can't do its job if the surface isn't clean! I'm using UltraCote for this plane...
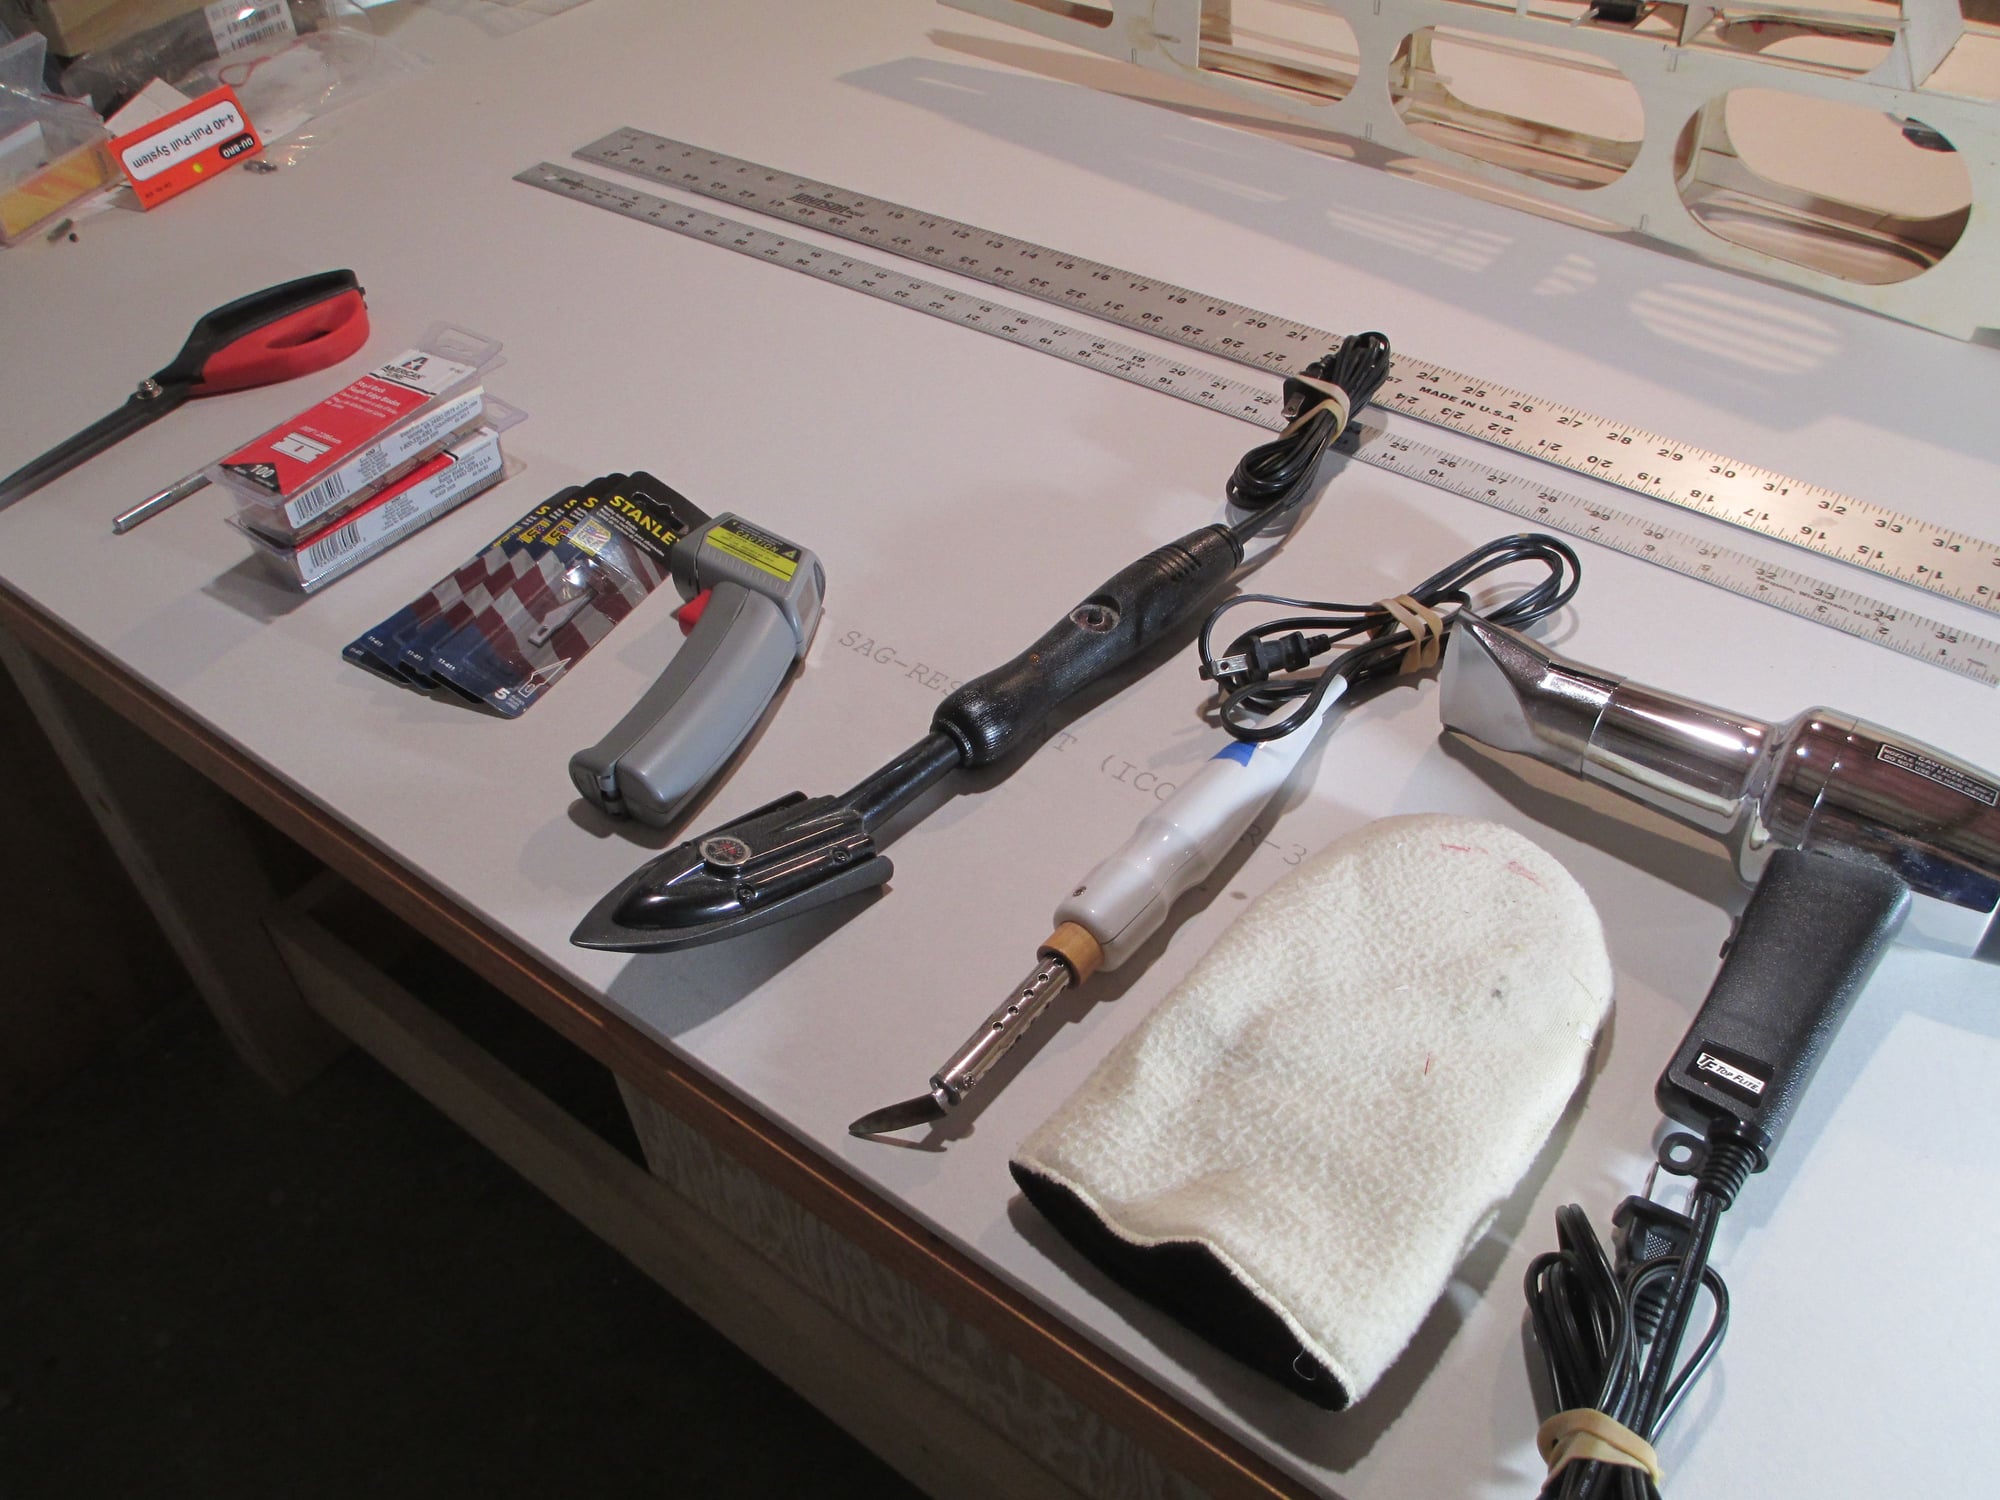
These are the tools that I use to cover a plane. Missing from the photo is a pencil tipped soldering iron.
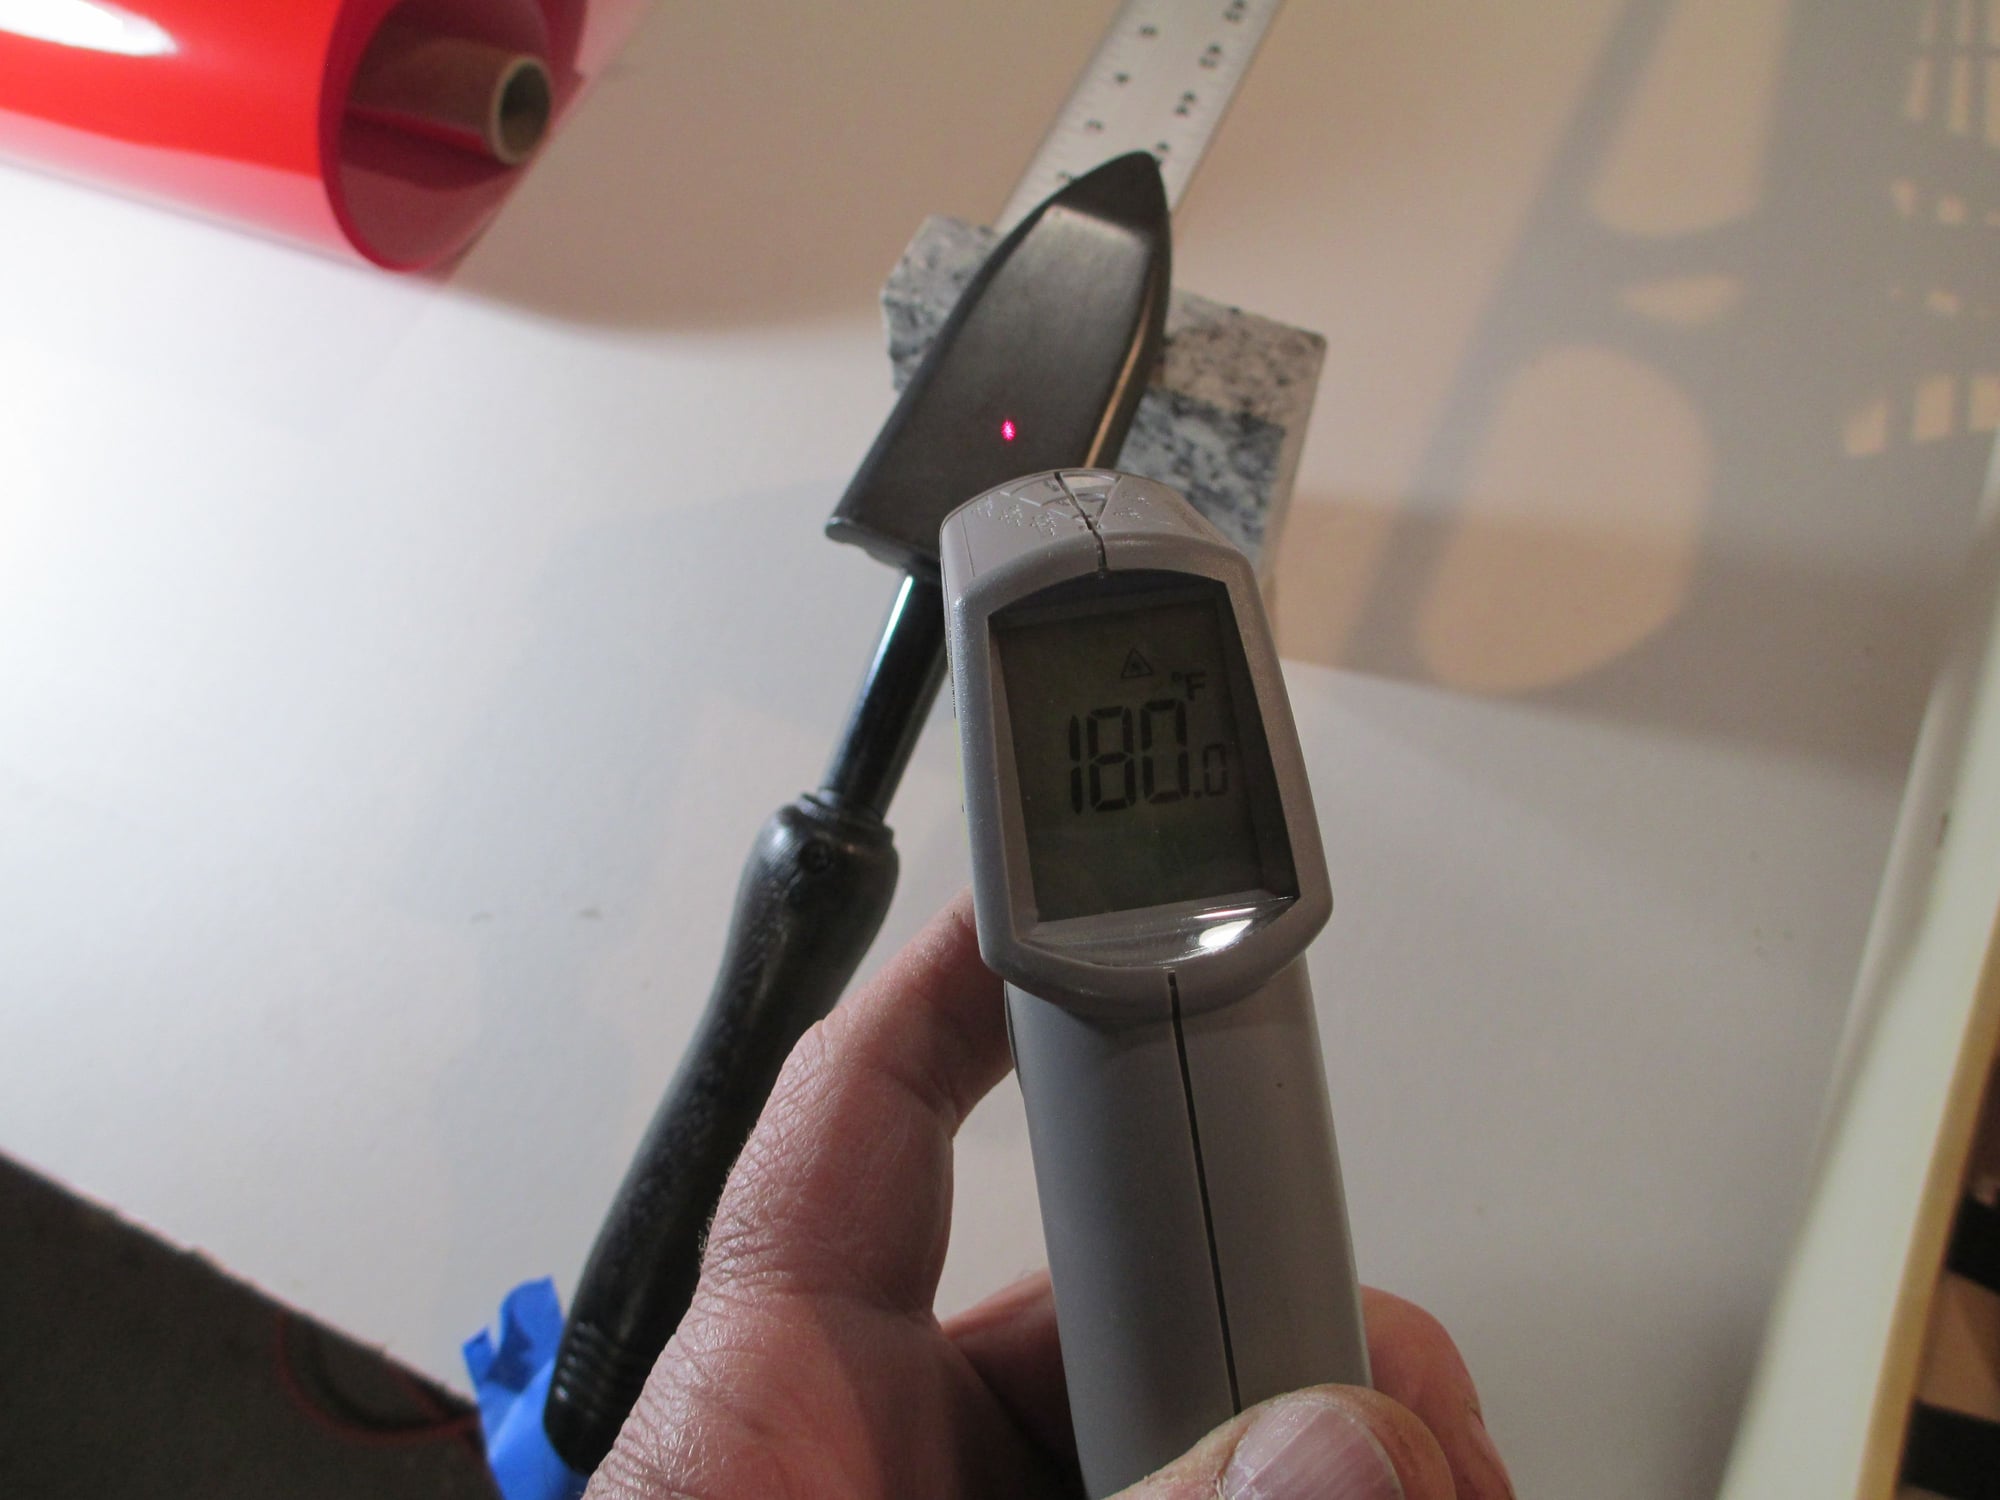
It's important to get your iron at the correct temperature. Don't trust the dial on your iron, use a non-contact infrared thermometer. I want my iron between 210-220 degrees. You can see that the iron isn't at the right temp yet...
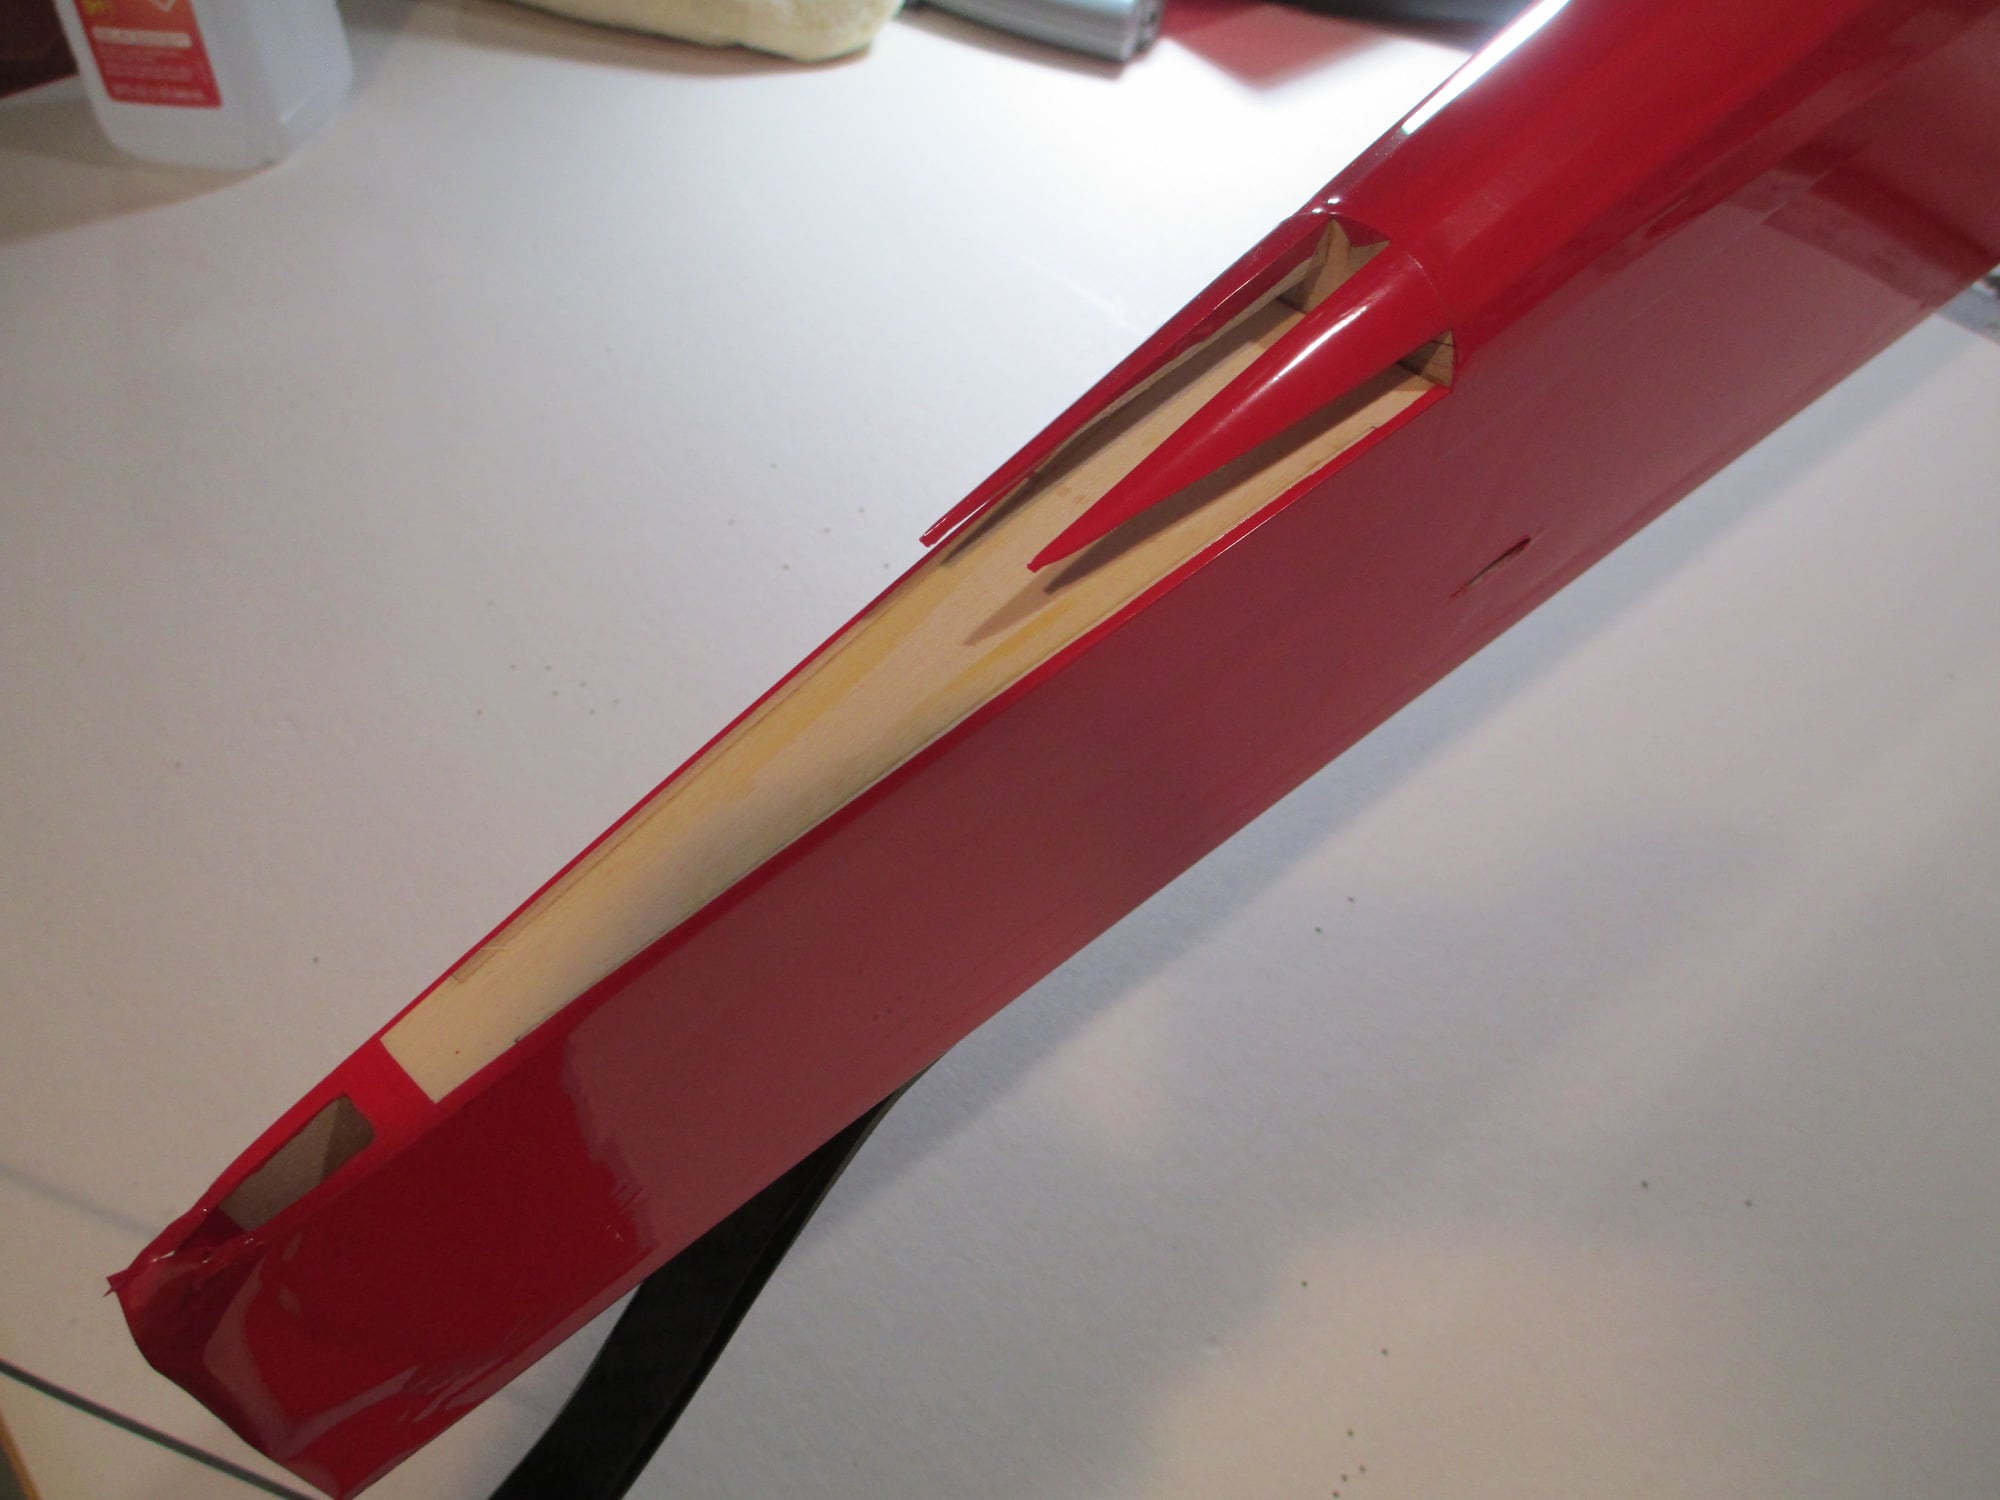
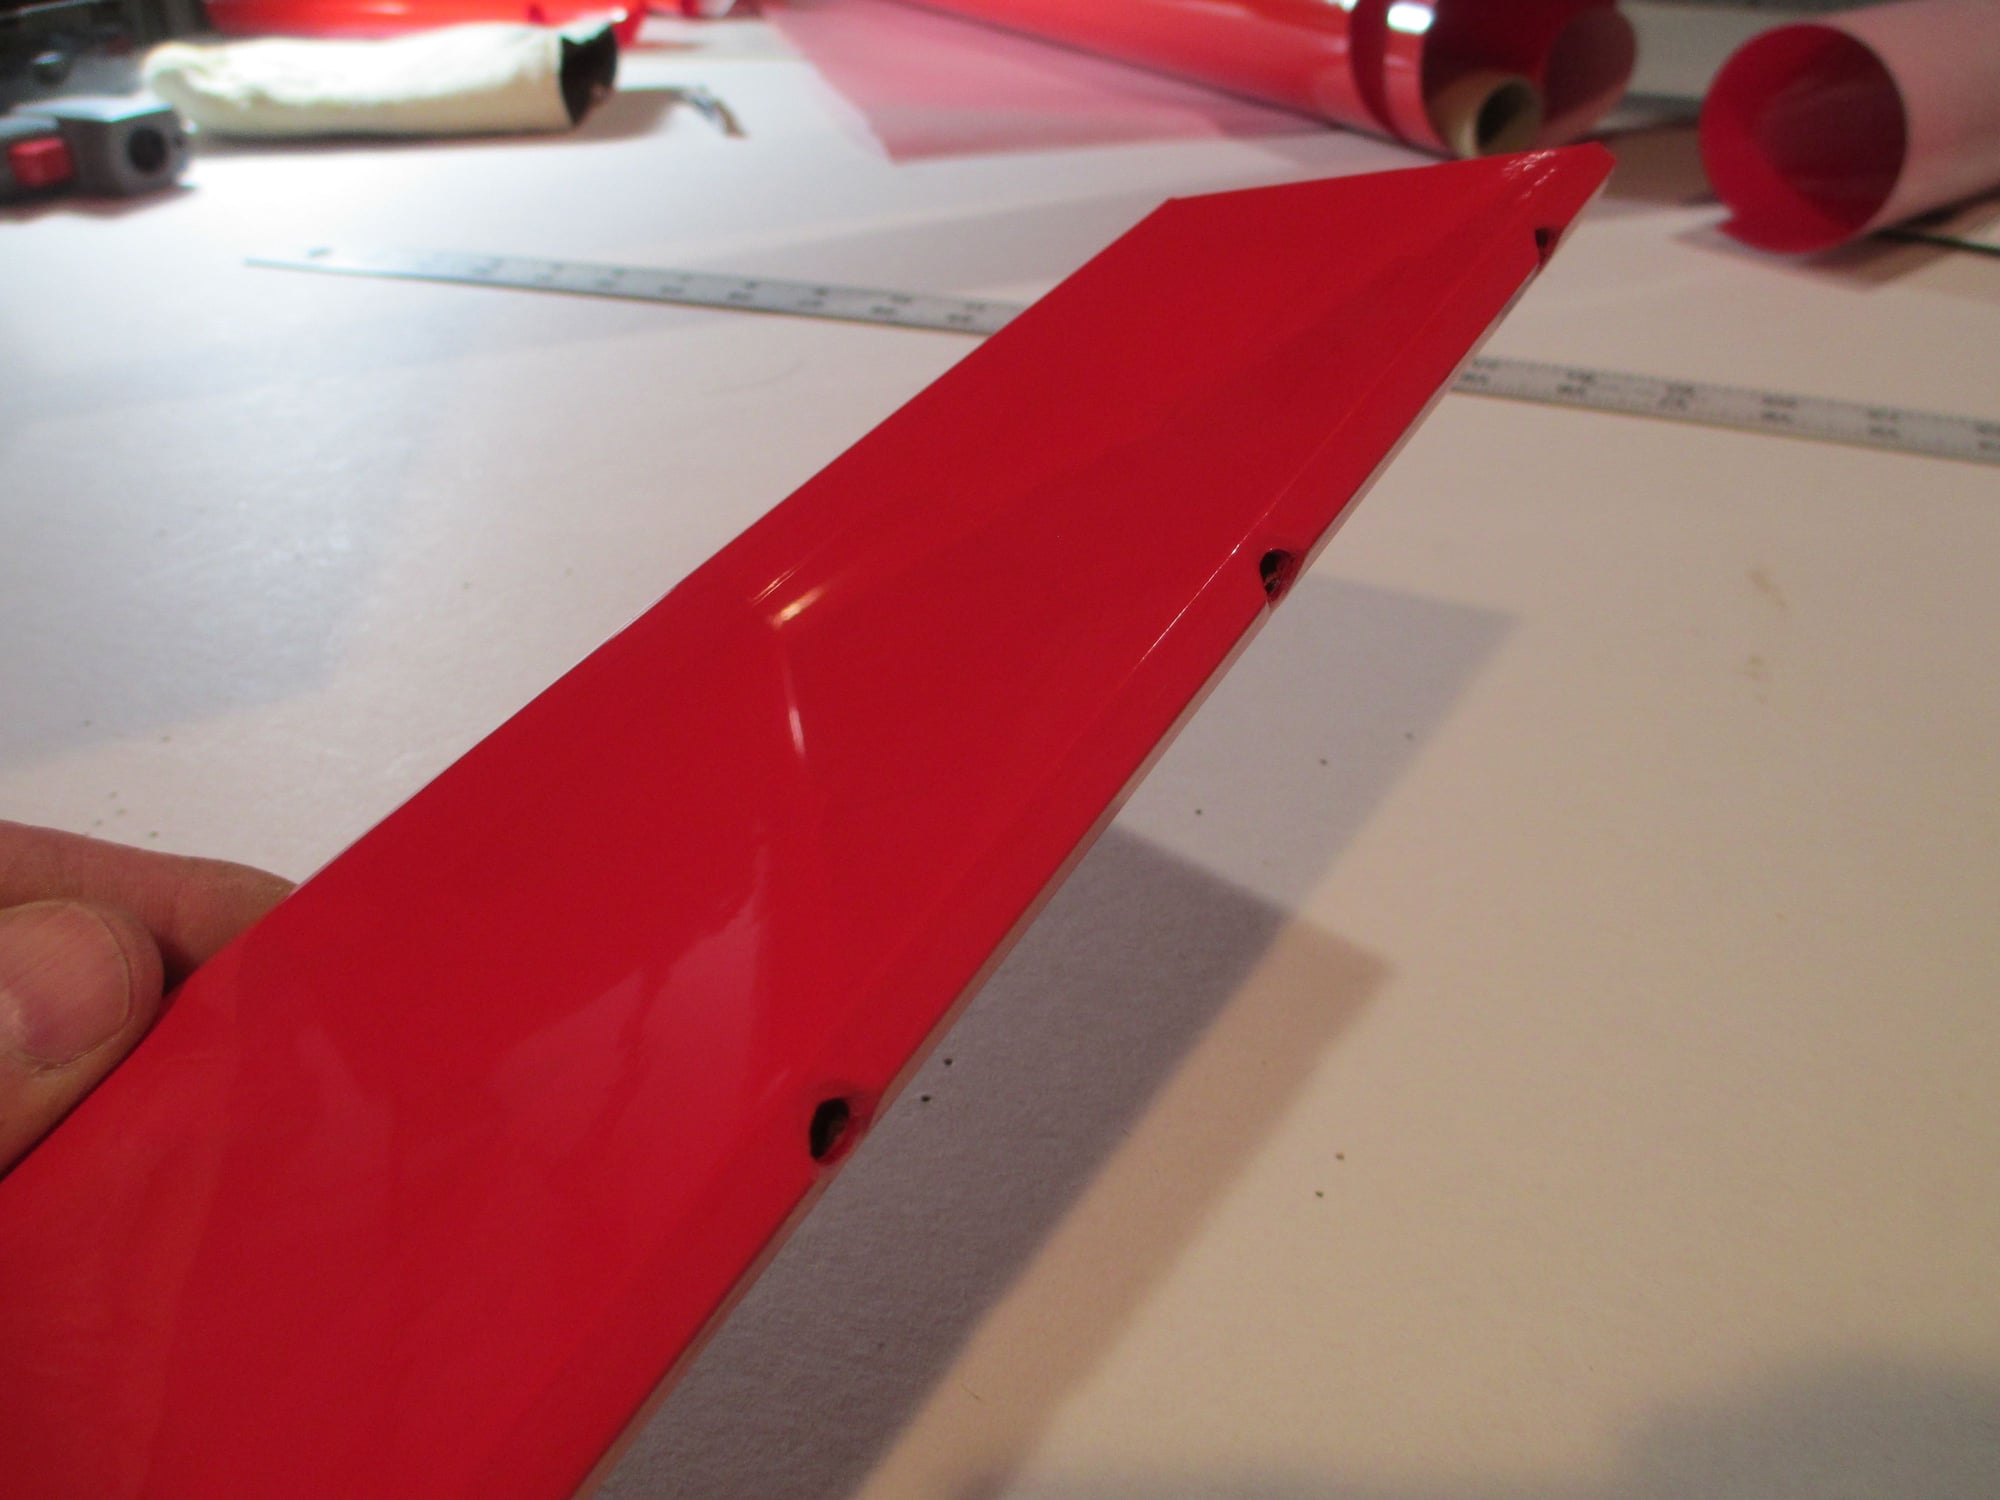
I started with the bottom of the fuselage.
I will leave this tail piece long and trim it after the stabilizer is in place.
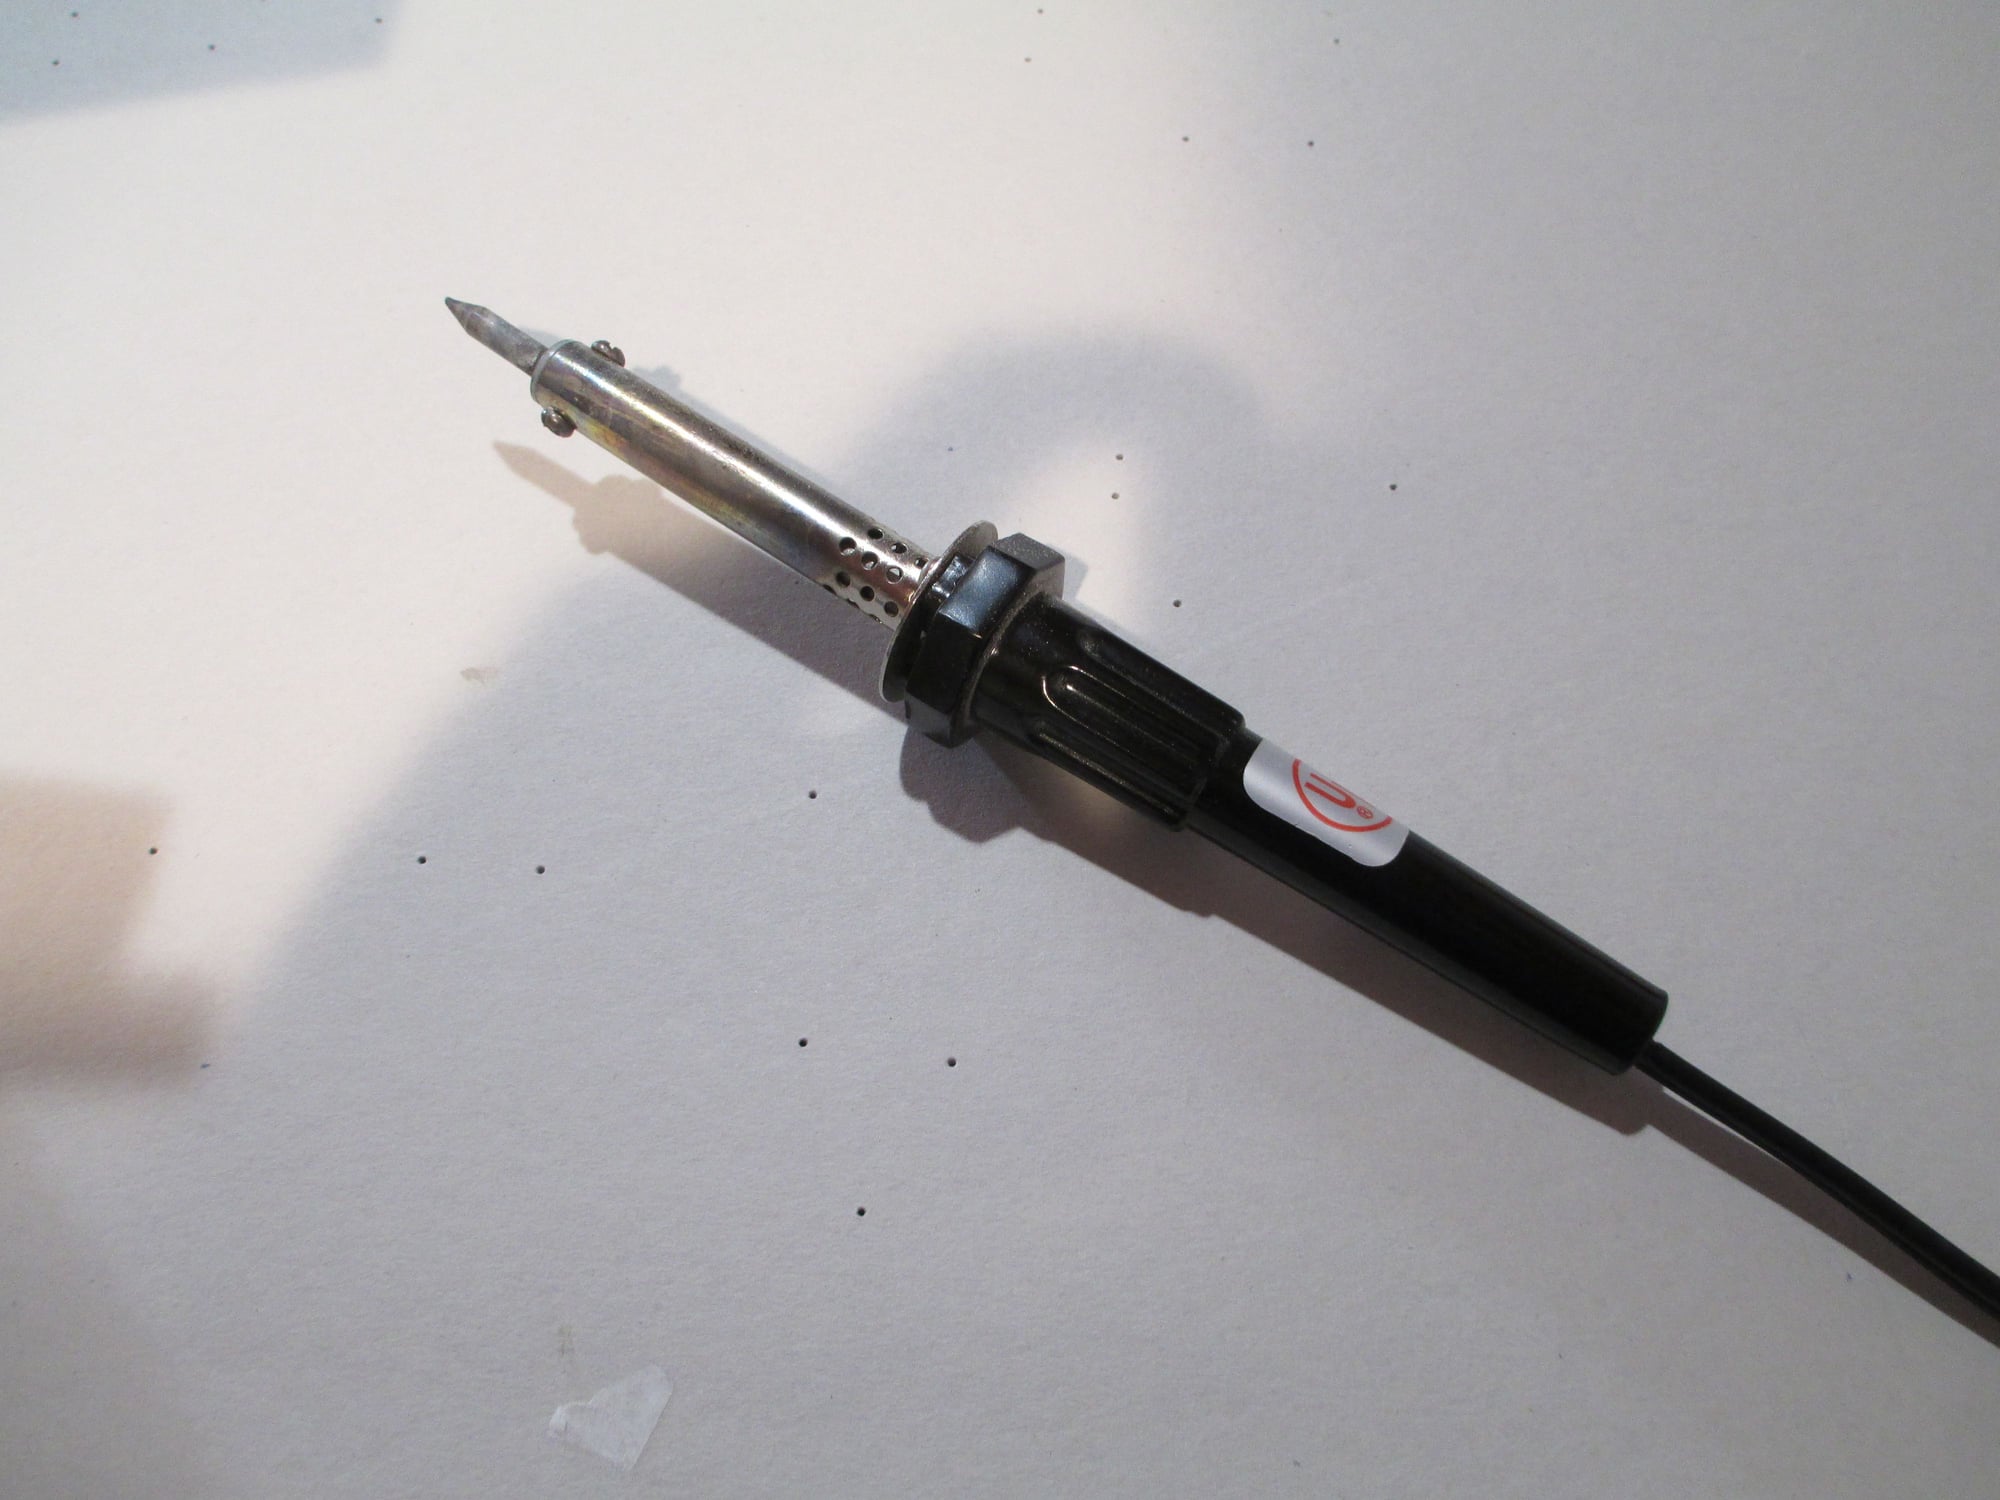
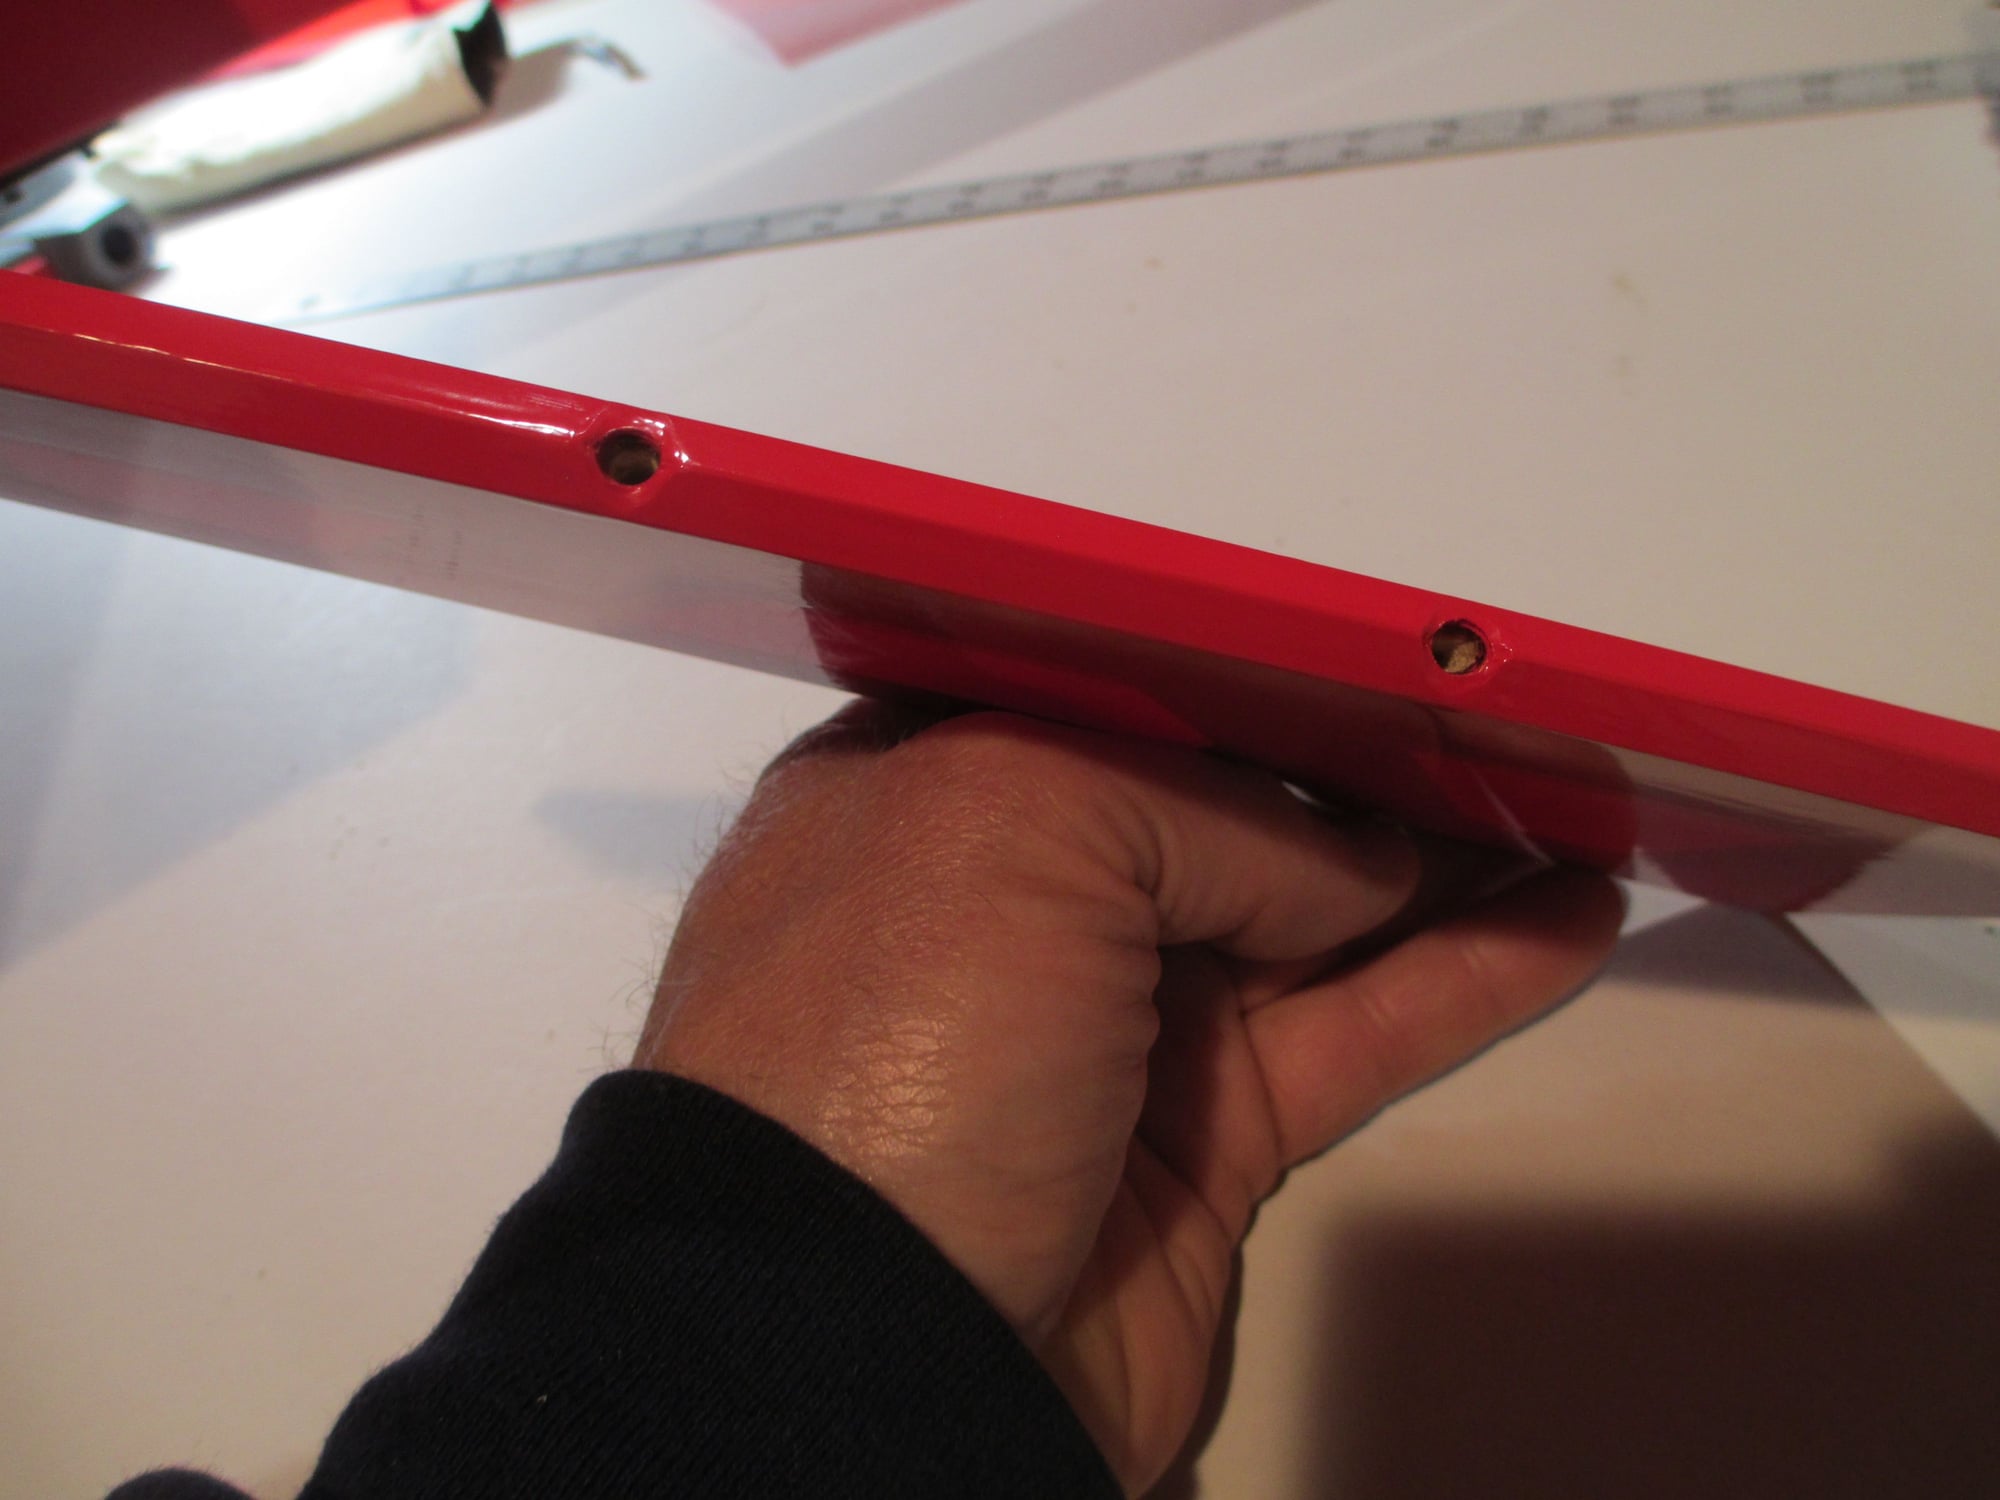
This is the soldering iron that was missing in the first photo. I use it to remove (melt) the covering out of holes.
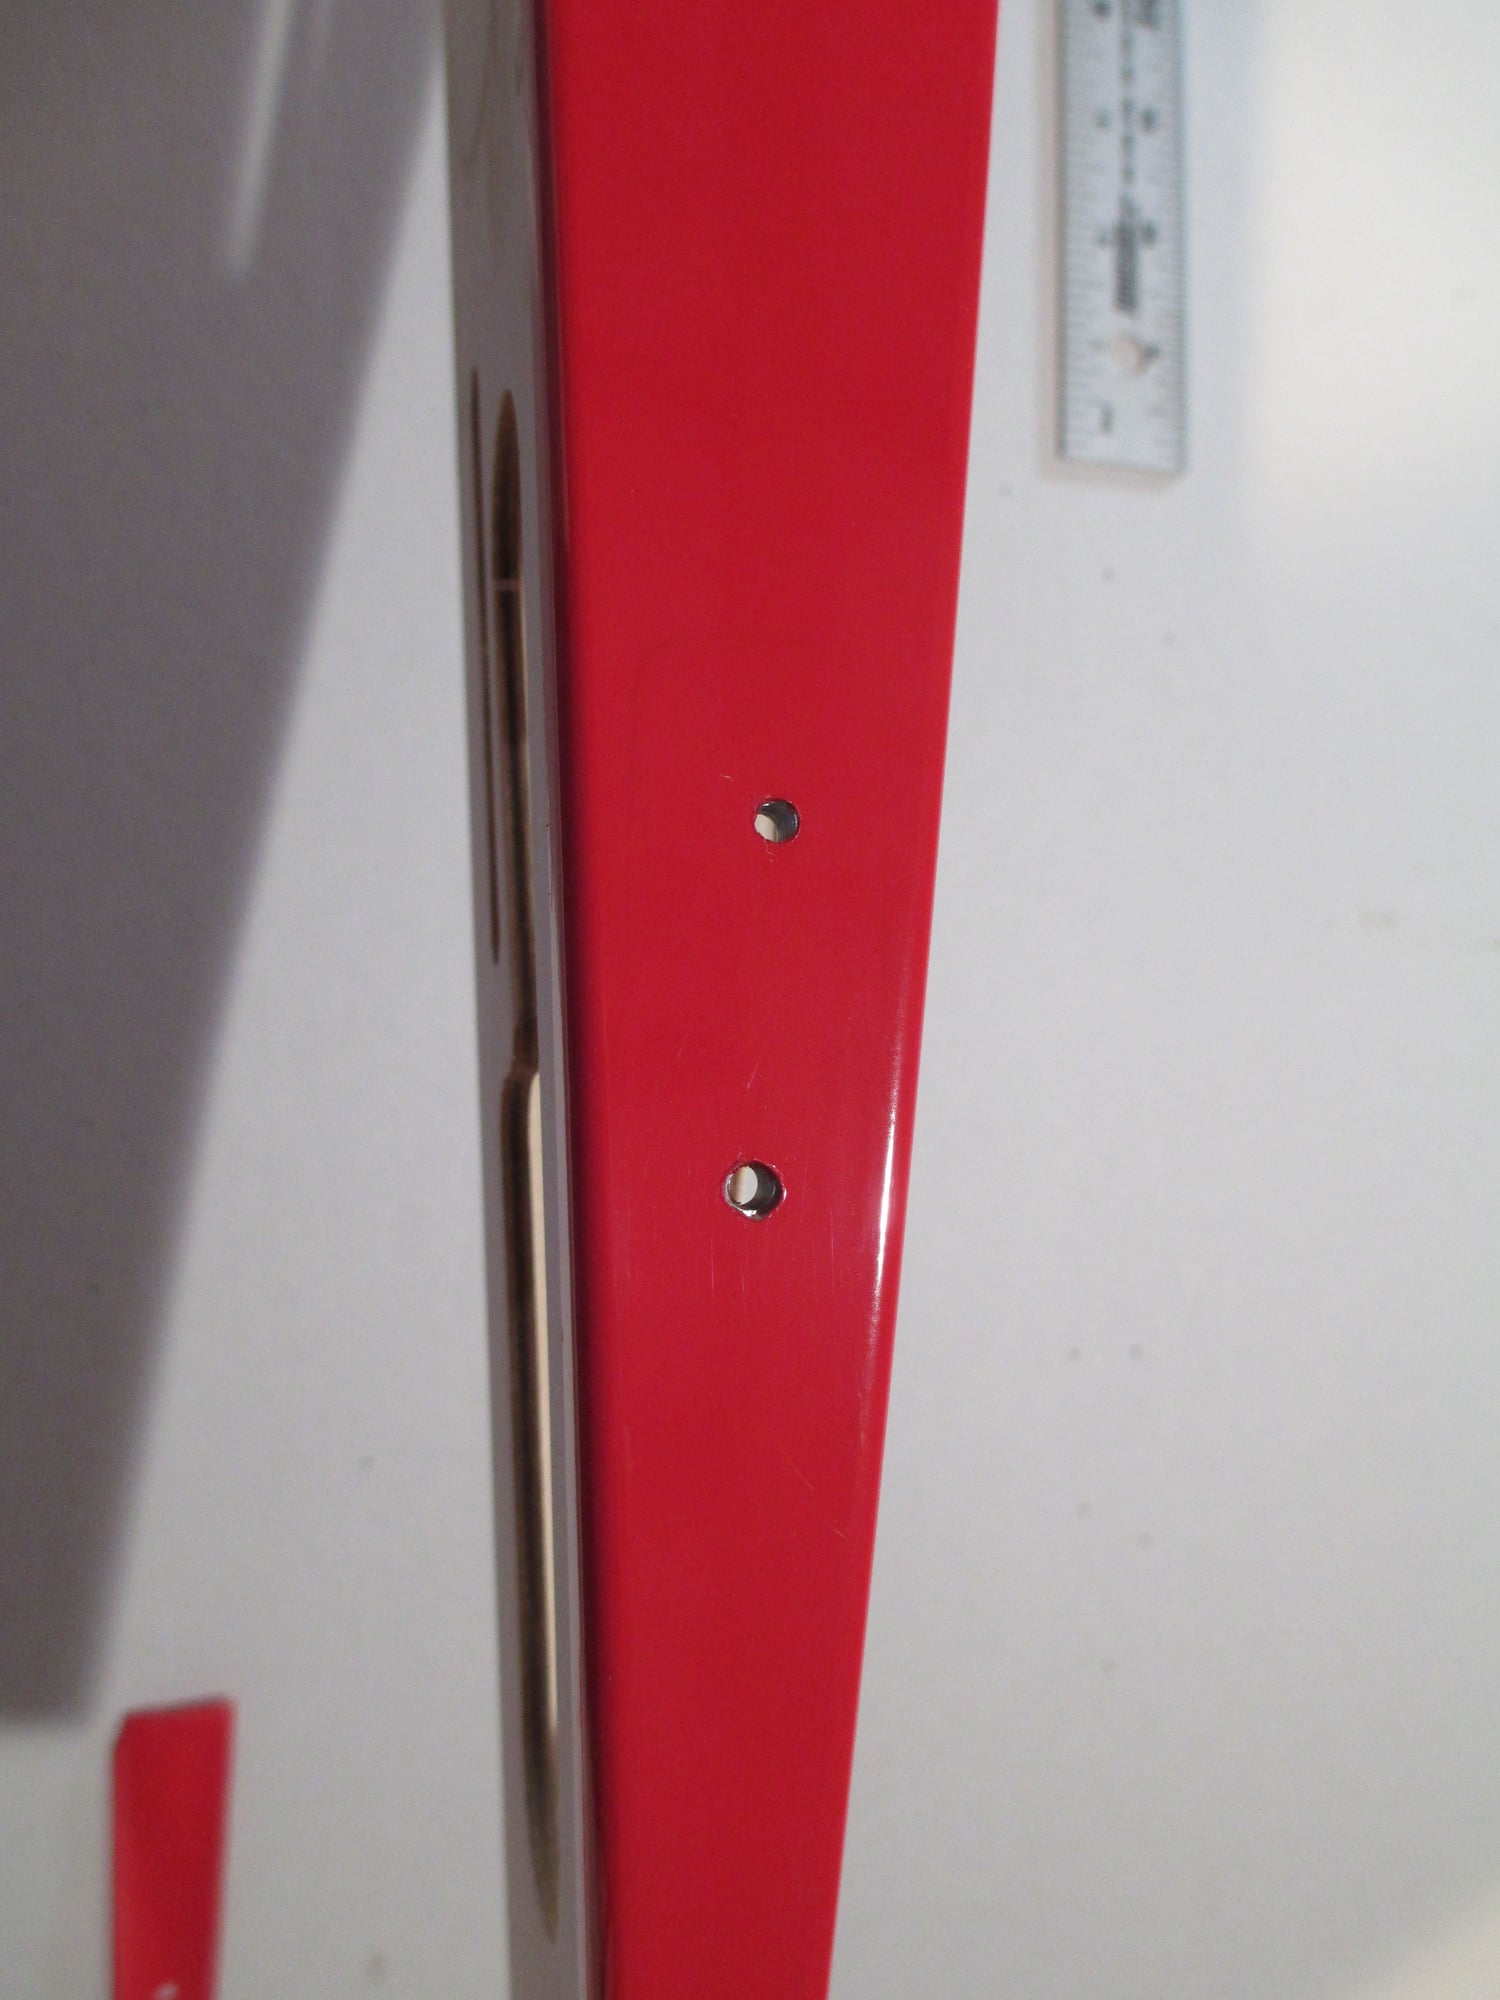
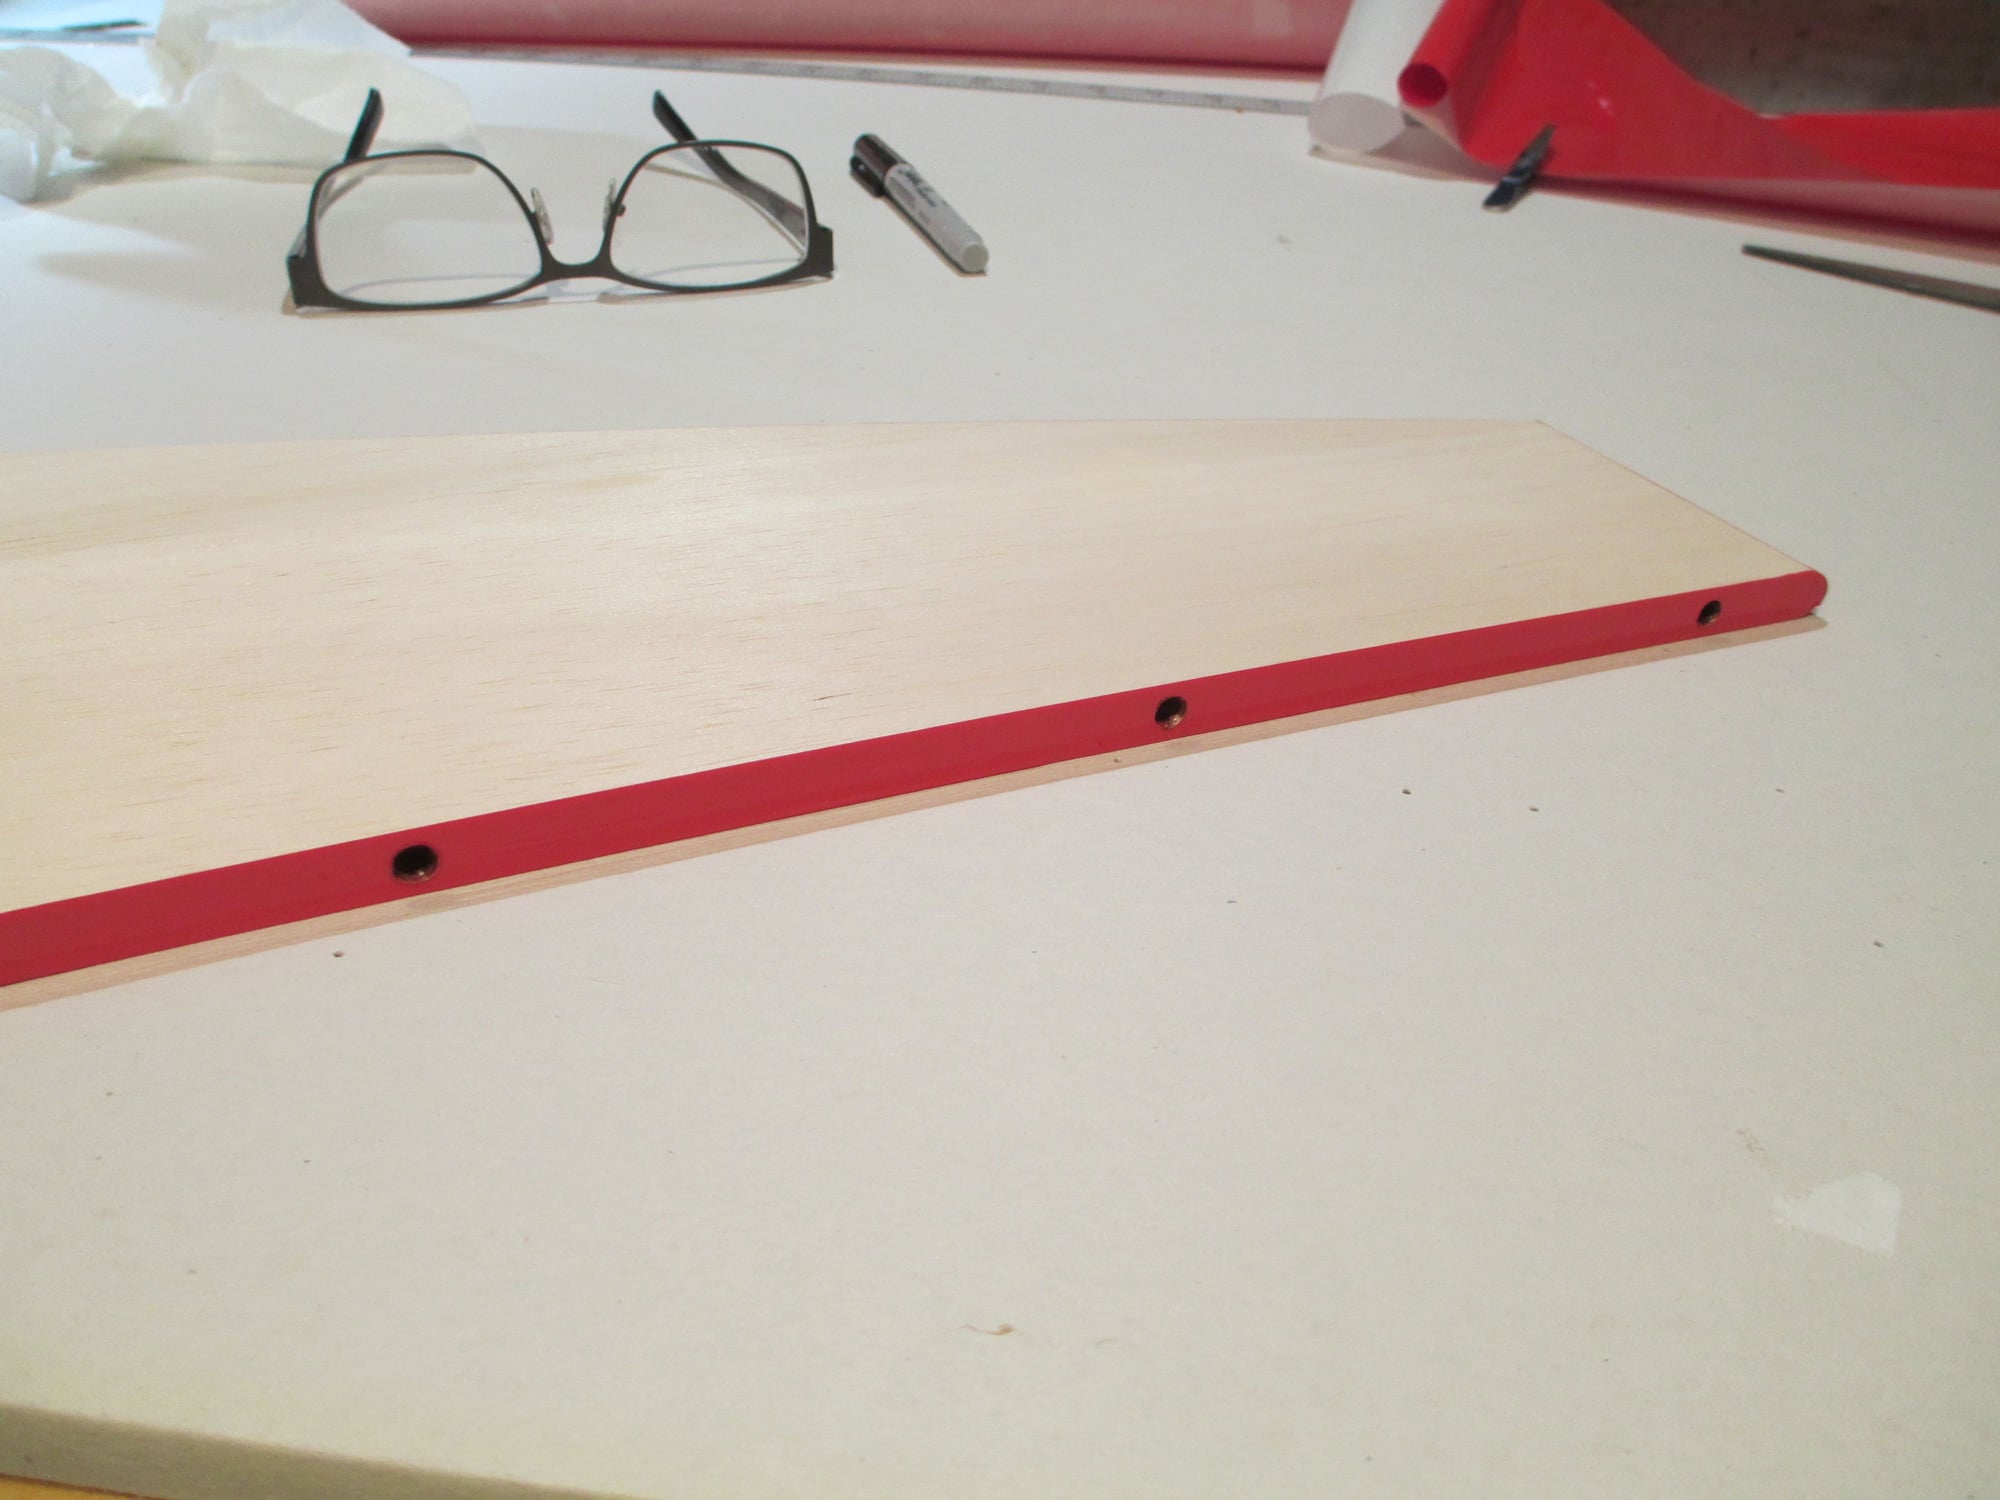
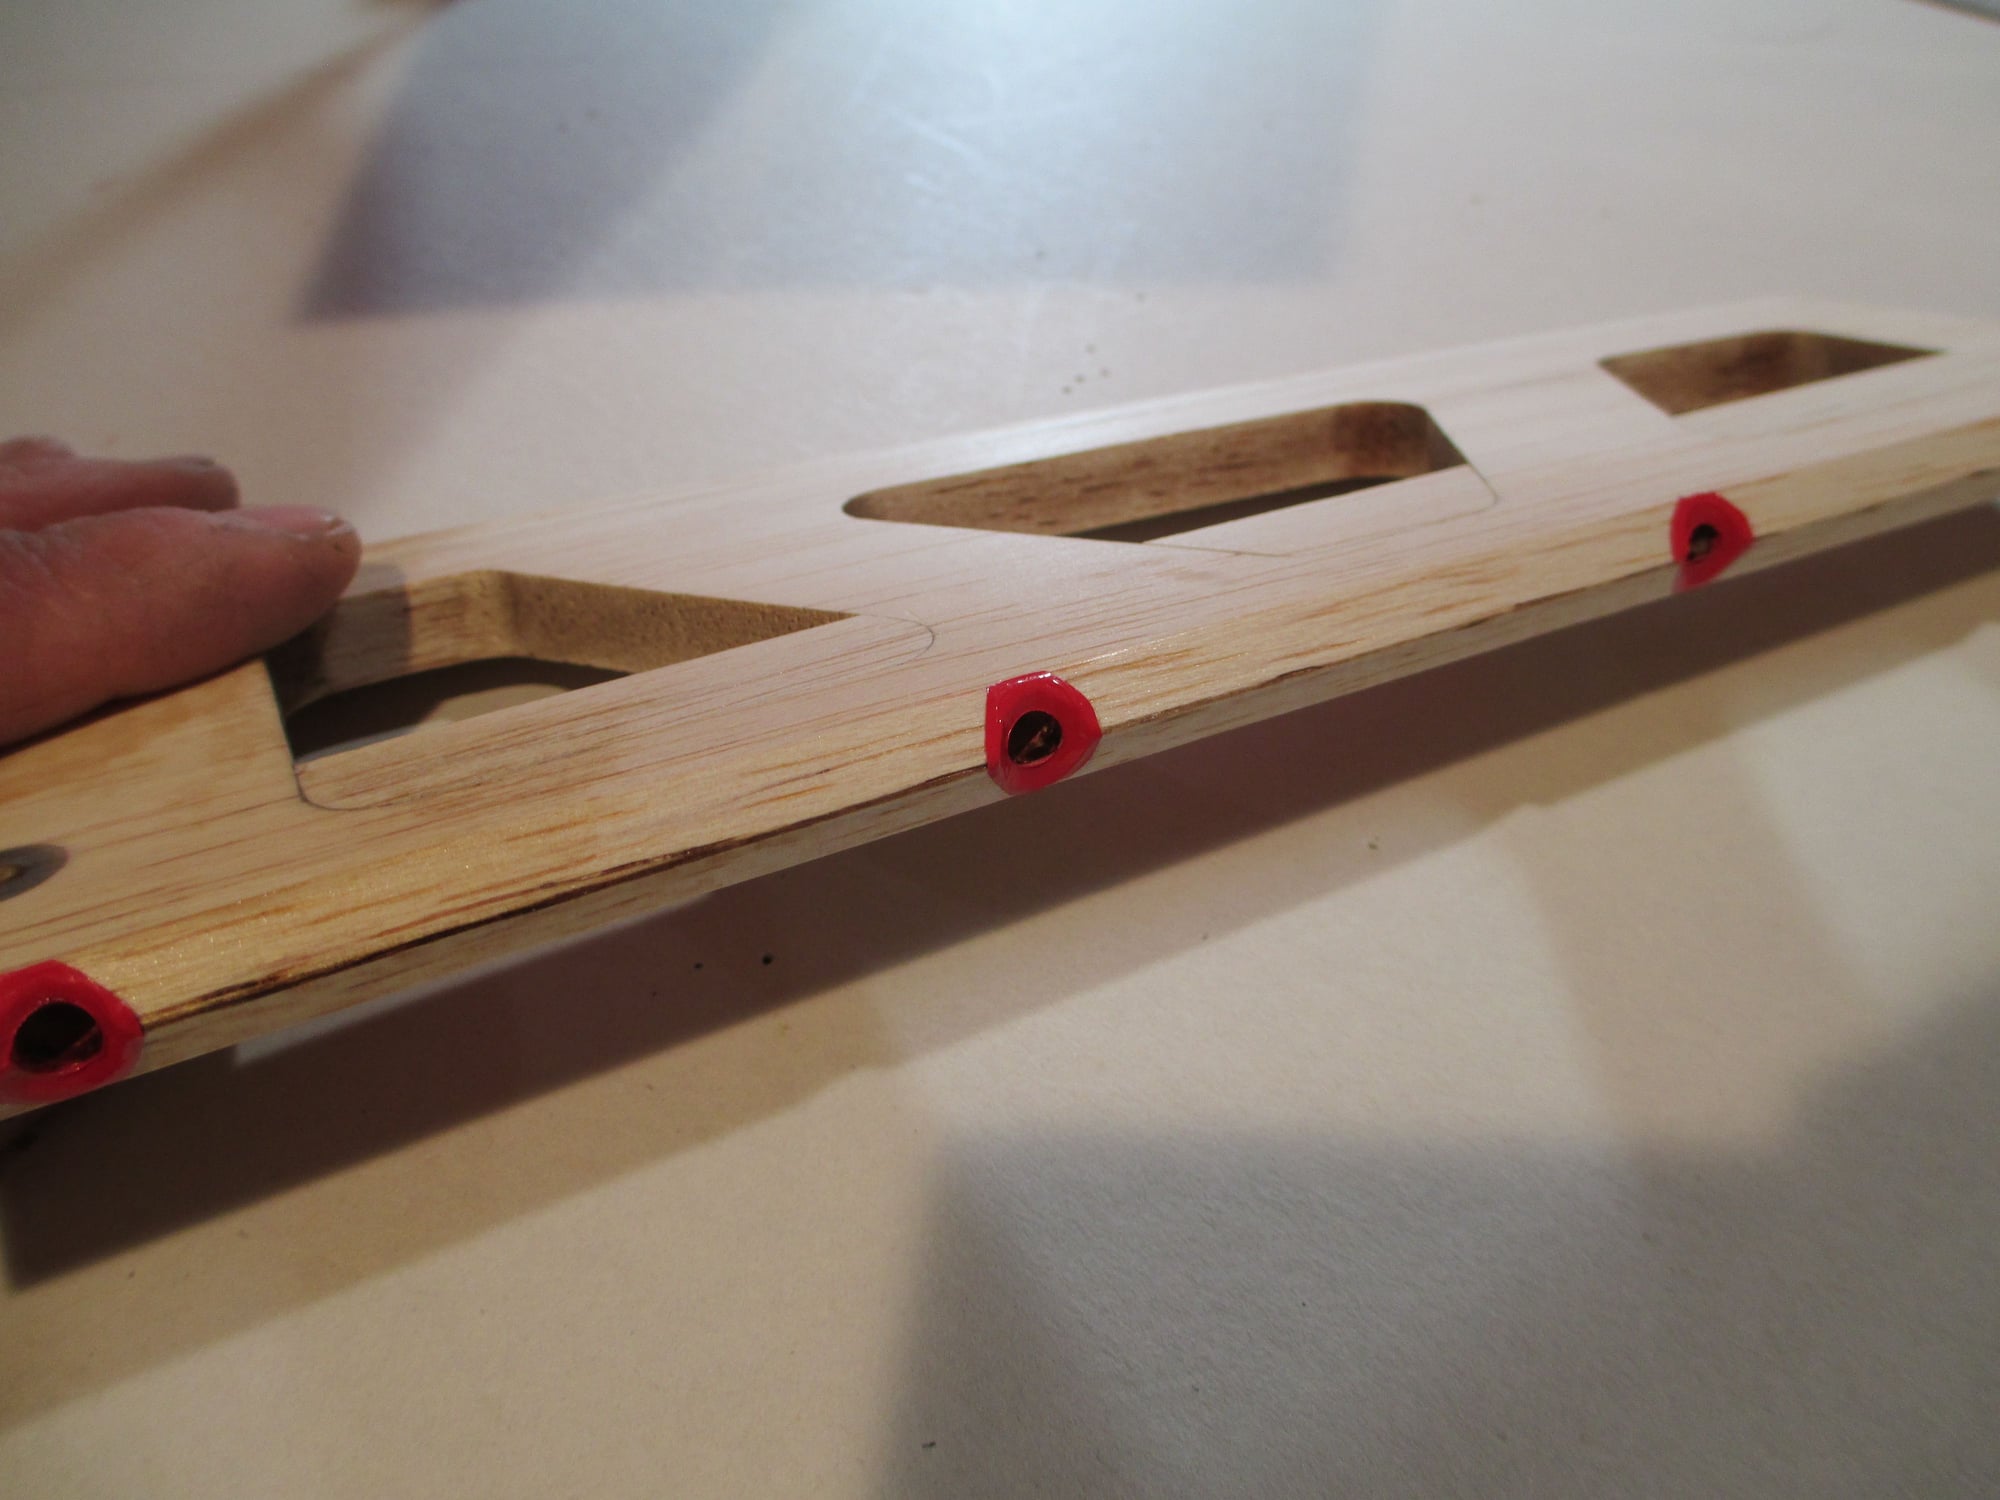
Here I used the soldering iron to open up the two tail wheel bolt holes...
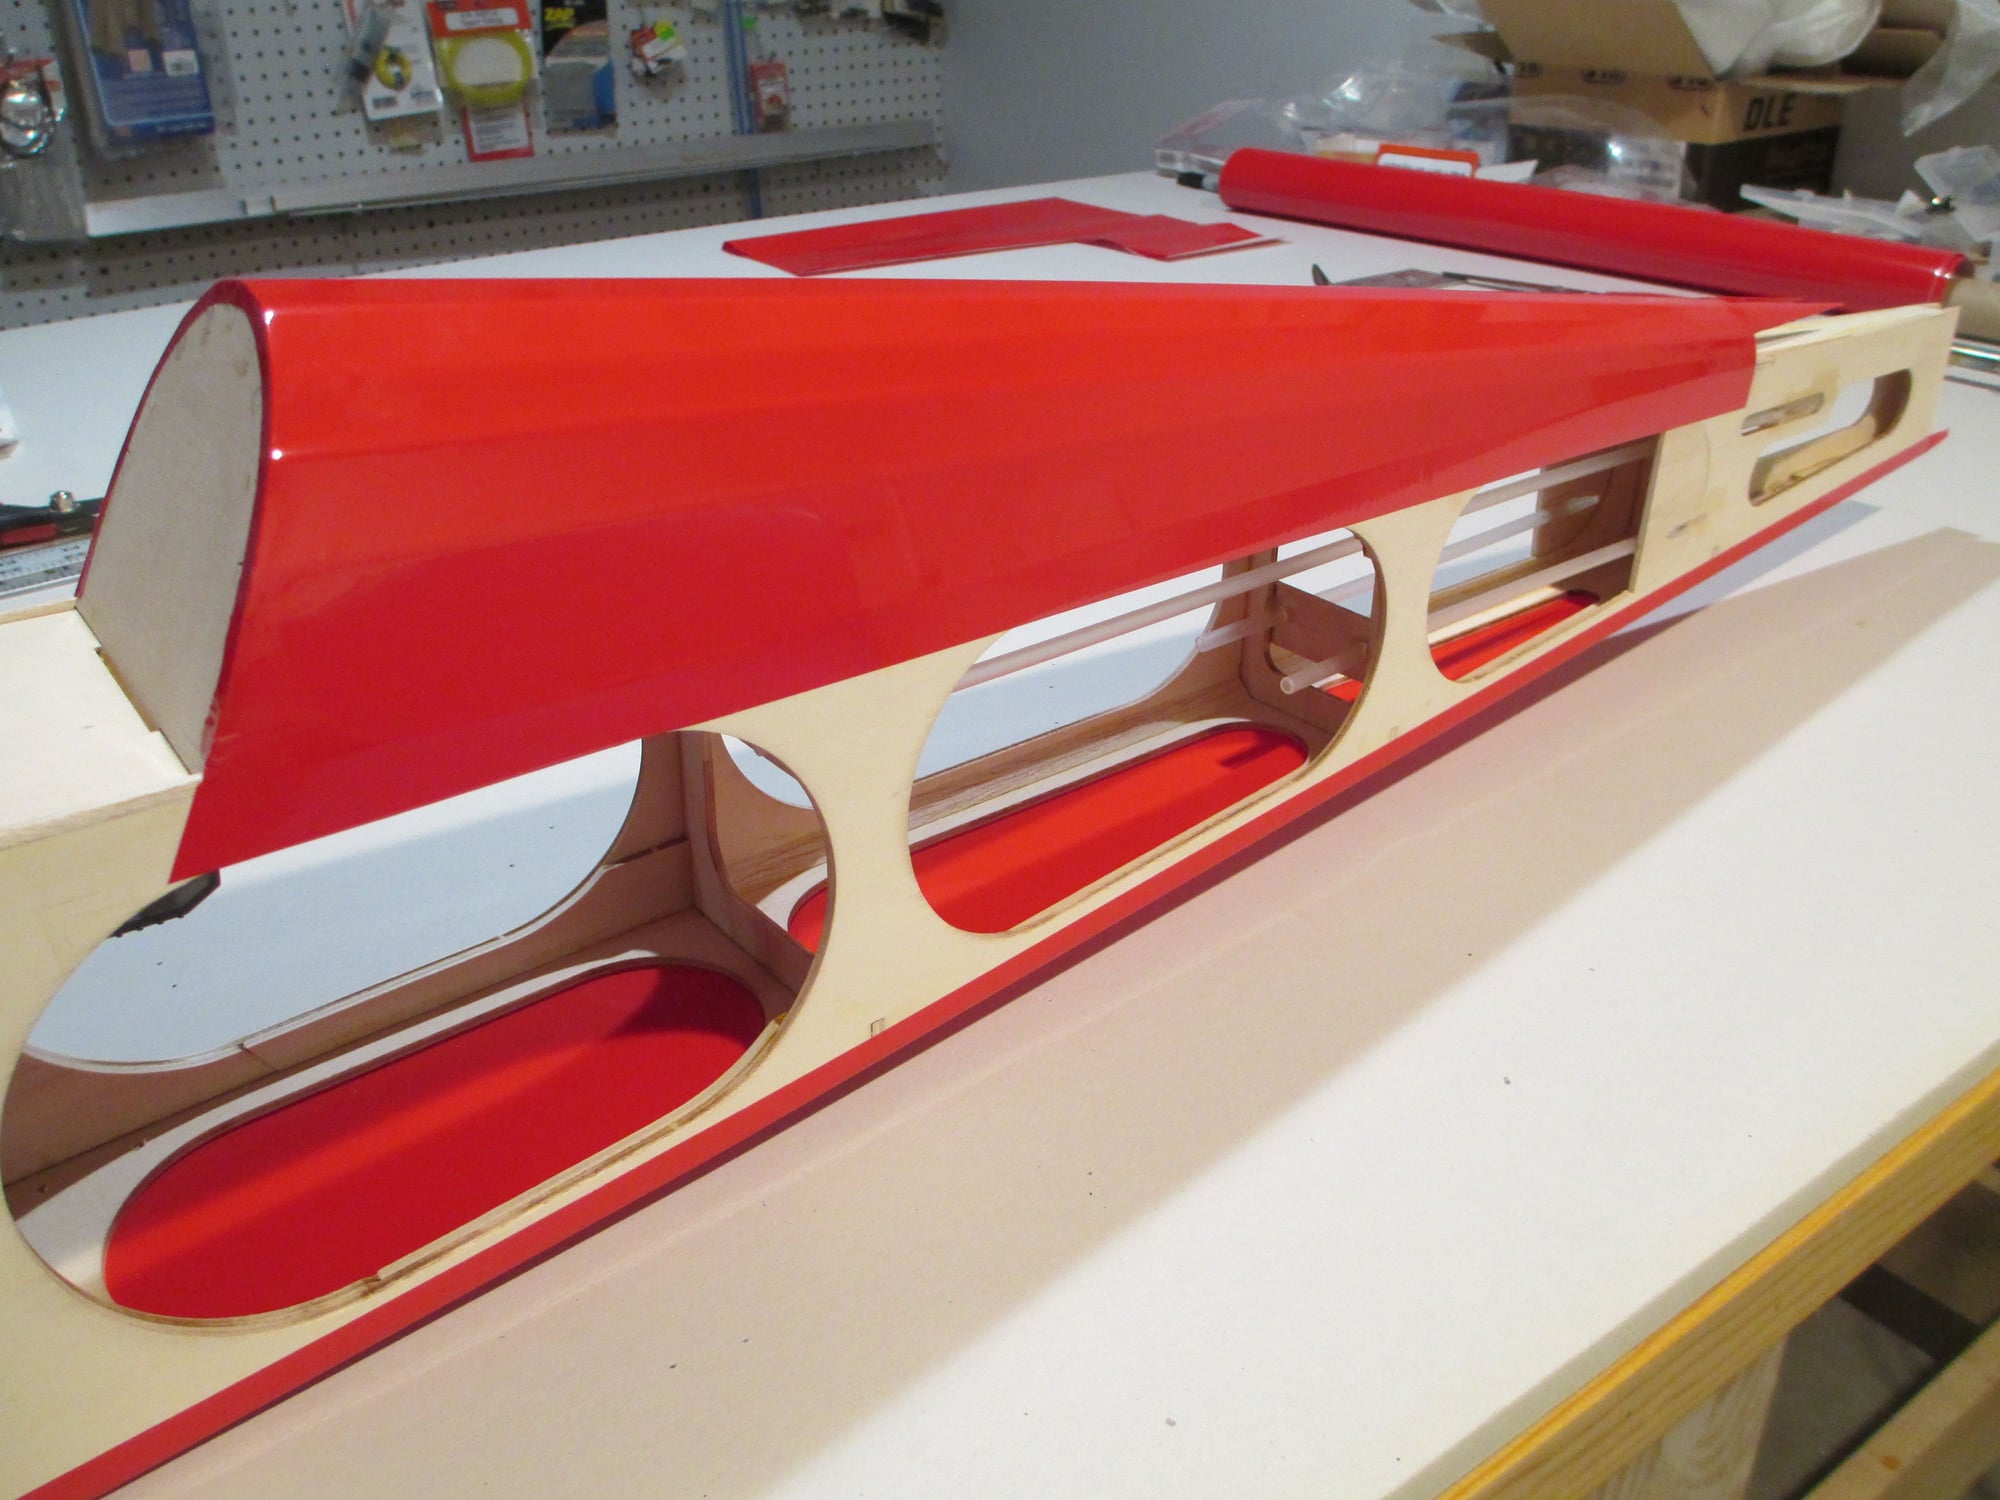
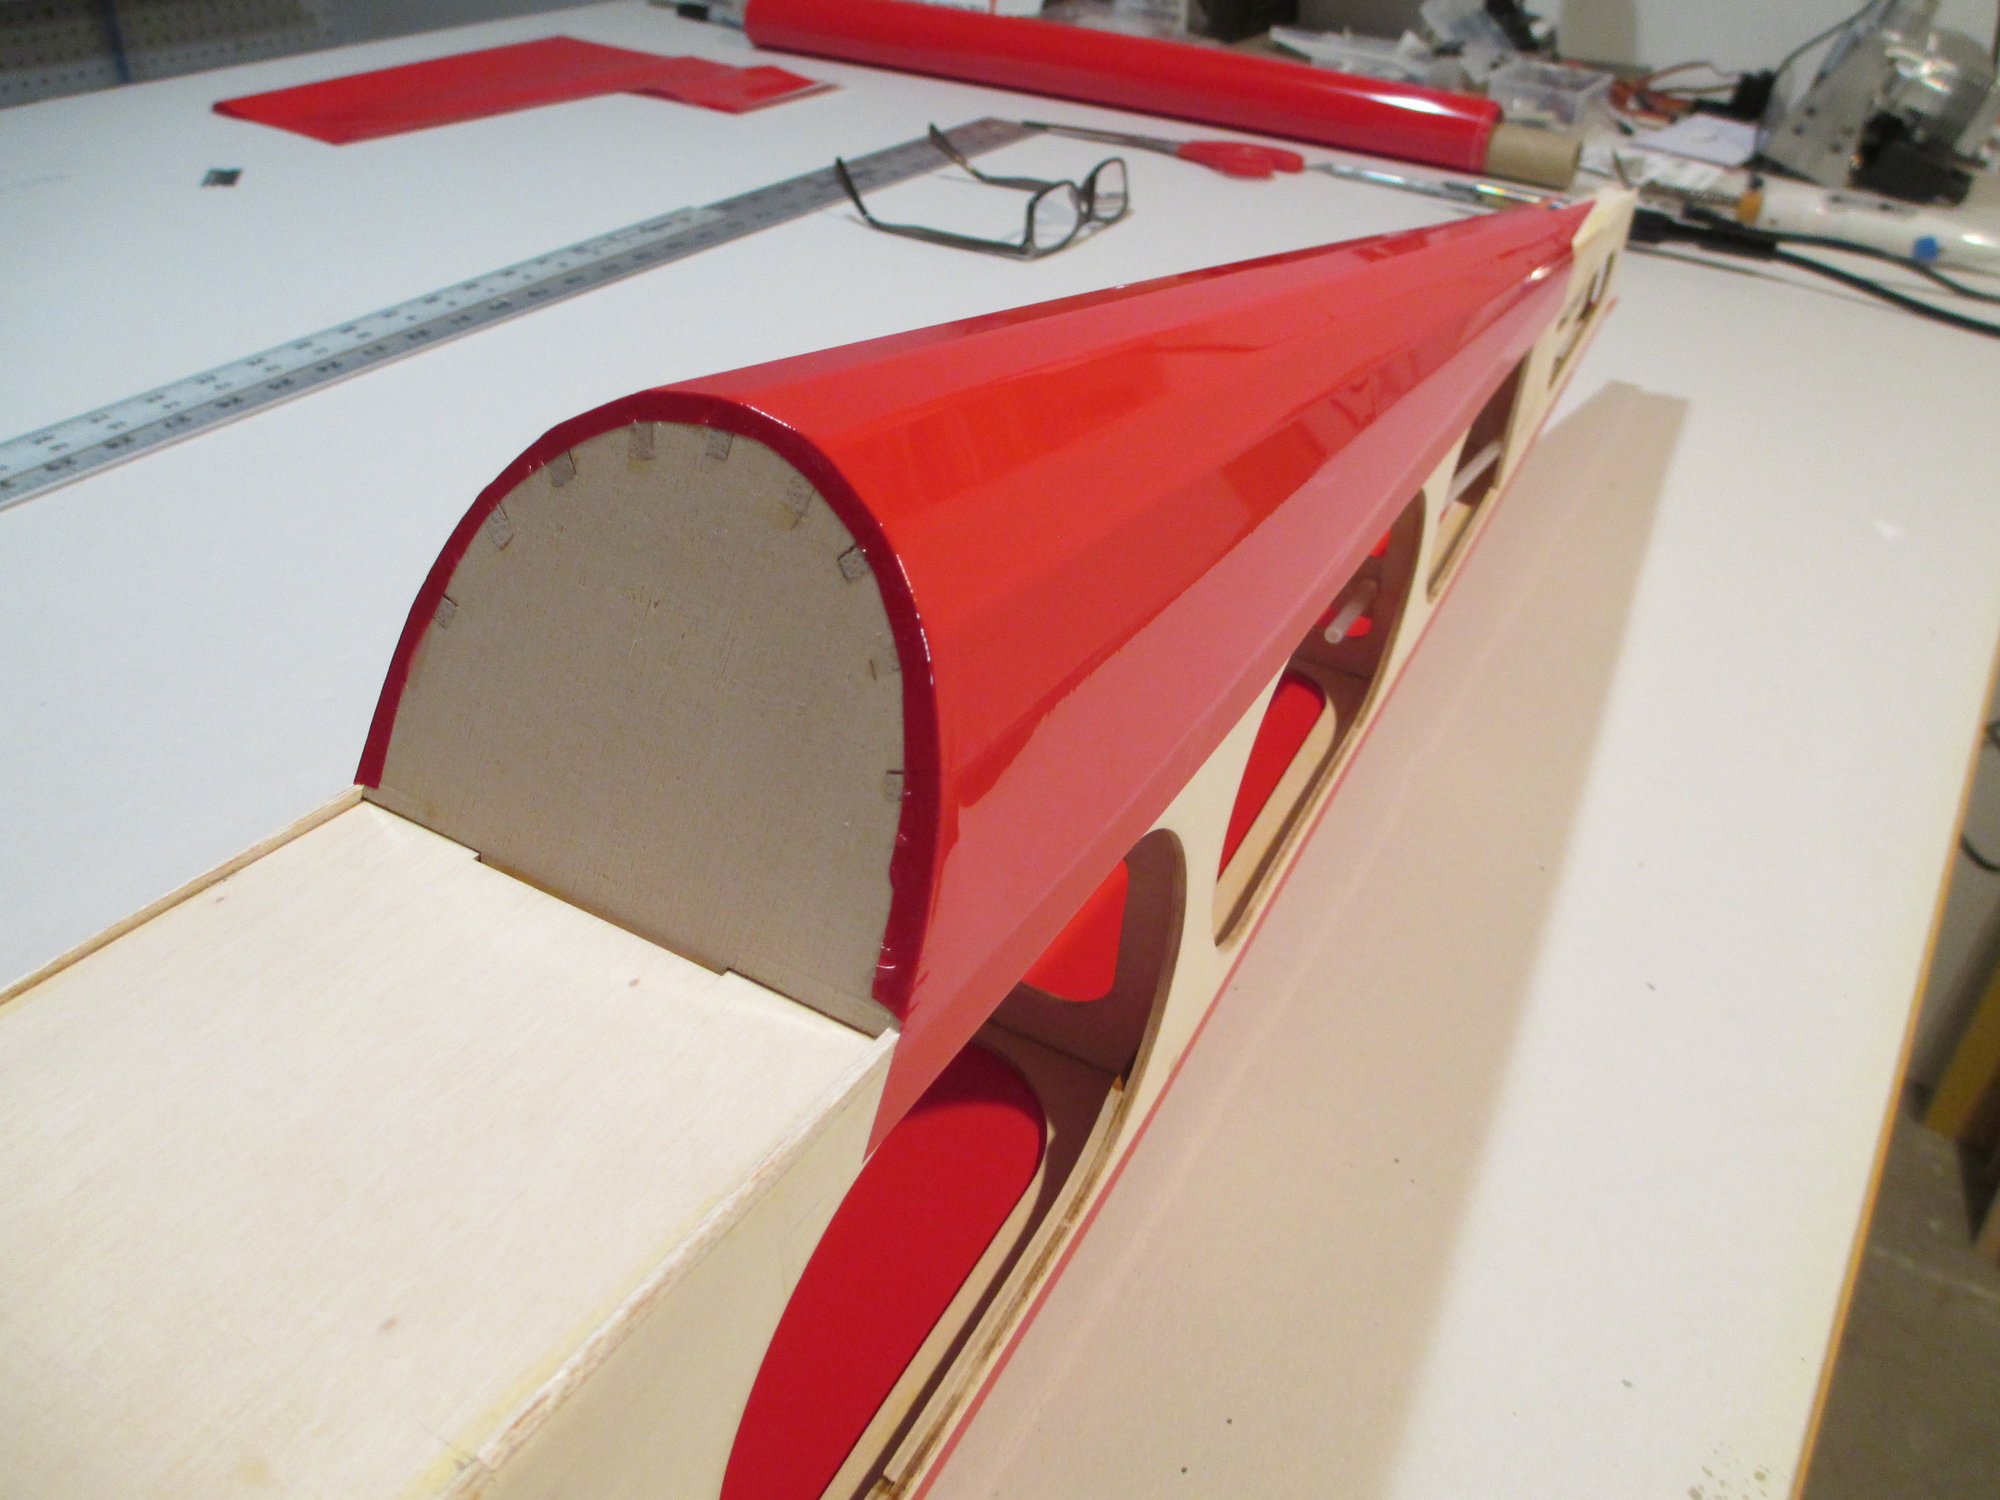
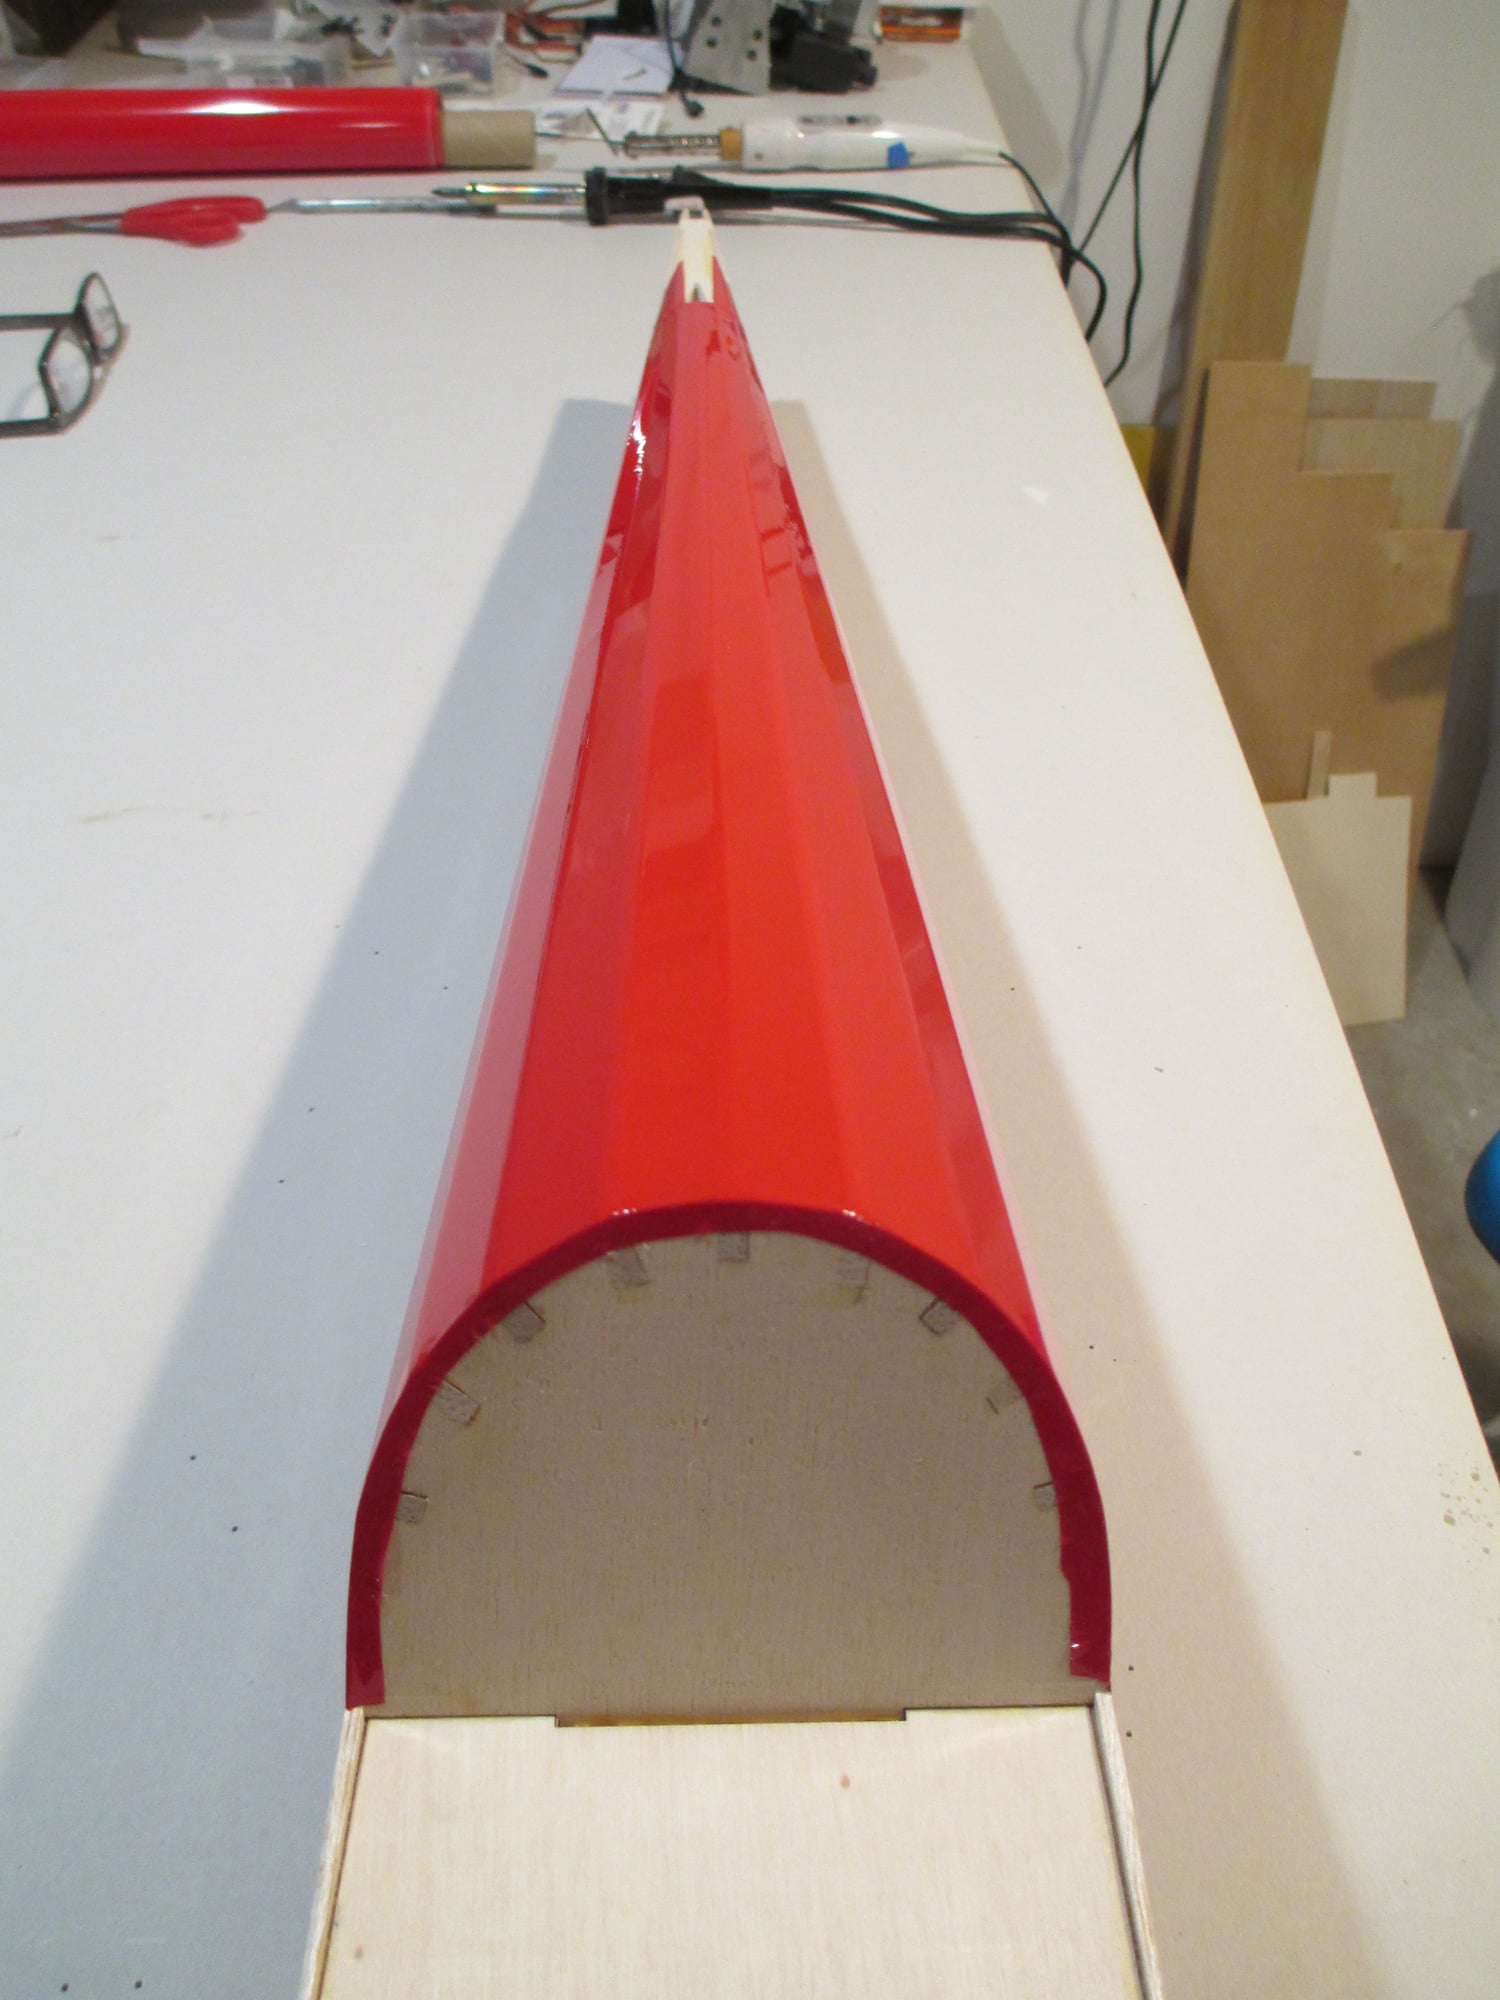
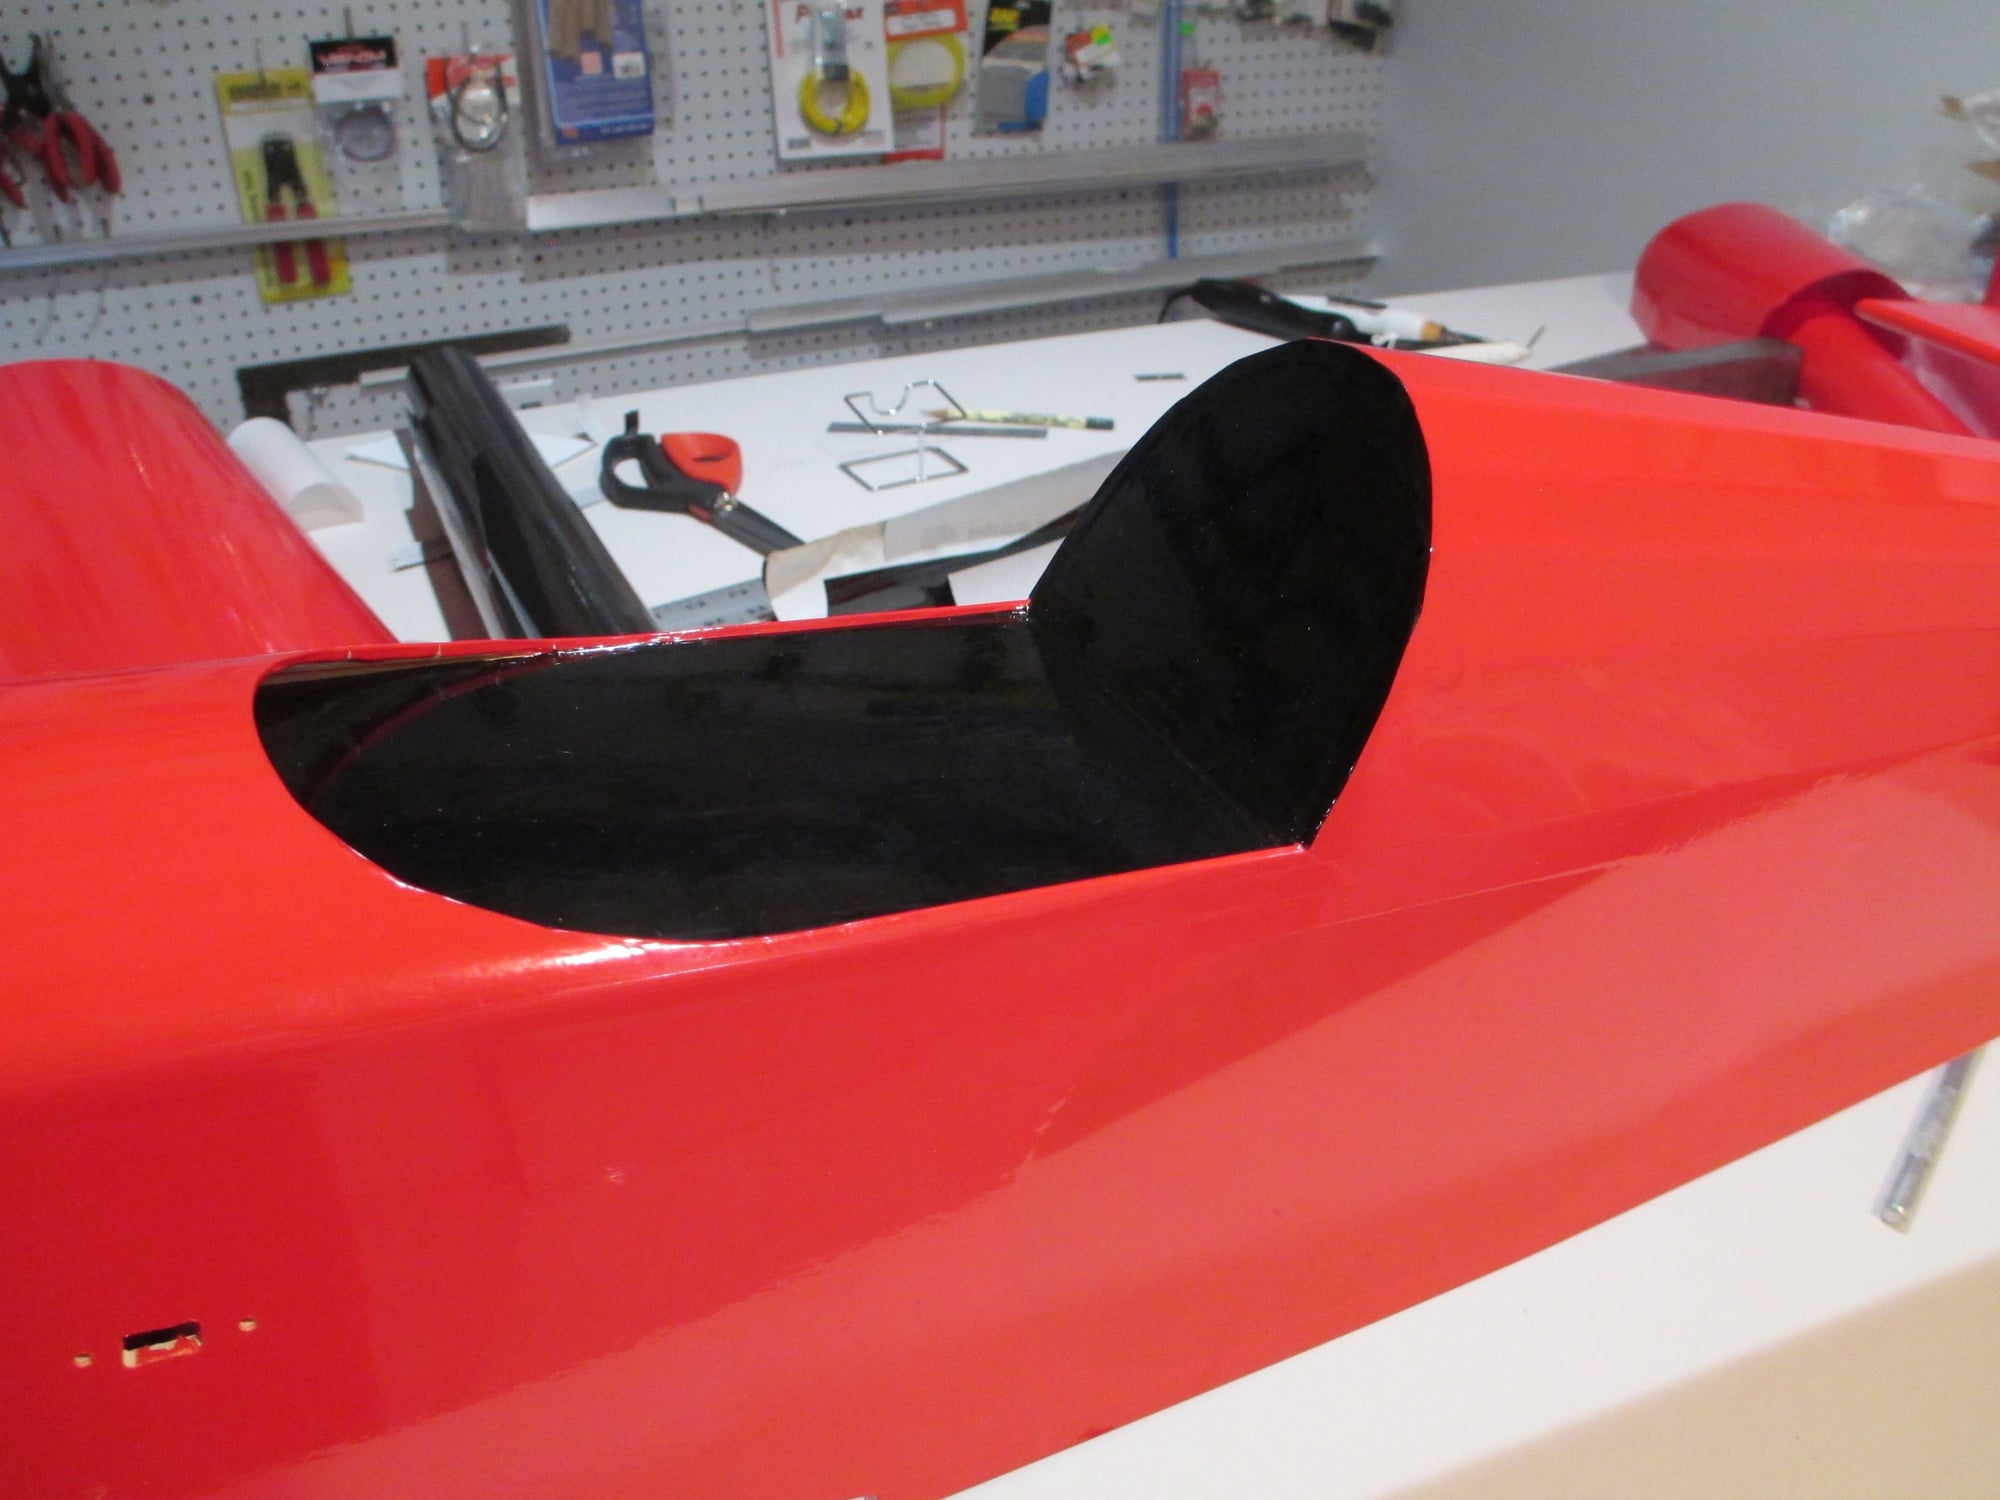
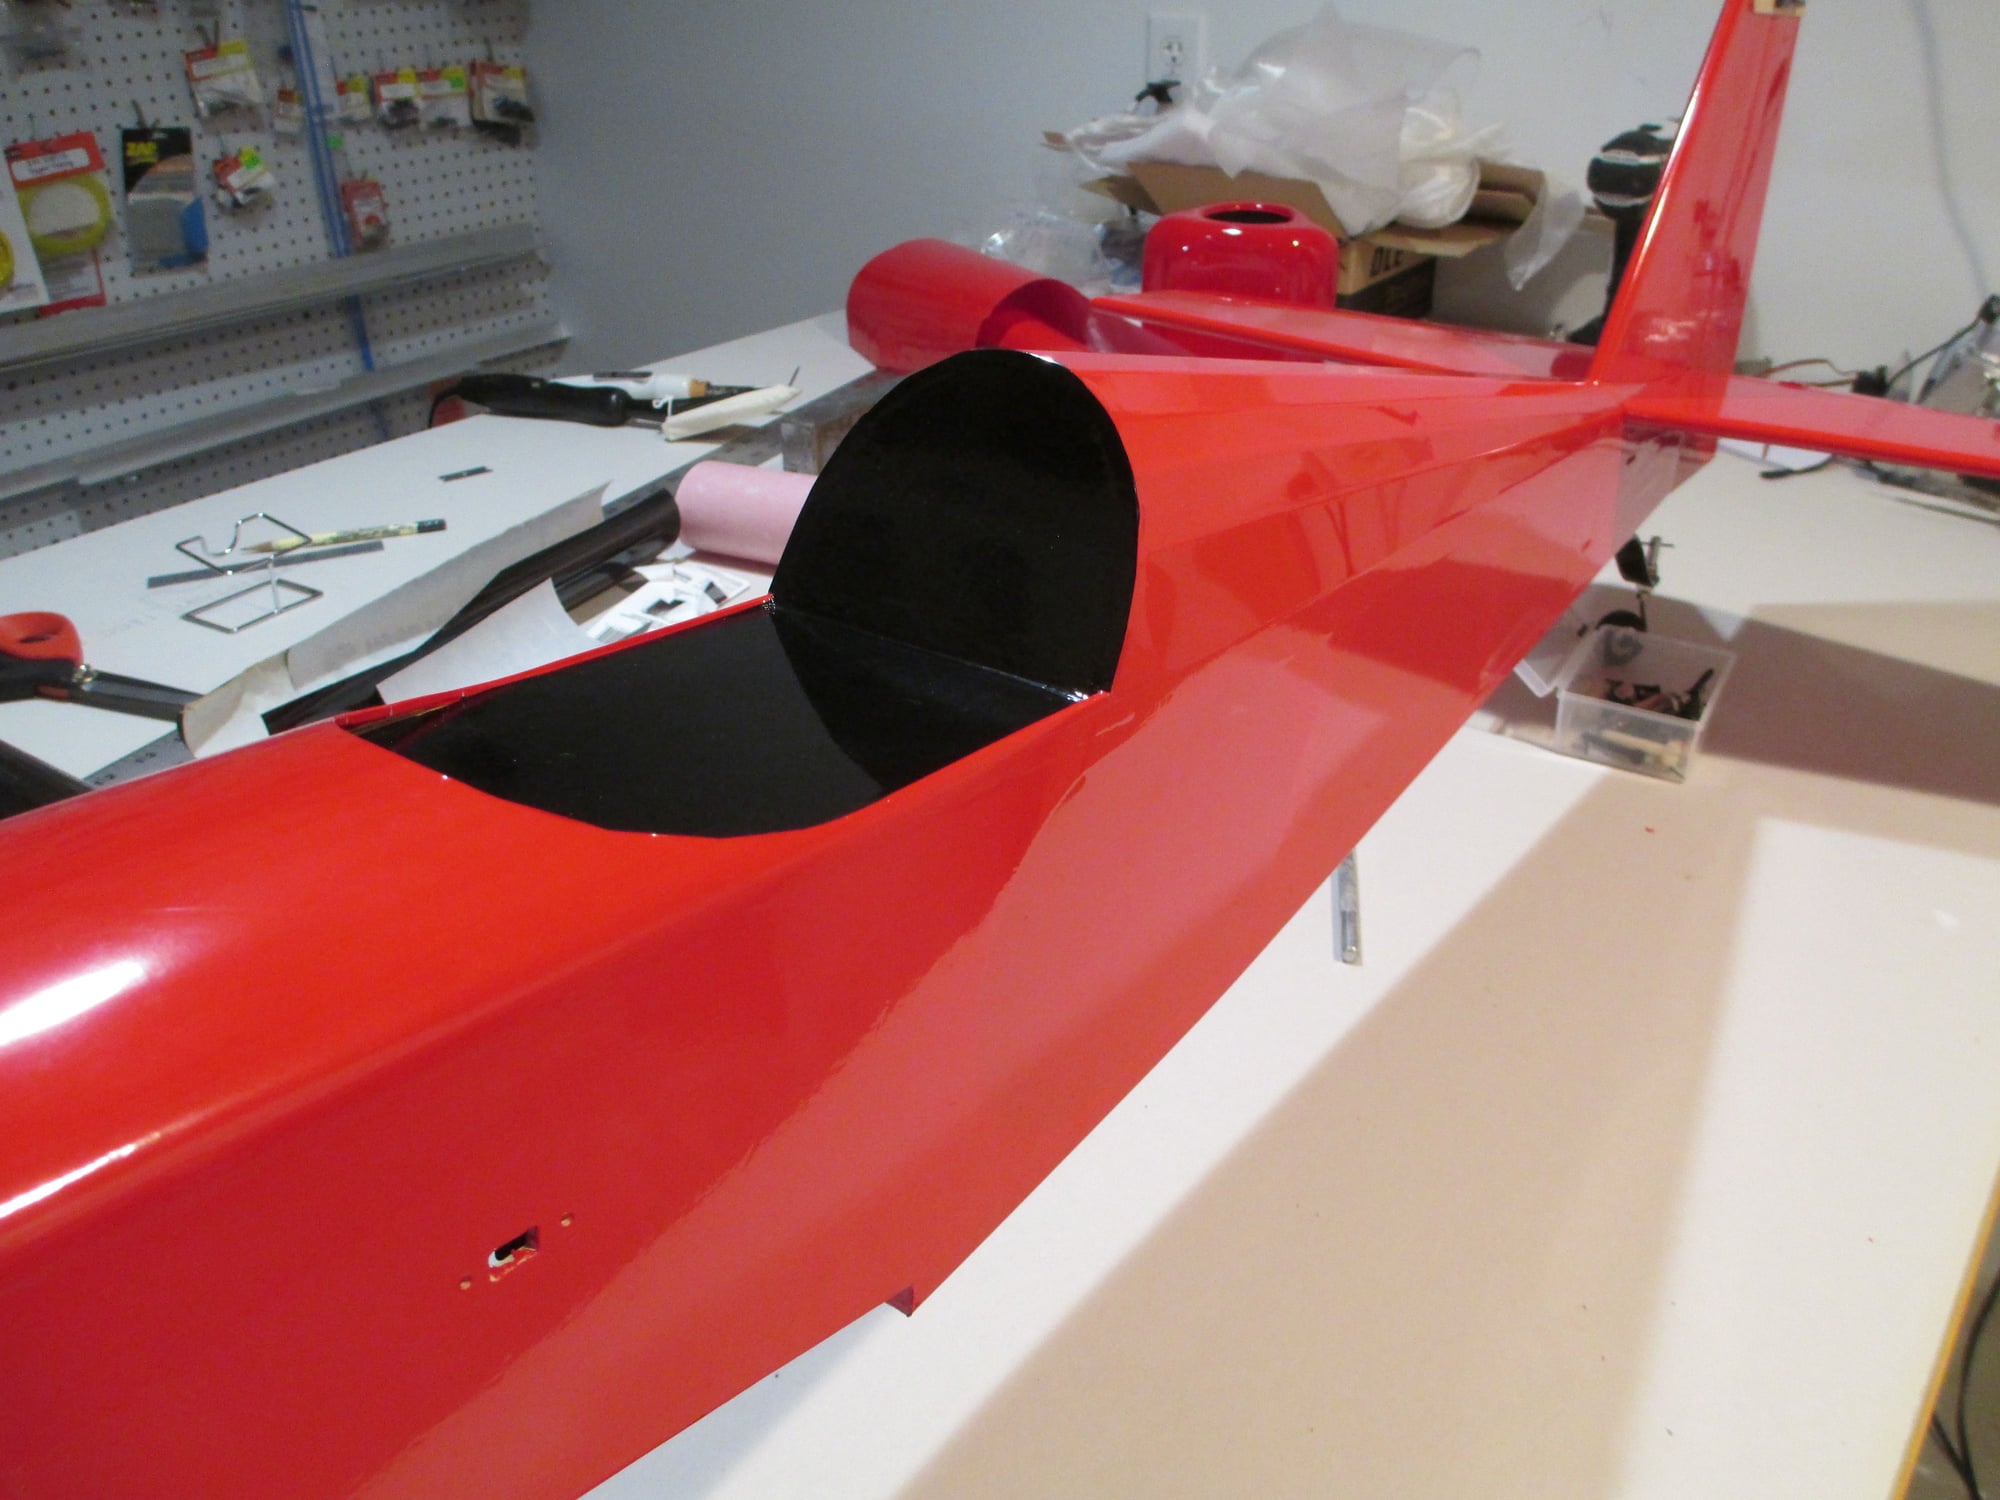
Next up was to cover the turtle deck.
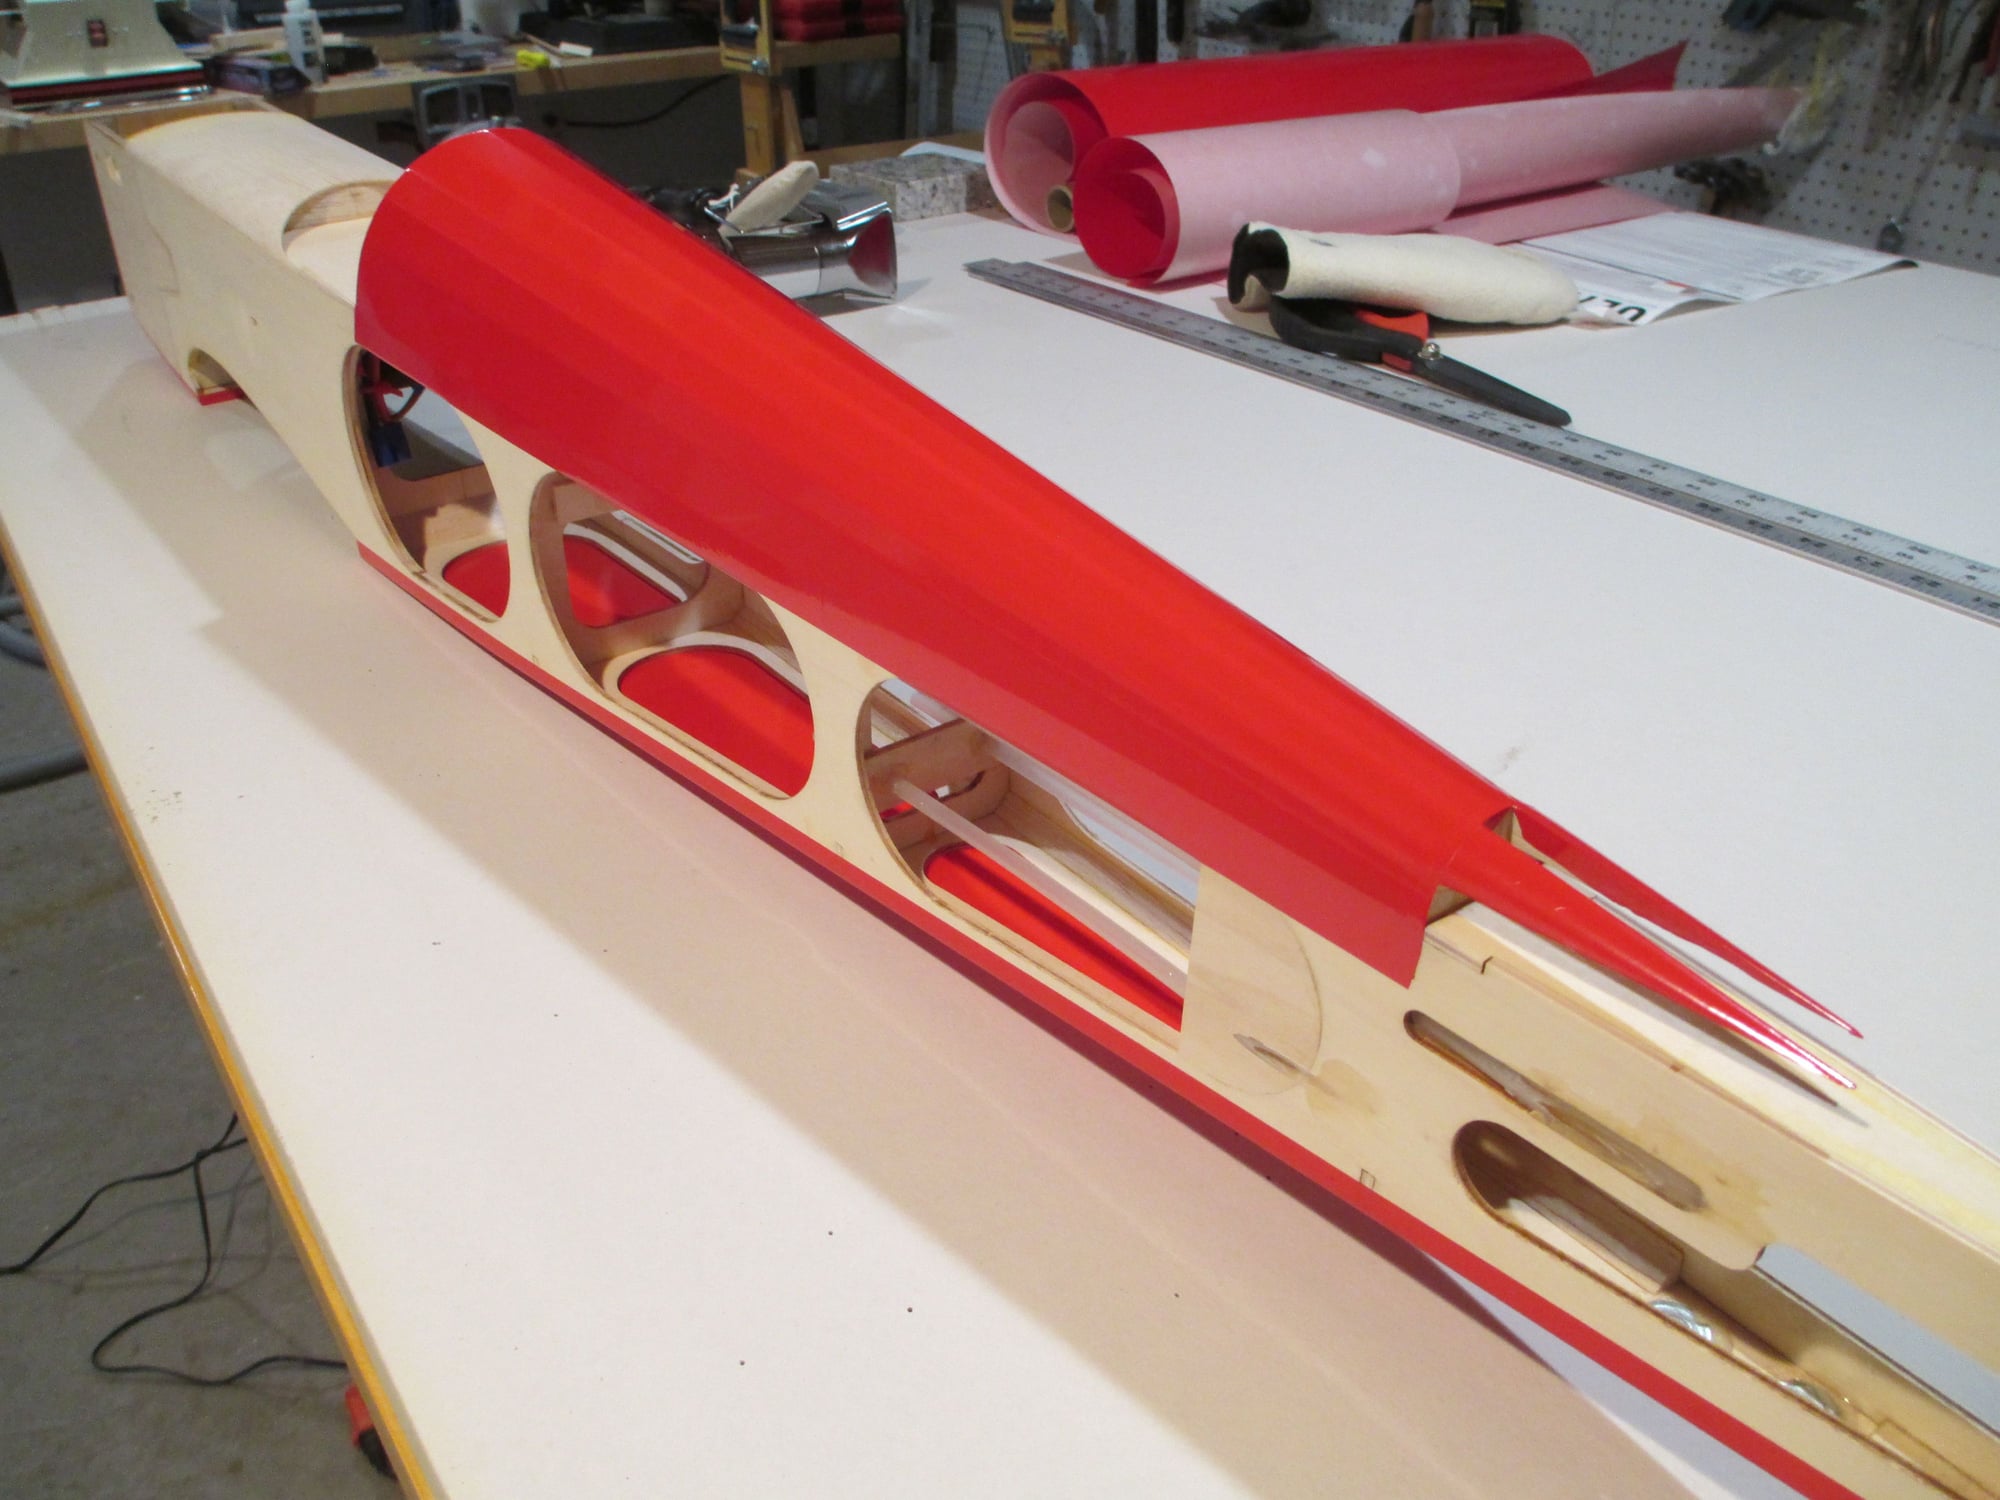
I'm glad that I added more stringers as it gives it a more graceful curve.
These are the tools that I use to cover a plane. Missing from the photo is a pencil tipped soldering iron.
It's important to get your iron at the correct temperature. Don't trust the dial on your iron, use a non-contact infrared thermometer. I want my iron between 210-220 degrees. You can see that the iron isn't at the right temp yet...
I started with the bottom of the fuselage.
I will leave this tail piece long and trim it after the stabilizer is in place.
This is the soldering iron that was missing in the first photo. I use it to remove (melt) the covering out of holes.
Here I used the soldering iron to open up the two tail wheel bolt holes...
Next up was to cover the turtle deck.
I'm glad that I added more stringers as it gives it a more graceful curve.
Last edited by VincentJ; 05-18-2019 at 03:33 PM.
 05-19-2019, 01:01 AM
#160

Join Date: Aug 2016
Posts: 3
Likes: 0
Received 0 Likes
on
0 Posts
I just started following your build your doing a fantastic job. I was a little surprised though that you didn't sheet the turtle deck. Doing so adds strength and makes it so much easier to cover that area.
05-19-2019, 01:12 AM
#161
Thread Starter
05-19-2019, 01:17 AM
#162
Thread Starter
Thank you, the reason that I didn't is because I added four additional stringers and bracing to the turtledeck, she's plenty strong now. The stringers didn't bow at all after shrinking the covering...
 05-19-2019, 02:56 PM
#164
Thread Starter
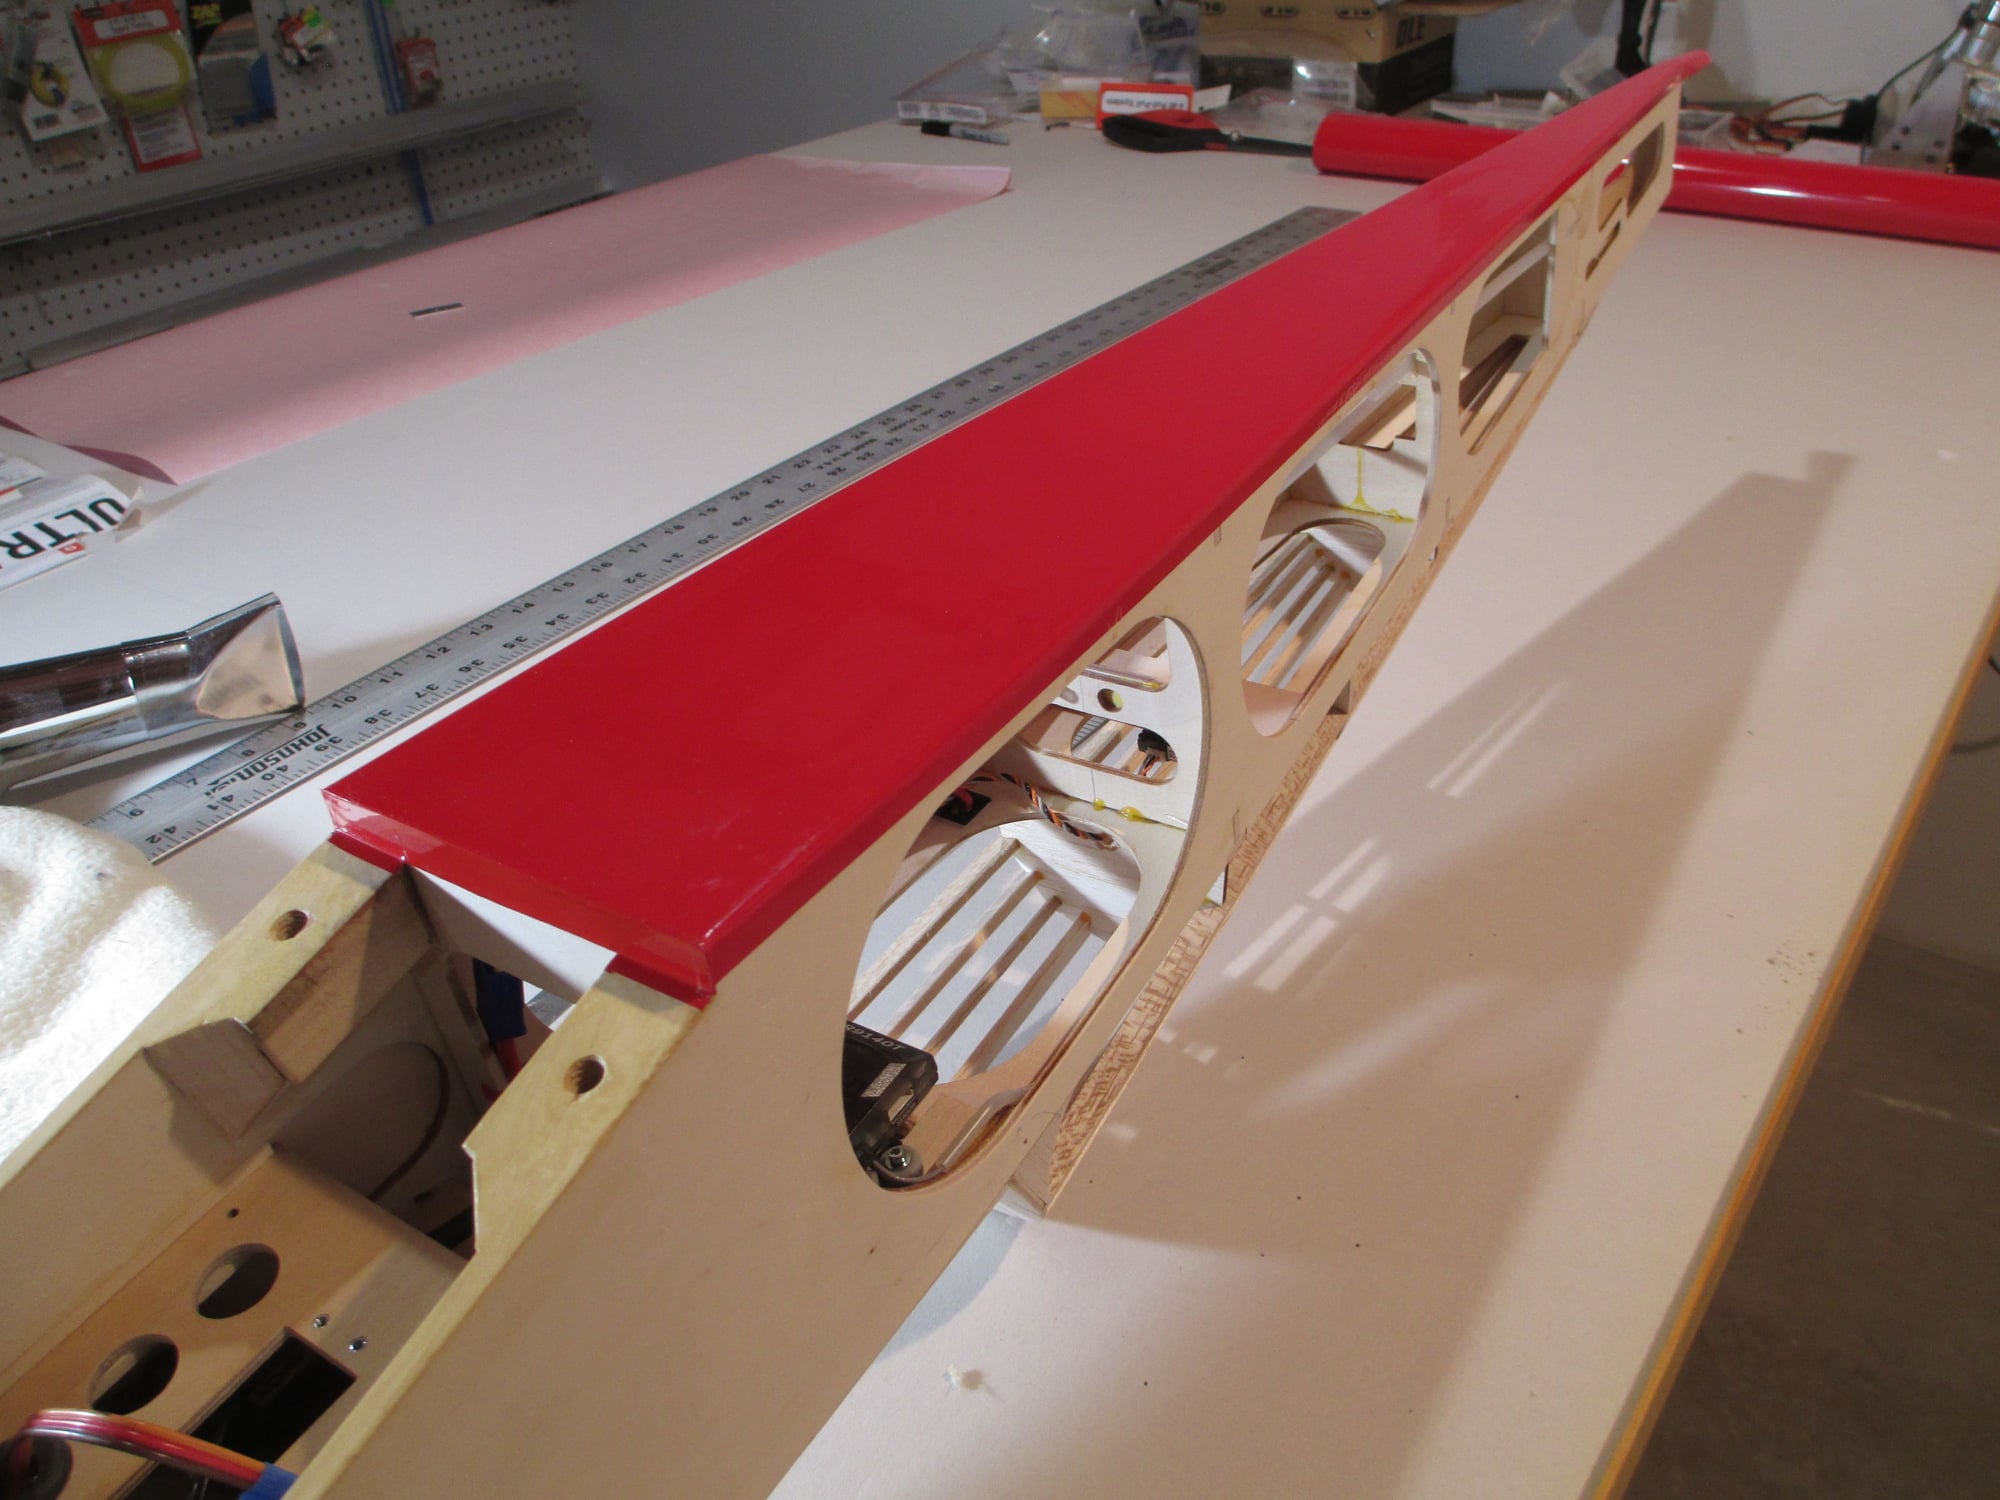
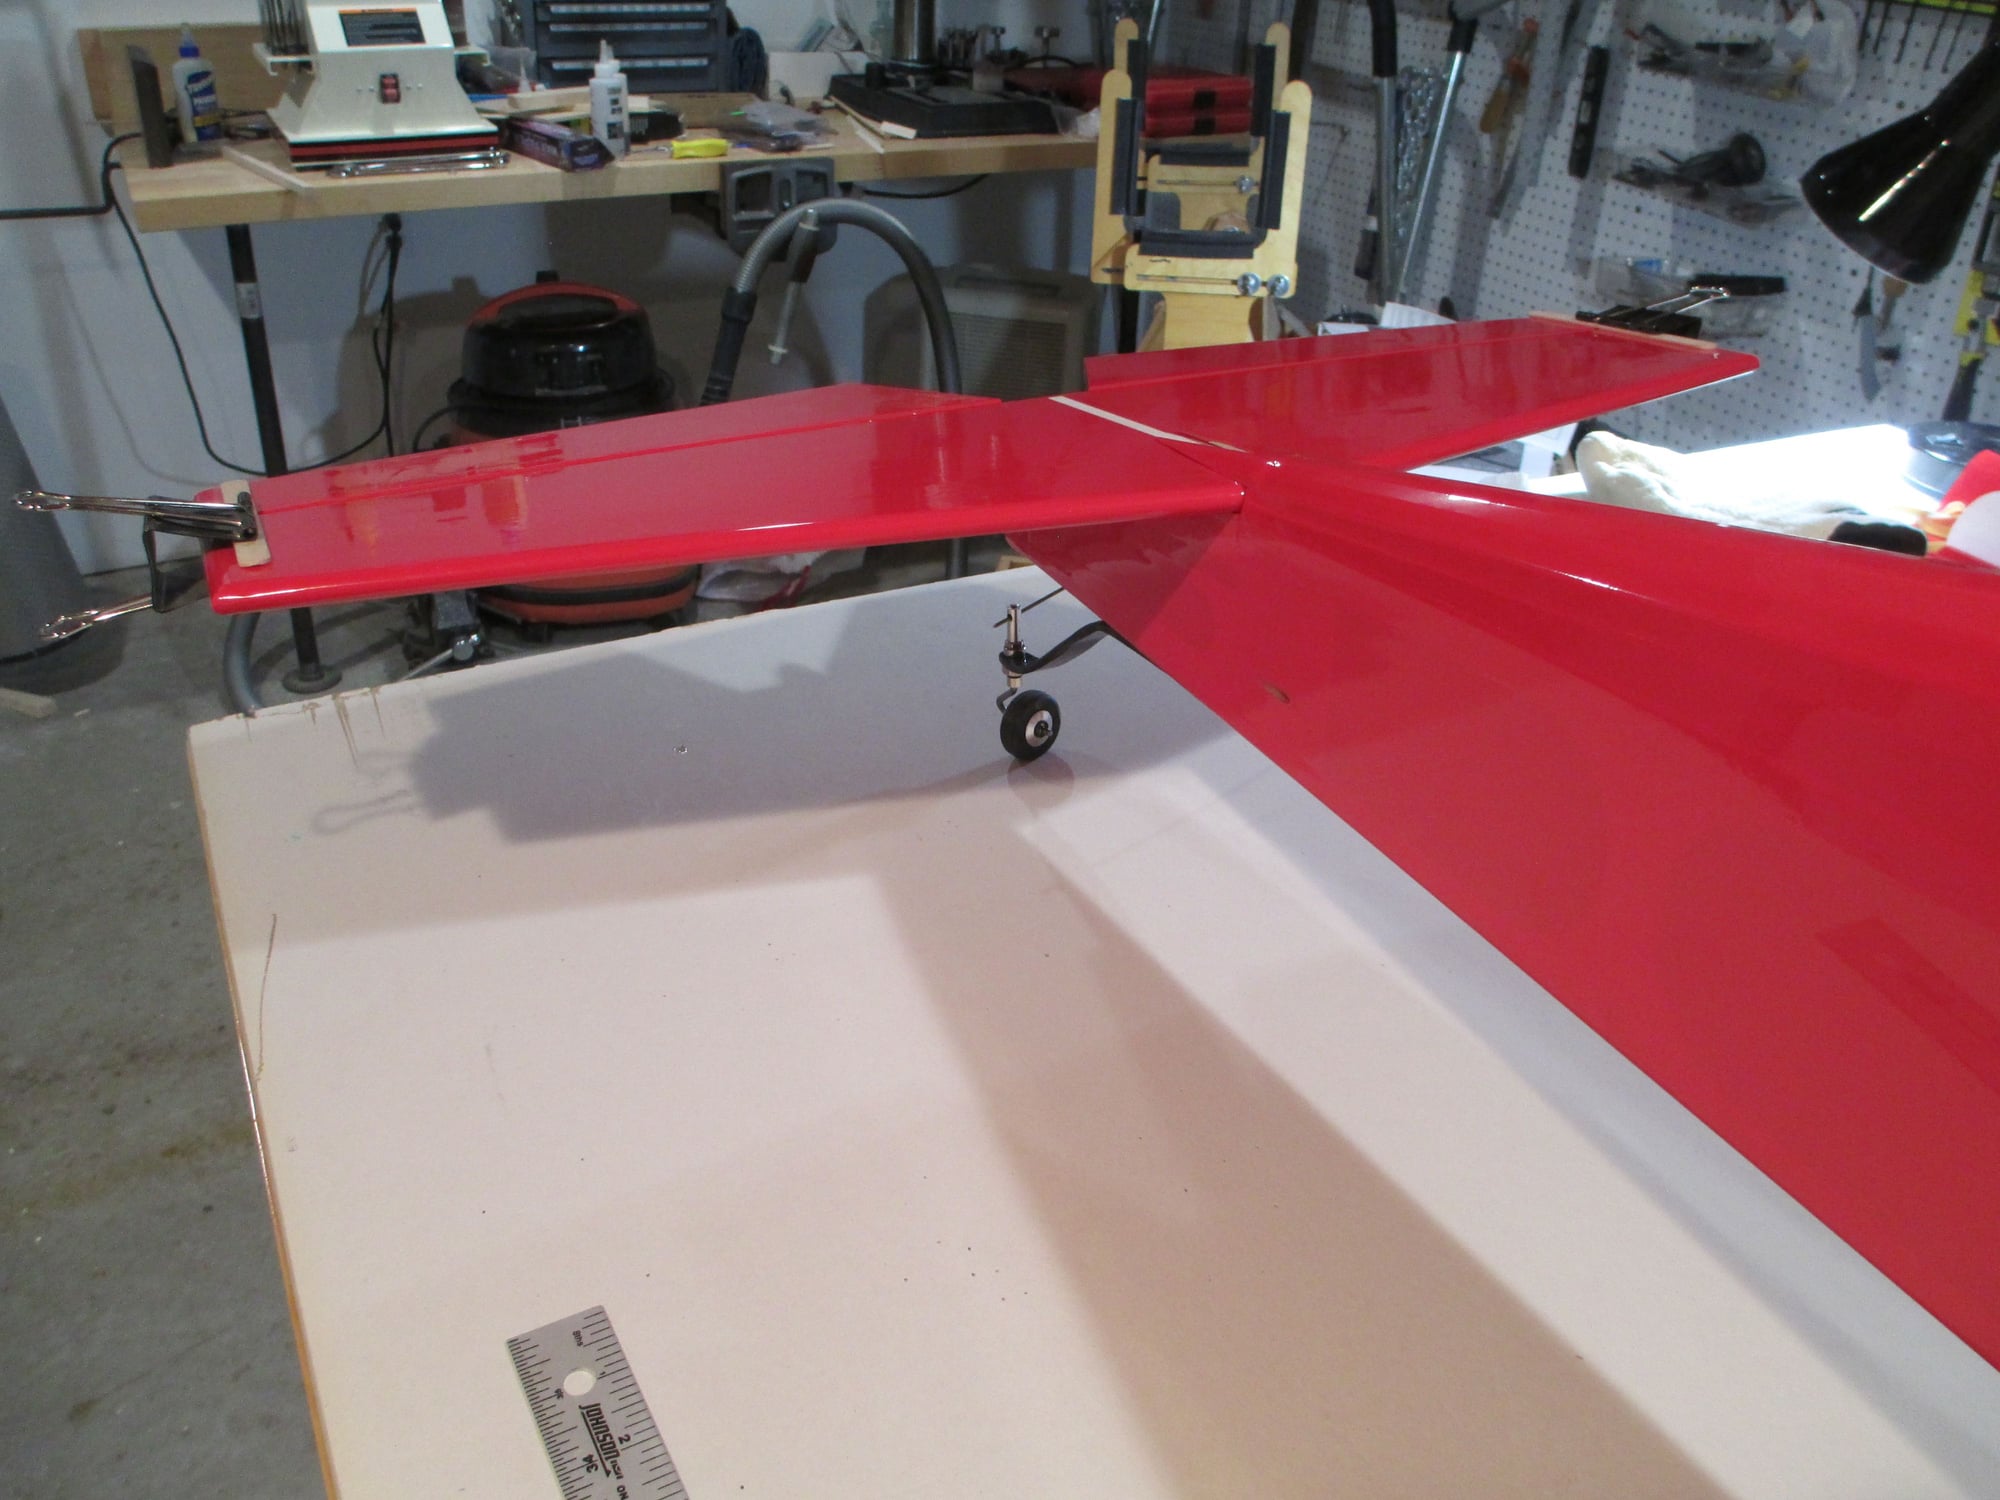
The horizontal stabilizer has been covered. Before it can be epoxied into place, the covering in the center will need to be removed so the epoxy can bond with the balsa and plywood. I temporarily installed the stab in place and from the bottom of the stab I used a Sharpie to outline the top of the fuselage.
Note: Don't worry about using a permanent marker to outline as it will wipe off easily with a paper towel wet with denatured alcohol.
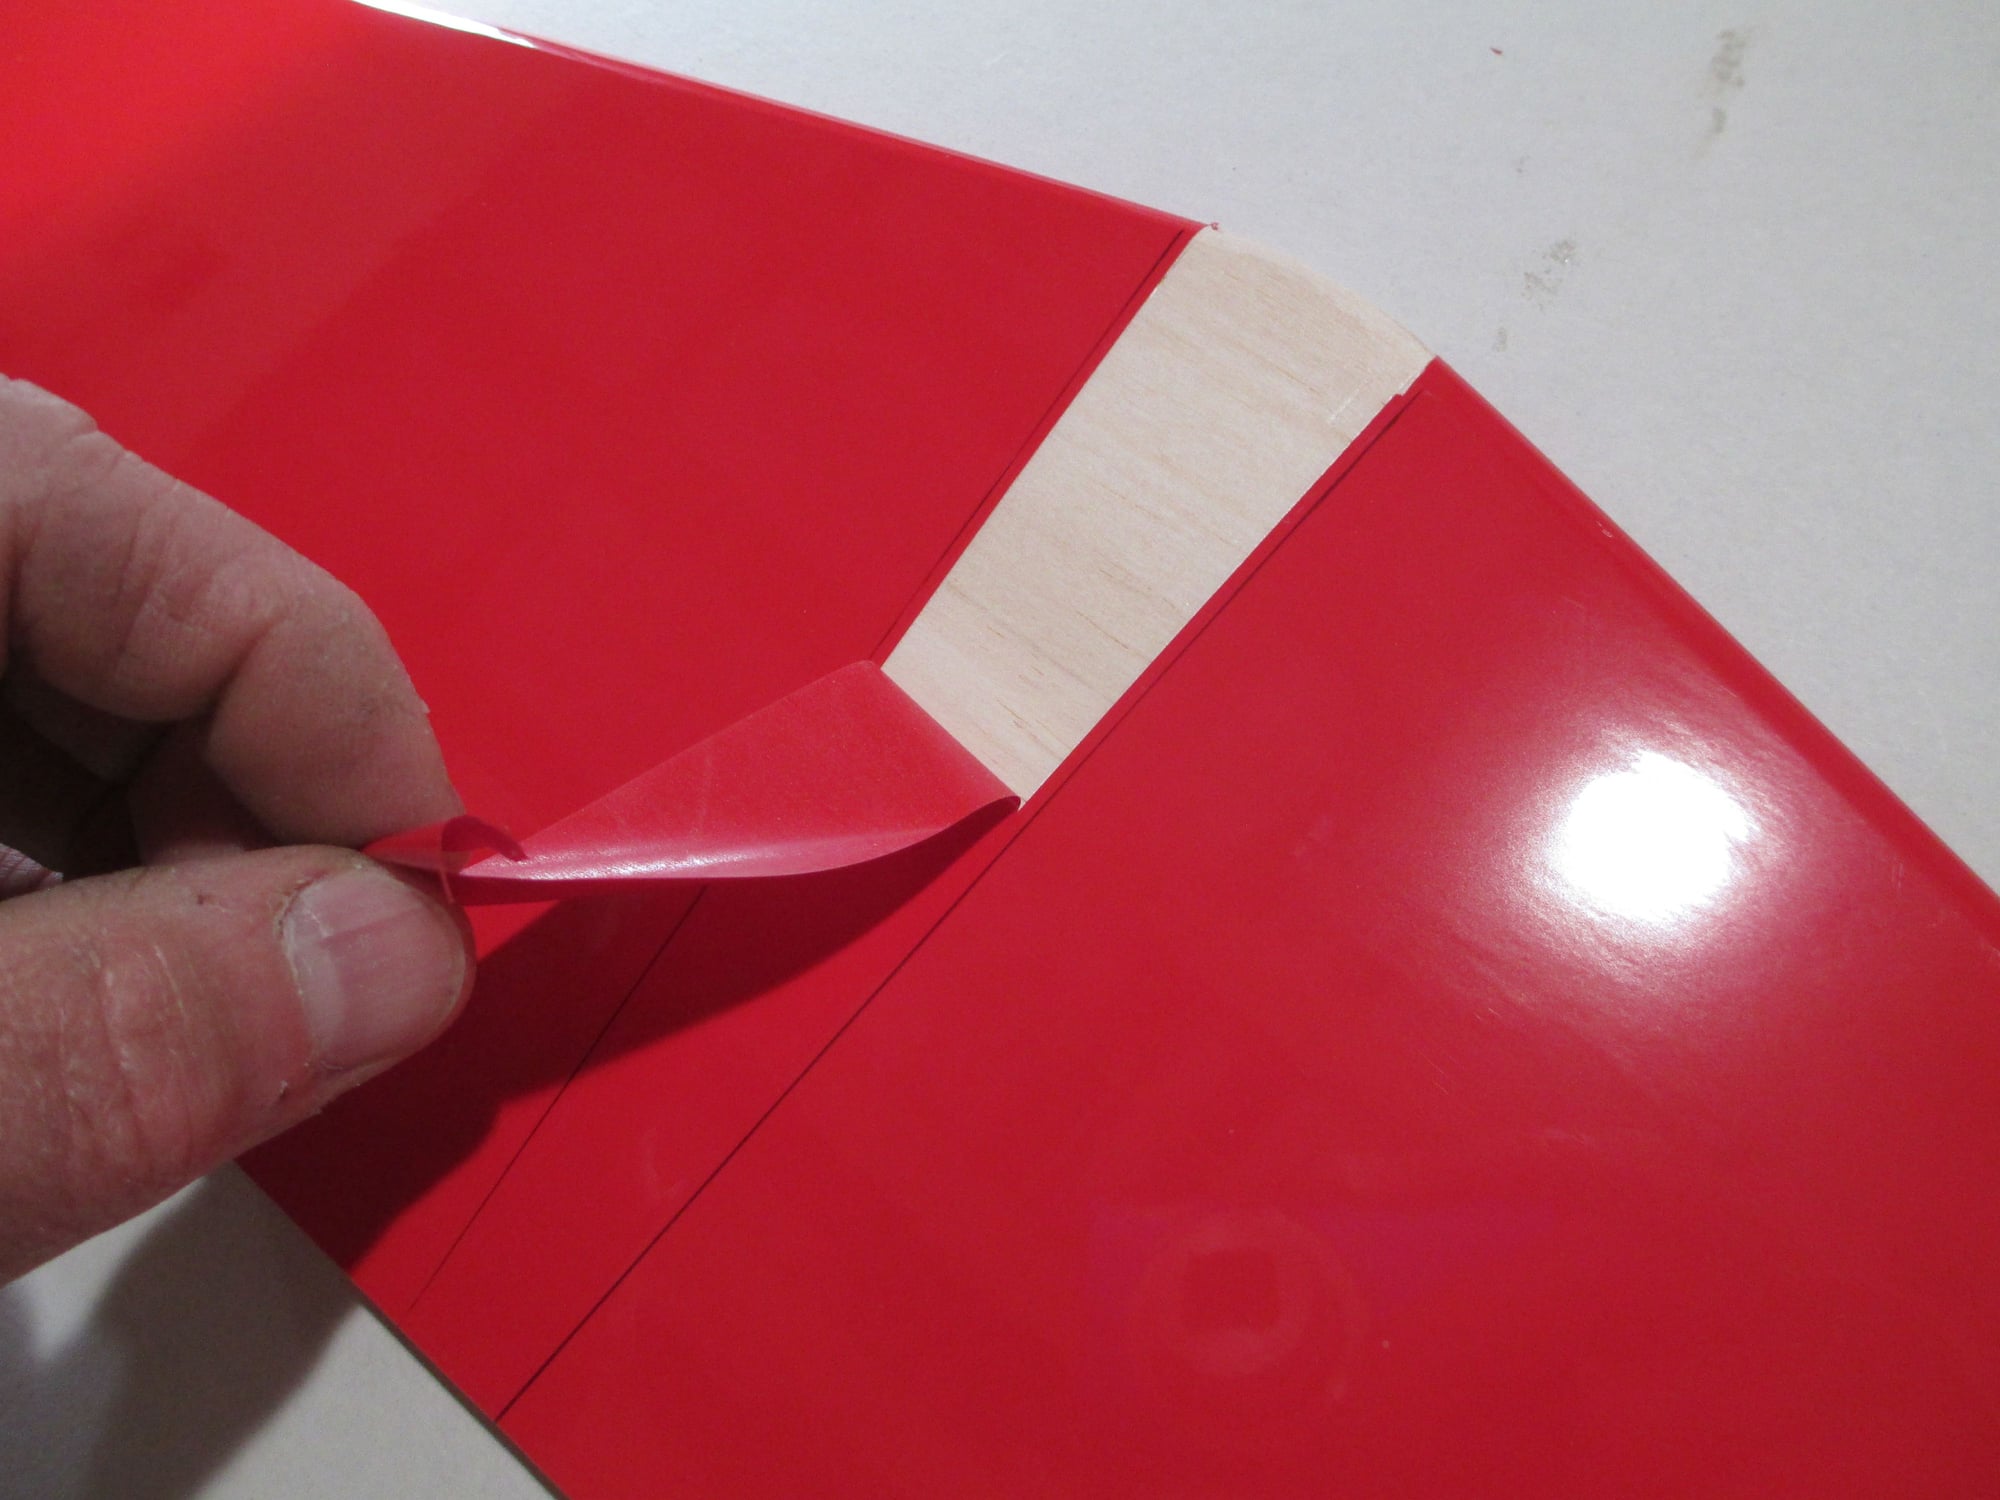
The trick now is to cut through the covering only and not into the balsa substrate. Make note that I'm cutting about 1/8" inside of the Sharpie outline. The covering is then peeled away.
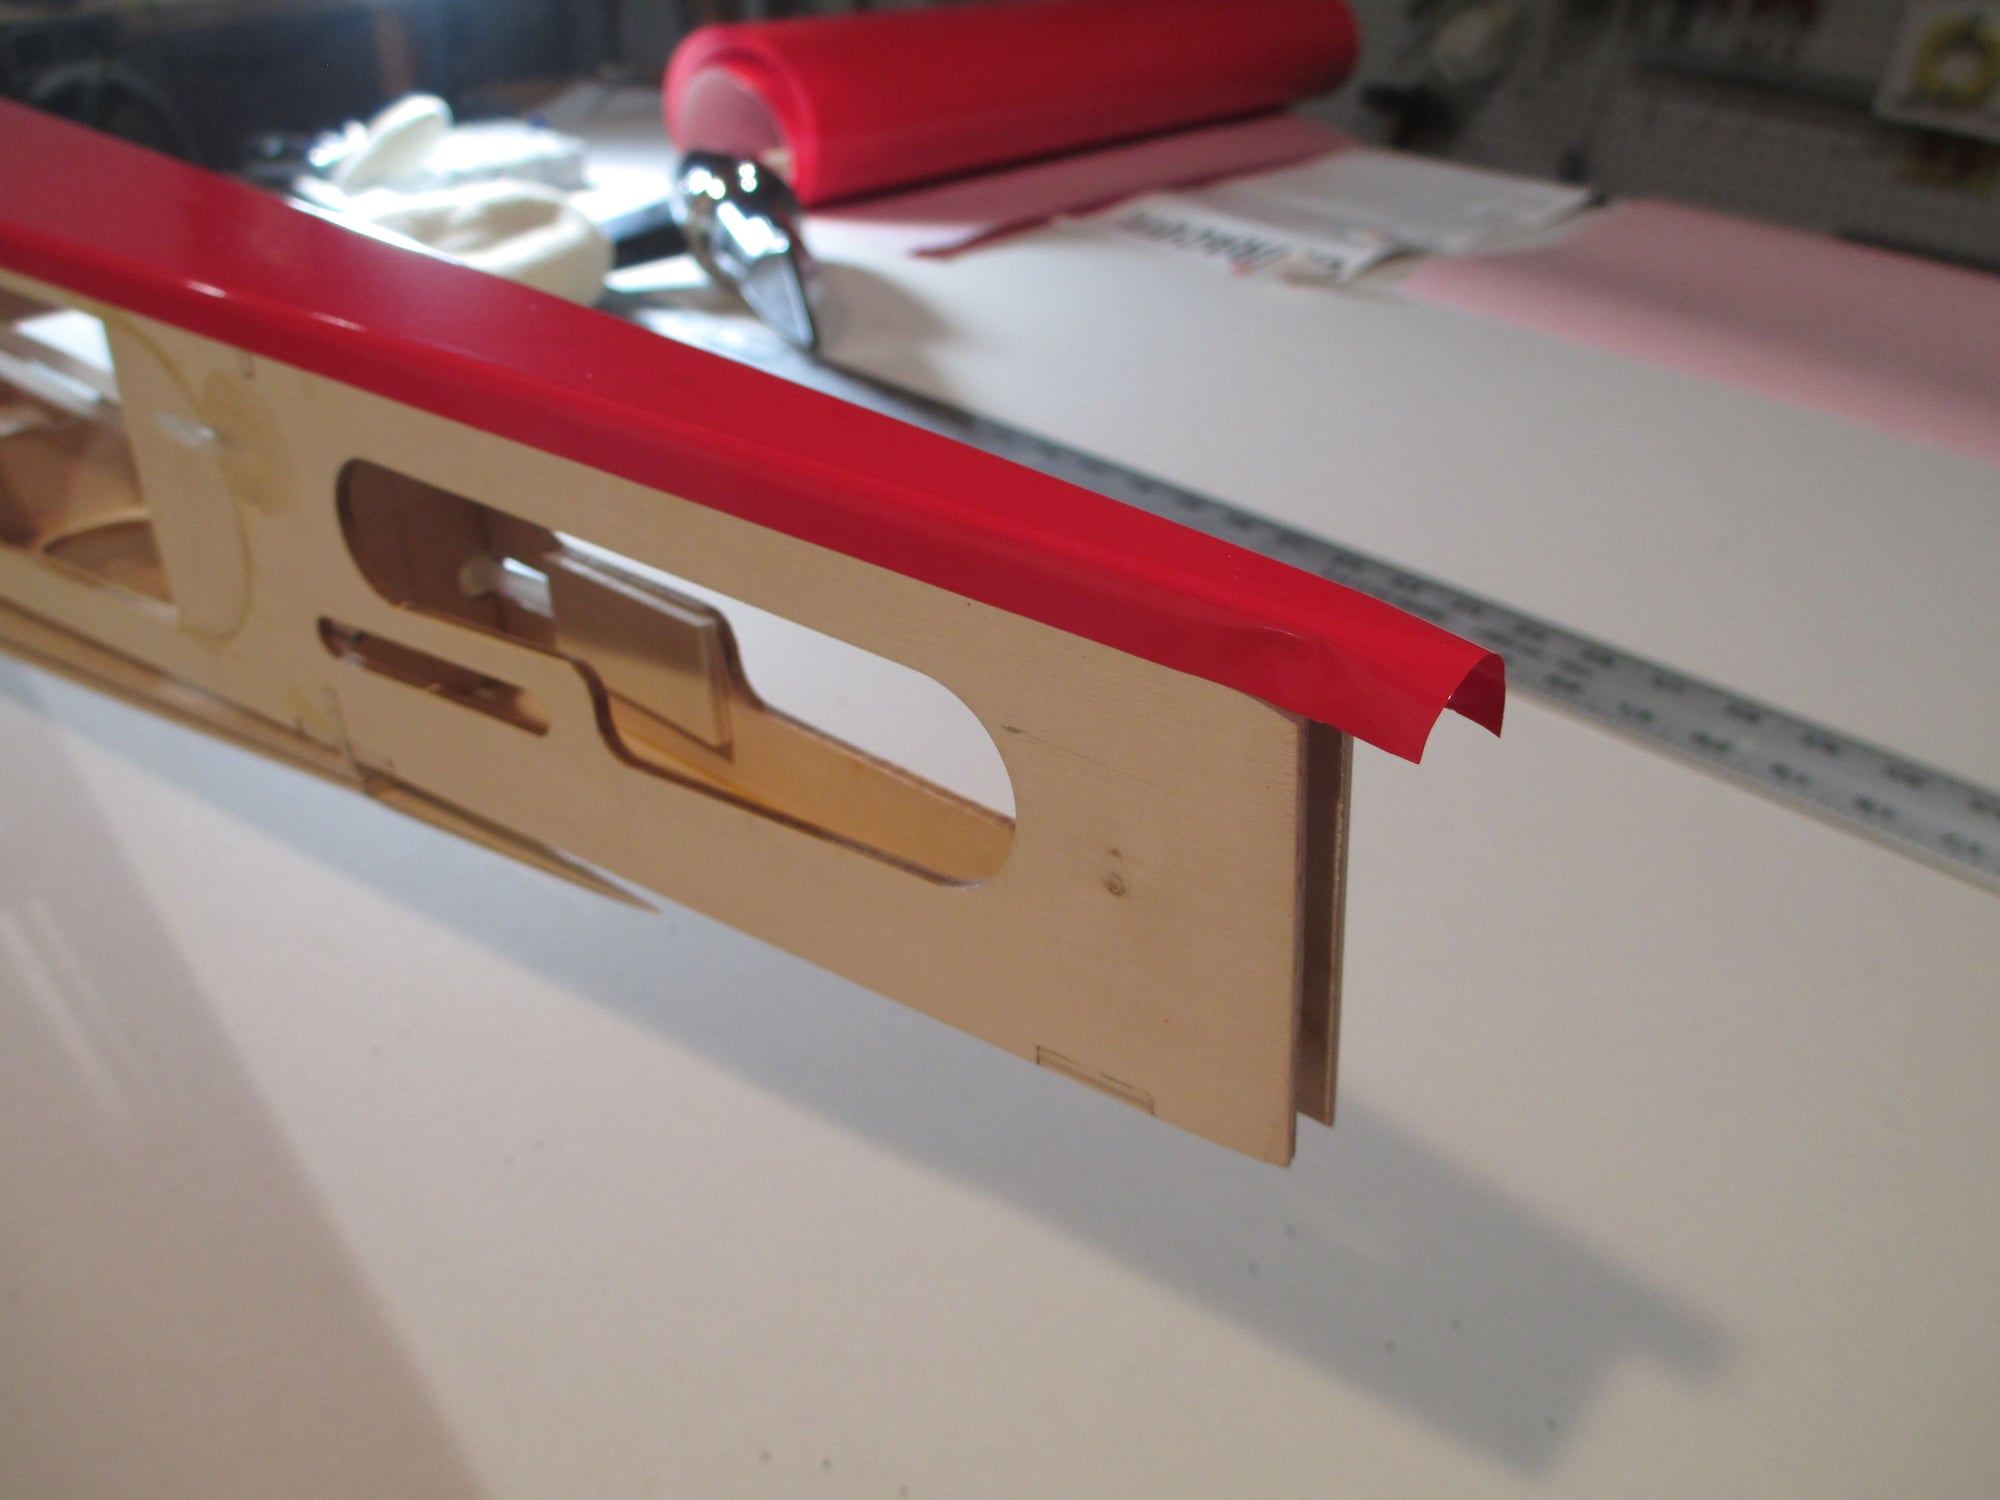
I used the soldering iron to open up the hinge points openings.
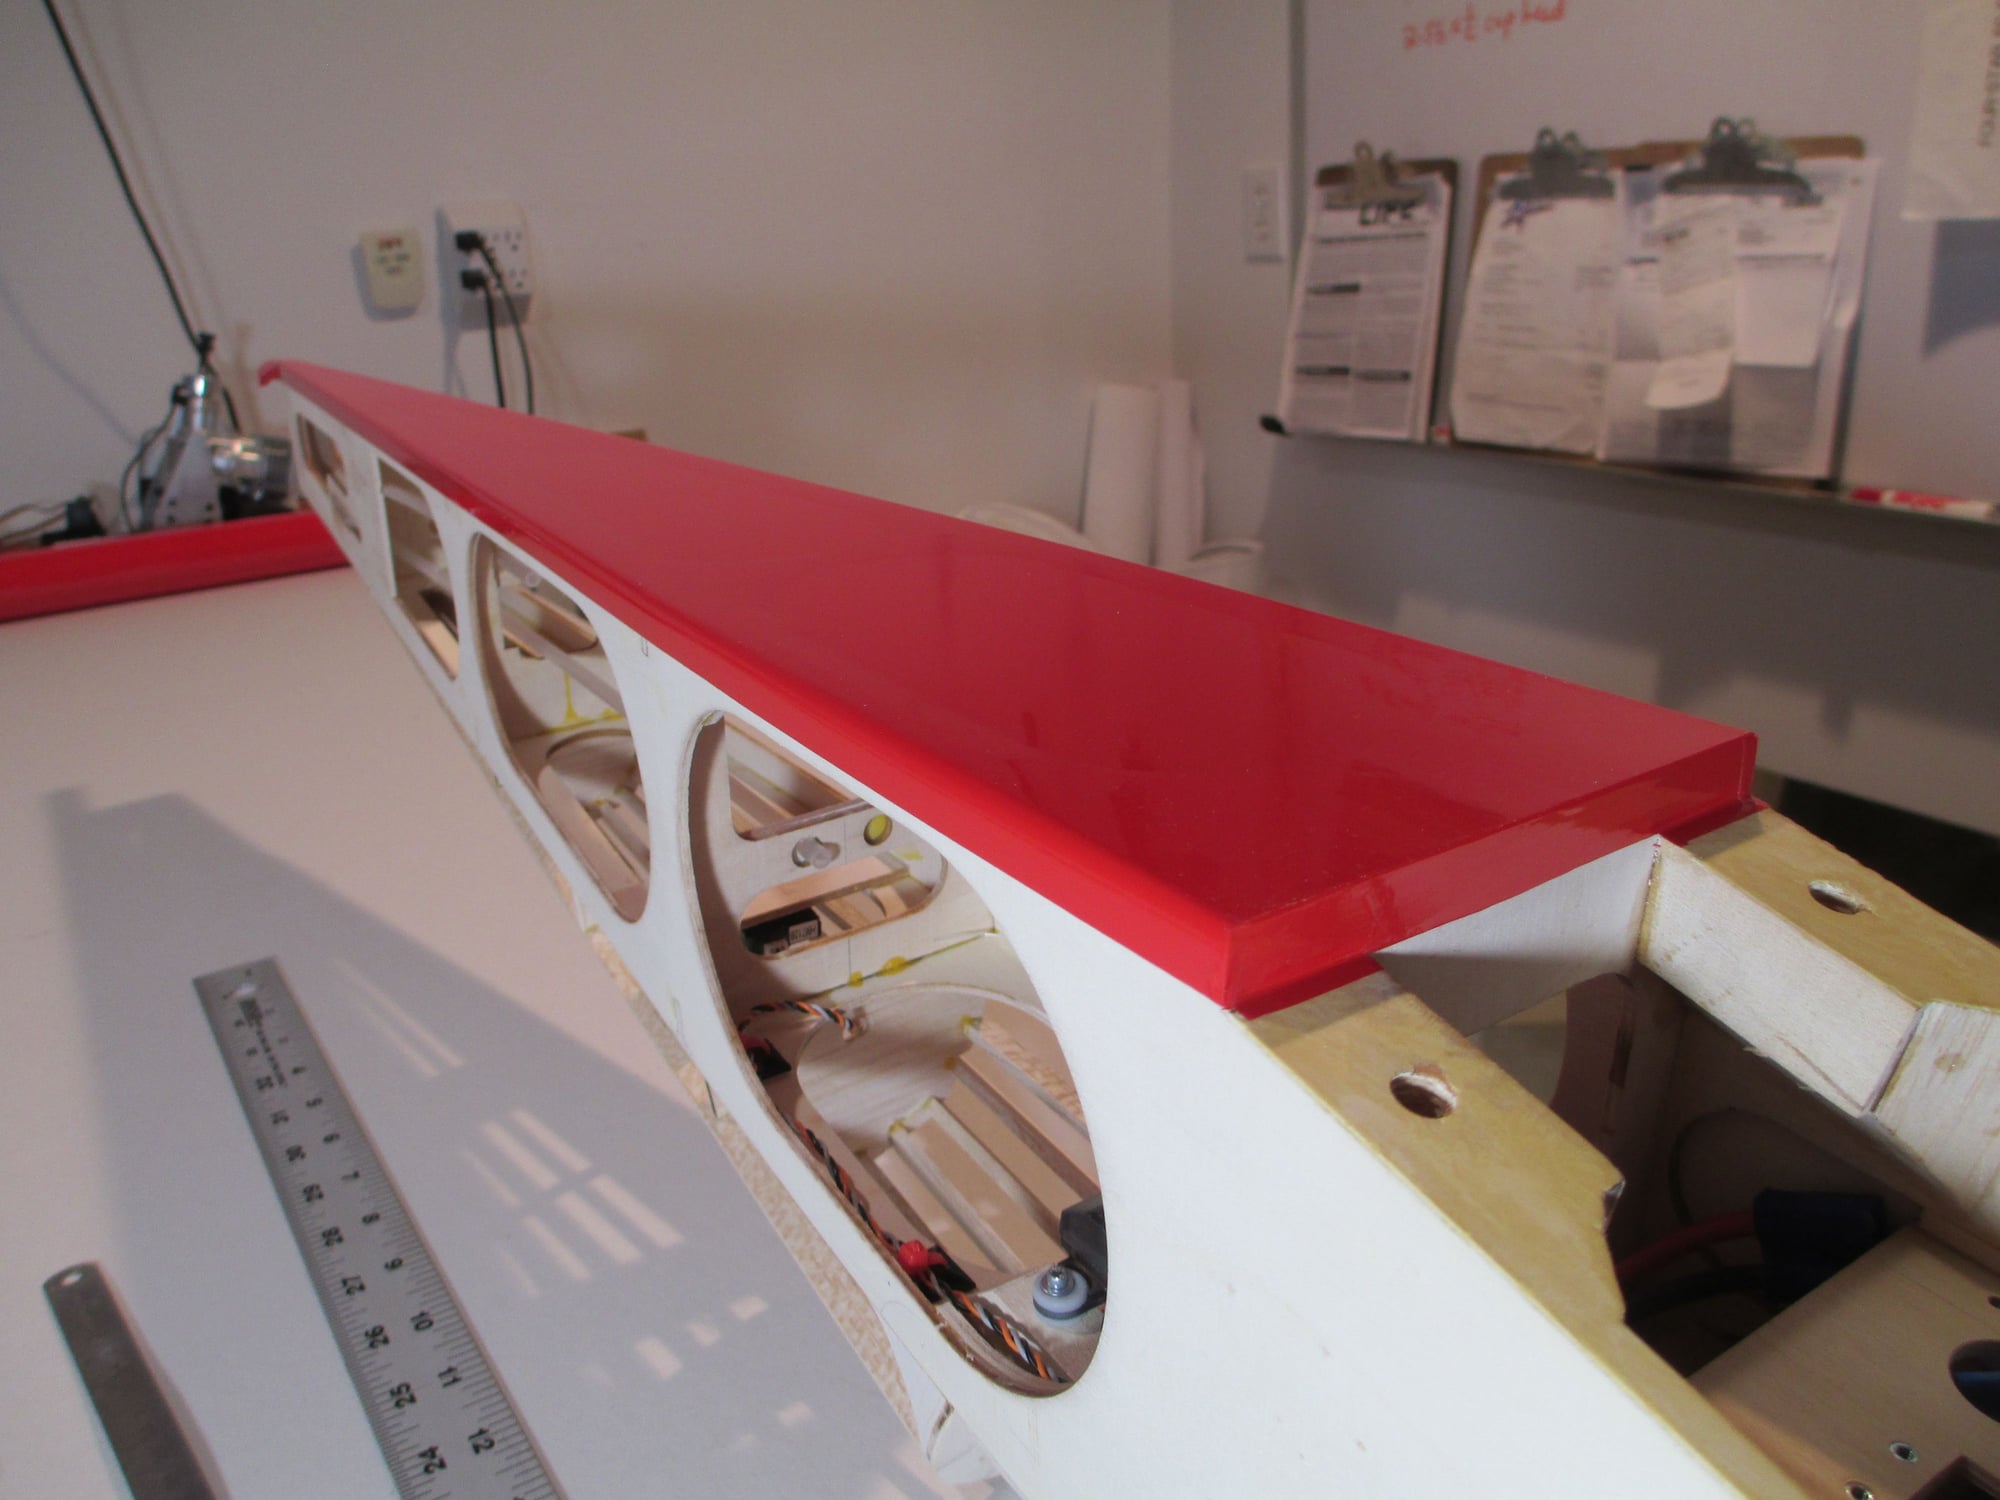
The base for the stab is now ready to accept a thin coat of epoxy right after I trim a bit more covering off the top of the stab. Once again the outline was marked with a Sharpie.
The covering is removed (again 1/8" inside of the marker line) and now it's time to mix a small batch of epoxy... I'll set the stab in place and clamp it before retiring for the evening.
Last edited by VincentJ; 05-20-2019 at 10:11 AM.
05-20-2019, 03:38 PM
#165
Thread Starter
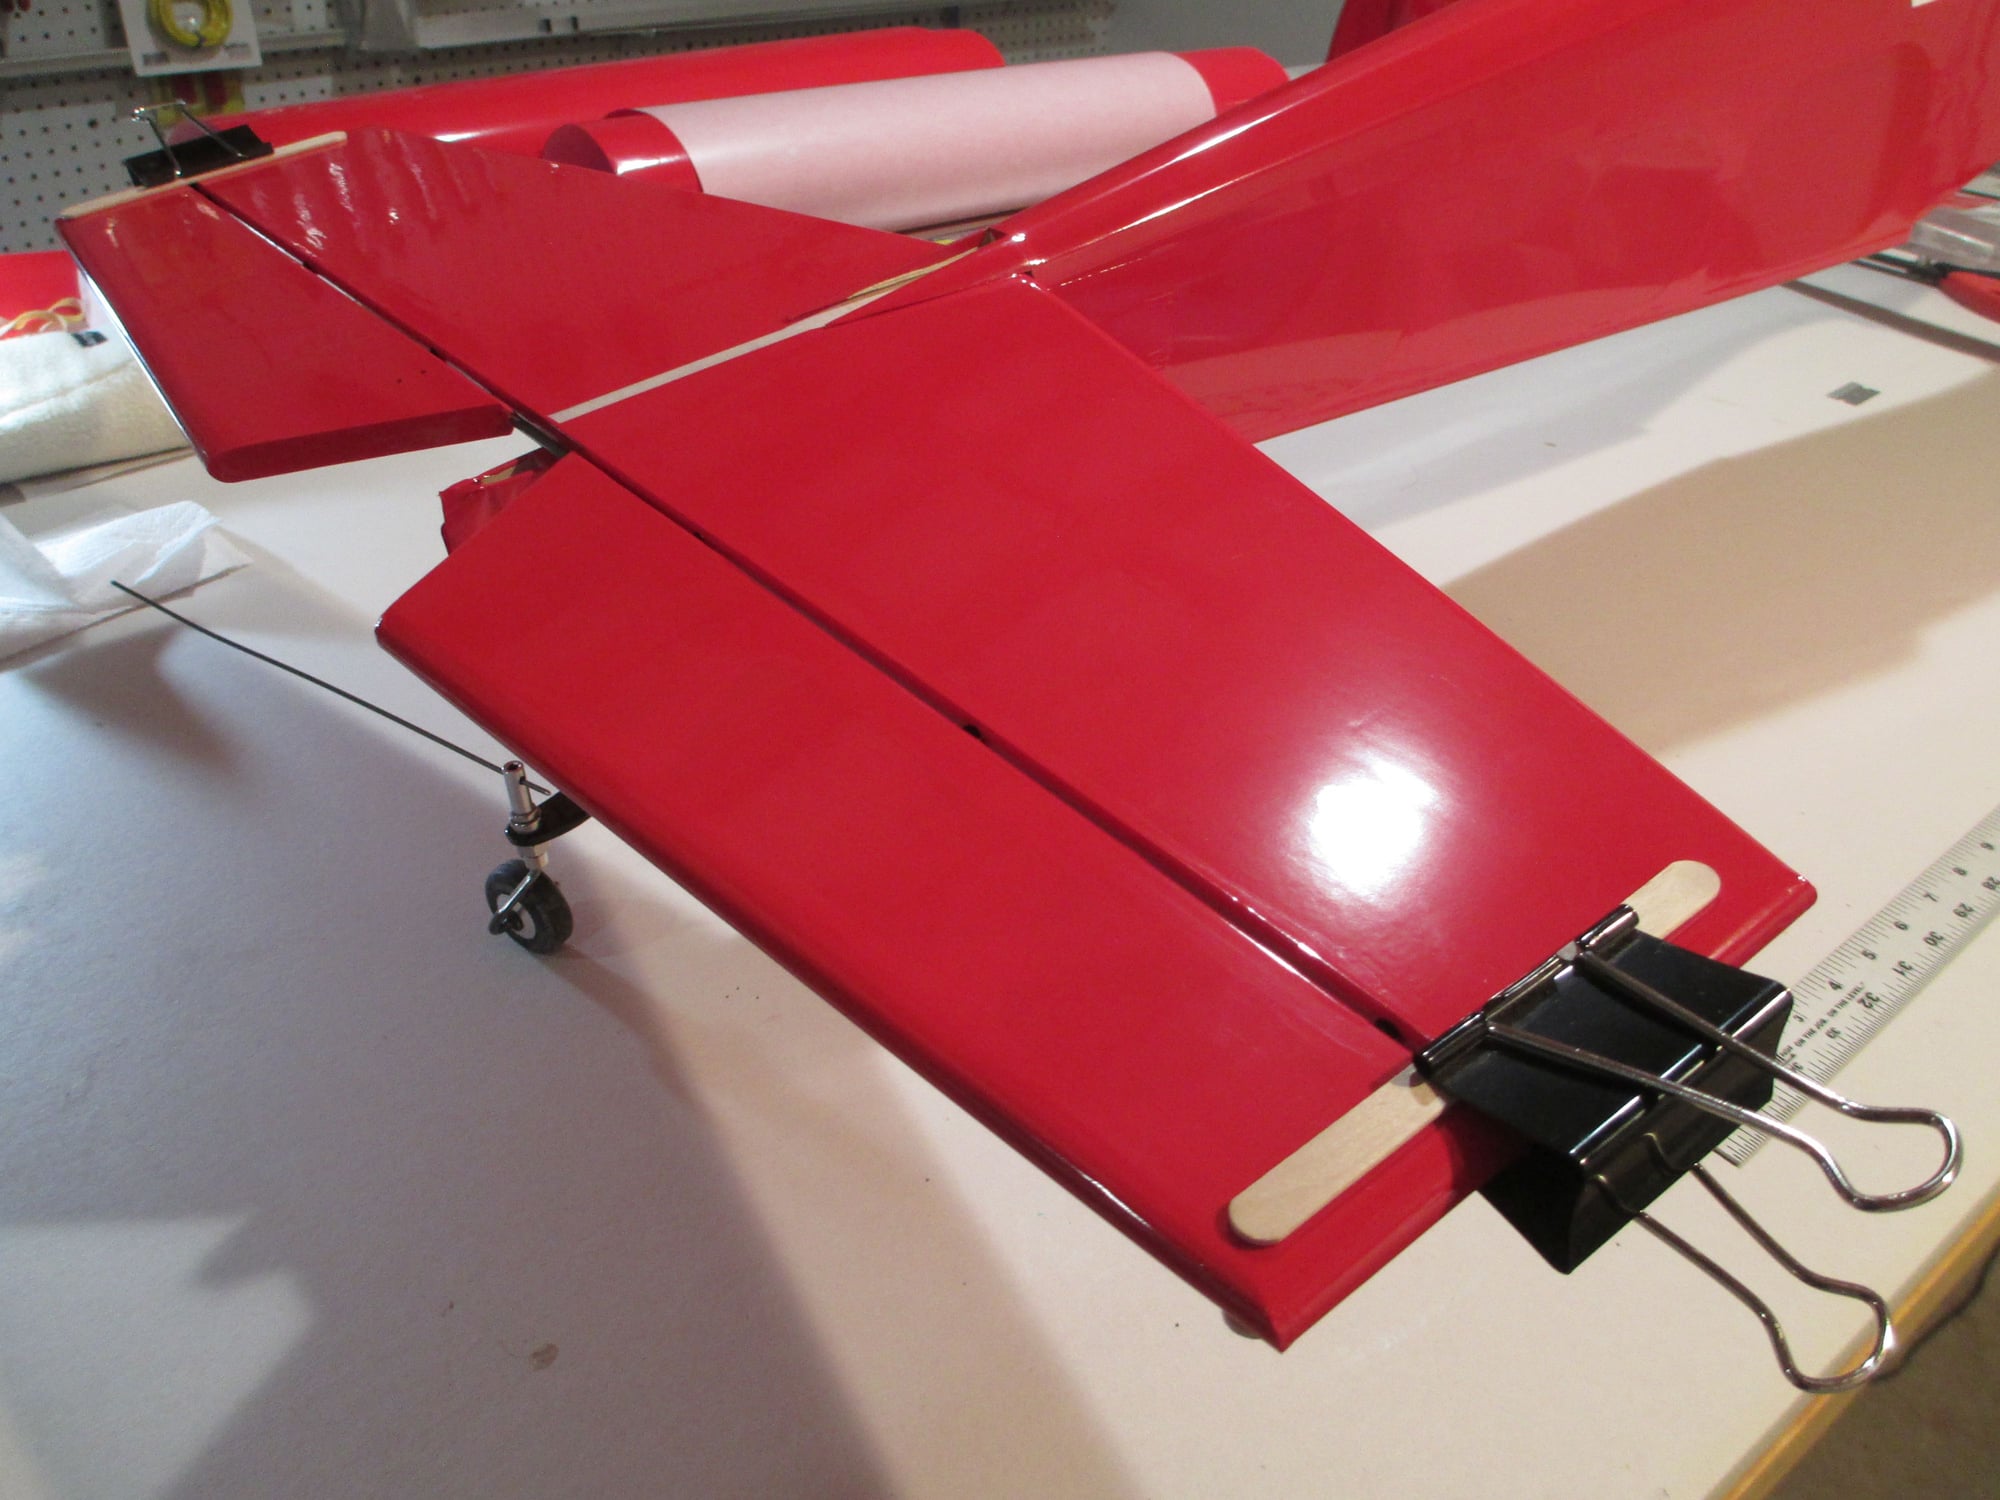
Tonight's progress... Elevator covered and its hinges are epoxied into position.
Note: Before epoxying hinges in place, take the time to wipe them off with denatured alcohol.
Note: Before epoxying hinges in place, take the time to wipe them off with denatured alcohol.
Last edited by VincentJ; 05-20-2019 at 03:43 PM.
05-22-2019, 03:15 PM
#166
Thread Starter
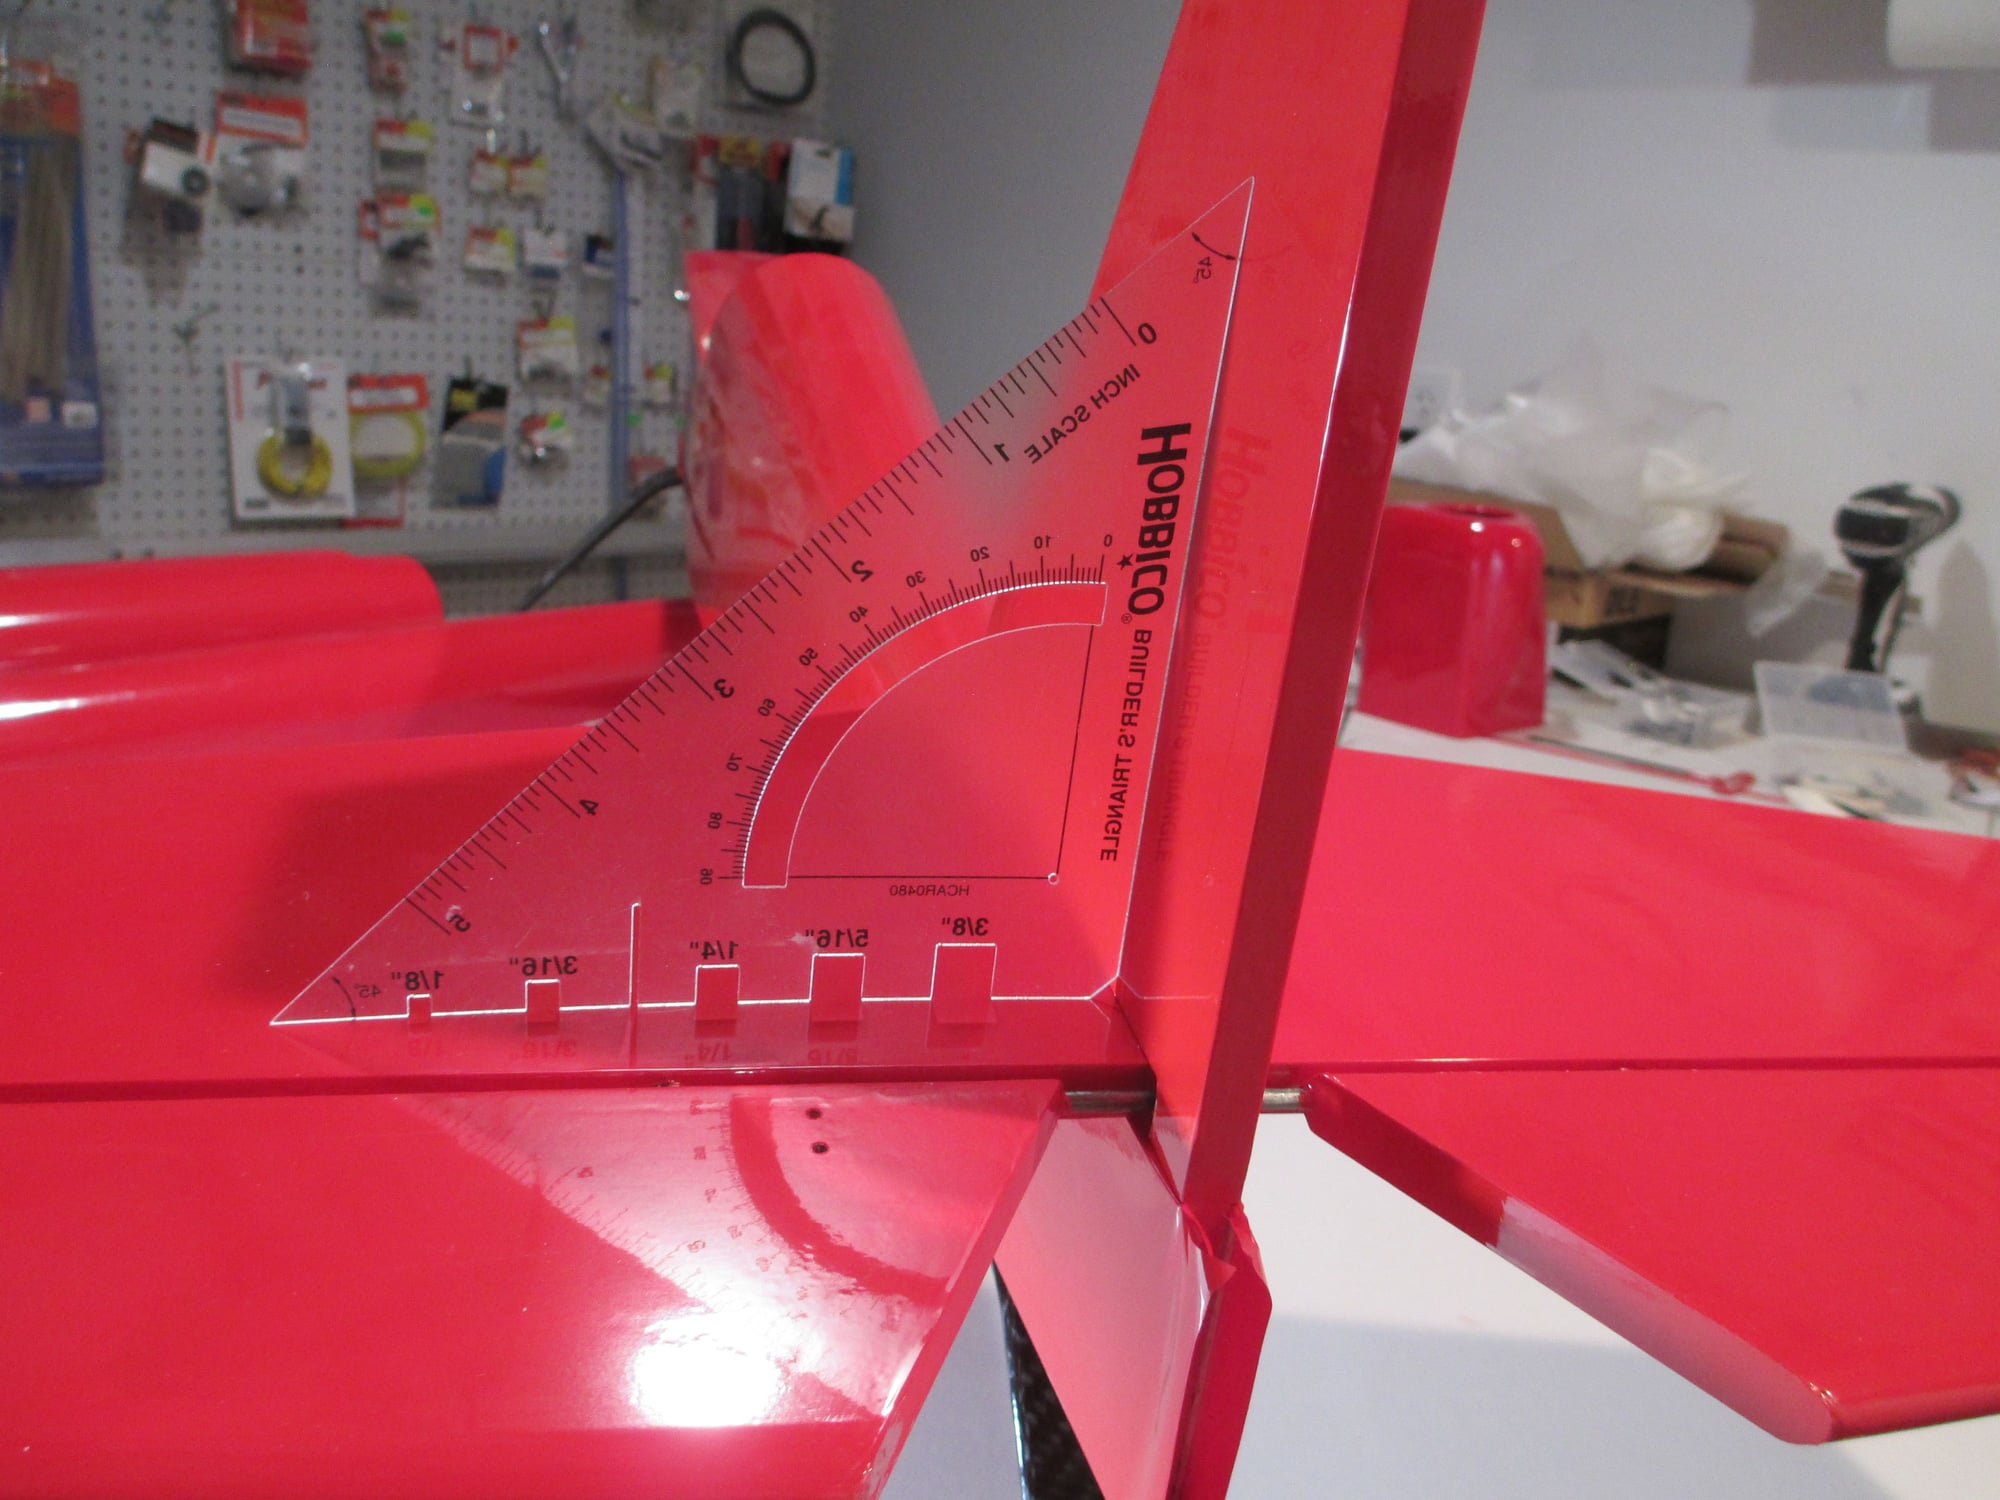
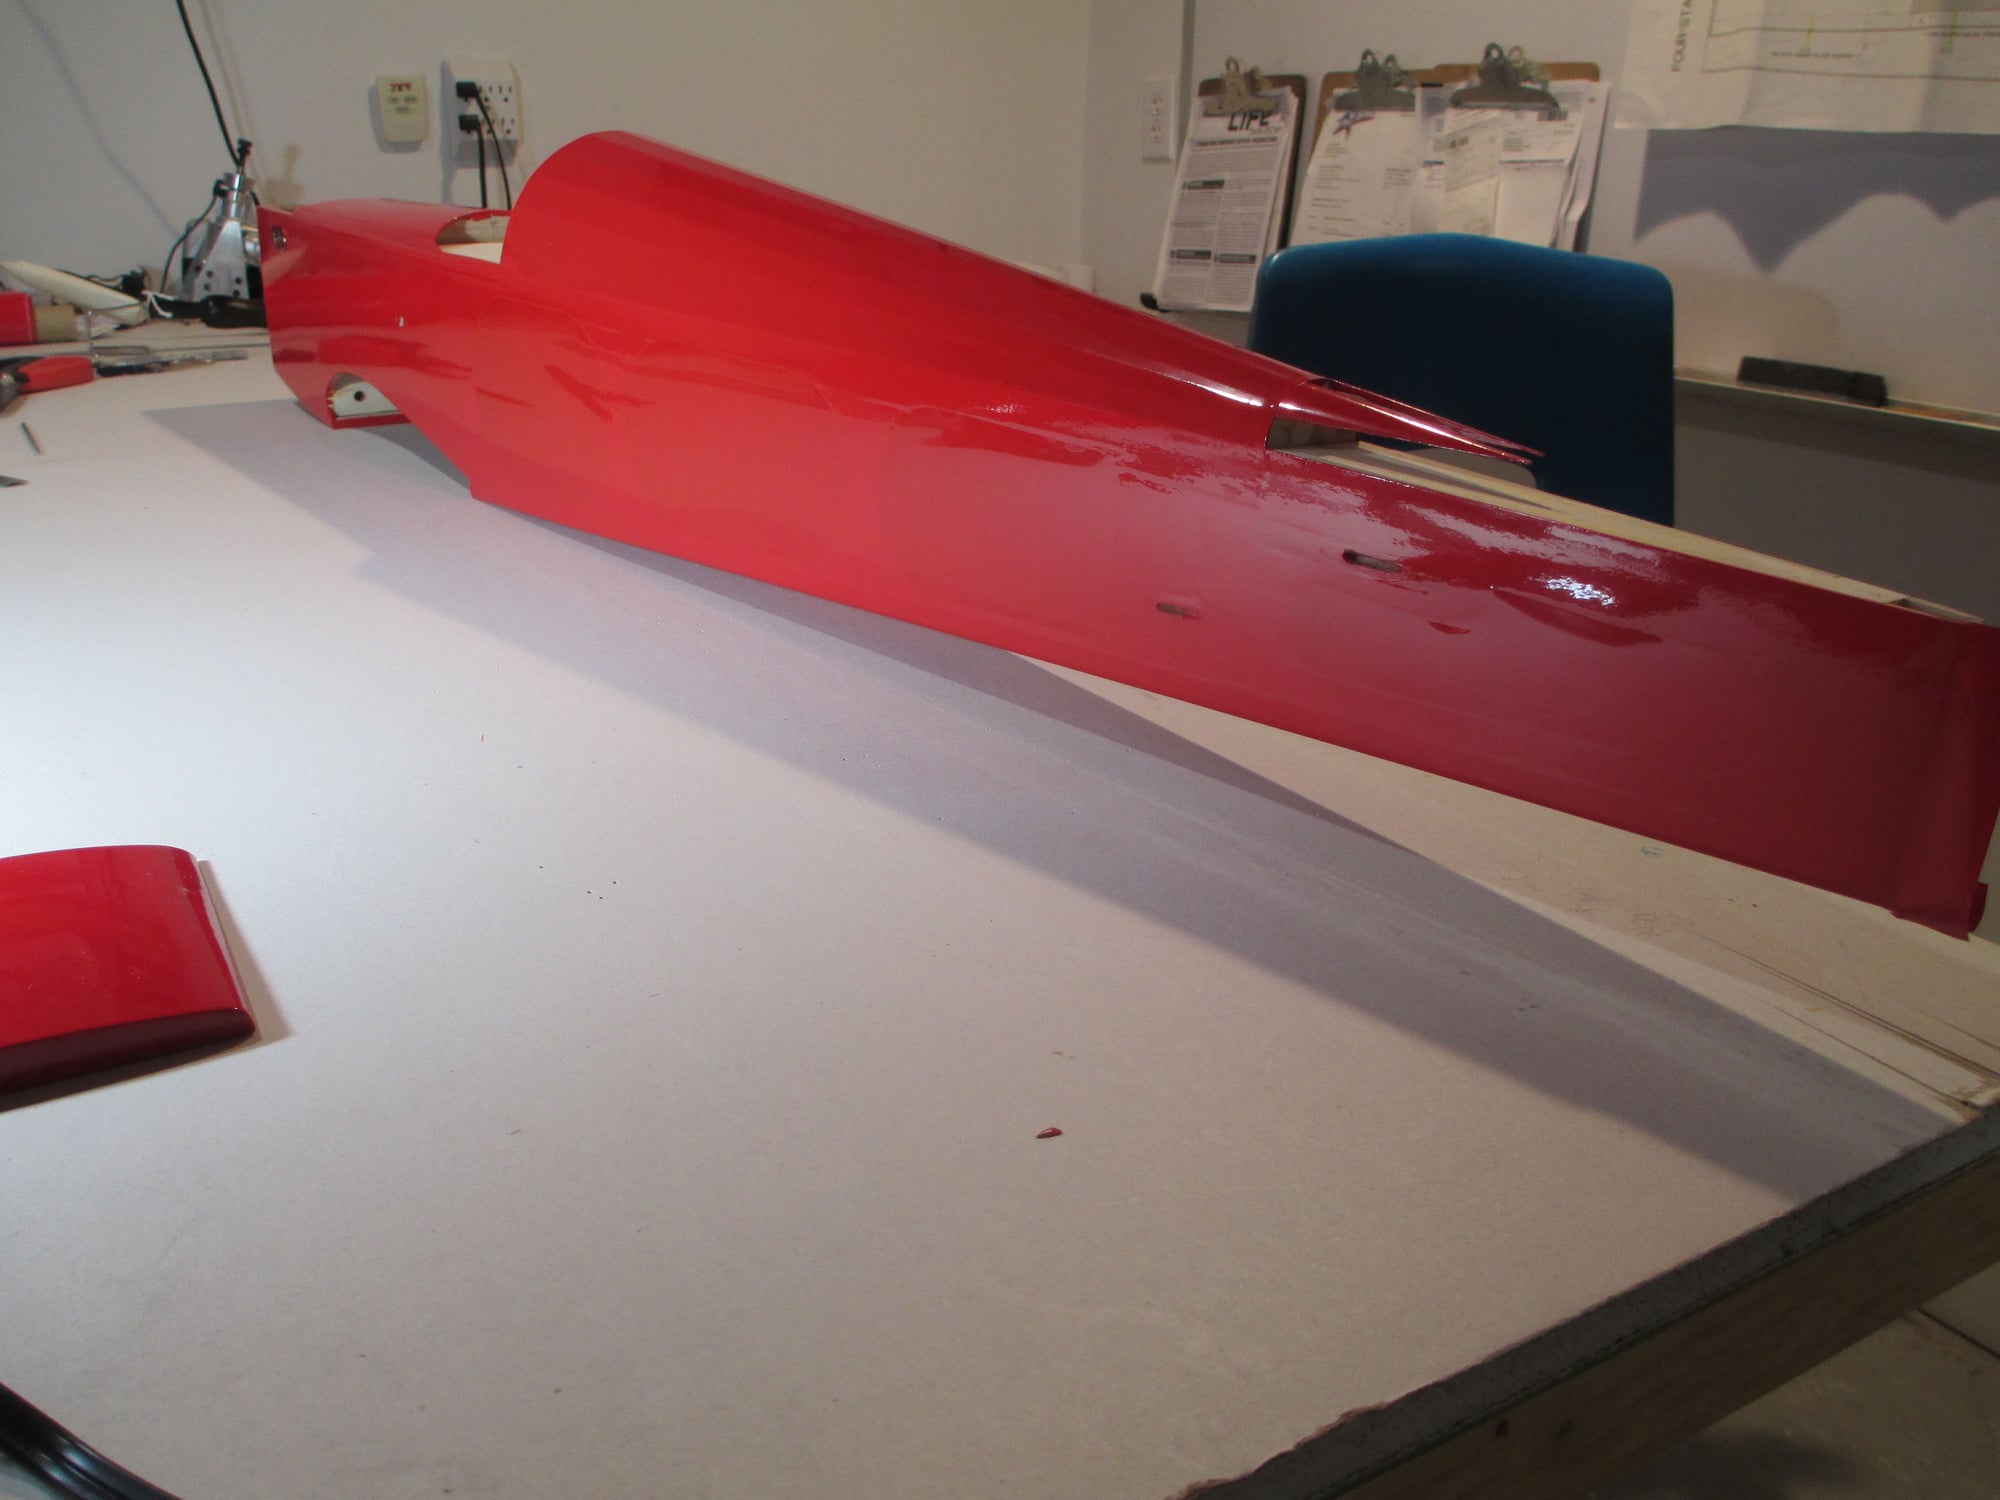
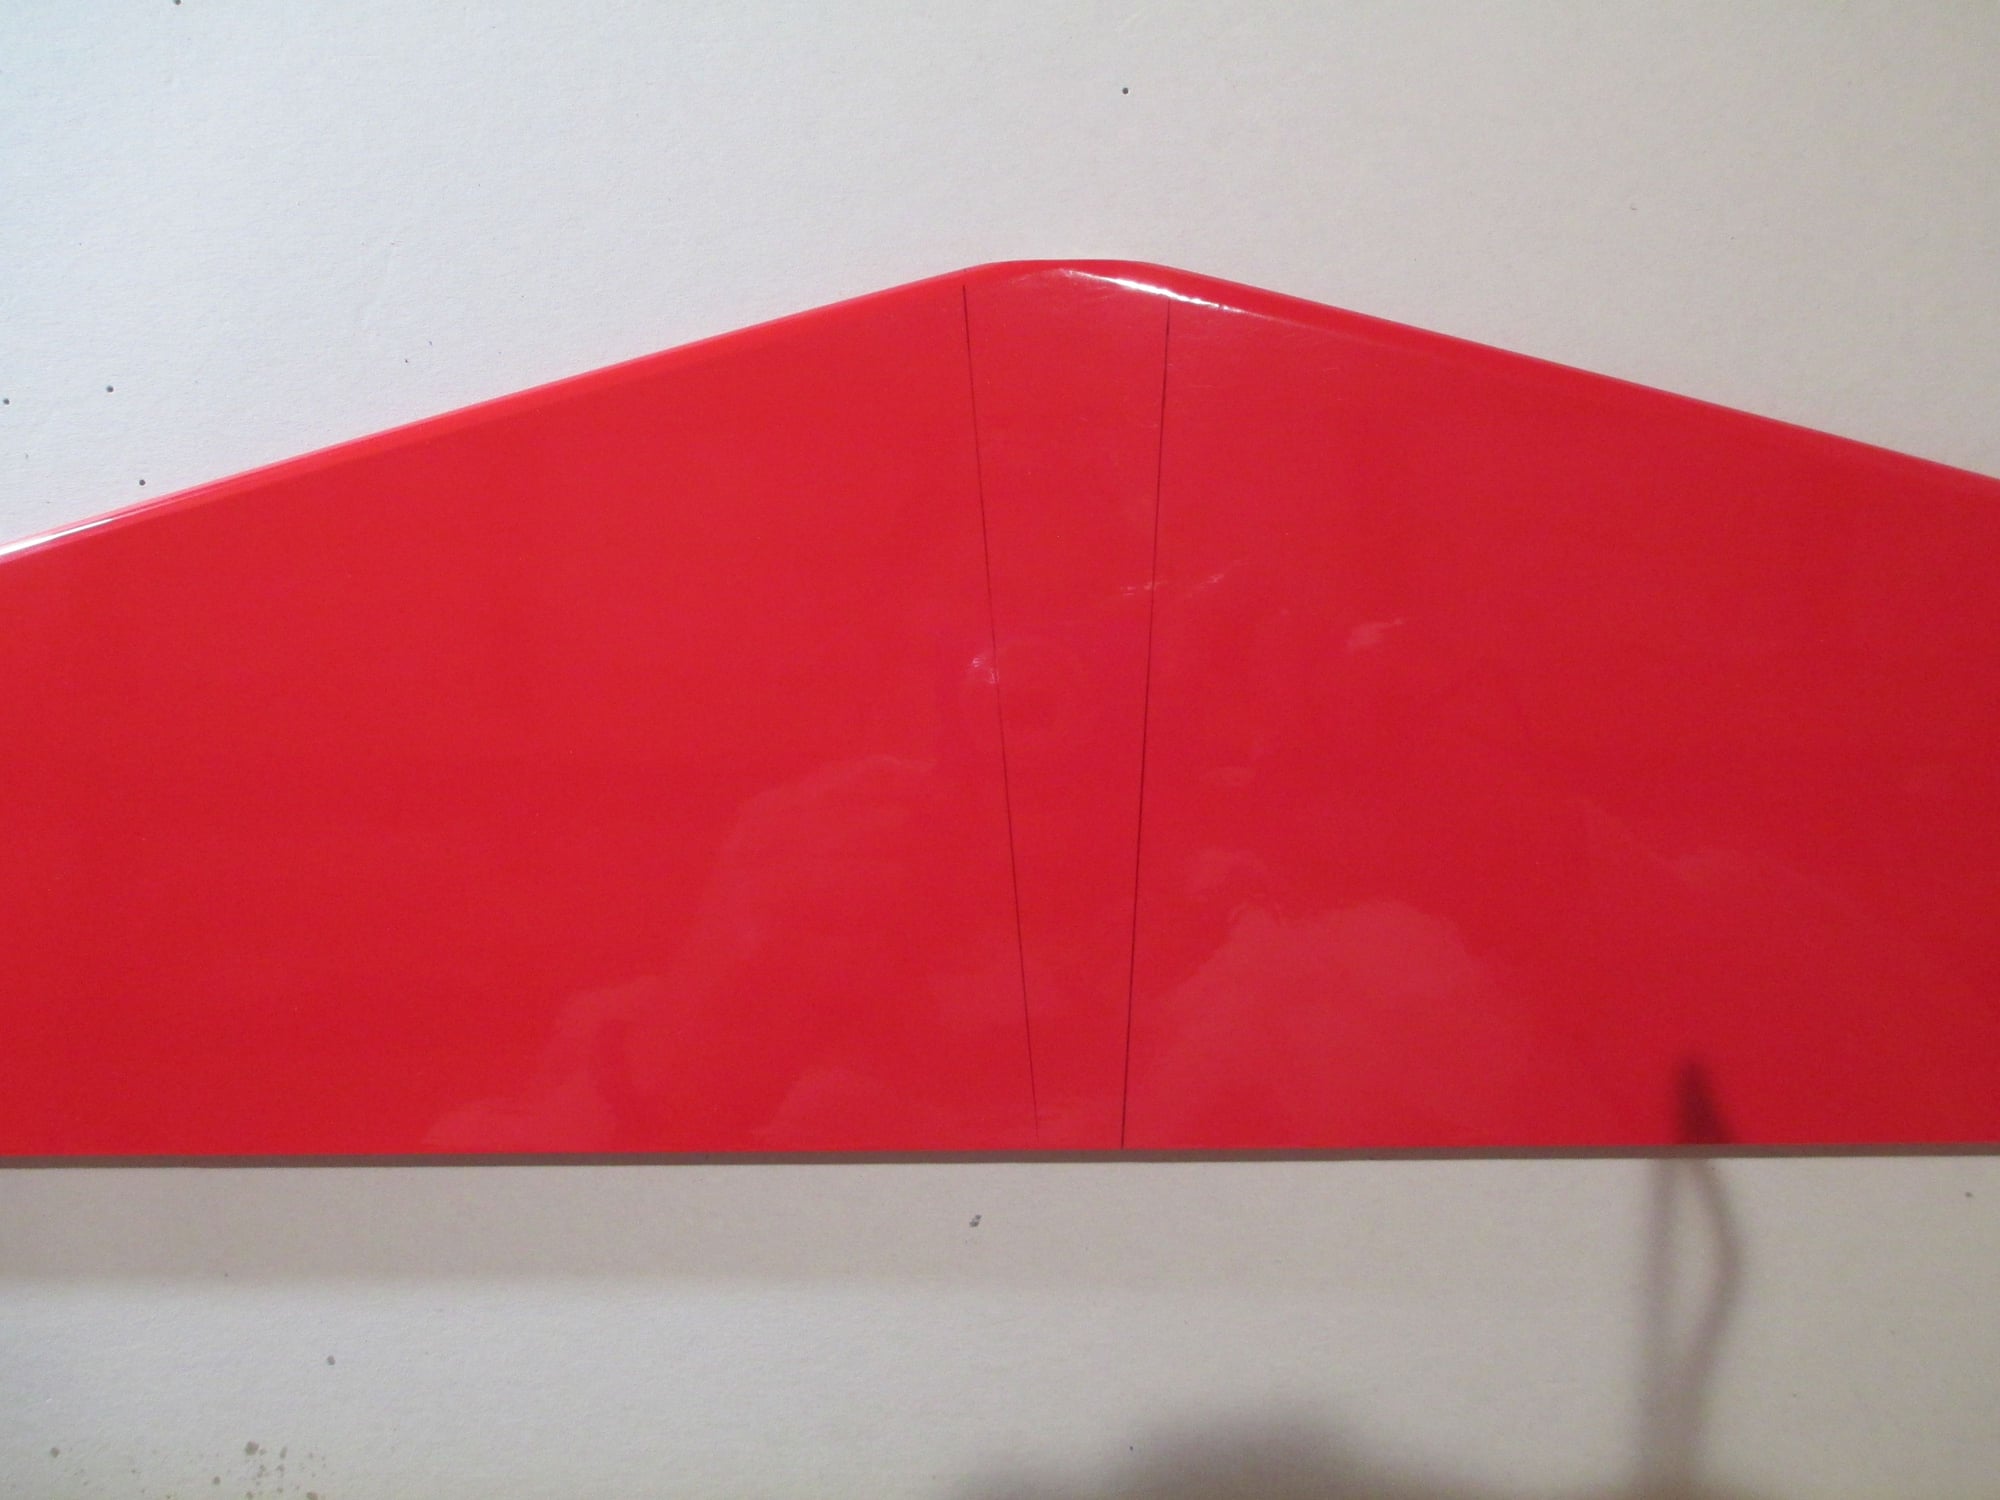
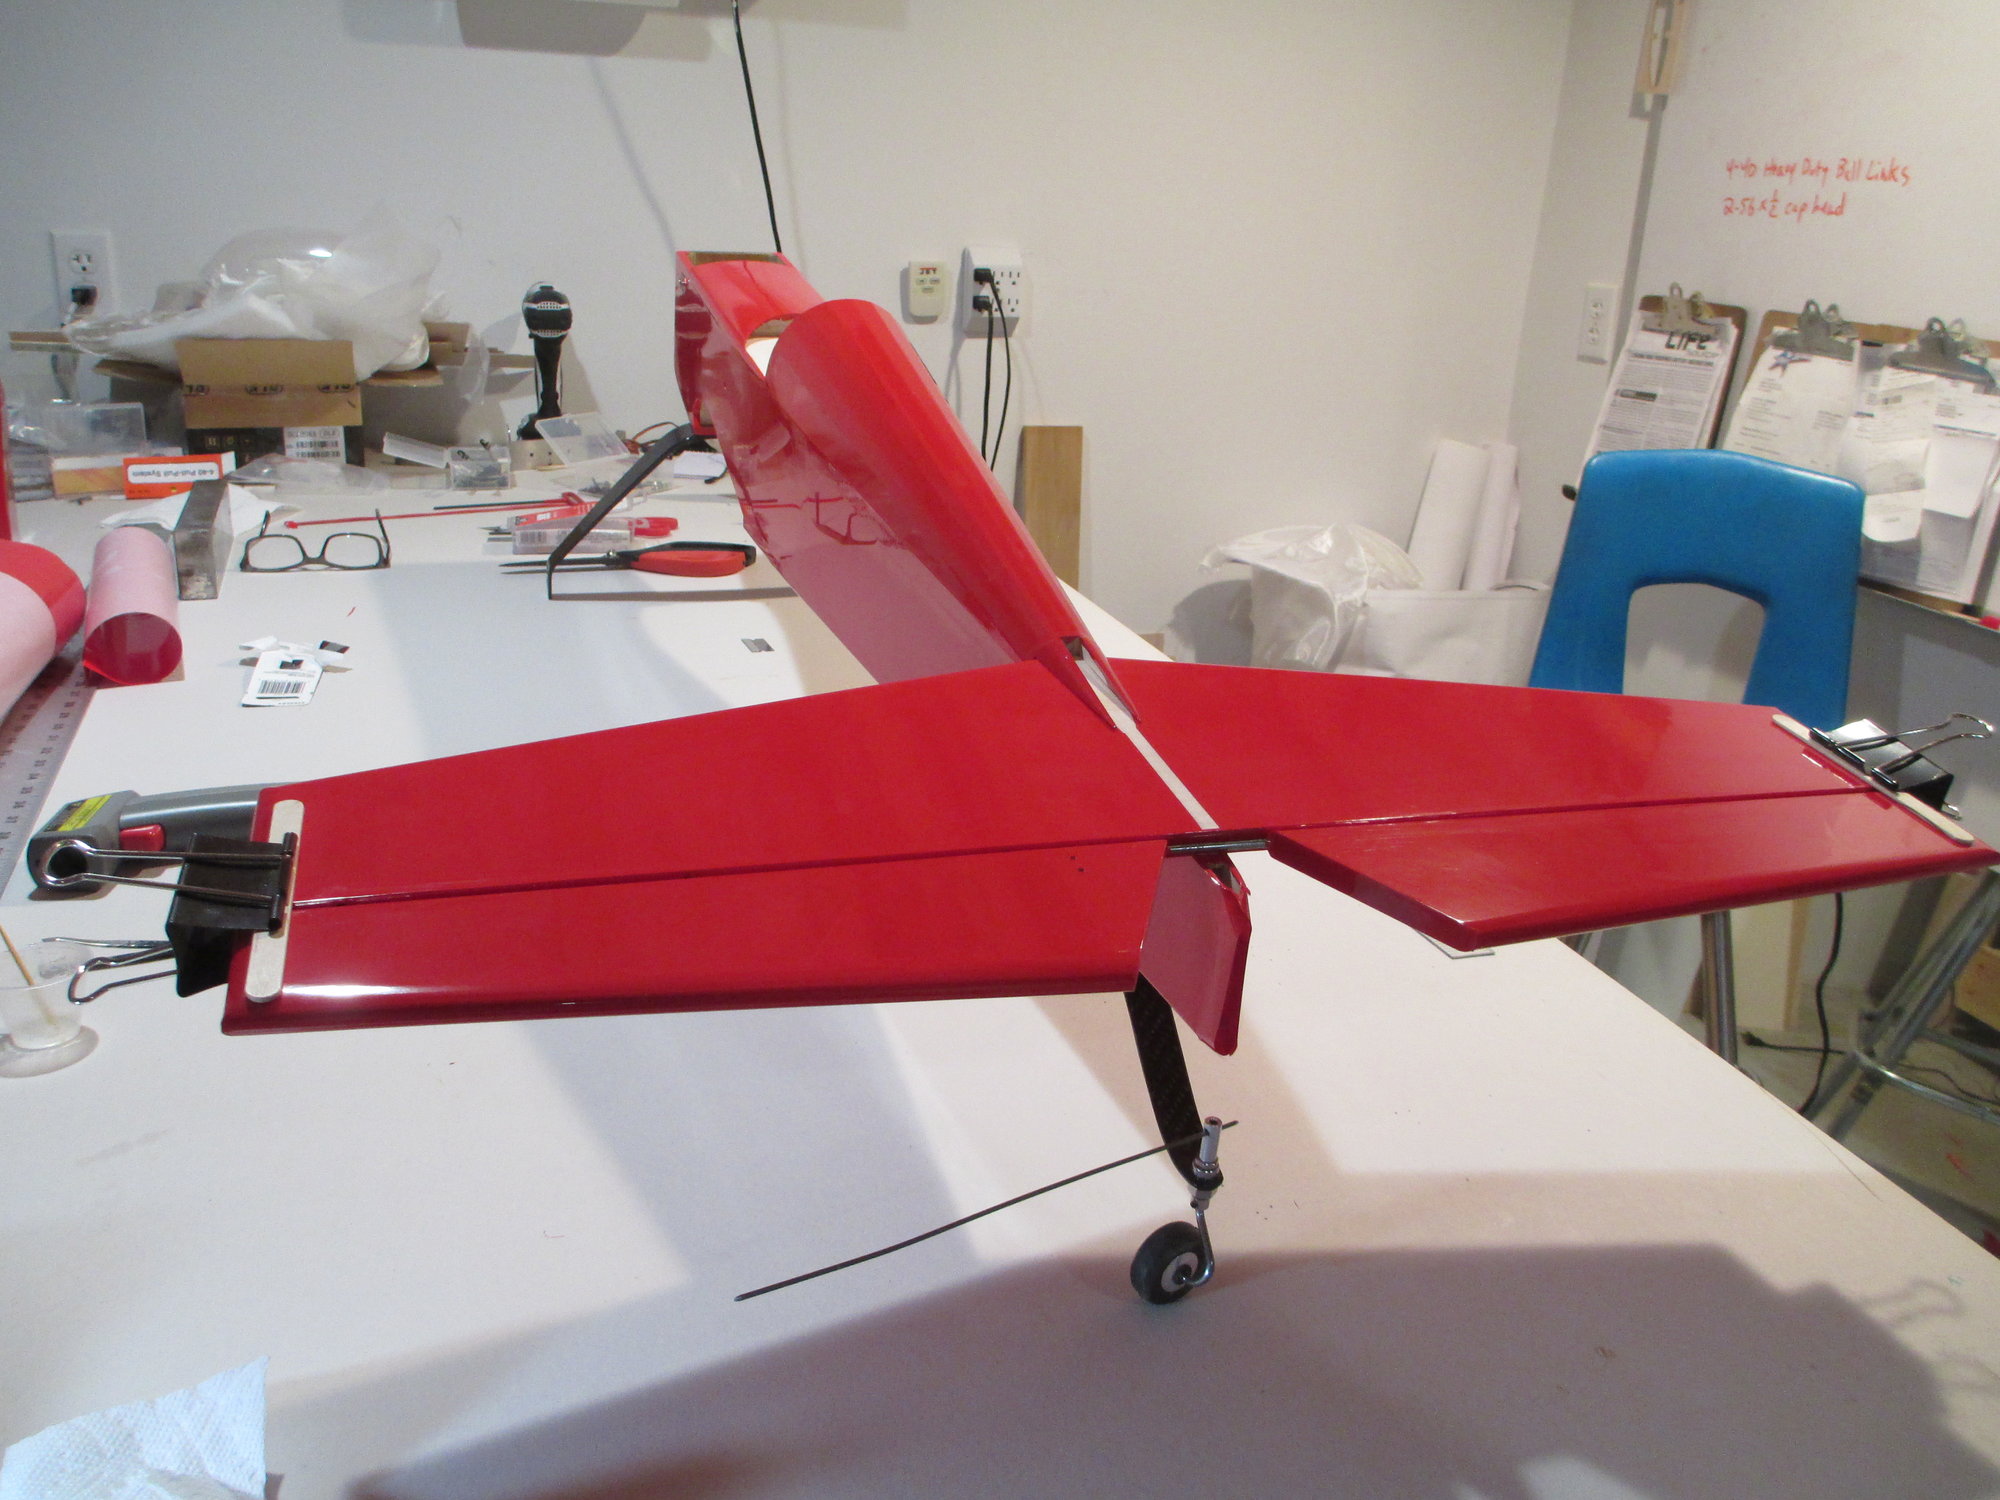
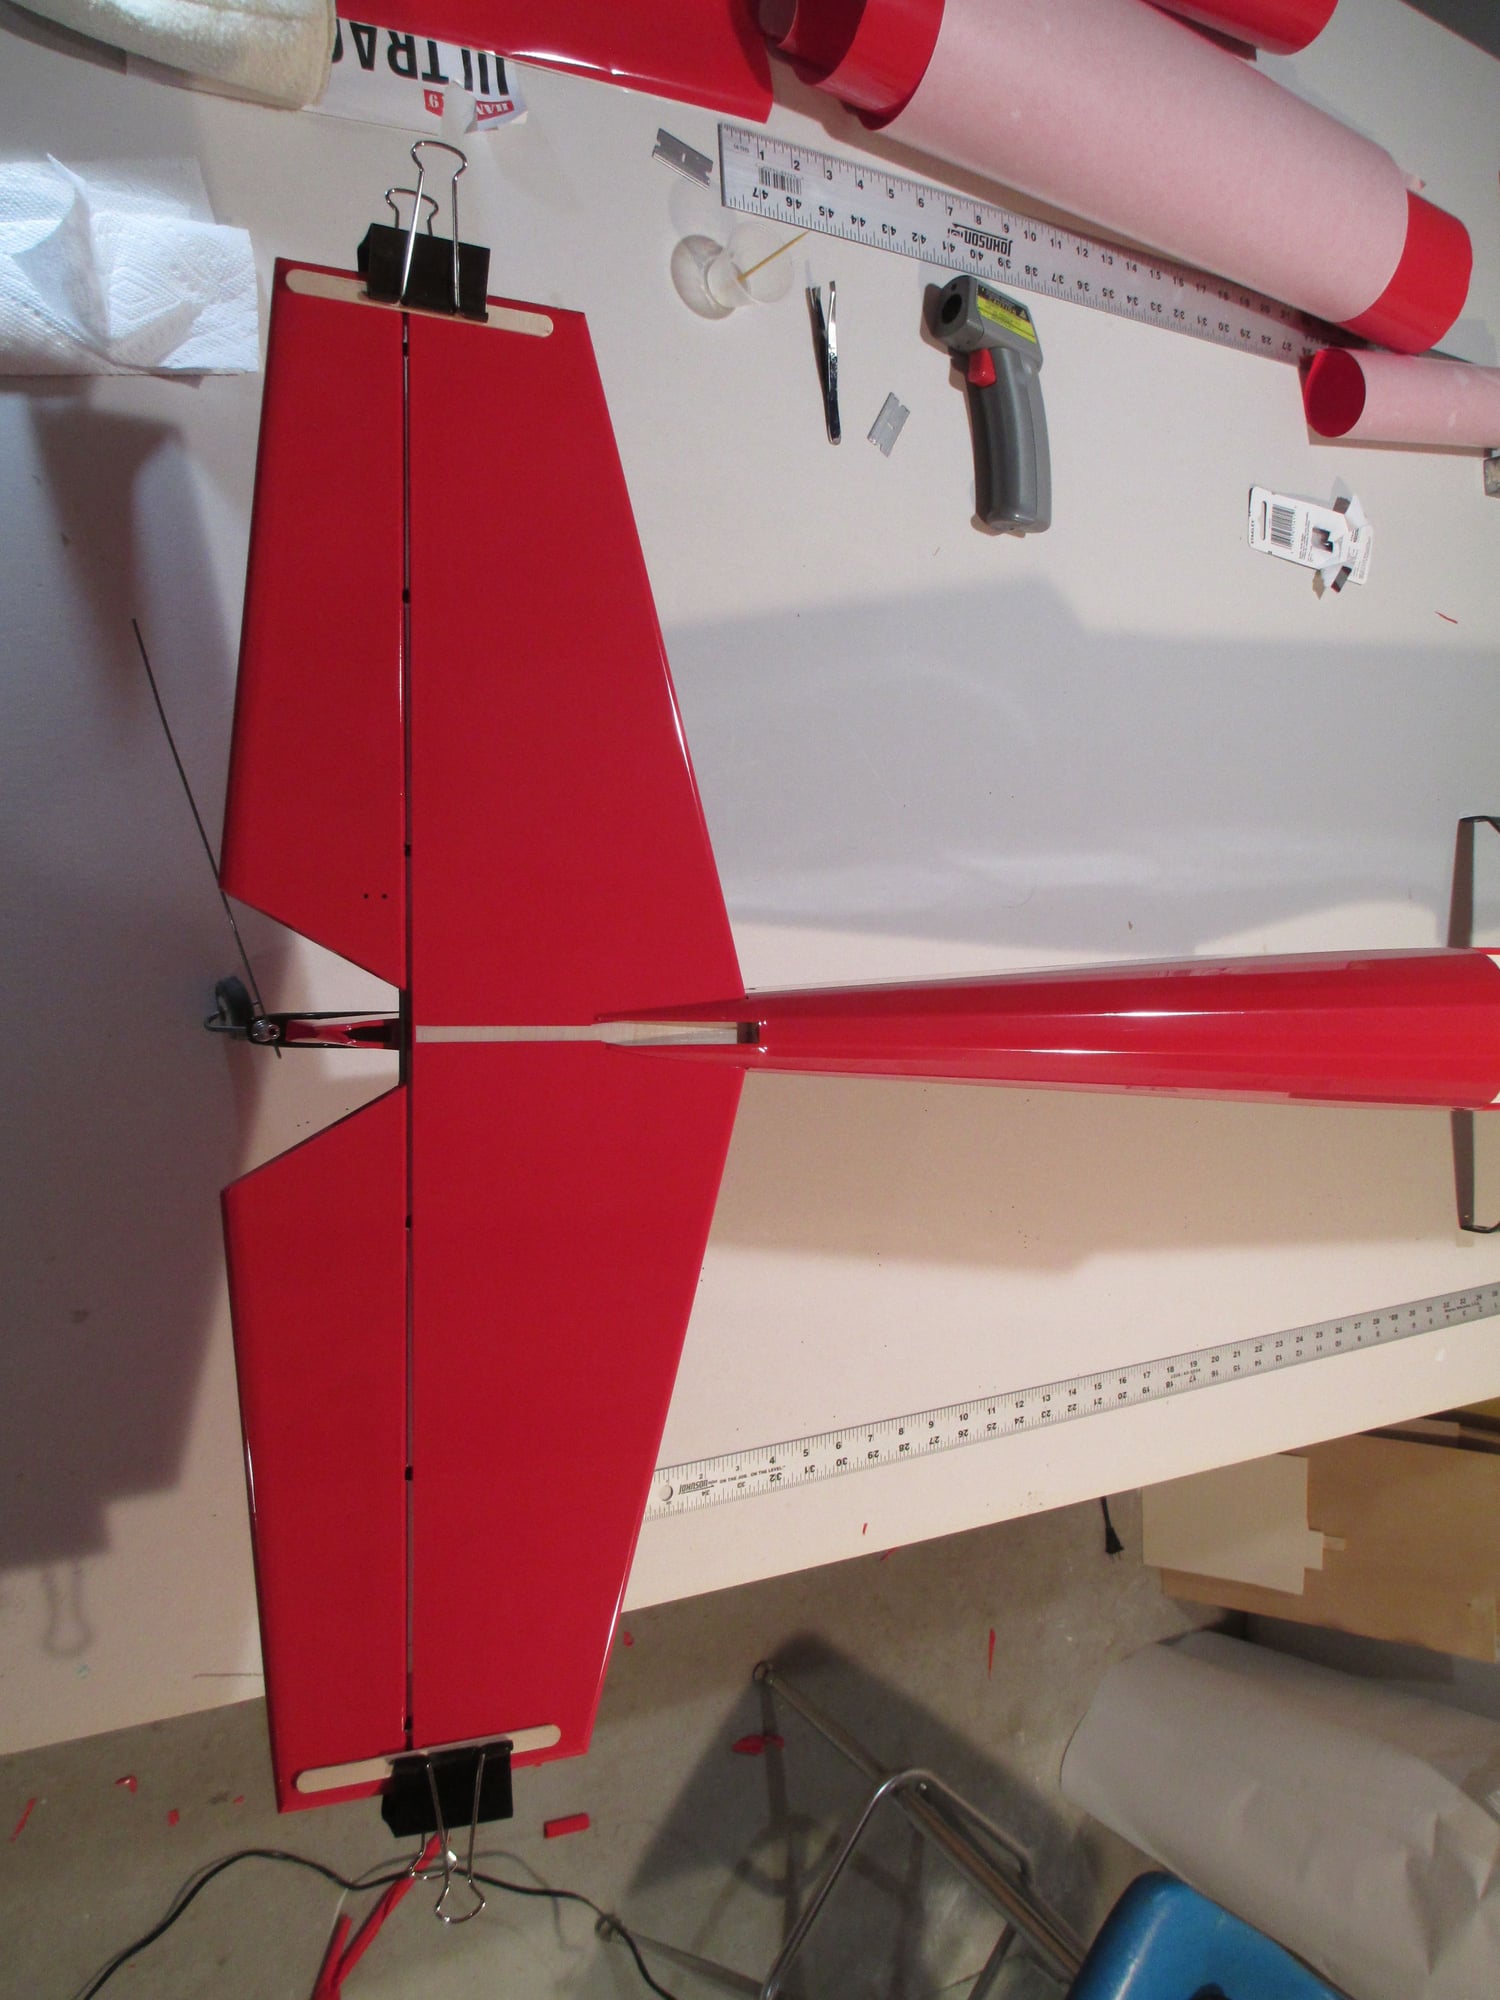
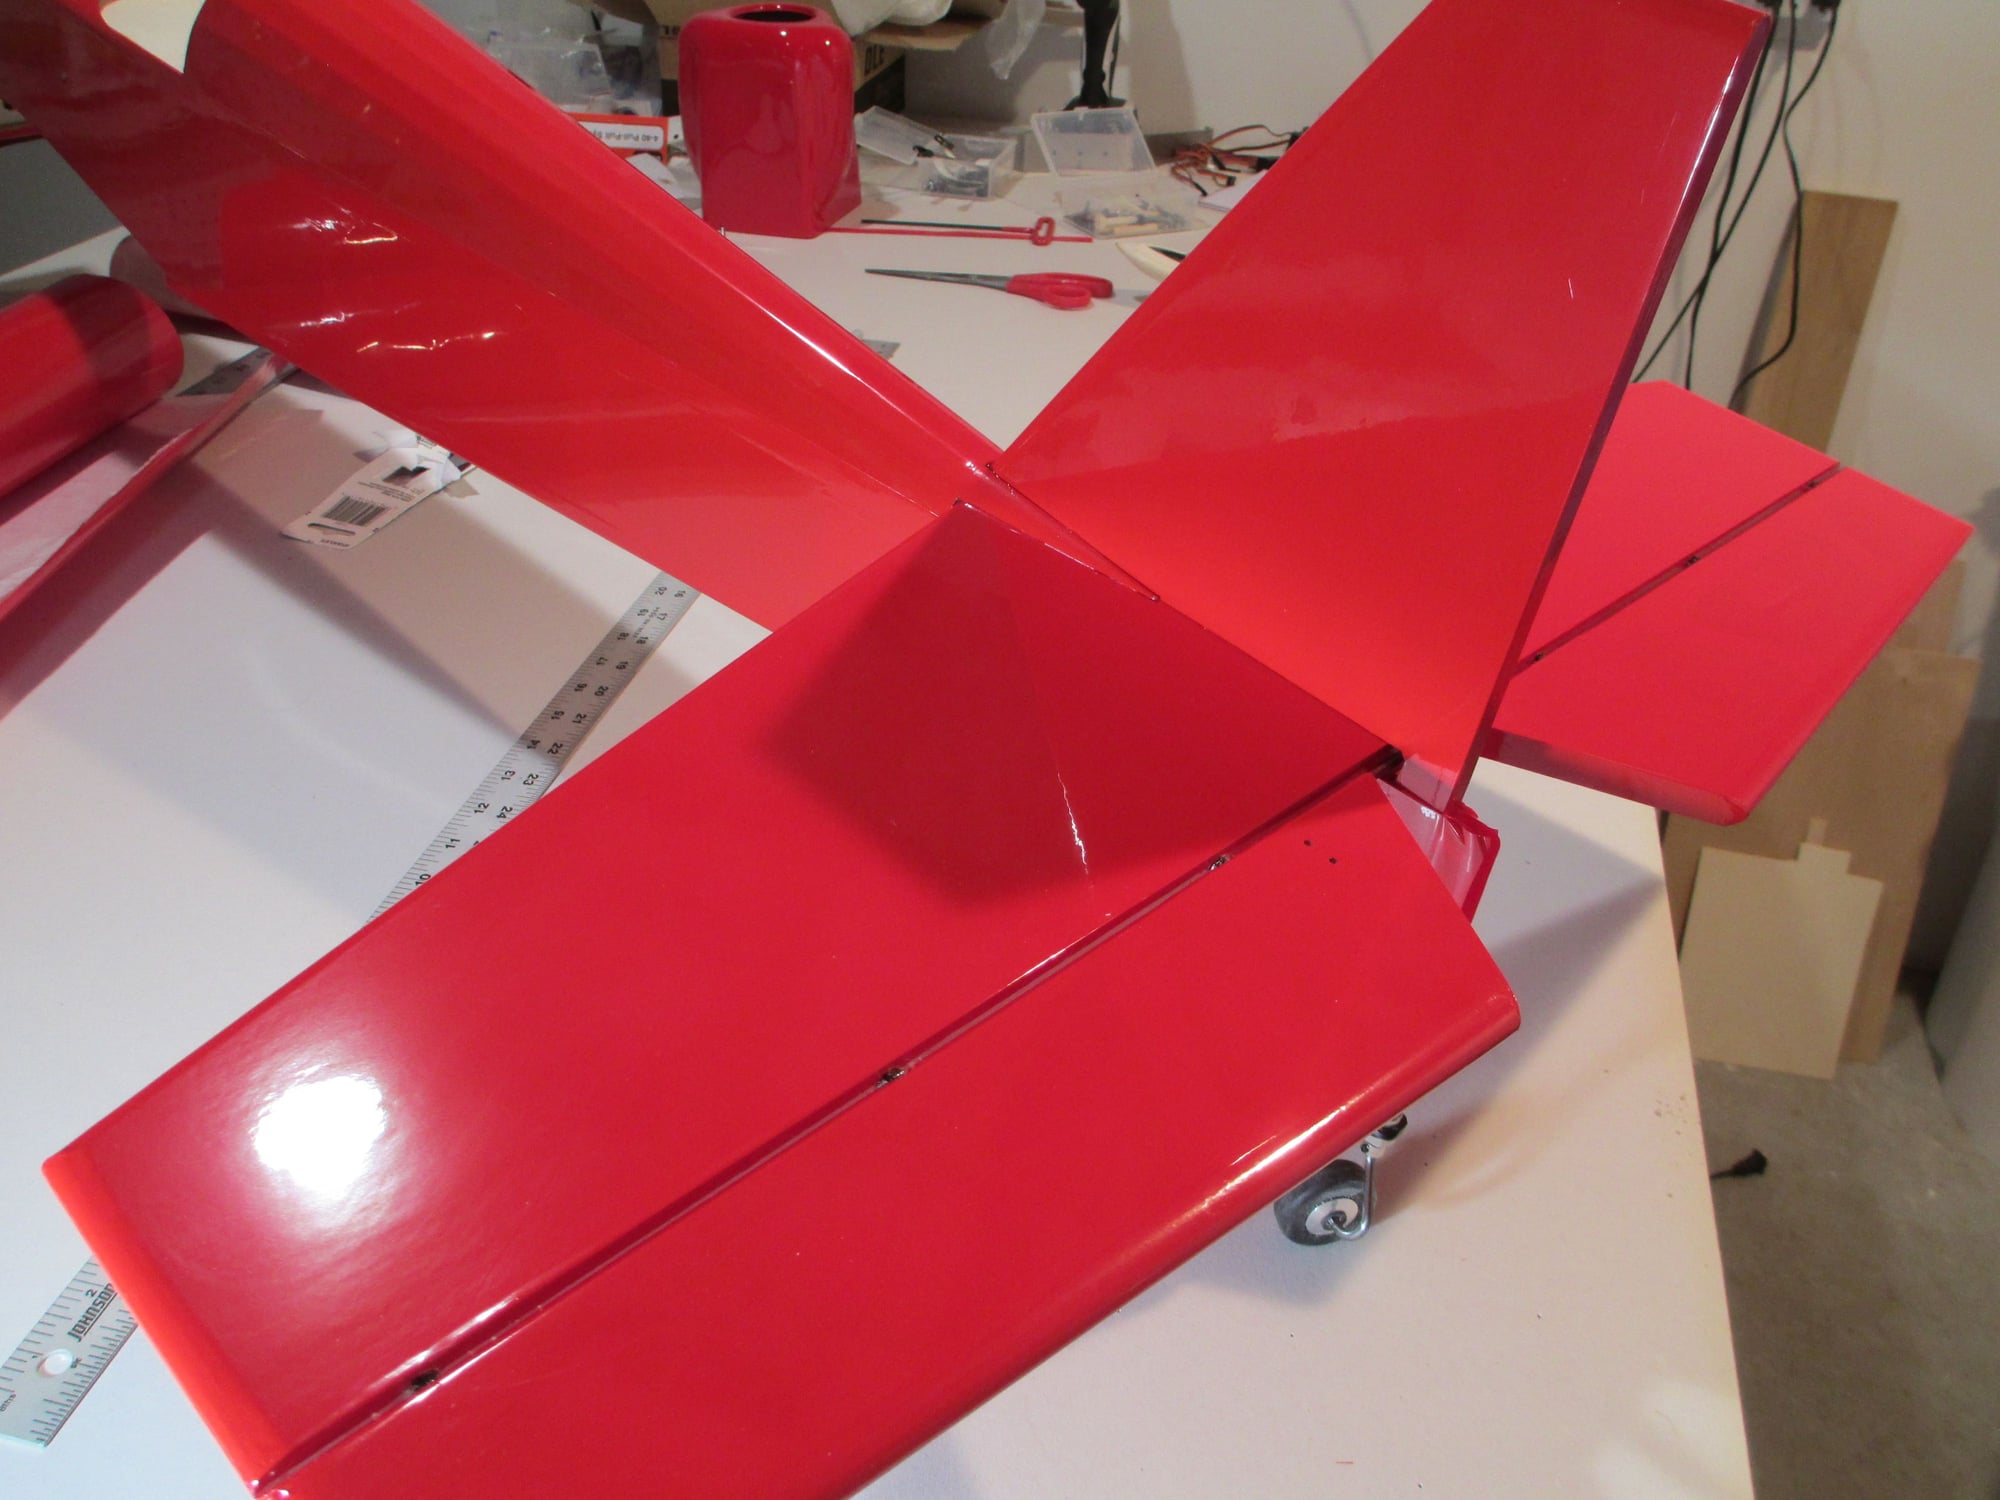
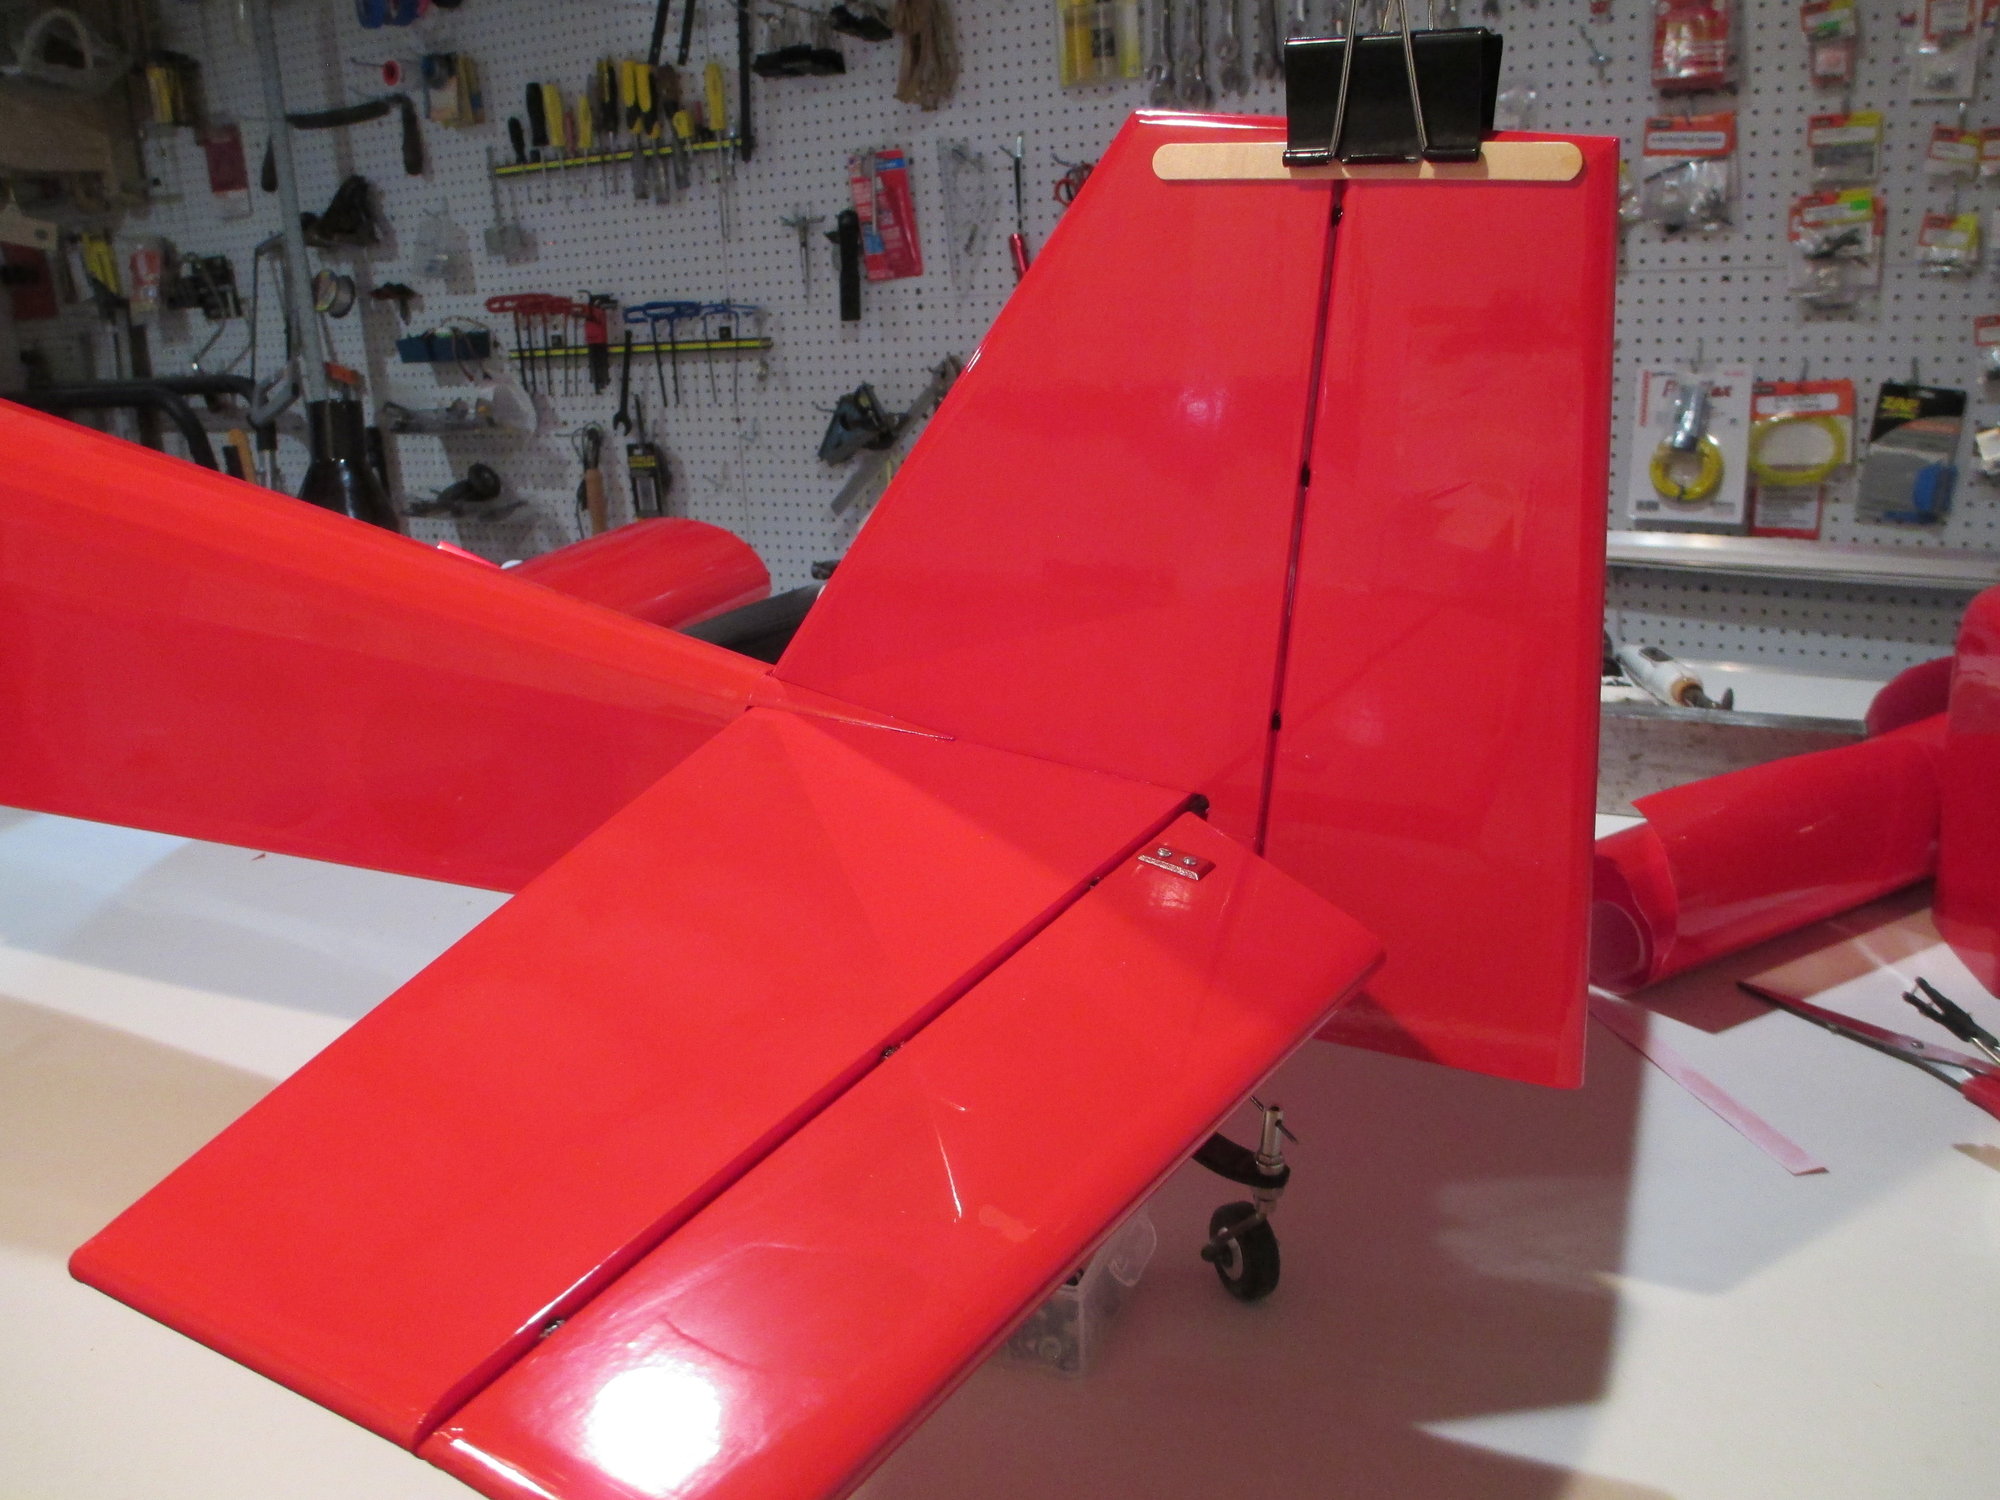
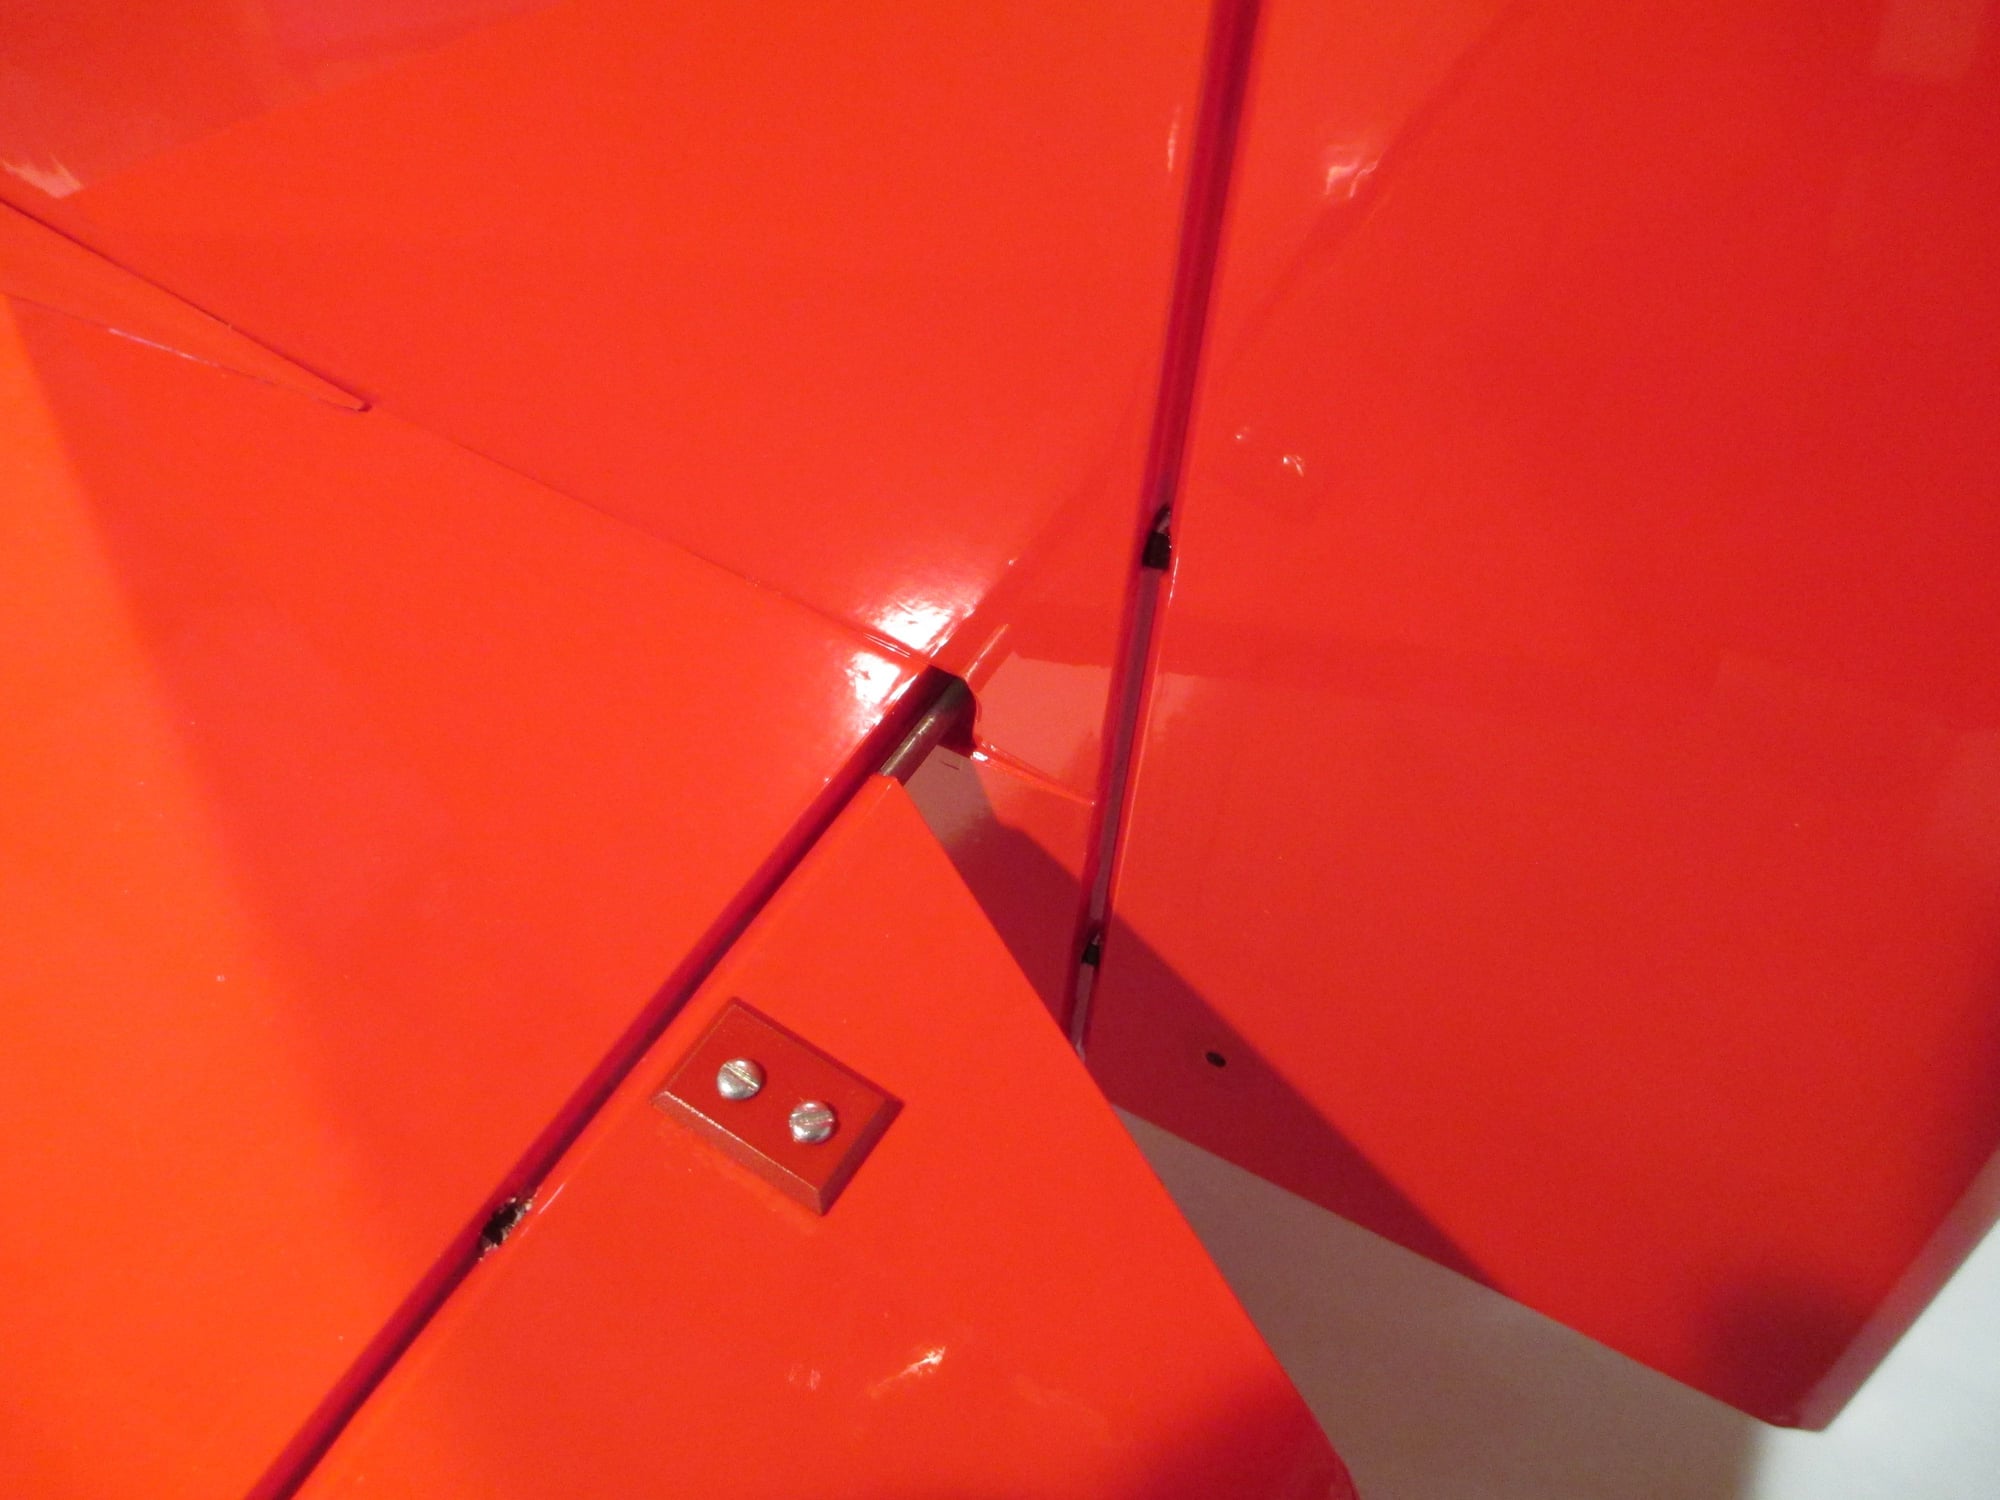
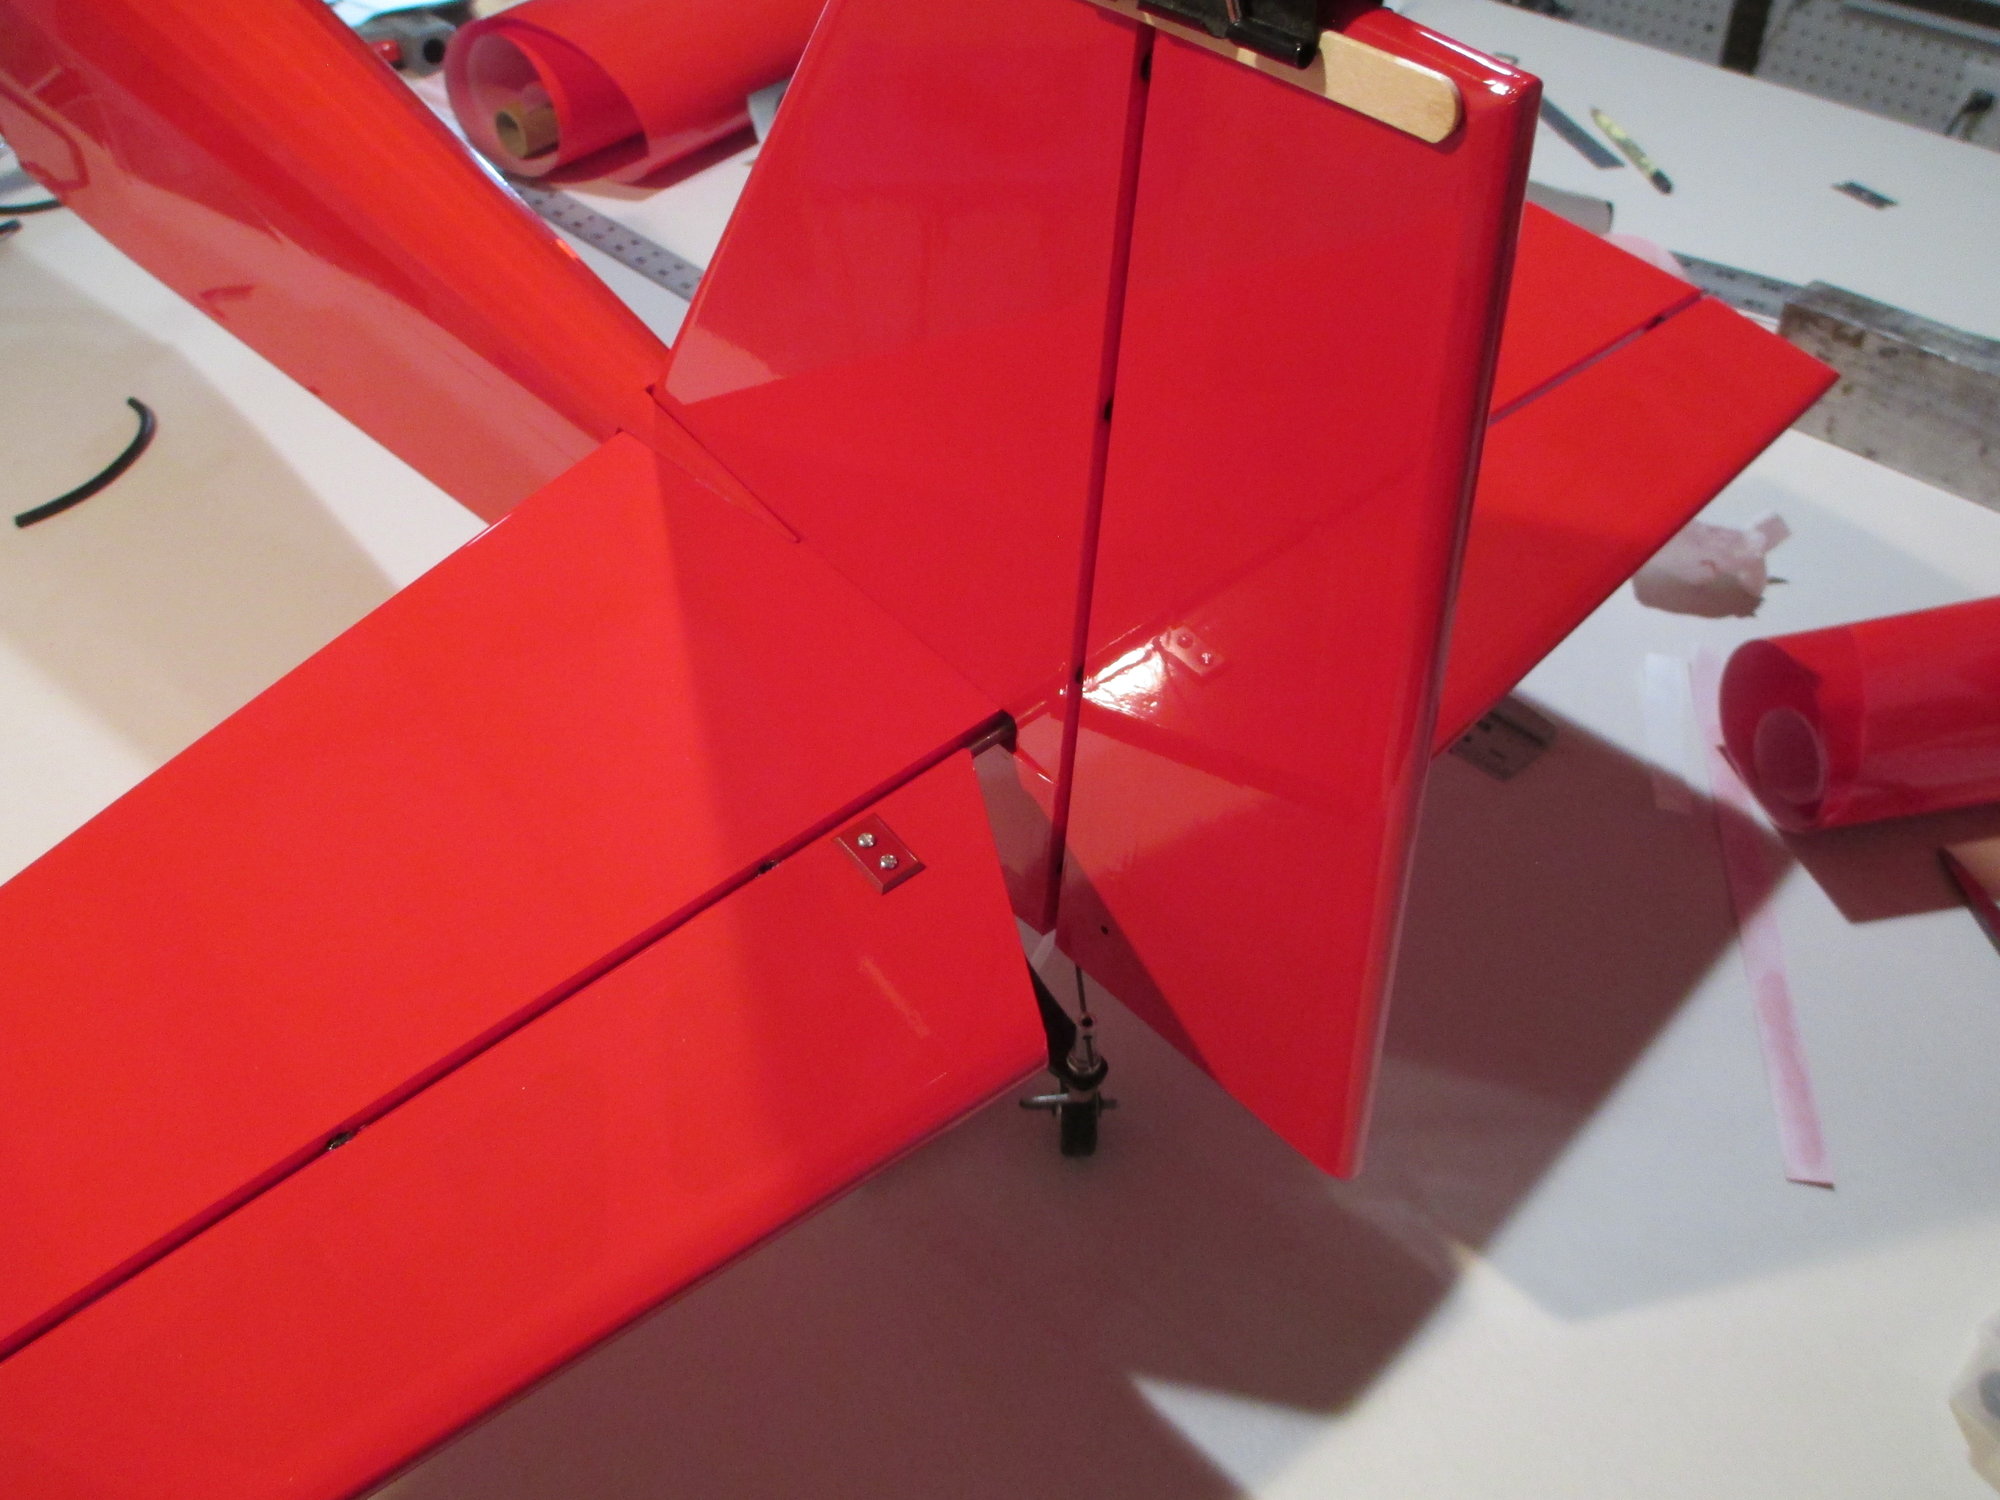
The fin was covered this evening and epoxied into place. I did make sure to check that the fin was squared to the stabilizer.
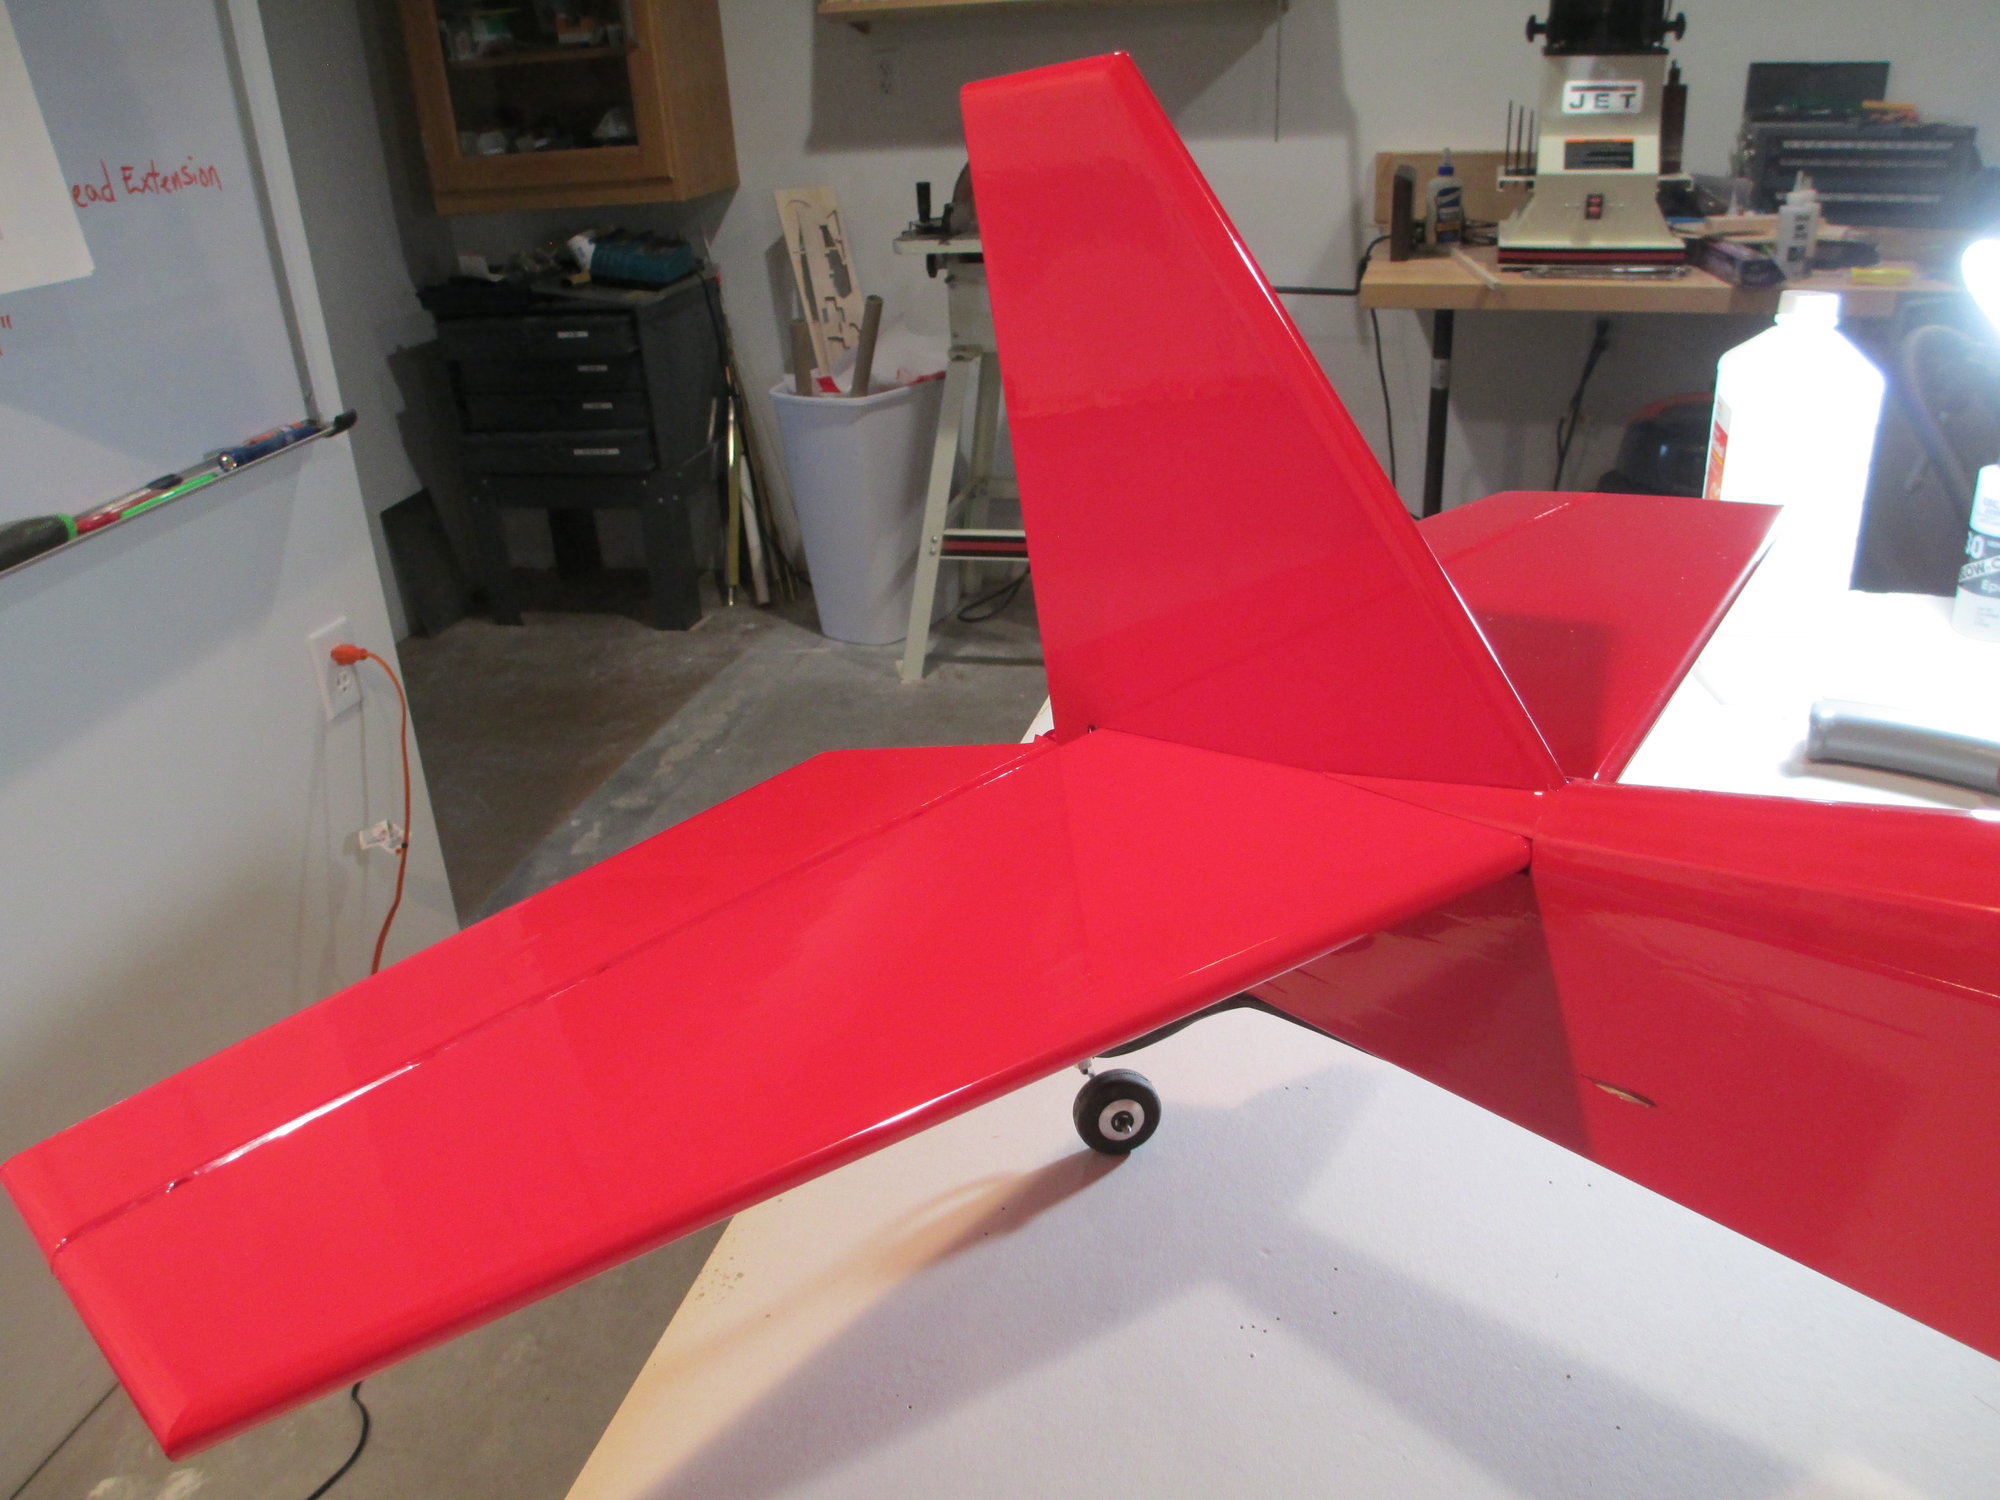
The rudder was also covered, but it won't be installed until the epoxy cures.
The first step in covering the rudder.

Finished product.
Last edited by VincentJ; 05-23-2019 at 12:28 AM.
05-23-2019, 03:06 PM
#167
Thread Starter
Started covering the cockpit area.
With the fin now permanently installed I was able to hinge the rudder.
I'm glad I had left all the extra covering on the back of the fuselage. I was able to tidy it up now...
Last edited by VincentJ; 05-24-2019 at 05:30 AM.
05-26-2019, 03:15 PM
#168
Thread Starter
Happy Memorial Day!
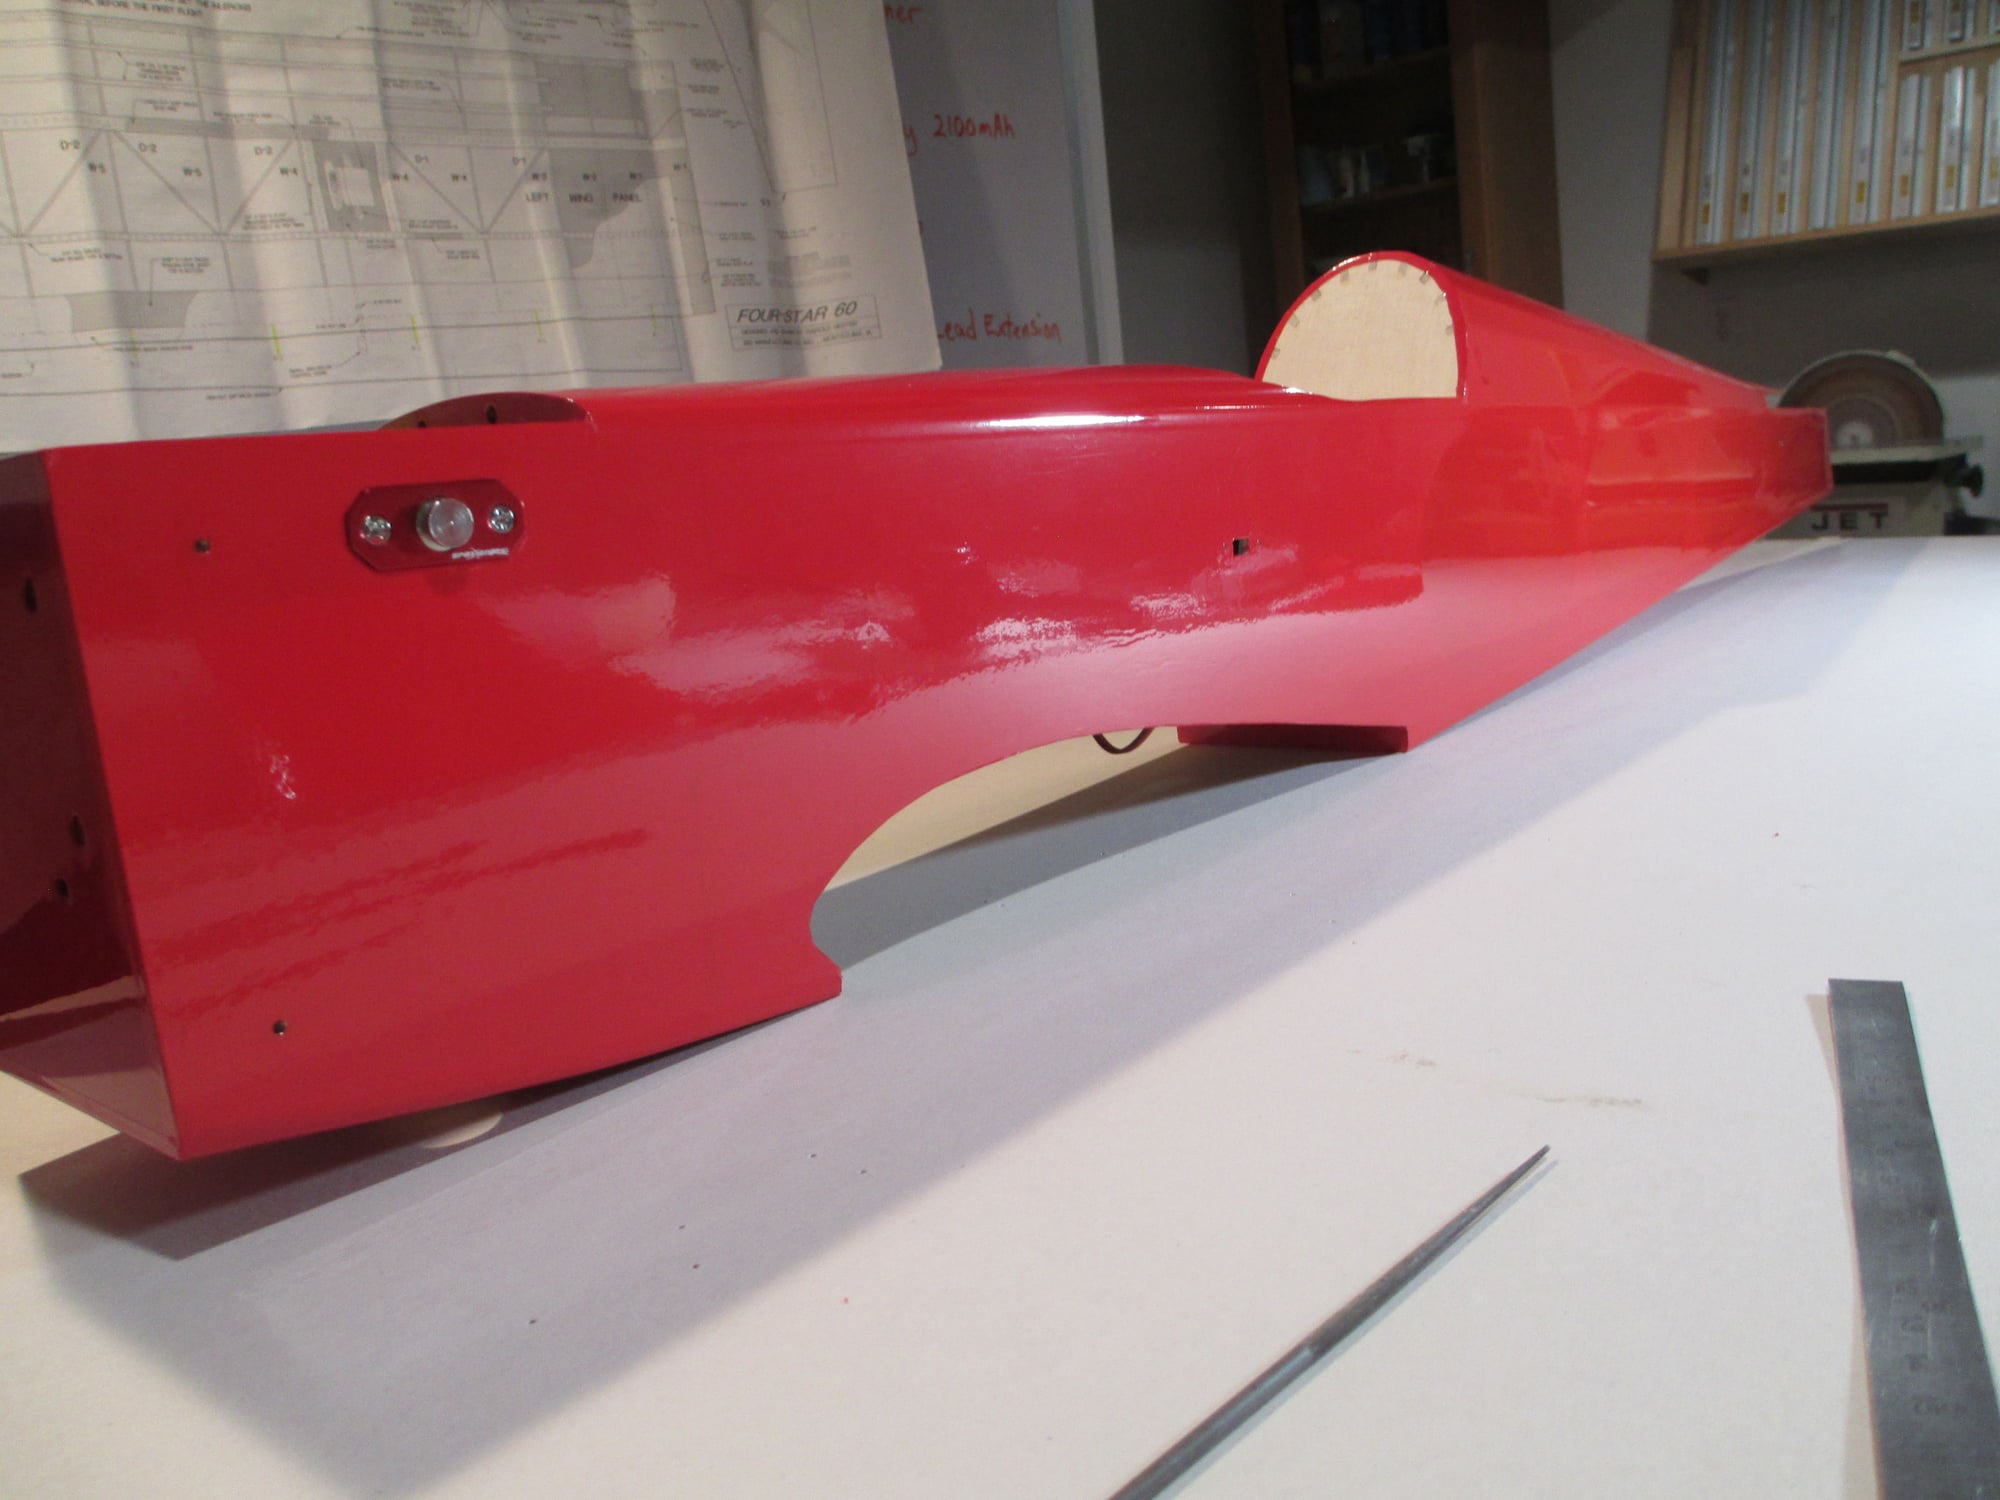
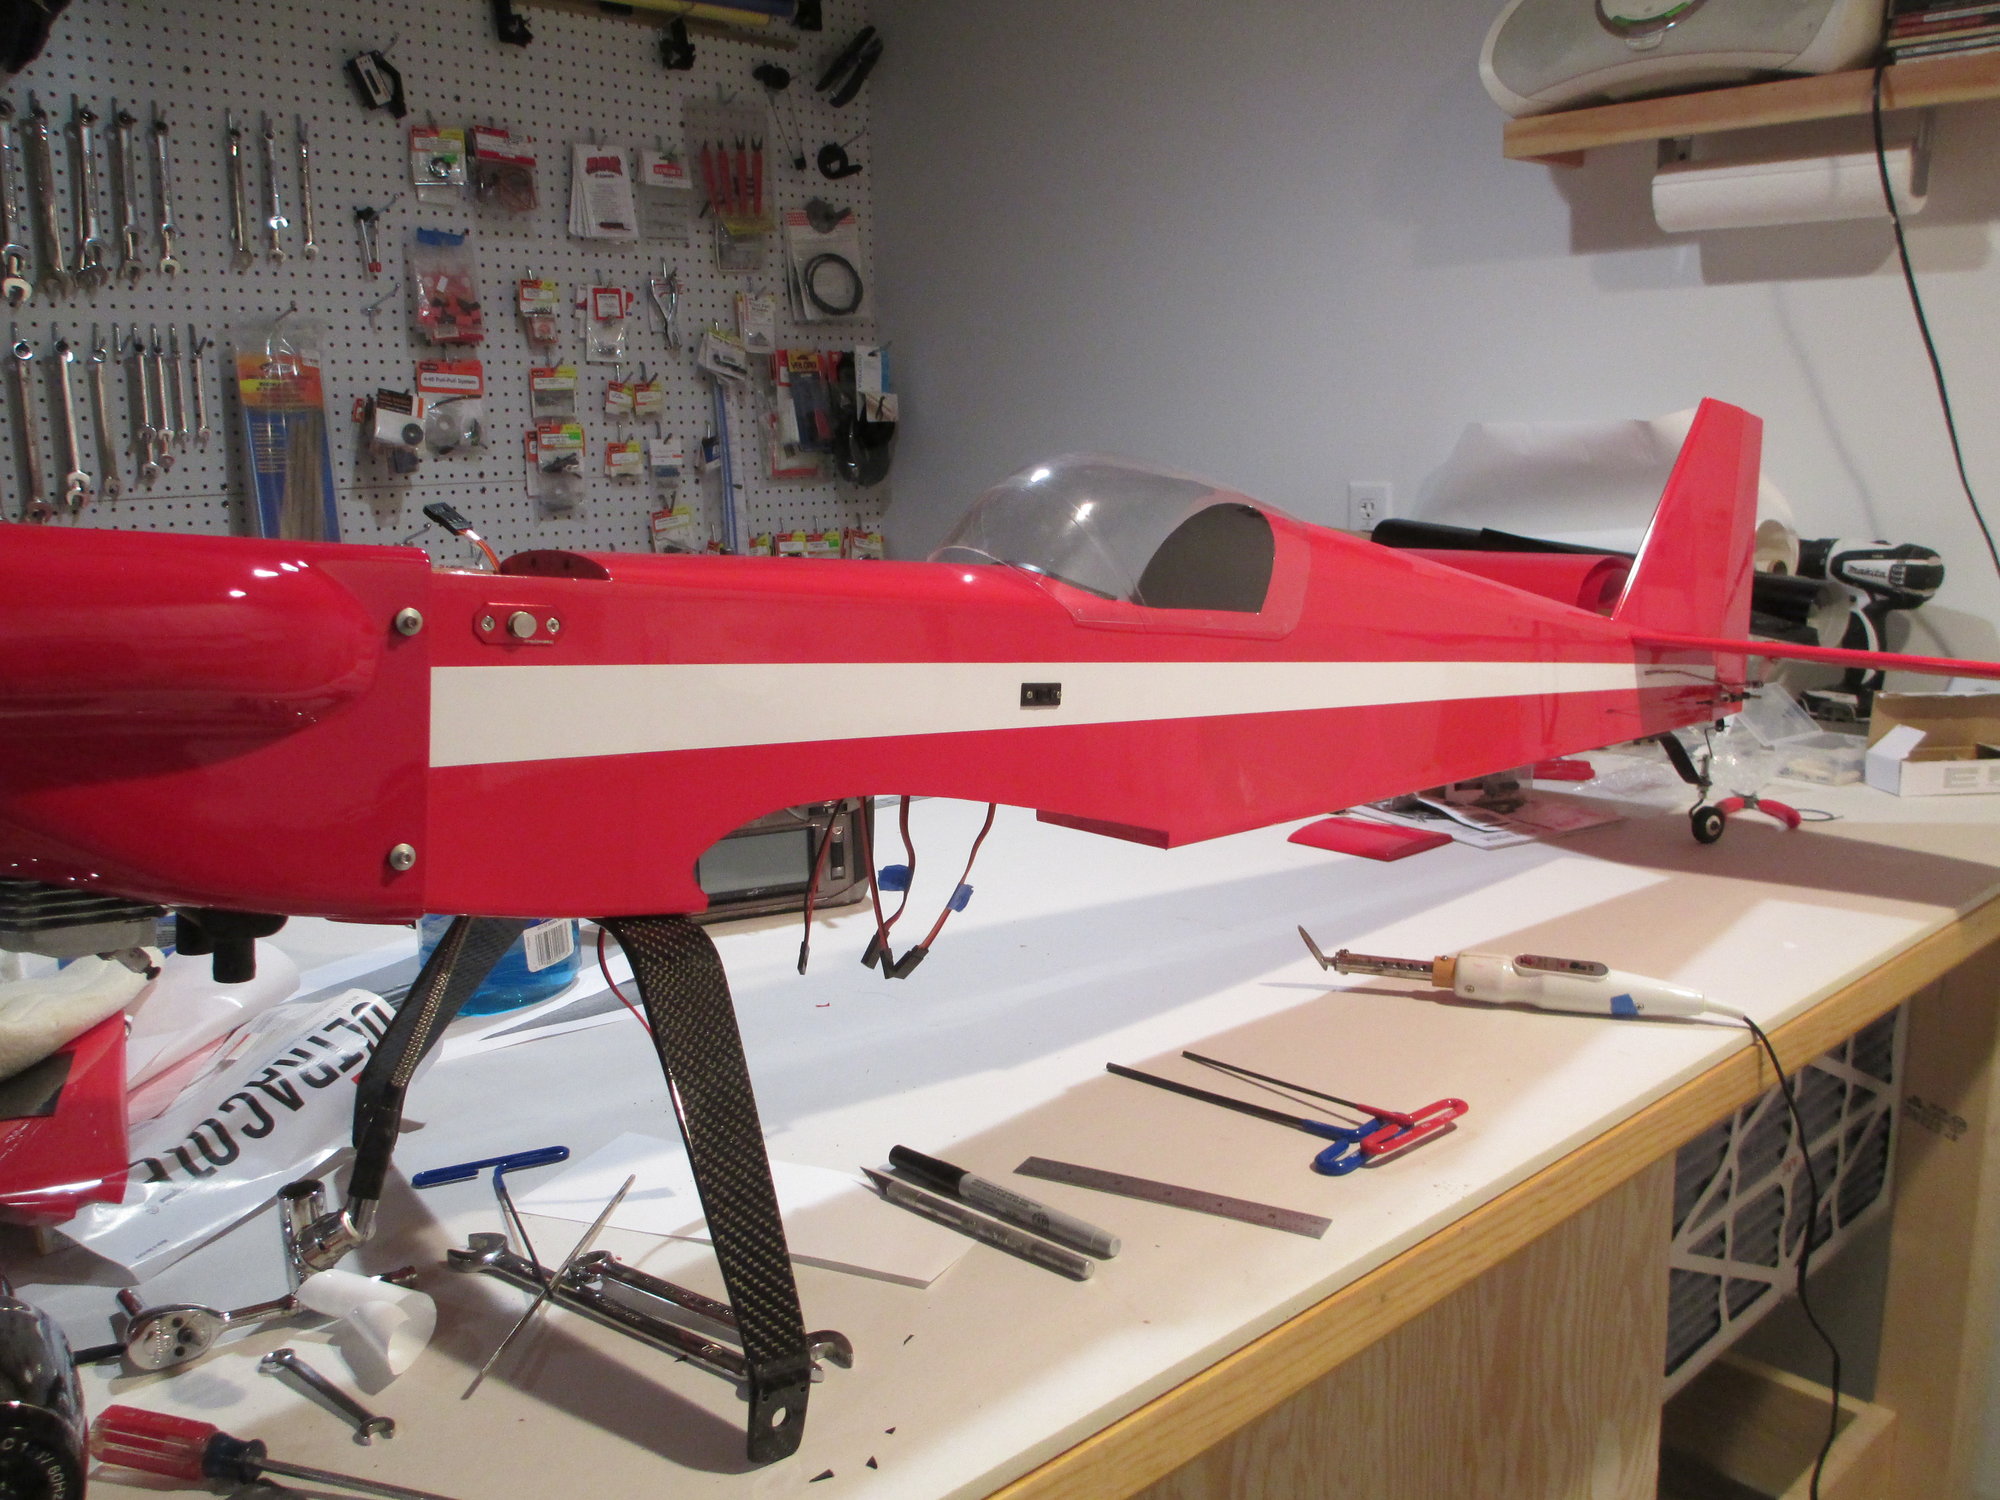
Here's an update on what's going on... I have most of the electronics in place in the fuselage and operational. It's satisfying to see the rudder, elevator and throttle move as planned. I want to finish the fuselage before I cover the wing!
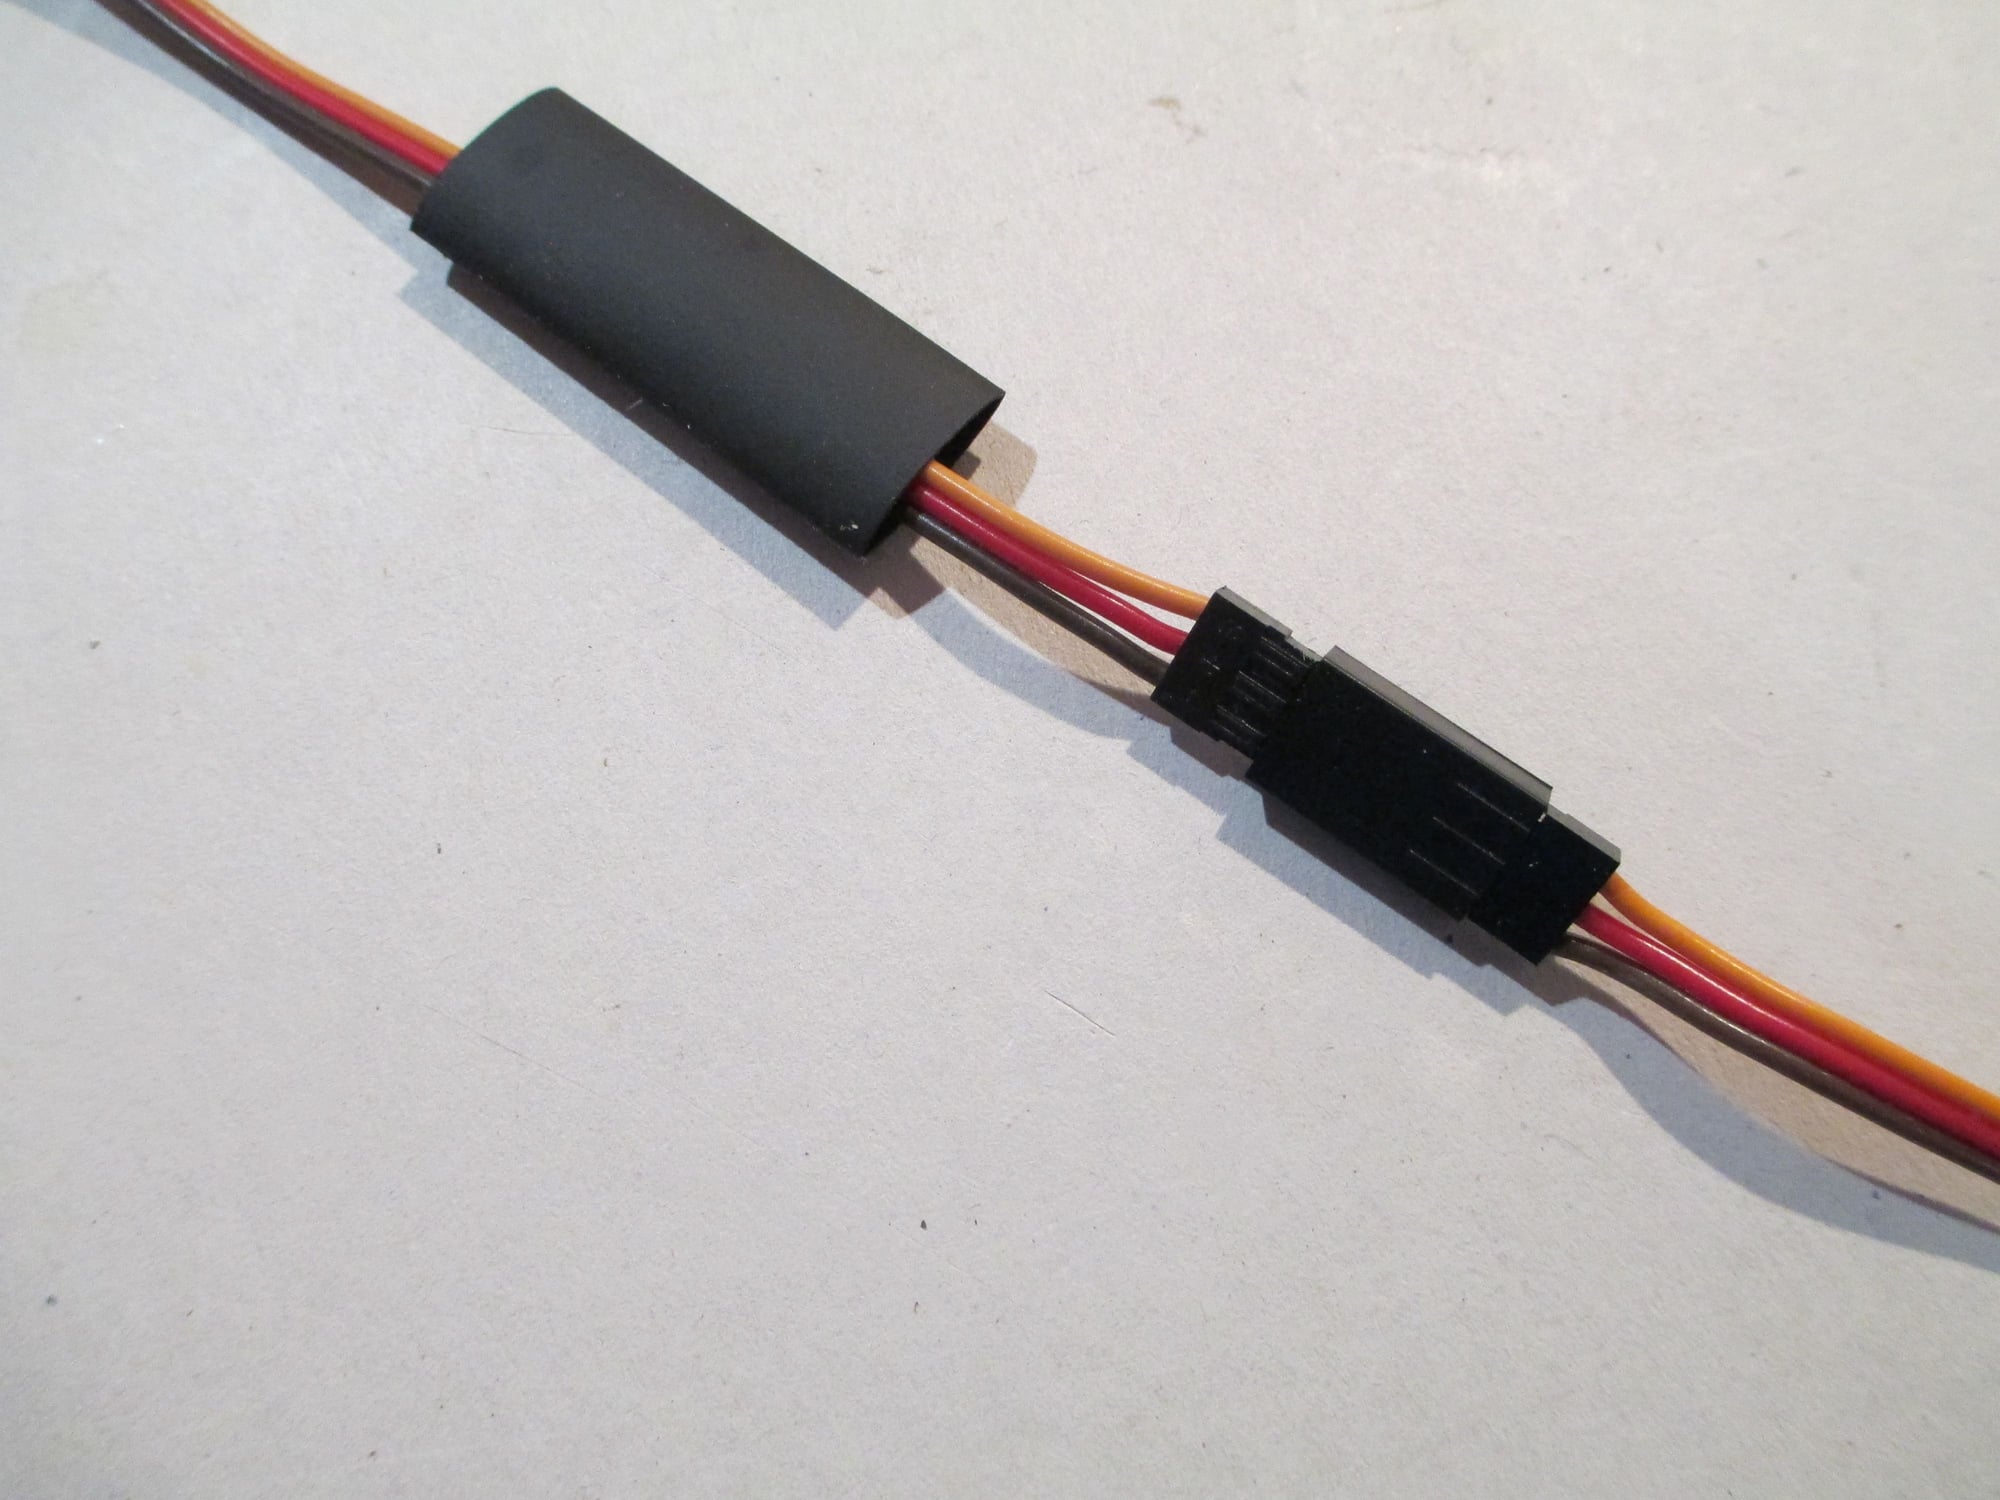
Tonight's tip: There are many ways to prevent wires from accidentally separating, some more elegant than others. This is the method that I prefer to use. Slip a short length (one inch) of heat shrink tubing over one of the wires and plug the wires together...
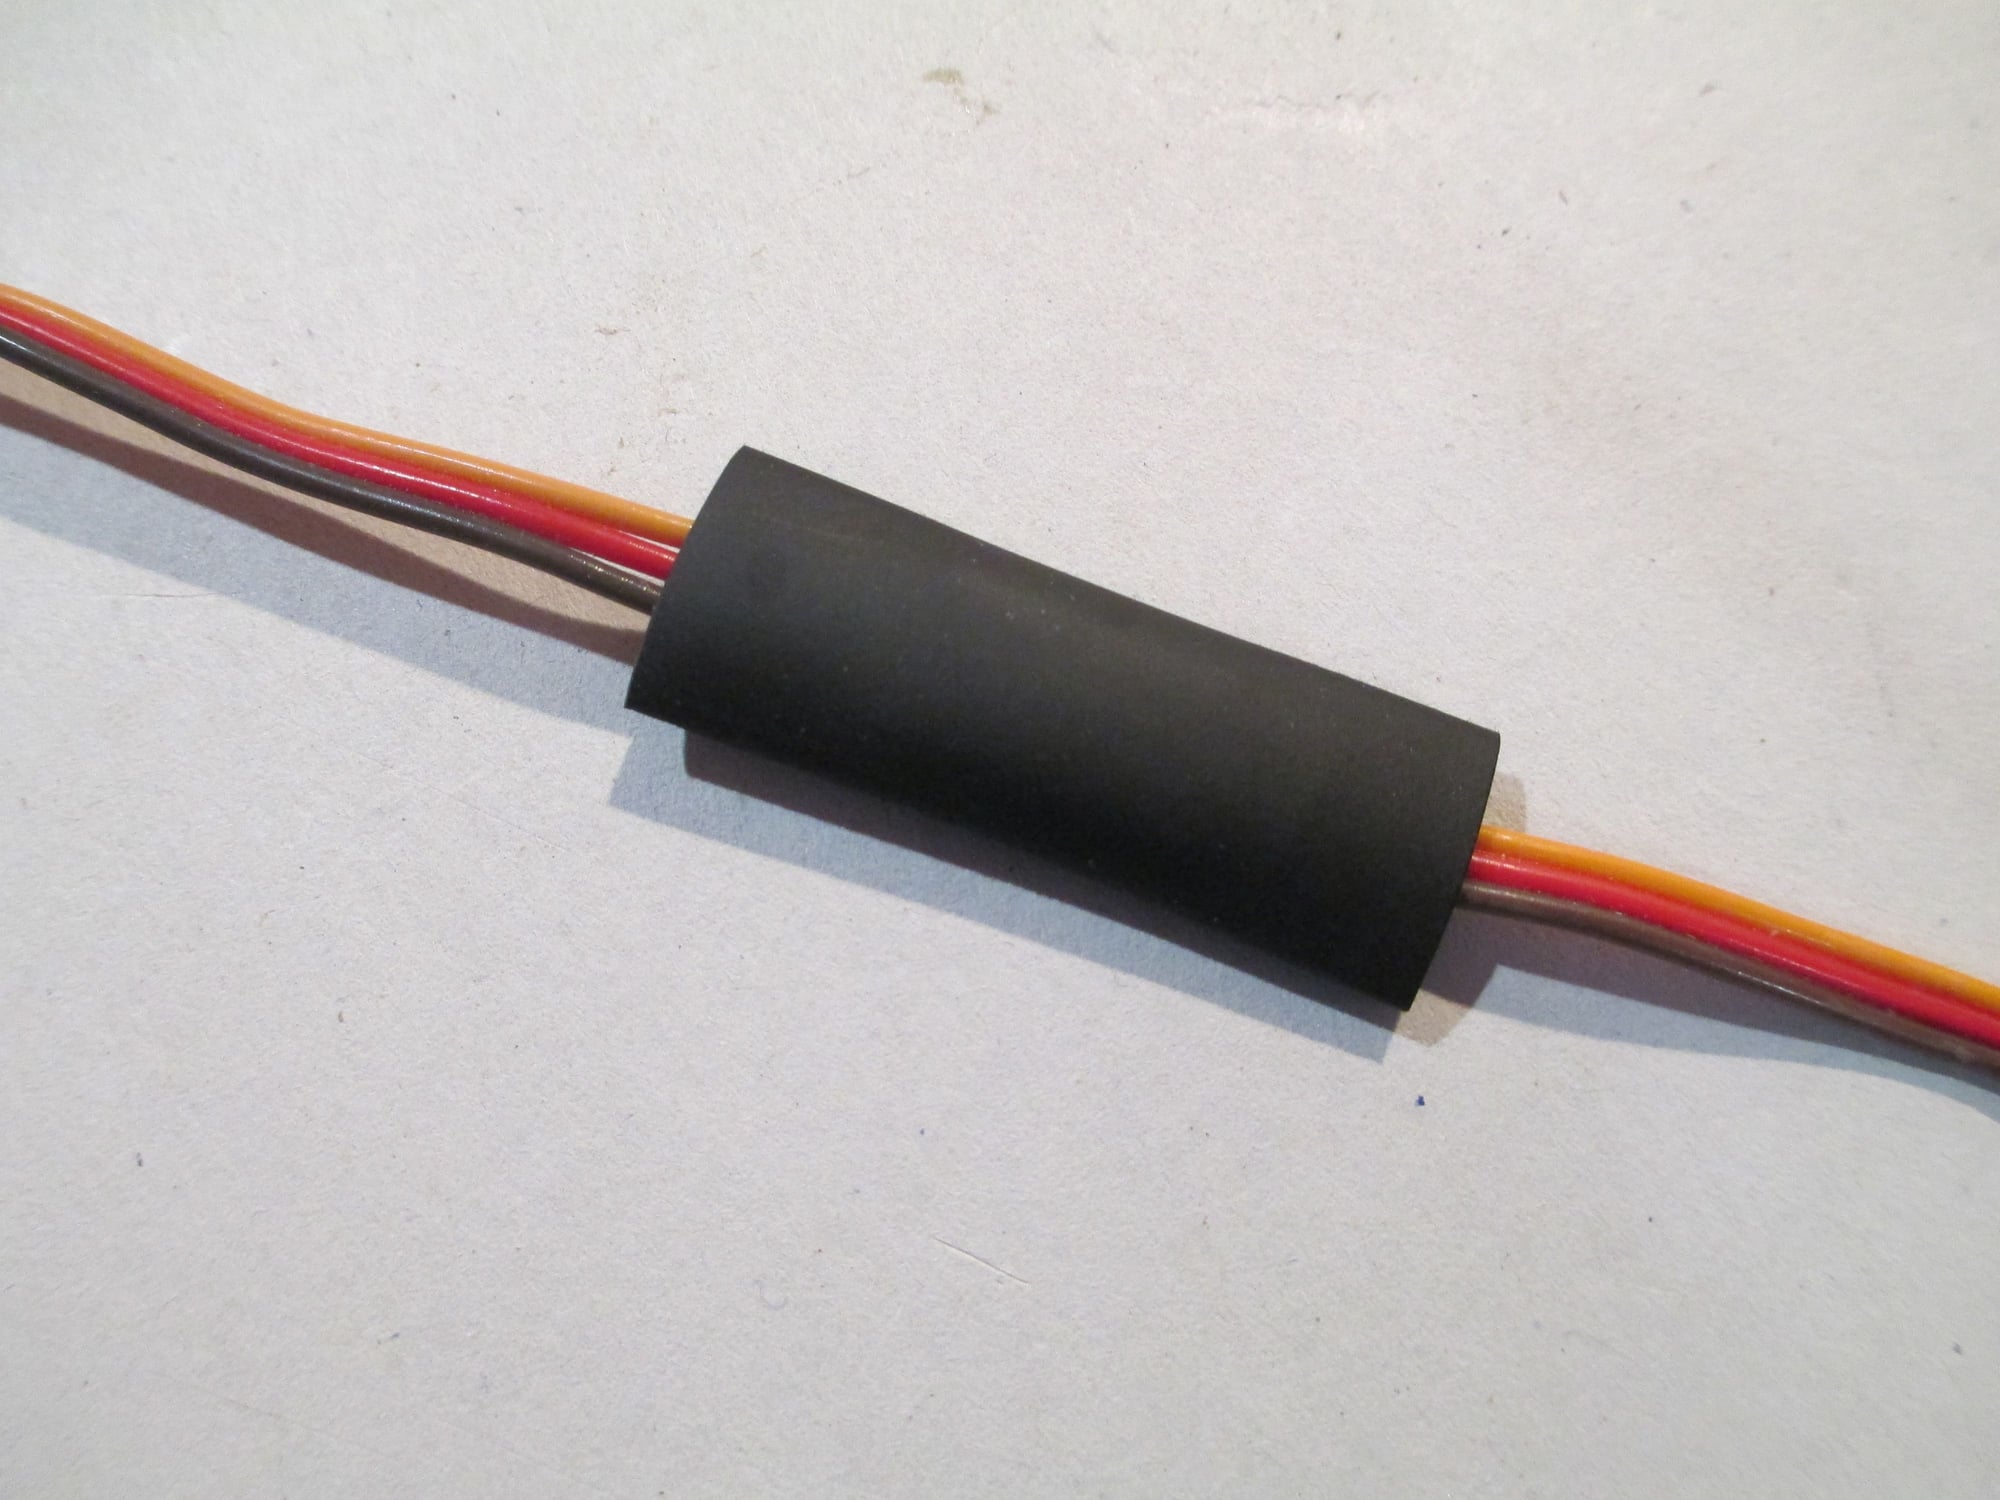
Center the heat shrink directly over the connection point.
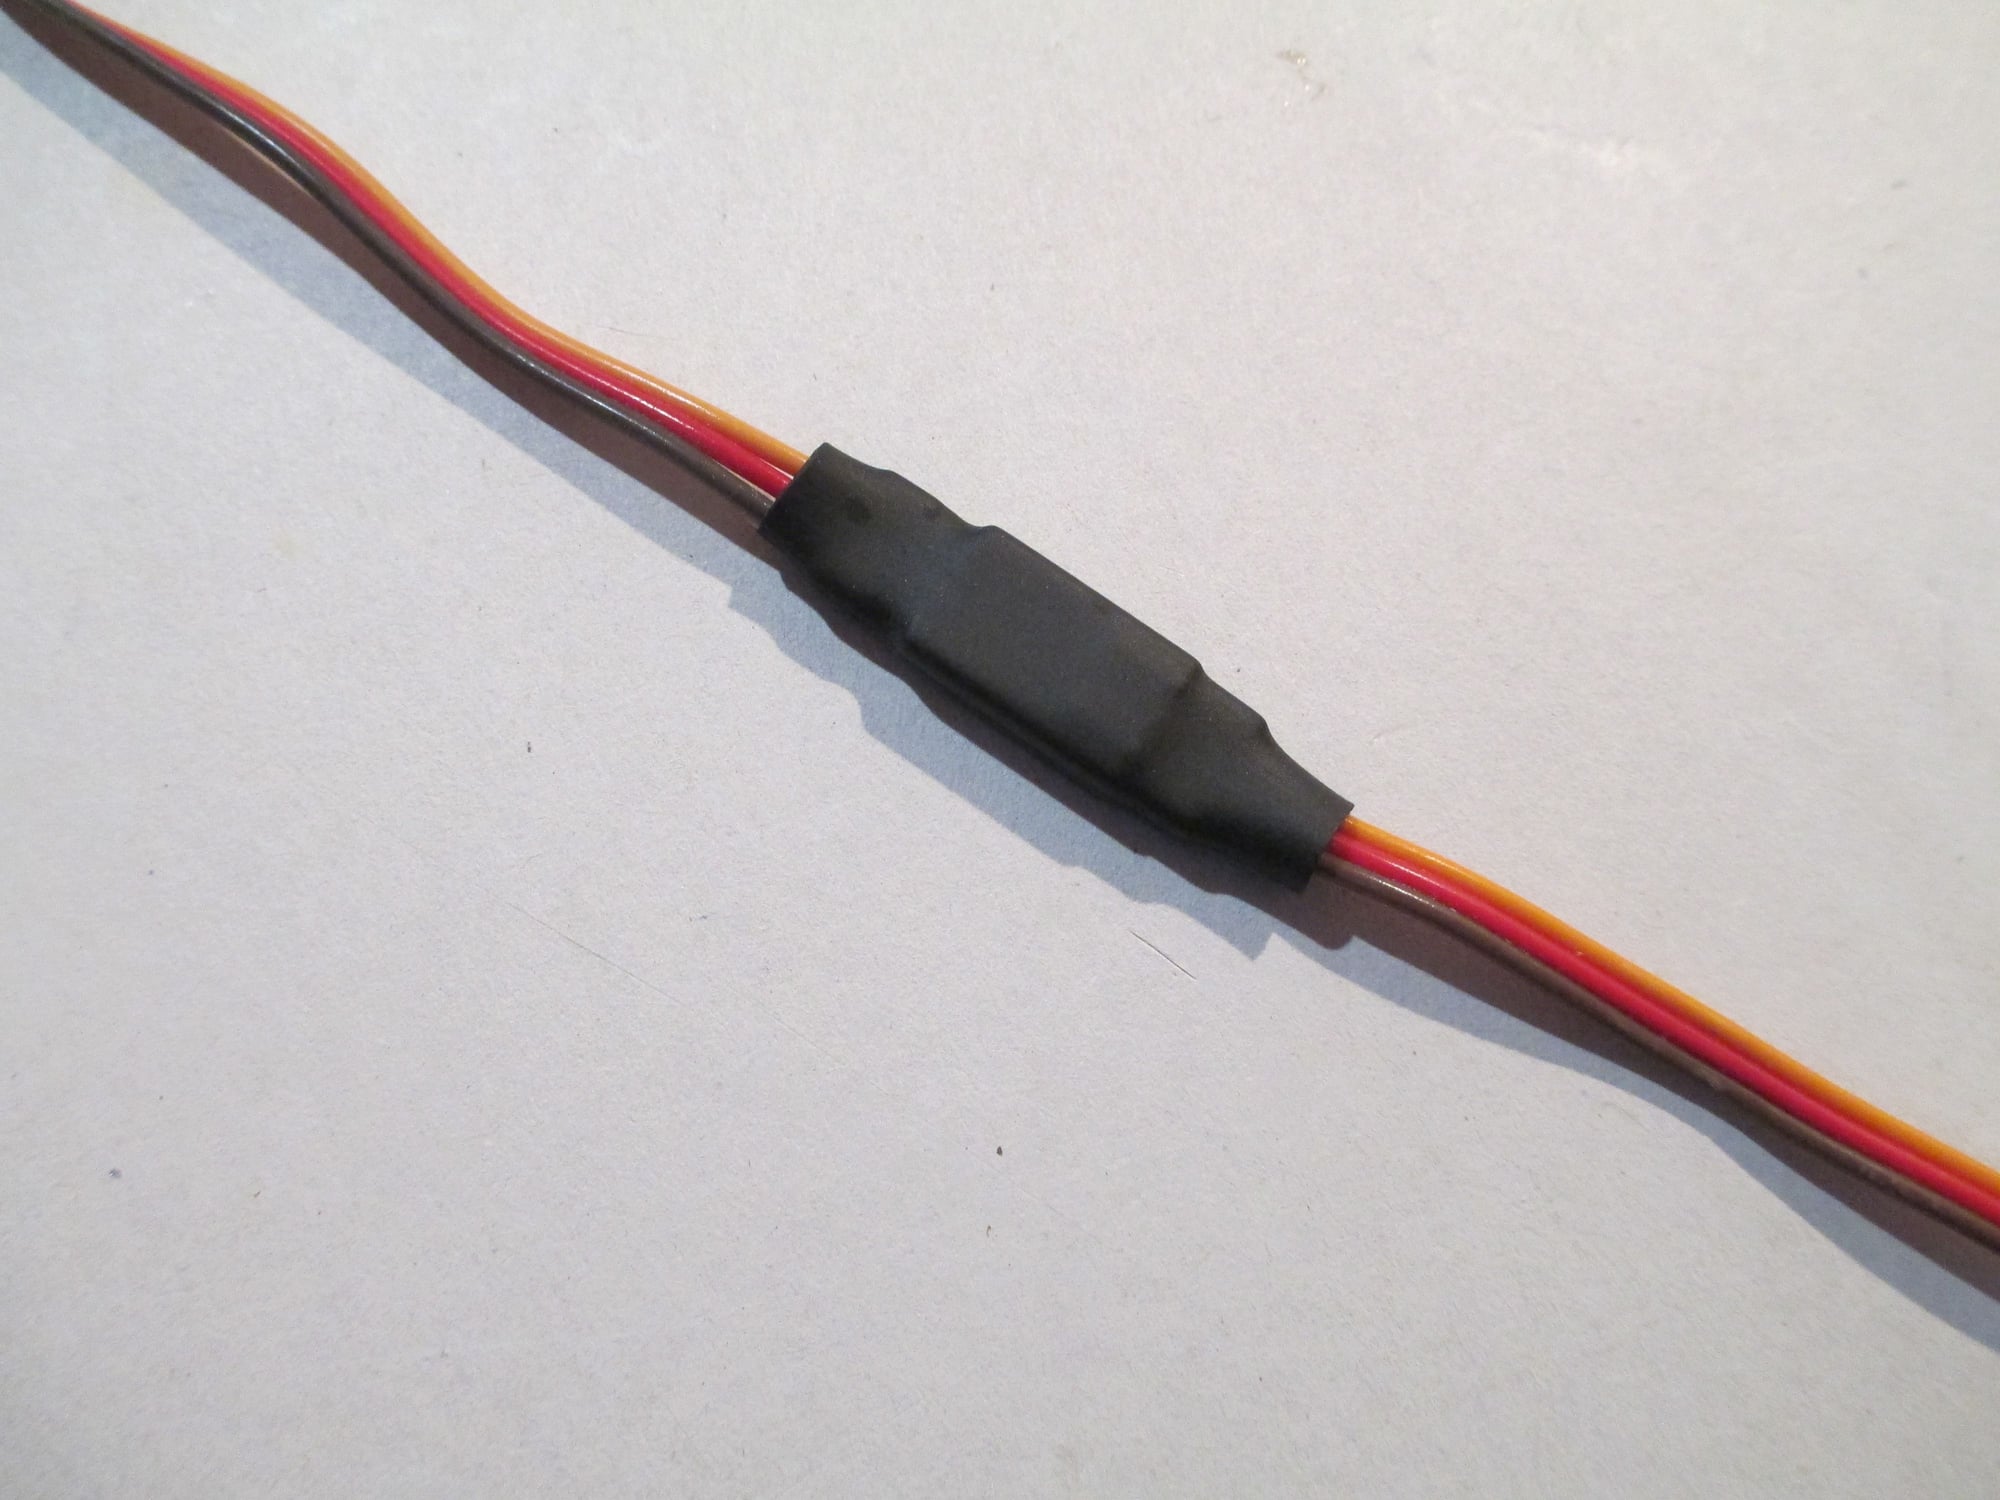
Apply heat to the heat shrink. I like to use my hot air gun , the same that I use to shrink covering. This is what it should look like when done. If you ever have to separate the wires just take a knife and slice the heat shrink tubing.
Here's an update on what's going on... I have most of the electronics in place in the fuselage and operational. It's satisfying to see the rudder, elevator and throttle move as planned. I want to finish the fuselage before I cover the wing!
Tonight's tip: There are many ways to prevent wires from accidentally separating, some more elegant than others. This is the method that I prefer to use. Slip a short length (one inch) of heat shrink tubing over one of the wires and plug the wires together...
Center the heat shrink directly over the connection point.
Apply heat to the heat shrink. I like to use my hot air gun , the same that I use to shrink covering. This is what it should look like when done. If you ever have to separate the wires just take a knife and slice the heat shrink tubing.
Last edited by VincentJ; 05-26-2019 at 03:17 PM.
05-28-2019, 03:18 PM
#169
Thread Starter
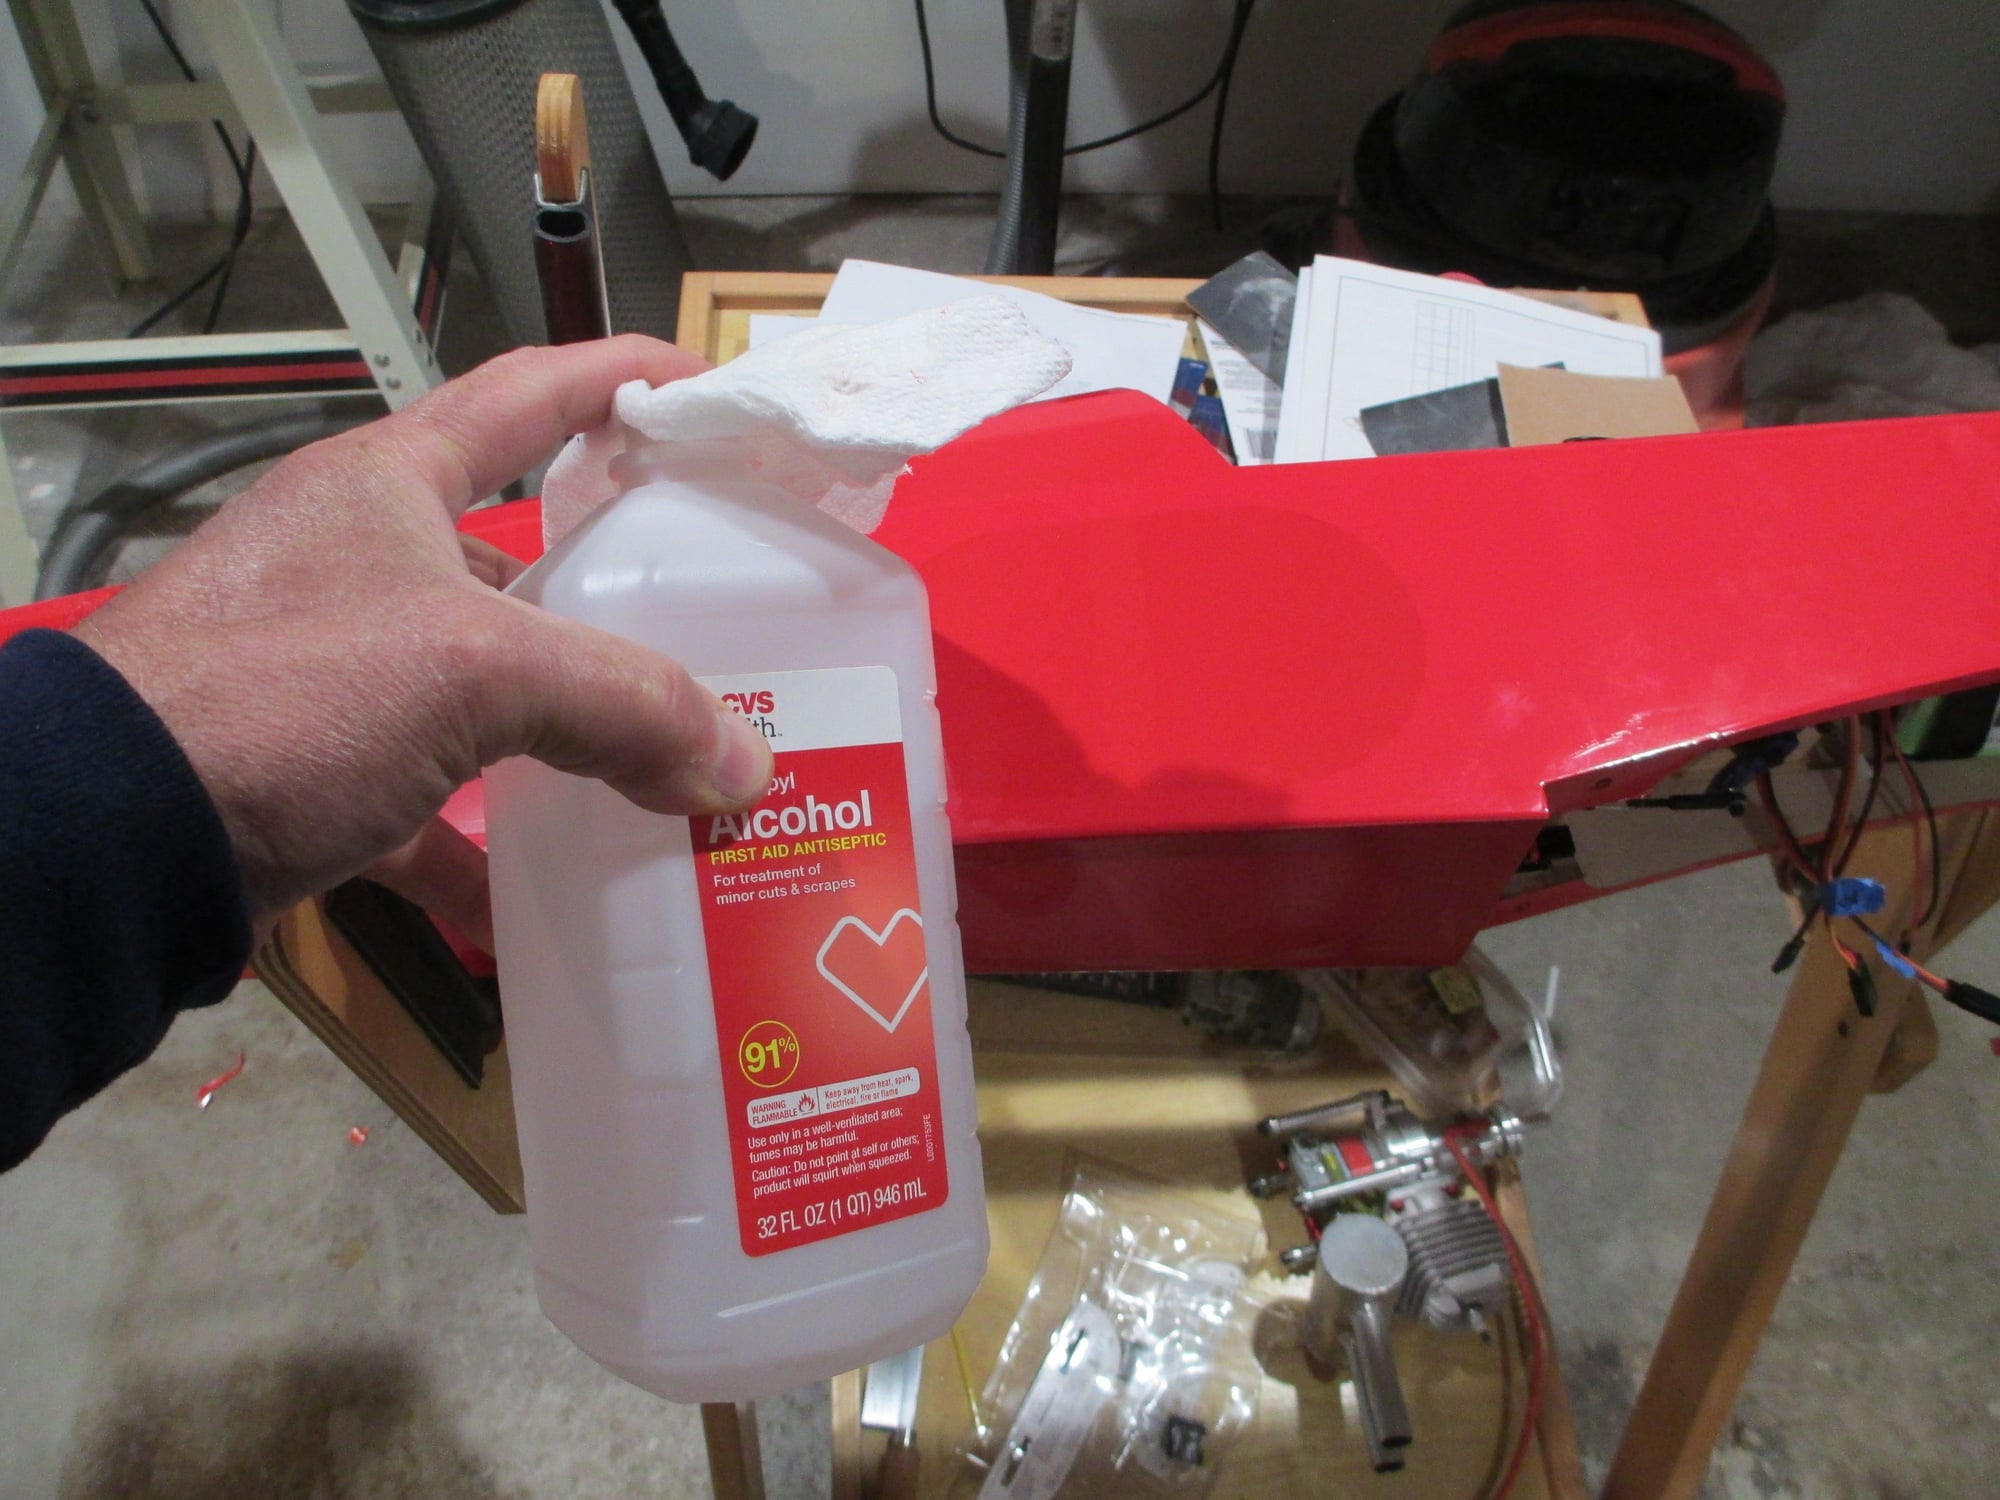
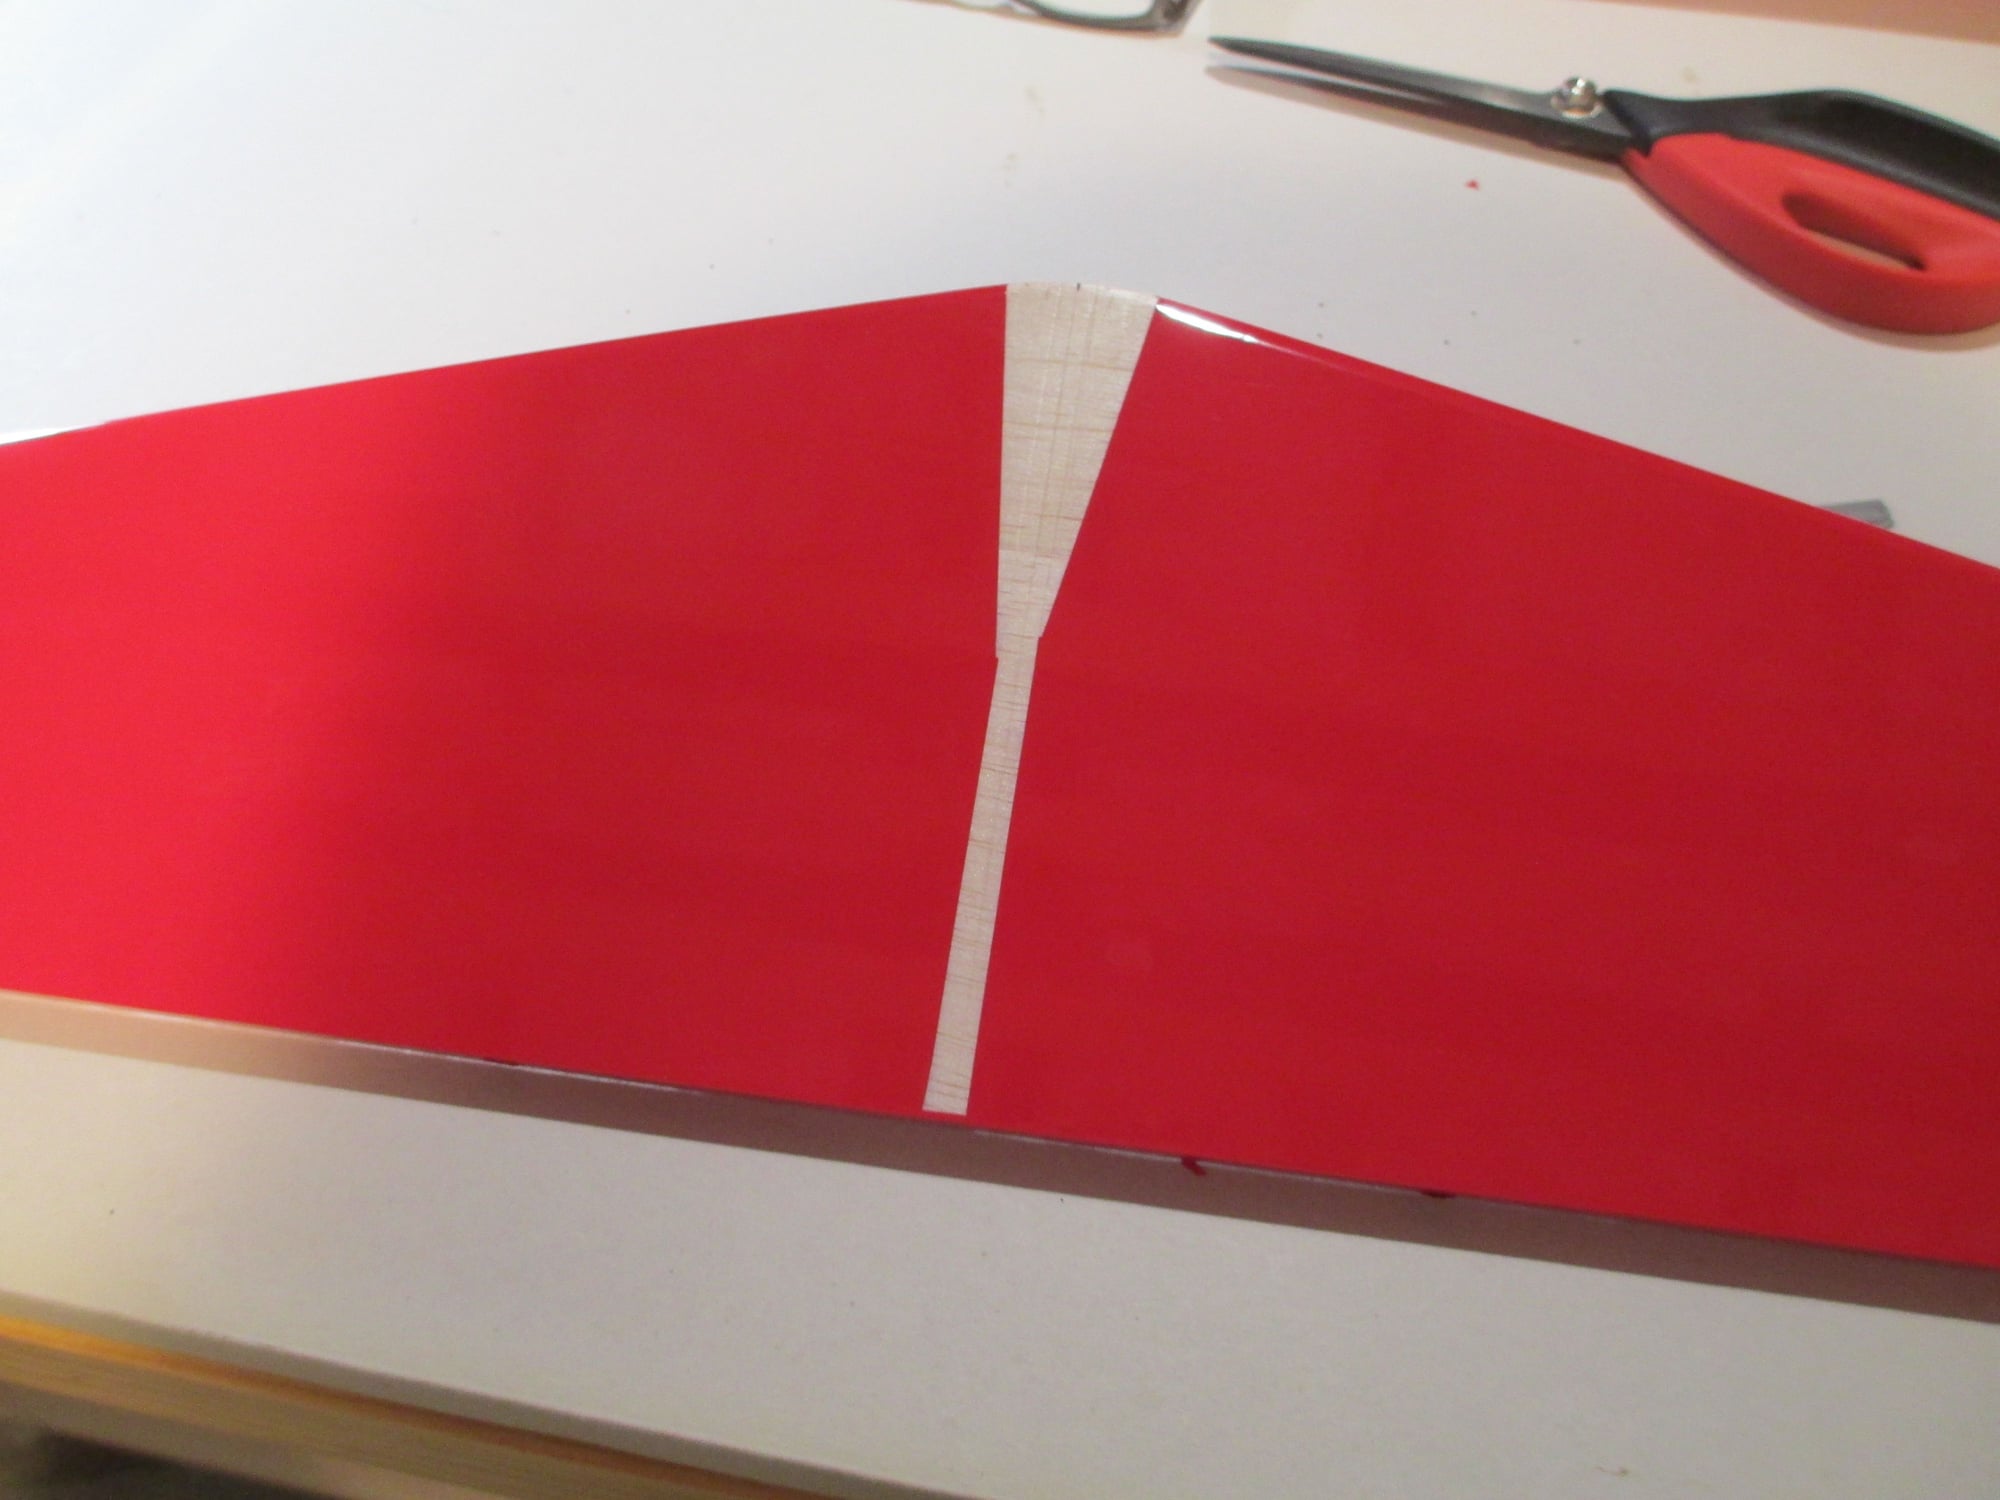
With the fuselage covered in red, I want to apply a white accent stripe cut from UtraCote. Here you see me prepping the base using Alcohol to clean the area.
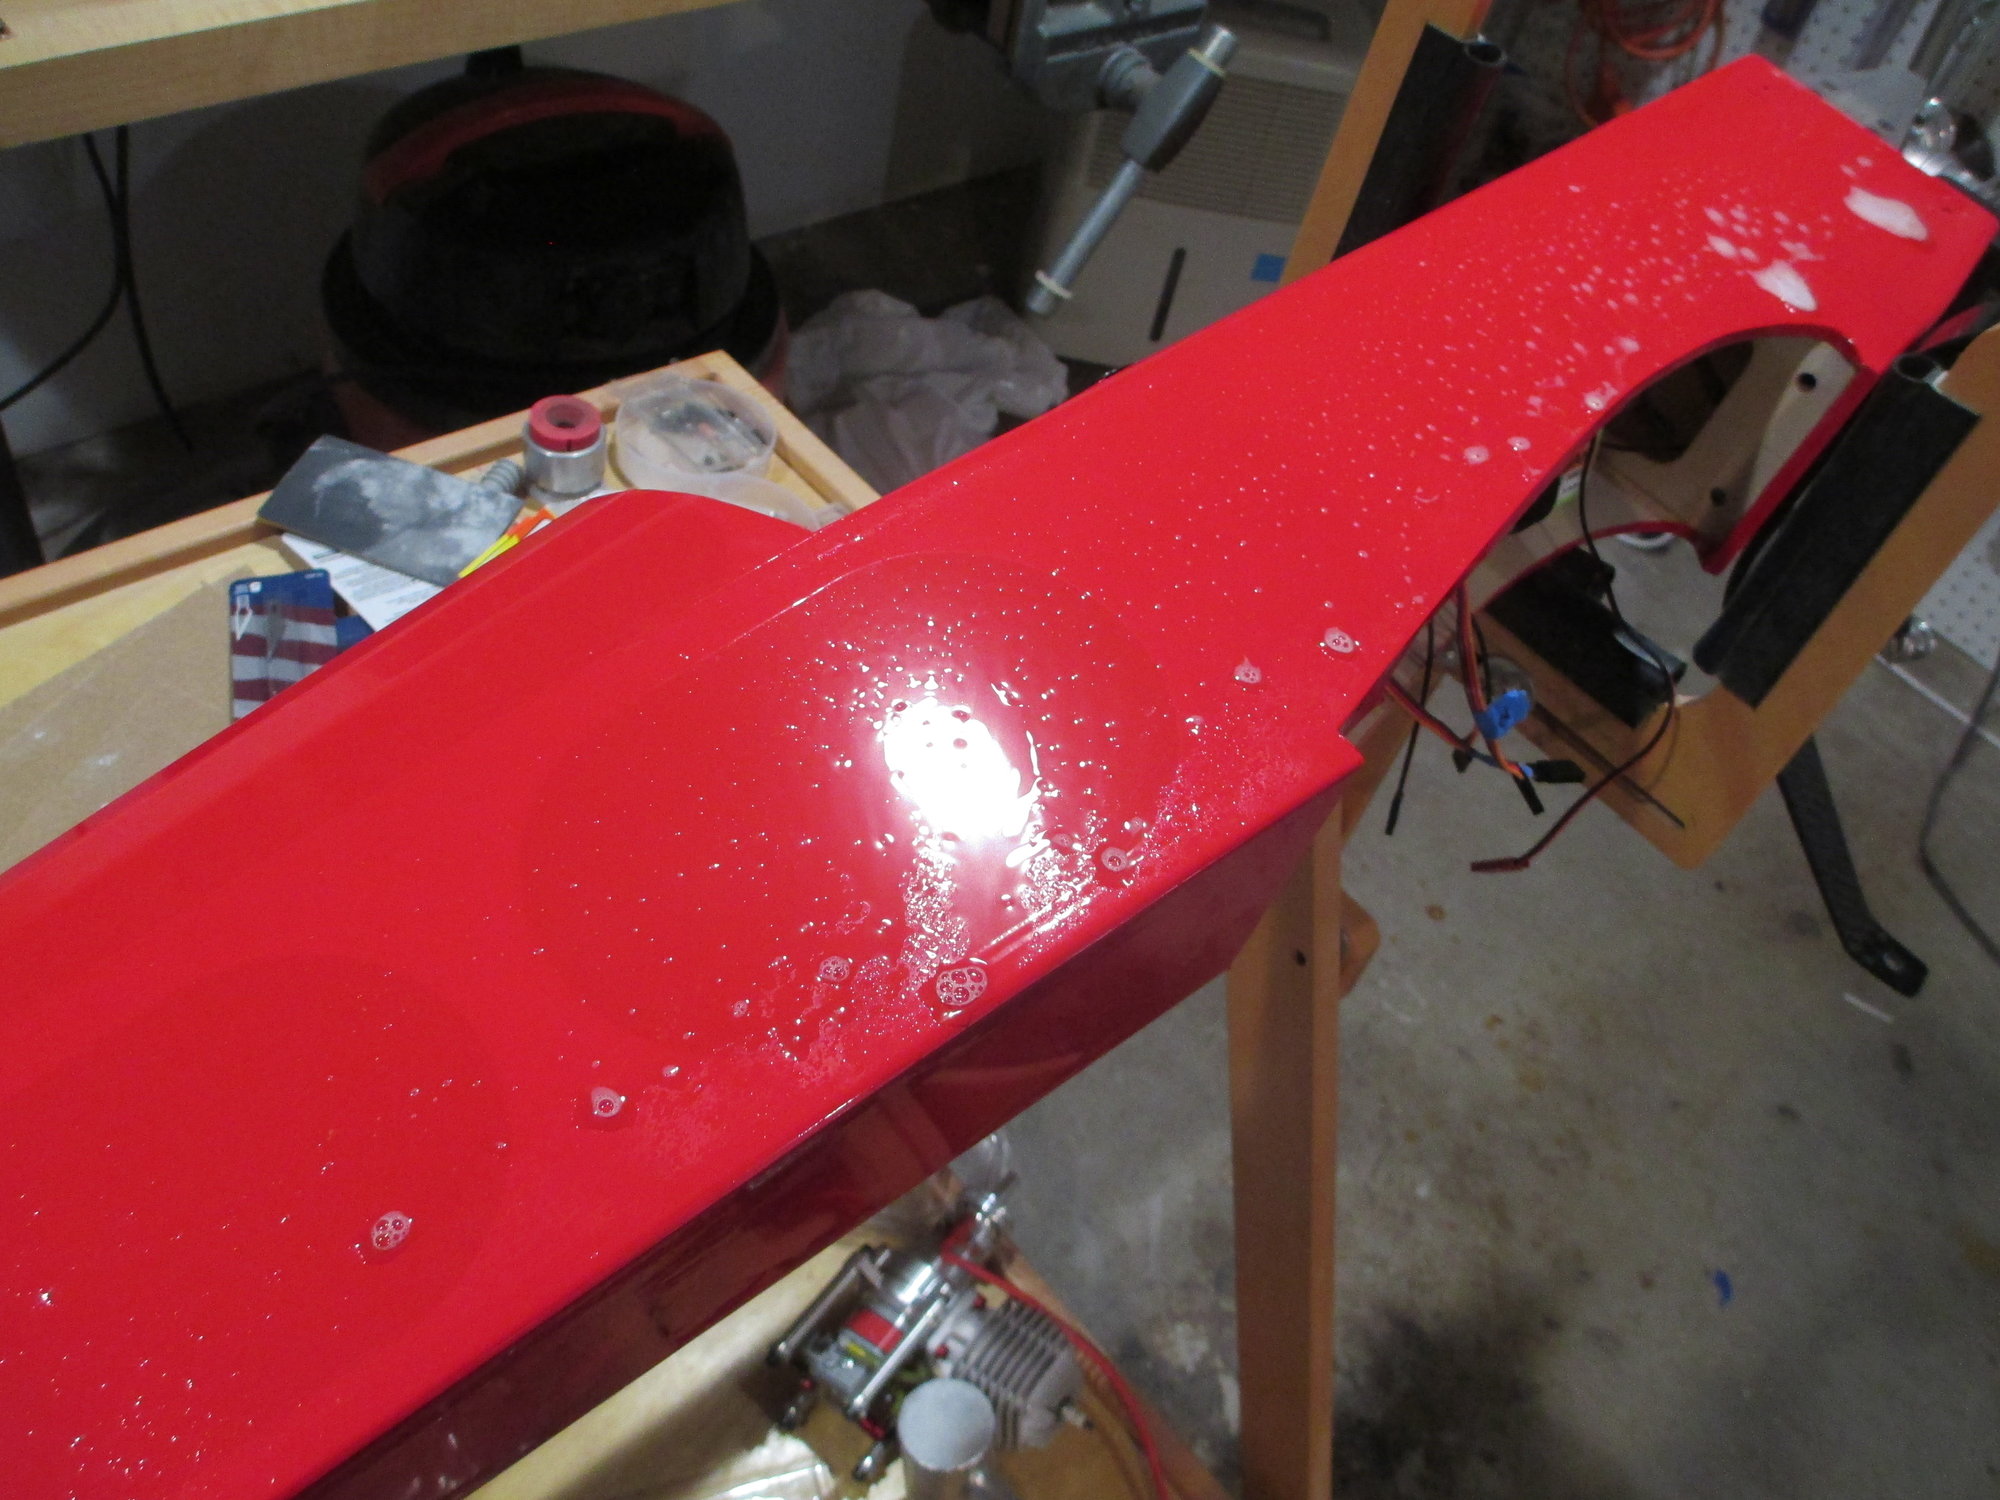
With the base now clean and dry, I sprayed the area with plain (blue) Windex. The stripe will be laid over the wet Windex making it lay flat on the red base. It will not as some believe activate the glue on the UltraCote and make it stick...
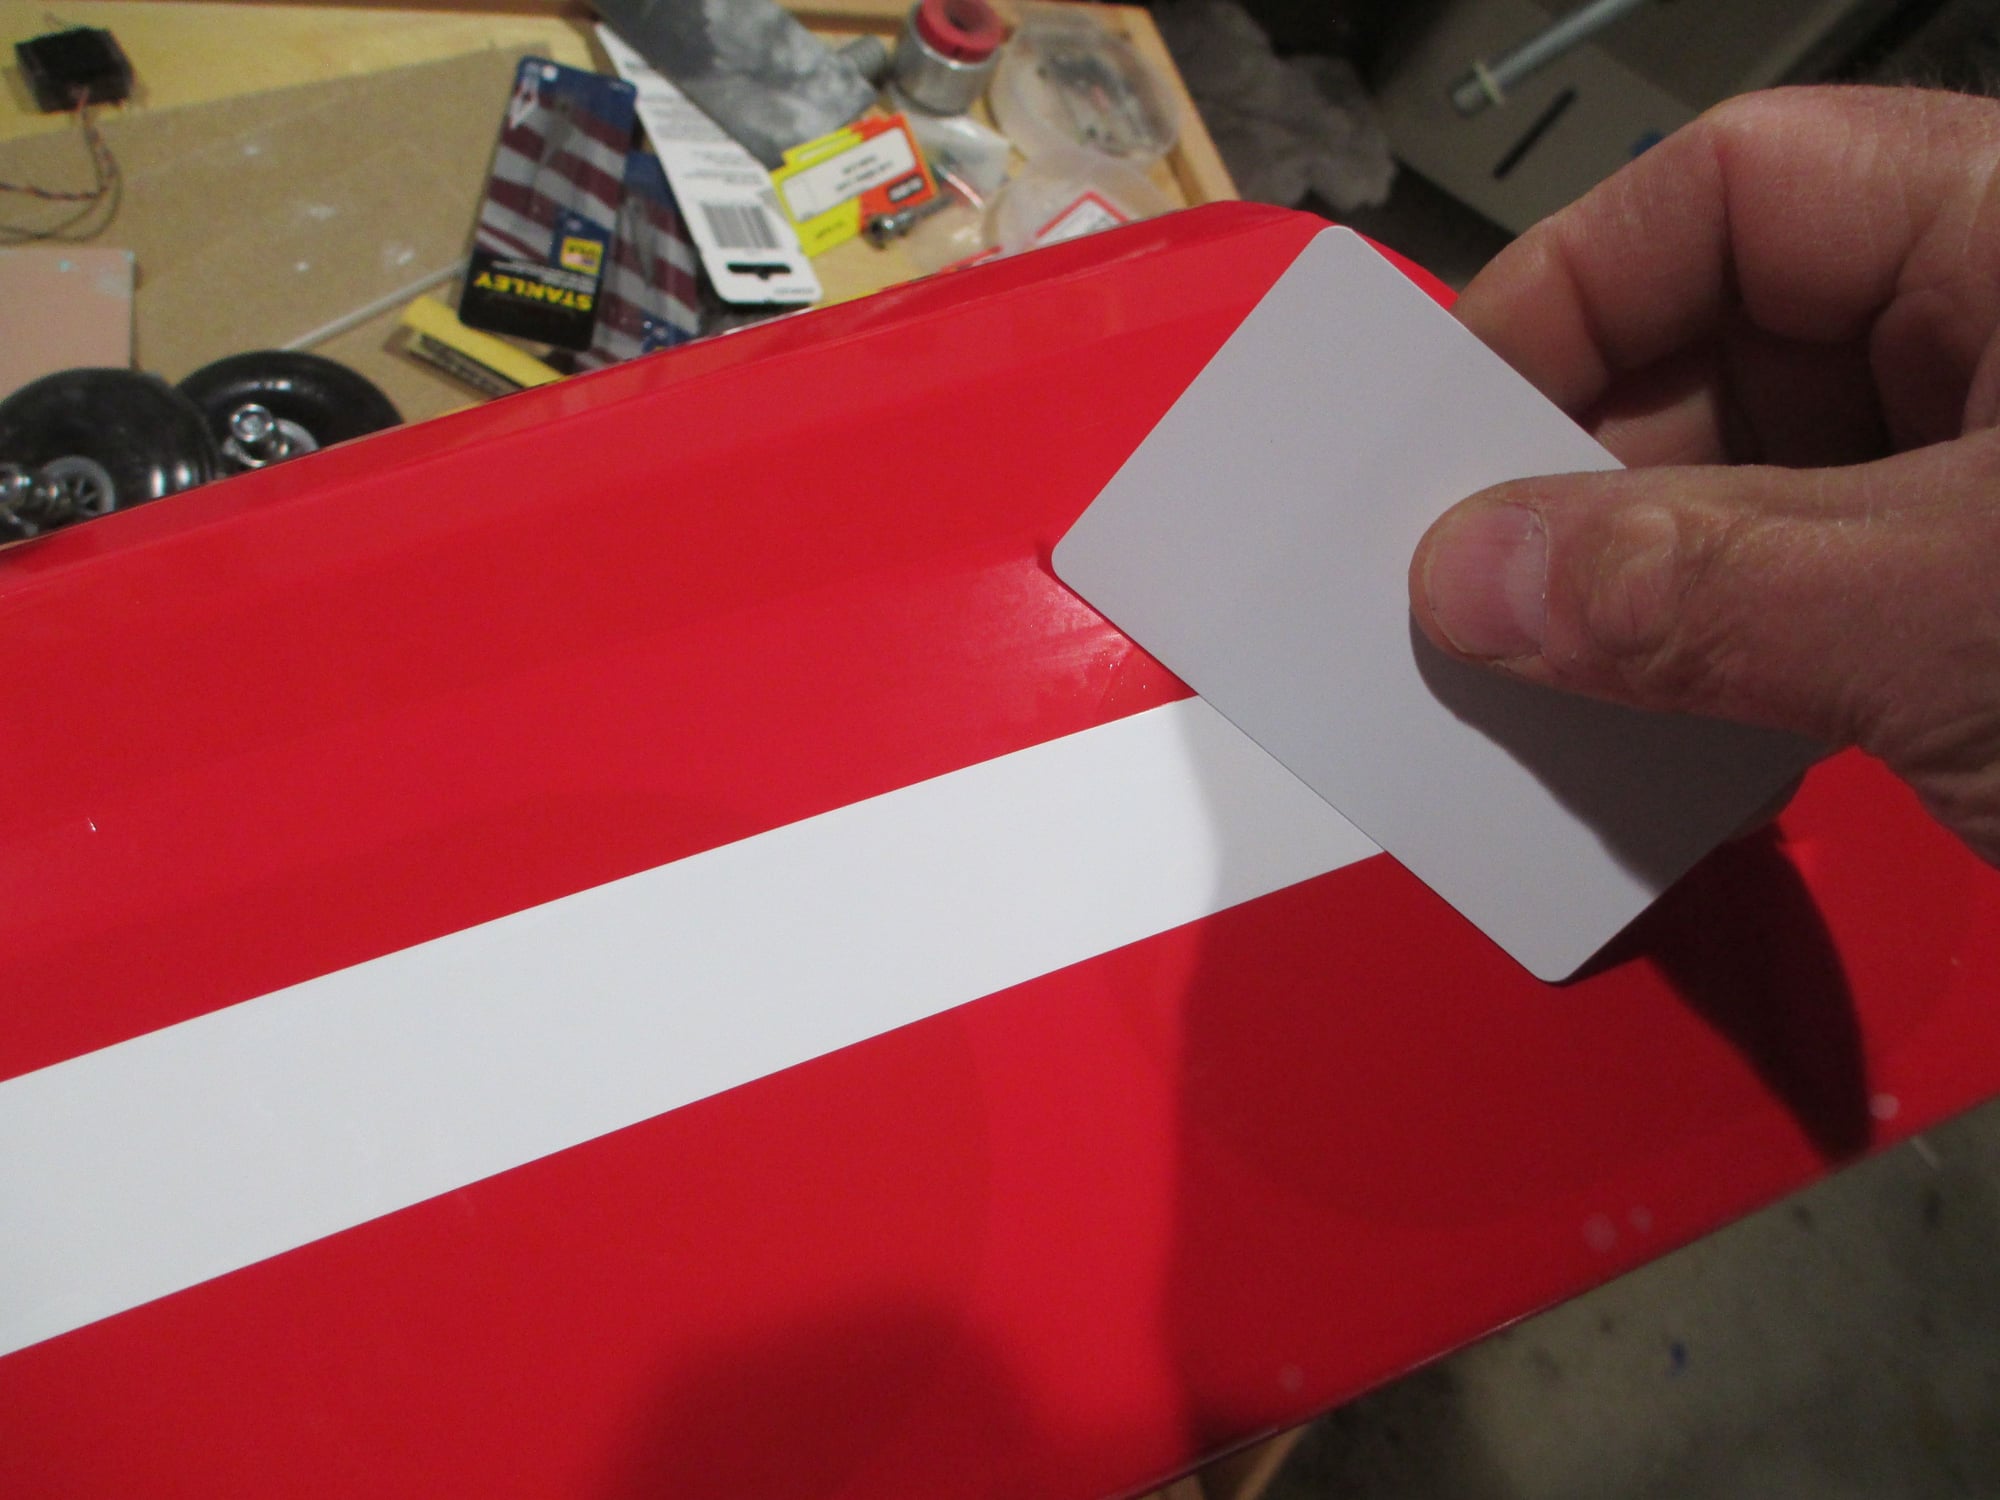
With the stripe now on, it can be easily positioned/moved exactly where you want it. When your satisfied with its position, take an old credit card or an old playing card and squeegee the excess Windex from between the base and the stripe. Wipe off the Windex with a dry paper towel and repeat the squeegeeing until you've gotten all of the Windex out. At this point the stripe should be making 100% contact with the red base covering.
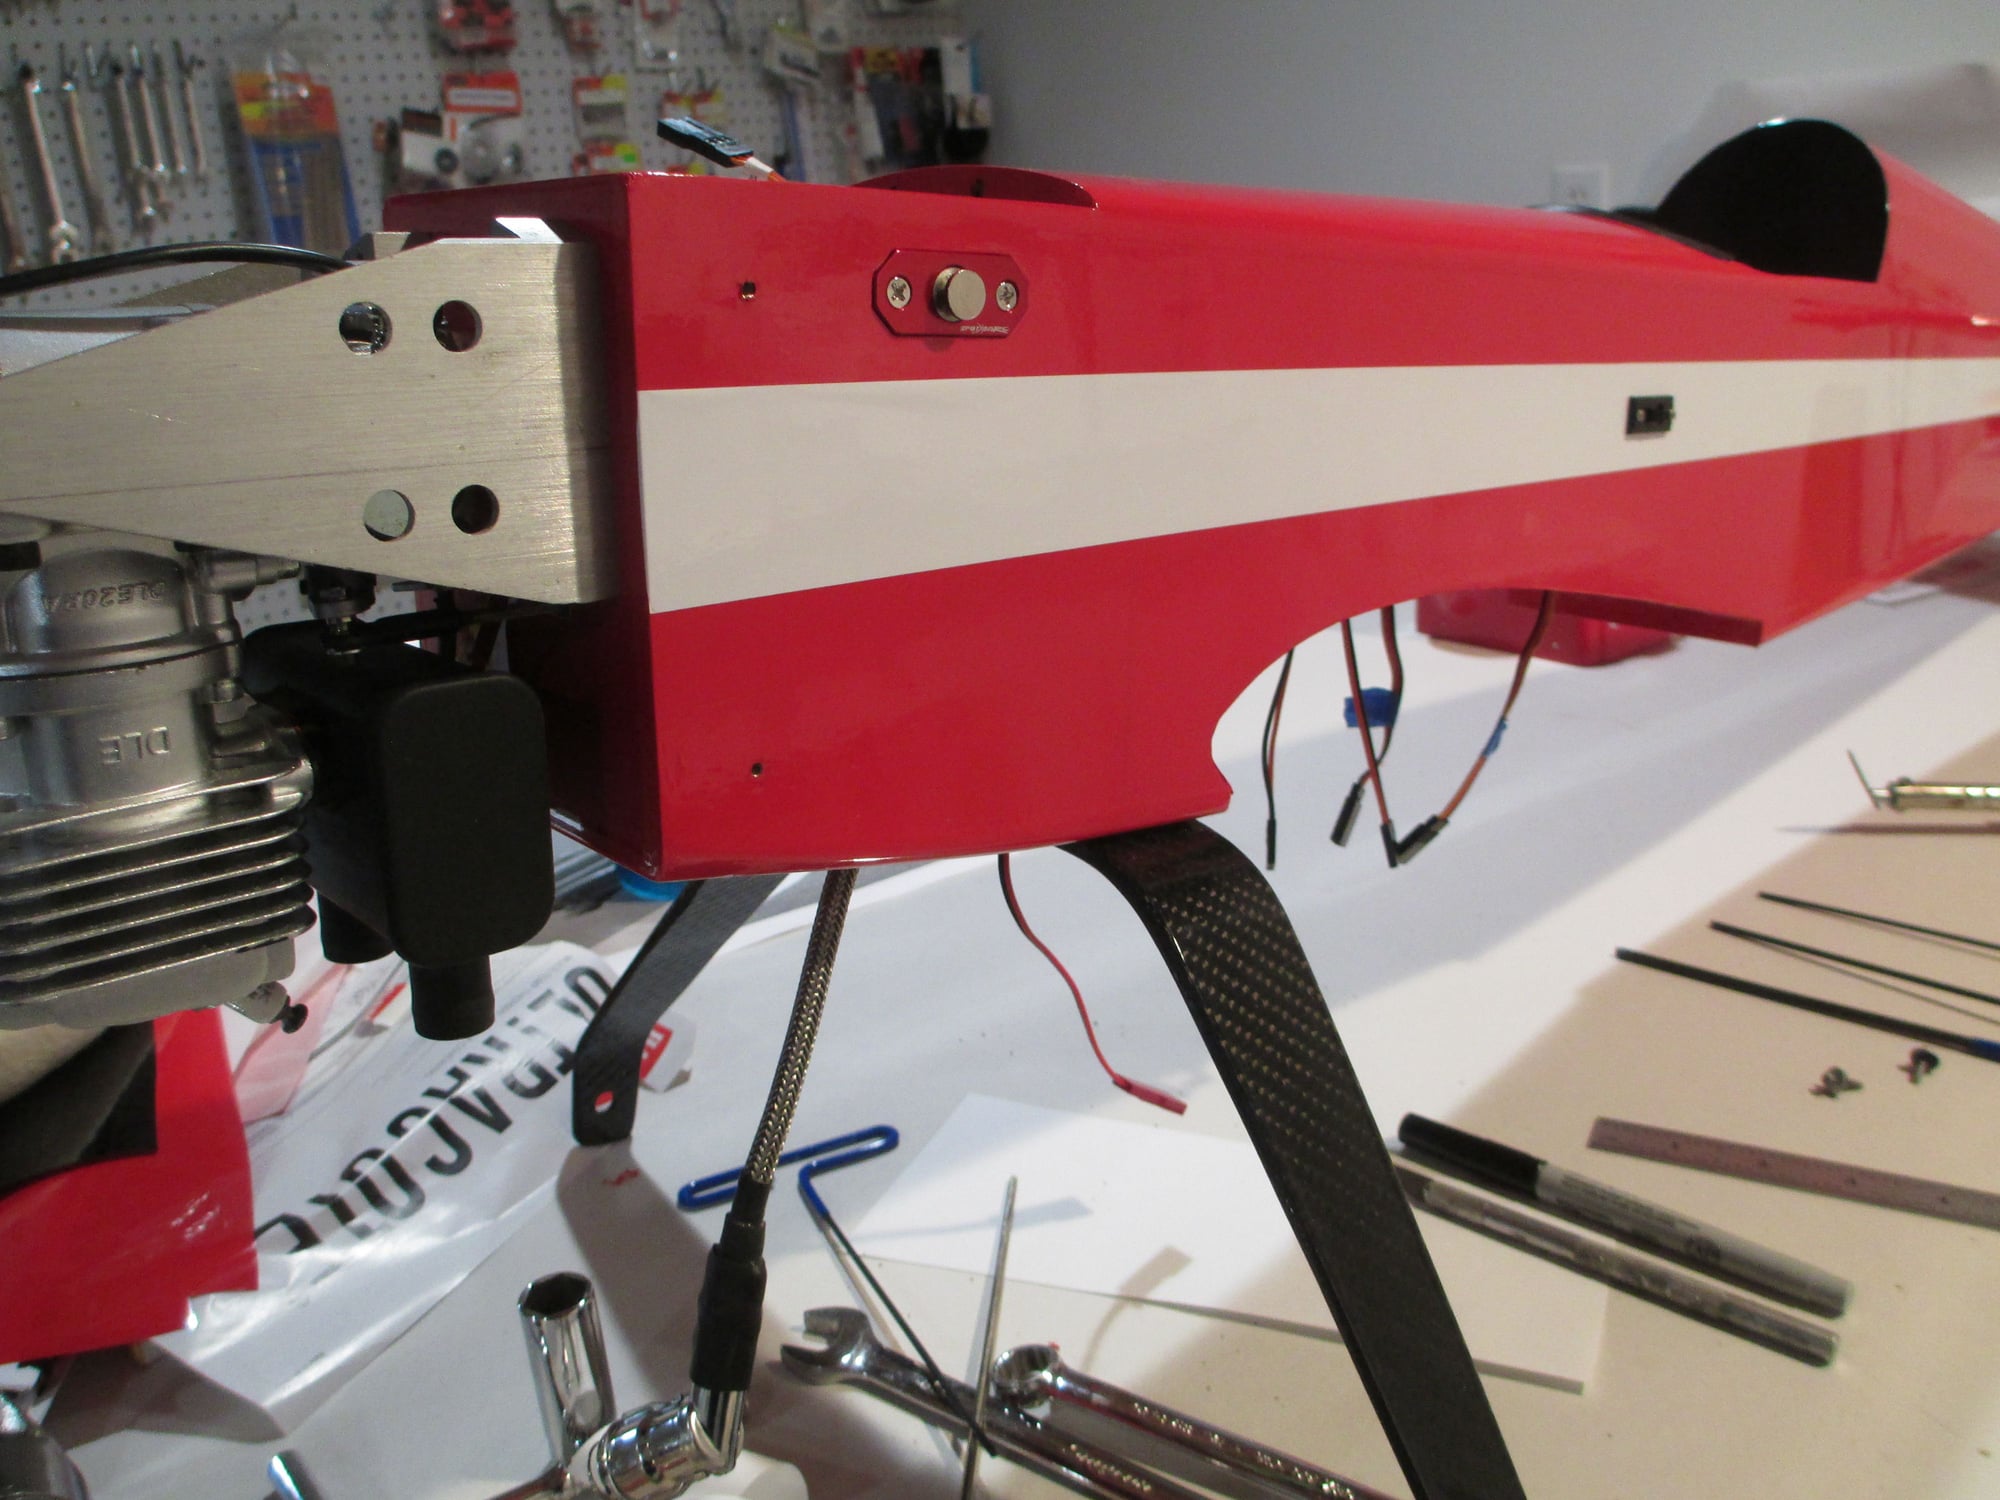
All that's left is to set your iron at about 200 degrees to activate the glue so the stripe can be secured. Don't use too much heat or you will cause air bubbles to form between the coverings and then you'll have to pop them to get them out.
I've placed the cowl in position so I can get the exact location of where to spray the white epoxy paint to extend the stripe.
Last edited by VincentJ; 05-29-2019 at 05:02 AM.
05-28-2019, 09:11 PM
#170
Man, you are doing a great presentation, Vincent. Approaching 6K views on your build says something. The plane is looking good just sitting on the work bench. Gonna look even better when on the runway.
Question. What is your opinion about using carbon-fiber tube pushrods for elevator? Is there more work to be done with CF rods? Been thinking about them for elevator halves with wire joiner similar to your 4* build. For me, with wire pushrods, there�s a fair amount of work involved. Like supporting the plastic tubes at both ends and points in between throughout their length inside the fuse. Cutting and soldering the unthreaded other end. Seems that CF would be less work and reduced flexing.
Thanks for your reply.
05-29-2019, 02:42 AM
#171
Thread Starter
Thank you SA Flyer, I've seen many that use CF arrow shafts as pushrods. They are light and very strong, which is their biggest advantage. There's nothing wrong with them as long as you have the space for them inside of your fuselage. The problem that I have with them is this; I want/need my pushrods to be able to slip in and out of the fuselage either through the front or the back. Using a larger diameter CF pushrod you may not be able to do this. Also, there are times when I don't have a straight shot from the servo to where the control horn is, I often have to introduce a slight bend which you won't be able to do using CF. Just something to consider... I think by the time that you make-up the ends of the CF pushrods to accept your links, the additional work a steel pushrod requires is pretty much a wash.
Good Luck!
Good Luck!
Last edited by VincentJ; 05-29-2019 at 02:58 AM.
05-29-2019, 03:38 PM
#173

With regard to your Ultracote stripe, do you have a particular technique for laying them out? I often end up fighting with a wandering cut.
05-29-2019, 03:54 PM
#175
Thread Starter
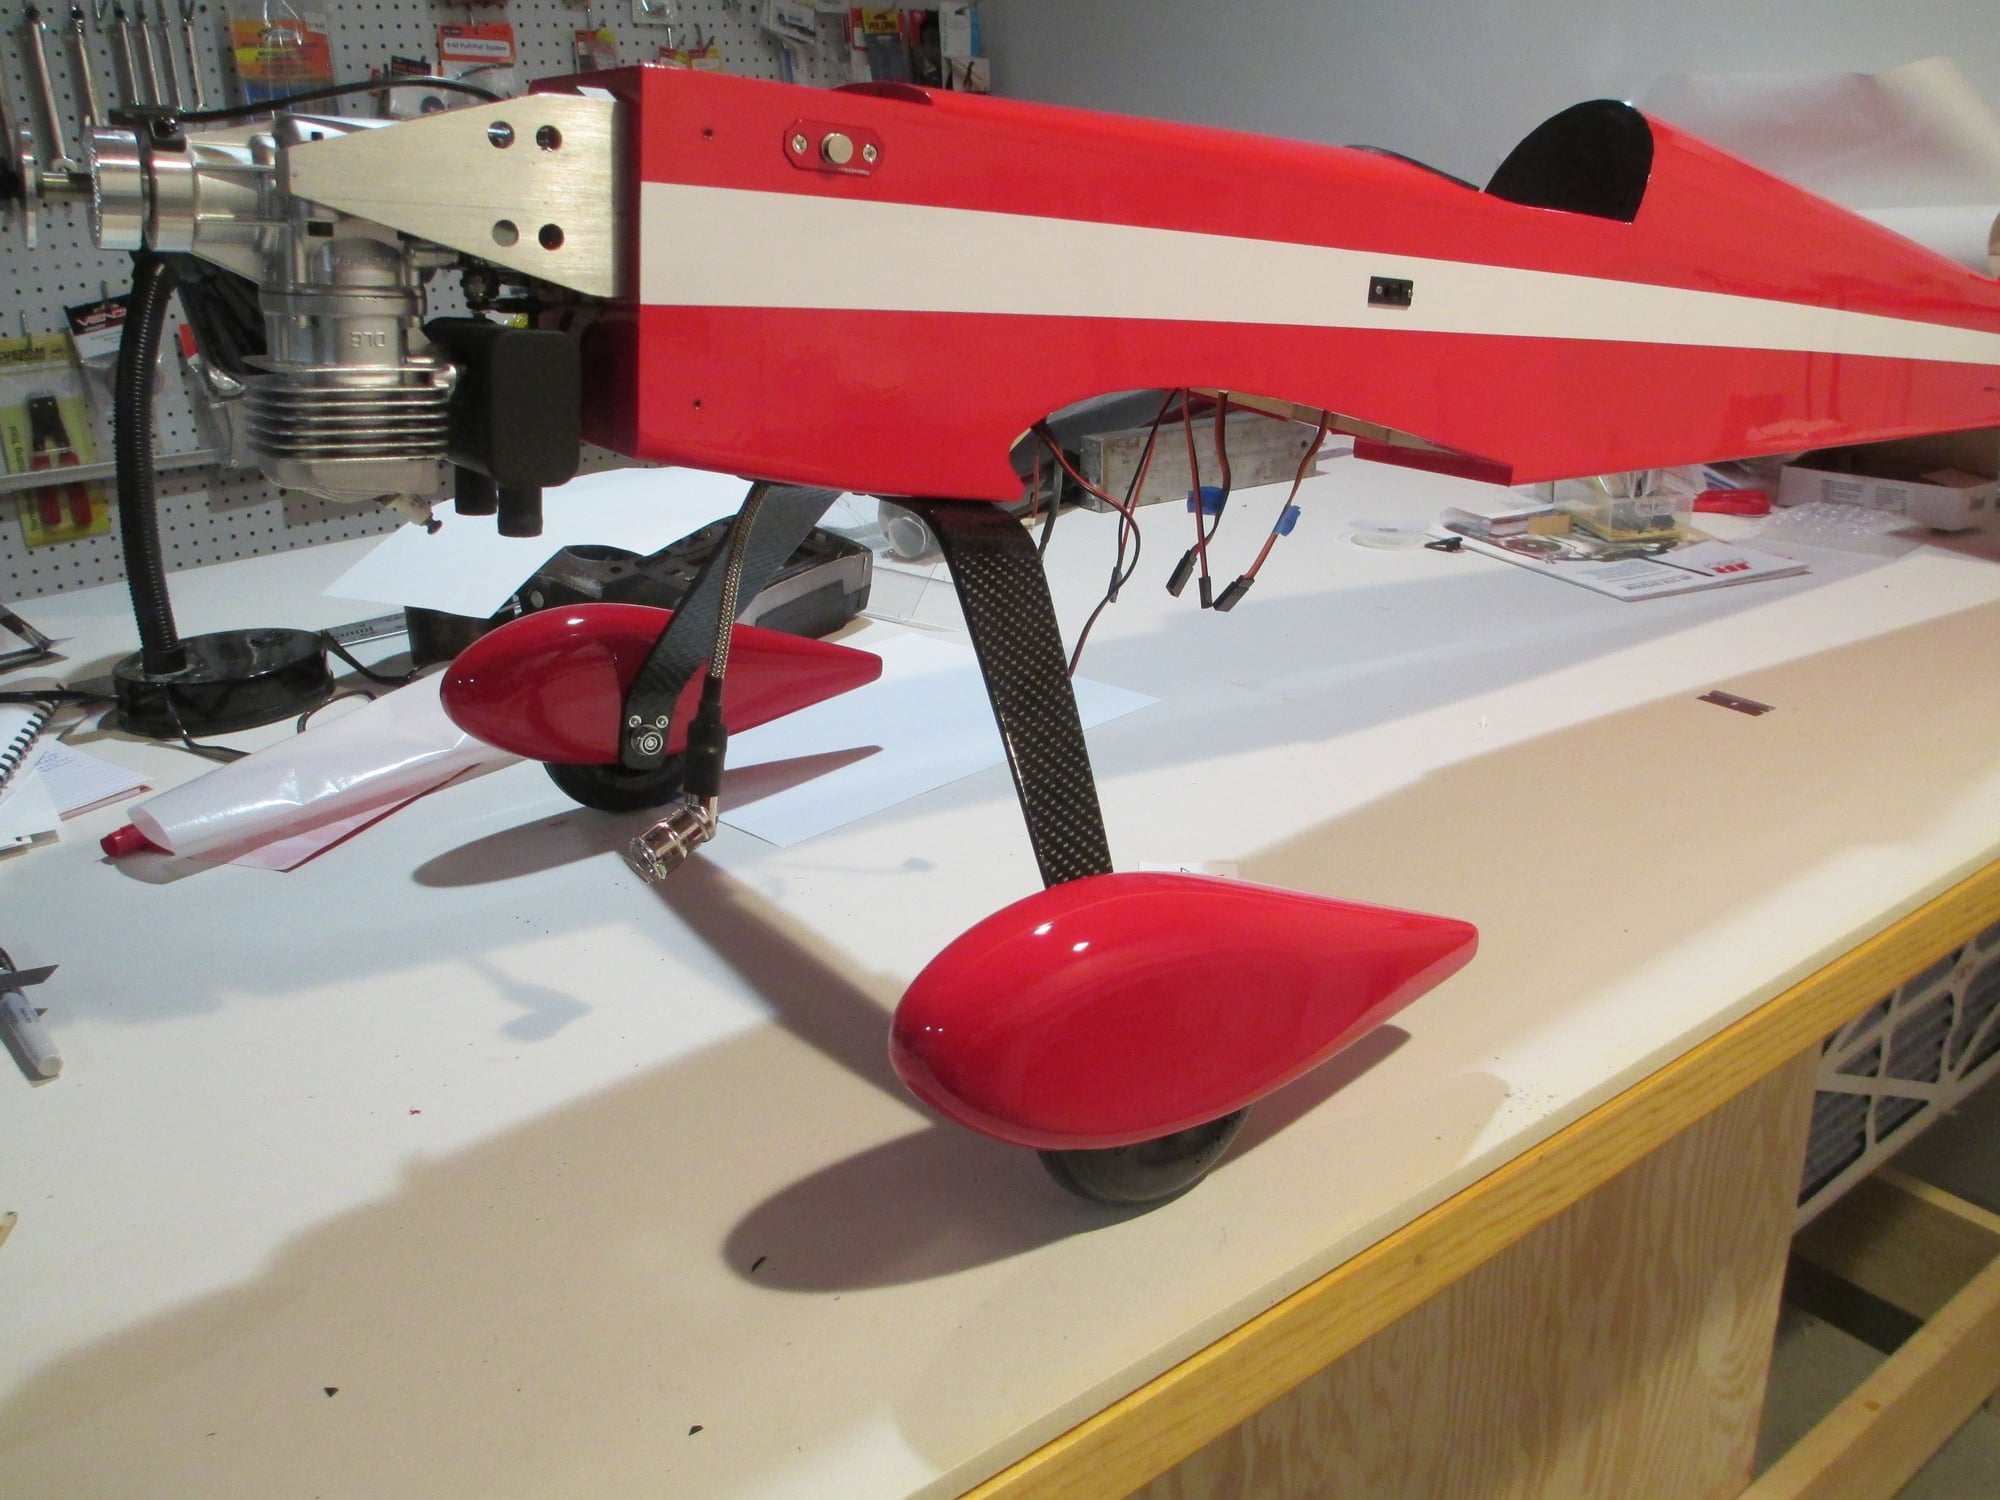
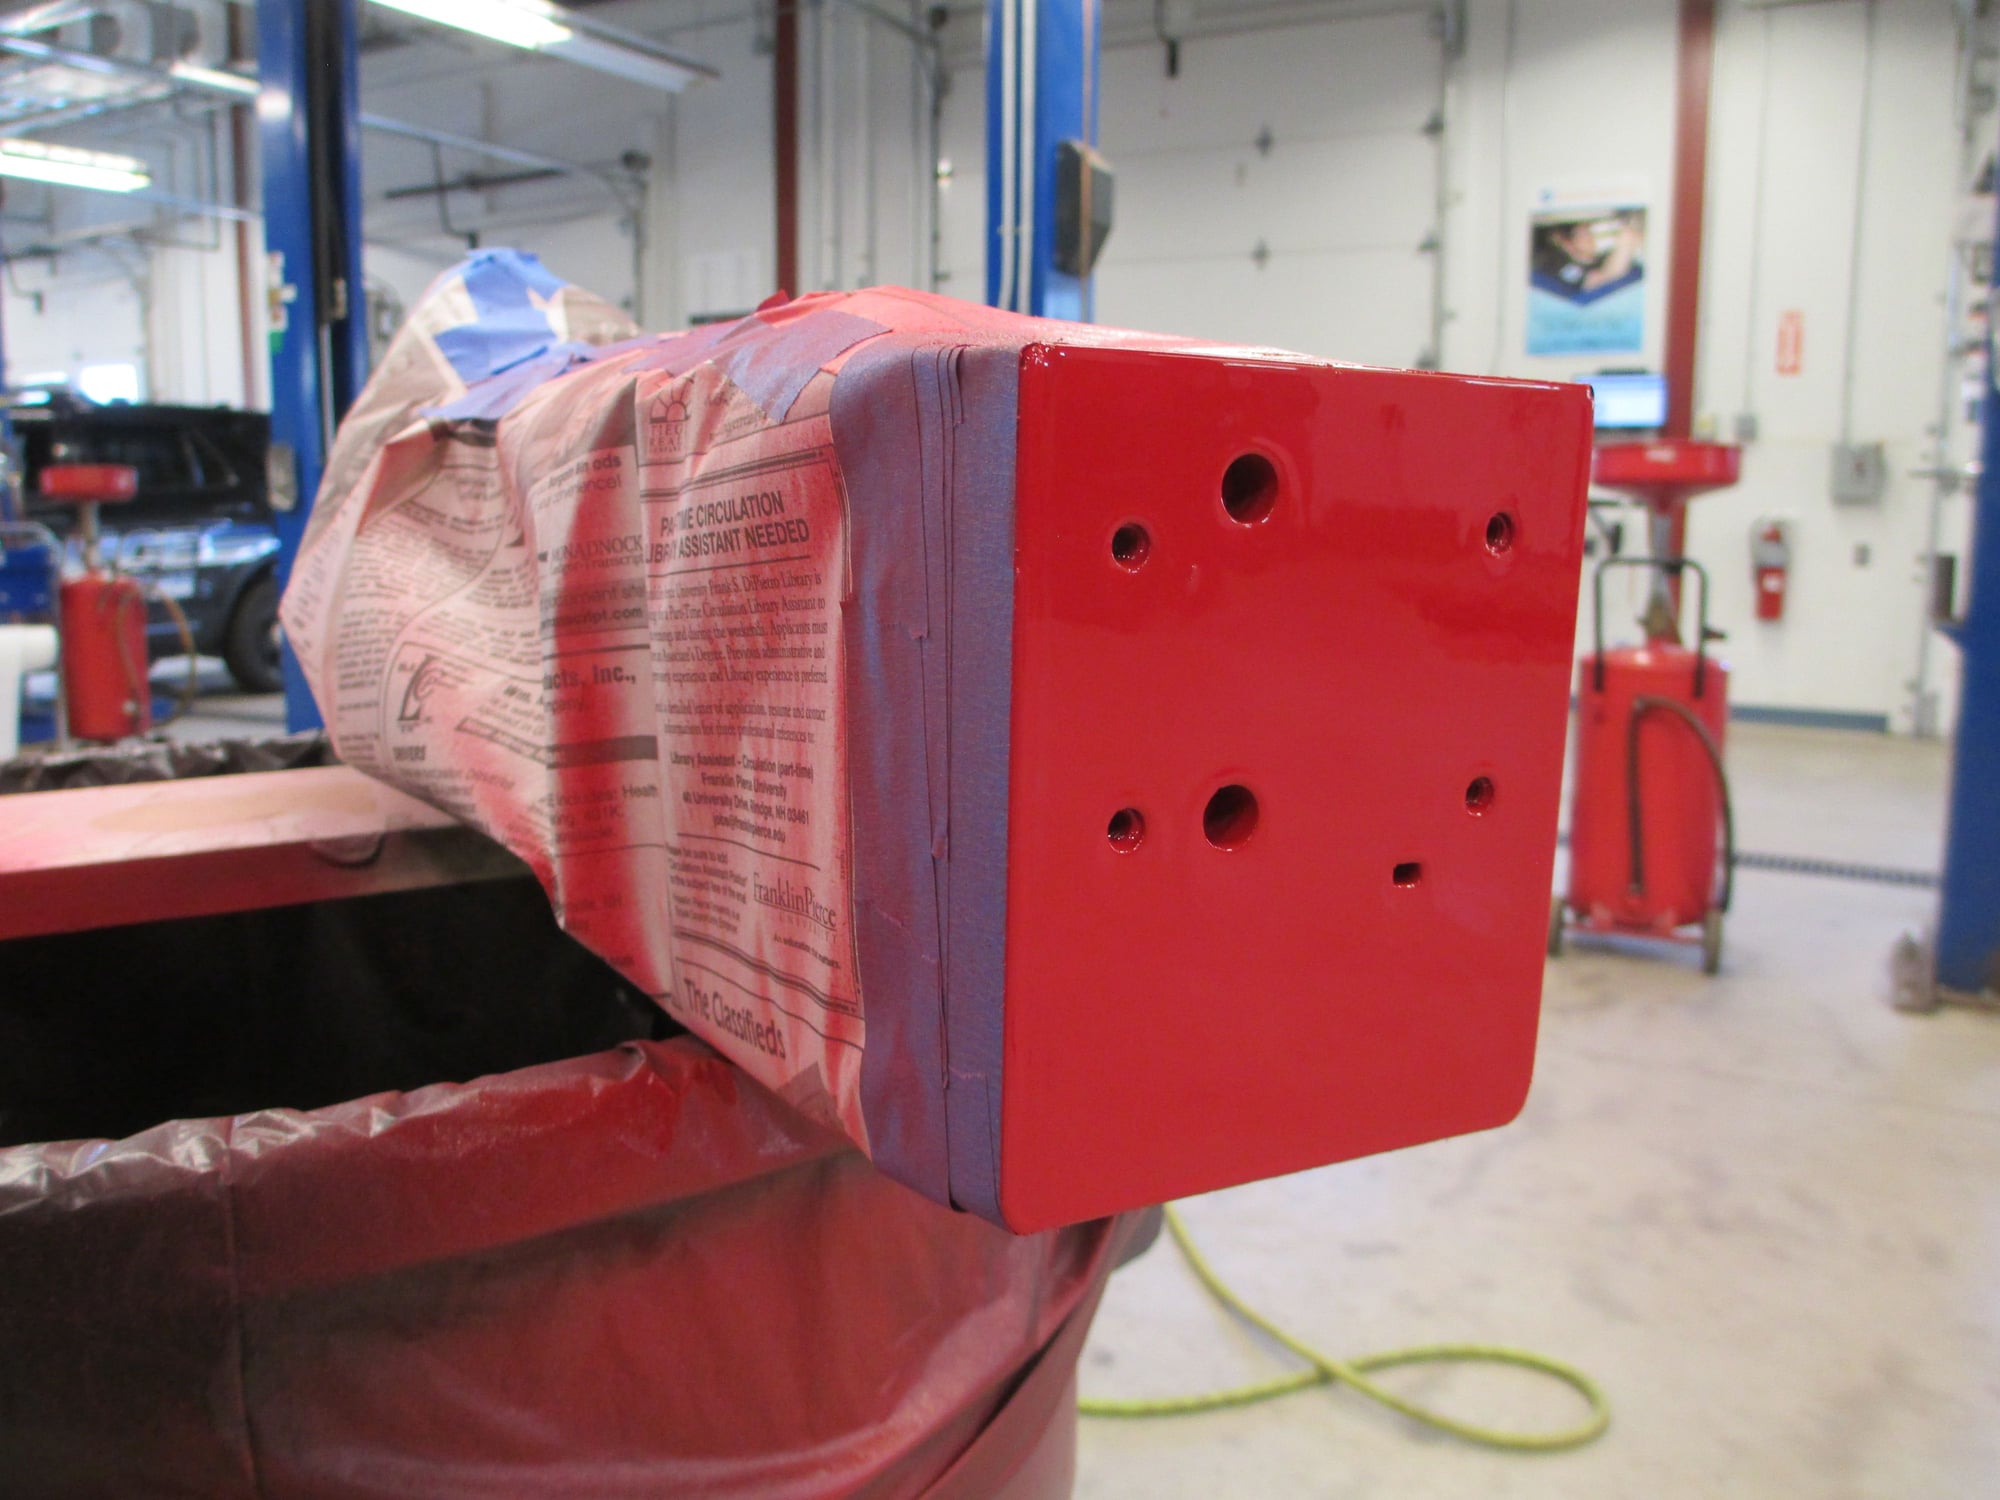
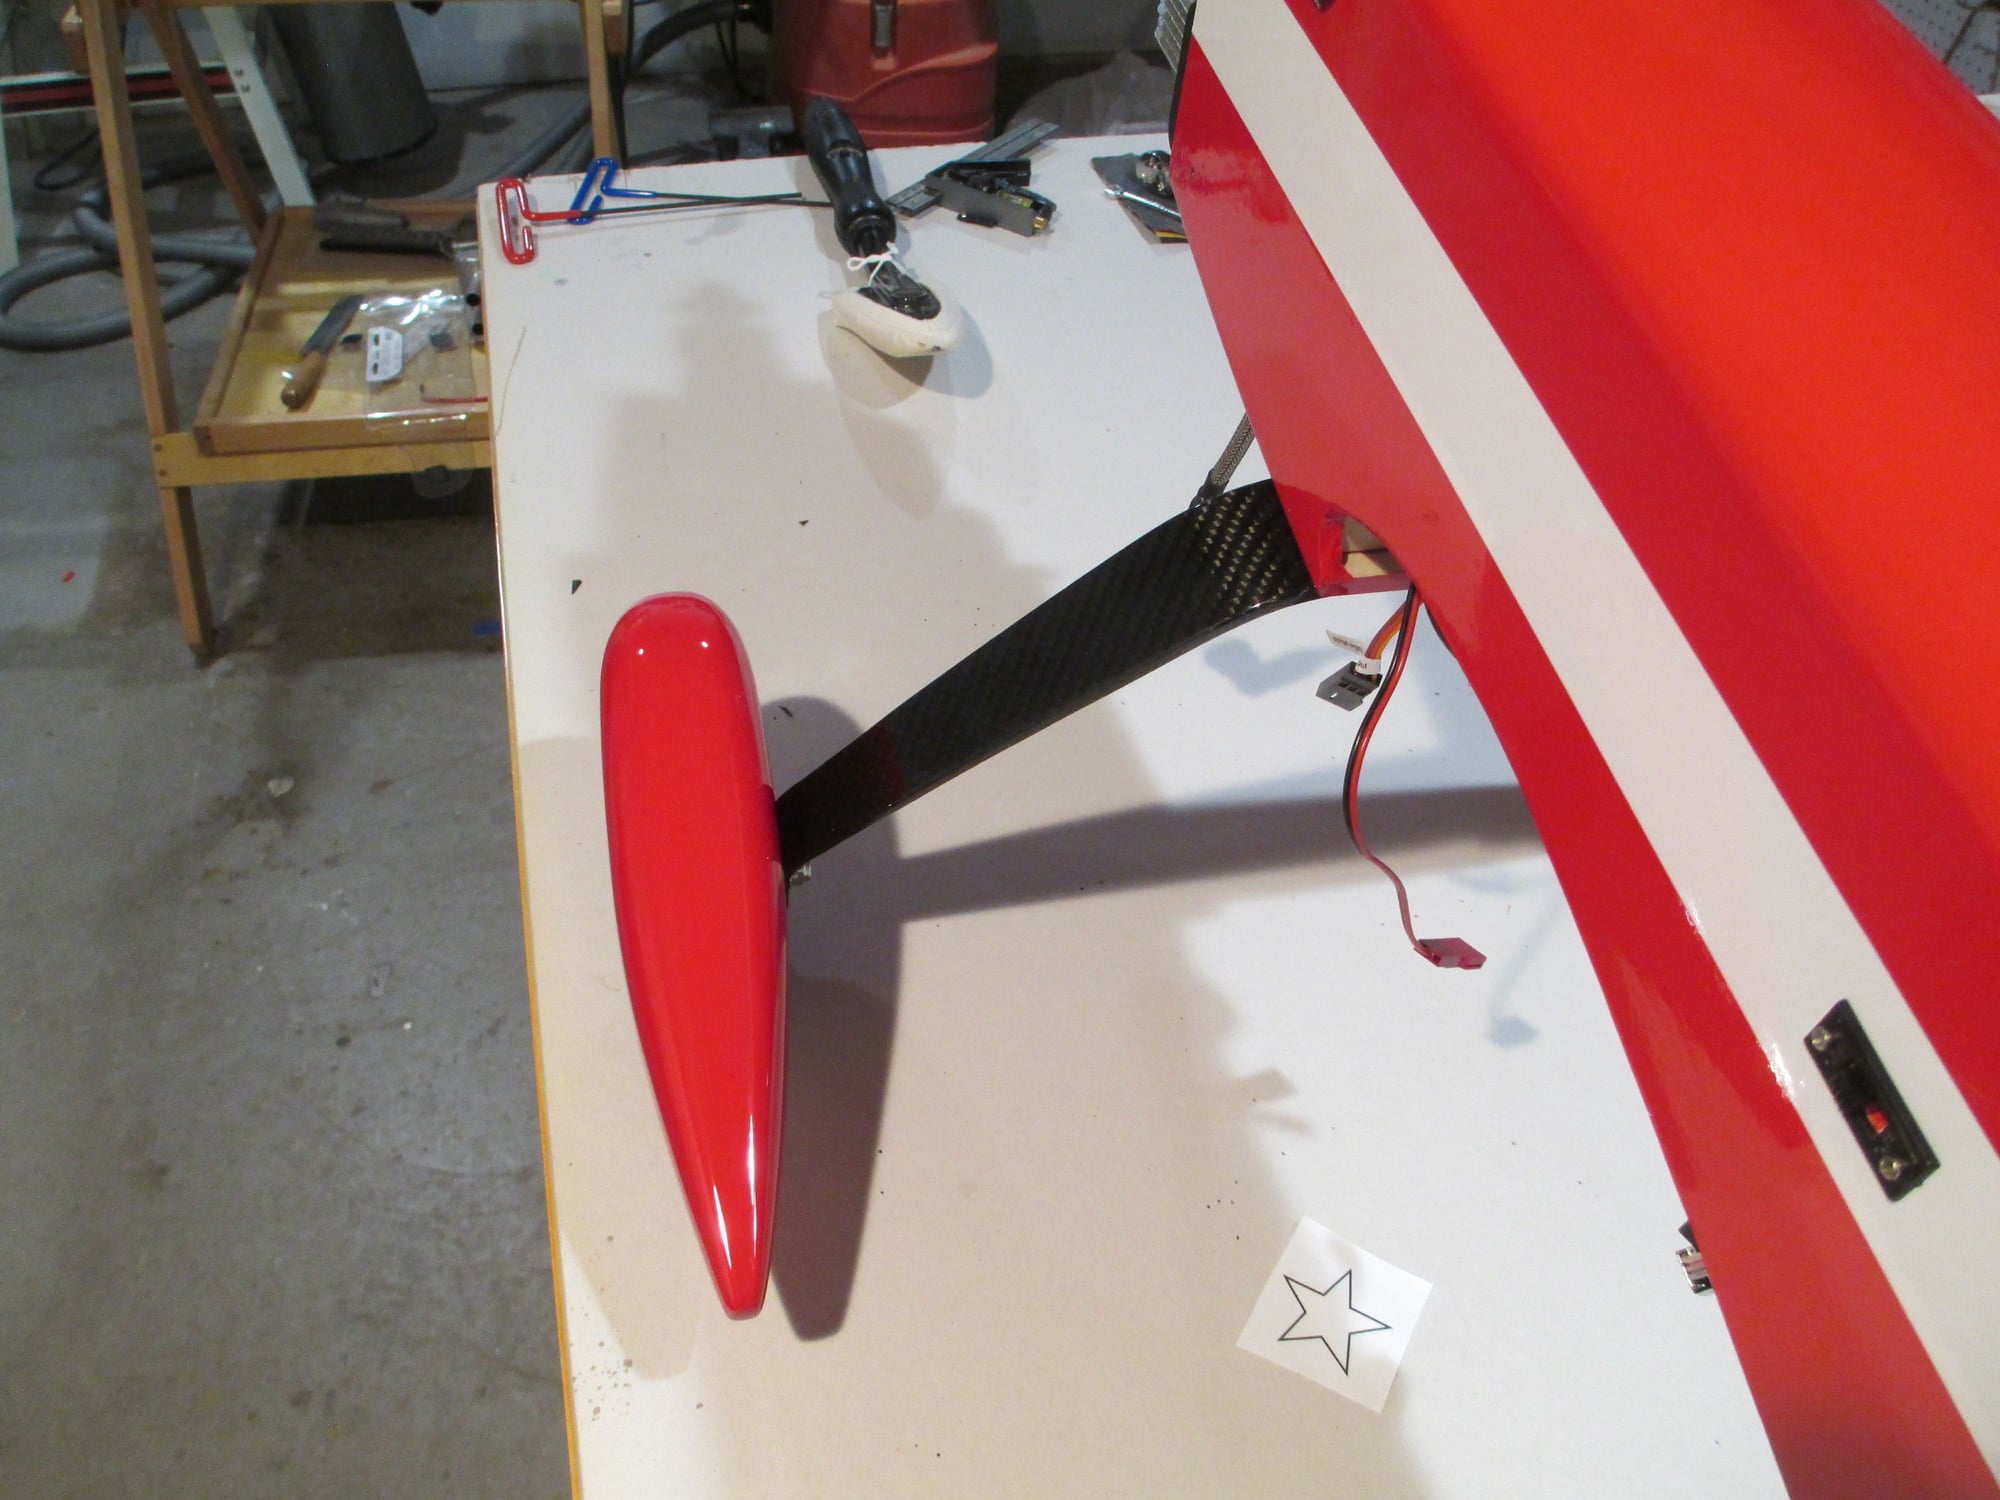
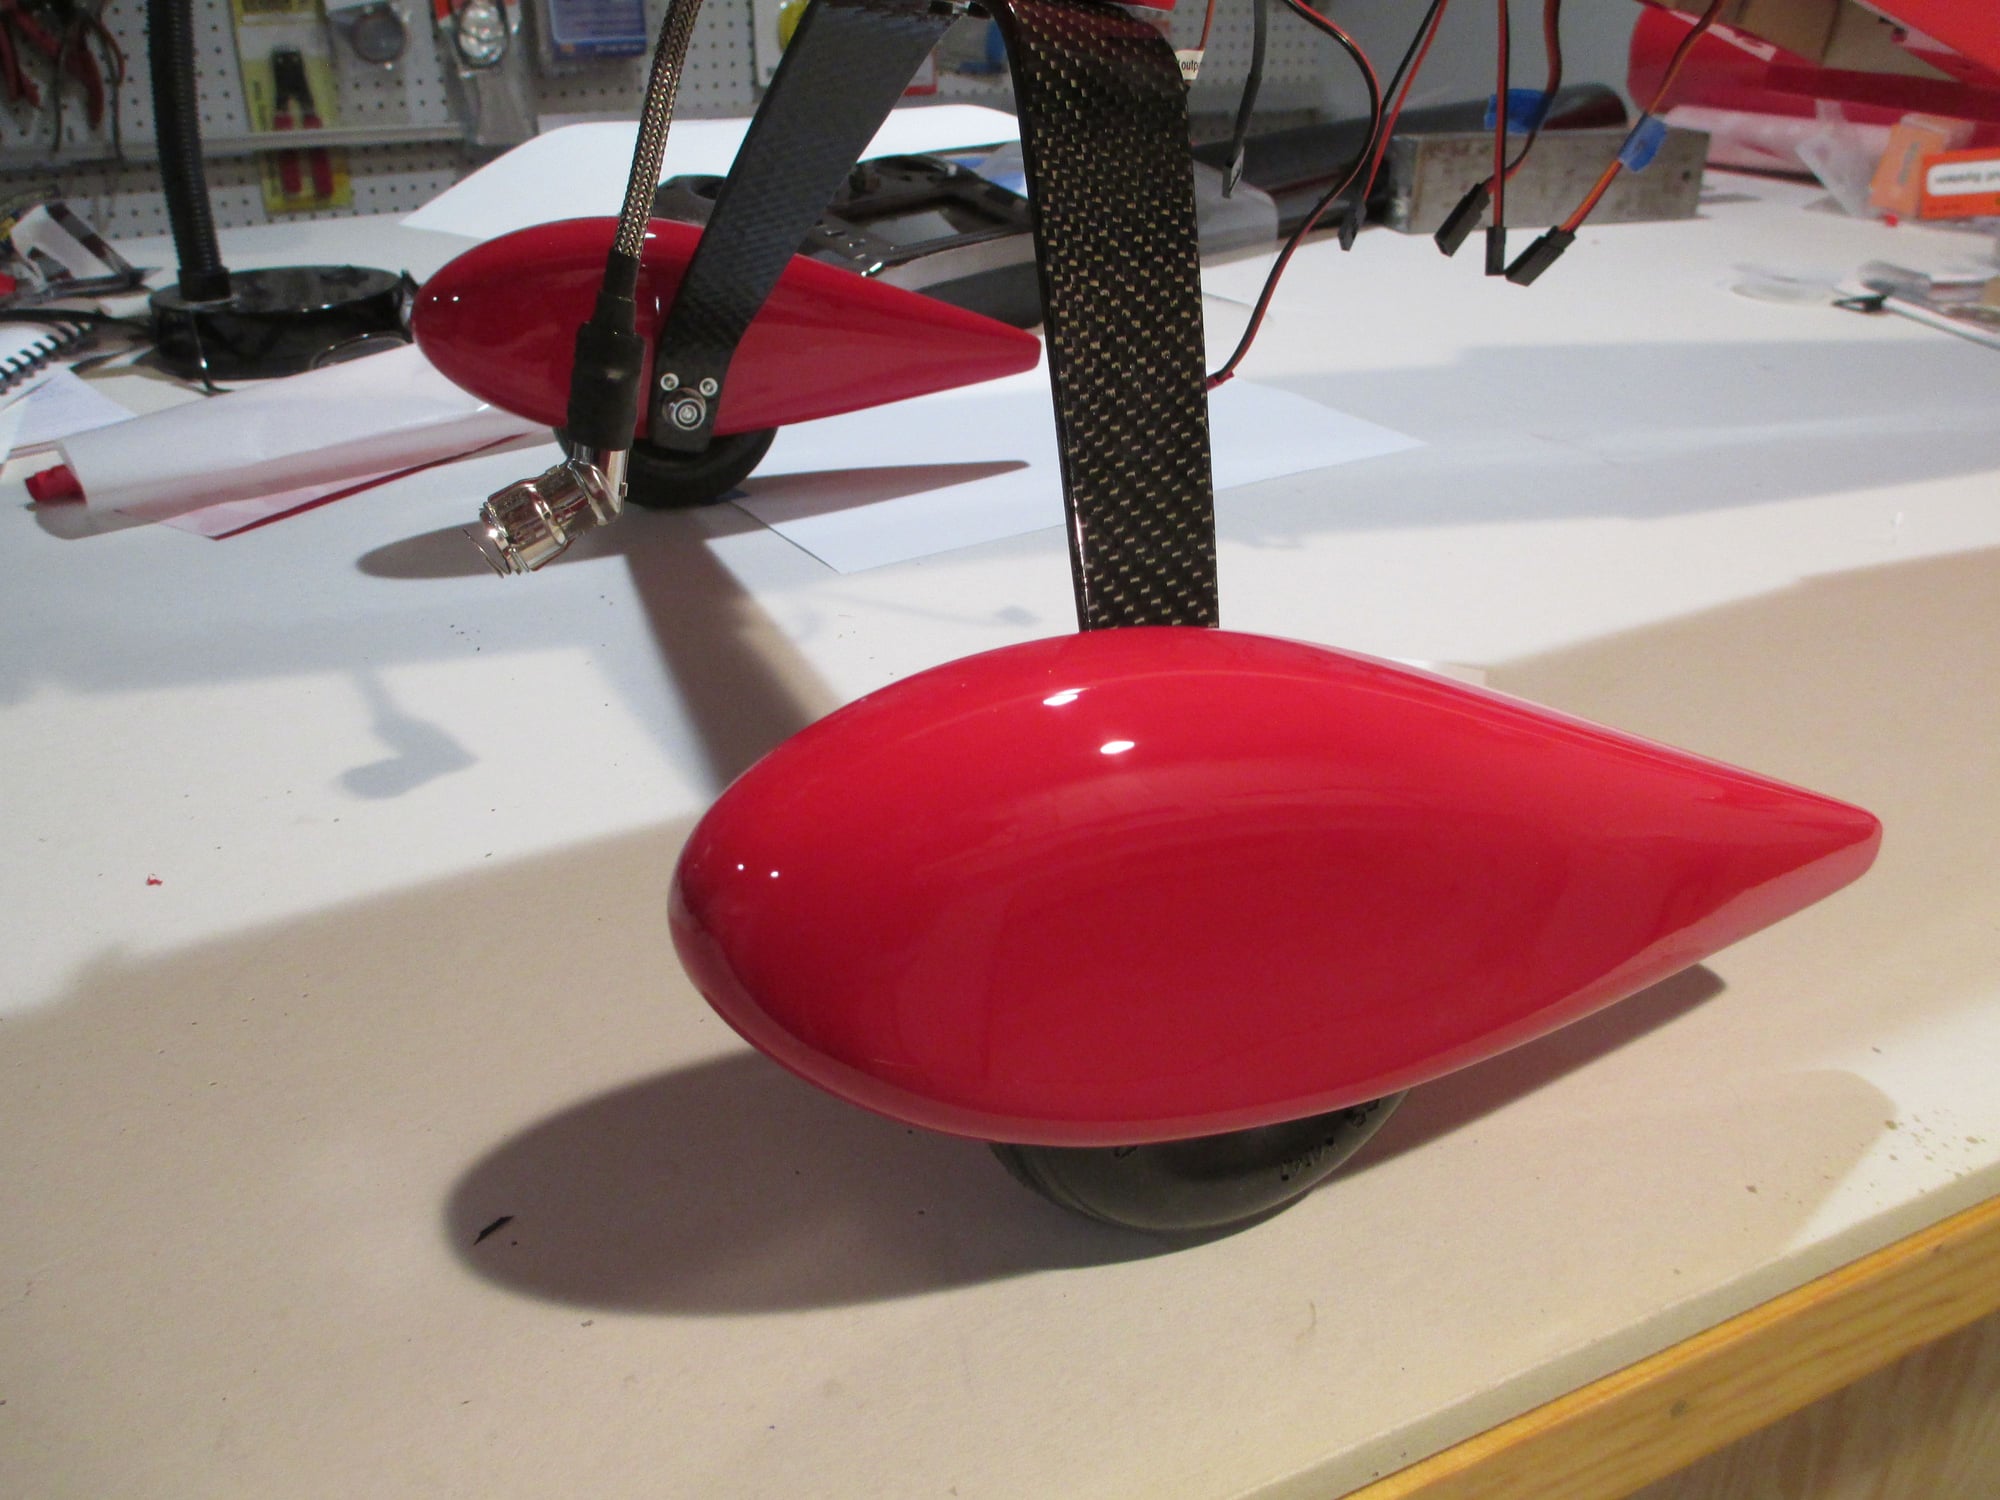
What I thought would be an easy job to mount my wheel pants turned out to be a bit more work than I expected. It's funny, I had it all adjusted before paint then....

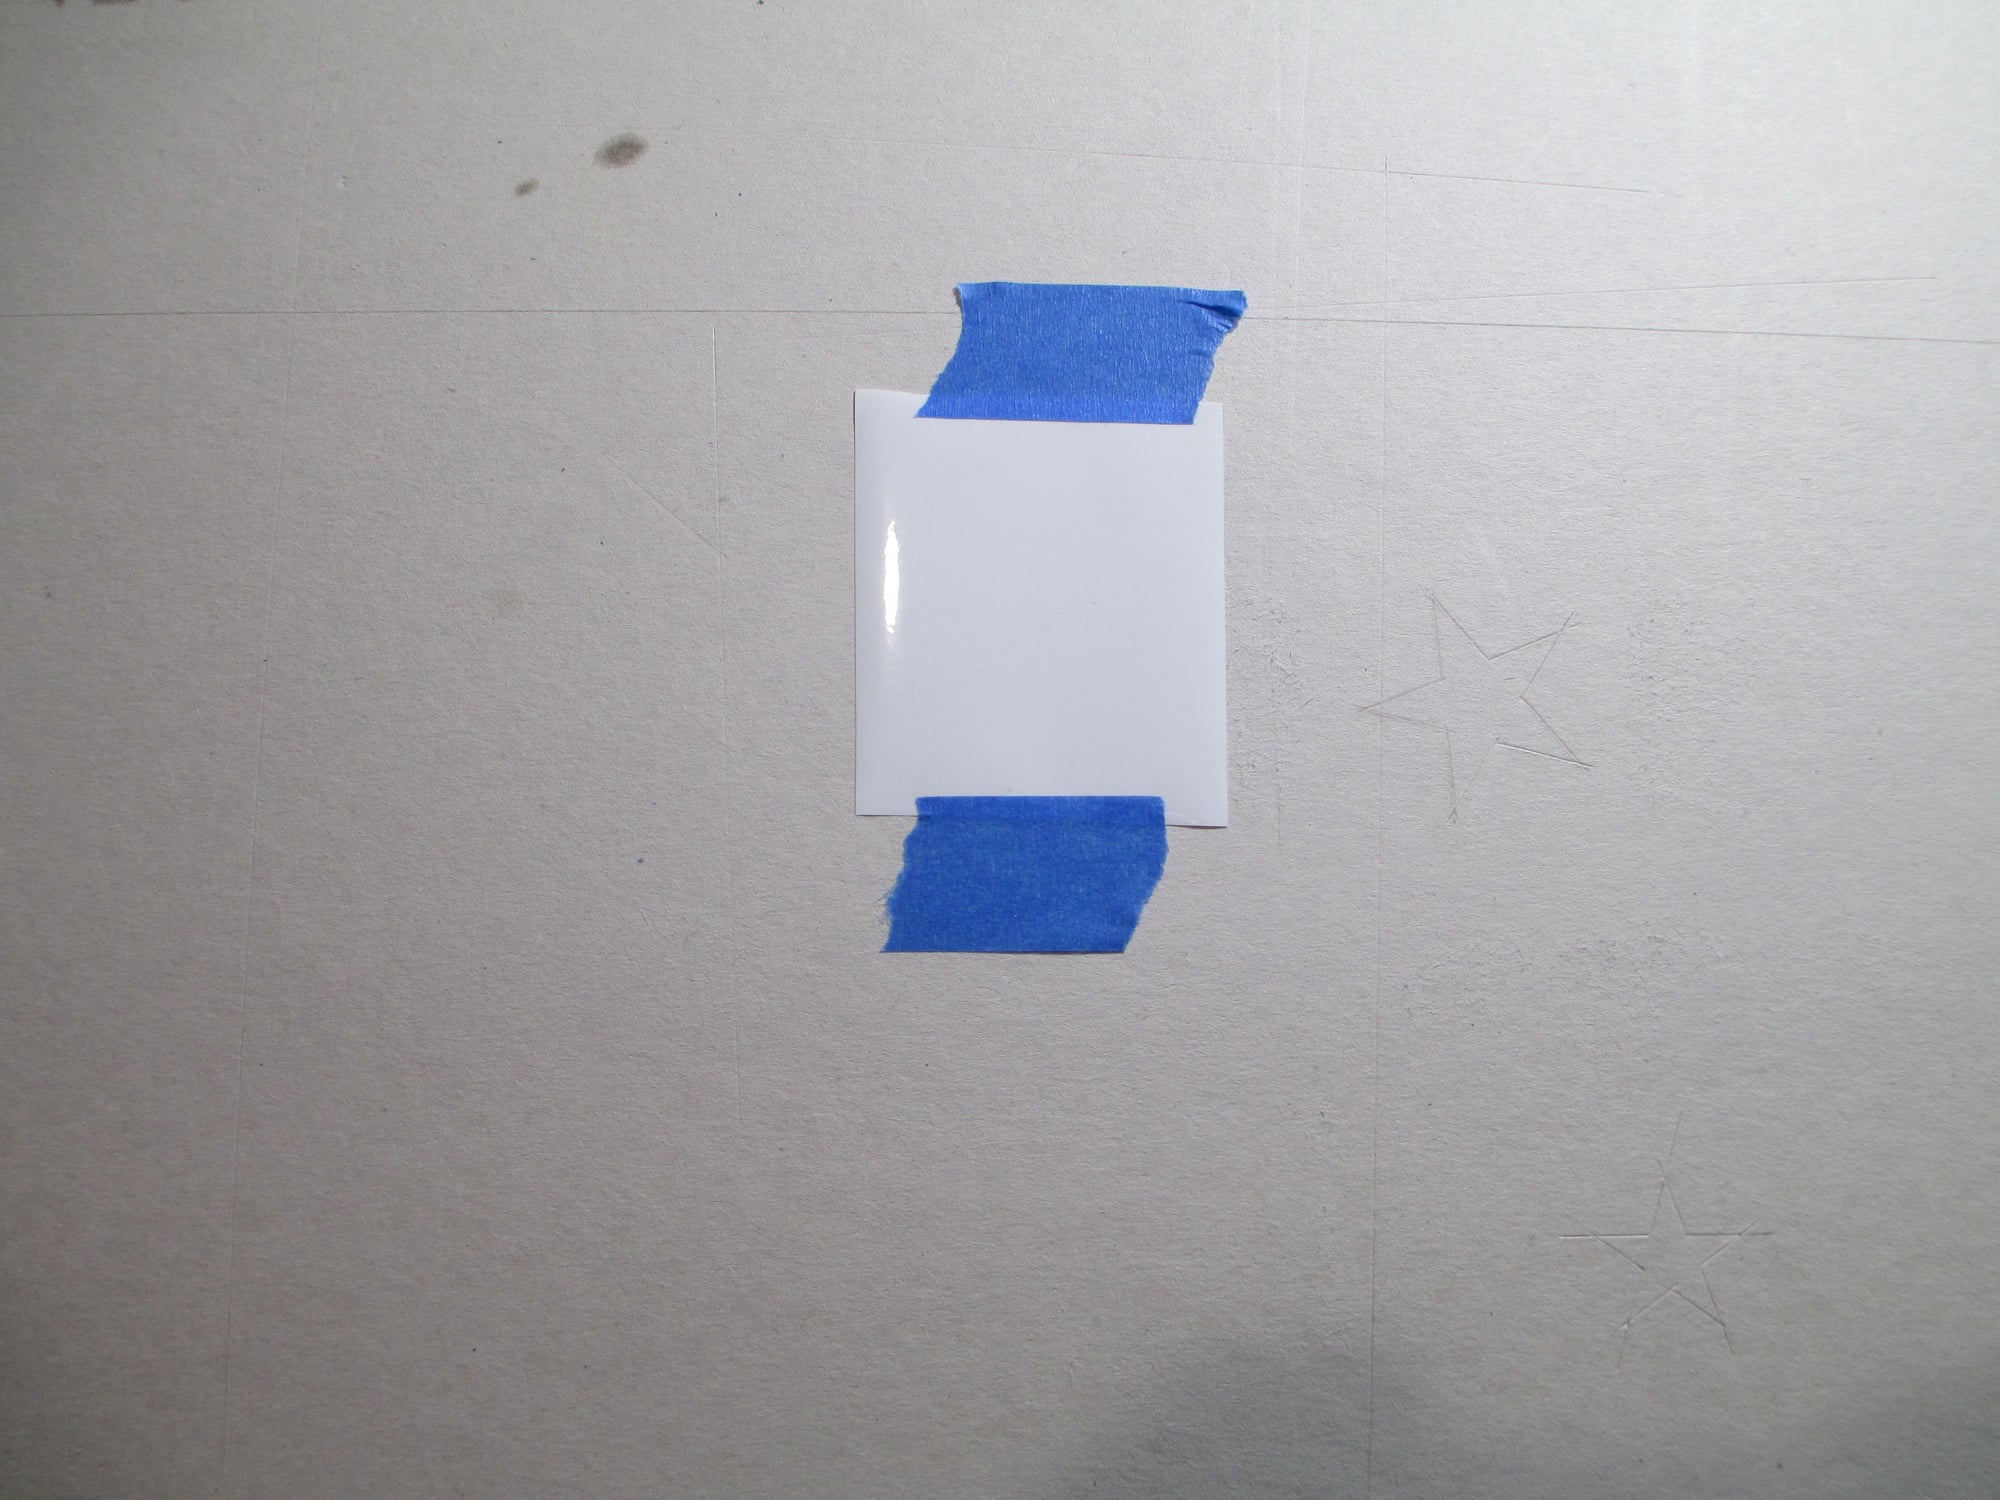
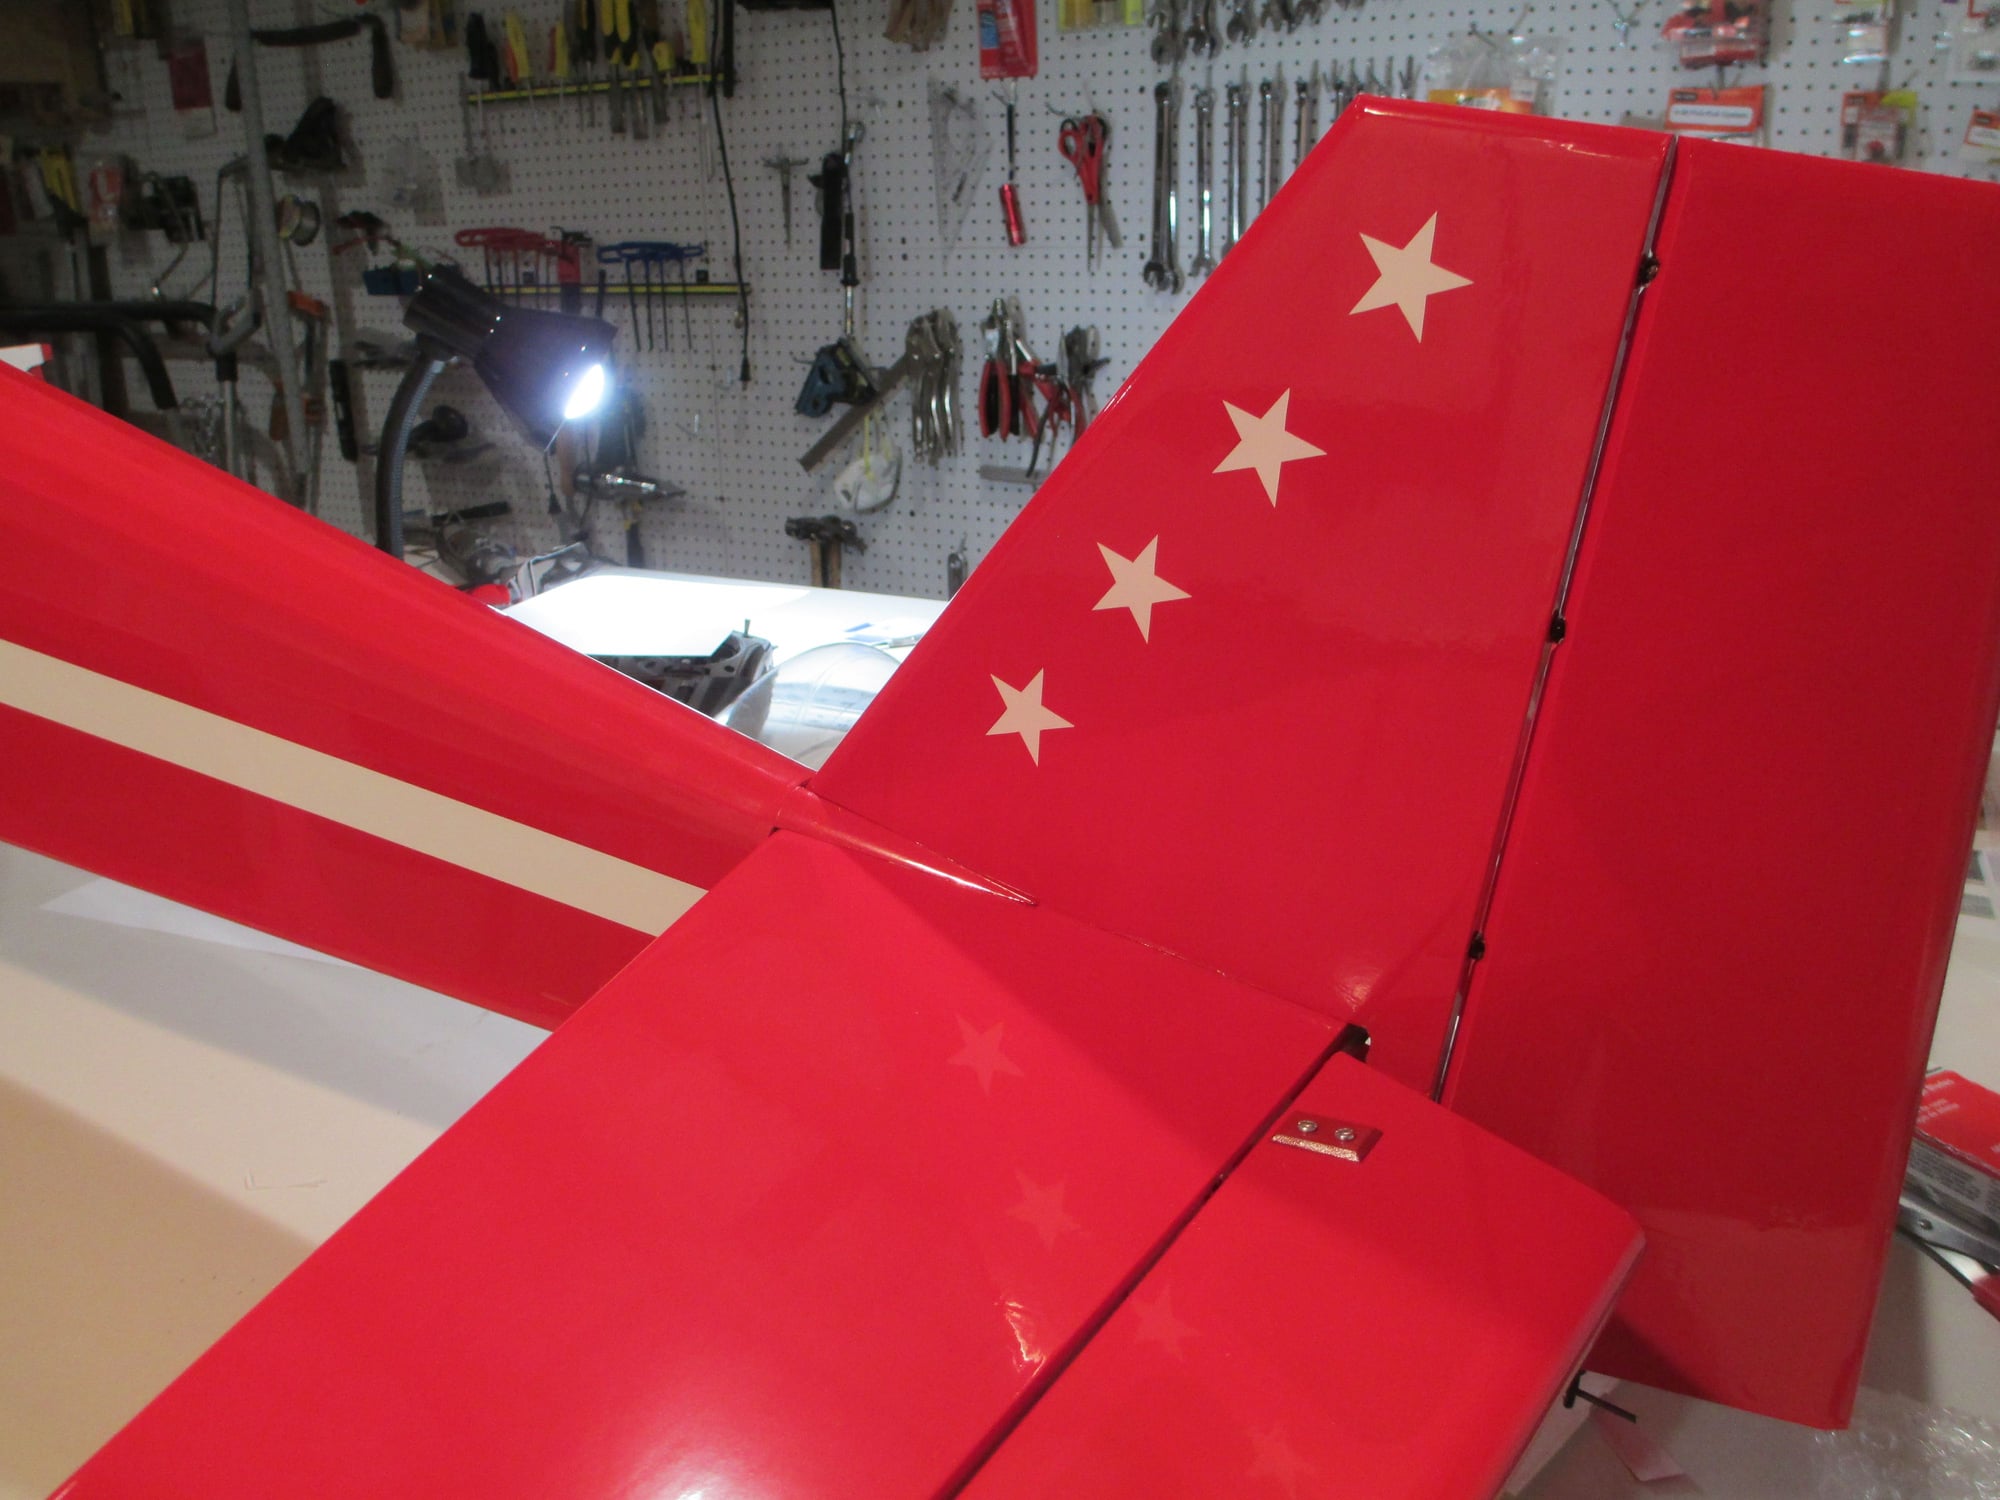
Decided to adorn the fin with stars, so I cut my own. I first secured a small square of UltraCote to my work table with blue painter's tape.
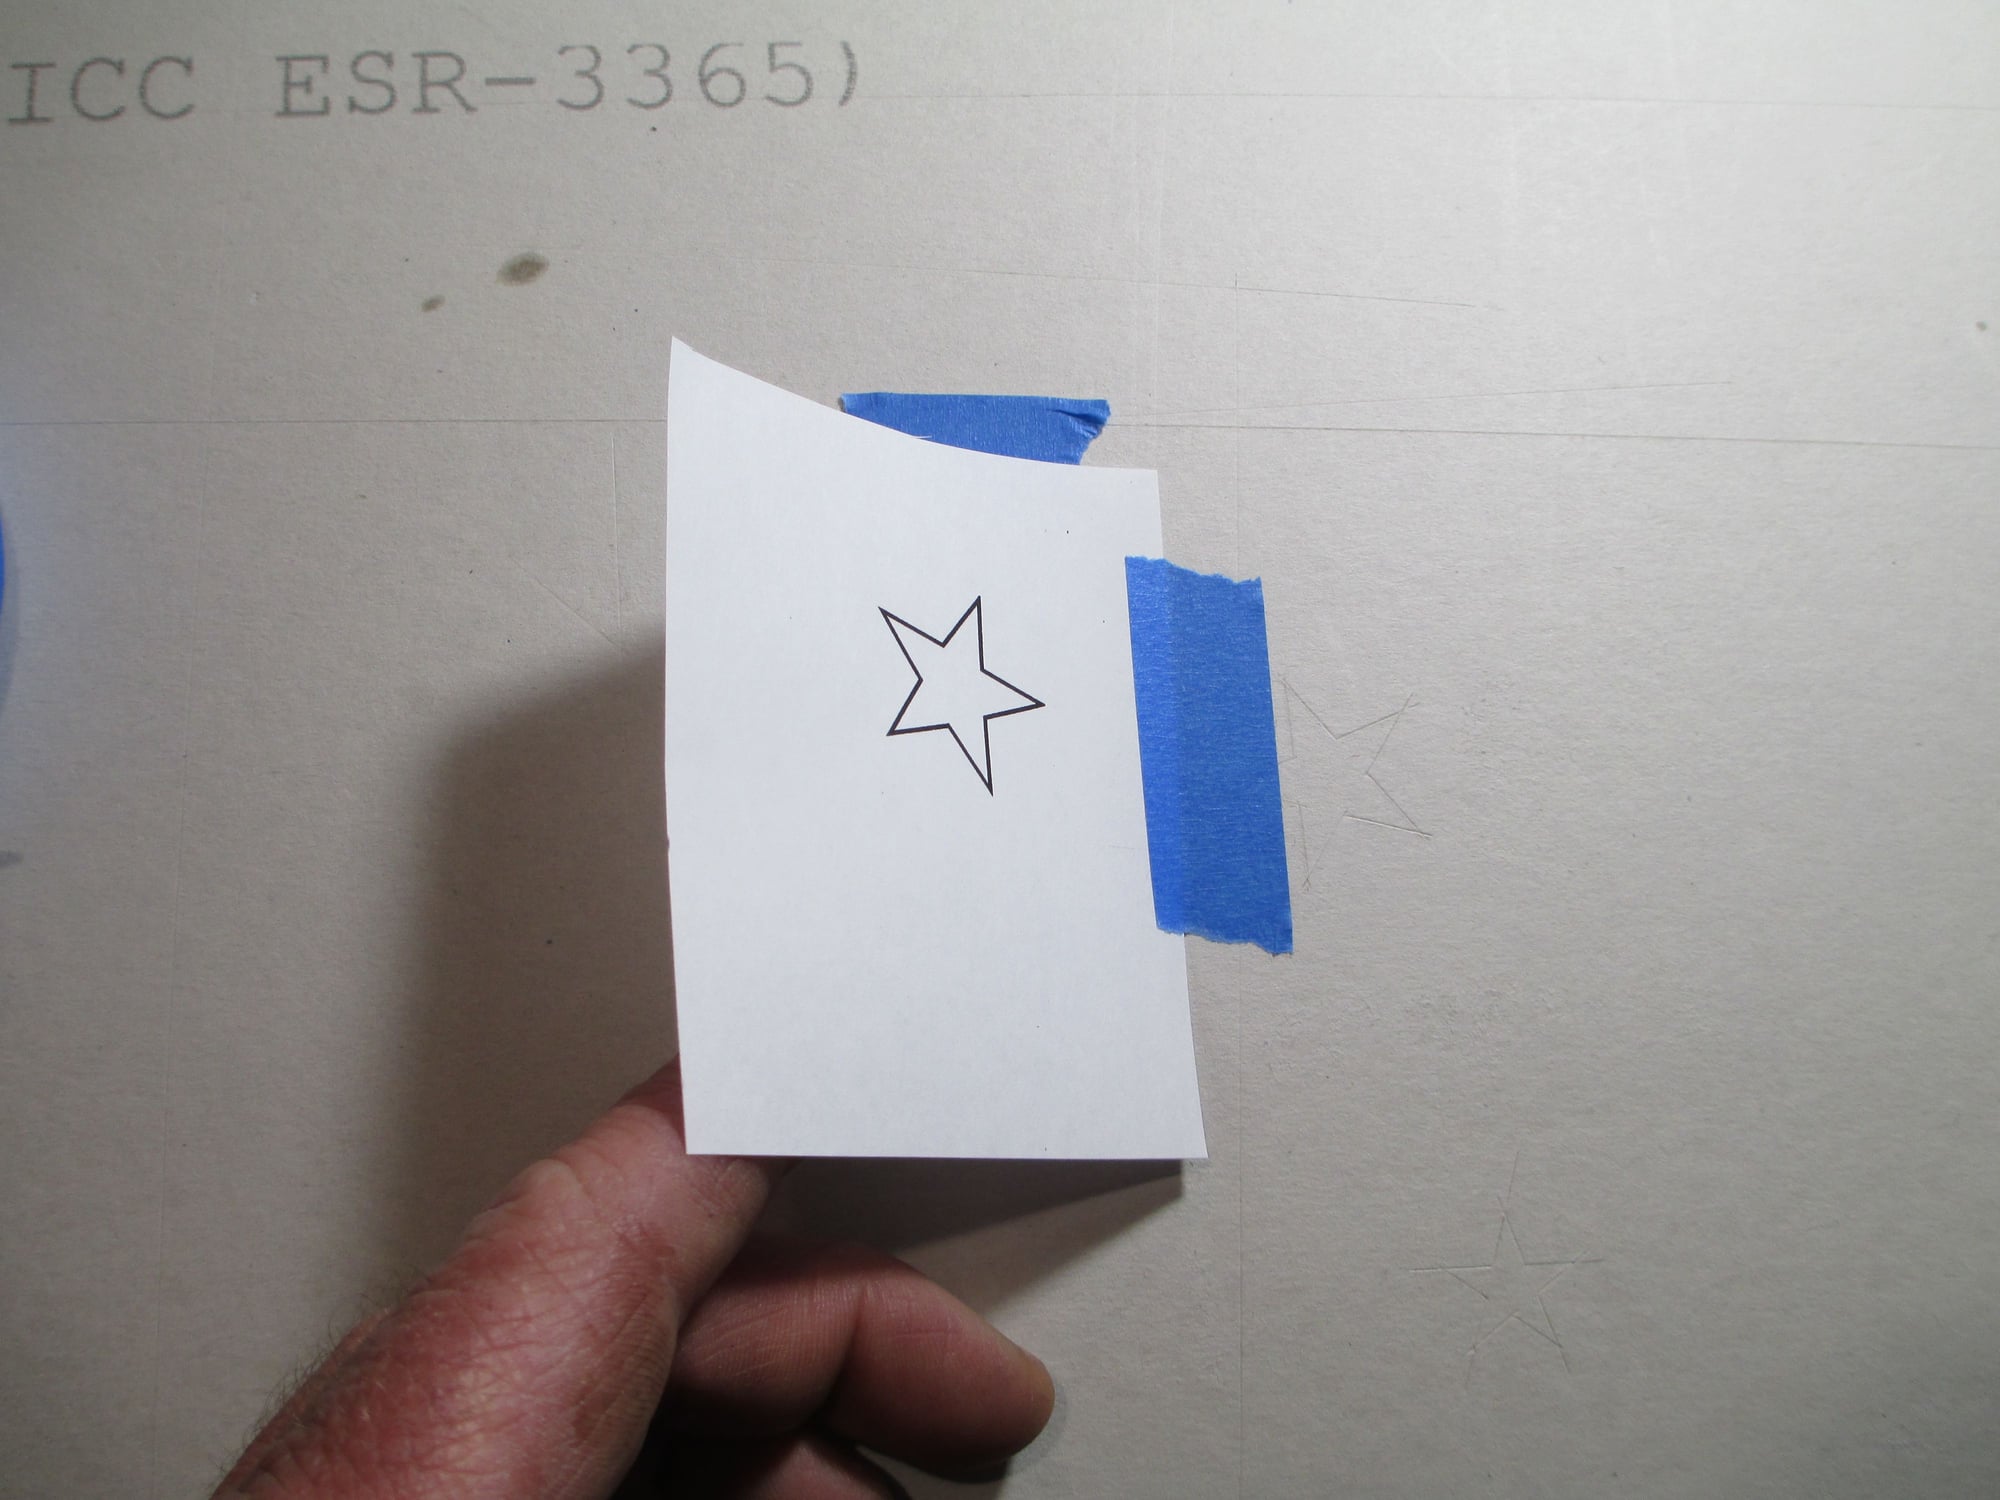
I went on-line and printed out stars that I thought would work. I did have to resize them to fit my application. I taped the printed star over the top of the UltraCote. Note that I placed the tape on the side to act as a hinge.
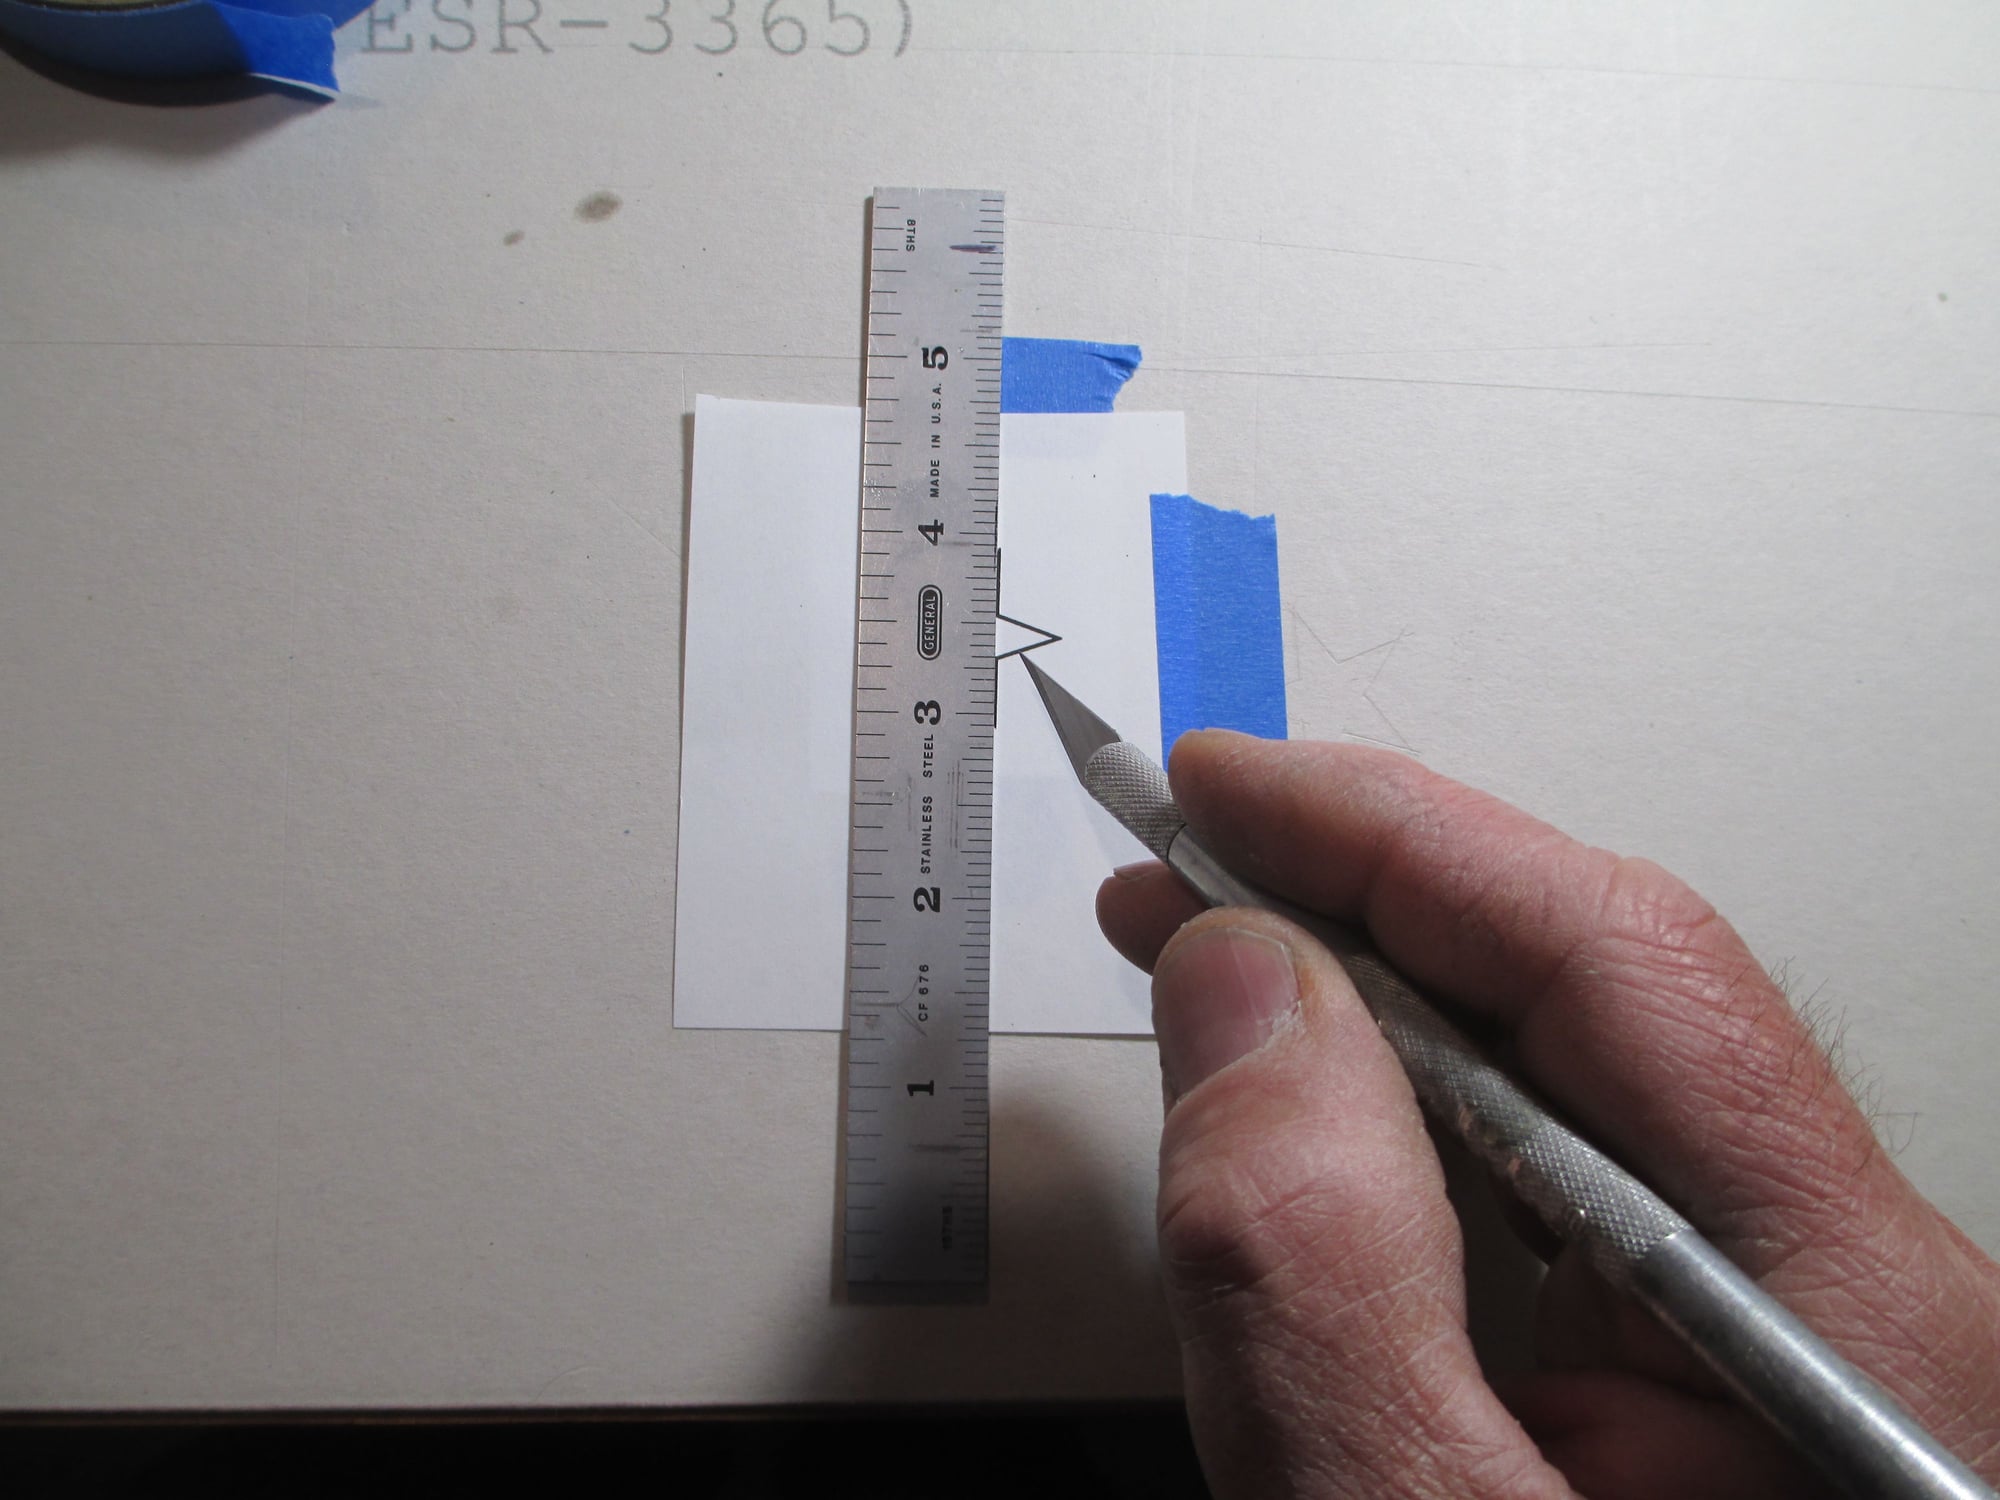
With a new blade, I used a ruler to cut out the star following the outline.
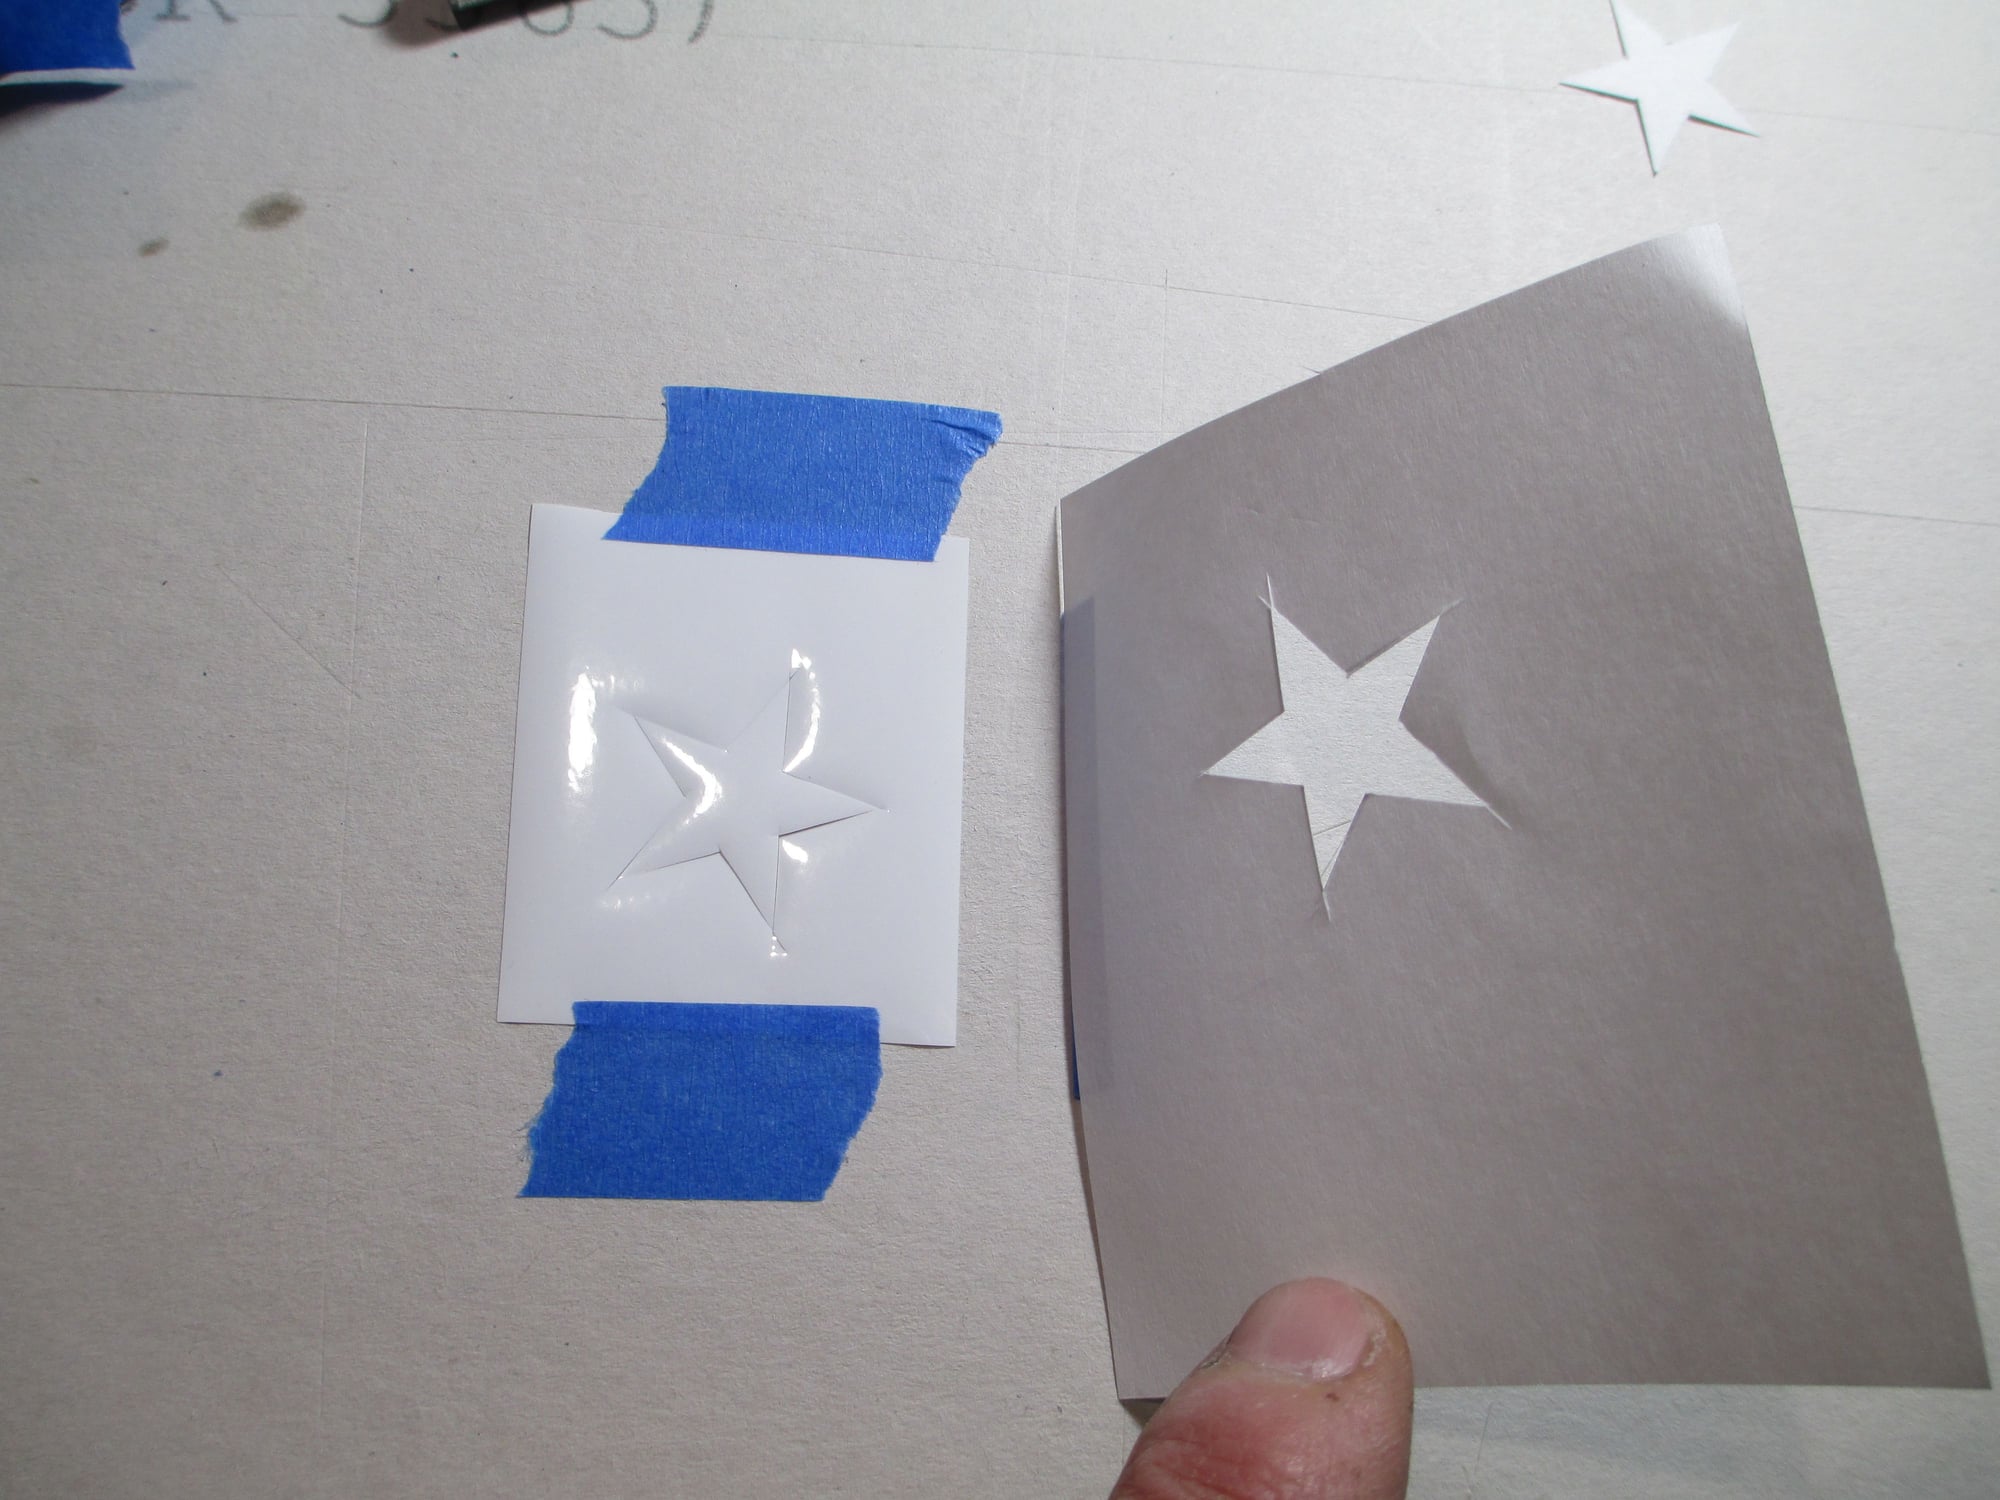
I'm checking to make sure that I cut completely through, if not, the pattern star with it's tape hinge can easily be flipped back to the same starting location.

Here's the star, seven more to cut out...
Last edited by VincentJ; 05-30-2019 at 12:58 AM.