


SIG Four-Star 60 Build


 05-29-2019, 07:18 PM
#177


I don't see anything out of place in the wheel pants photos.
I am thinking about wheel pants on my current build. Never have I installed wheel pants. ARFs don't count. I do know that the plane has to be sitting level and the geometry of both pants also has to be level to properly locate before drilling the attachment holes. Left and right have to be mirror images of each other. Model airplane building requires a lot engineering skills and careful consideration.
Did you use 2-56 or 4-40 to attach them? I too bought the Graph Tech LG and Tiller TW assembly. Graph Tech does really nice work.
And, yeah, how did you manage cutting straight lines on the Ultracote? Did you spray Windex on glass? I've thought about taking my Ultracote to the nearby sign shop to cut some designs I'd never manage manualy.
Thanks for your interesting build.
05-30-2019, 02:51 AM
#178

Thread Starter
Thanks Speedracerntrixie! She's coming along...
Lupe, I attached the wheel pants using two 2-56 cap head screws on each pant. I also made sure to apply blue Locktite to all the threads to help keep everything from loosening. The wheel pants were carefully measured and fitted to make sure that they were level when the fuselage was level. The wheel spacing within each pant was out, so I had to re-align them both. In the scheme of things it wasn't a big deal, however when I final assemble a plane, the time I spent during the mock-up should help speed up the process, not slow me down...It was just a bit of frustration is all. I'm good now!
Graph Tech is a very good company, they have the ability to customize the stock they have or to make something from scratch to fit your project.
The UltraCote was taped to the top of my work table which has 1/2" sheet rock over it. This allows me to cut right on it. I thought about cutting on glass, but I decided against it as it would of dulled the blade on my hobby knife quicker. I changed blades after every star cut to ensure crisp lines. A steel ruler was used to keep all of the lines straight...
Last edited by VincentJ; 05-30-2019 at 10:28 AM.
 05-30-2019, 03:31 PM
#180
Thread Starter
Thank you Jeff. Give yourself some time and practice and if you can, have someone in your club show you a few pointers. Then practice, practice, practice! Oddly enough it's the part of the build I don't like doing...
05-30-2019, 03:41 PM
#181
Thread Starter
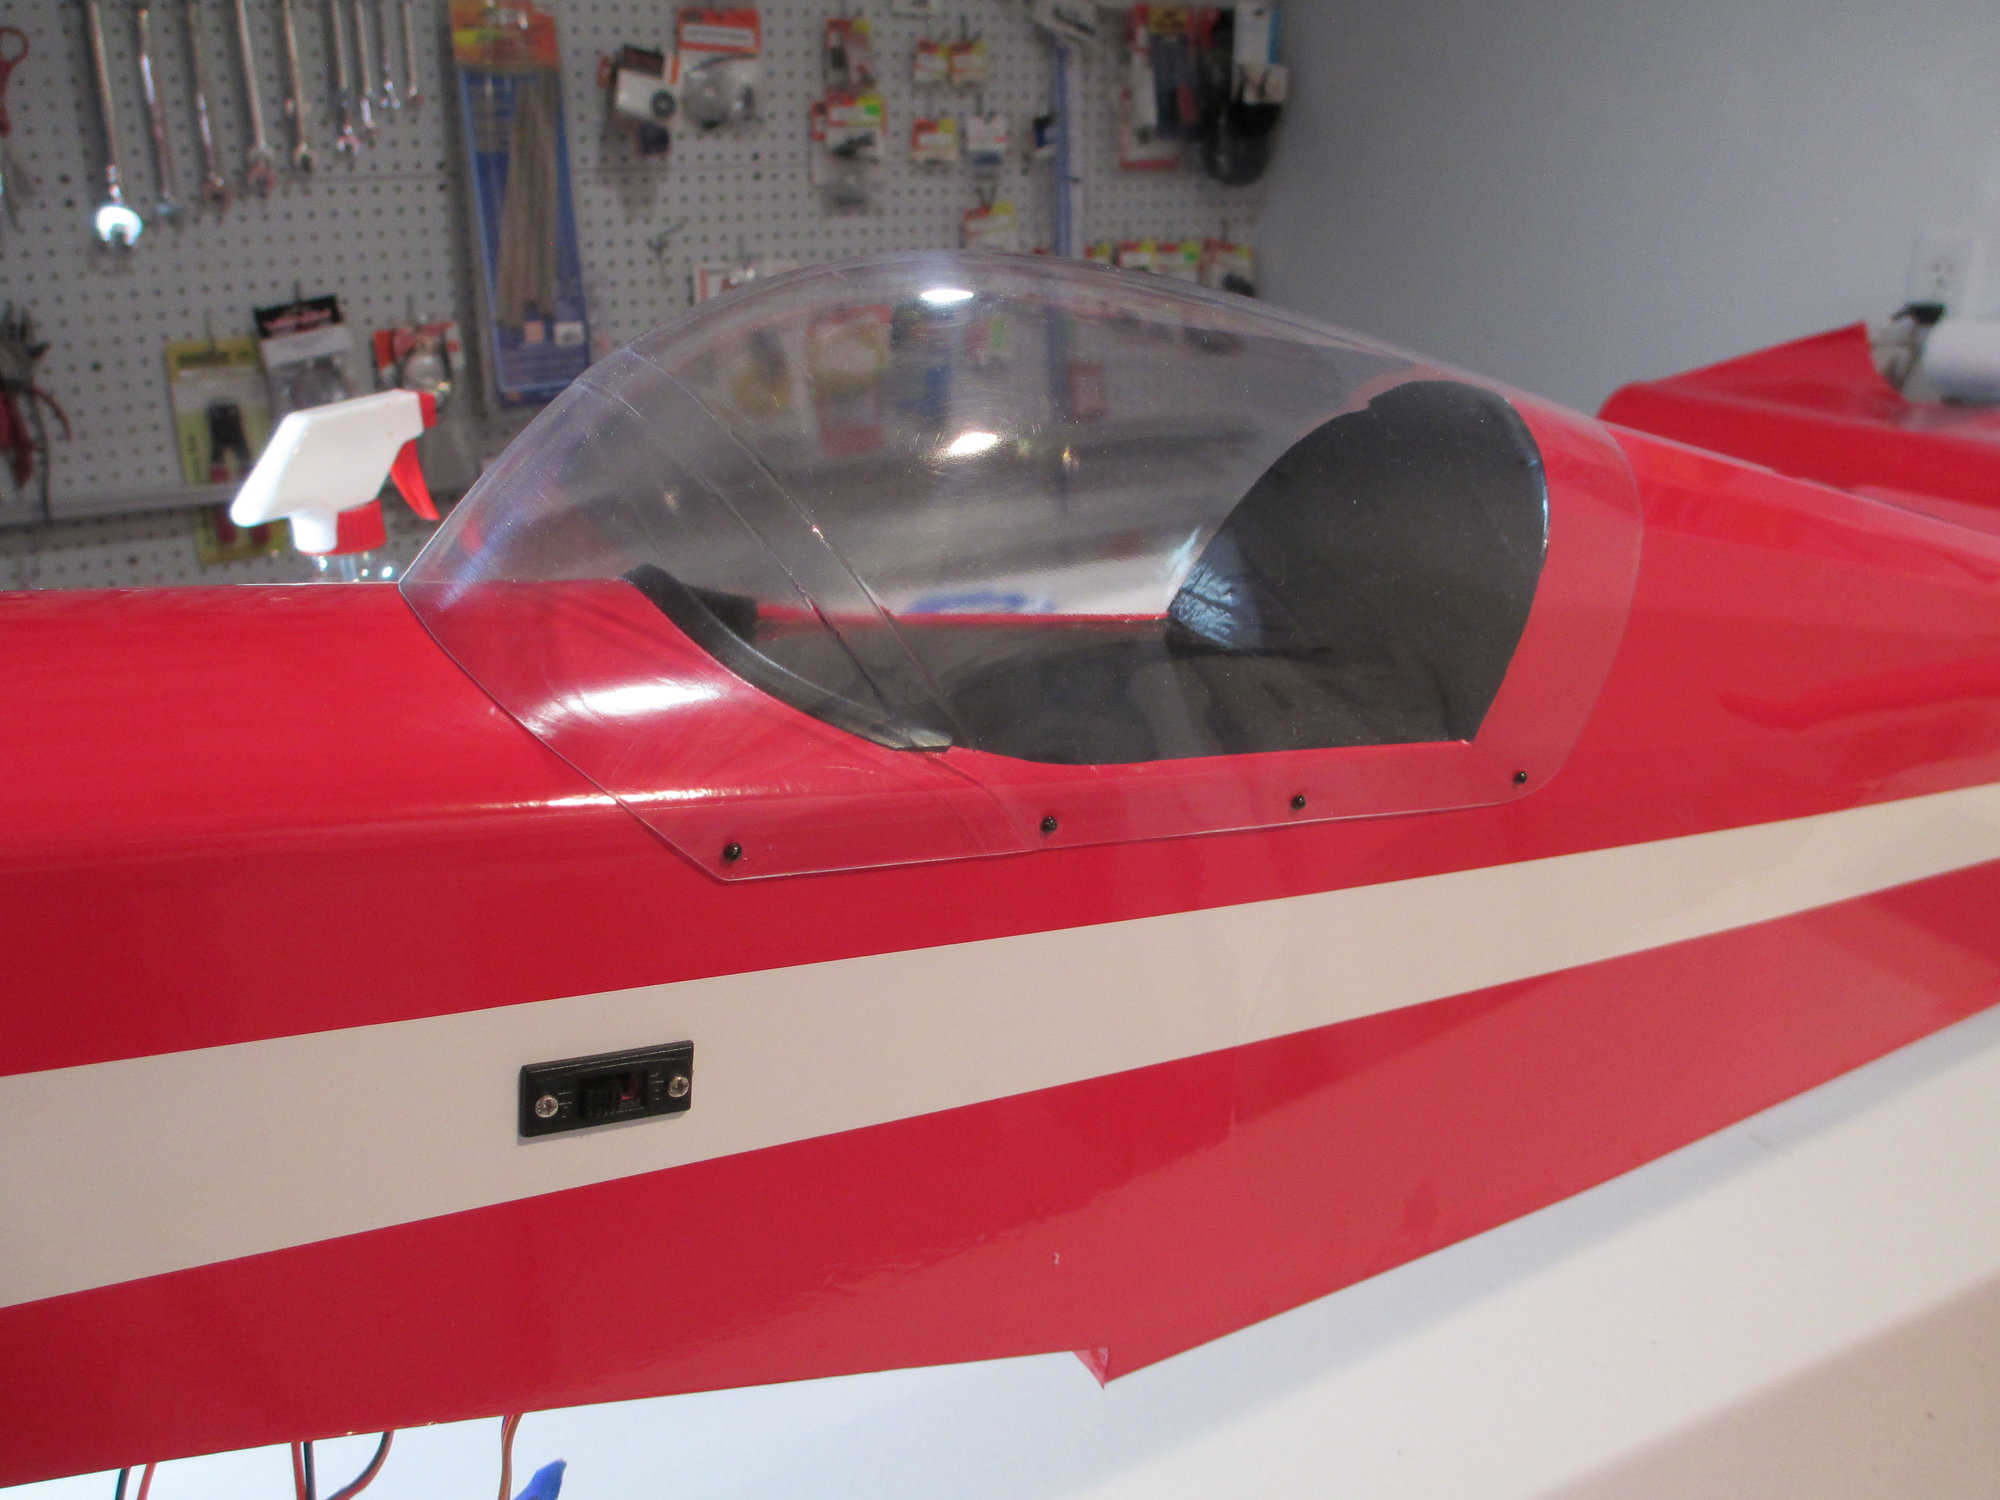
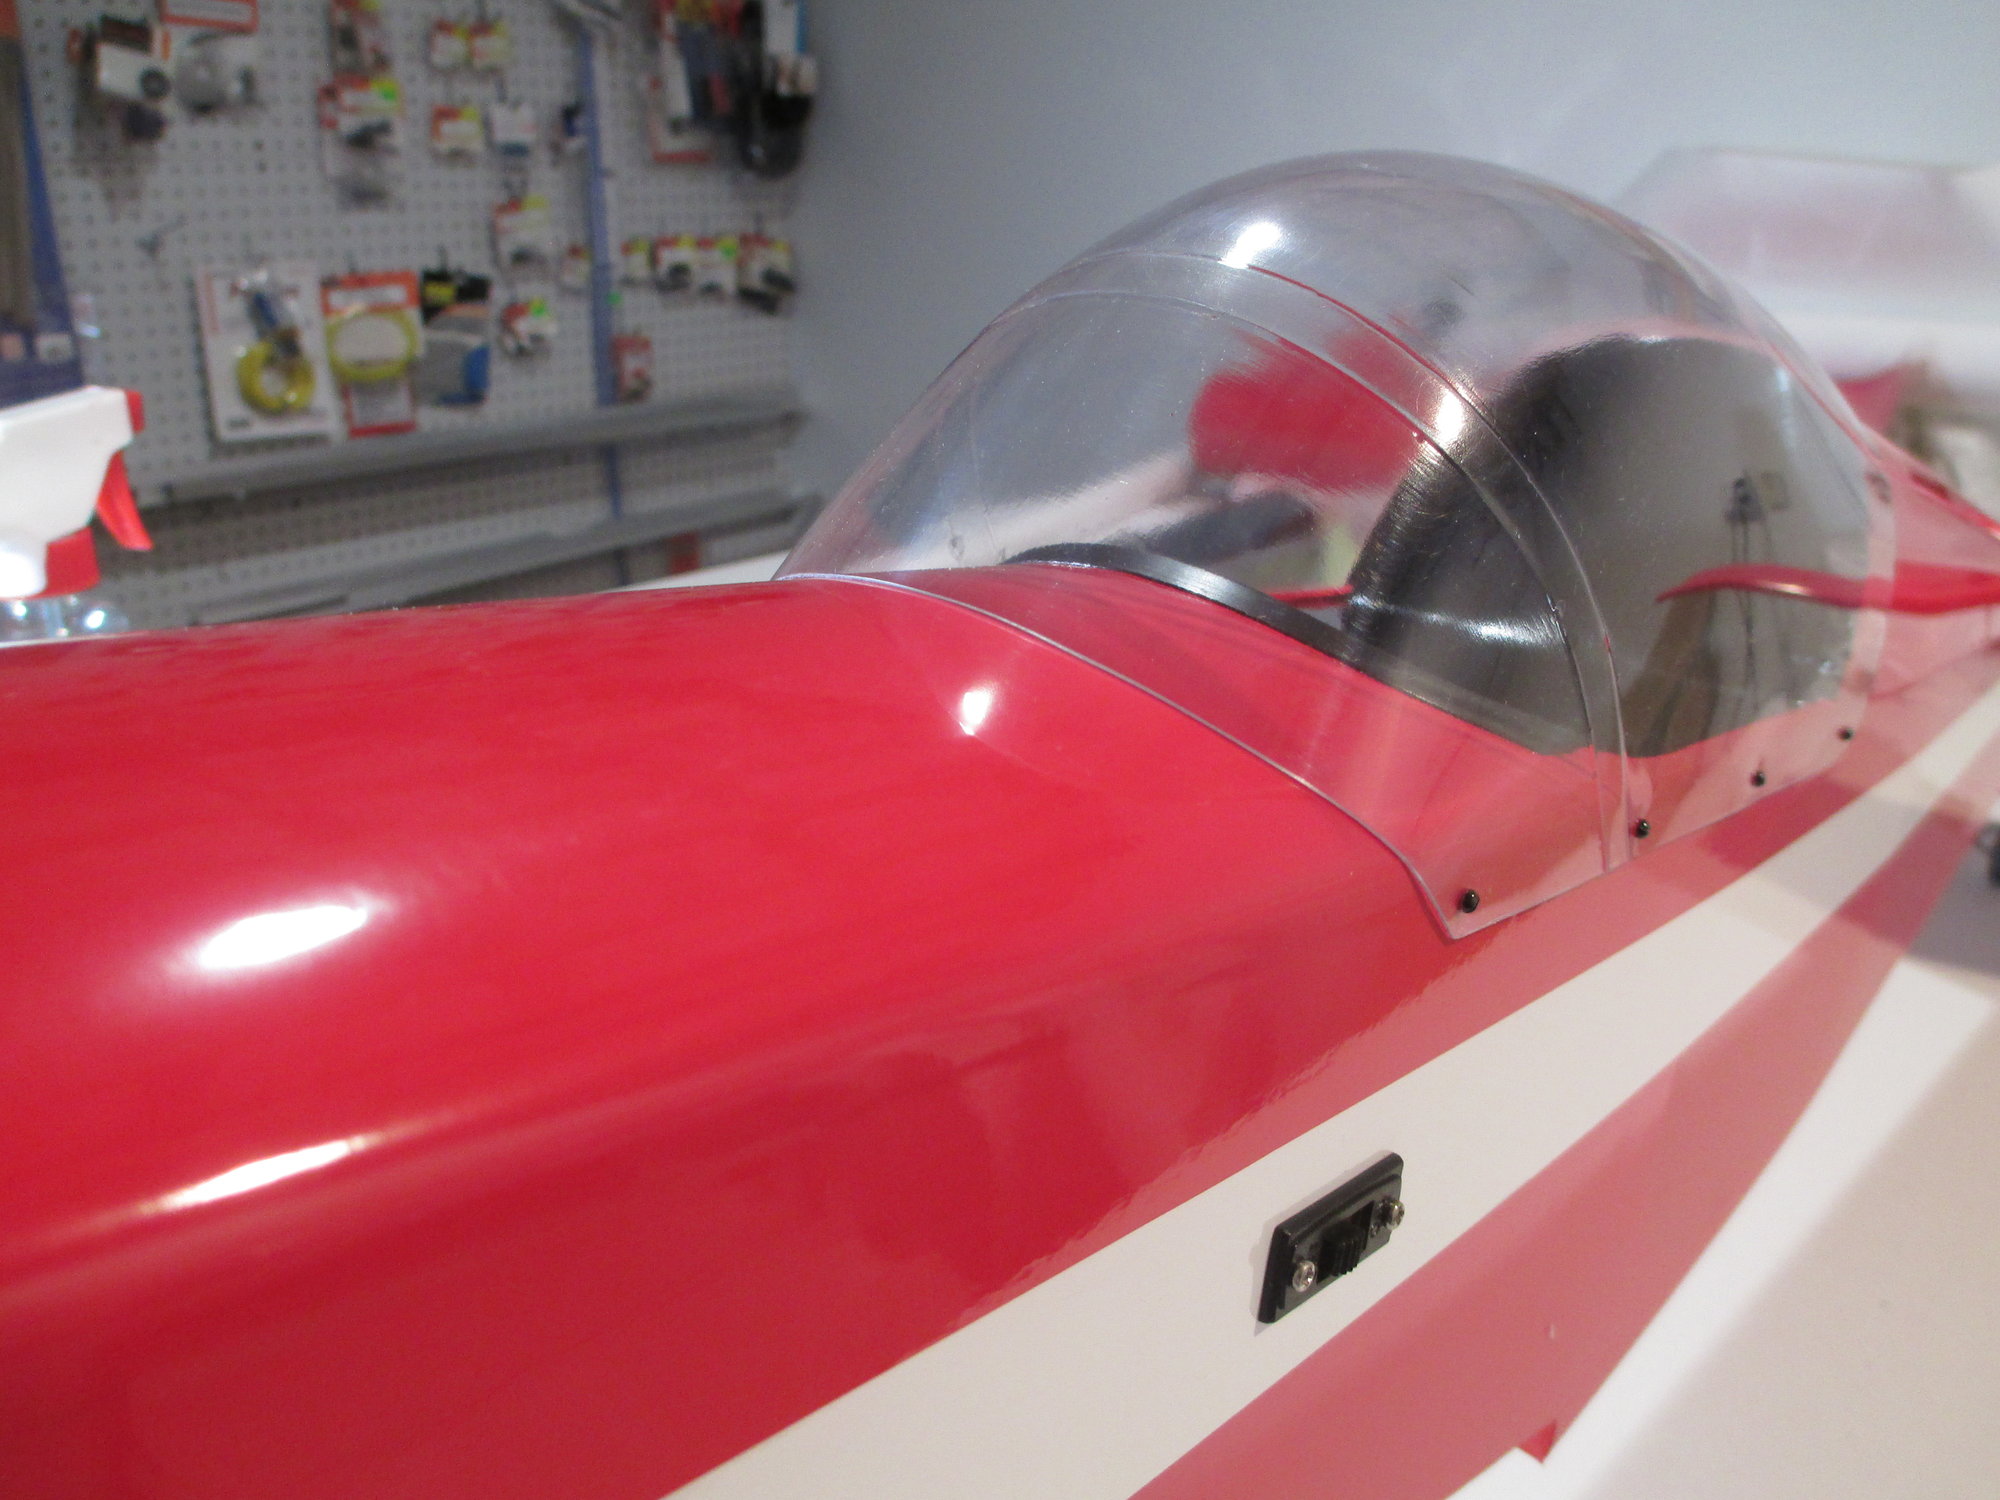
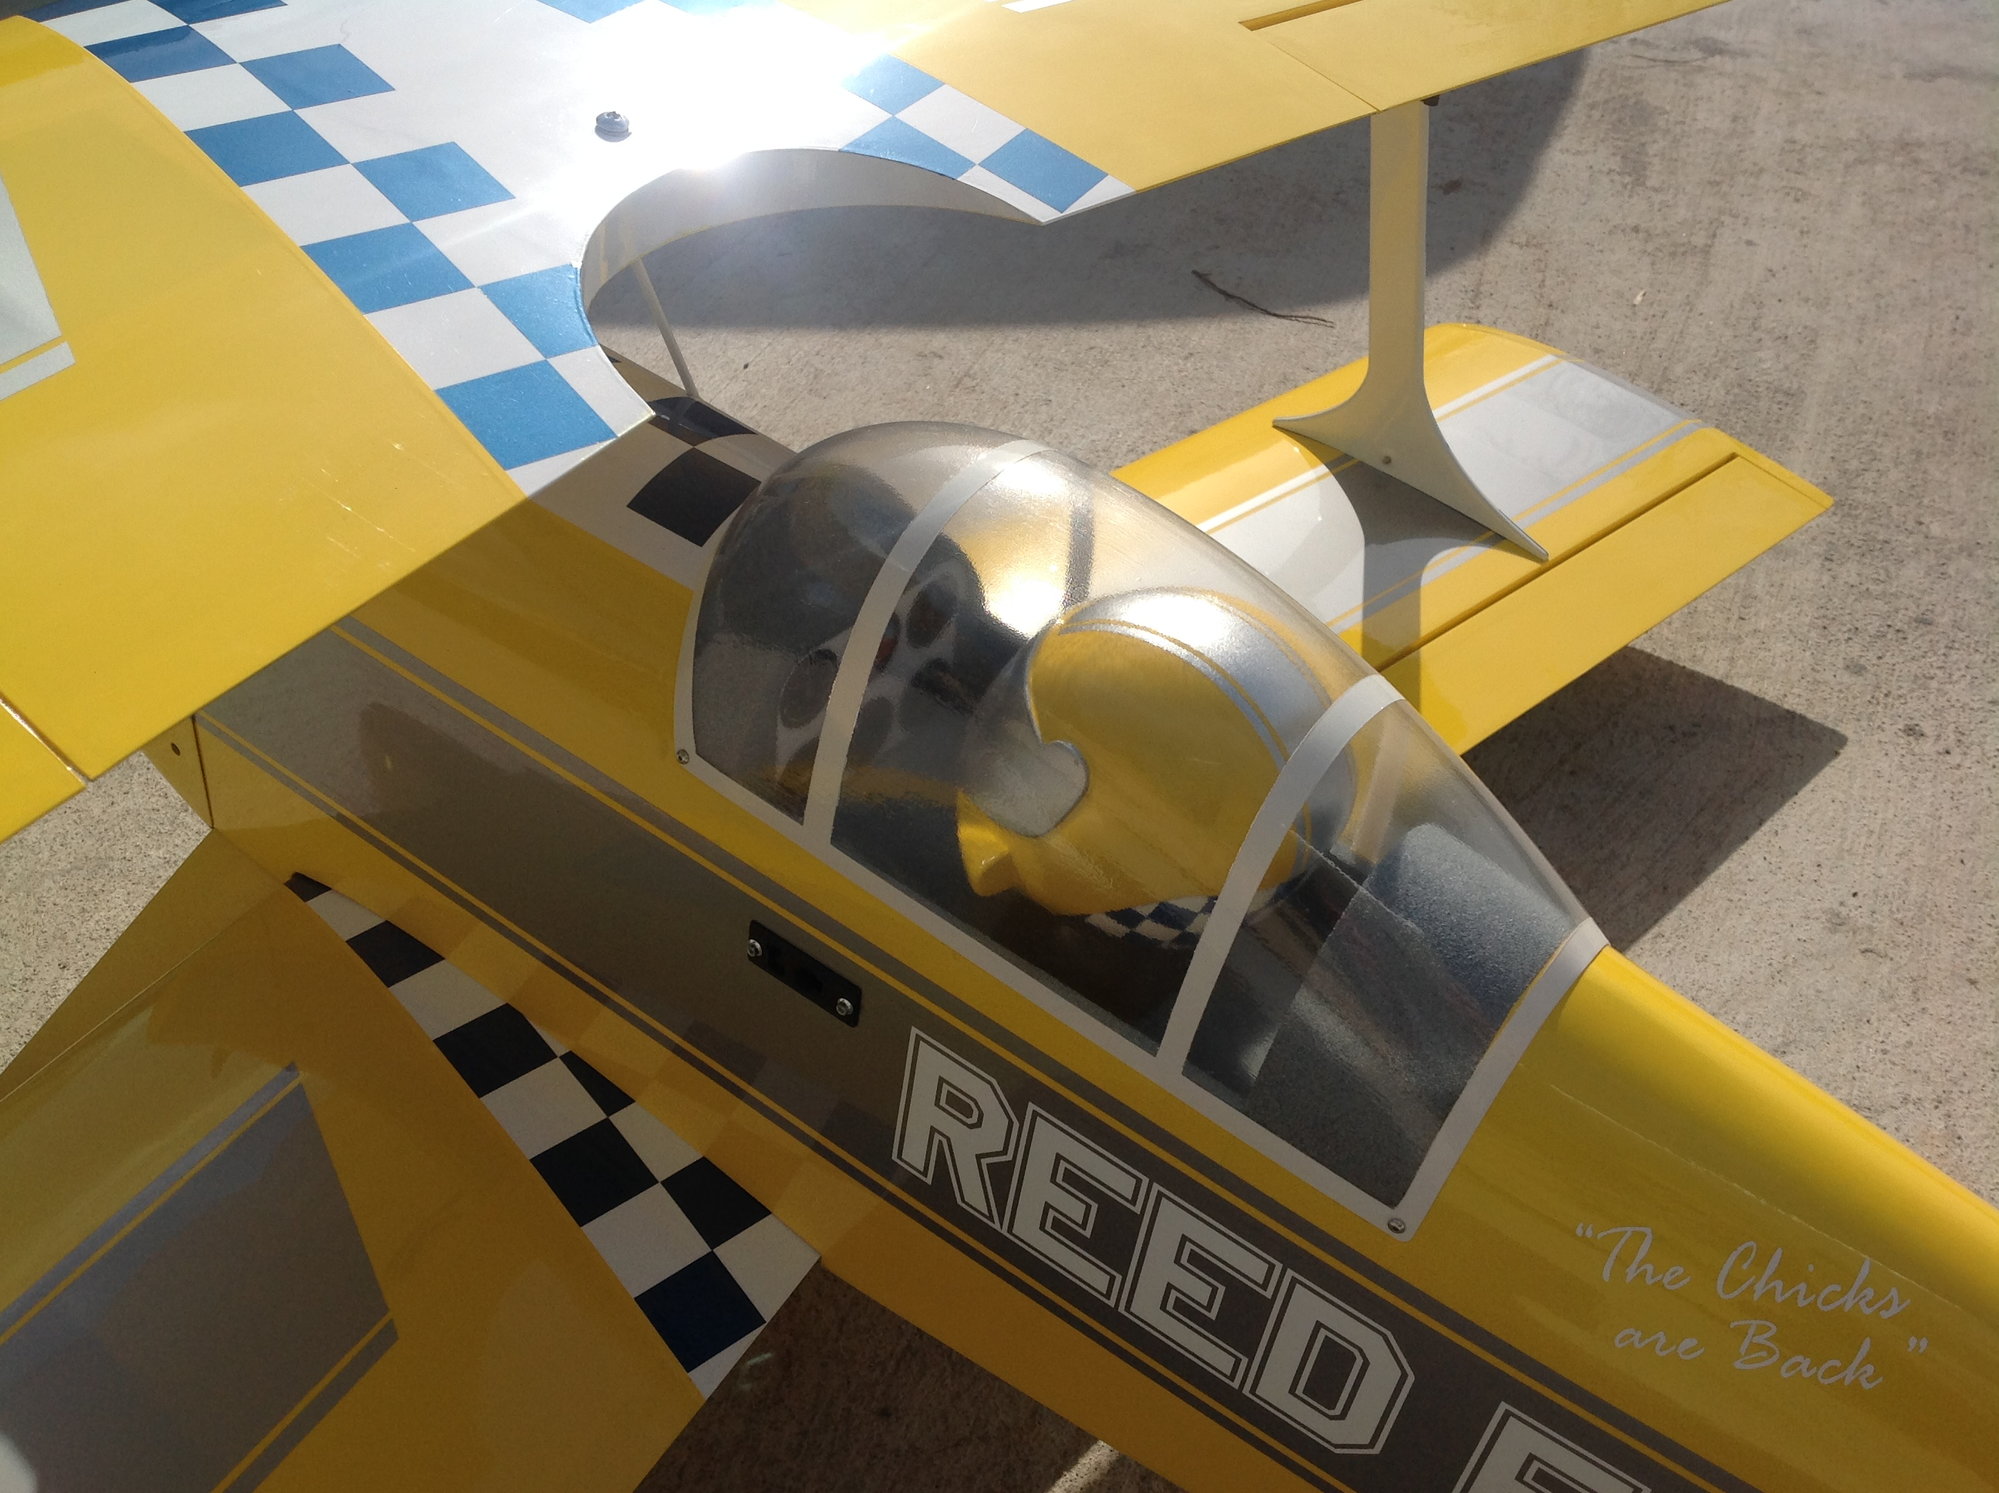
I spent some time and mounted my canopy in place. I decided against using canopy glue, I wanted to be able to remove the canopy to clean or maybe add a pilot someday... the other factor was that every time I use black covering it seems to bubble and require "iron maintenance" regularly.
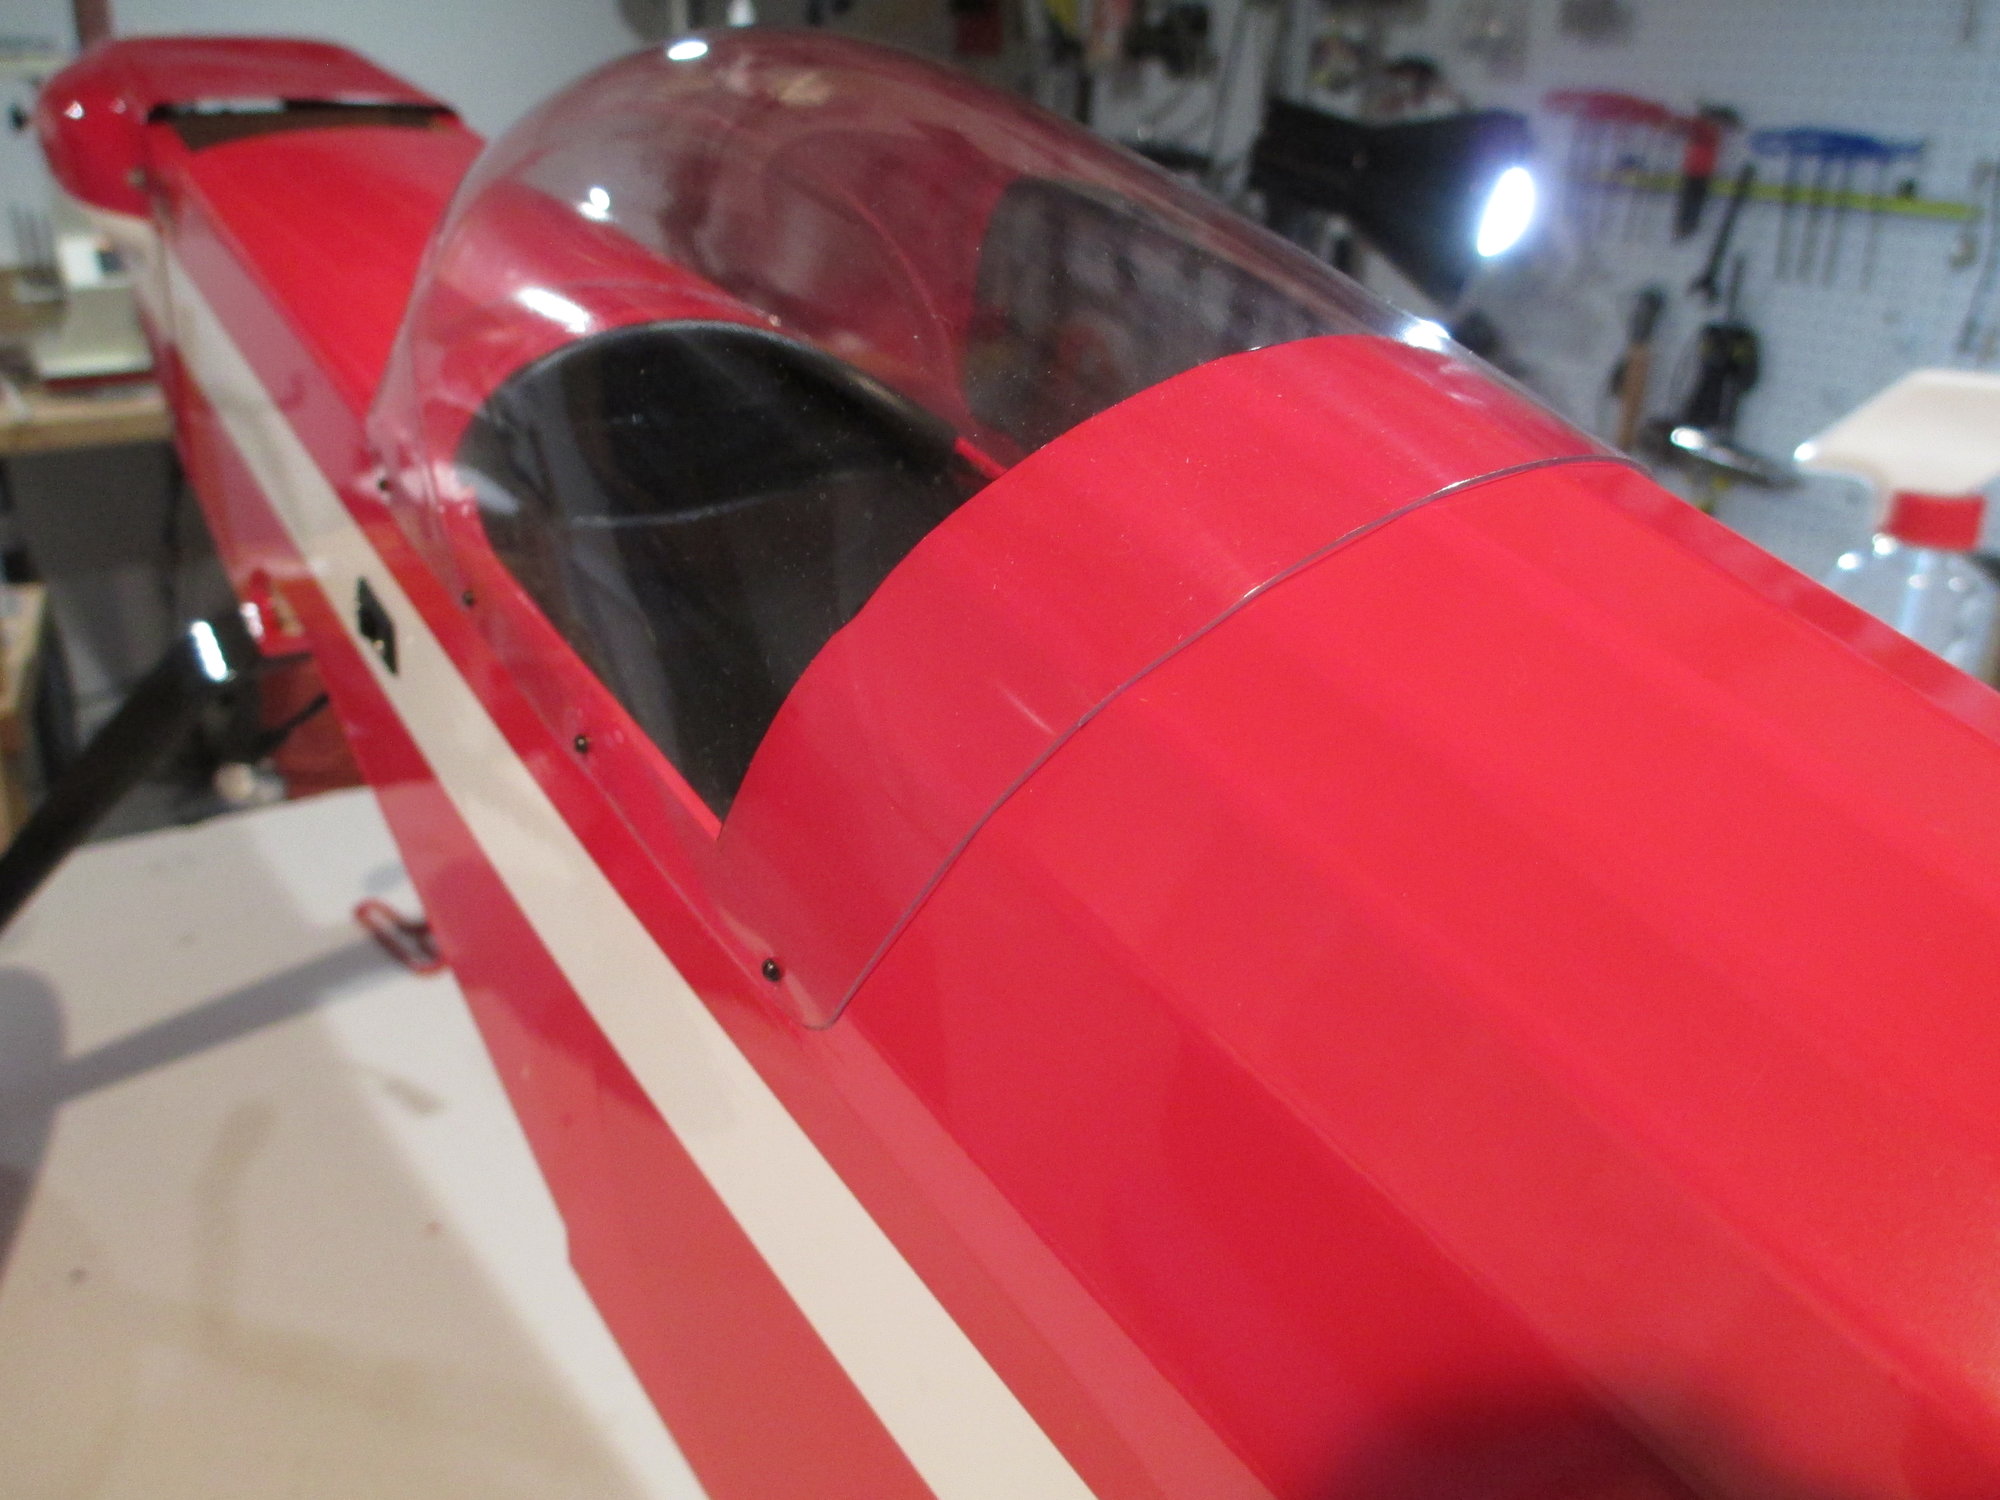
A total of 8 very tiny screws were used to secure the canopy to the fuselage.
I was also going to cover the perimeter of the canopy with 1/4 black vinyl tape but changed my mind on that as well.
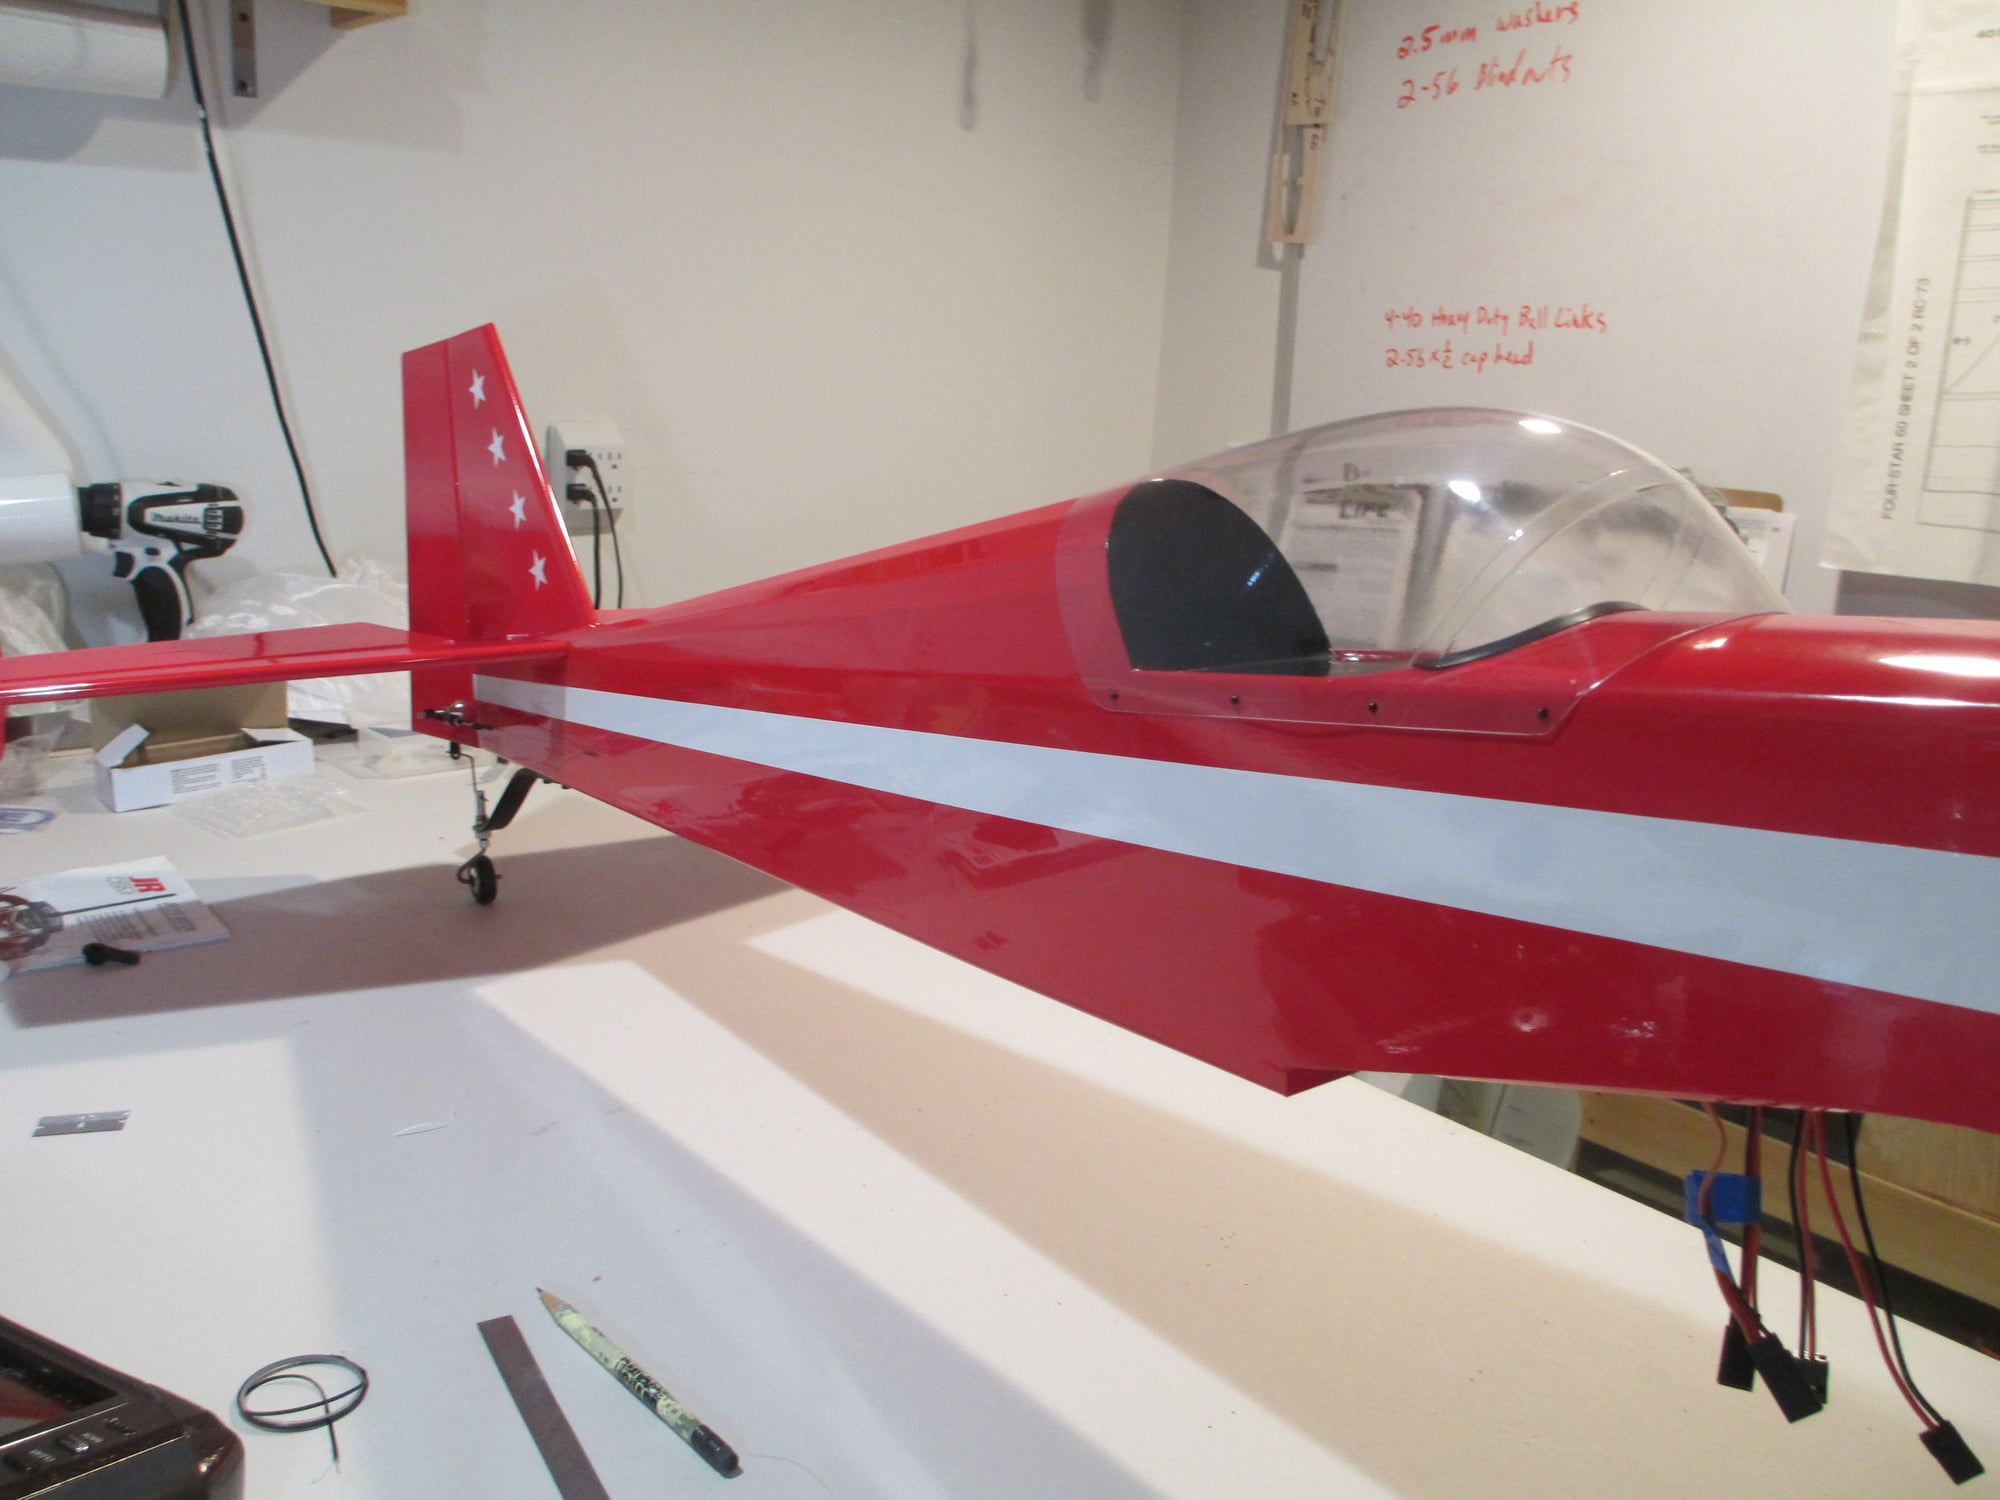
I also managed to cut and mount the last four stars on the opposite side of the fin. The number of stars represent my way of saying this is a "4 Star".
I'm checking the alignment of the cowl's white stripe which I painted while at school the other day.
Last edited by VincentJ; 05-31-2019 at 09:01 AM.
05-31-2019, 04:18 PM
#182
Thread Starter
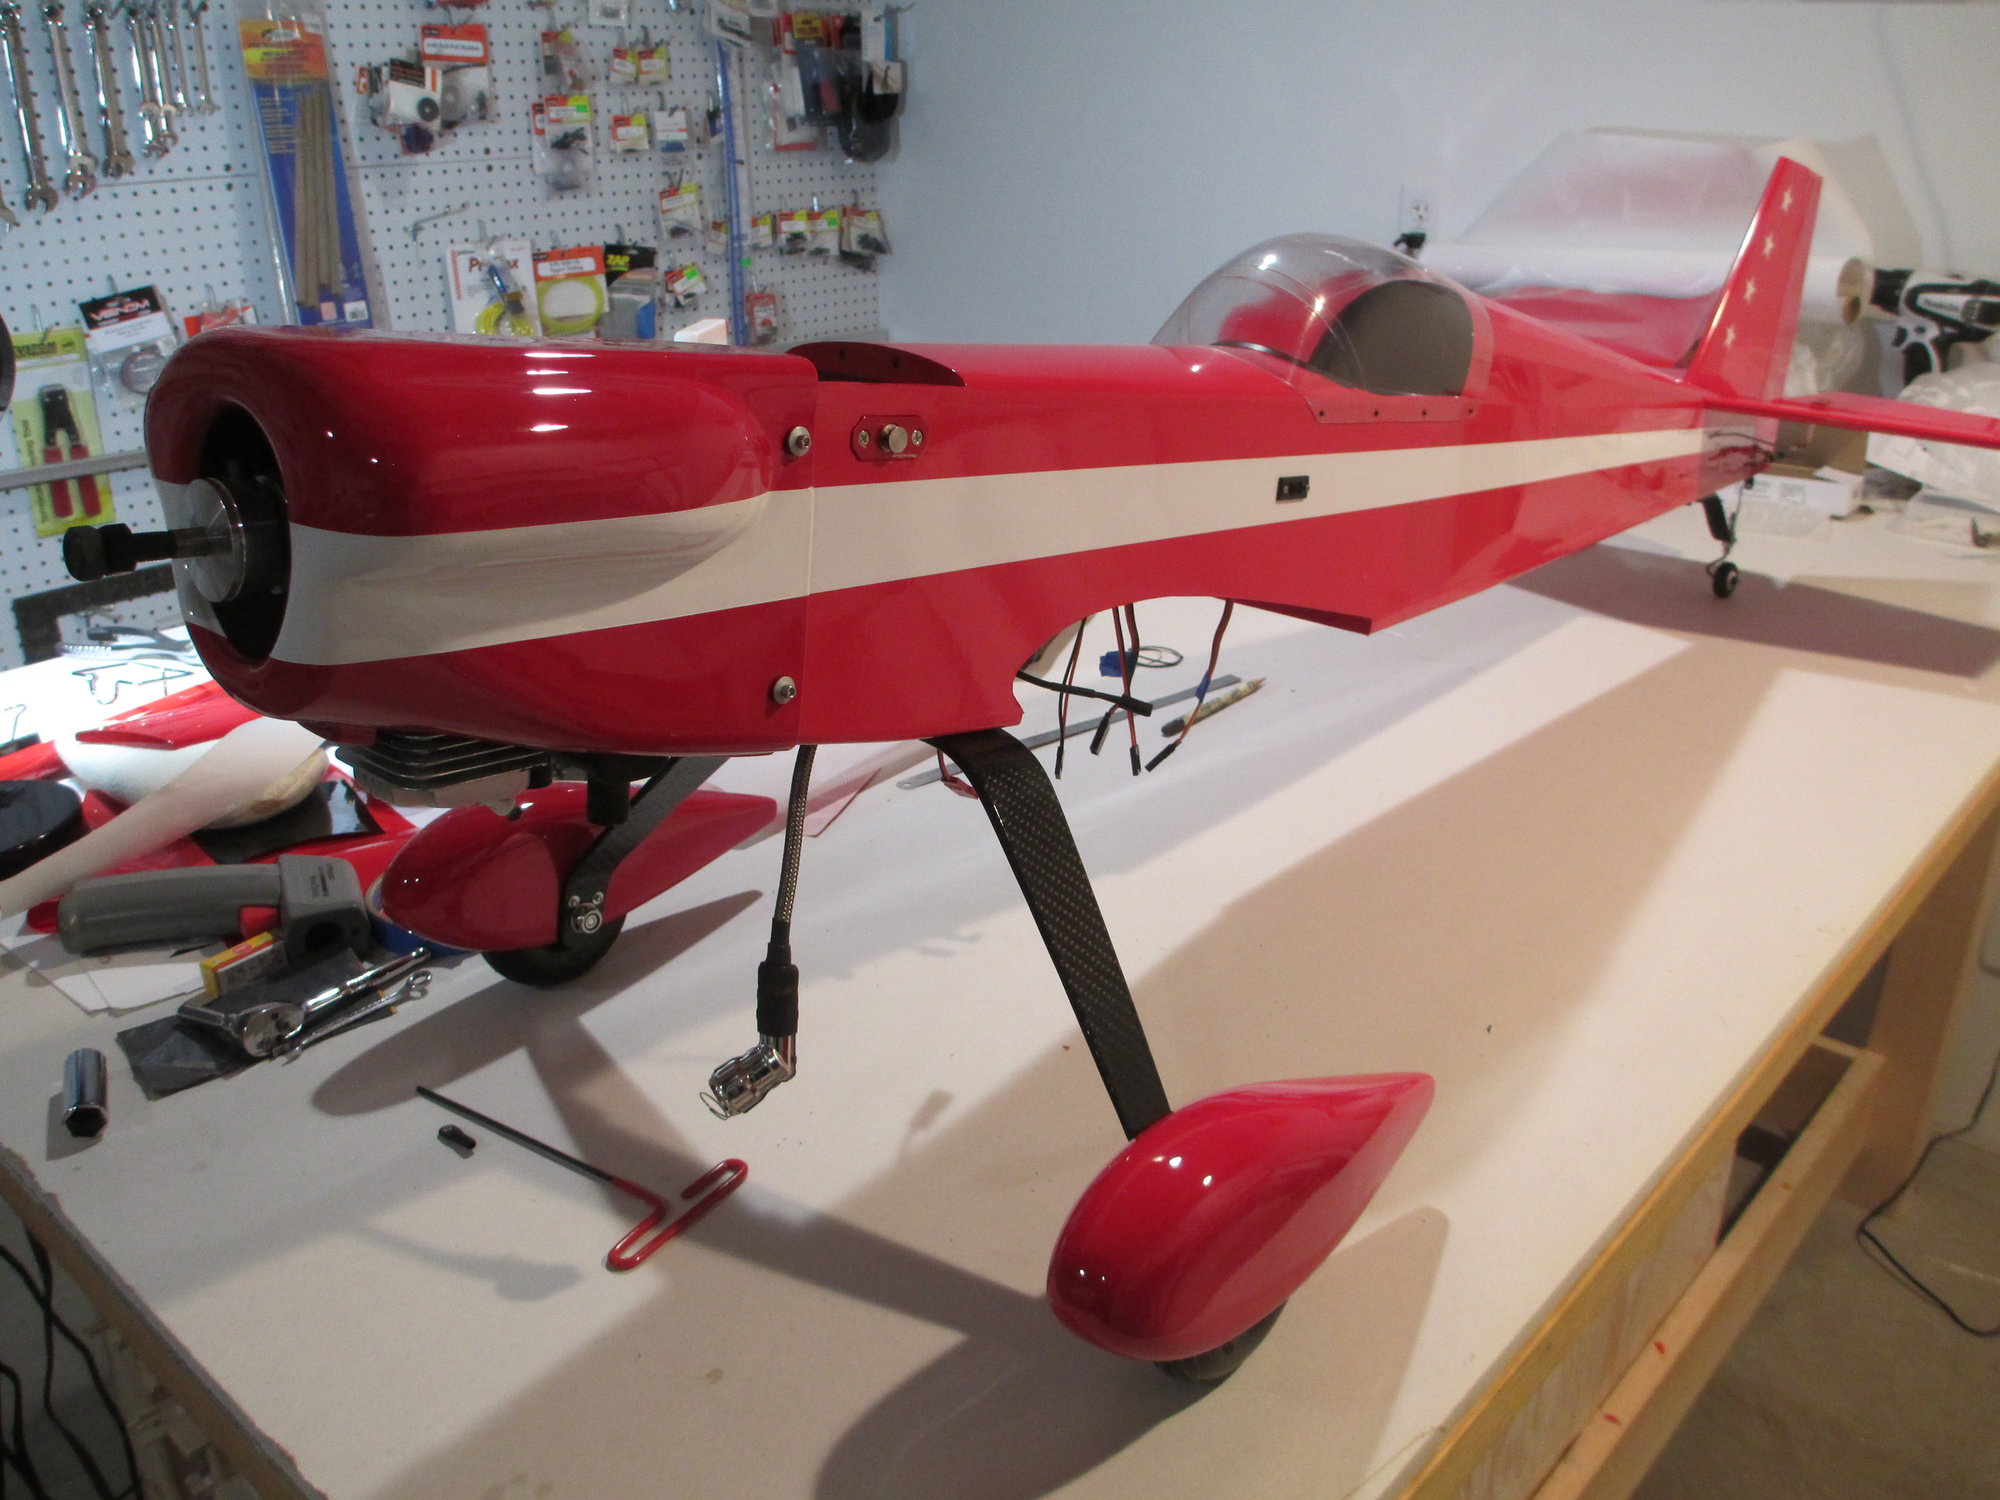
Tonight's task was to get the gas tank assembled. I'm using a 8 ounce gas tank made by Fourtitude. All of my planes are equipped with Fourtitude tanks, they are light and work very well. This 8 oz. tank should give me about 11 minutes of flying time with my DLE-20RA. I do have room inside my fuselage for a larger 12 ounce tank should I want longer flying times.
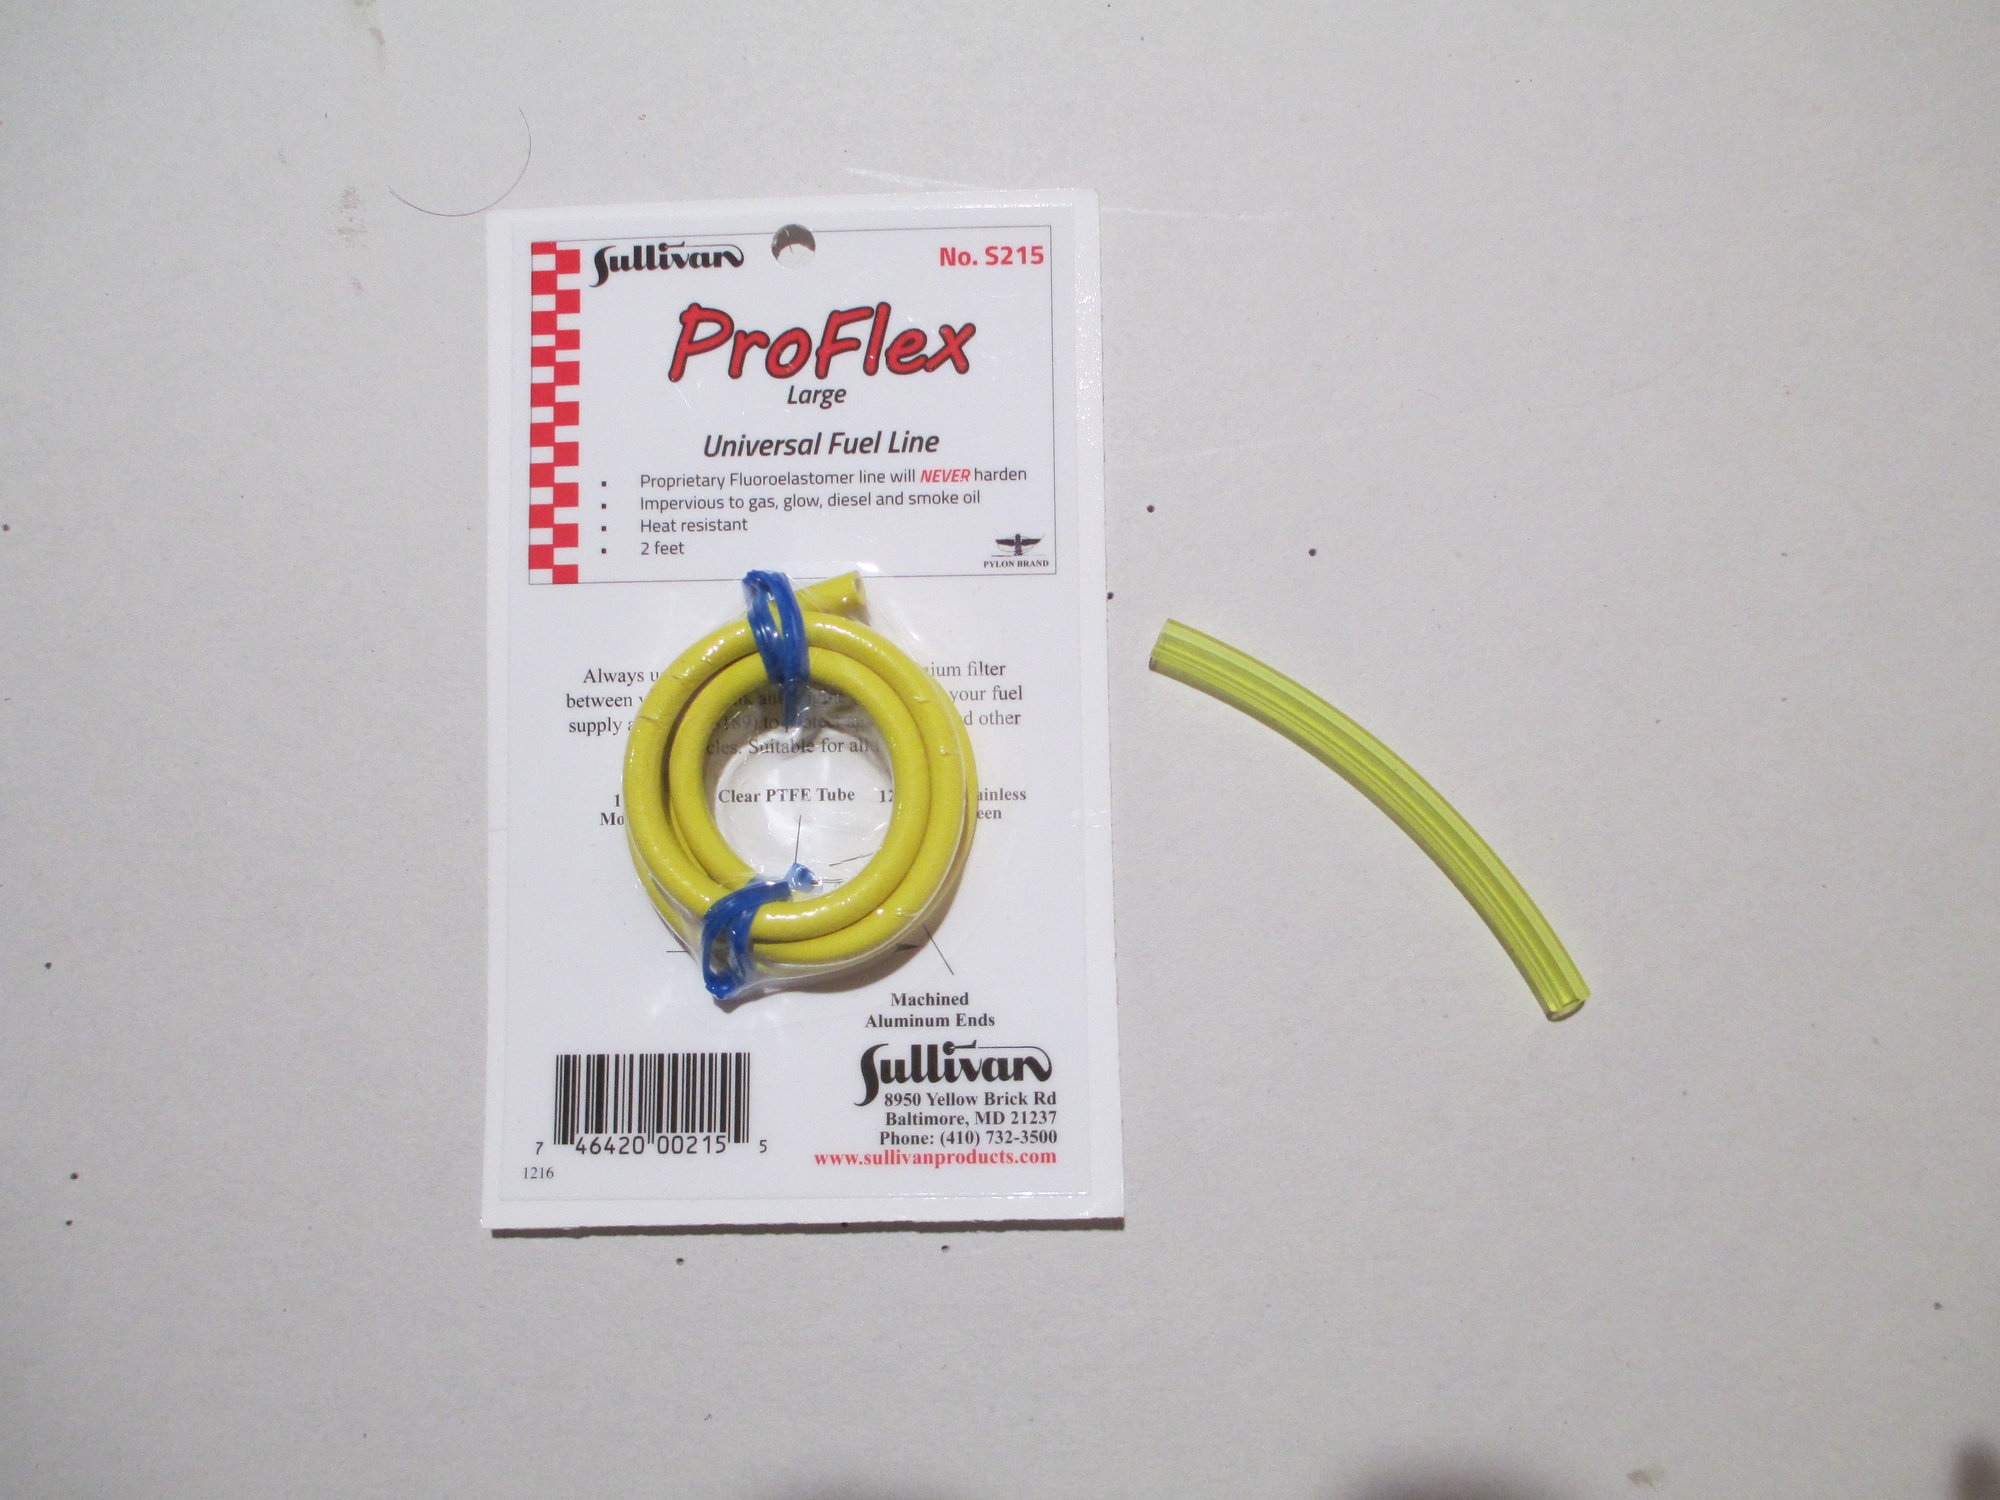
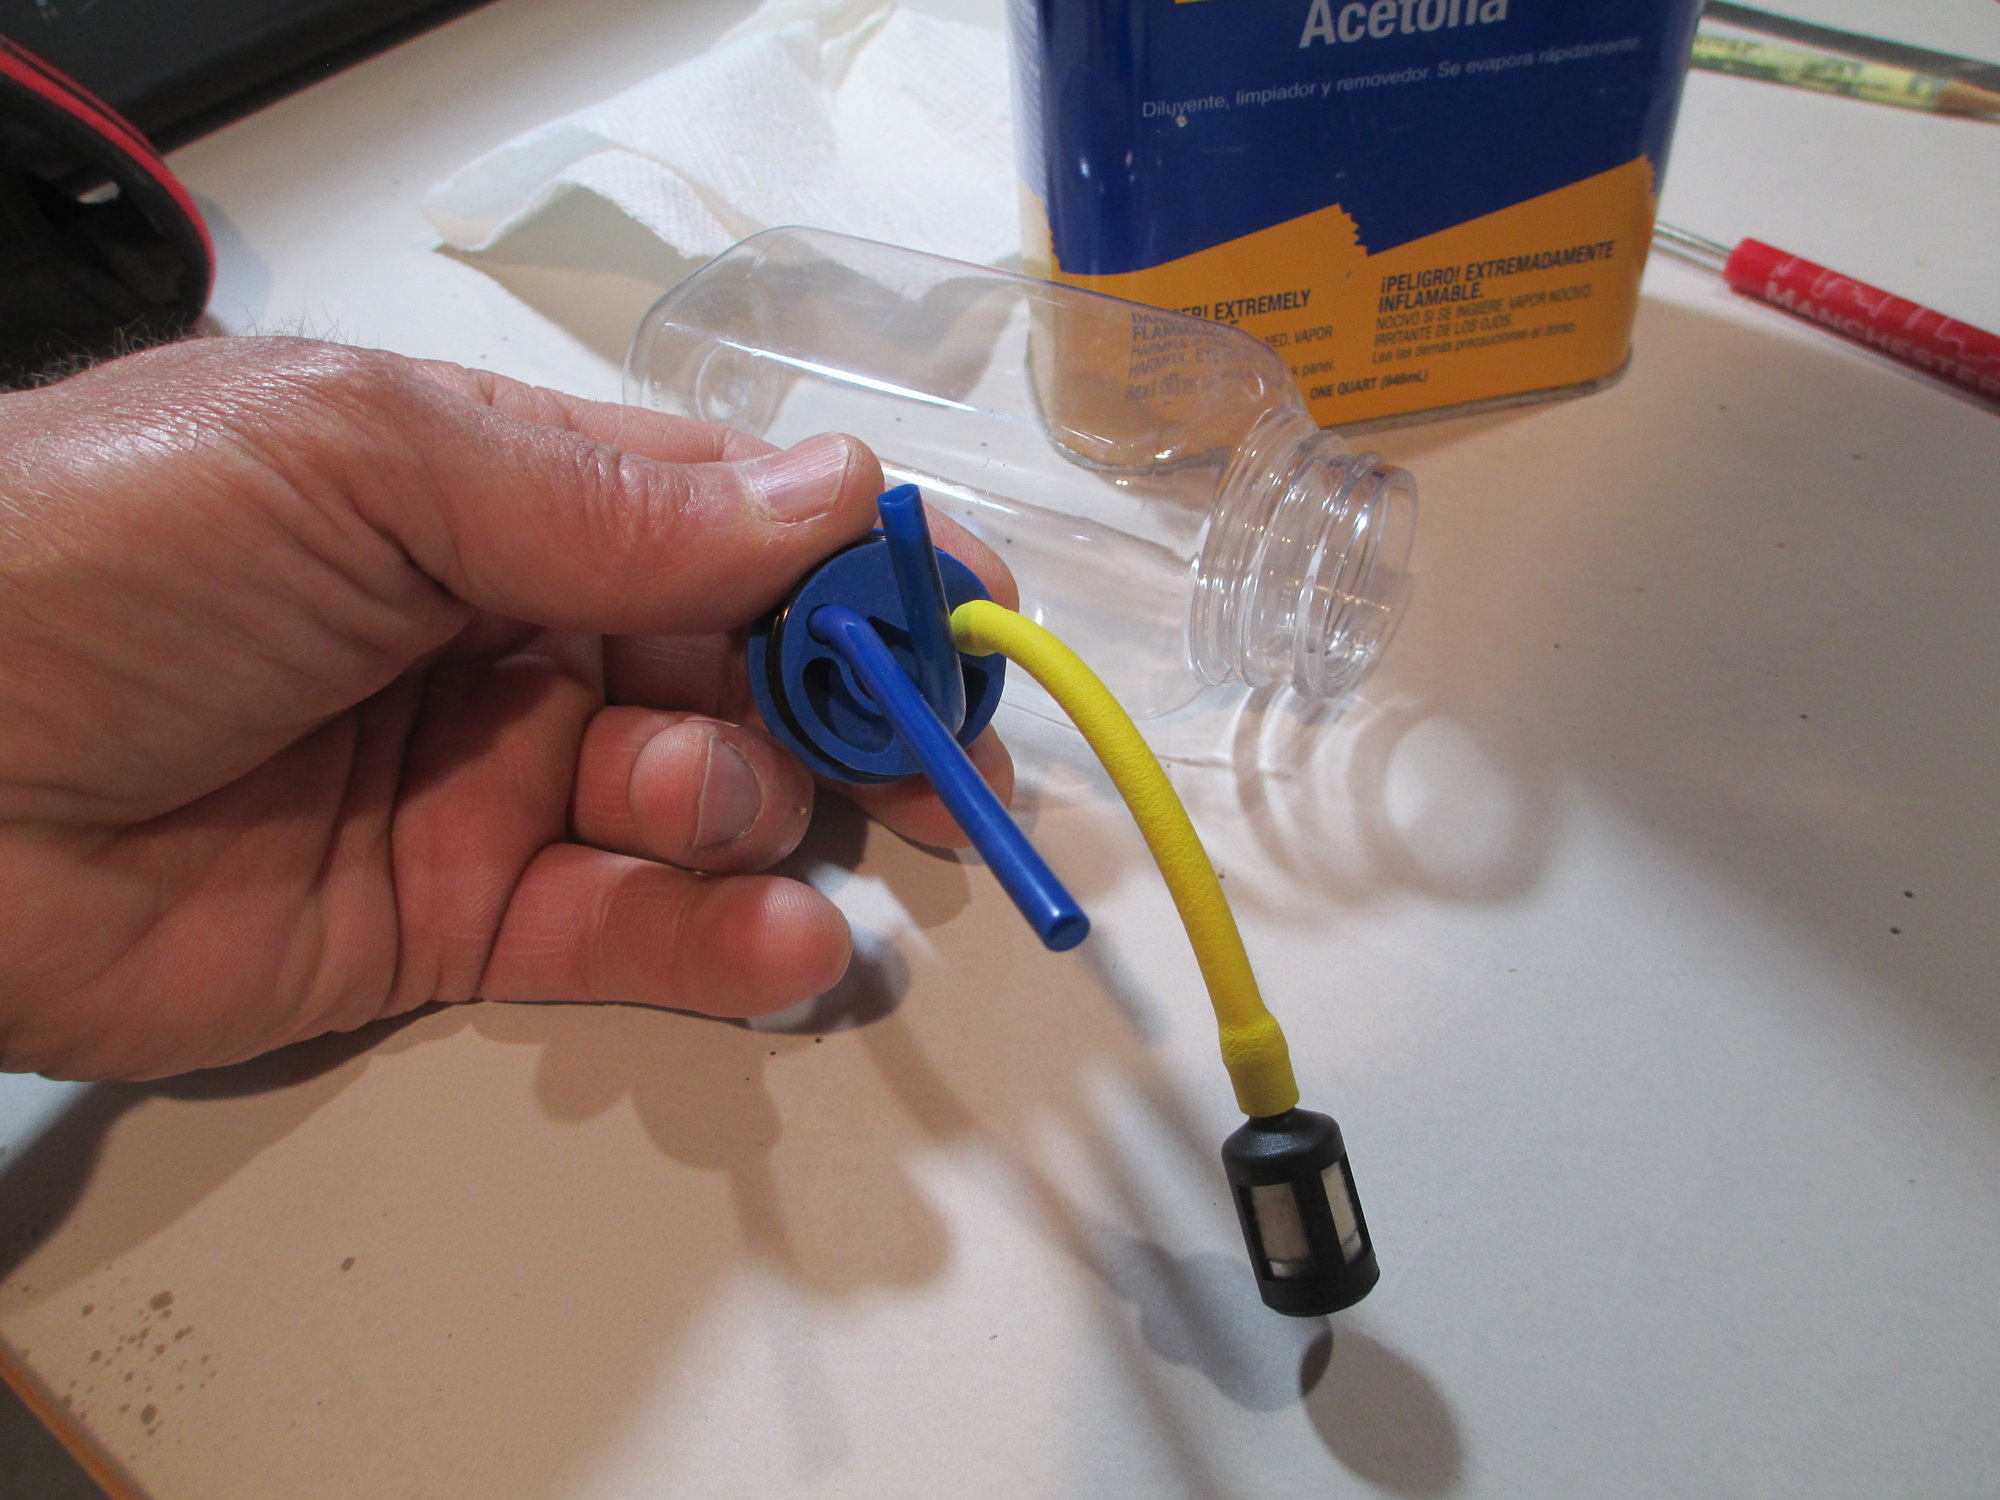
If you're still using the old yellow Tygon fuel line (on right), it's time for you to upgrade to a line that doesn't need to get replaced after one flying season. Tygon fuel line gets hard and is responsible for needless dead sticks.
Here I've swapped out the supplied Tygon clunk line for Sullivan's ProFlex line.
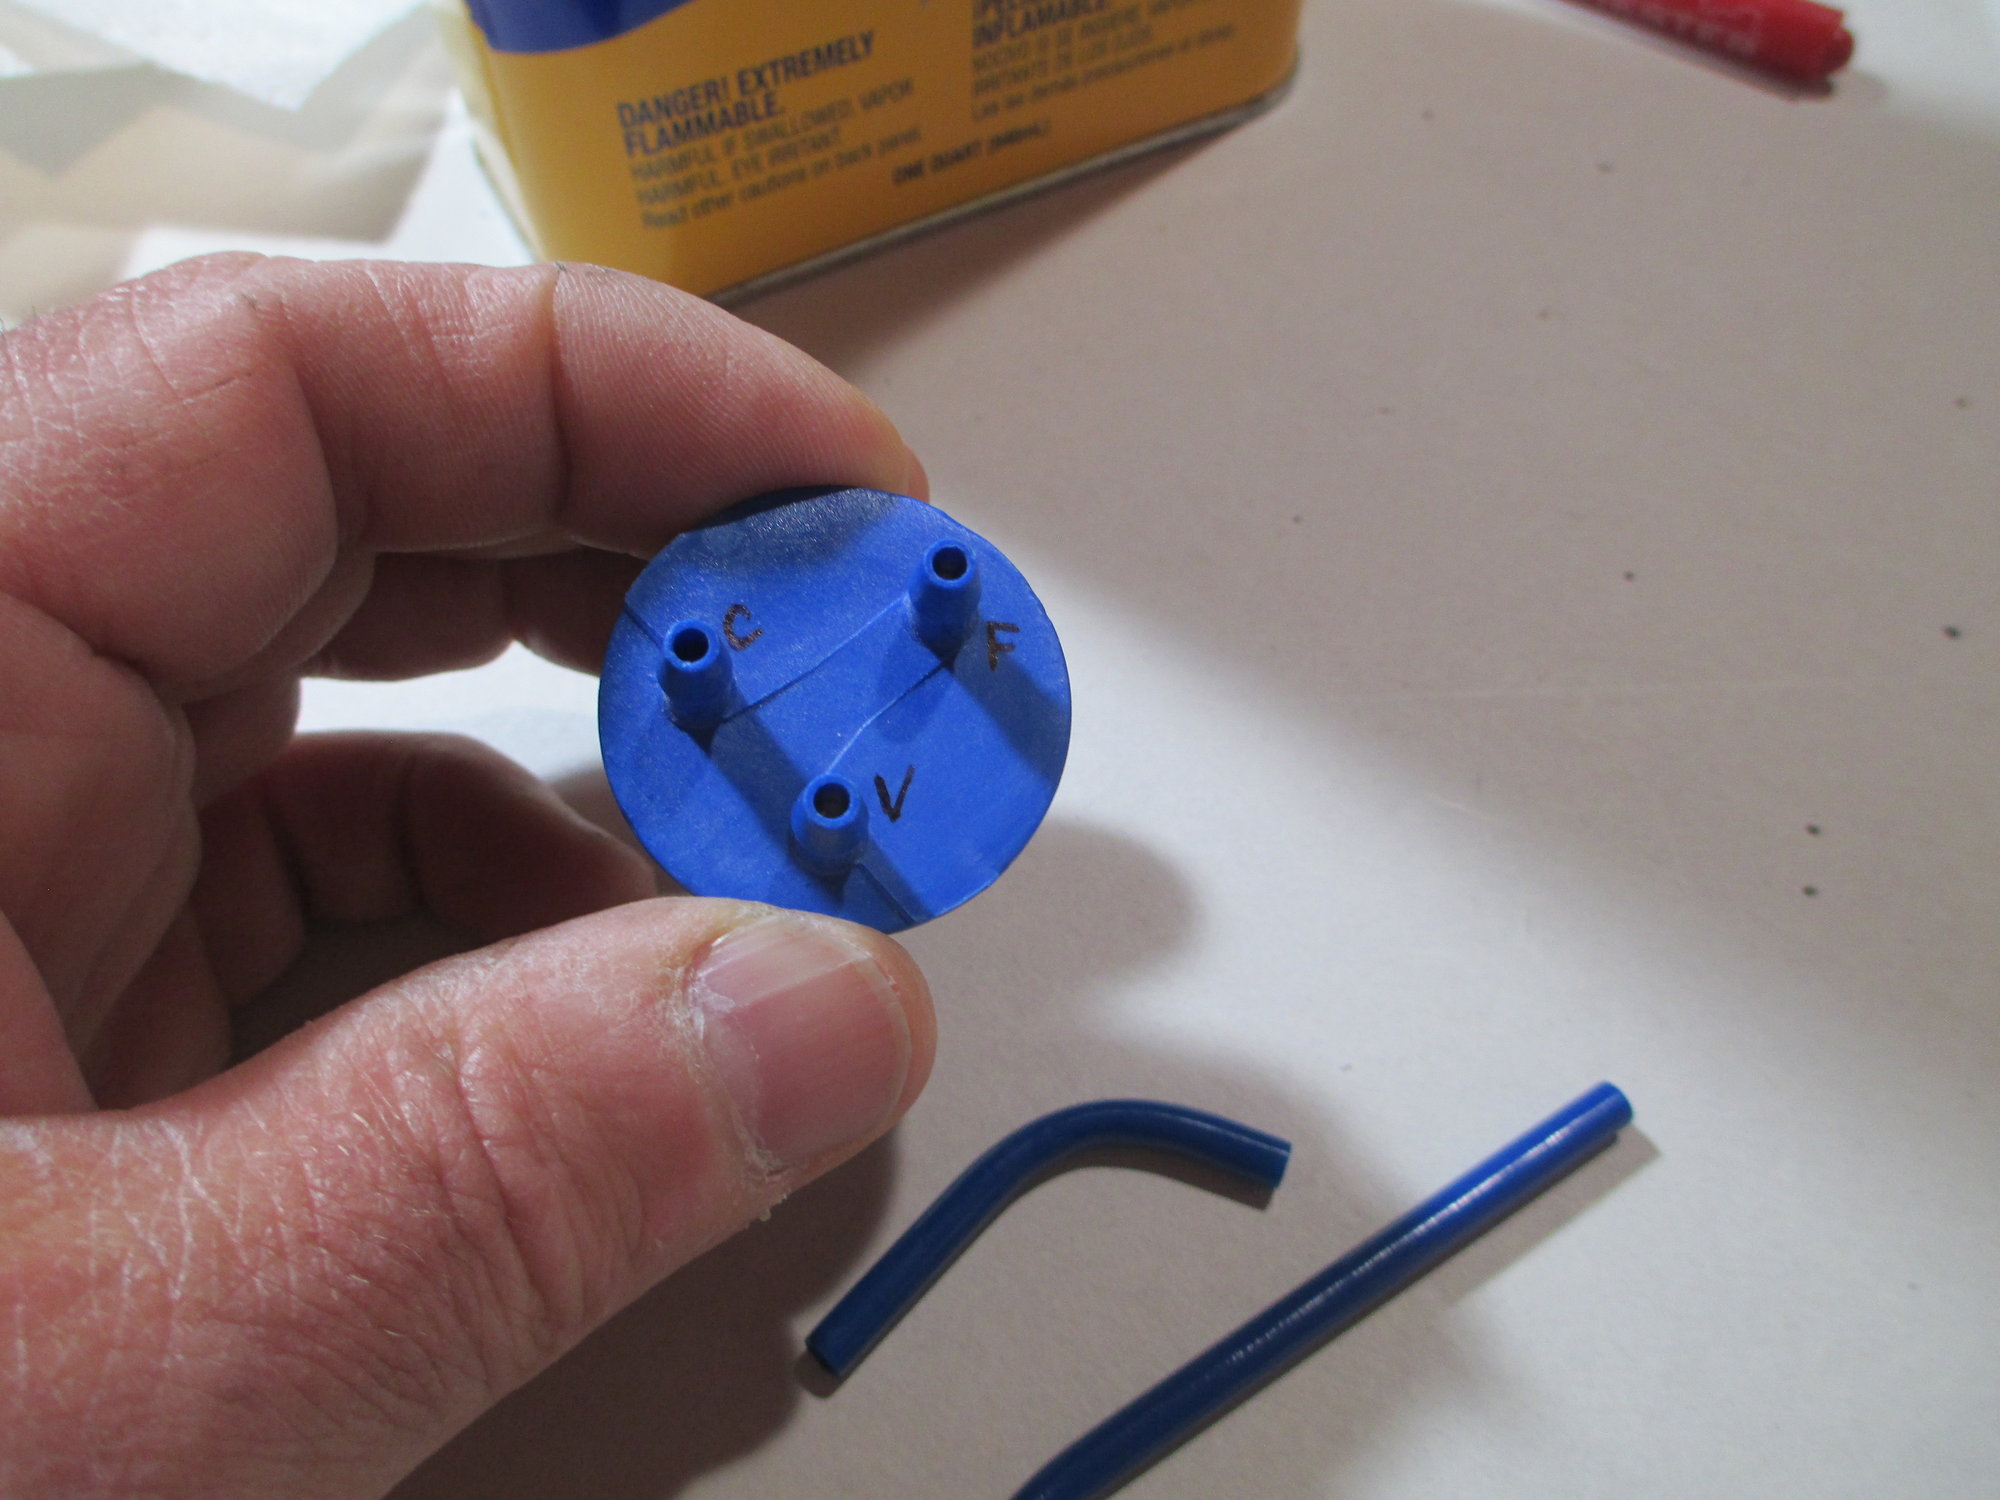
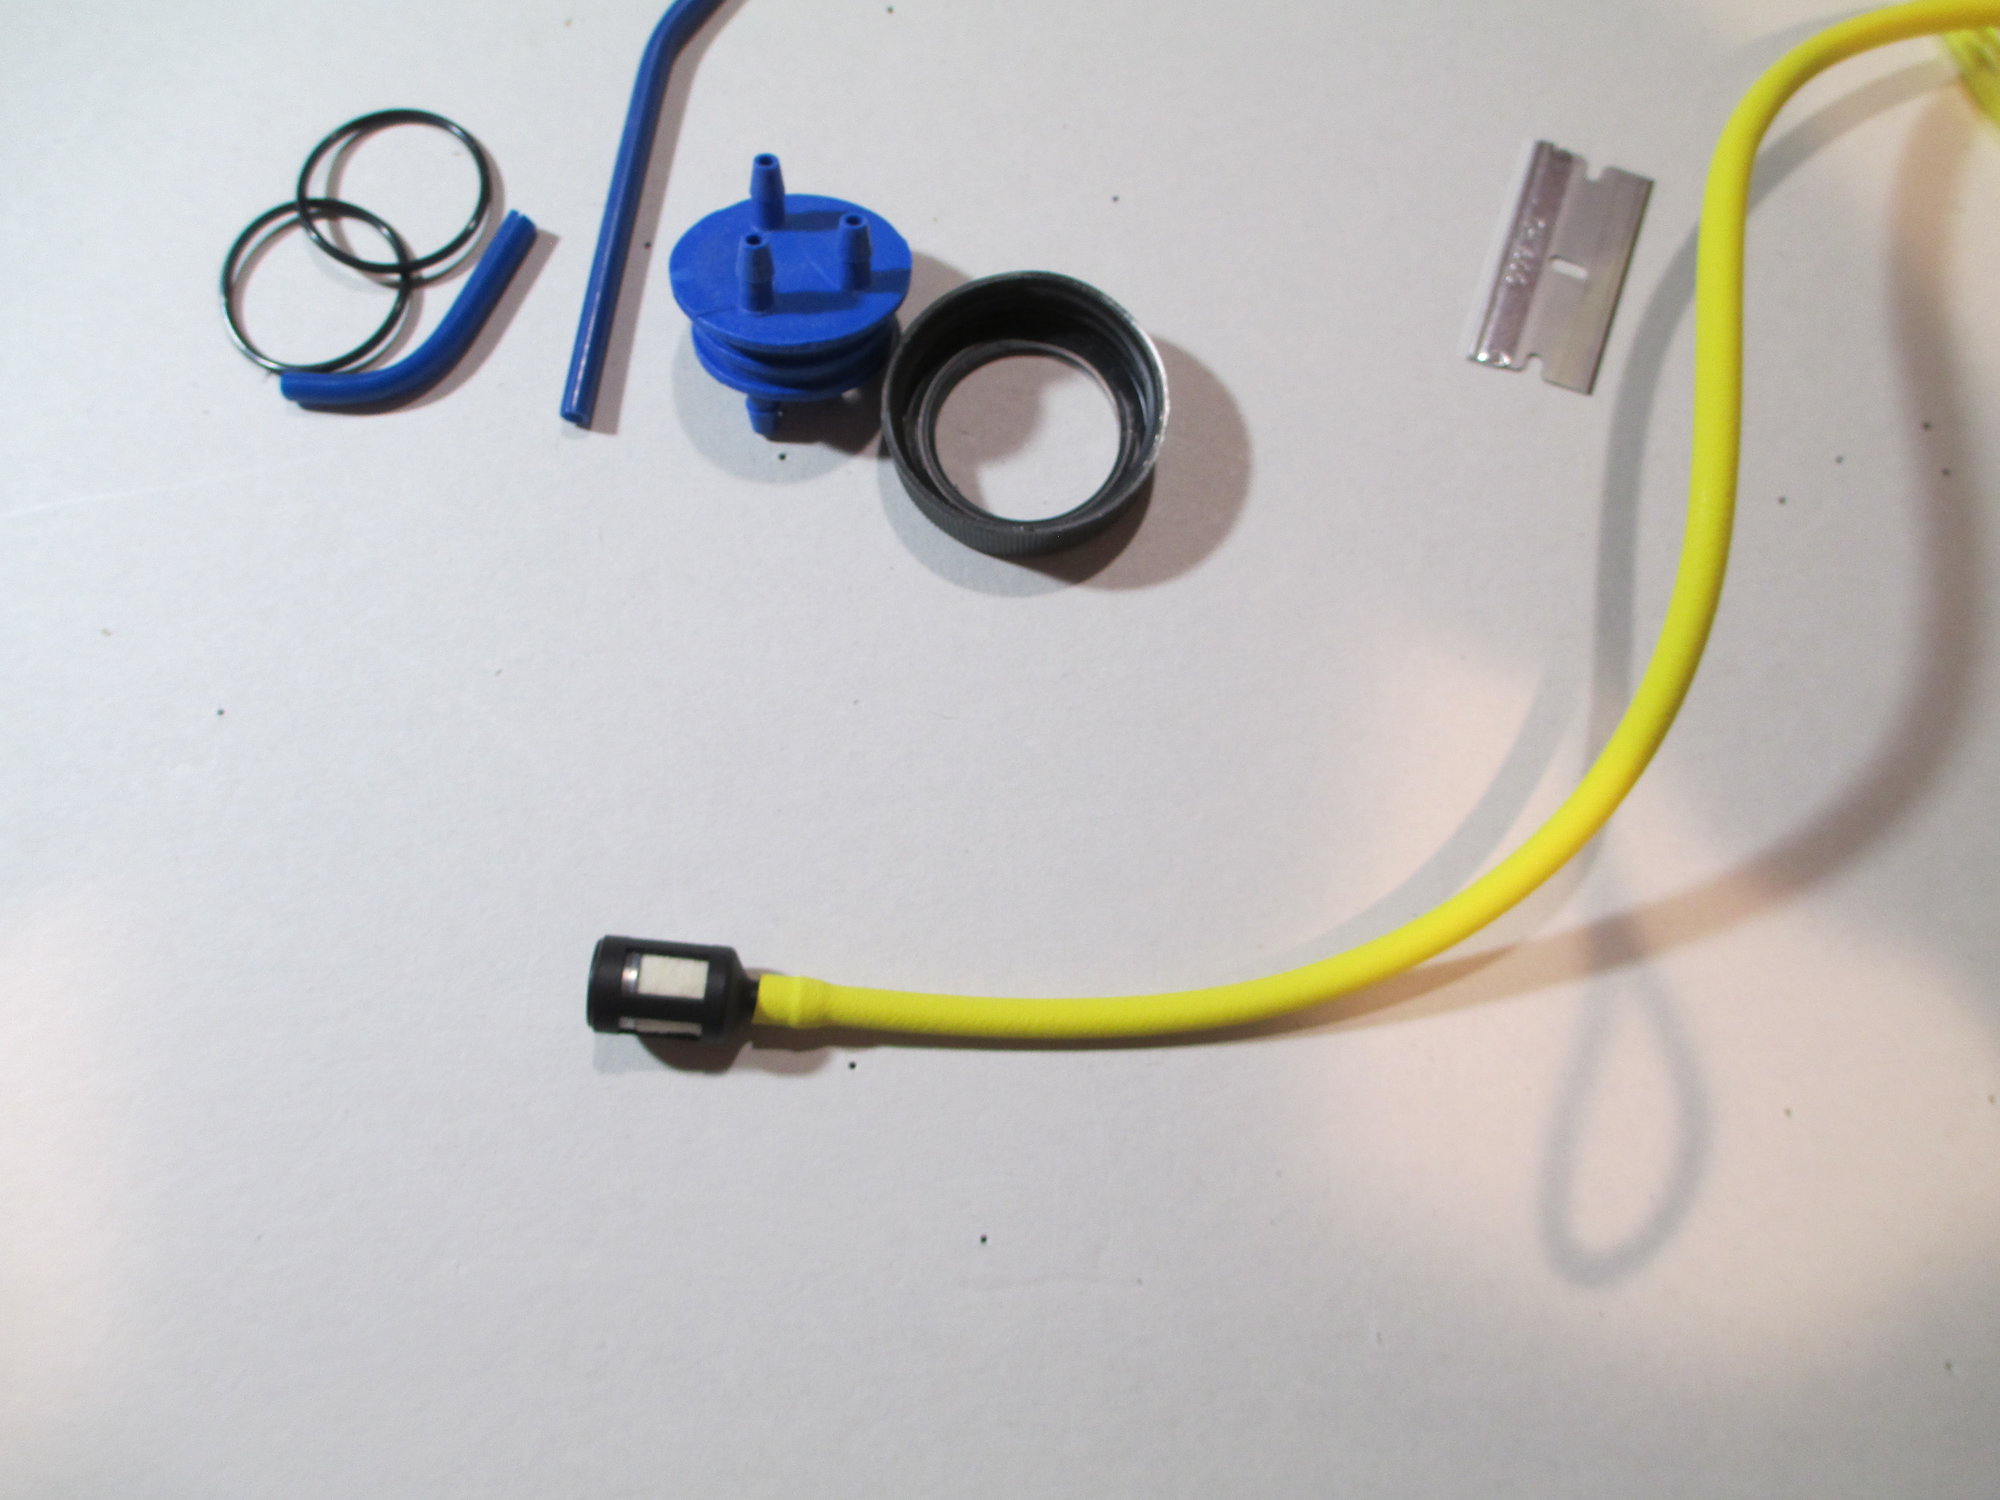
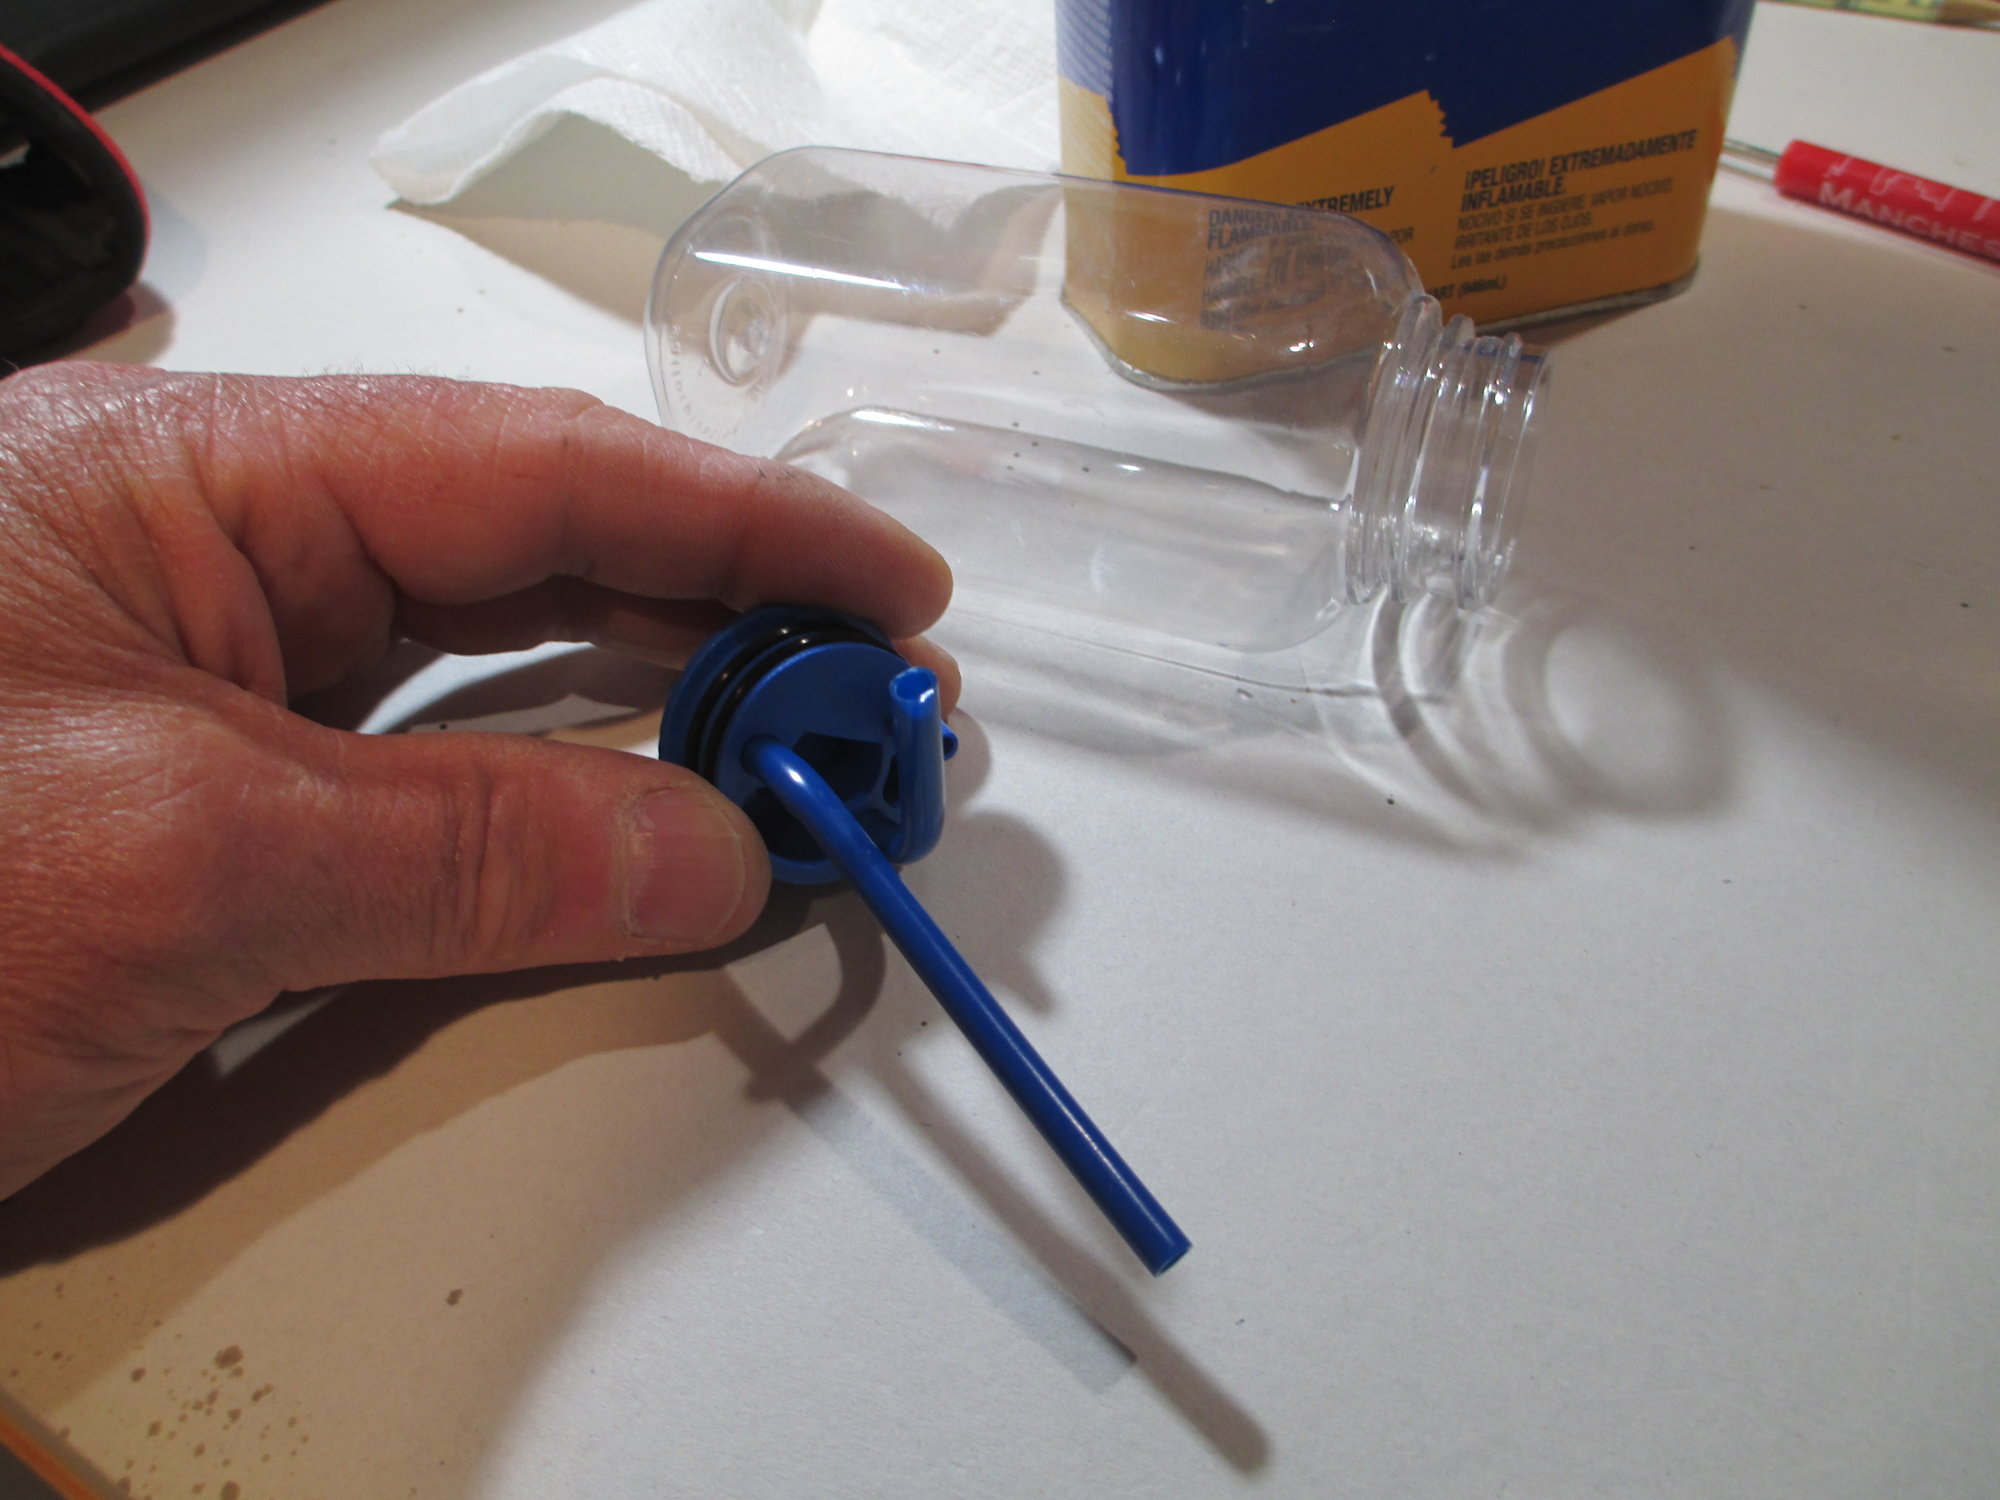
This piece that I'm holding, Fortitude is referring to as a "manifold". Here I've identified each line, C=clunk, V=vent and F=fill.
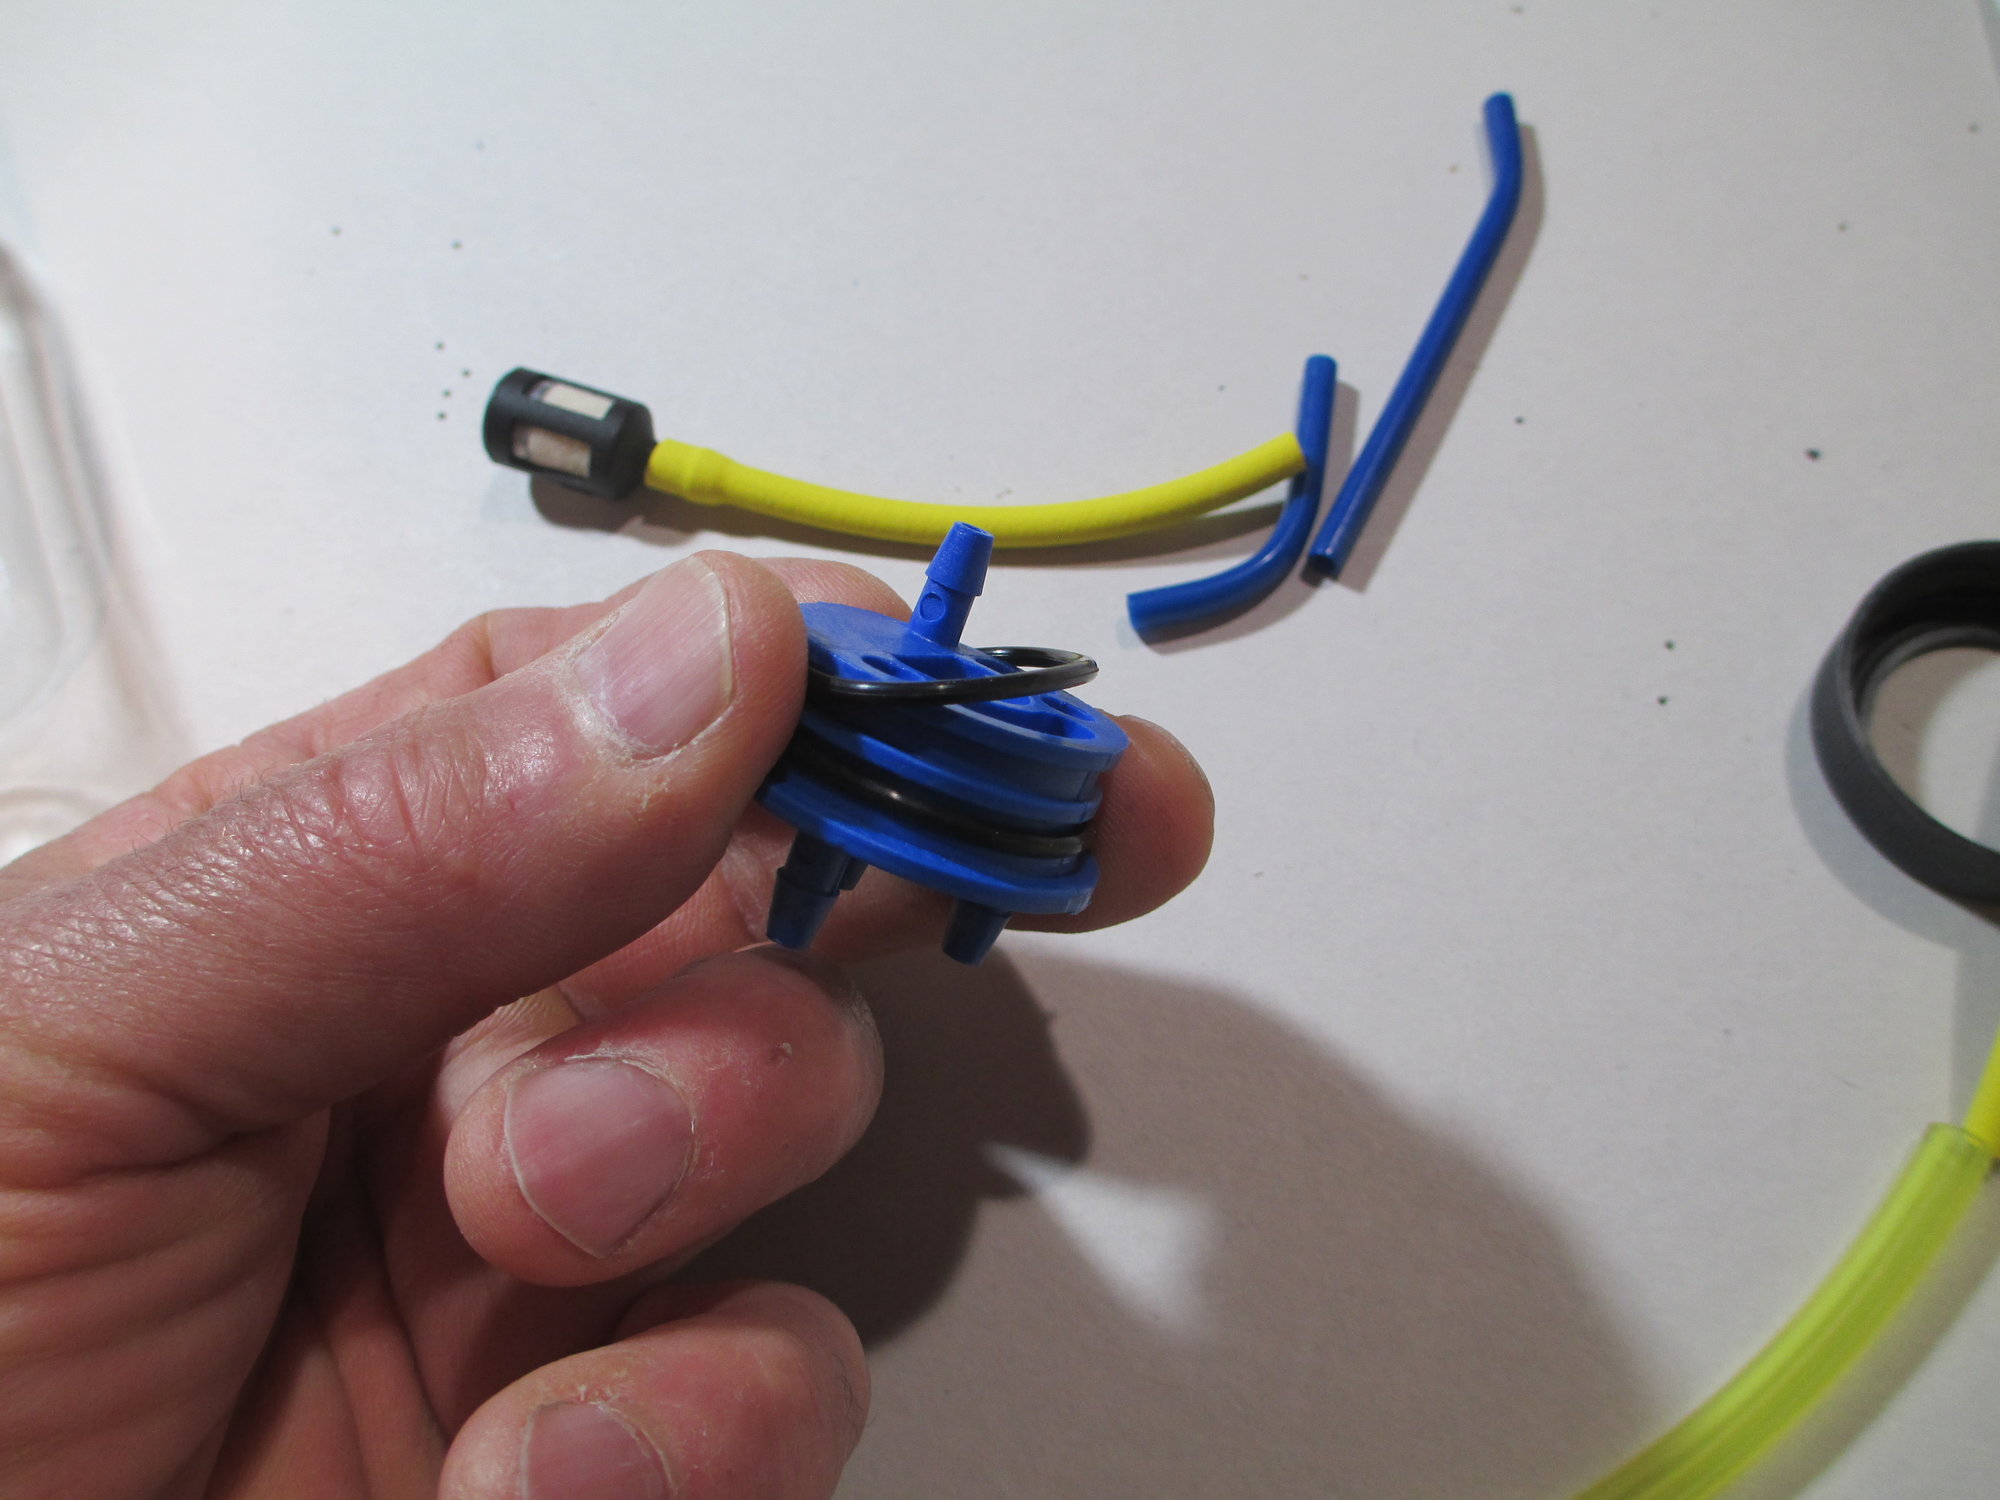
There are two rubber O-rings that slip into two grooves on the manifold.
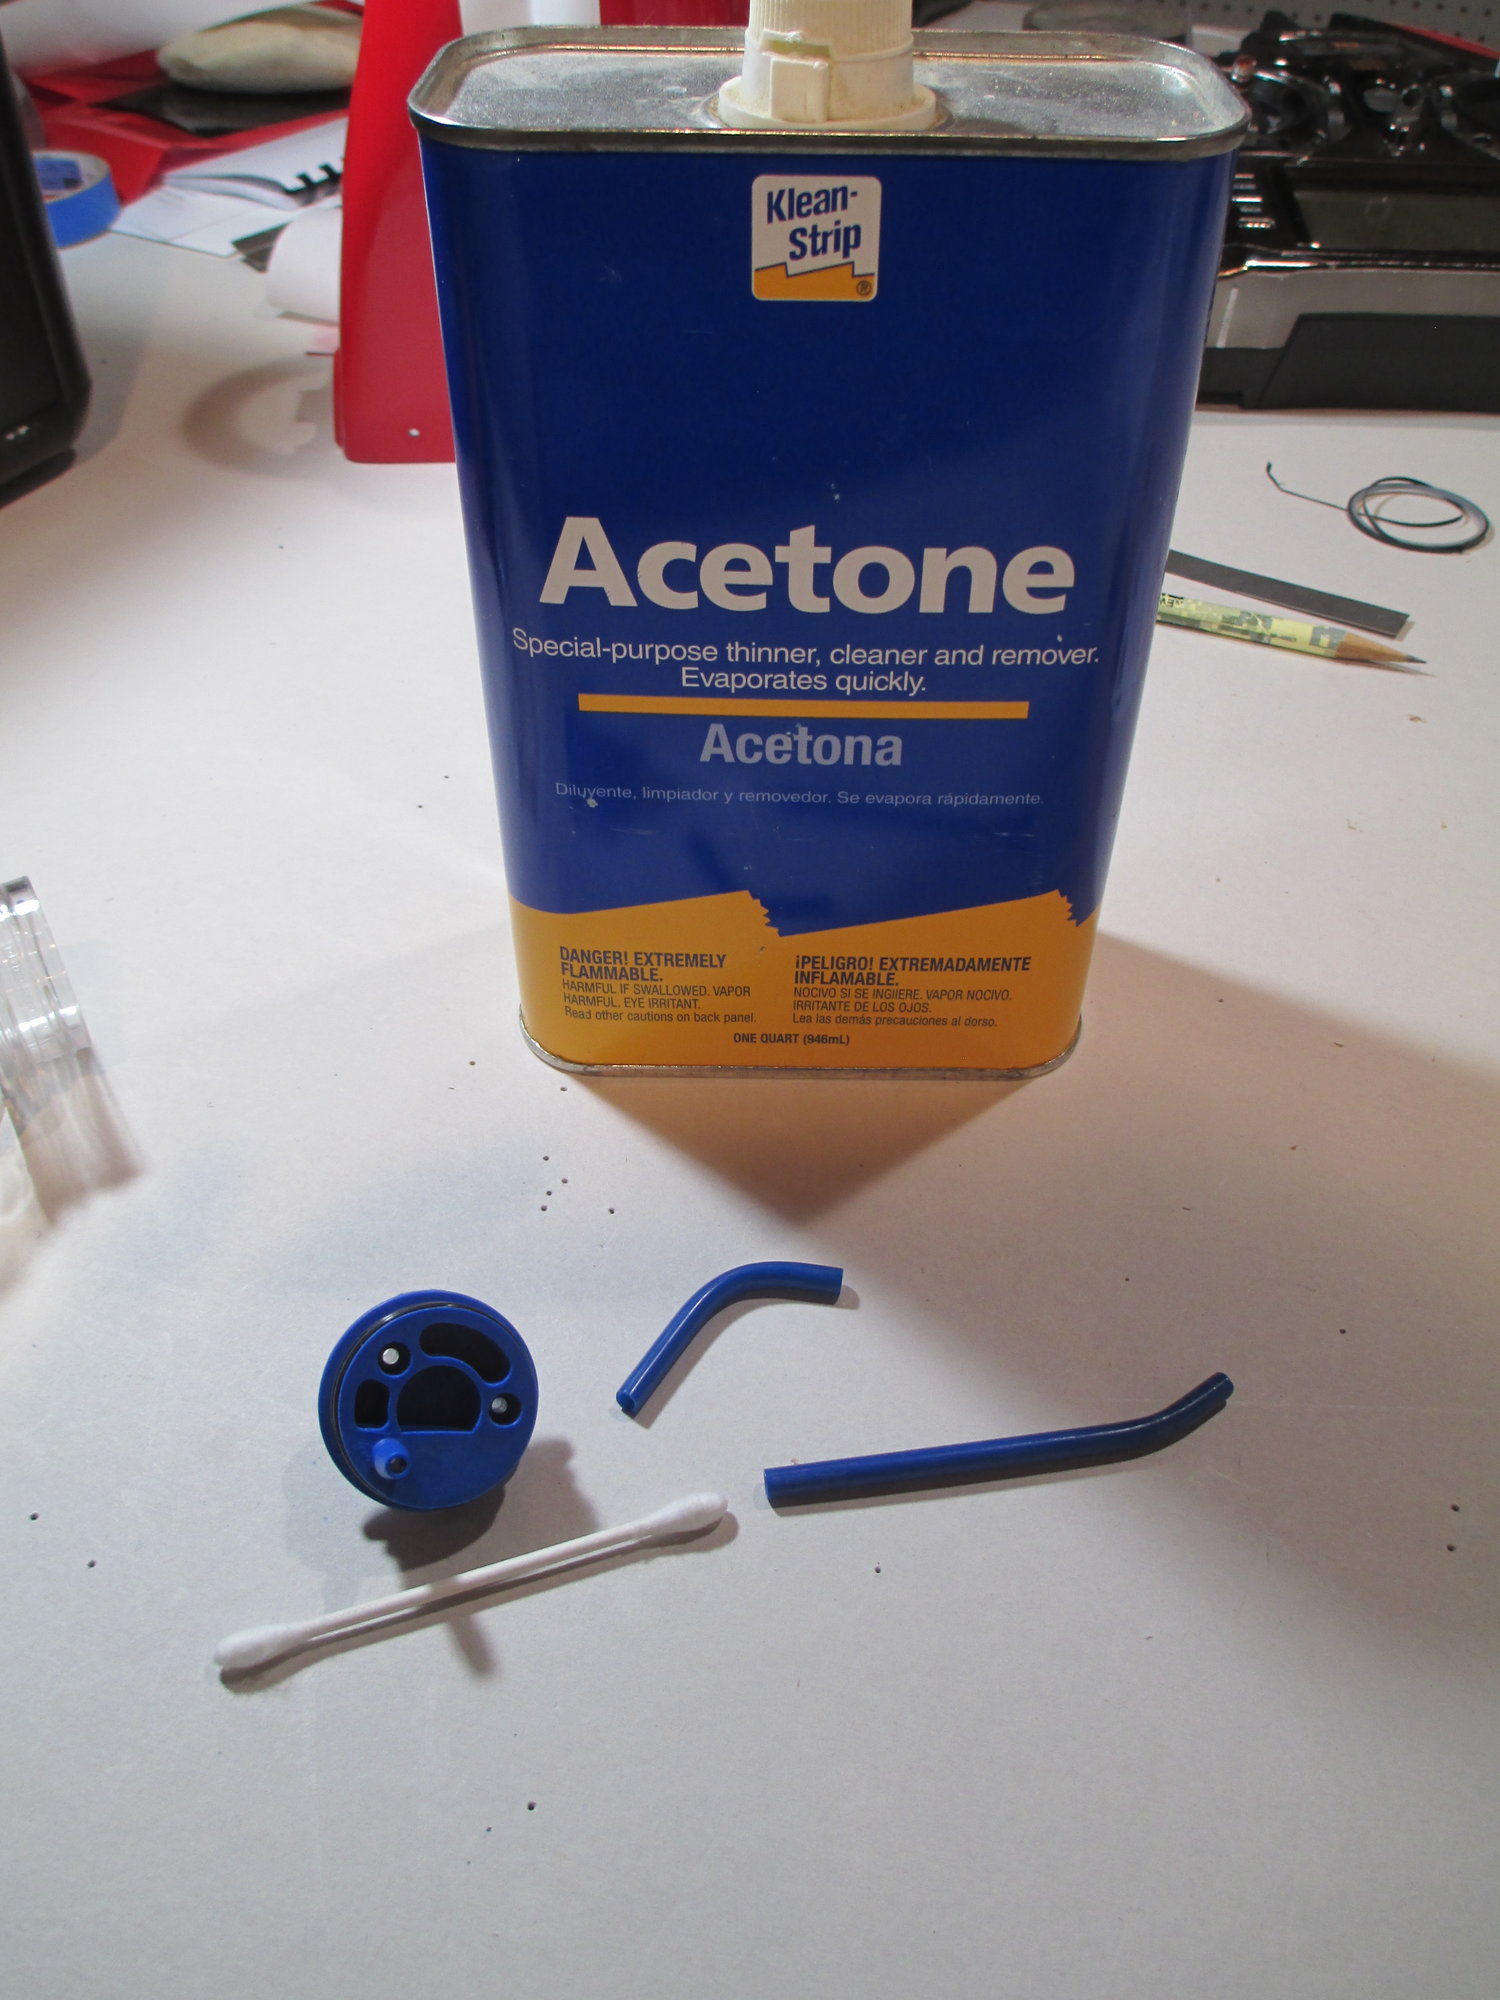
With the O-rings installed, now is the time to clean the Fill and Vent tubes as well as the respective openings in the manifold with Acetone. This step removes any left over mold release during the manufacturing process.
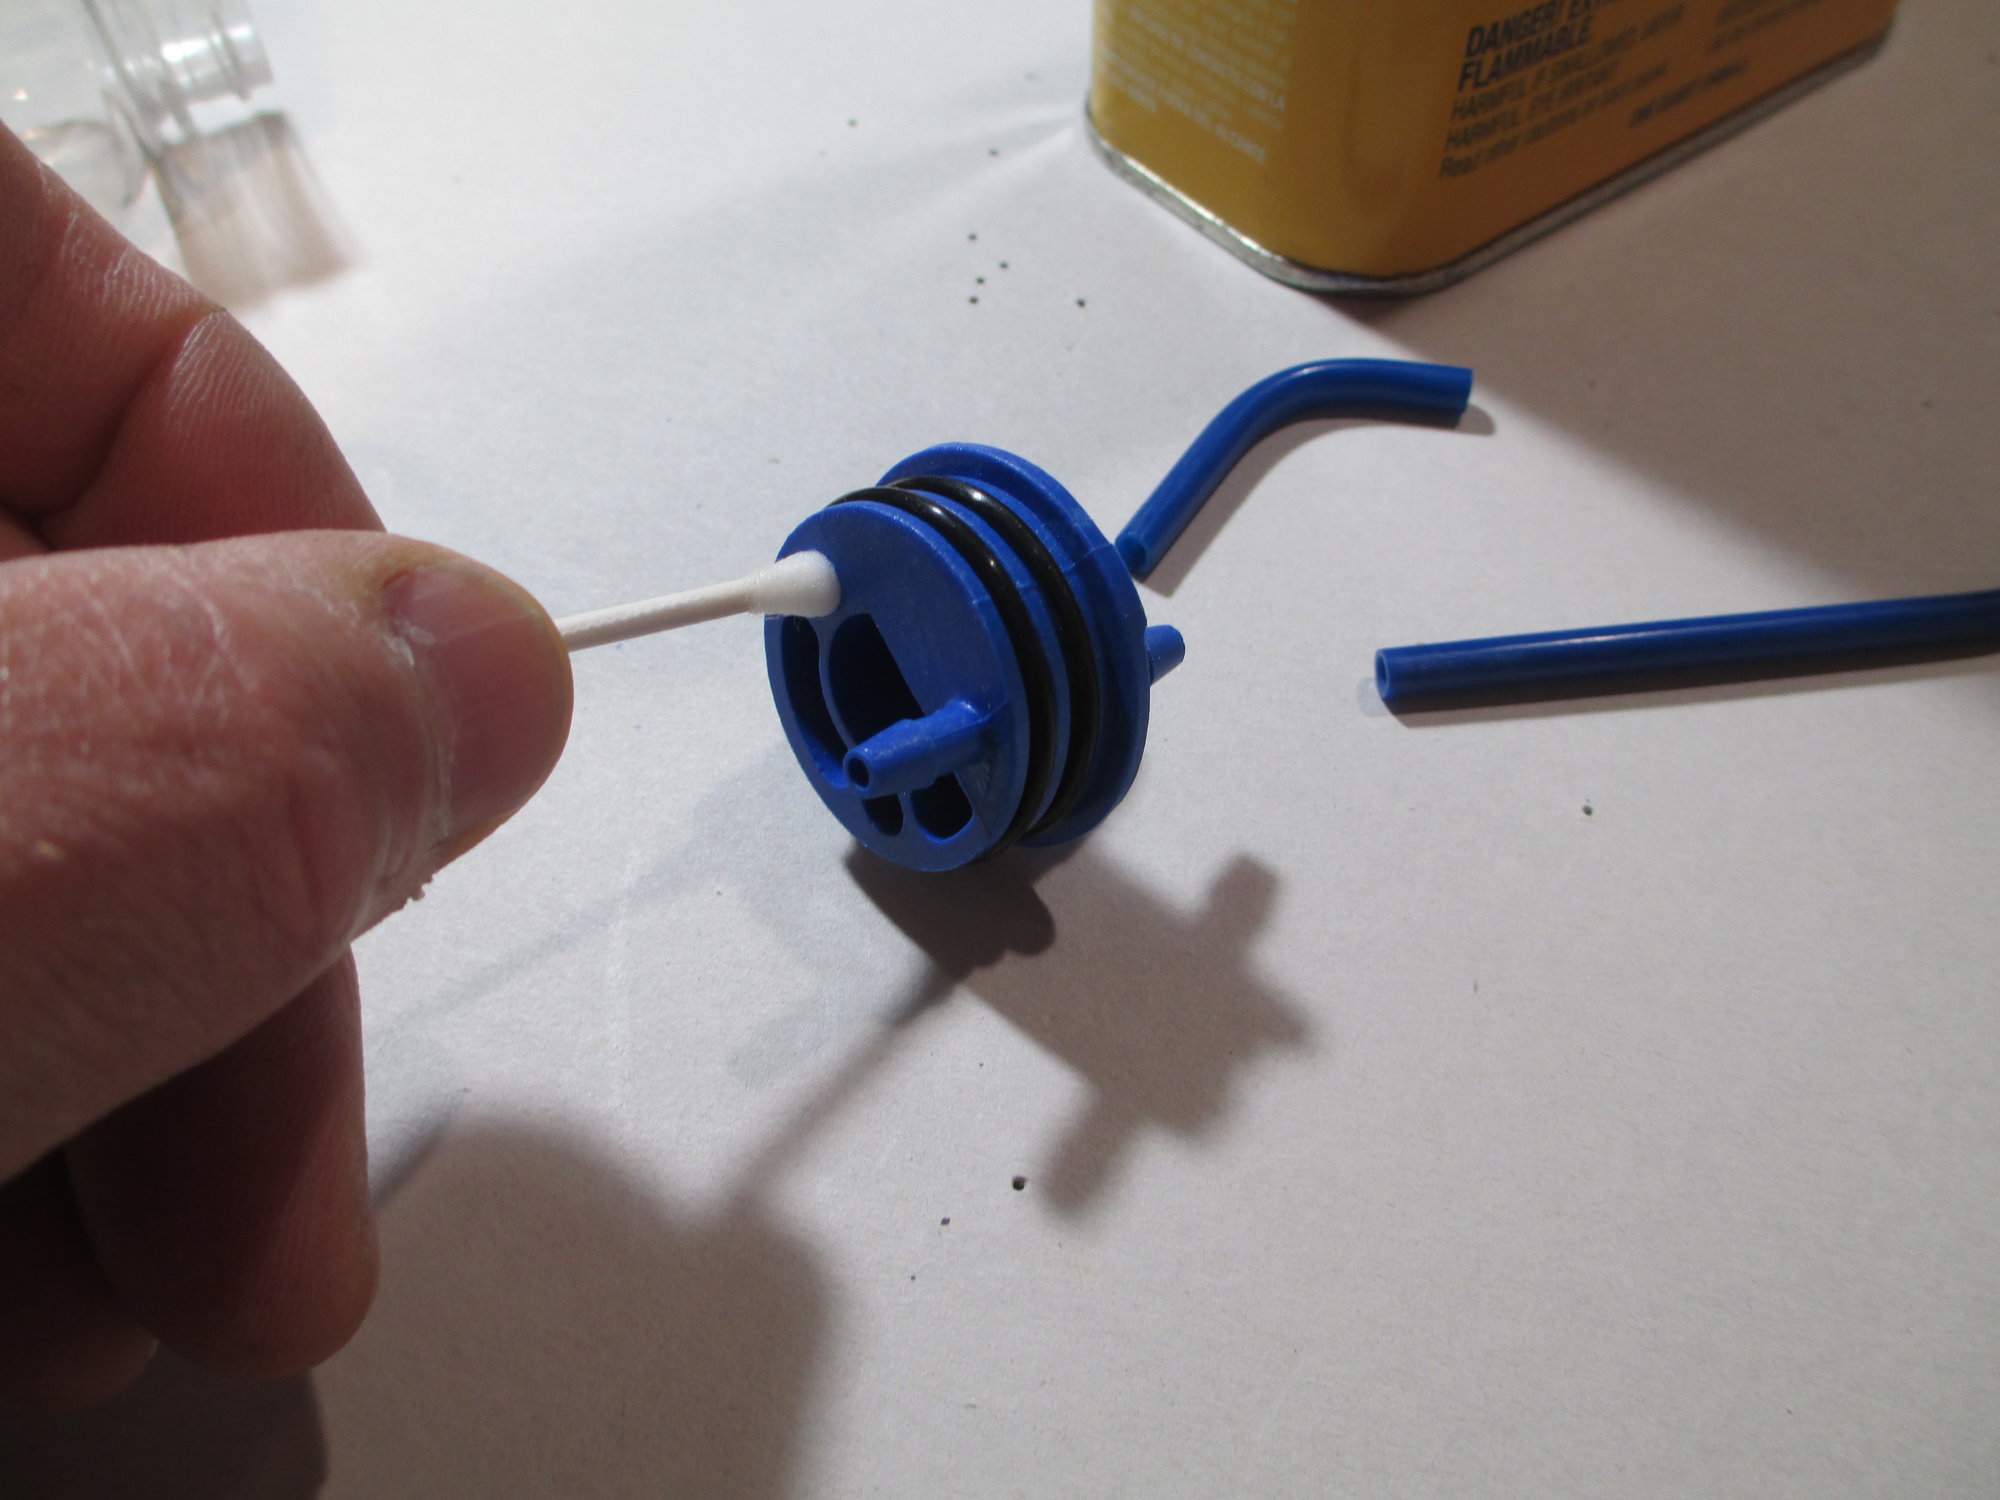
Here I'm using a Q-tip dipped in Acetone to clean out the openings in the manifold.
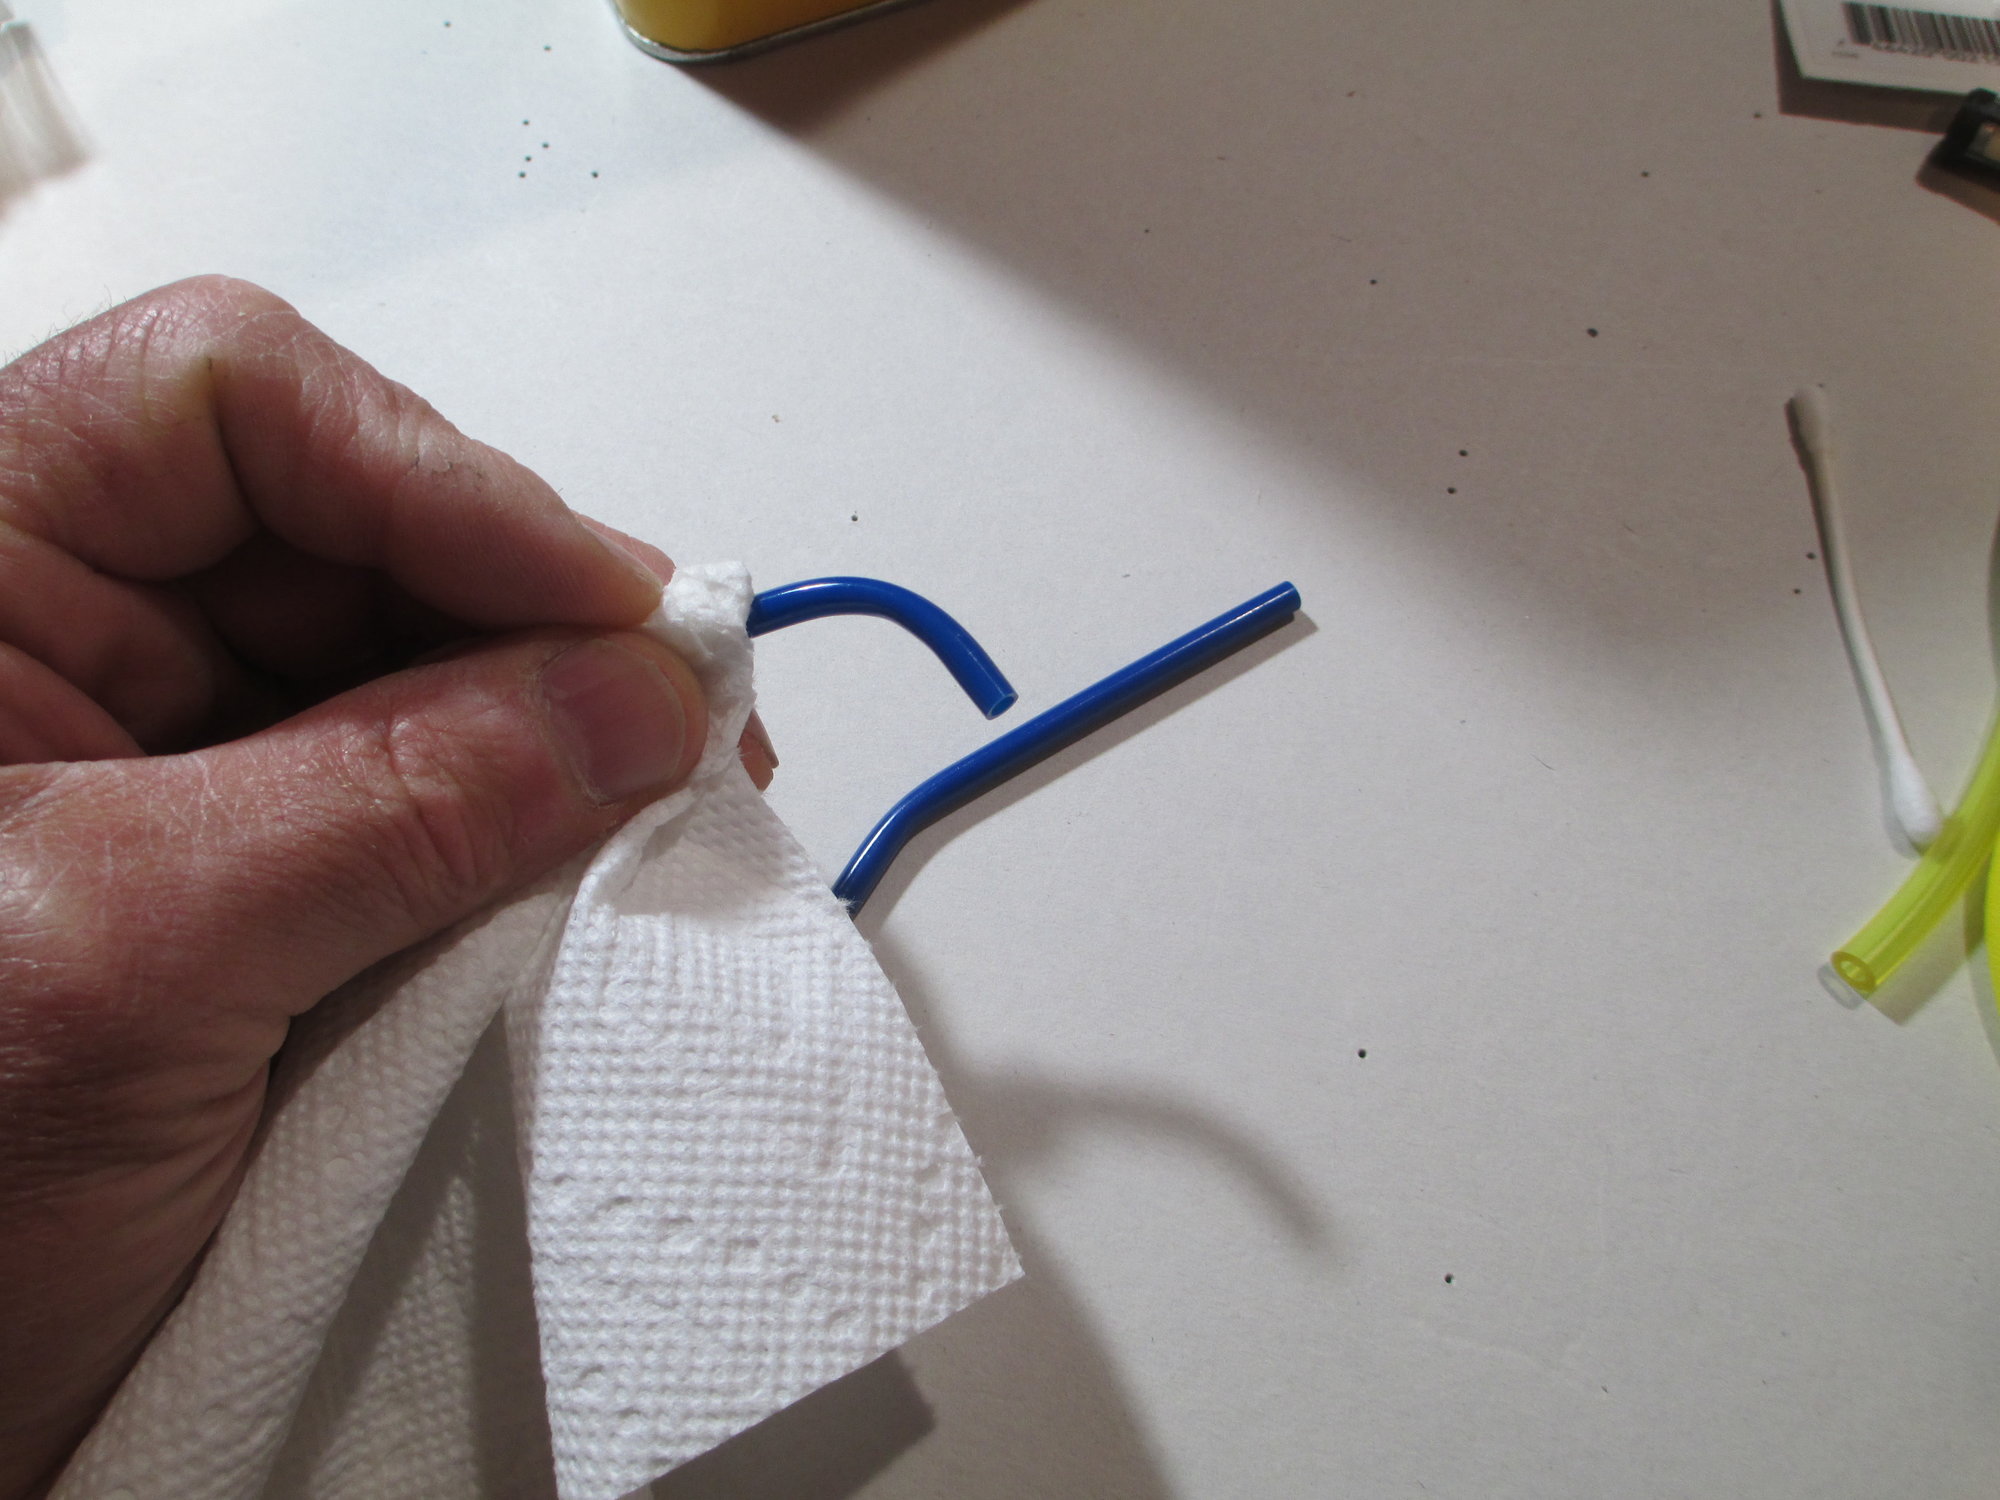
A quick wipe with a paper towel wet with Acetone.
The Vent and Fill tubes are now inserted into the manifold and fully seated. Care must be taken to make sure that the vent tube is facing at the top of the tank and the fill tube at the bottom.
The clunk hose is trimmed to length and installed. At this point it would be wise to slip the manifold in the tank to verify that your lines are in the position that you want them...
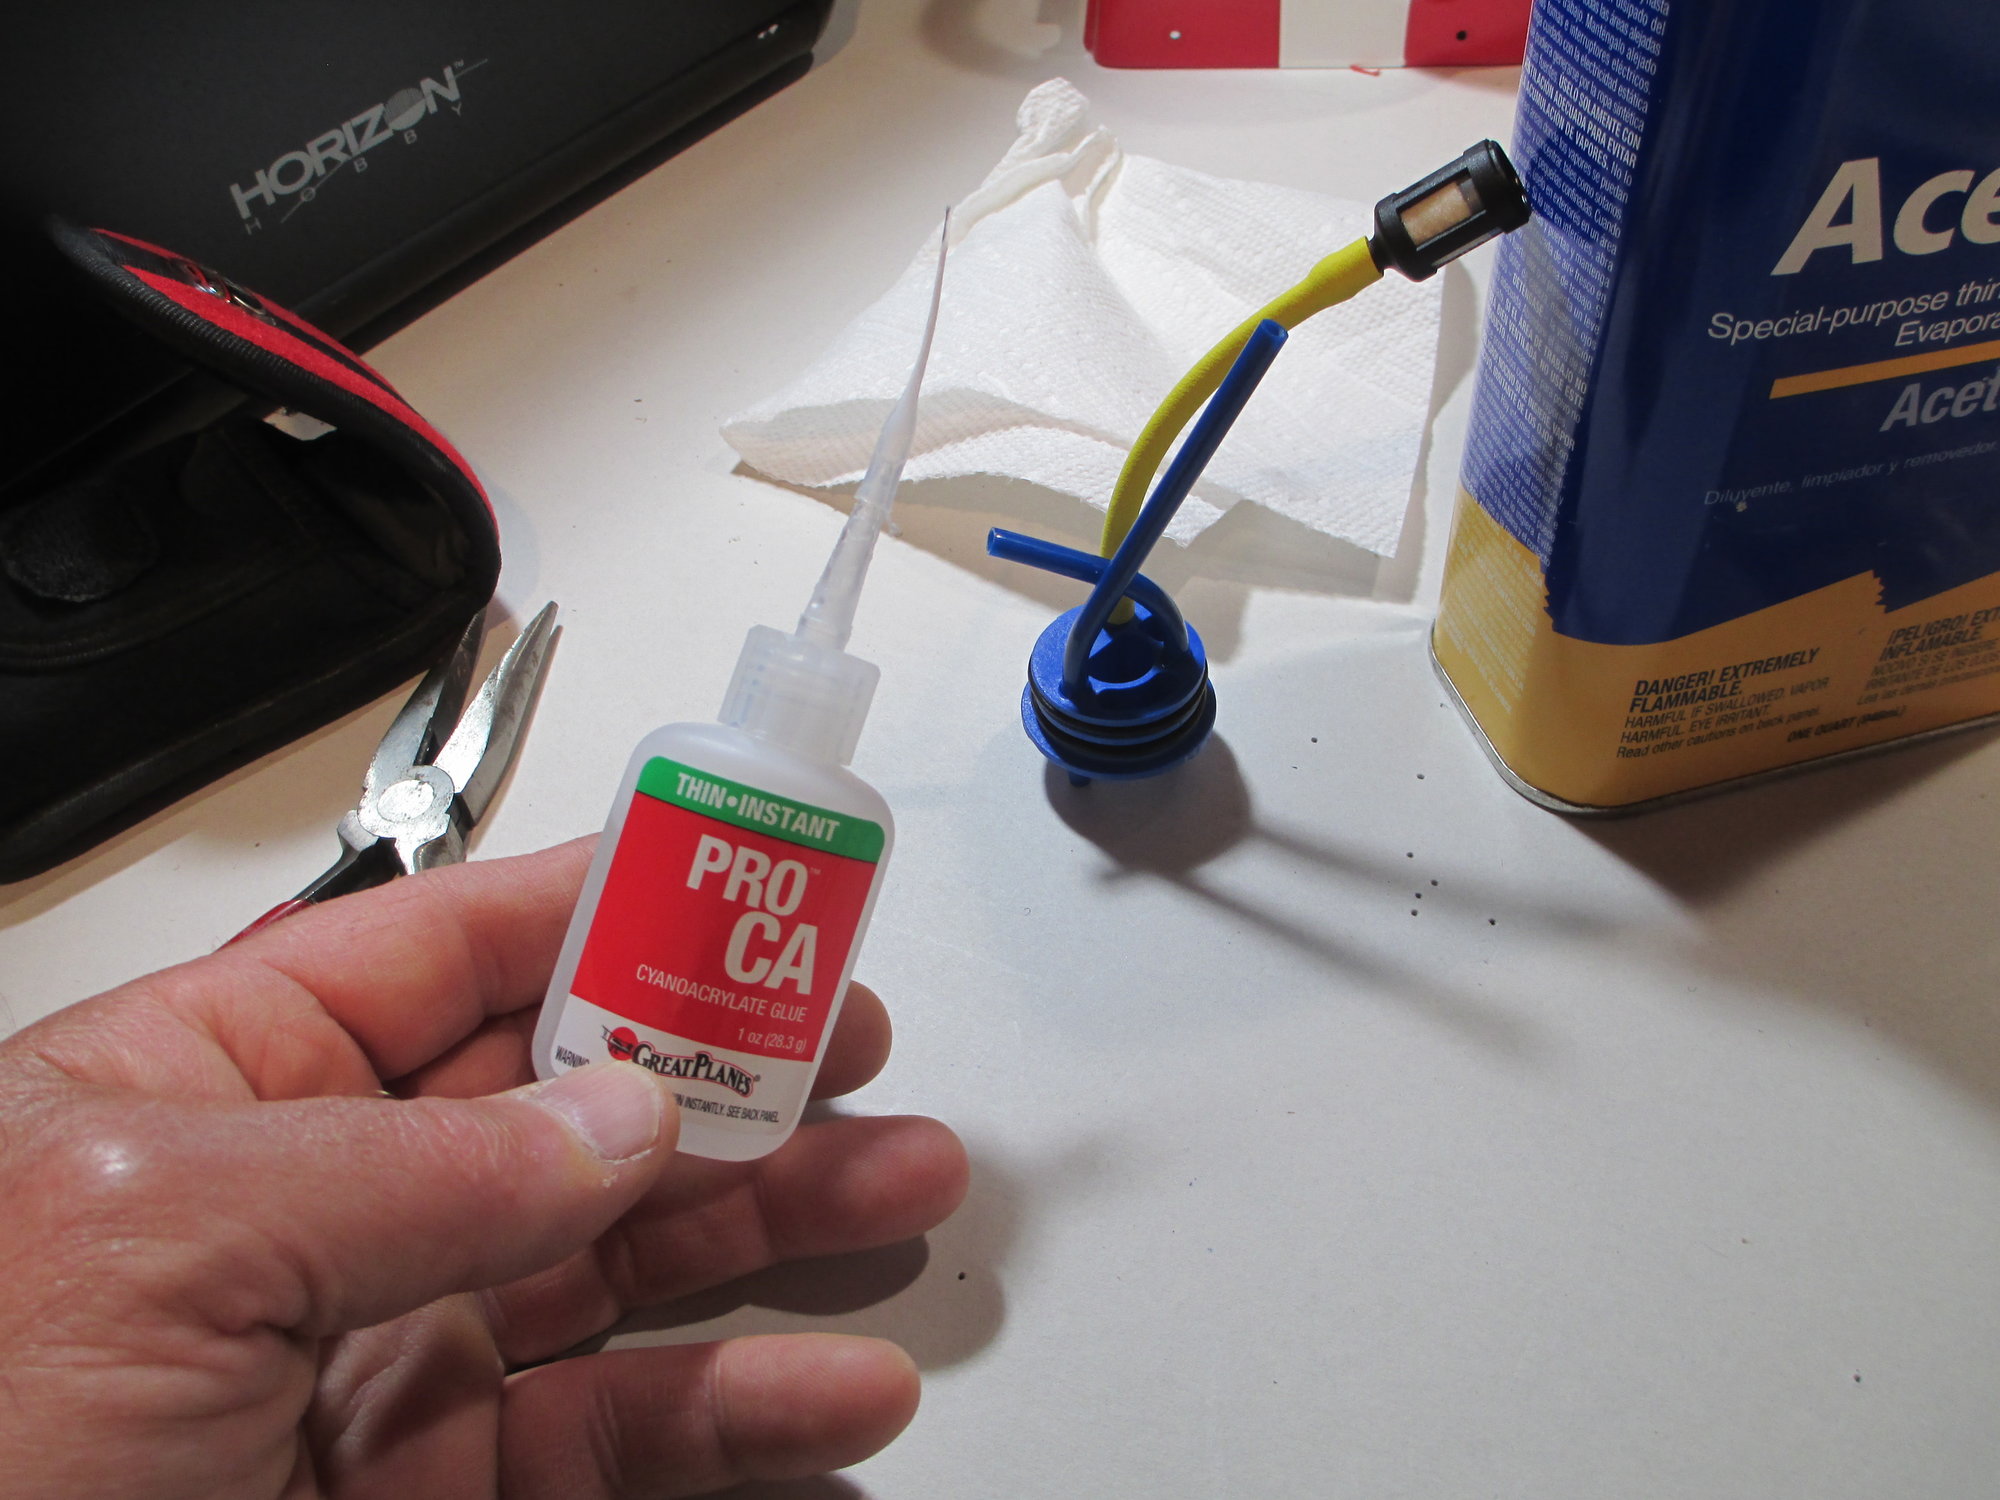
Once your'e satisfied that the lines are in the correct position, remove the assembly and place one drop of CA at the fill and vent connections. This will permanently secure them.
After waiting for the CA to cure (10 minutes), dampen the manifold O-rings with some water to aid in assembly. Once the manifold is seated slip the cover on and tighten.
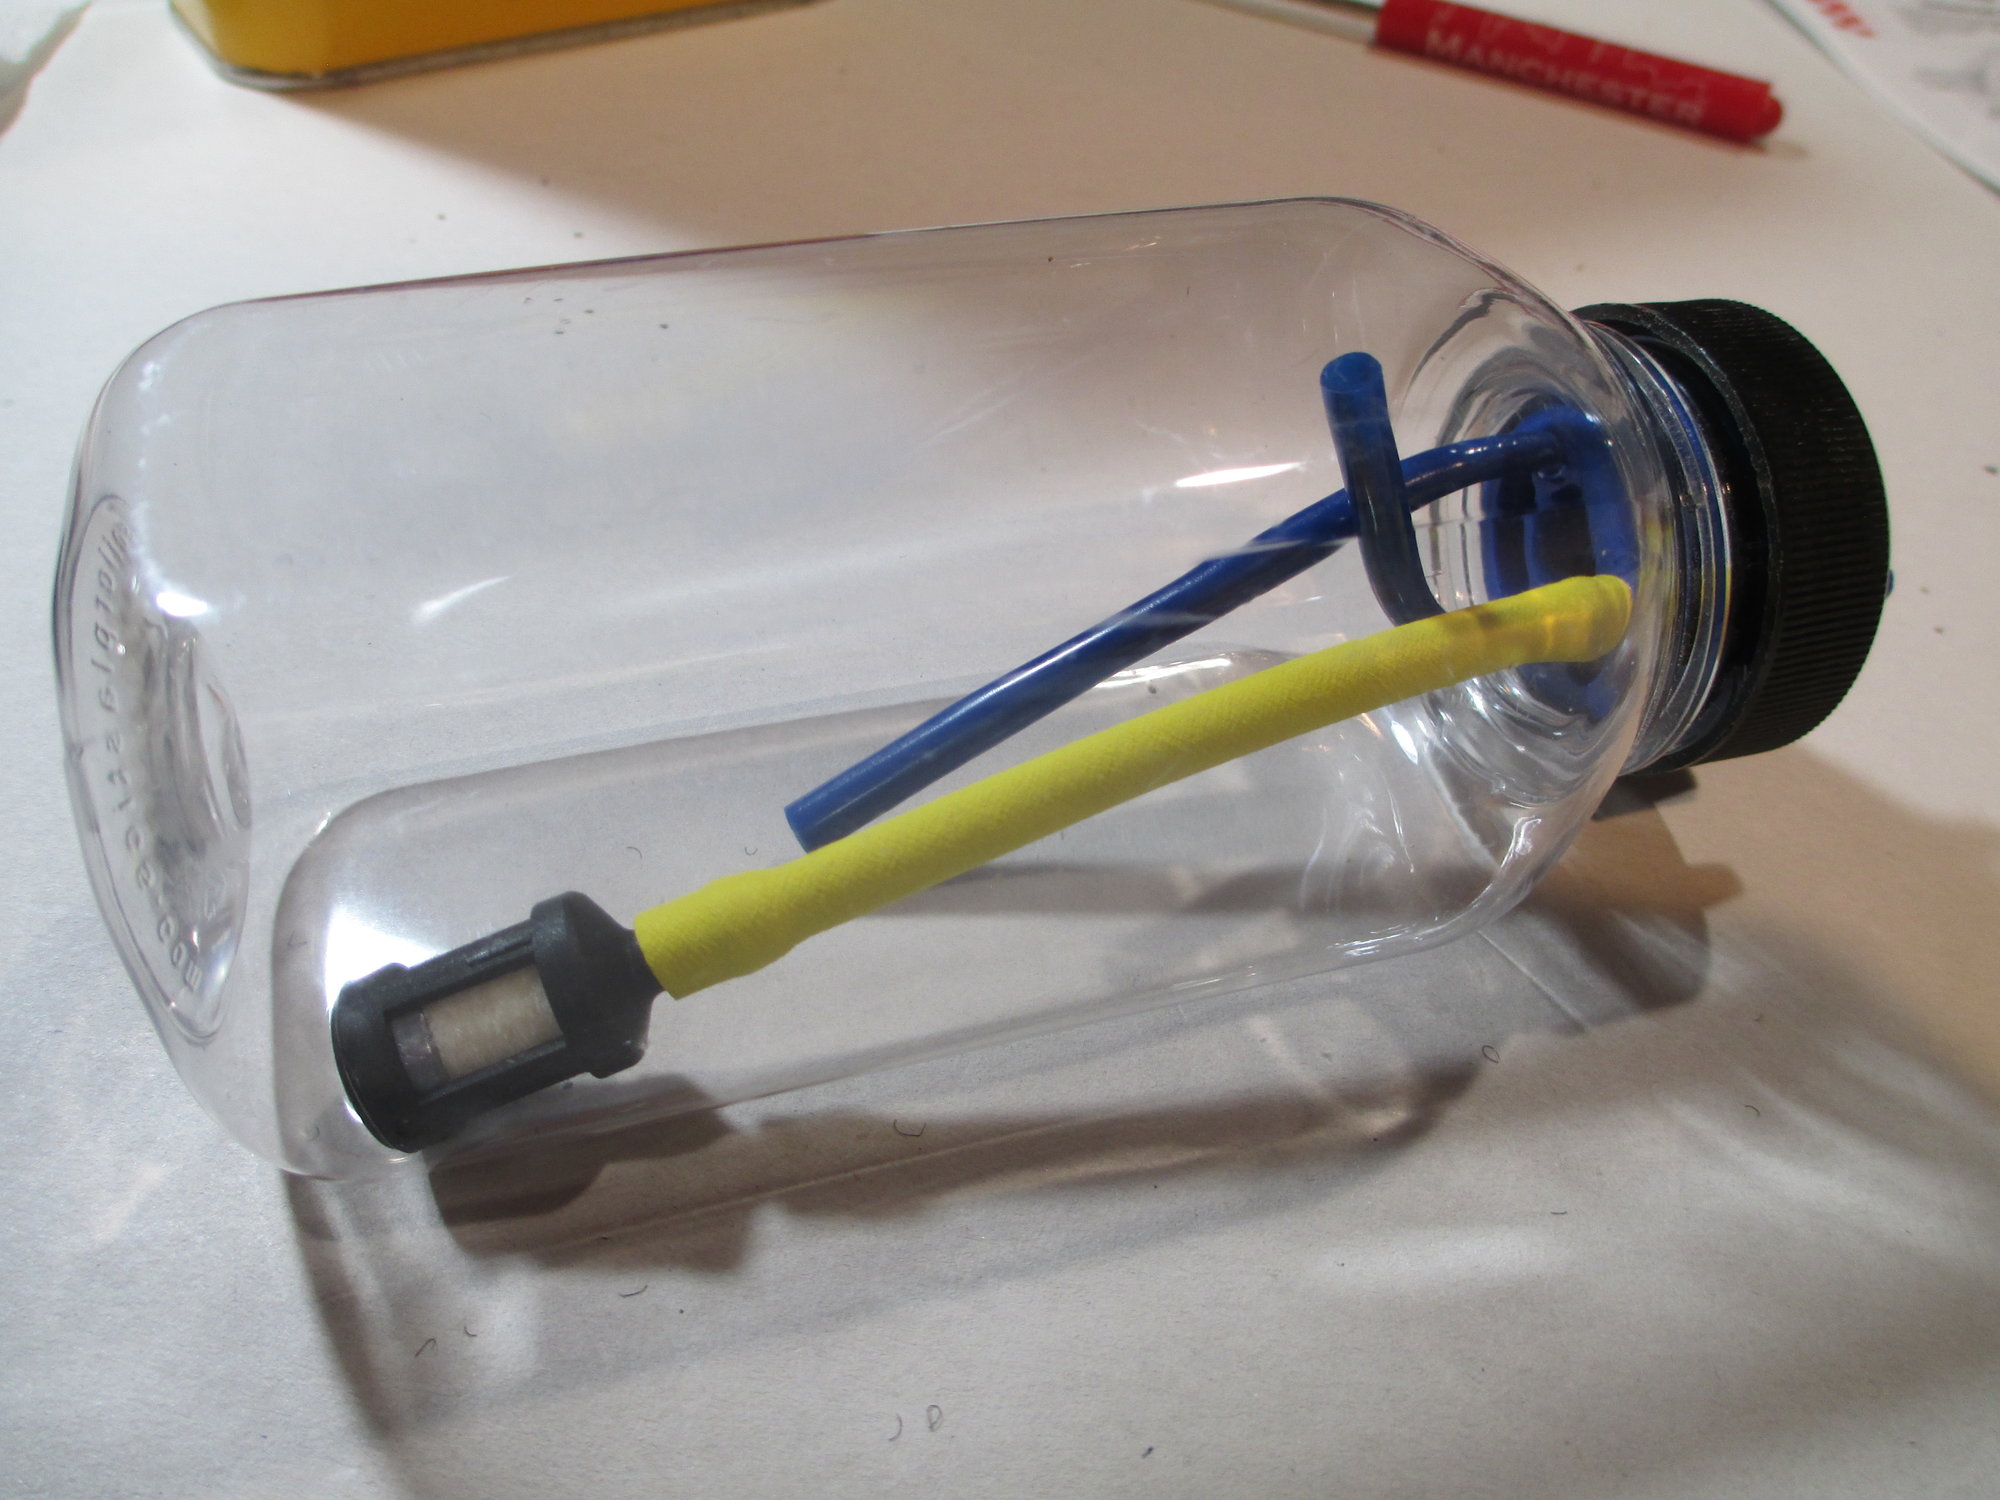
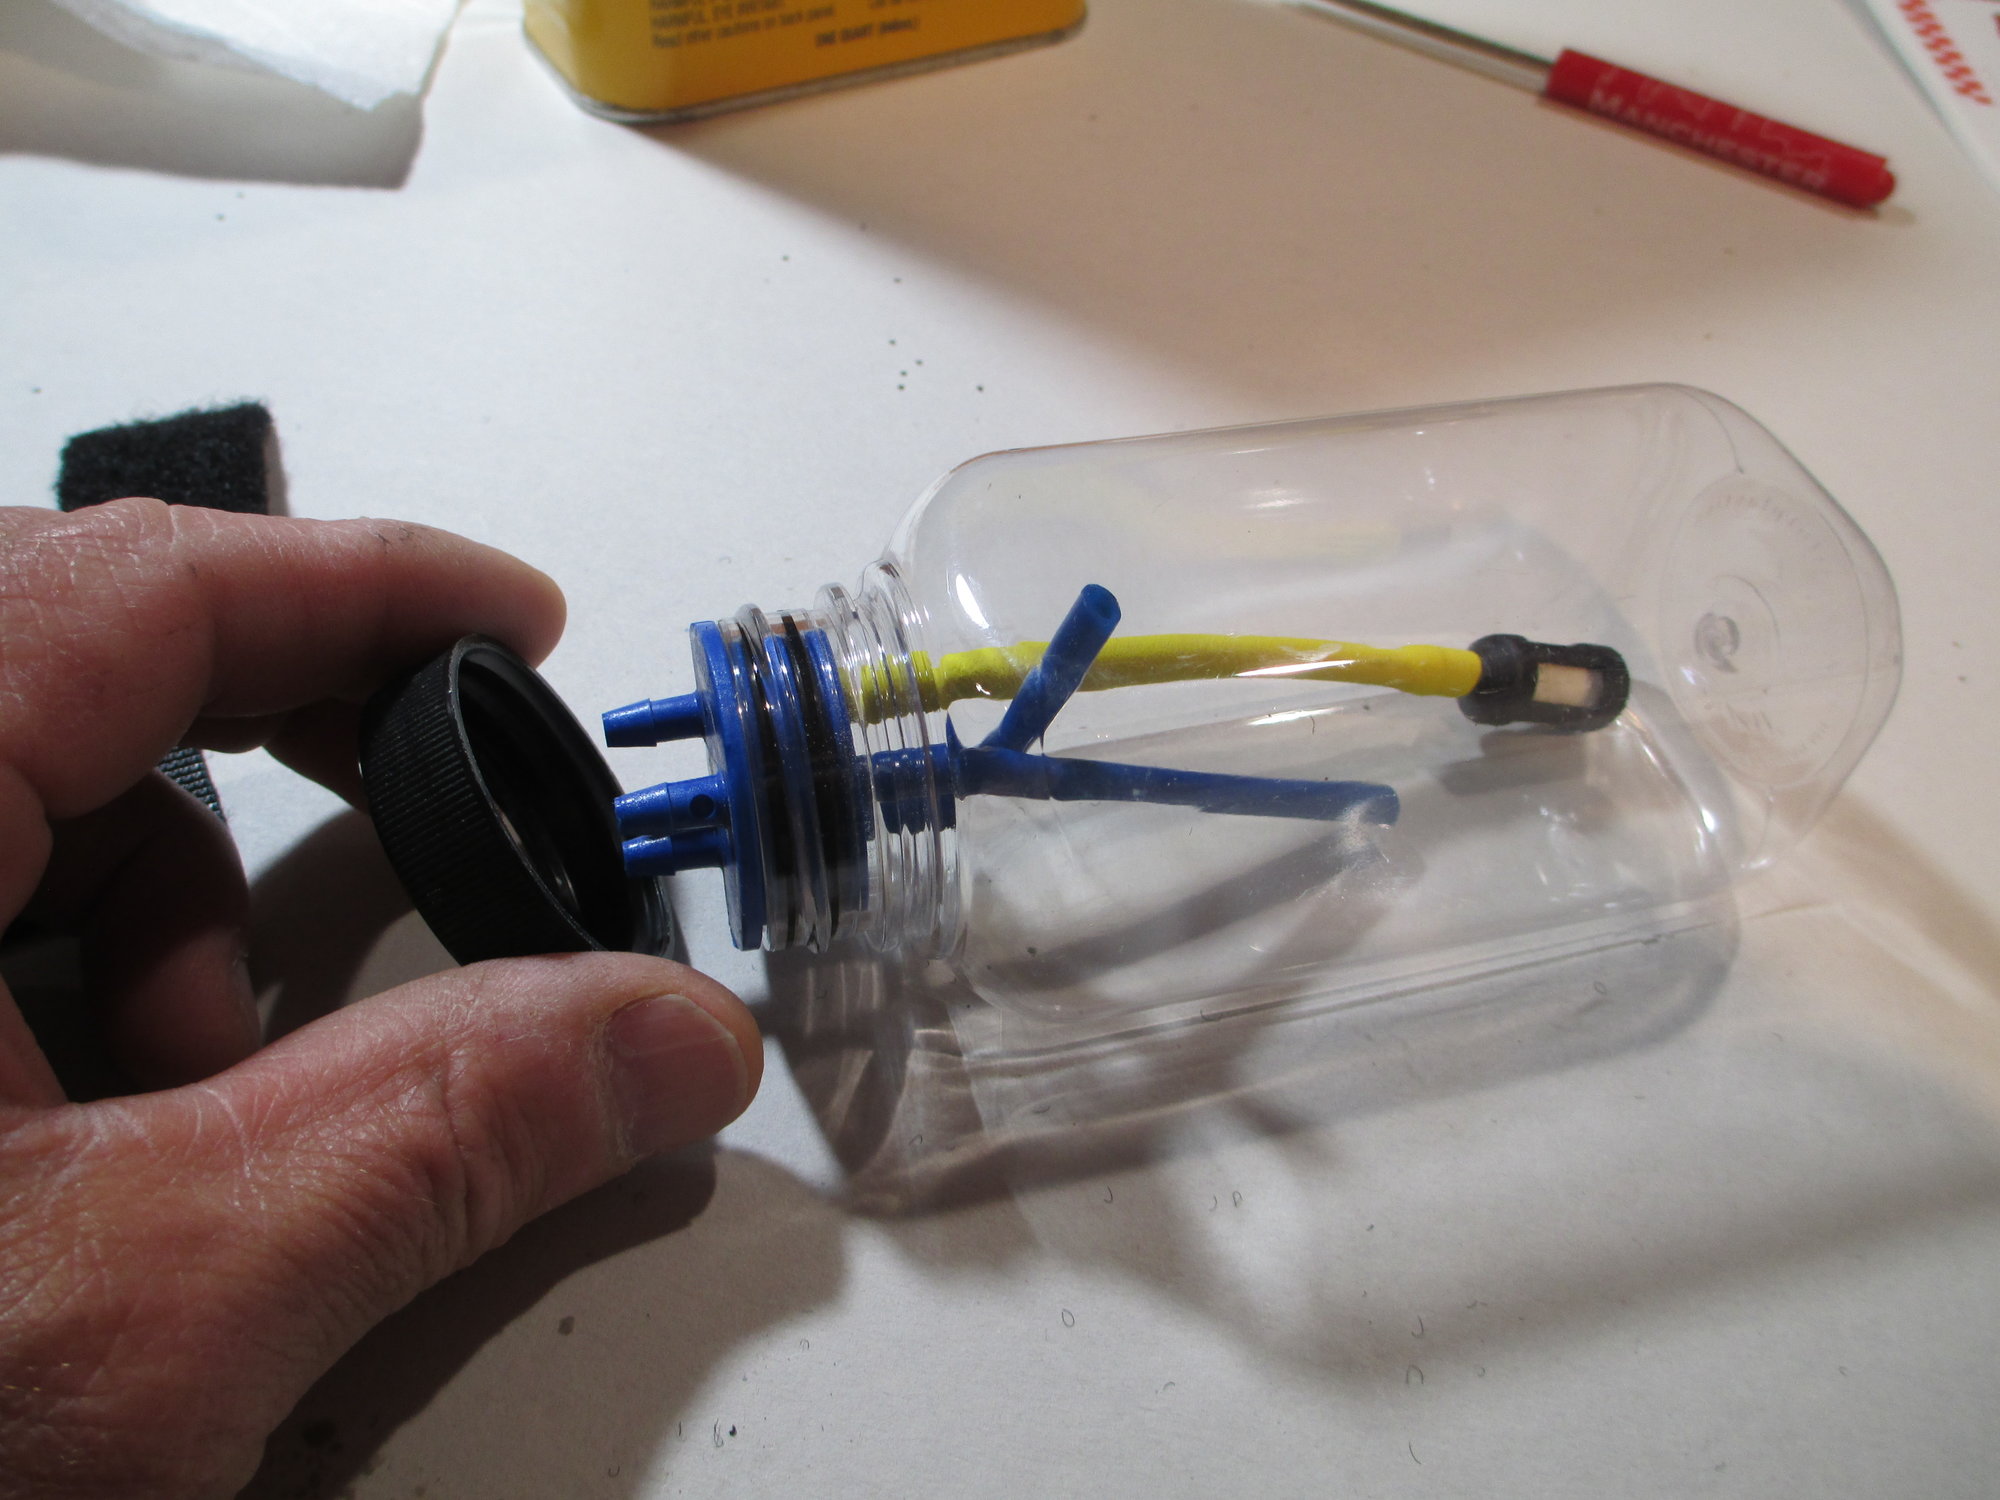
This is what a completed tank should look like.
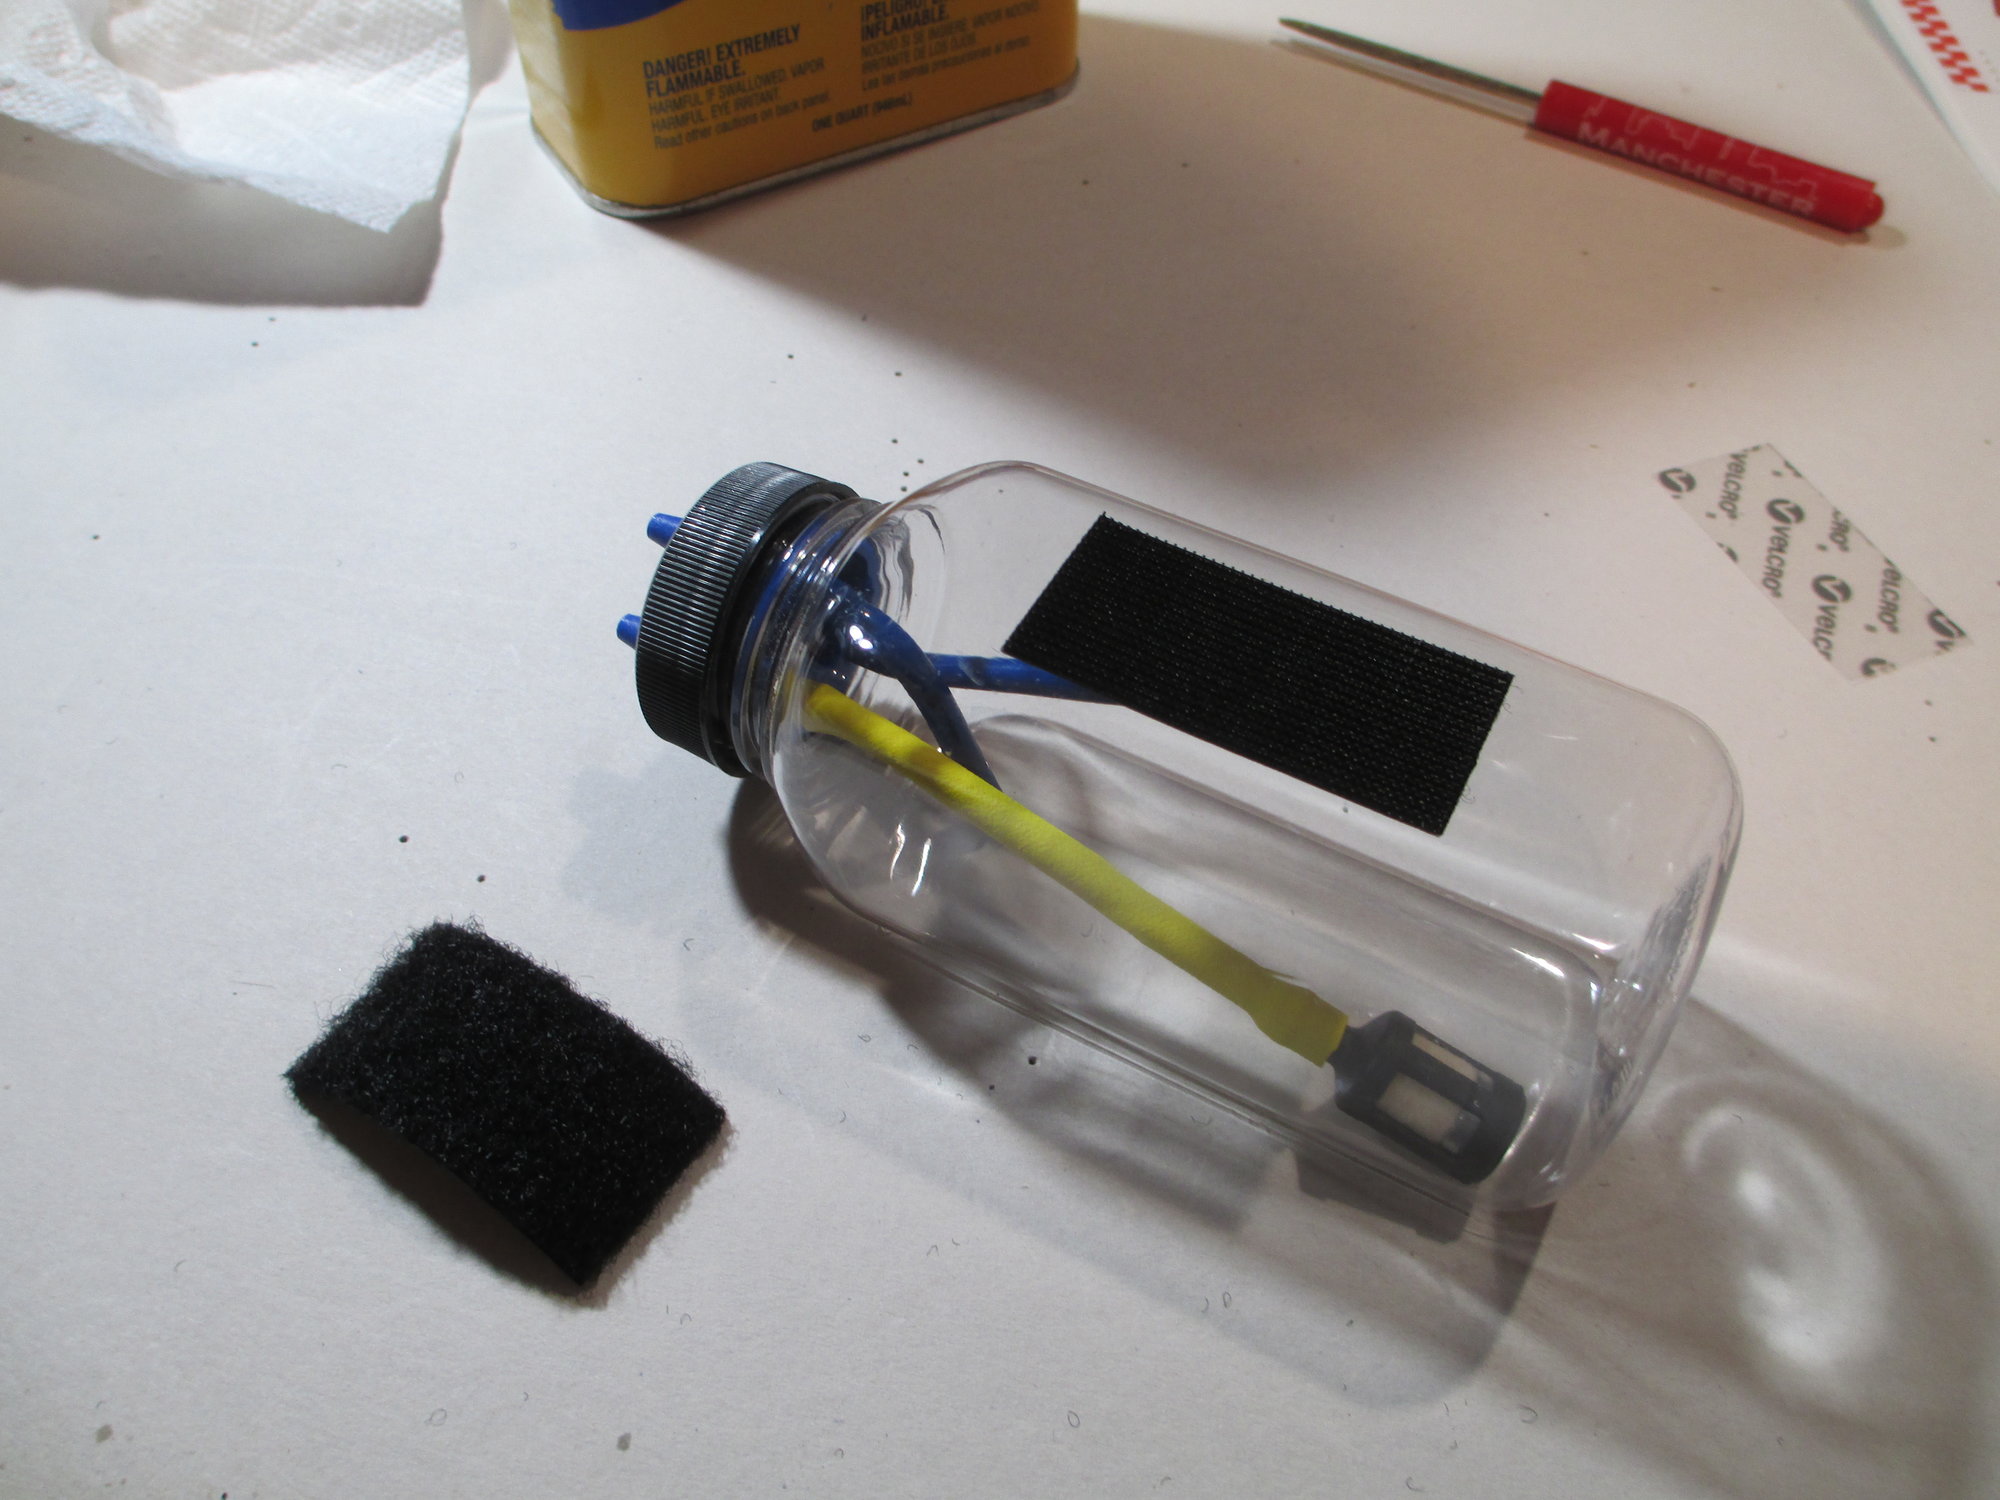
I always place a small strip of hook and loop tape on the bottom of the tank, this accomplishes two tasks, first it prevents the tank from moving forwards or backwards, and second it replaces the need to place foam under your tank. Contrary to popular belief I don't use a foam pad under my tanks, the hook and loop tape does a great job of minimizing foaming in the tank...
If you're still using the old yellow Tygon fuel line (on right), it's time for you to upgrade to a line that doesn't need to get replaced after one flying season. Tygon fuel line gets hard and is responsible for needless dead sticks.
Here I've swapped out the supplied Tygon clunk line for Sullivan's ProFlex line.
This piece that I'm holding, Fortitude is referring to as a "manifold". Here I've identified each line, C=clunk, V=vent and F=fill.
There are two rubber O-rings that slip into two grooves on the manifold.
With the O-rings installed, now is the time to clean the Fill and Vent tubes as well as the respective openings in the manifold with Acetone. This step removes any left over mold release during the manufacturing process.
Here I'm using a Q-tip dipped in Acetone to clean out the openings in the manifold.
A quick wipe with a paper towel wet with Acetone.
The Vent and Fill tubes are now inserted into the manifold and fully seated. Care must be taken to make sure that the vent tube is facing at the top of the tank and the fill tube at the bottom.
The clunk hose is trimmed to length and installed. At this point it would be wise to slip the manifold in the tank to verify that your lines are in the position that you want them...
Once your'e satisfied that the lines are in the correct position, remove the assembly and place one drop of CA at the fill and vent connections. This will permanently secure them.
After waiting for the CA to cure (10 minutes), dampen the manifold O-rings with some water to aid in assembly. Once the manifold is seated slip the cover on and tighten.
This is what a completed tank should look like.
I always place a small strip of hook and loop tape on the bottom of the tank, this accomplishes two tasks, first it prevents the tank from moving forwards or backwards, and second it replaces the need to place foam under your tank. Contrary to popular belief I don't use a foam pad under my tanks, the hook and loop tape does a great job of minimizing foaming in the tank...
Last edited by VincentJ; 06-01-2019 at 12:55 AM.
06-03-2019, 03:28 PM
#183
Thread Starter
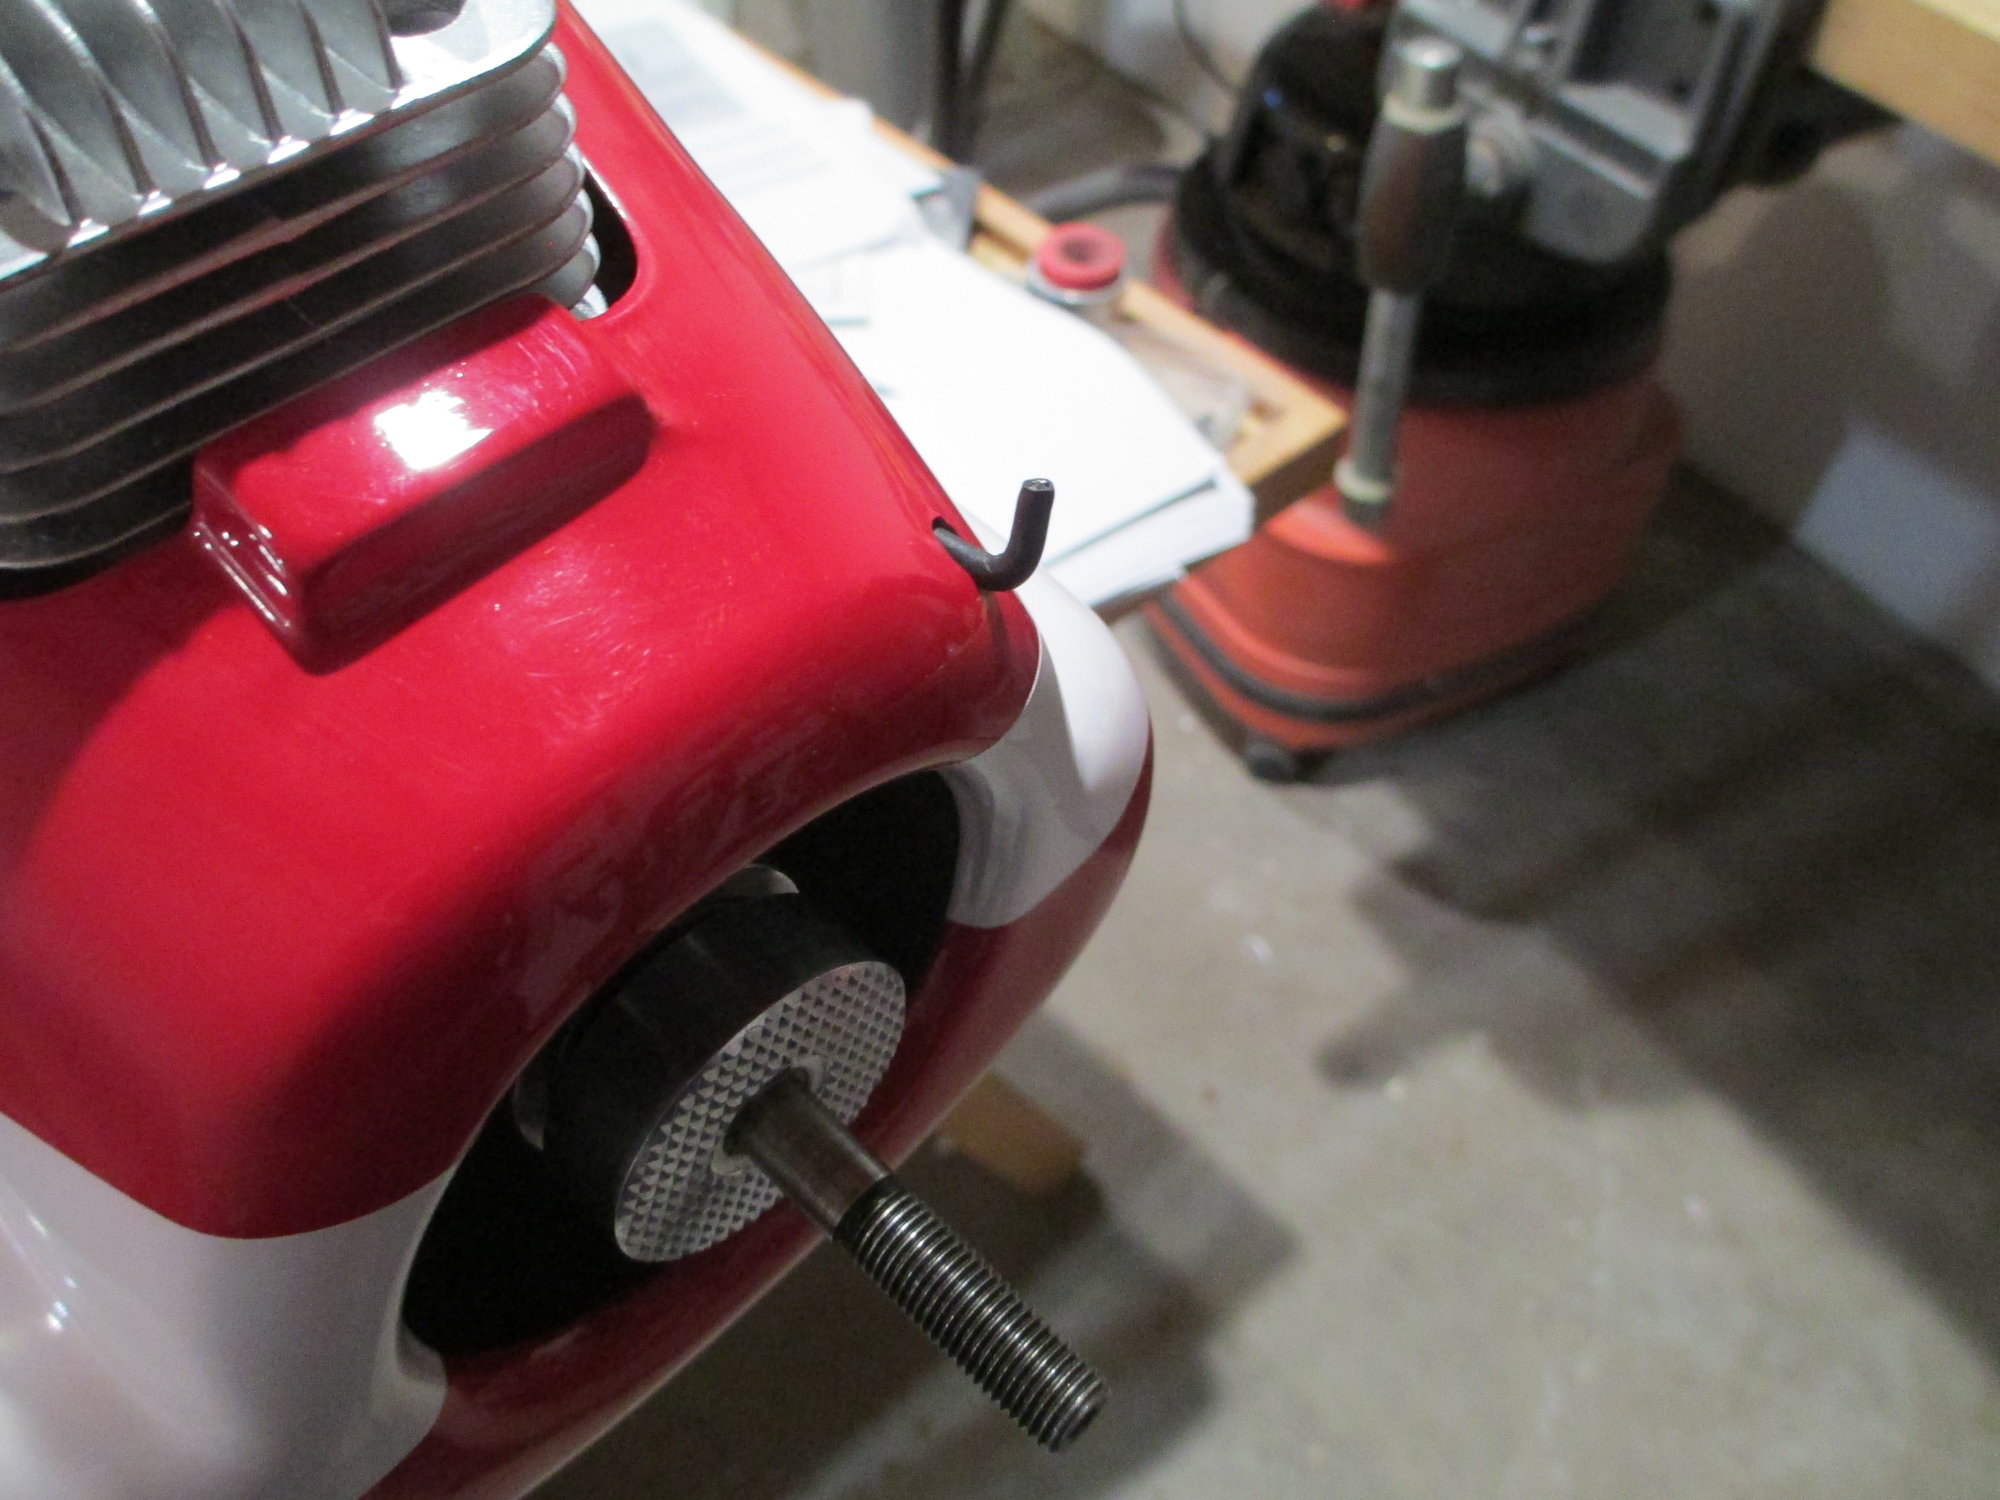
Its taken me a fair amount of time to figure out how to get the choke operational and still allow the cowl to be removed easily without making a total mess of the cowl. I probably should have had this figured out before the cowl was painted... Oh-Well anyway, it works and it doesn't look half bad!
I ordered a 3" spinner today from Tru-Turn. Once it arrives, I can install the prop along with the spinner then the fuselage will be 100% completed. (It takes me a considerable amount of time to final assemble a plane) I guess it's time to start covering the wing.
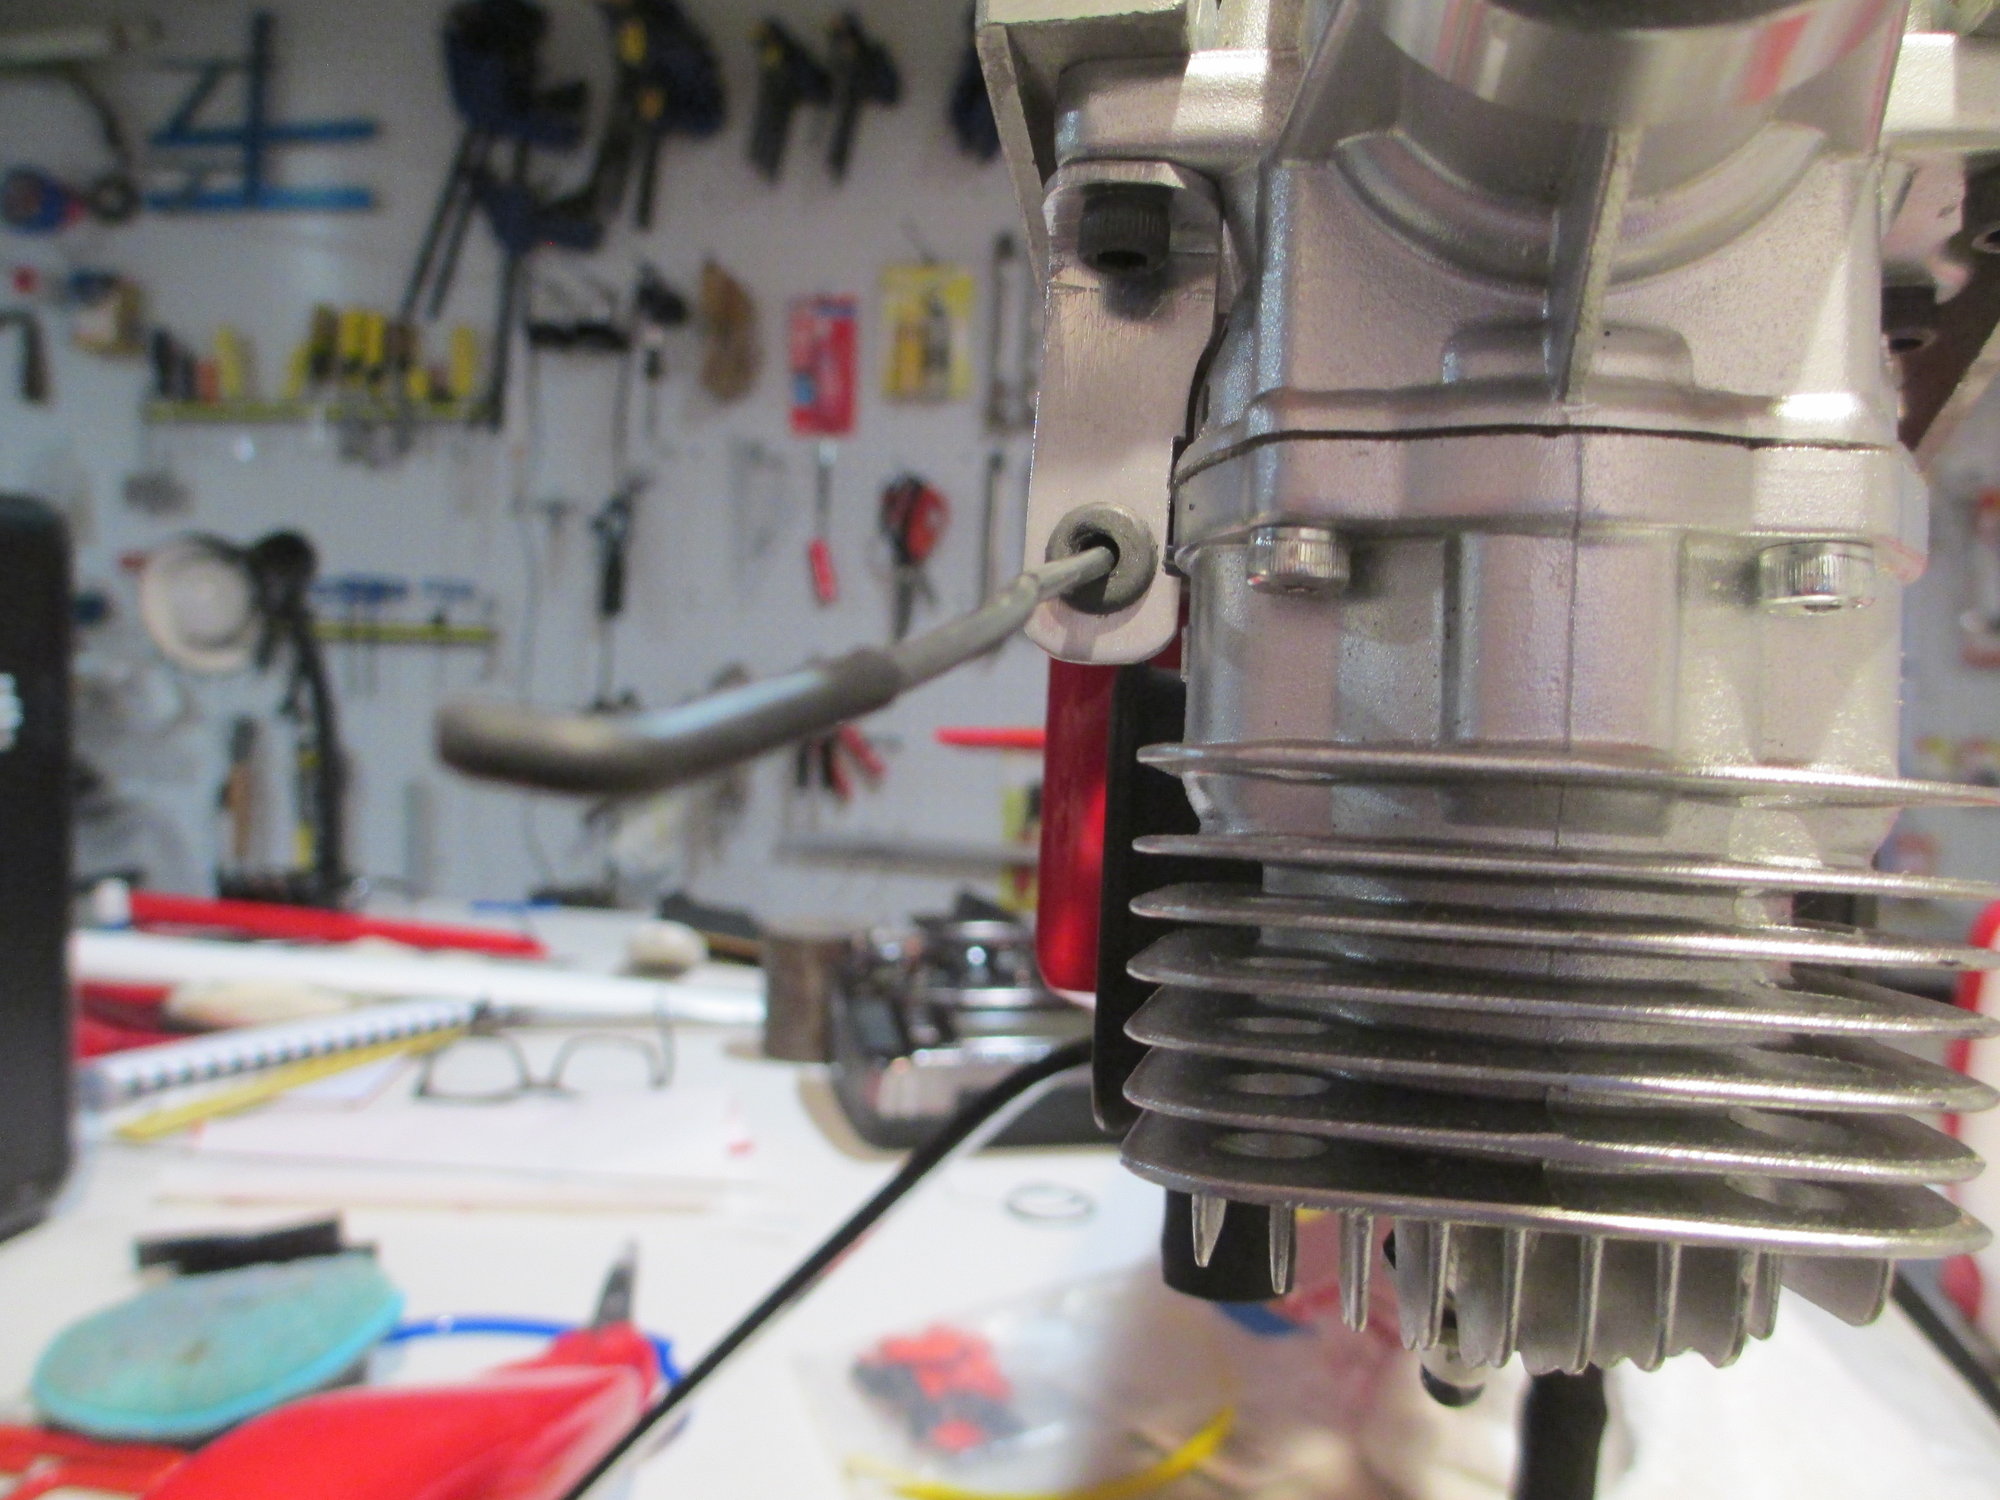
The bracket that supports the choke linkage can be seen here. Note the rubber grommet which stops the linkage from rattling.
4-40 rod was used for the linkage. It terminates just below the front of the cowl.
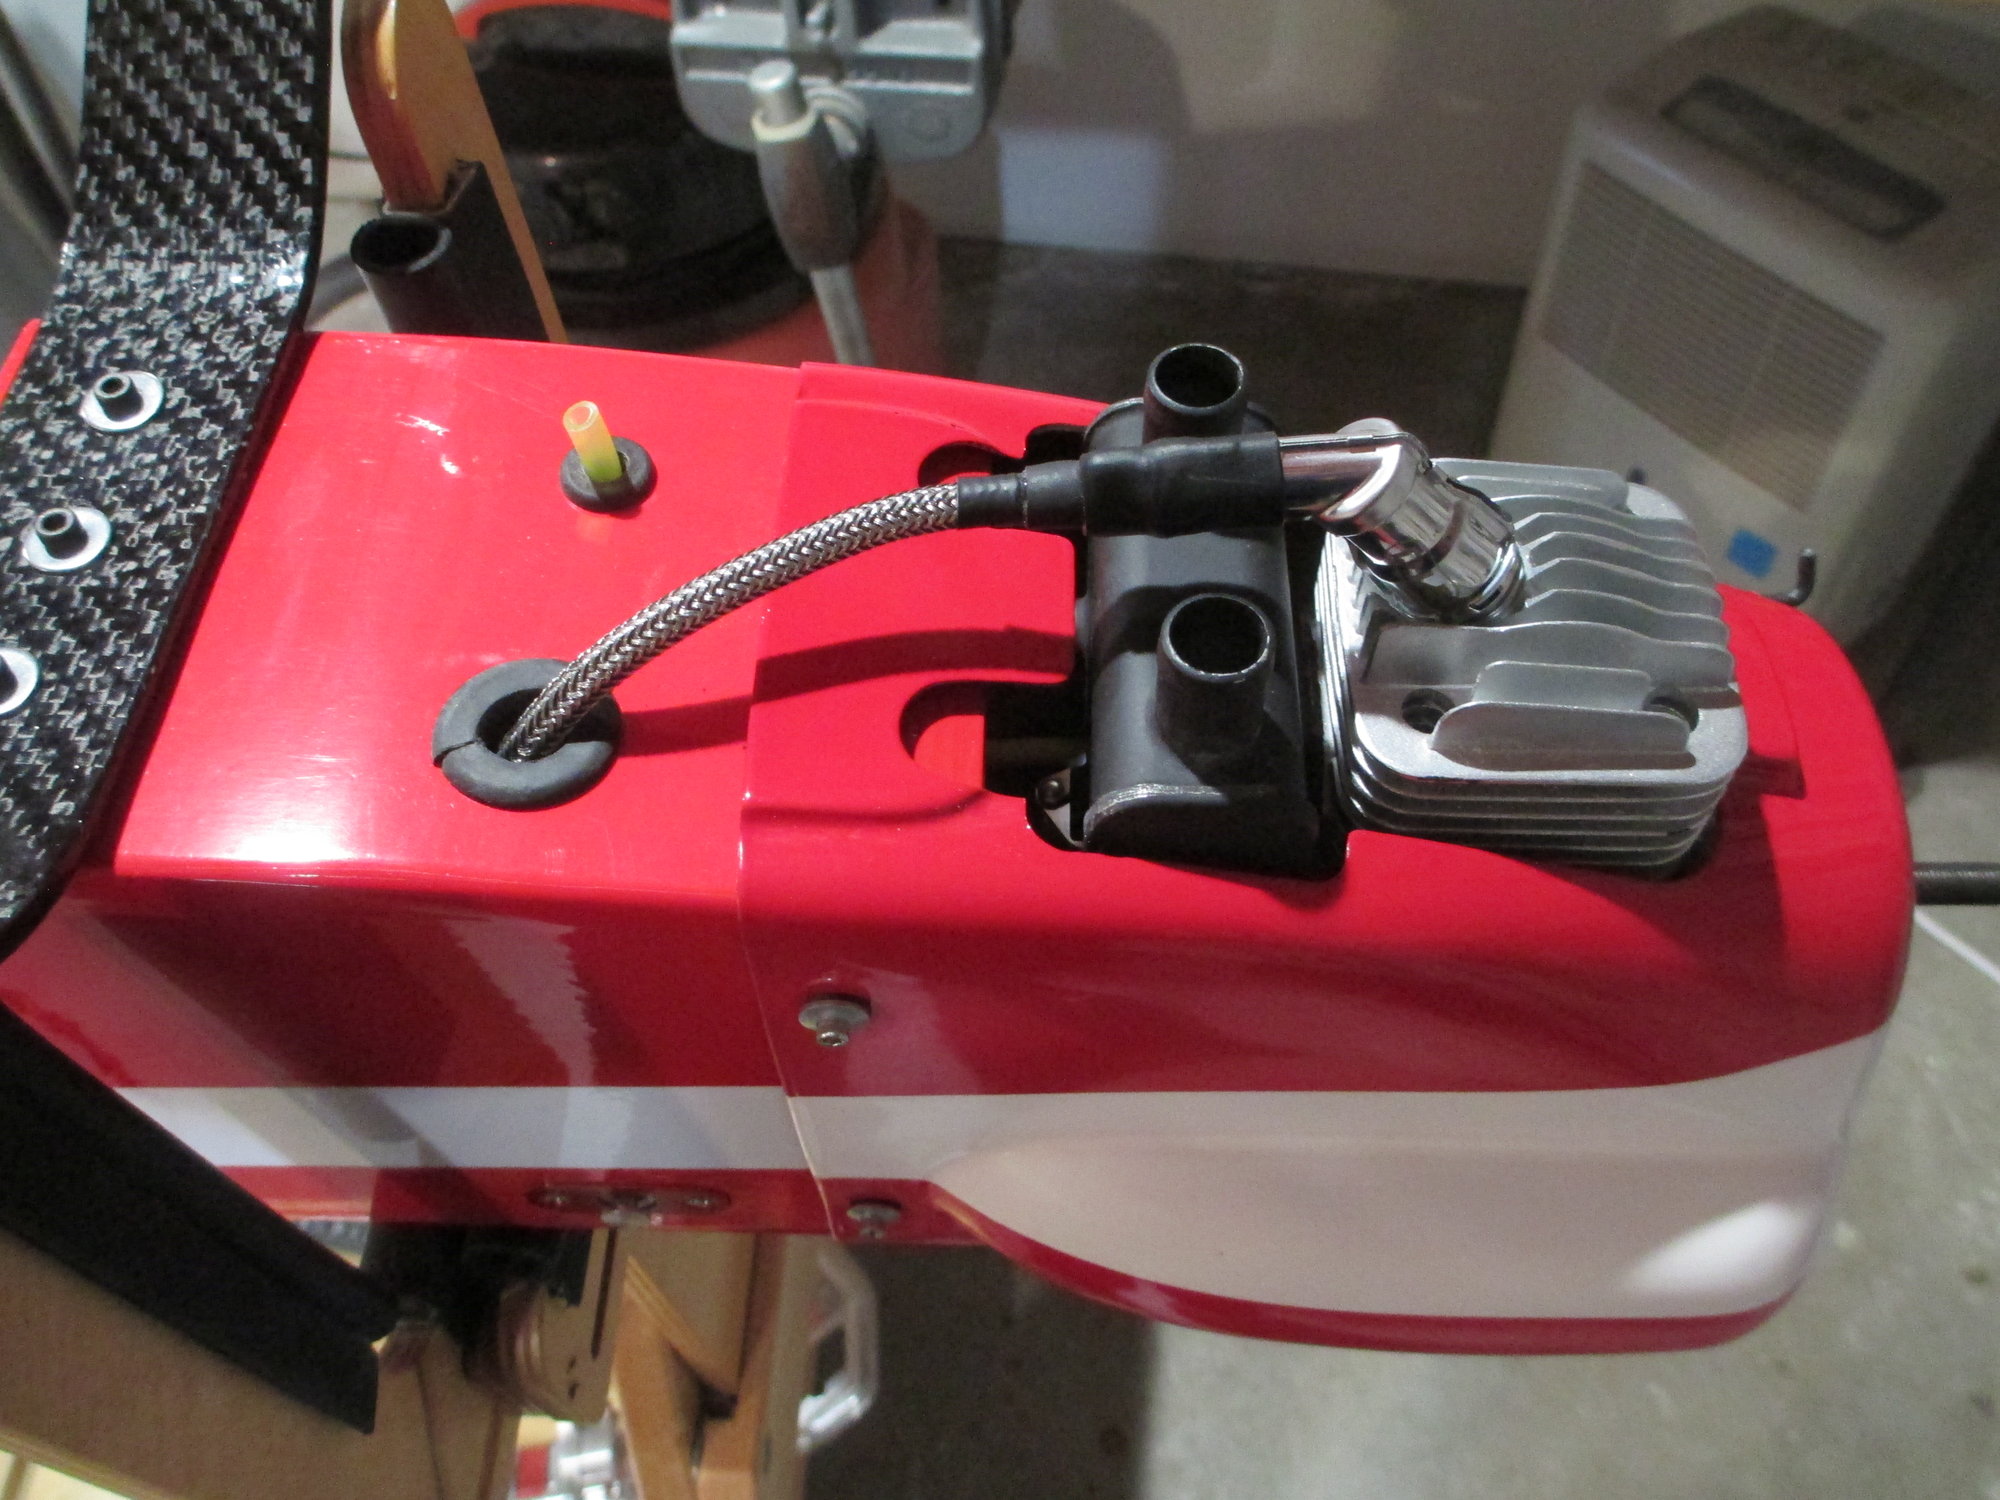
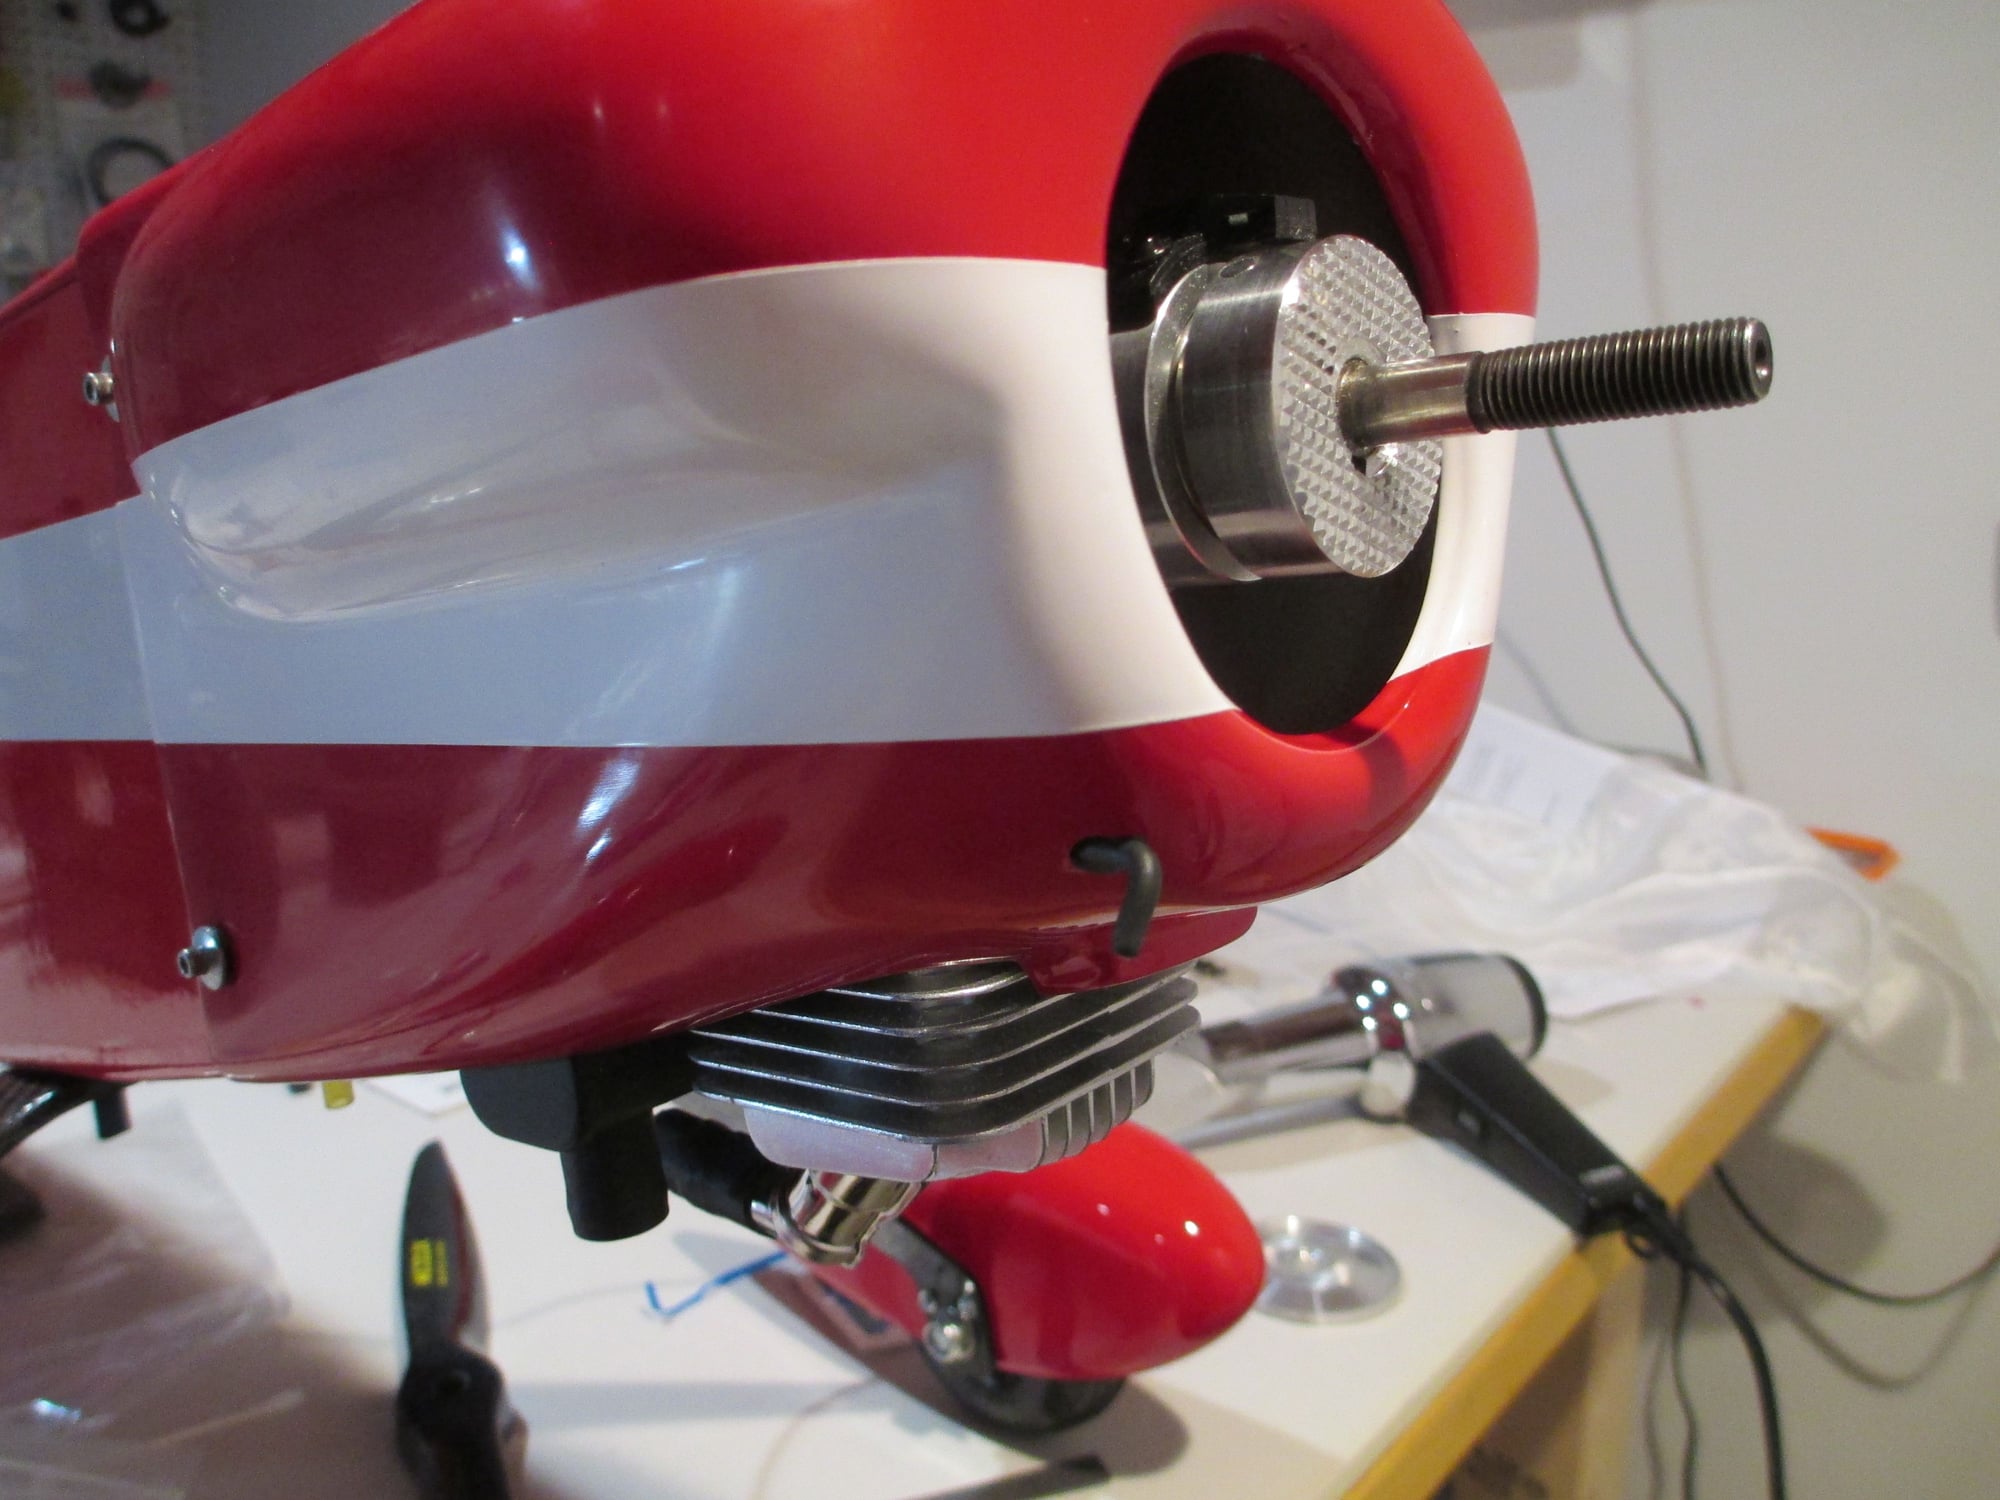
This is what the engine/muffler combination looks like from the bottom. The yellow (Tygon) tubing exiting at the bottom is the gas tank vent line.
I ordered a 3" spinner today from Tru-Turn. Once it arrives, I can install the prop along with the spinner then the fuselage will be 100% completed. (It takes me a considerable amount of time to final assemble a plane) I guess it's time to start covering the wing.
The bracket that supports the choke linkage can be seen here. Note the rubber grommet which stops the linkage from rattling.
4-40 rod was used for the linkage. It terminates just below the front of the cowl.
This is what the engine/muffler combination looks like from the bottom. The yellow (Tygon) tubing exiting at the bottom is the gas tank vent line.
Last edited by VincentJ; 06-03-2019 at 03:37 PM.
06-04-2019, 06:48 PM
#184
Hey Vincent. Where's today's episode? Just kidding. 
Is it the picture-taking that's taking you longer? You're good at that too, you know.
I was looking for the 4* plans. Can't find them in Outerzone.
Isn't a 3 inch spinner too large?
I'll check back later.
Is it the picture-taking that's taking you longer? You're good at that too, you know.
I was looking for the 4* plans. Can't find them in Outerzone.
Isn't a 3 inch spinner too large?
I'll check back later.
Last edited by SA Flyer; 06-04-2019 at 06:50 PM. Reason: additional text
06-05-2019, 12:41 AM
#185
Thread Starter
The picture taking isn't slowing me down too much, I'm just slow! LOL

You may want to try Sig directly, they may sell you a set of plans. As far as the spinner goes, with that cowl the 3" spinner still may be a bit small. I tried a 2-3/4" spinner that I had and it didn't look right... Now if the plane was built with its stock nose configuration, then yes it would be too large.
Last edited by VincentJ; 06-05-2019 at 12:45 AM.
06-05-2019, 03:10 PM
#186
Thread Starter
I thought I would start the covering of the wing tonight, but I got carried away final sanding along with all of the small details that I had put off doing. Tomorrow I will bring the wing into my shop and blow it off with compressed air. In fact that's tonight's tip. When you're ready to cover your plane, don't just rely on vacuuming the surface to rid it of all the balsa dust. Use shop air to blow off the surface as well as all the nooks and crevices, you will be amazed at how much more dust will come off.
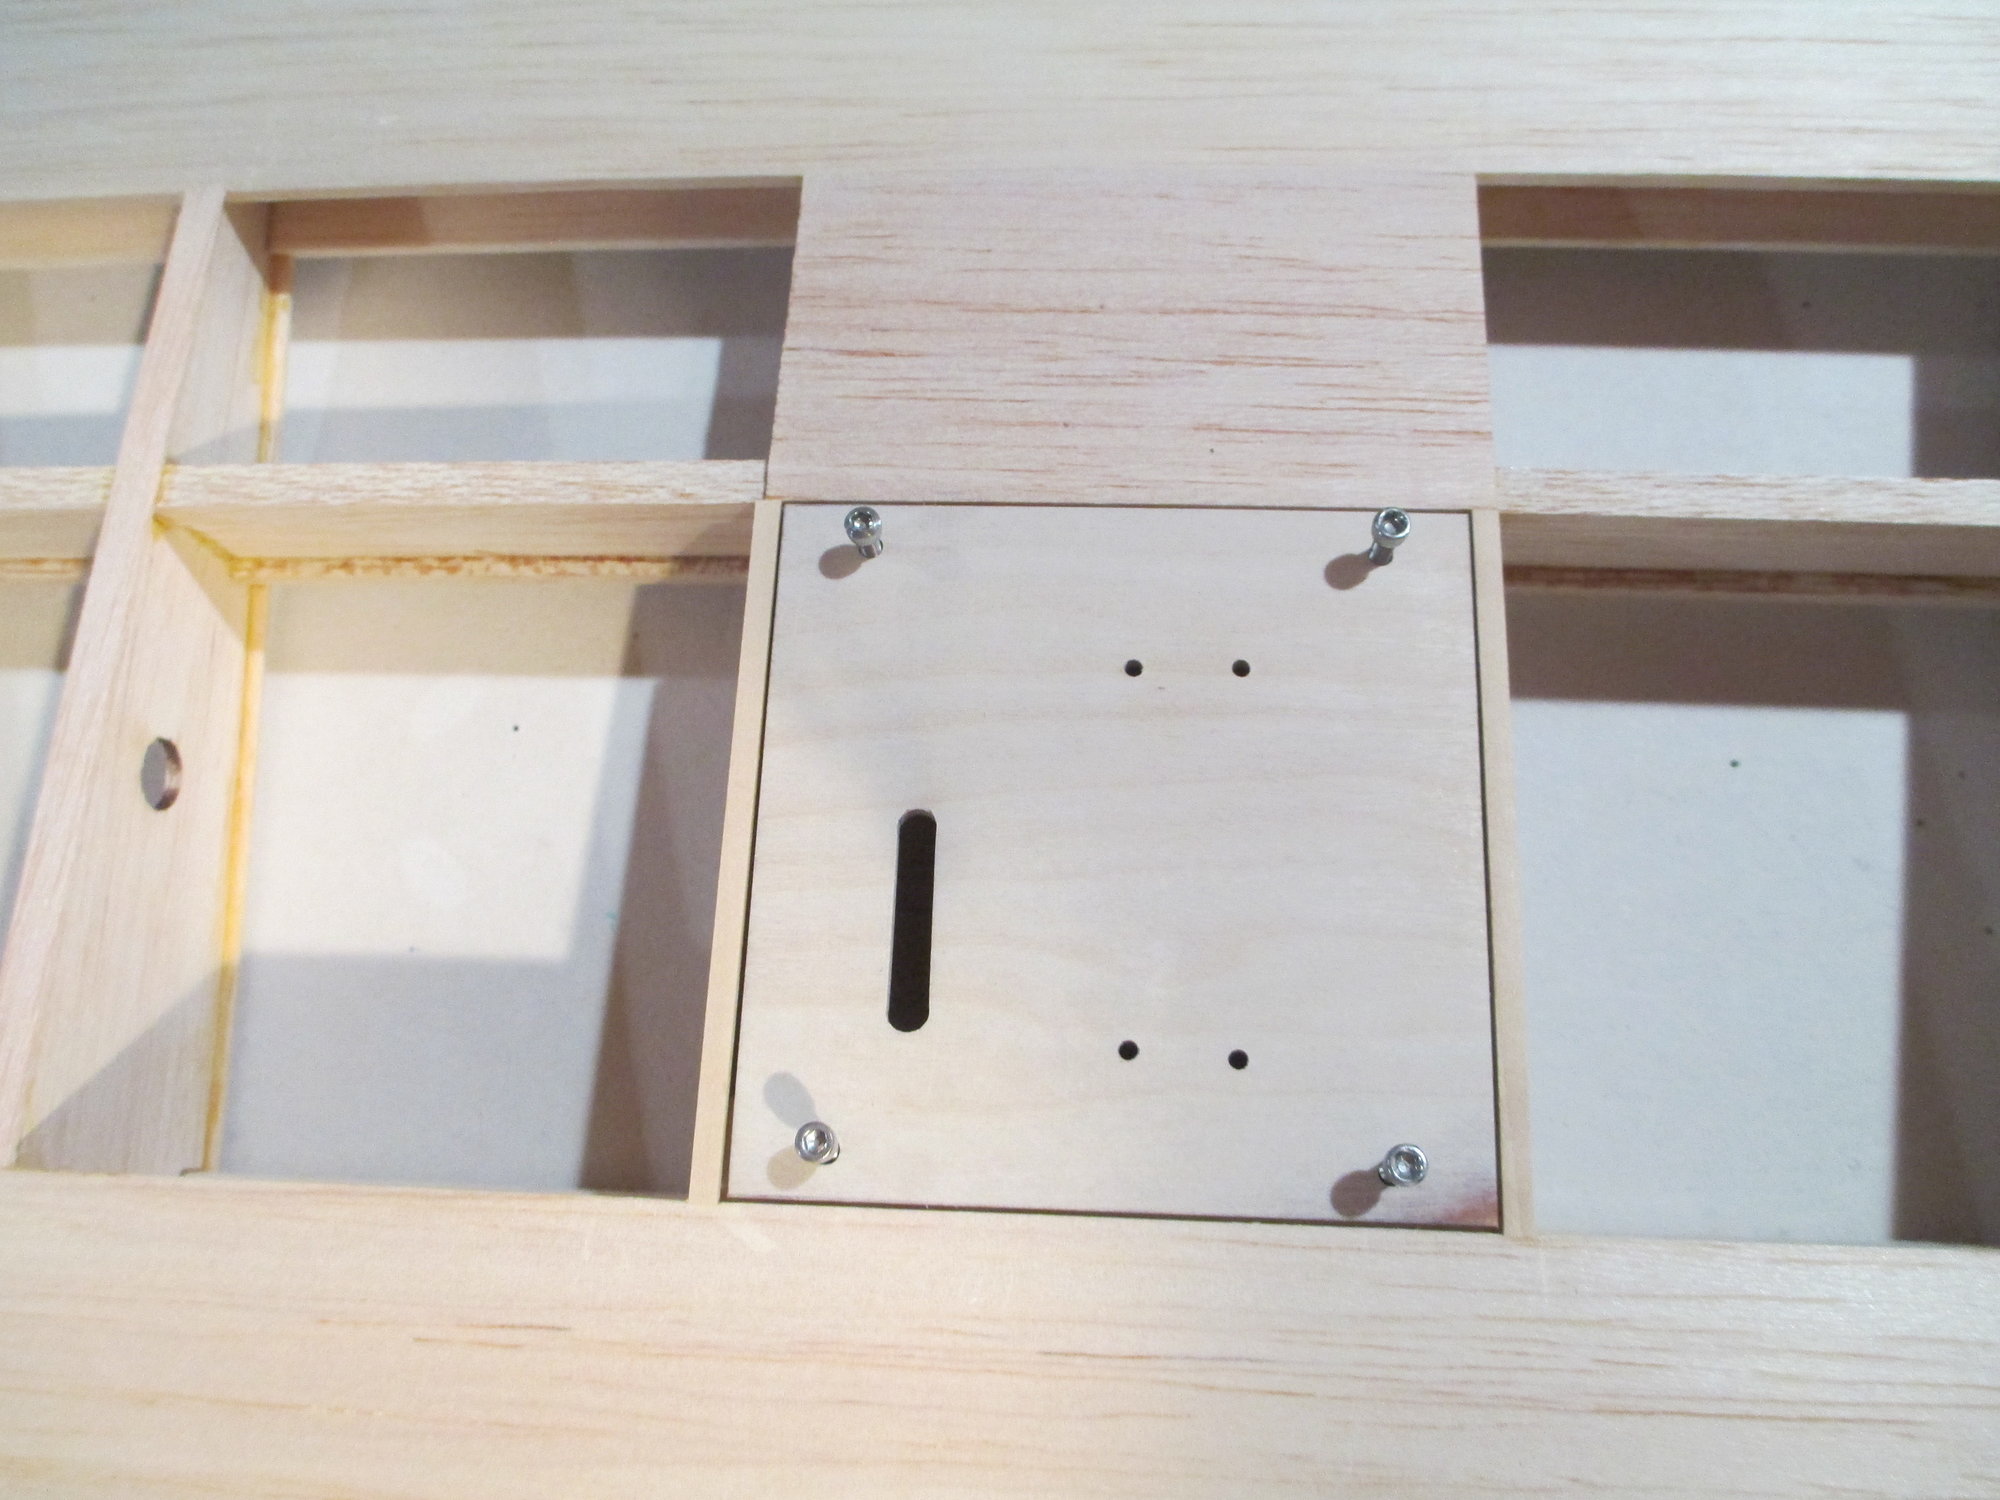
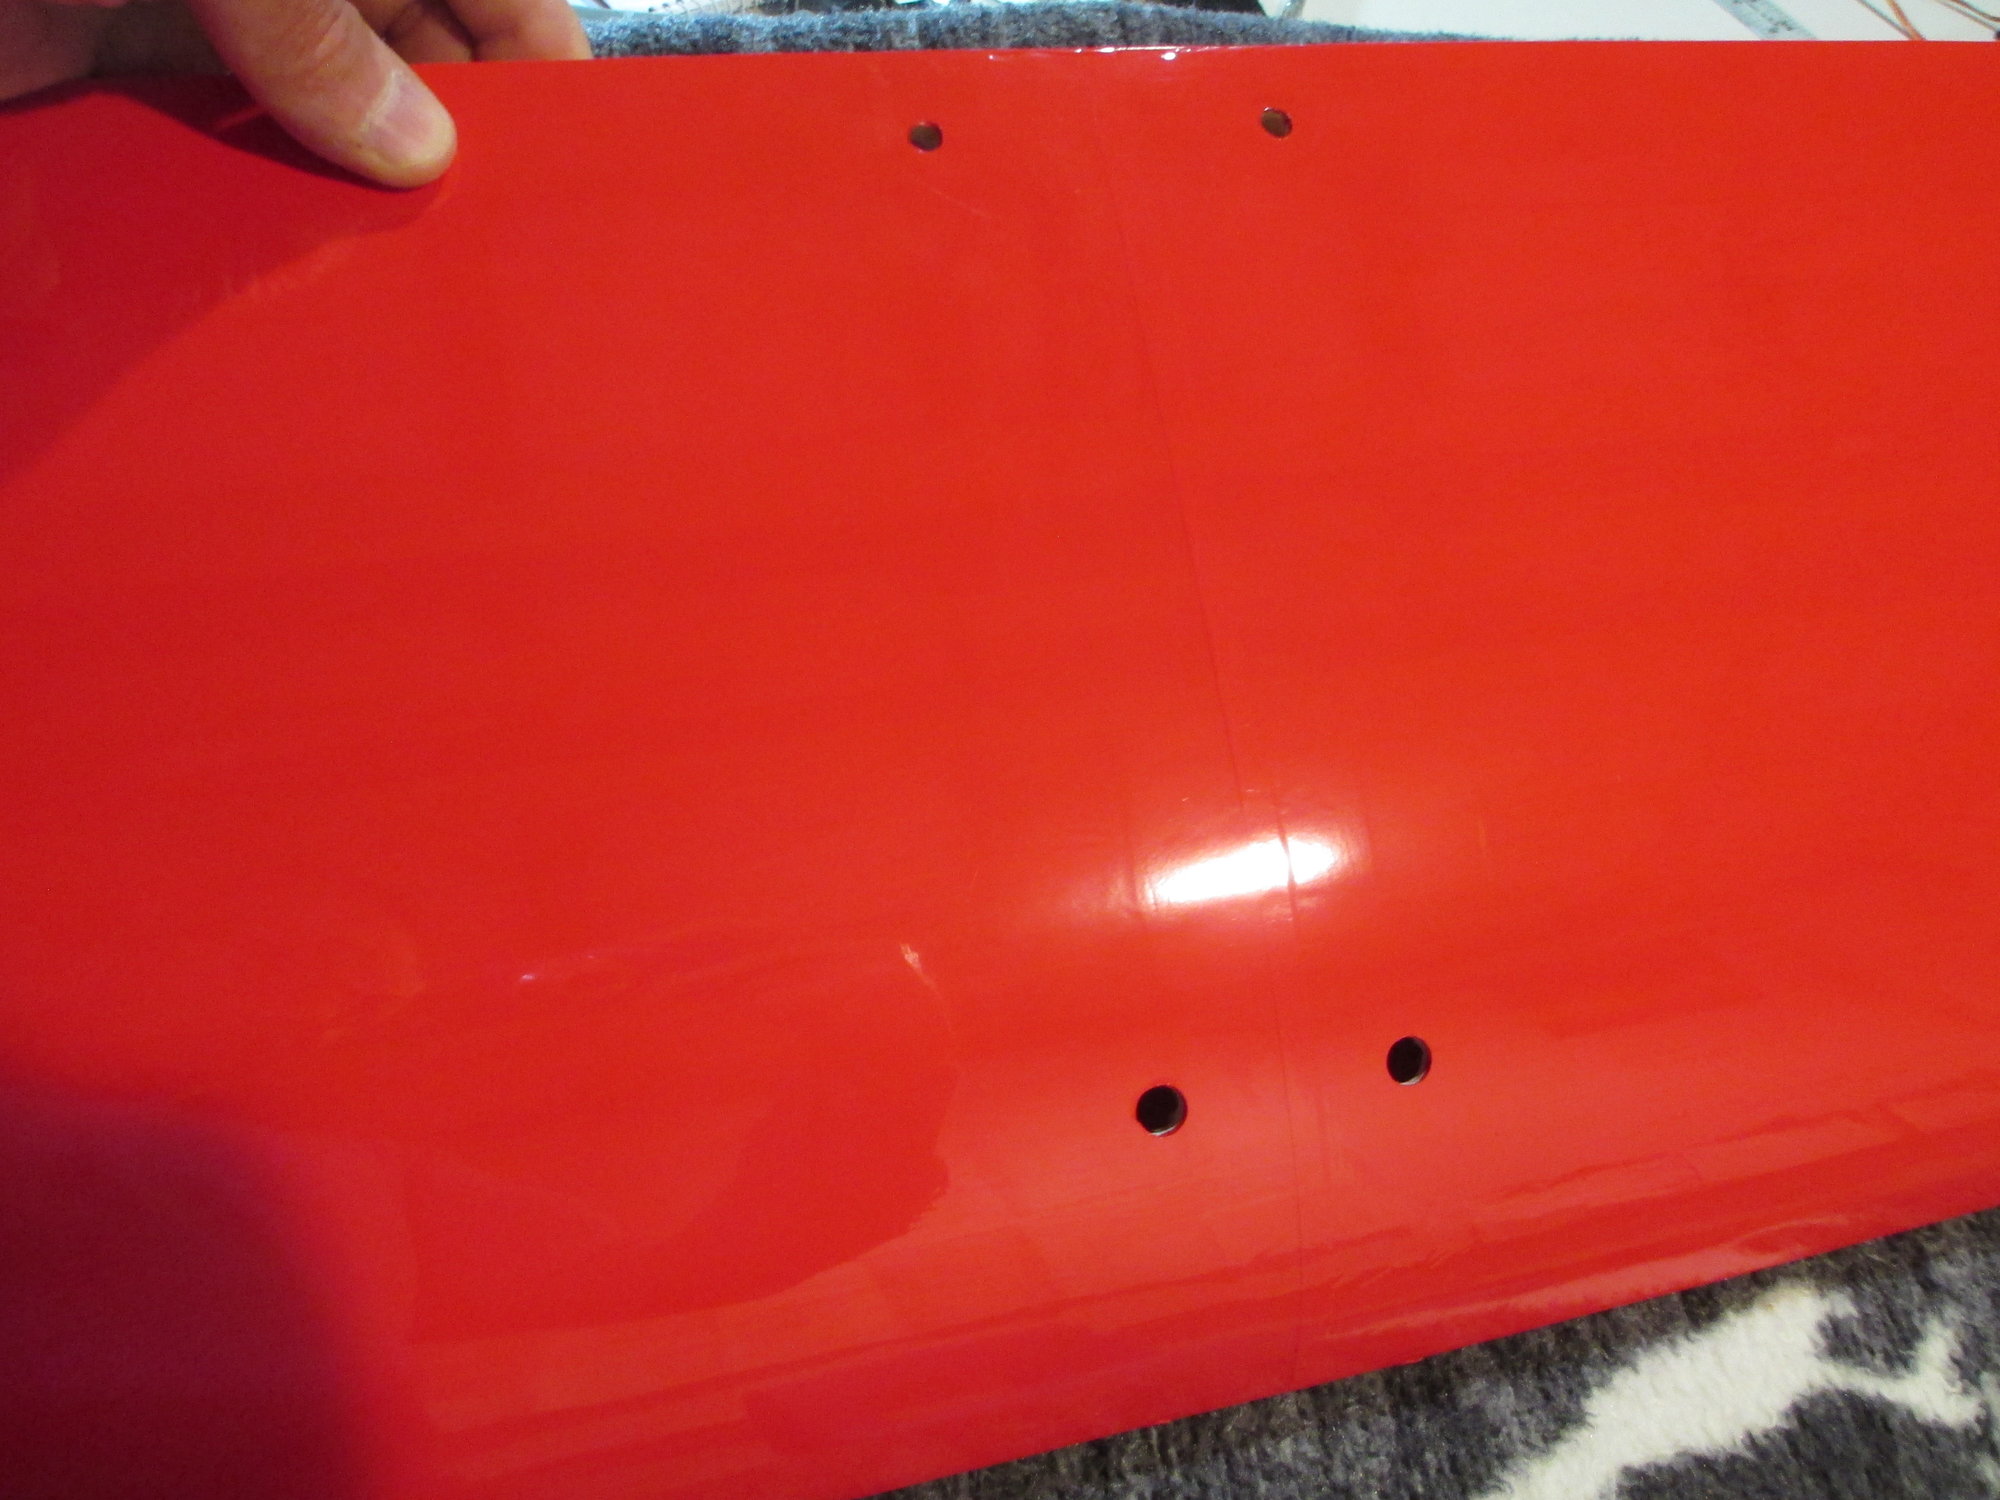
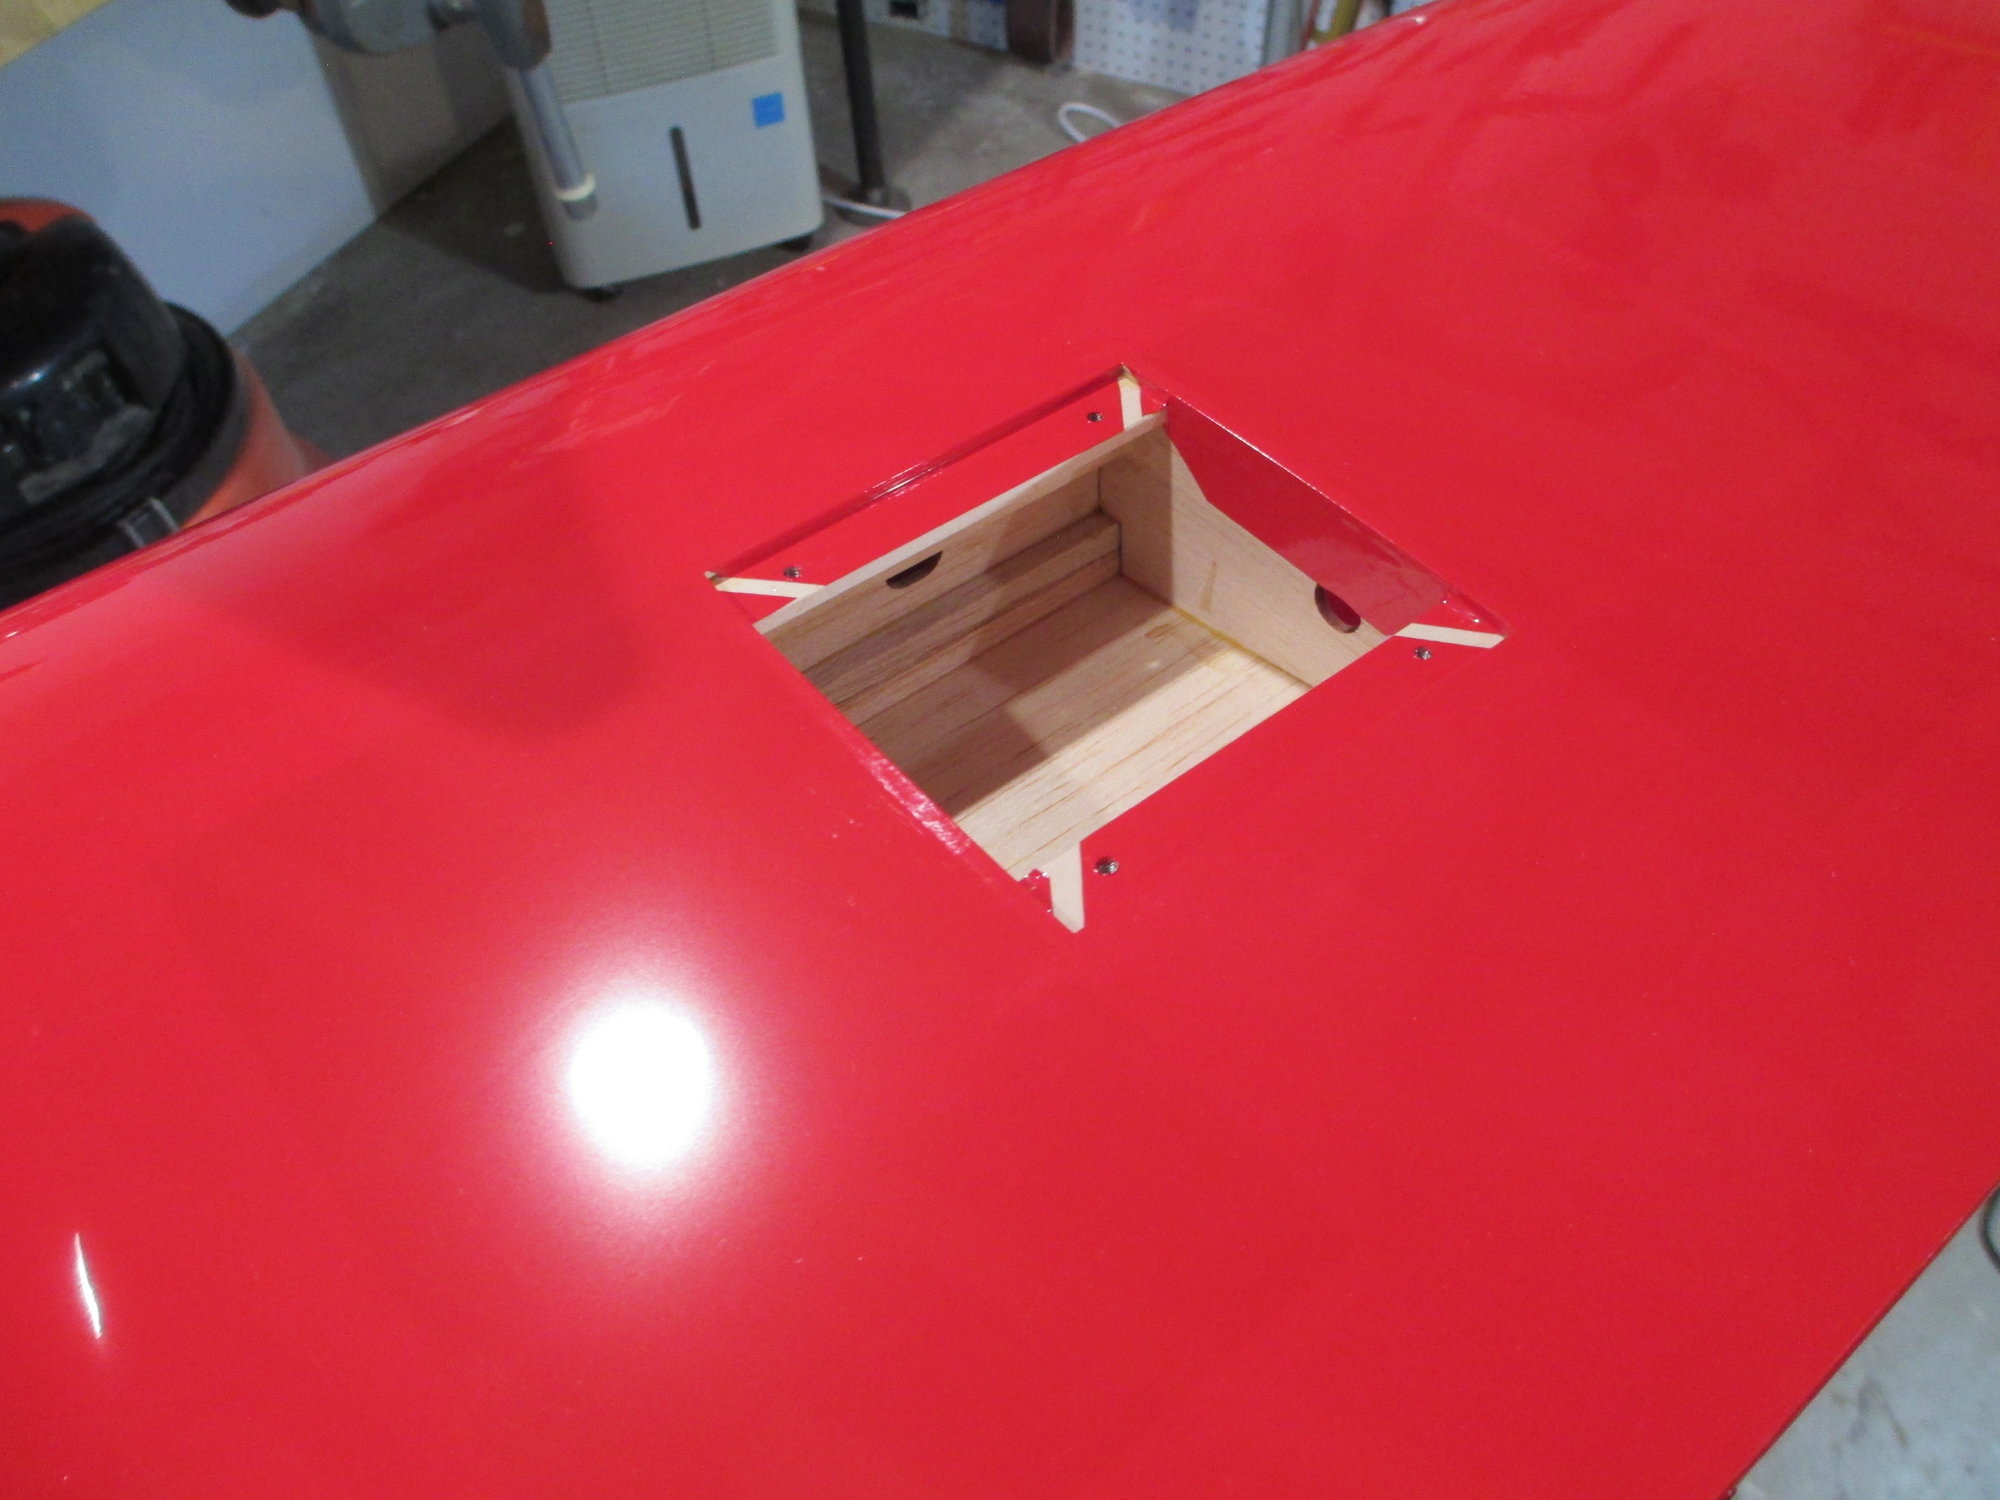
Both aileron servo hatches were resized (made smaller) to accommodate the thickness of the covering.
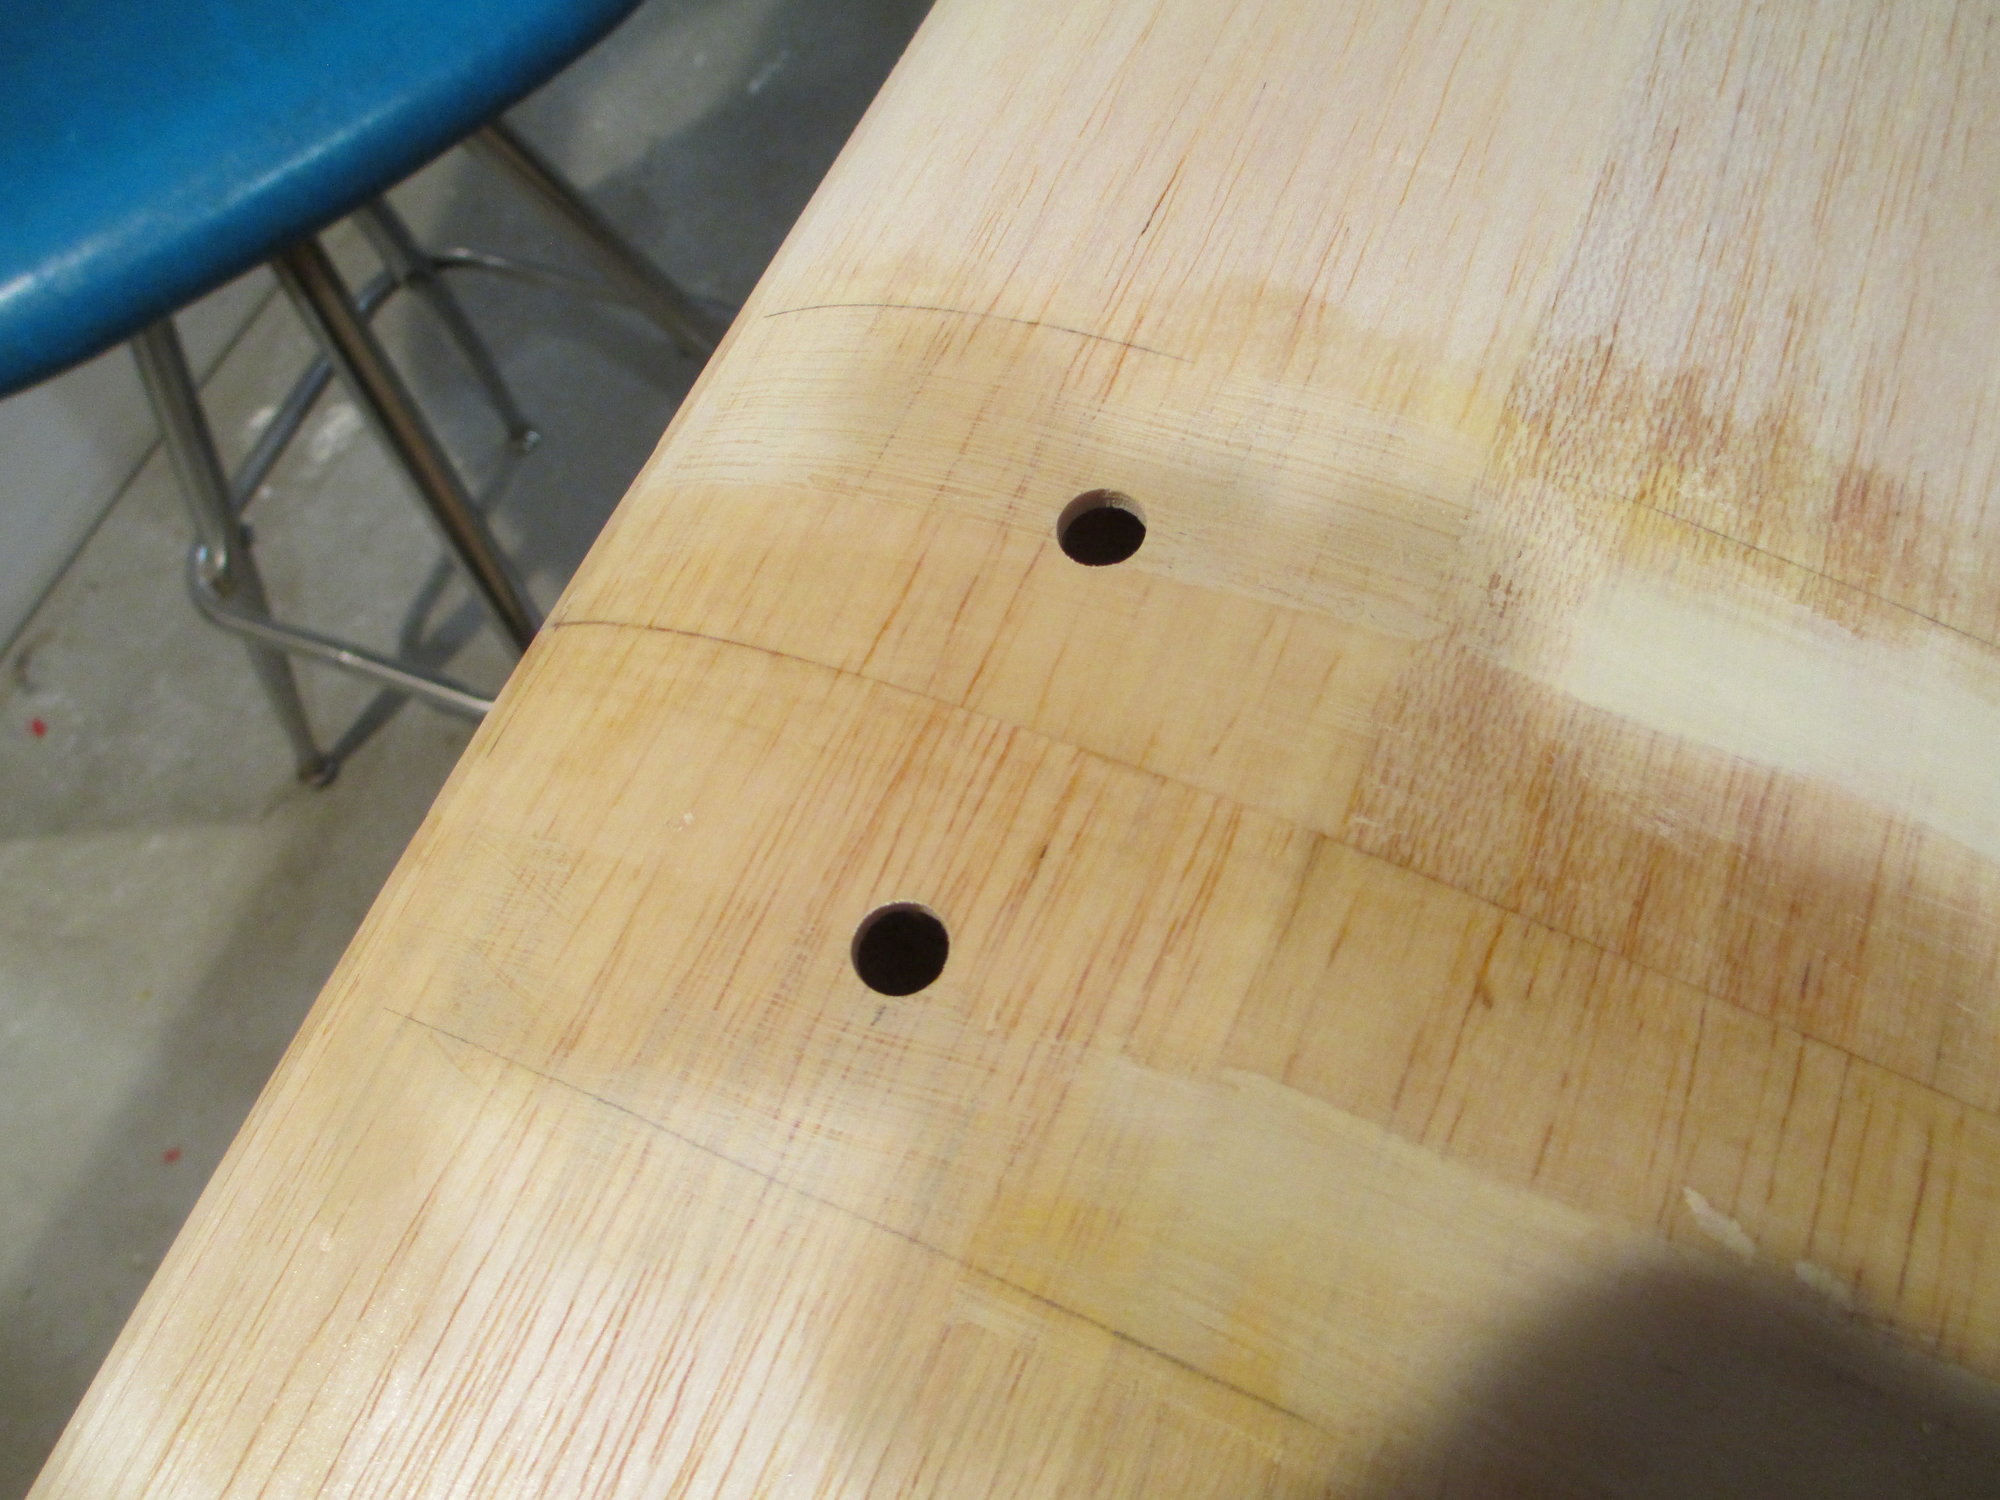
Left and right aileron extension lead openings were drilled.
Both aileron servo hatches were resized (made smaller) to accommodate the thickness of the covering.
Left and right aileron extension lead openings were drilled.
Last edited by VincentJ; 06-06-2019 at 02:44 AM.
 06-06-2019, 03:34 AM
#188
Thread Starter
Thank you Lee. Hope to get it flying within the next couple of weeks...
I was reading your "signature", I've owned and flown many of the same planes myself! I've been wanting to build a CL plane now for quite some time...
I was reading your "signature", I've owned and flown many of the same planes myself! I've been wanting to build a CL plane now for quite some time...
Last edited by VincentJ; 06-06-2019 at 04:57 AM.
06-06-2019, 03:27 PM
#189
Thread Starter
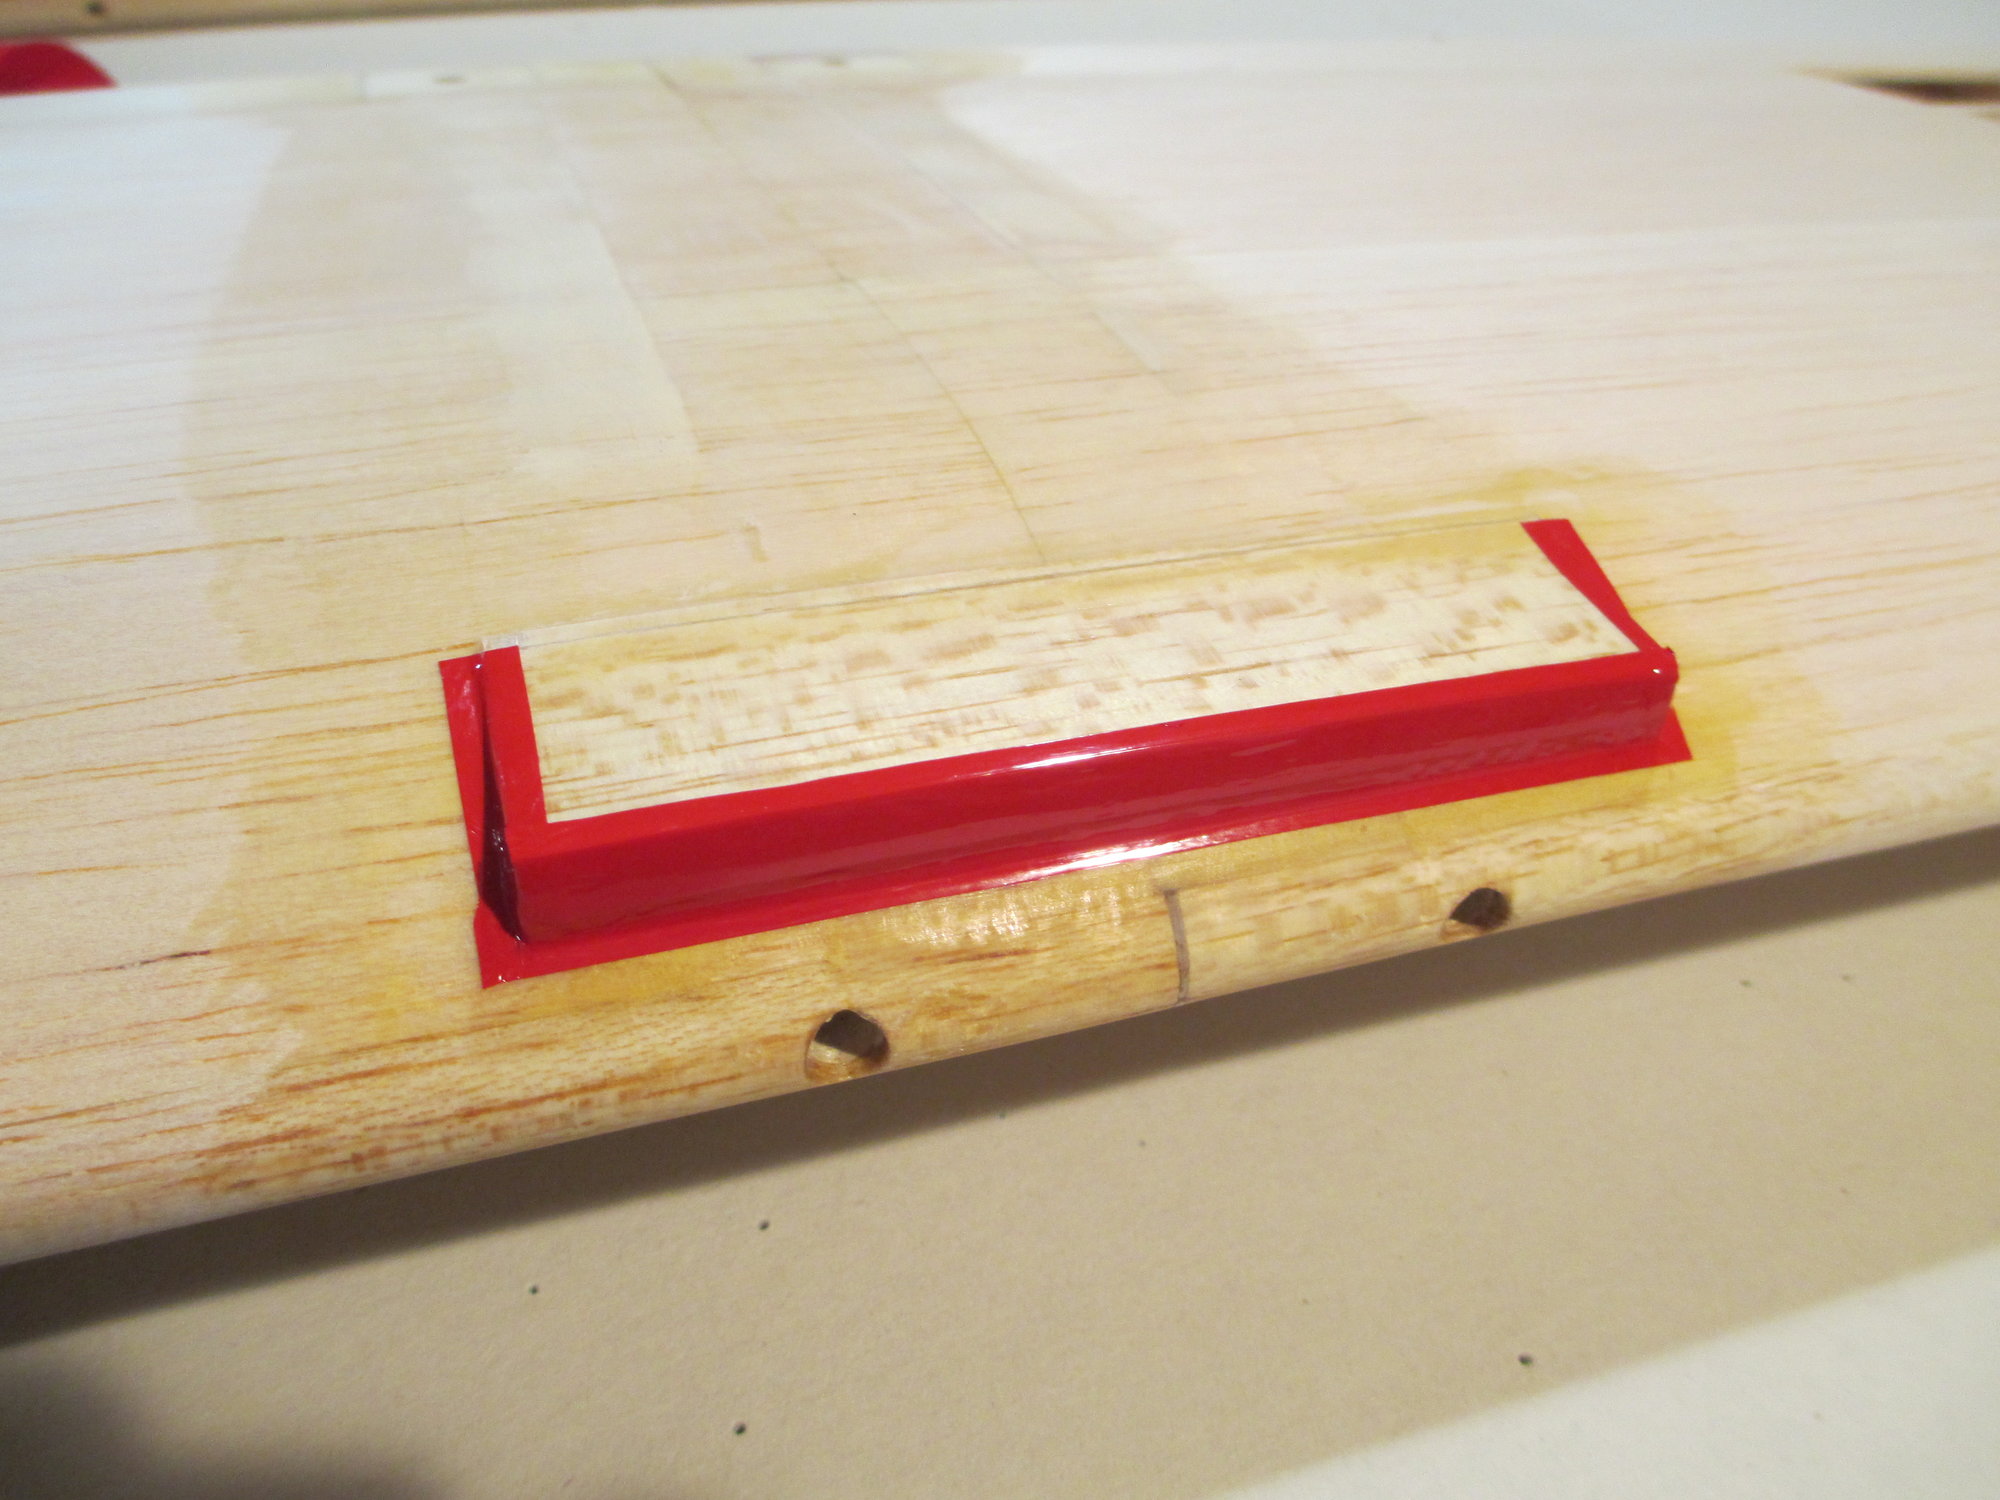
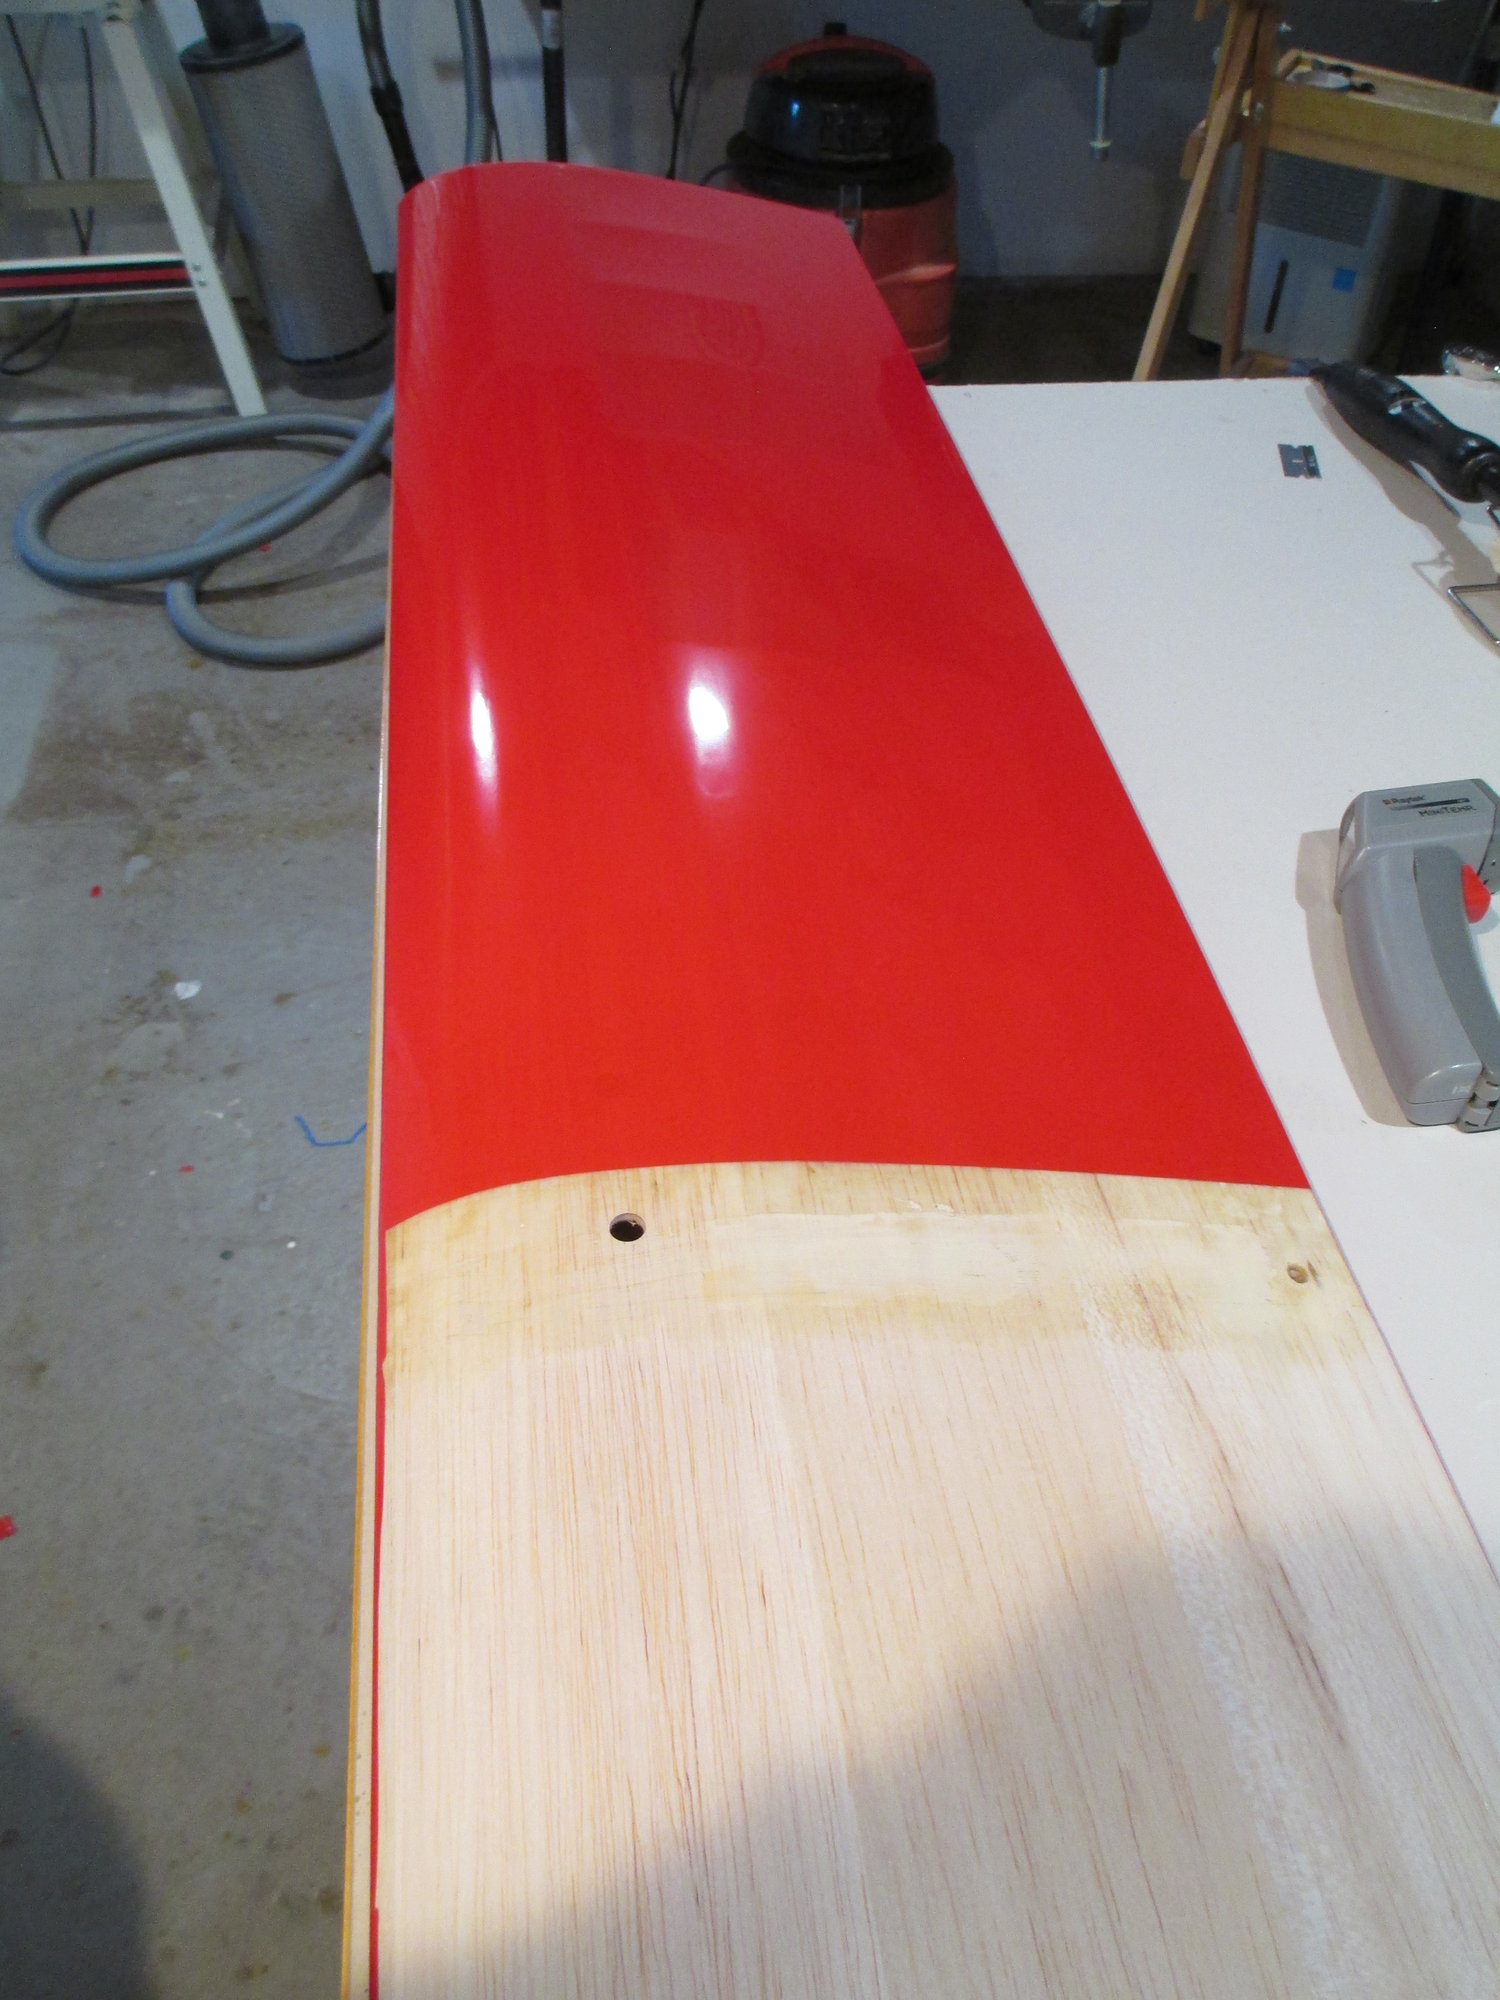
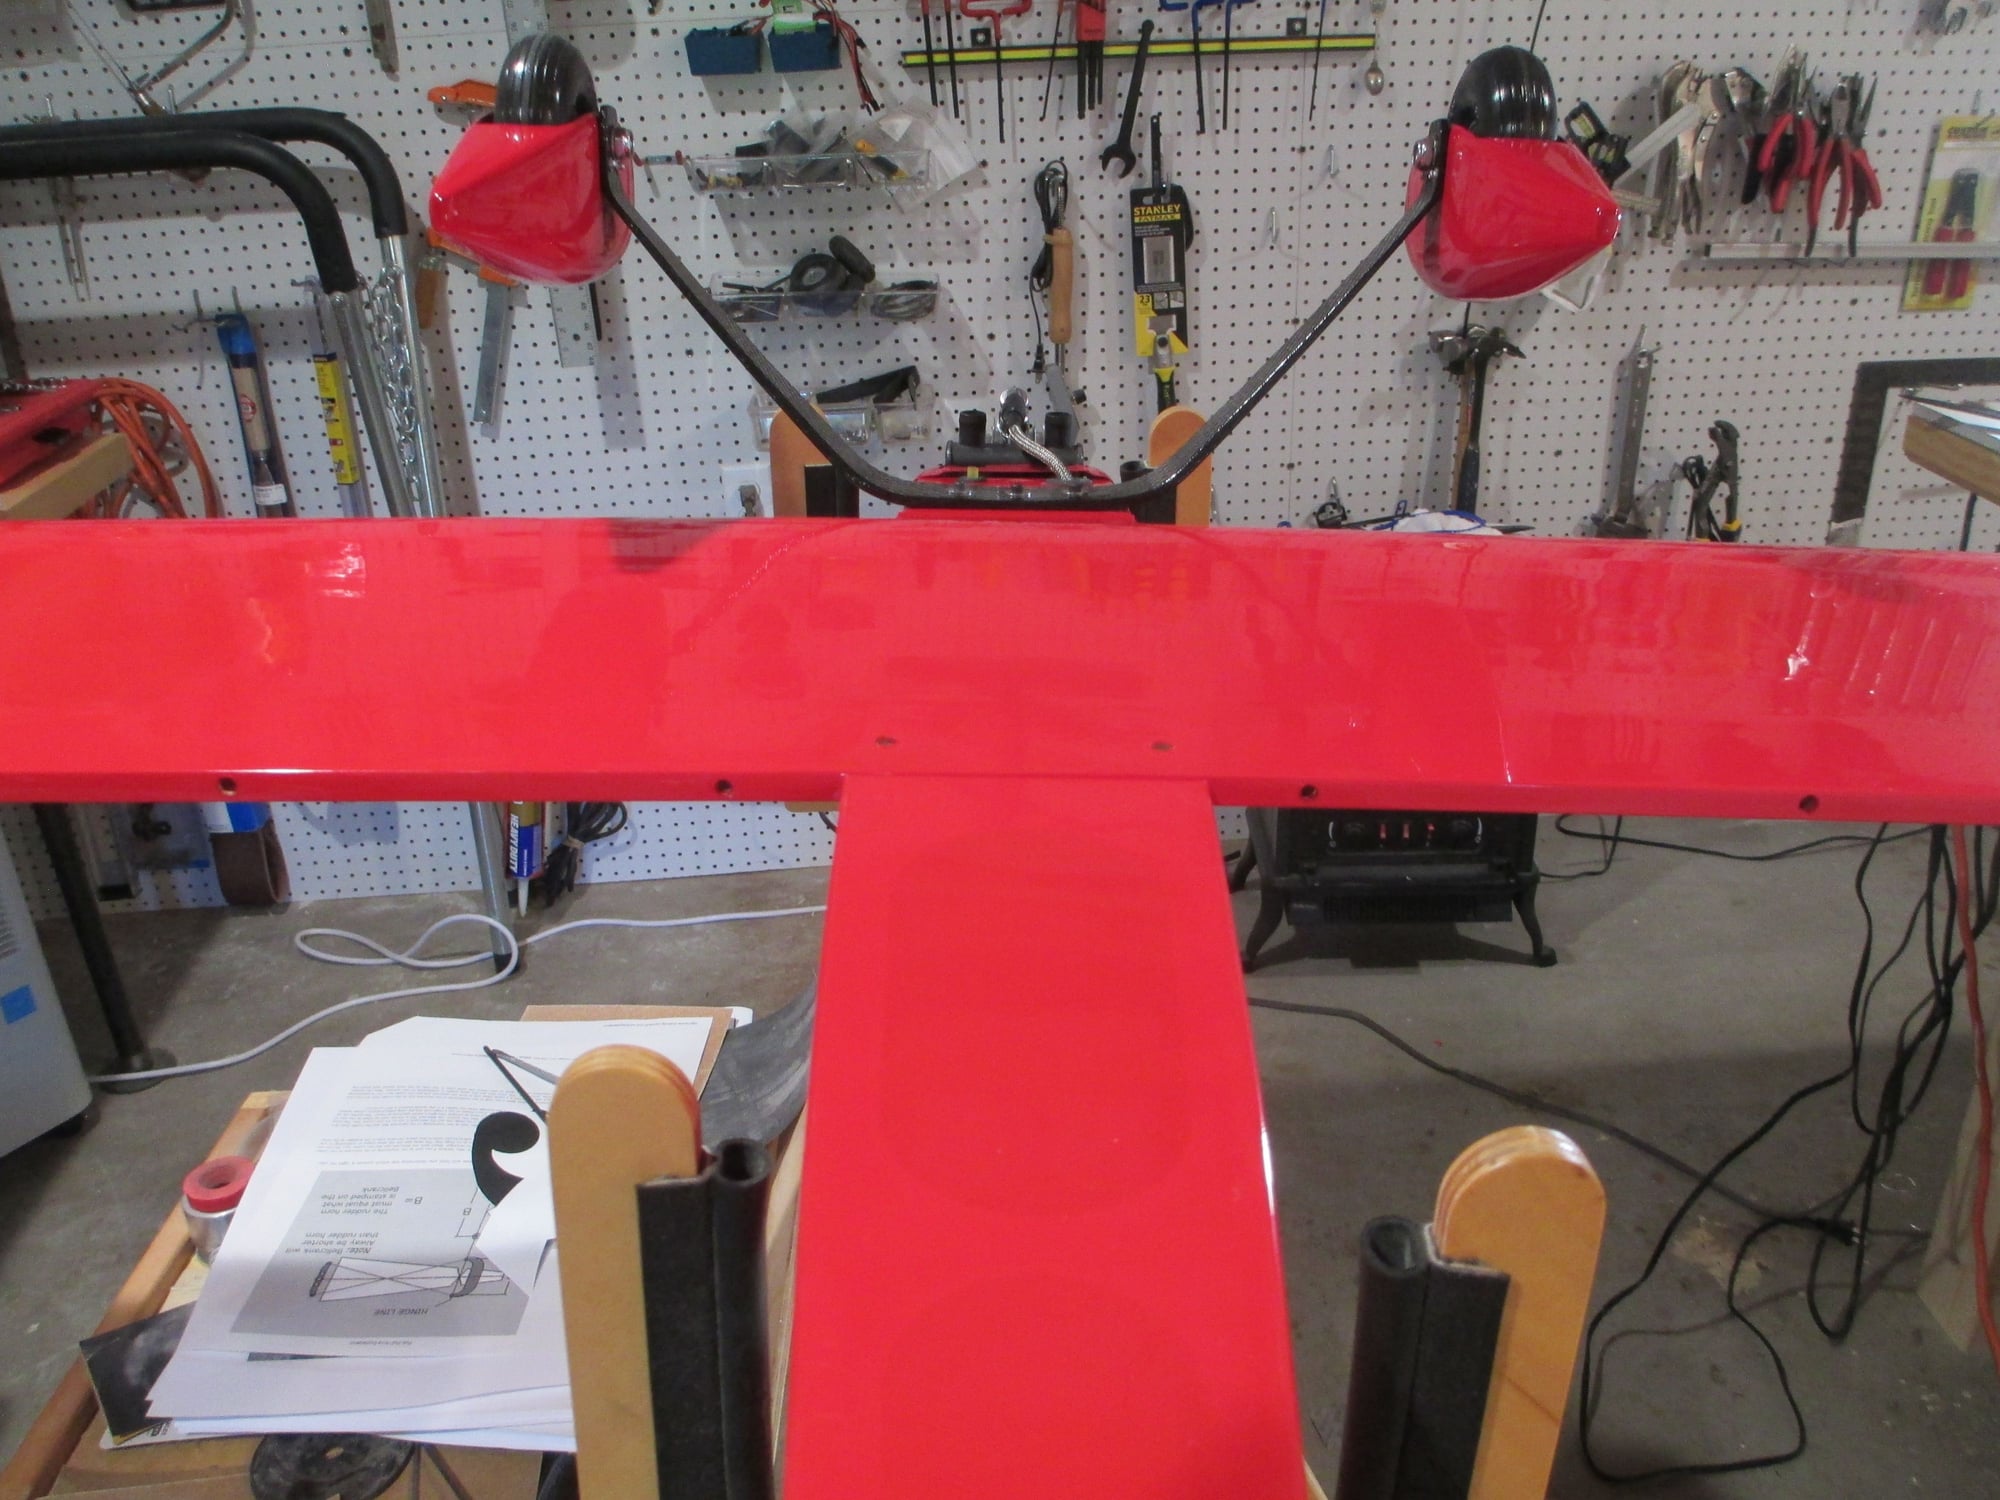
The first step covering a wing starts at the bottom. The overlap from the top of the wing will be more invisible and the air flow will less likely pull your covering off.
The bottom was covered from wing tip to wing tip in one piece. Because of the direction of the wing's dihedral, the top will be done in two separate pieces.
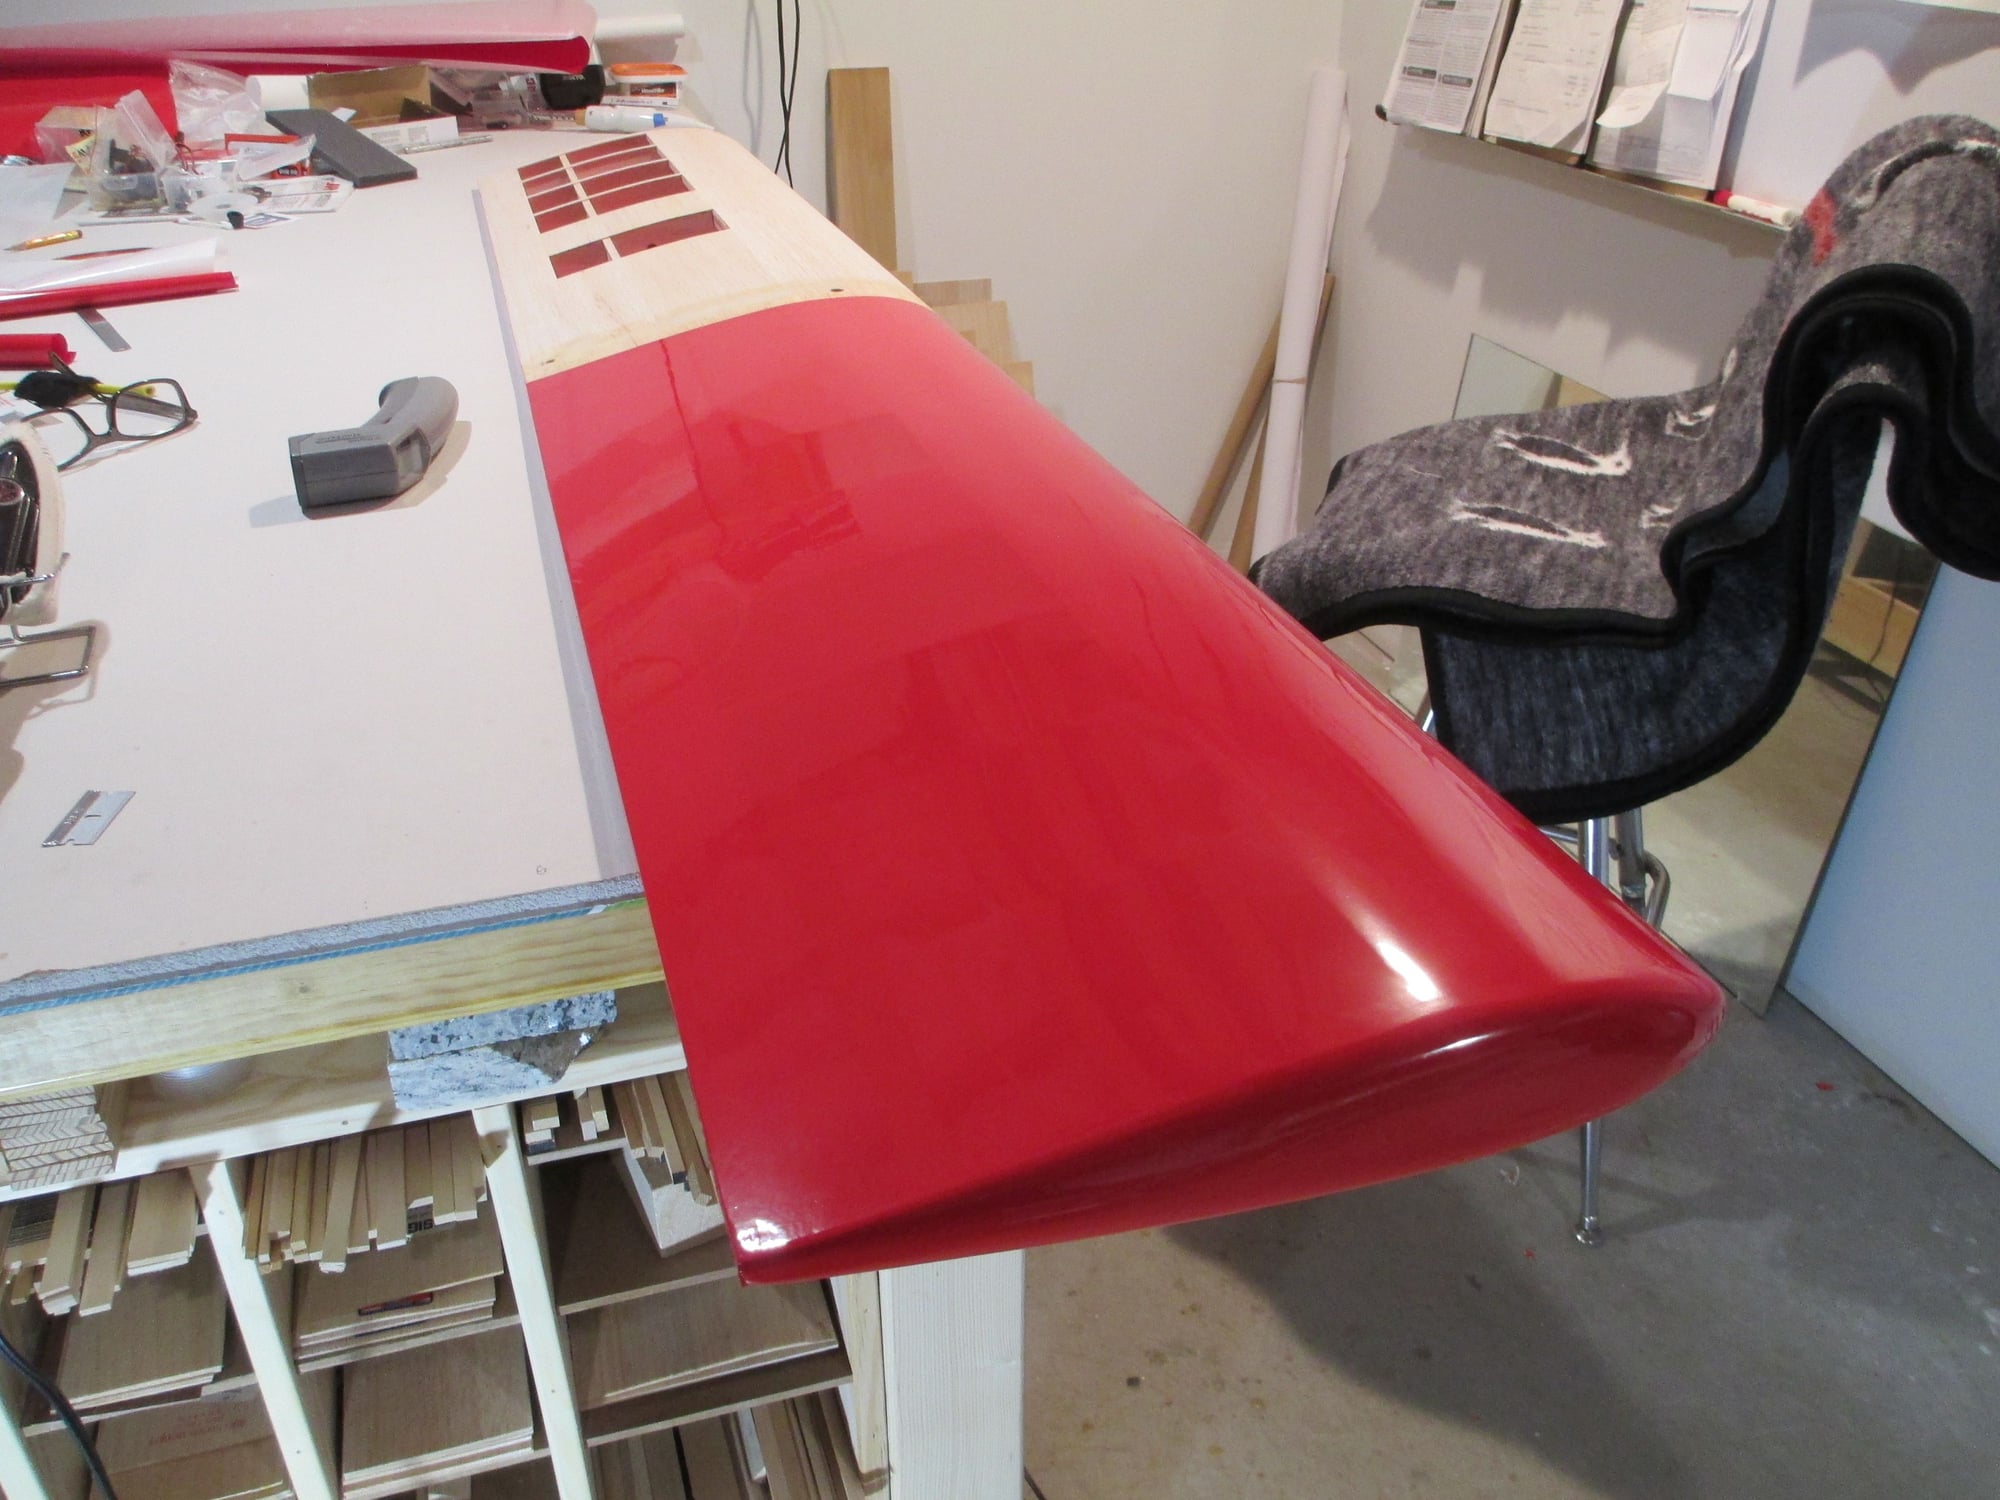
The heat gun was used to gently stretch the covering over the wing tip.
Last edited by VincentJ; 06-07-2019 at 02:23 AM.
06-07-2019, 01:43 PM
#190
Thread Starter
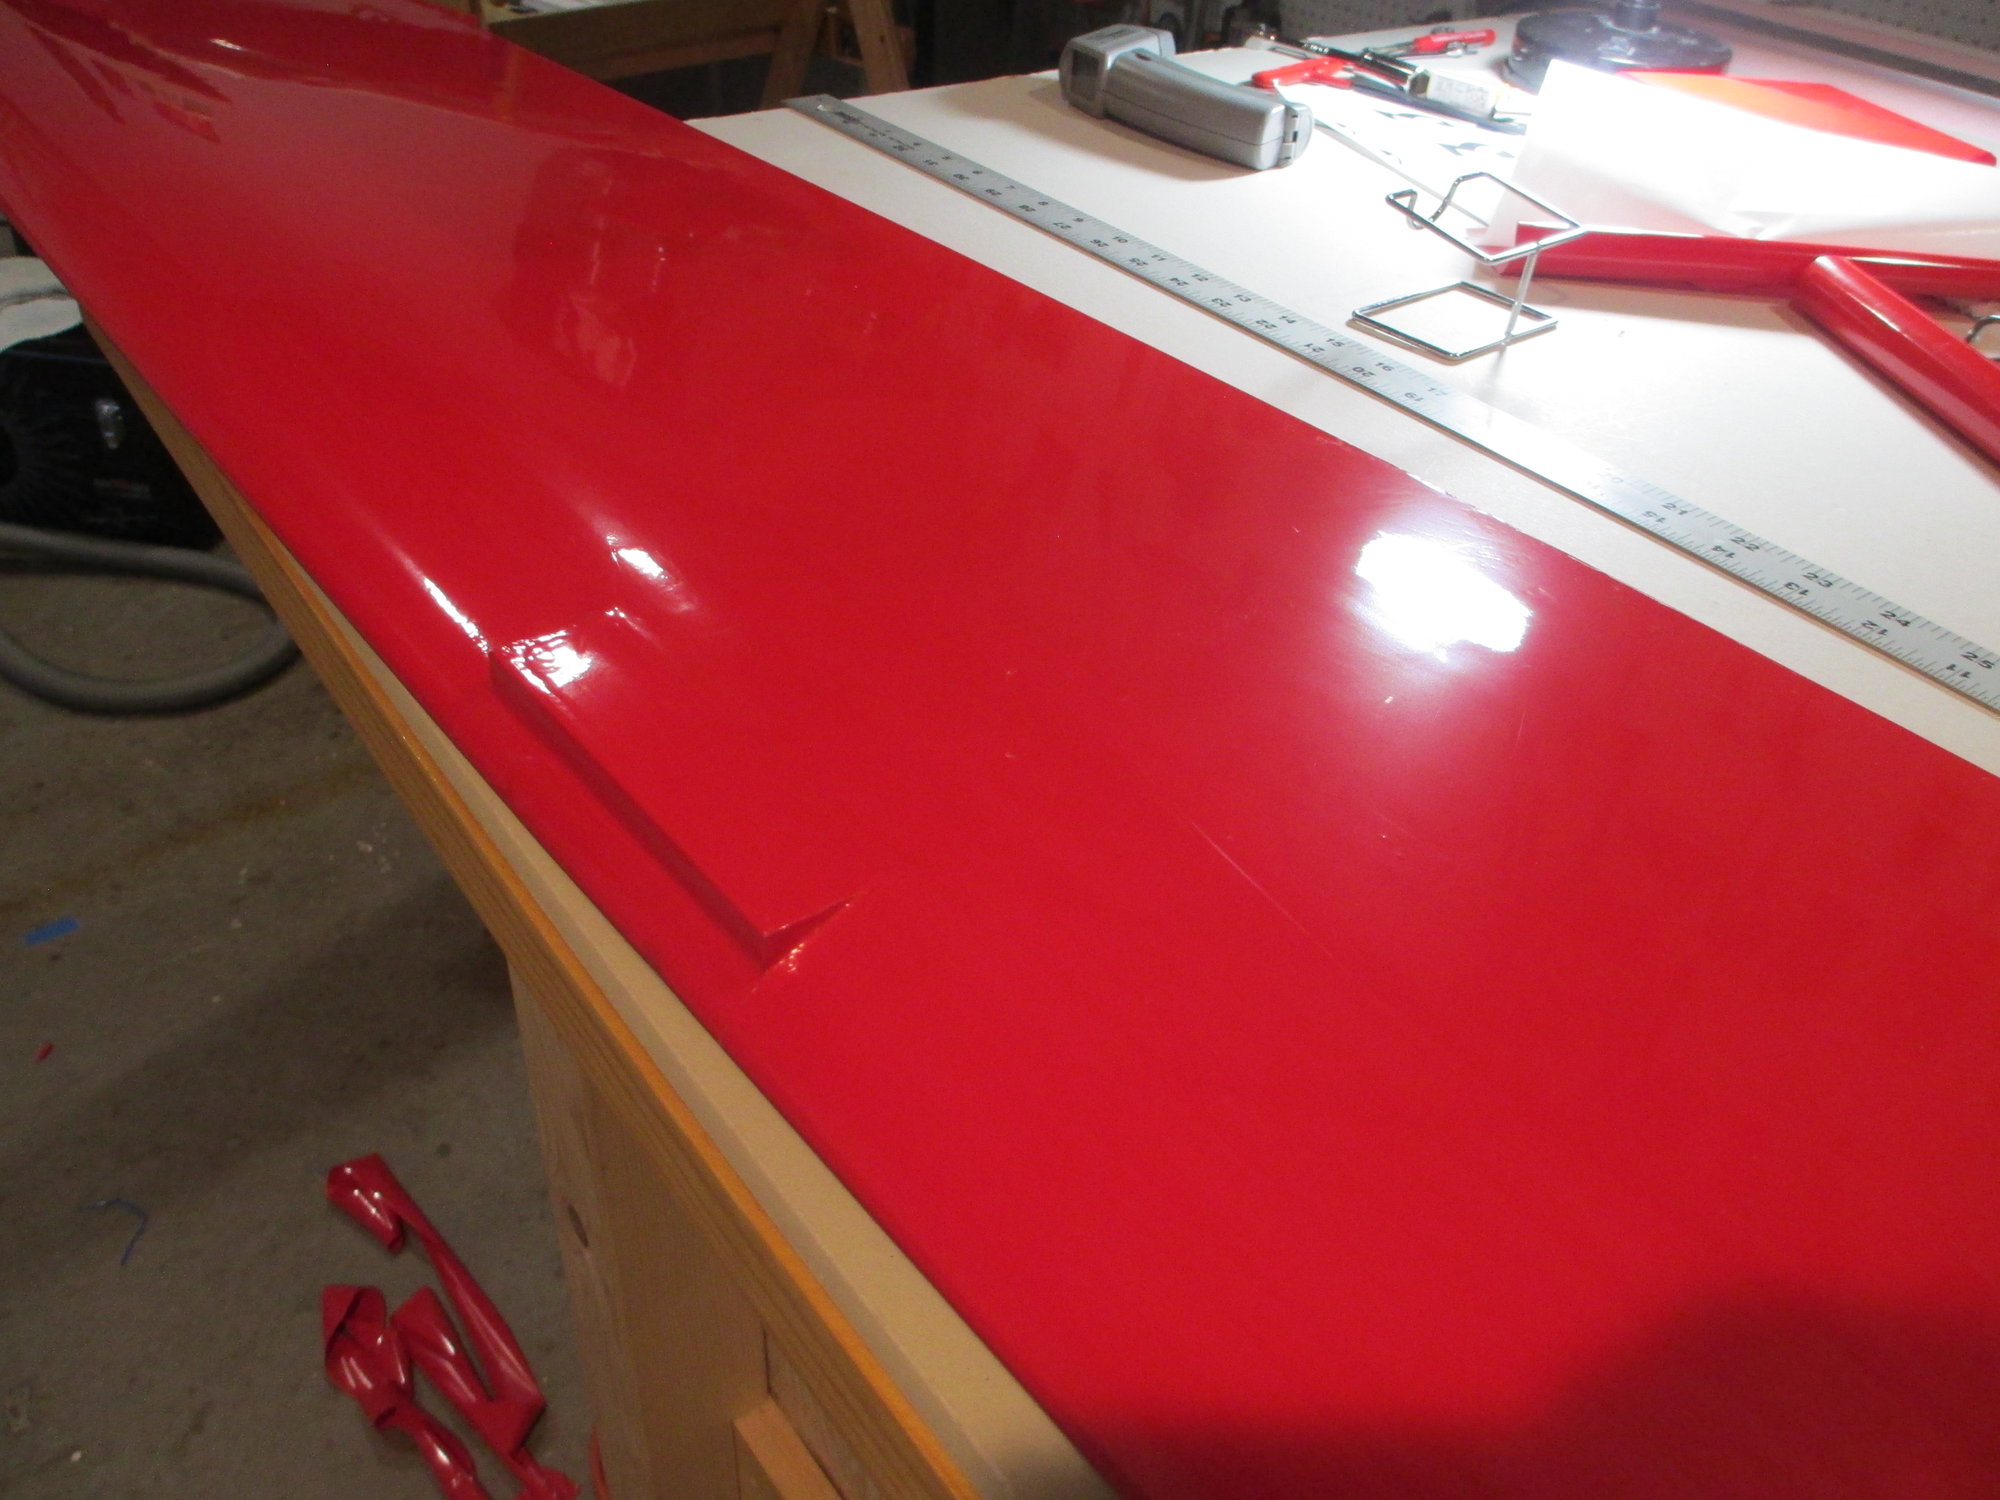
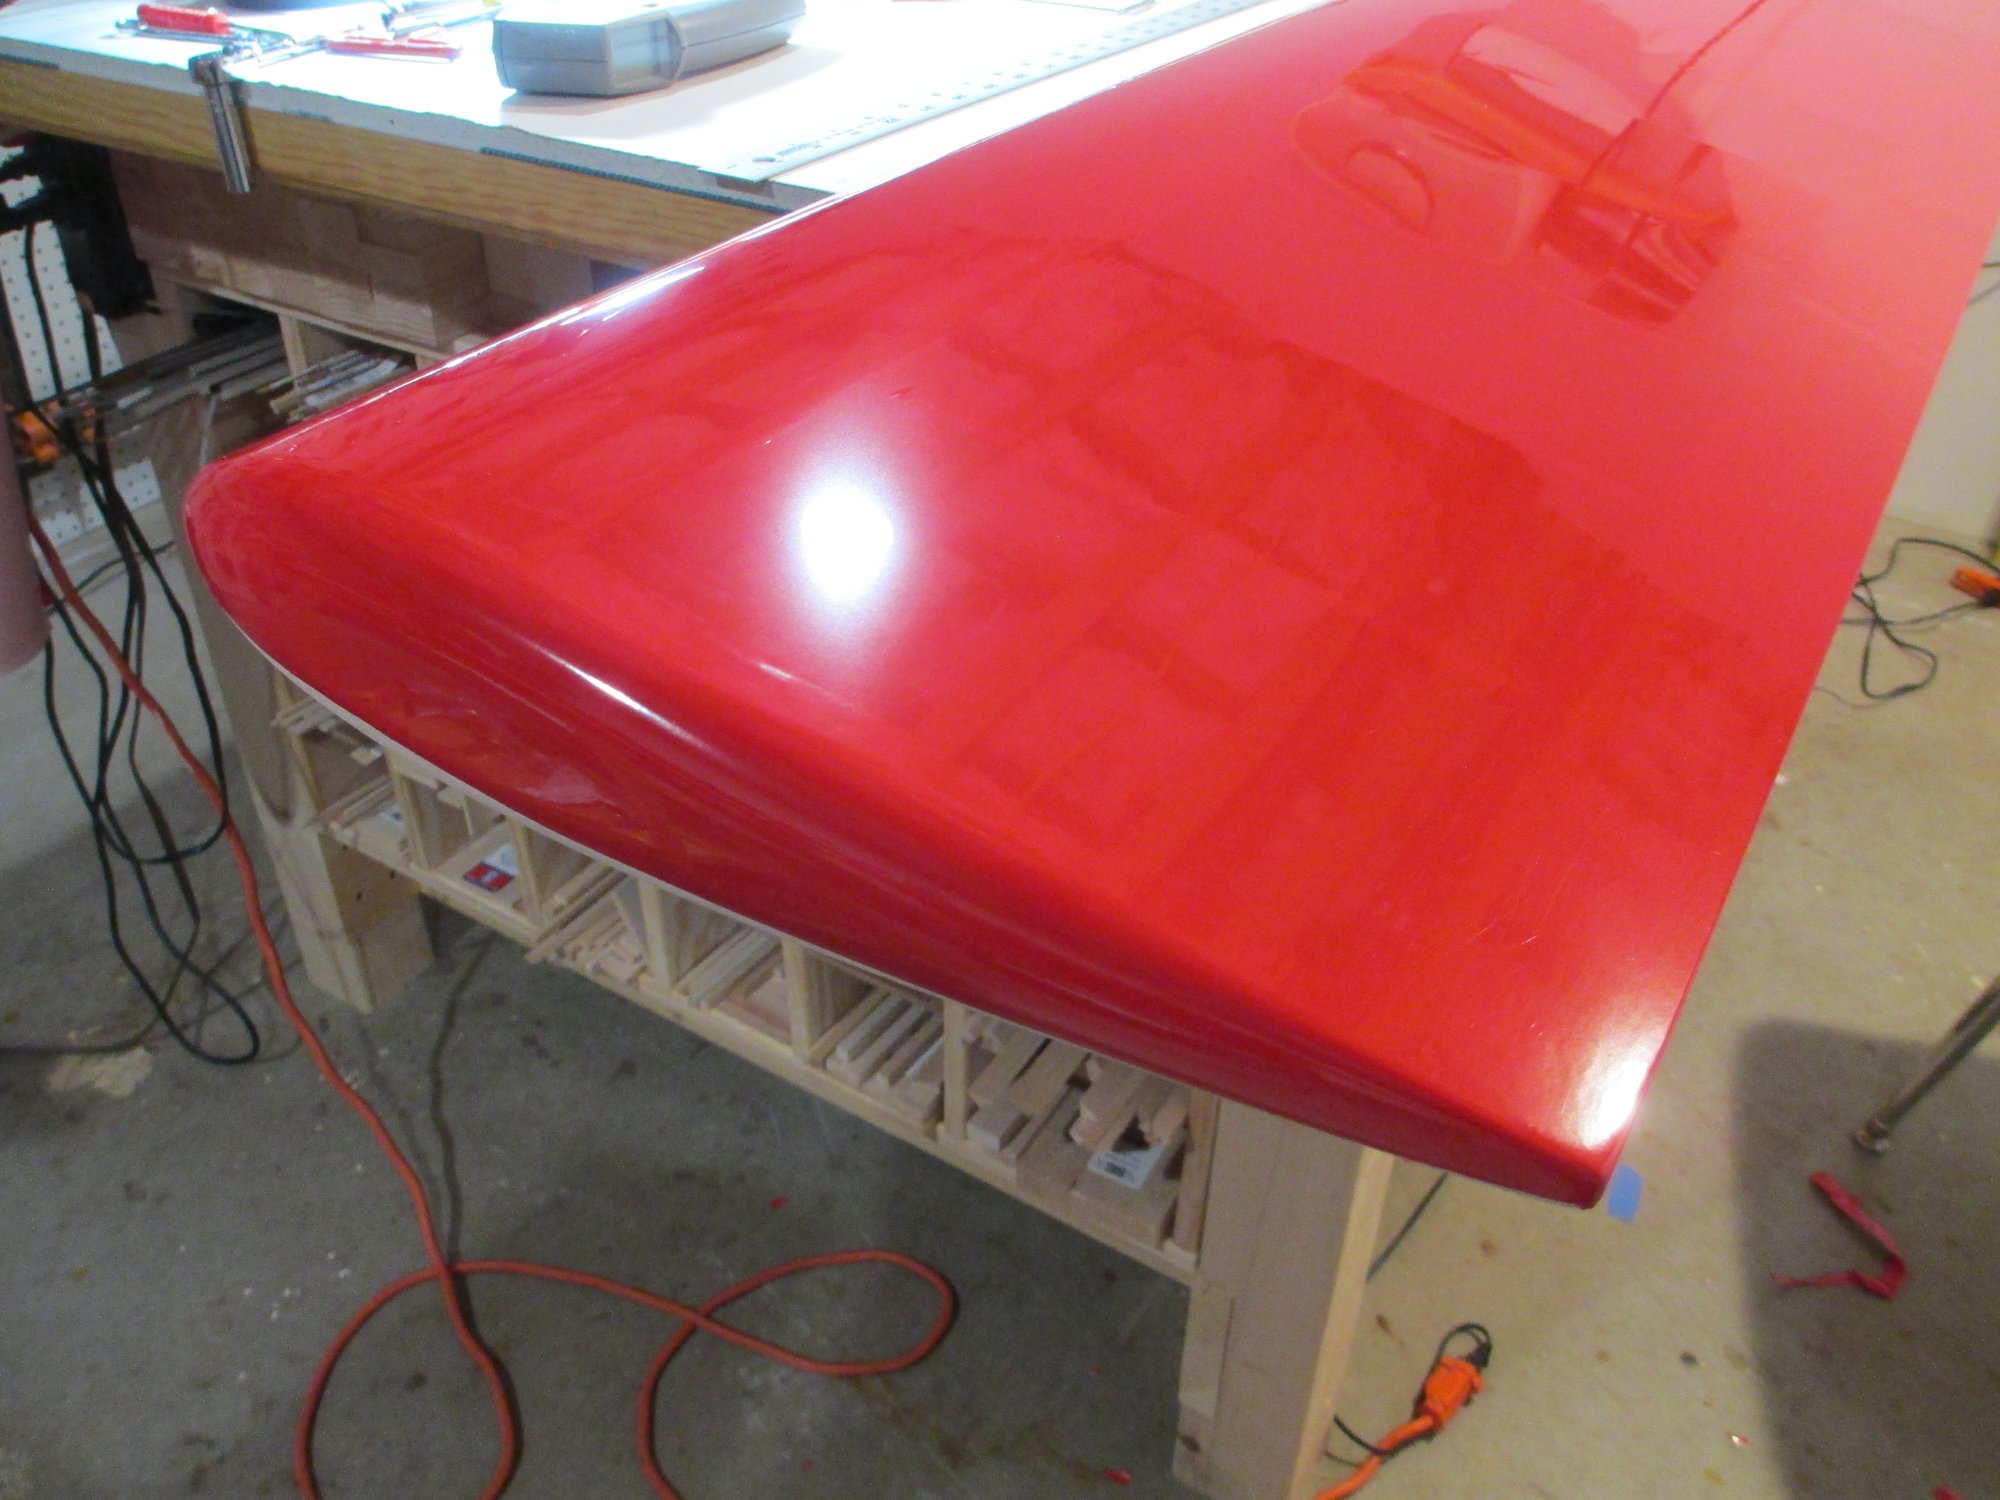
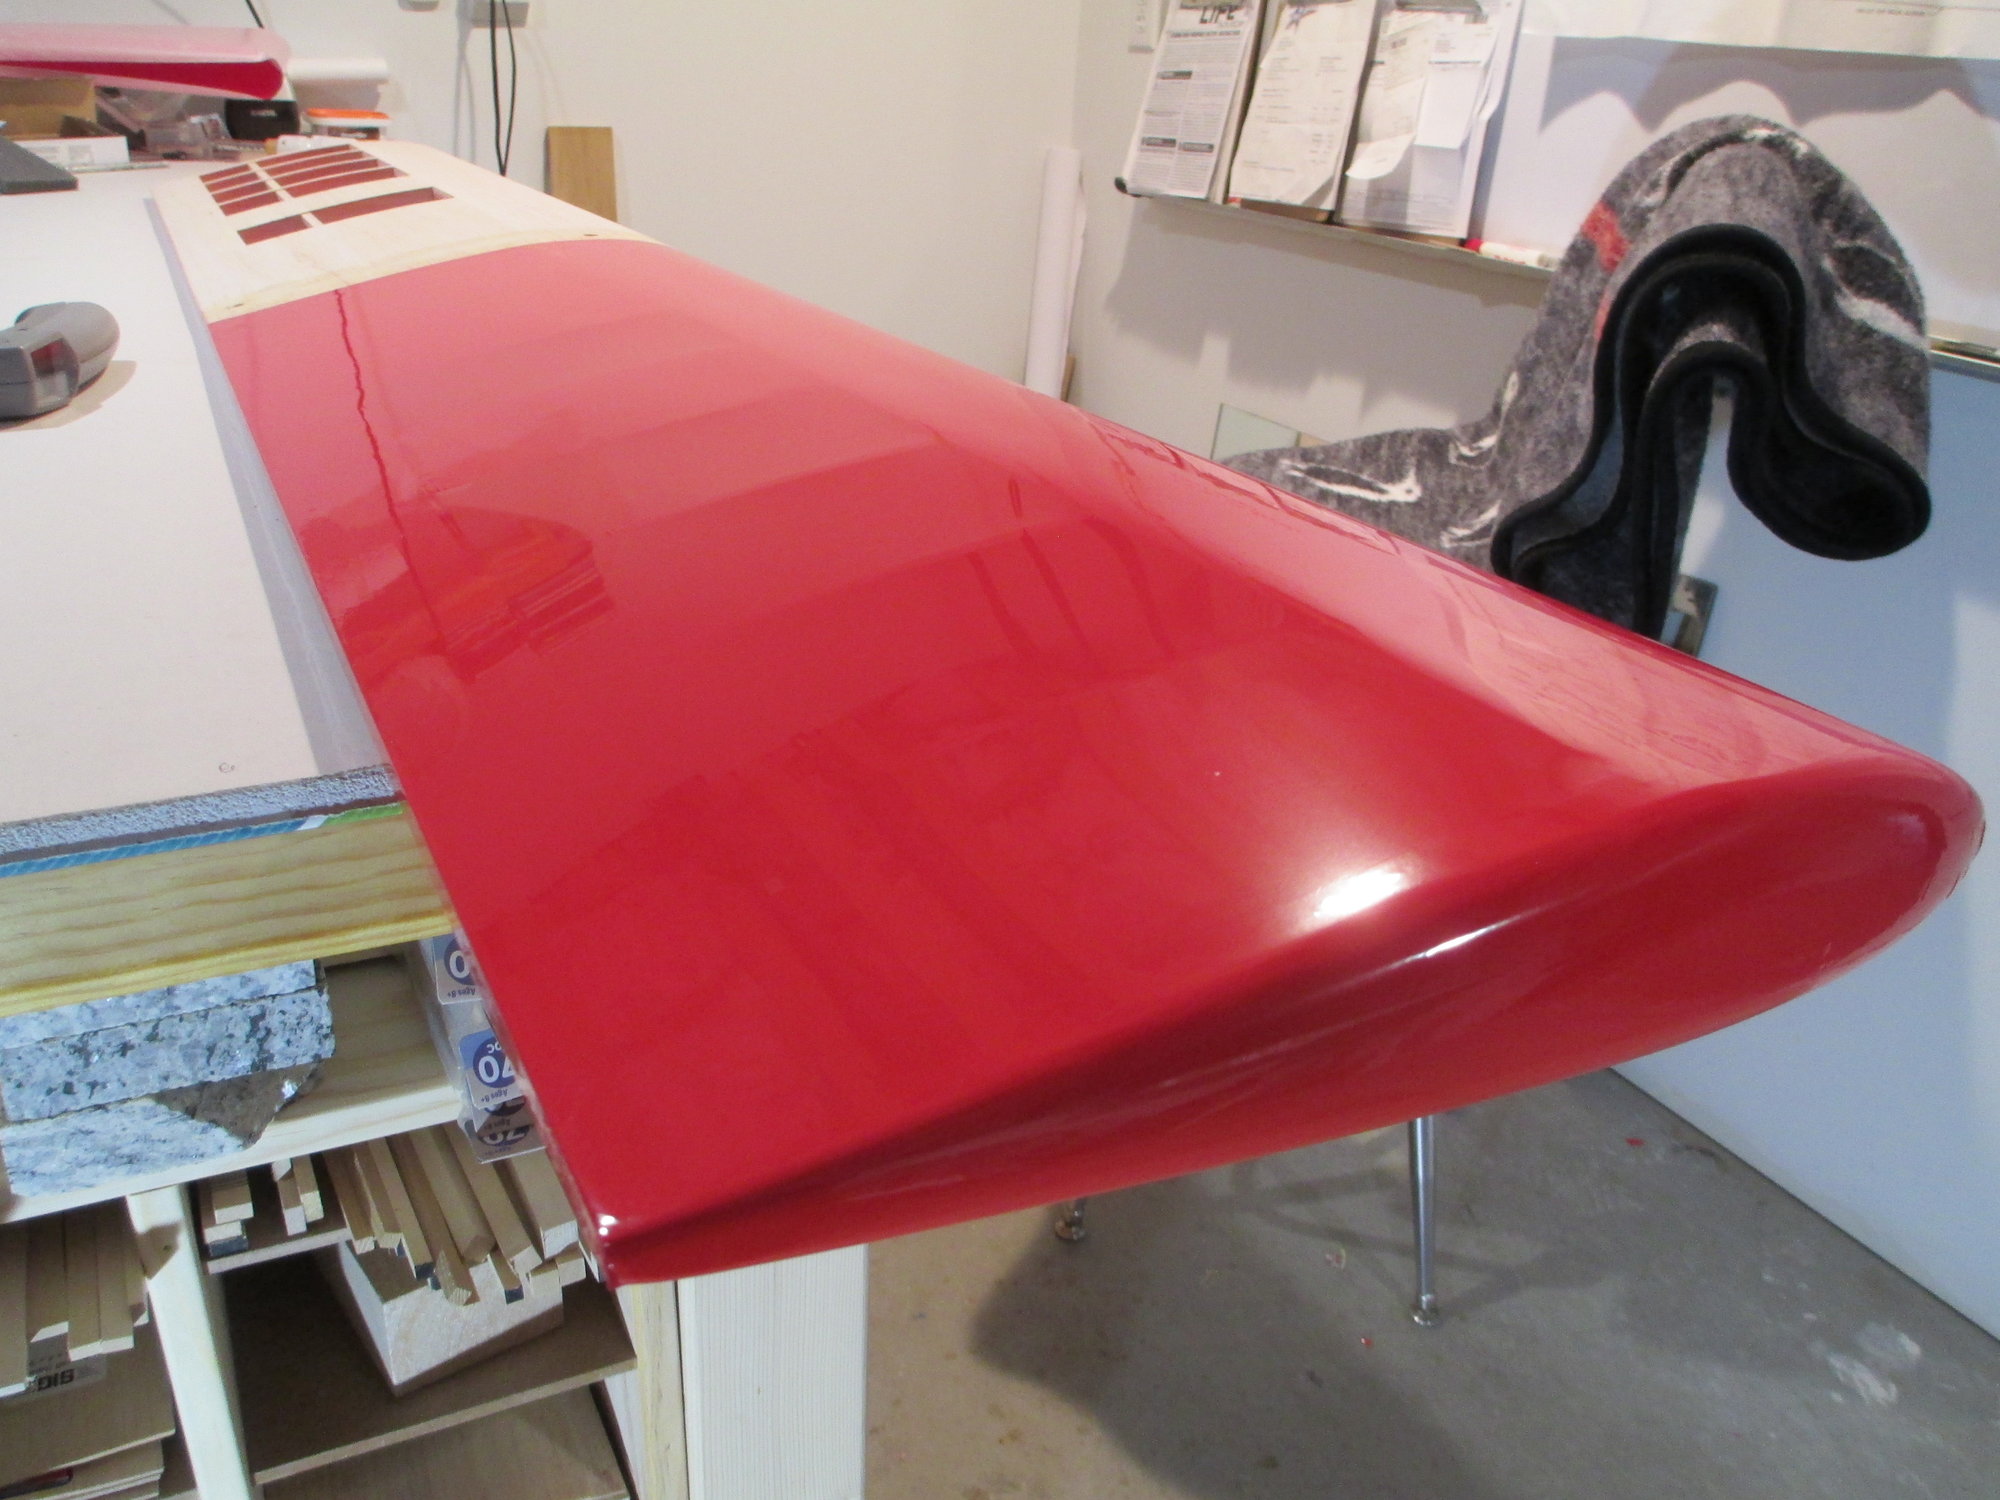
A few pics of the top getting covered. Stopping for tonight, it's Friday night. Going out to see what kind of trouble I can get into...lol
Last edited by VincentJ; 06-07-2019 at 02:34 PM.
06-08-2019, 12:21 PM
#192
Thread Starter
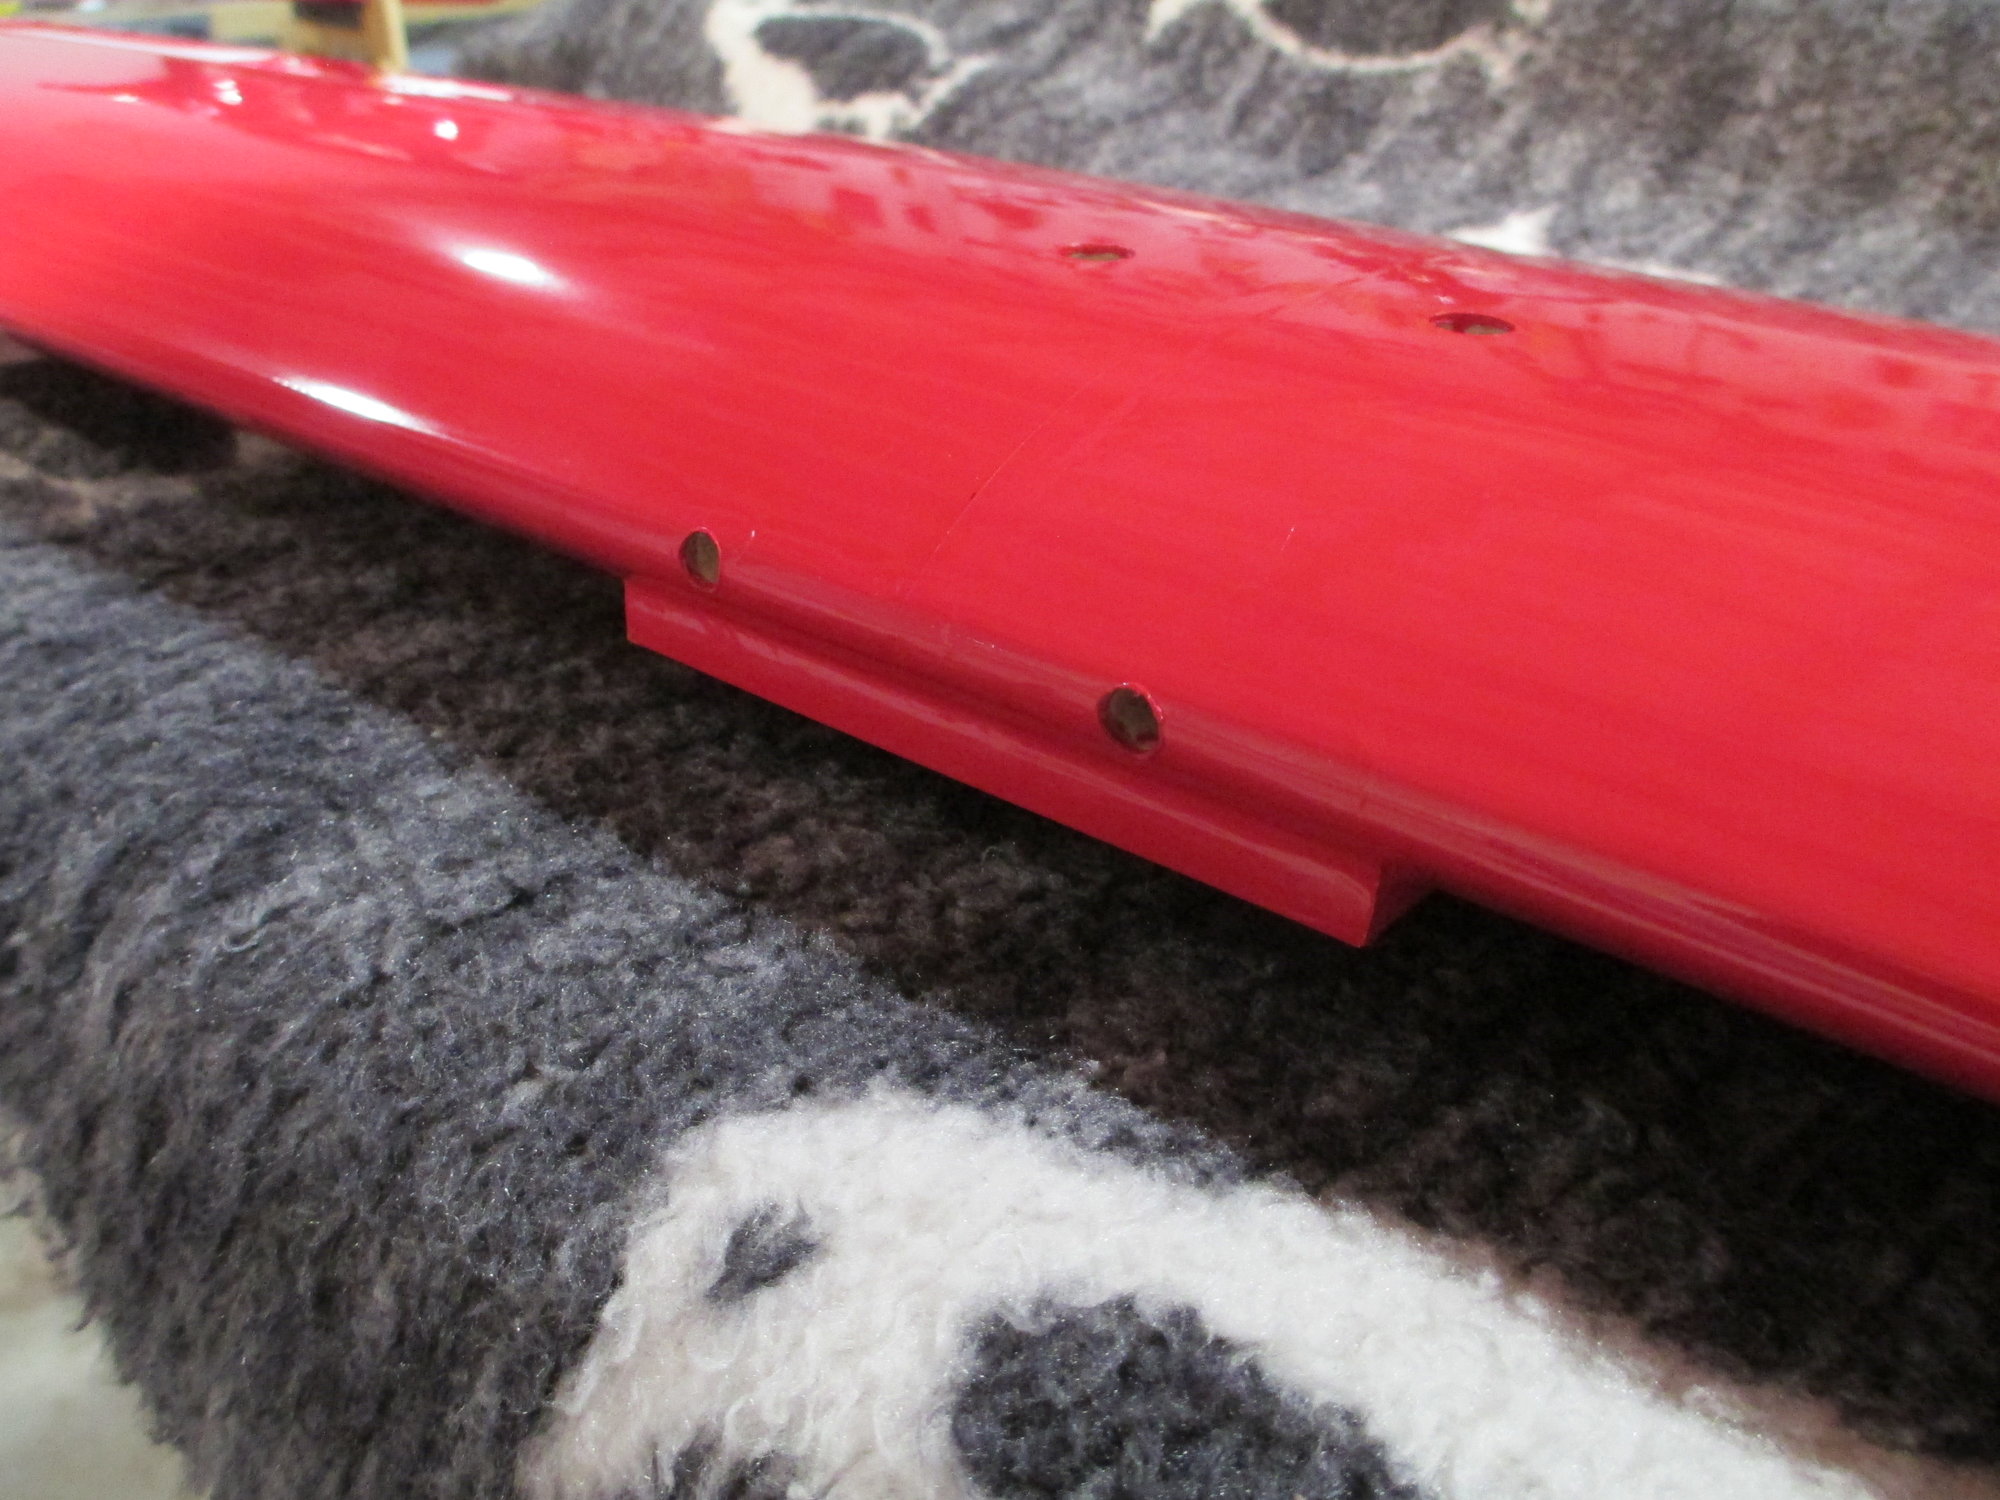
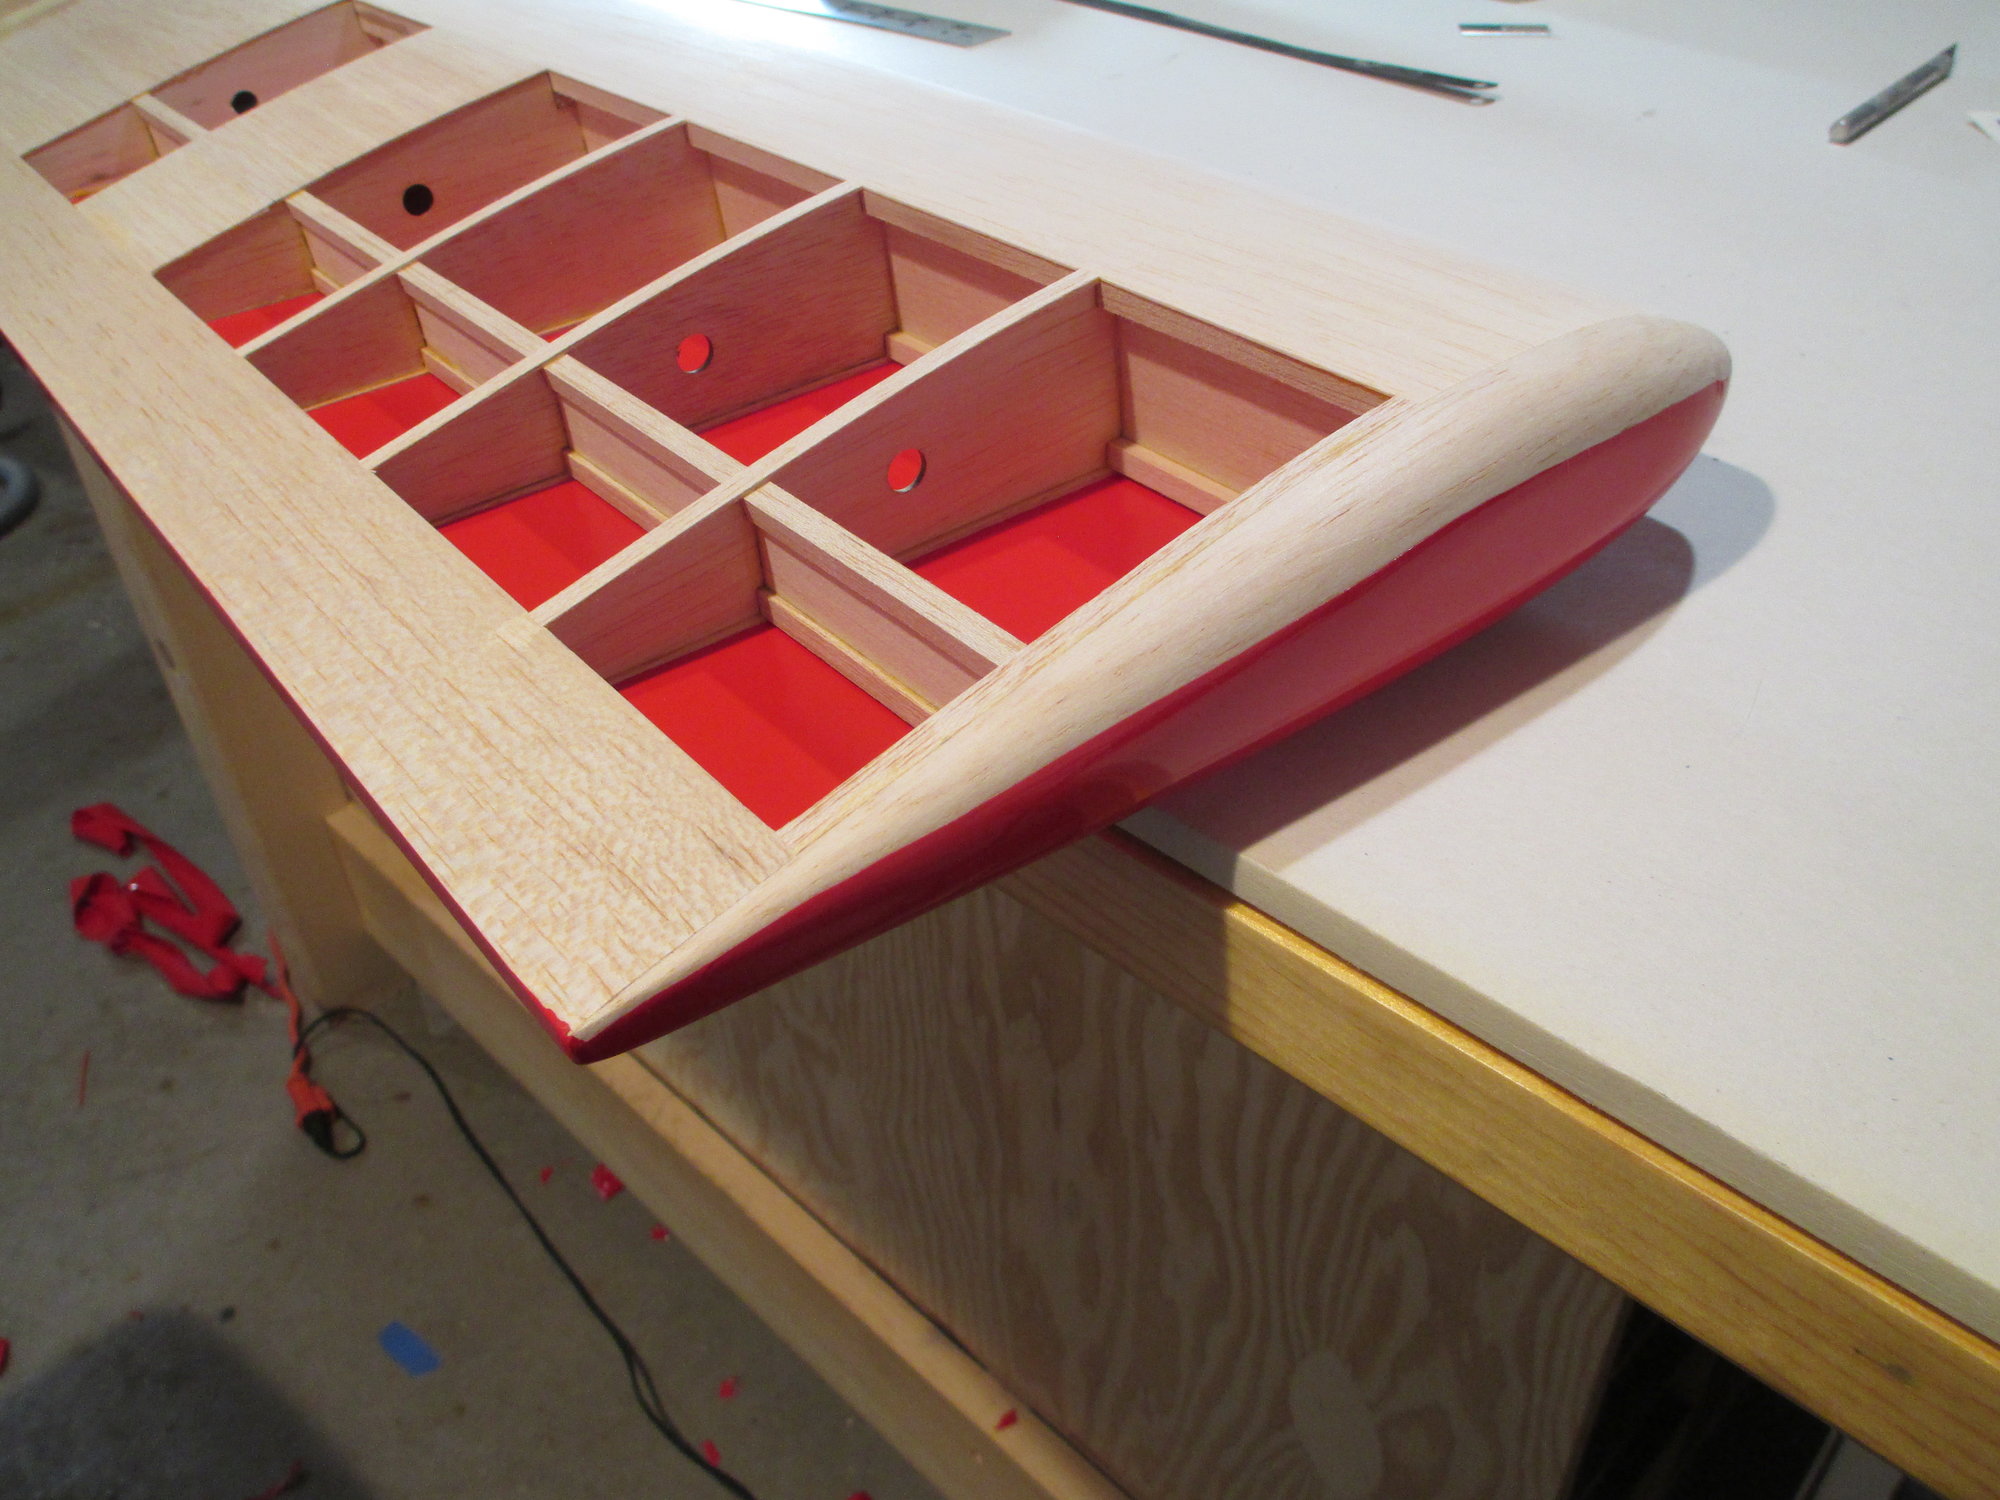
Now is the time that I'm glad I didn't glue in those wing dowels. So much easier to cover!
All of the holes were opened up using a soldering iron as before.
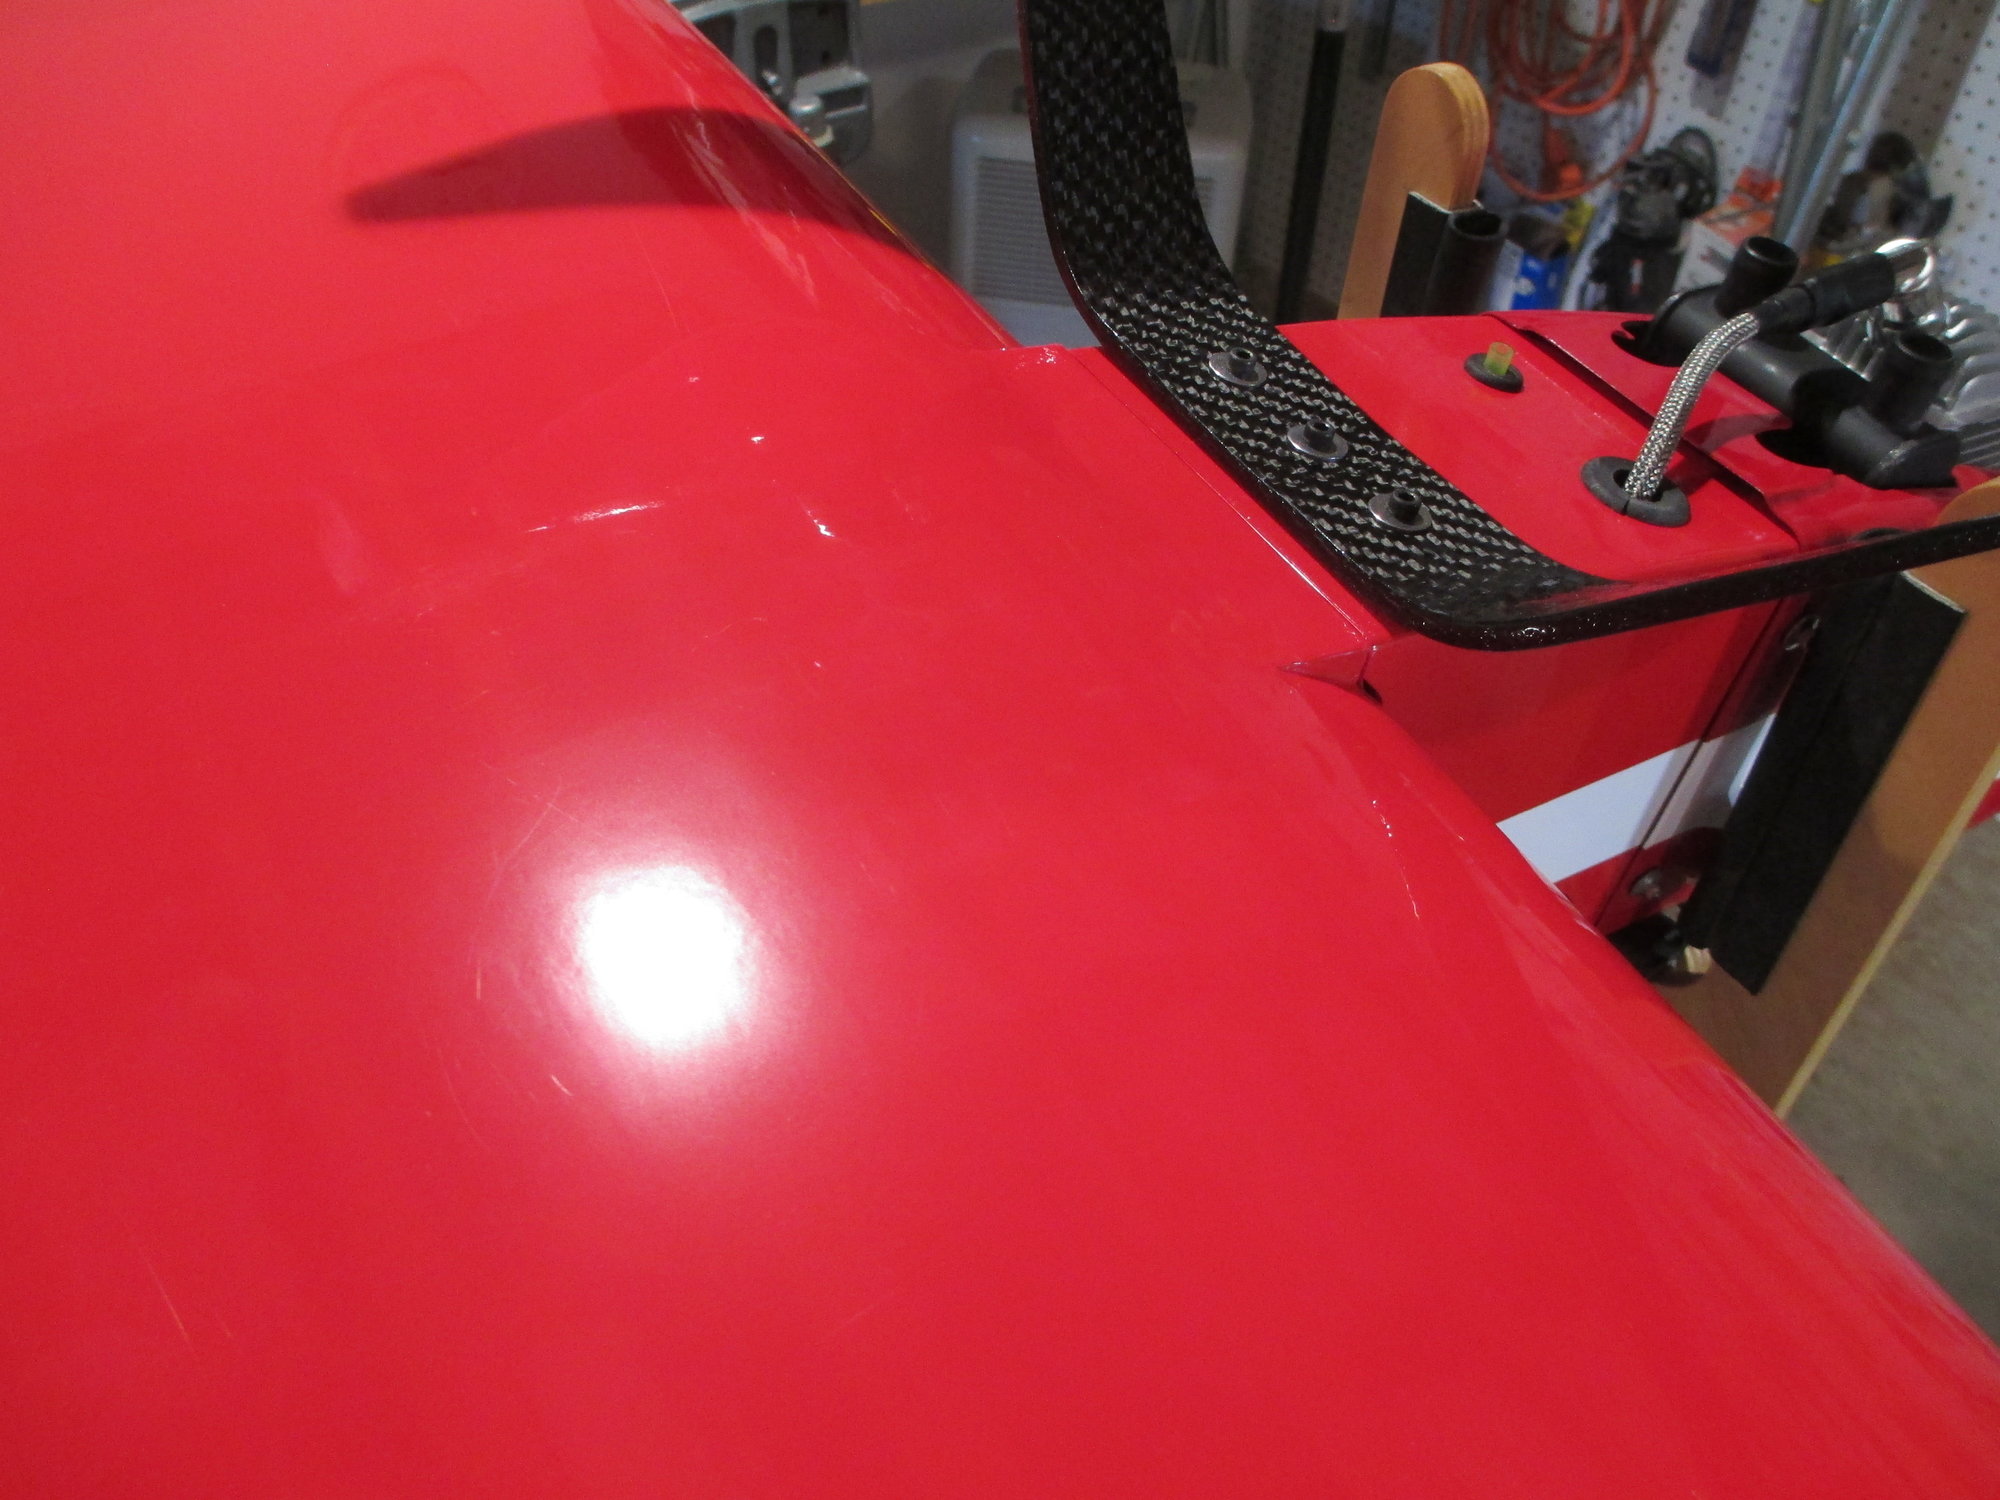
Wing transition to fuselage.
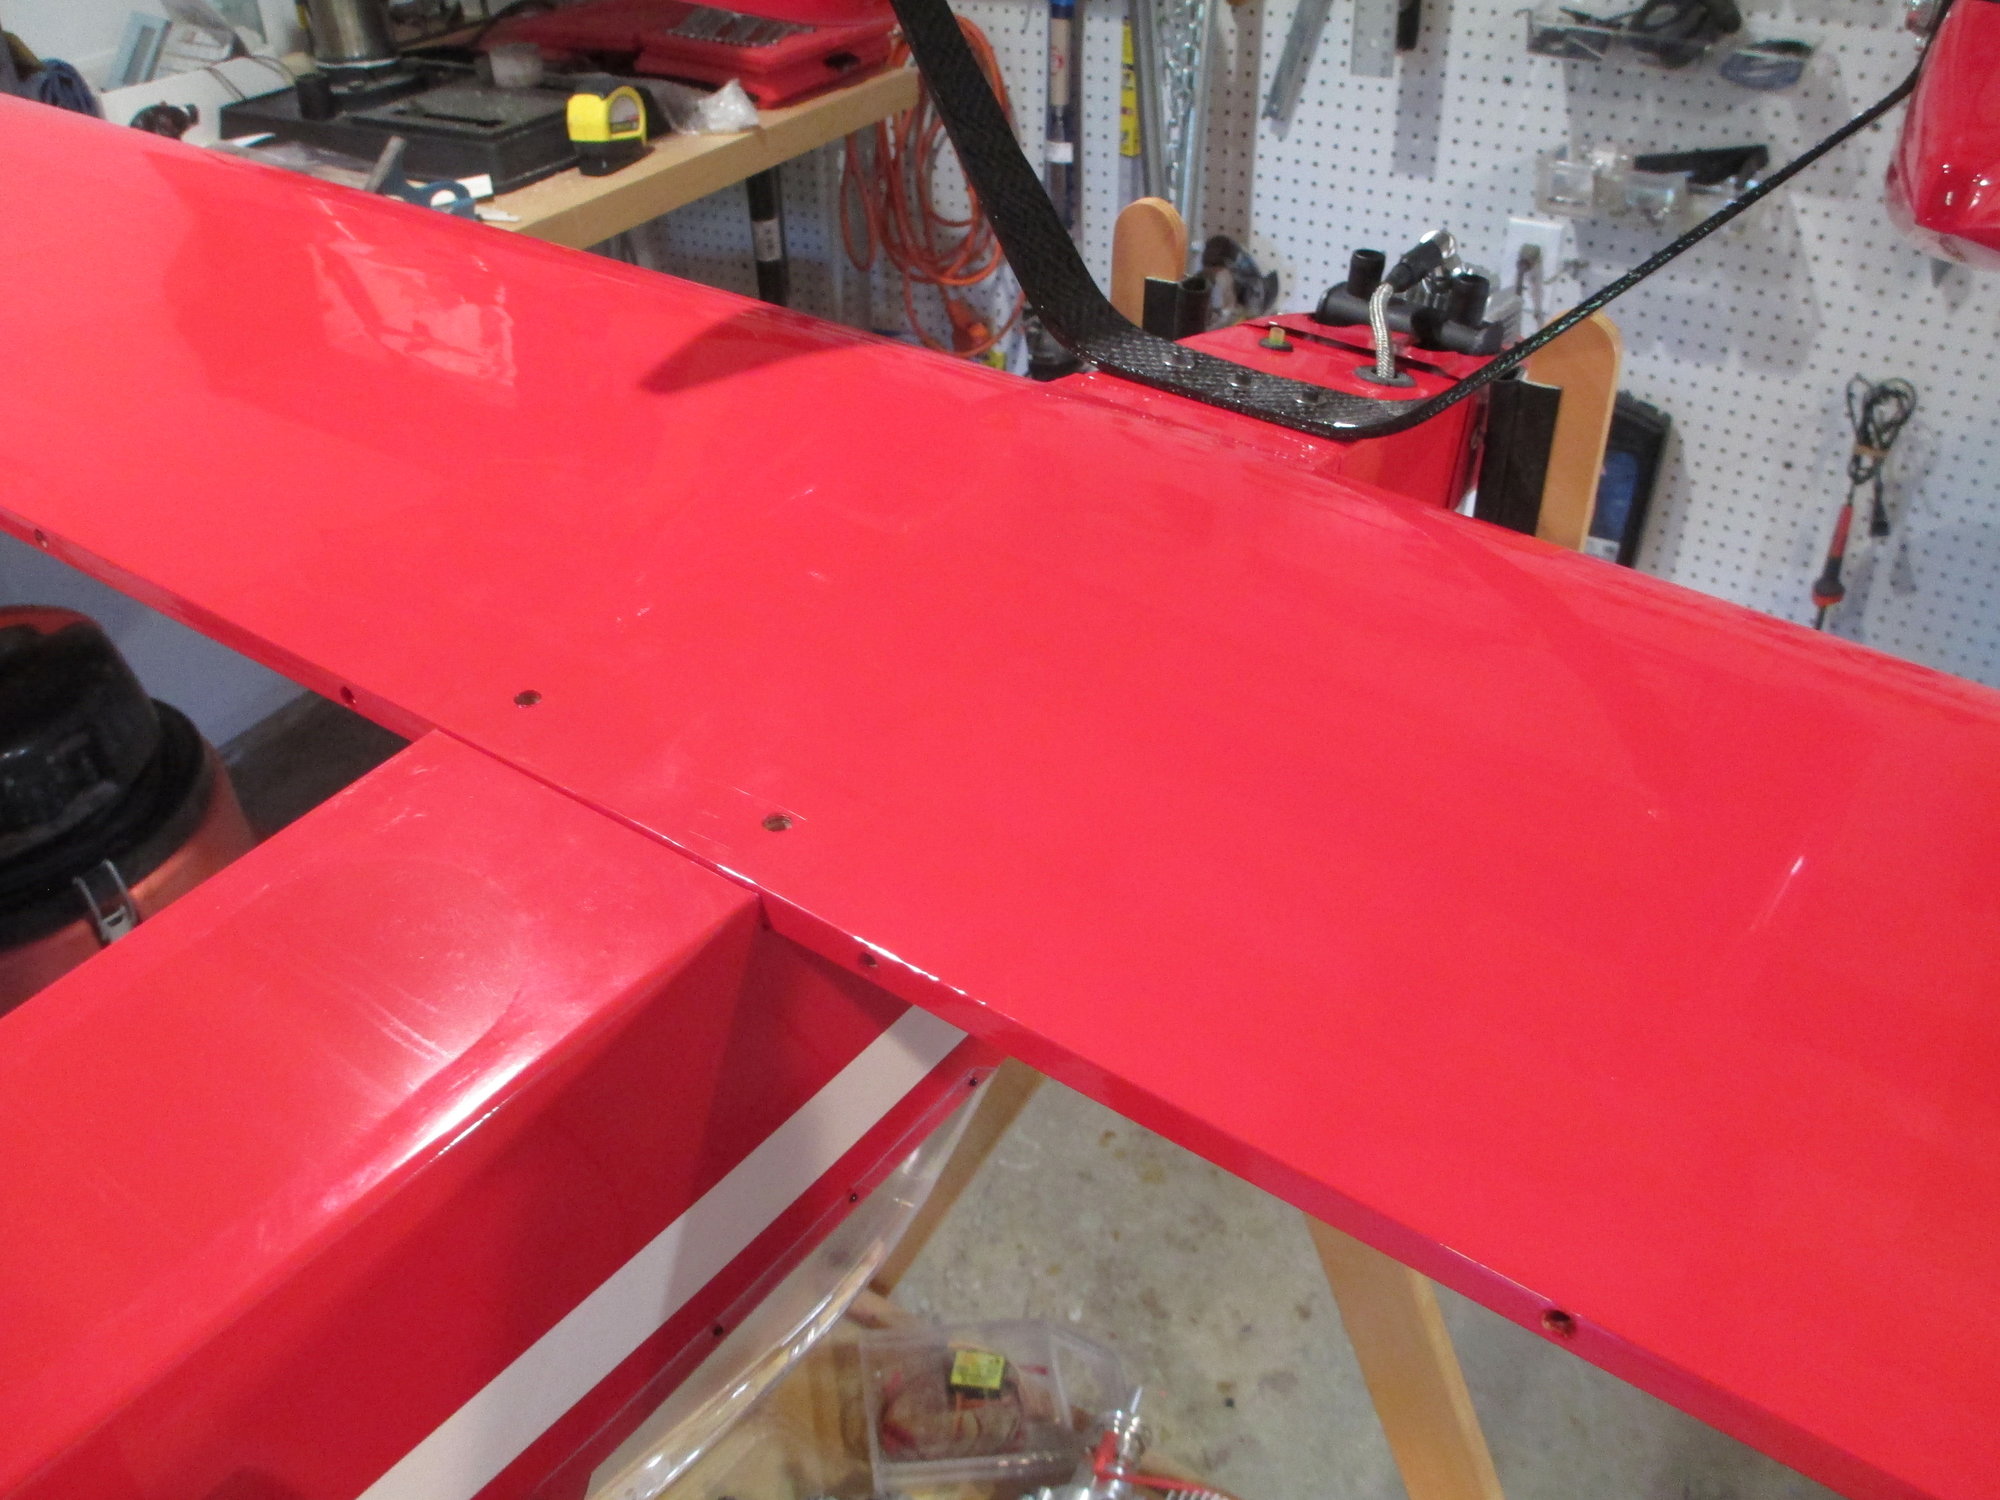
Aileron hatch opening.
06-08-2019, 03:48 PM
#193
Thread Starter

Covering the aileron starts with covering both ends and each hinge opening...
Then the aileron is covered in one piece which was wrapped around and trimmed.
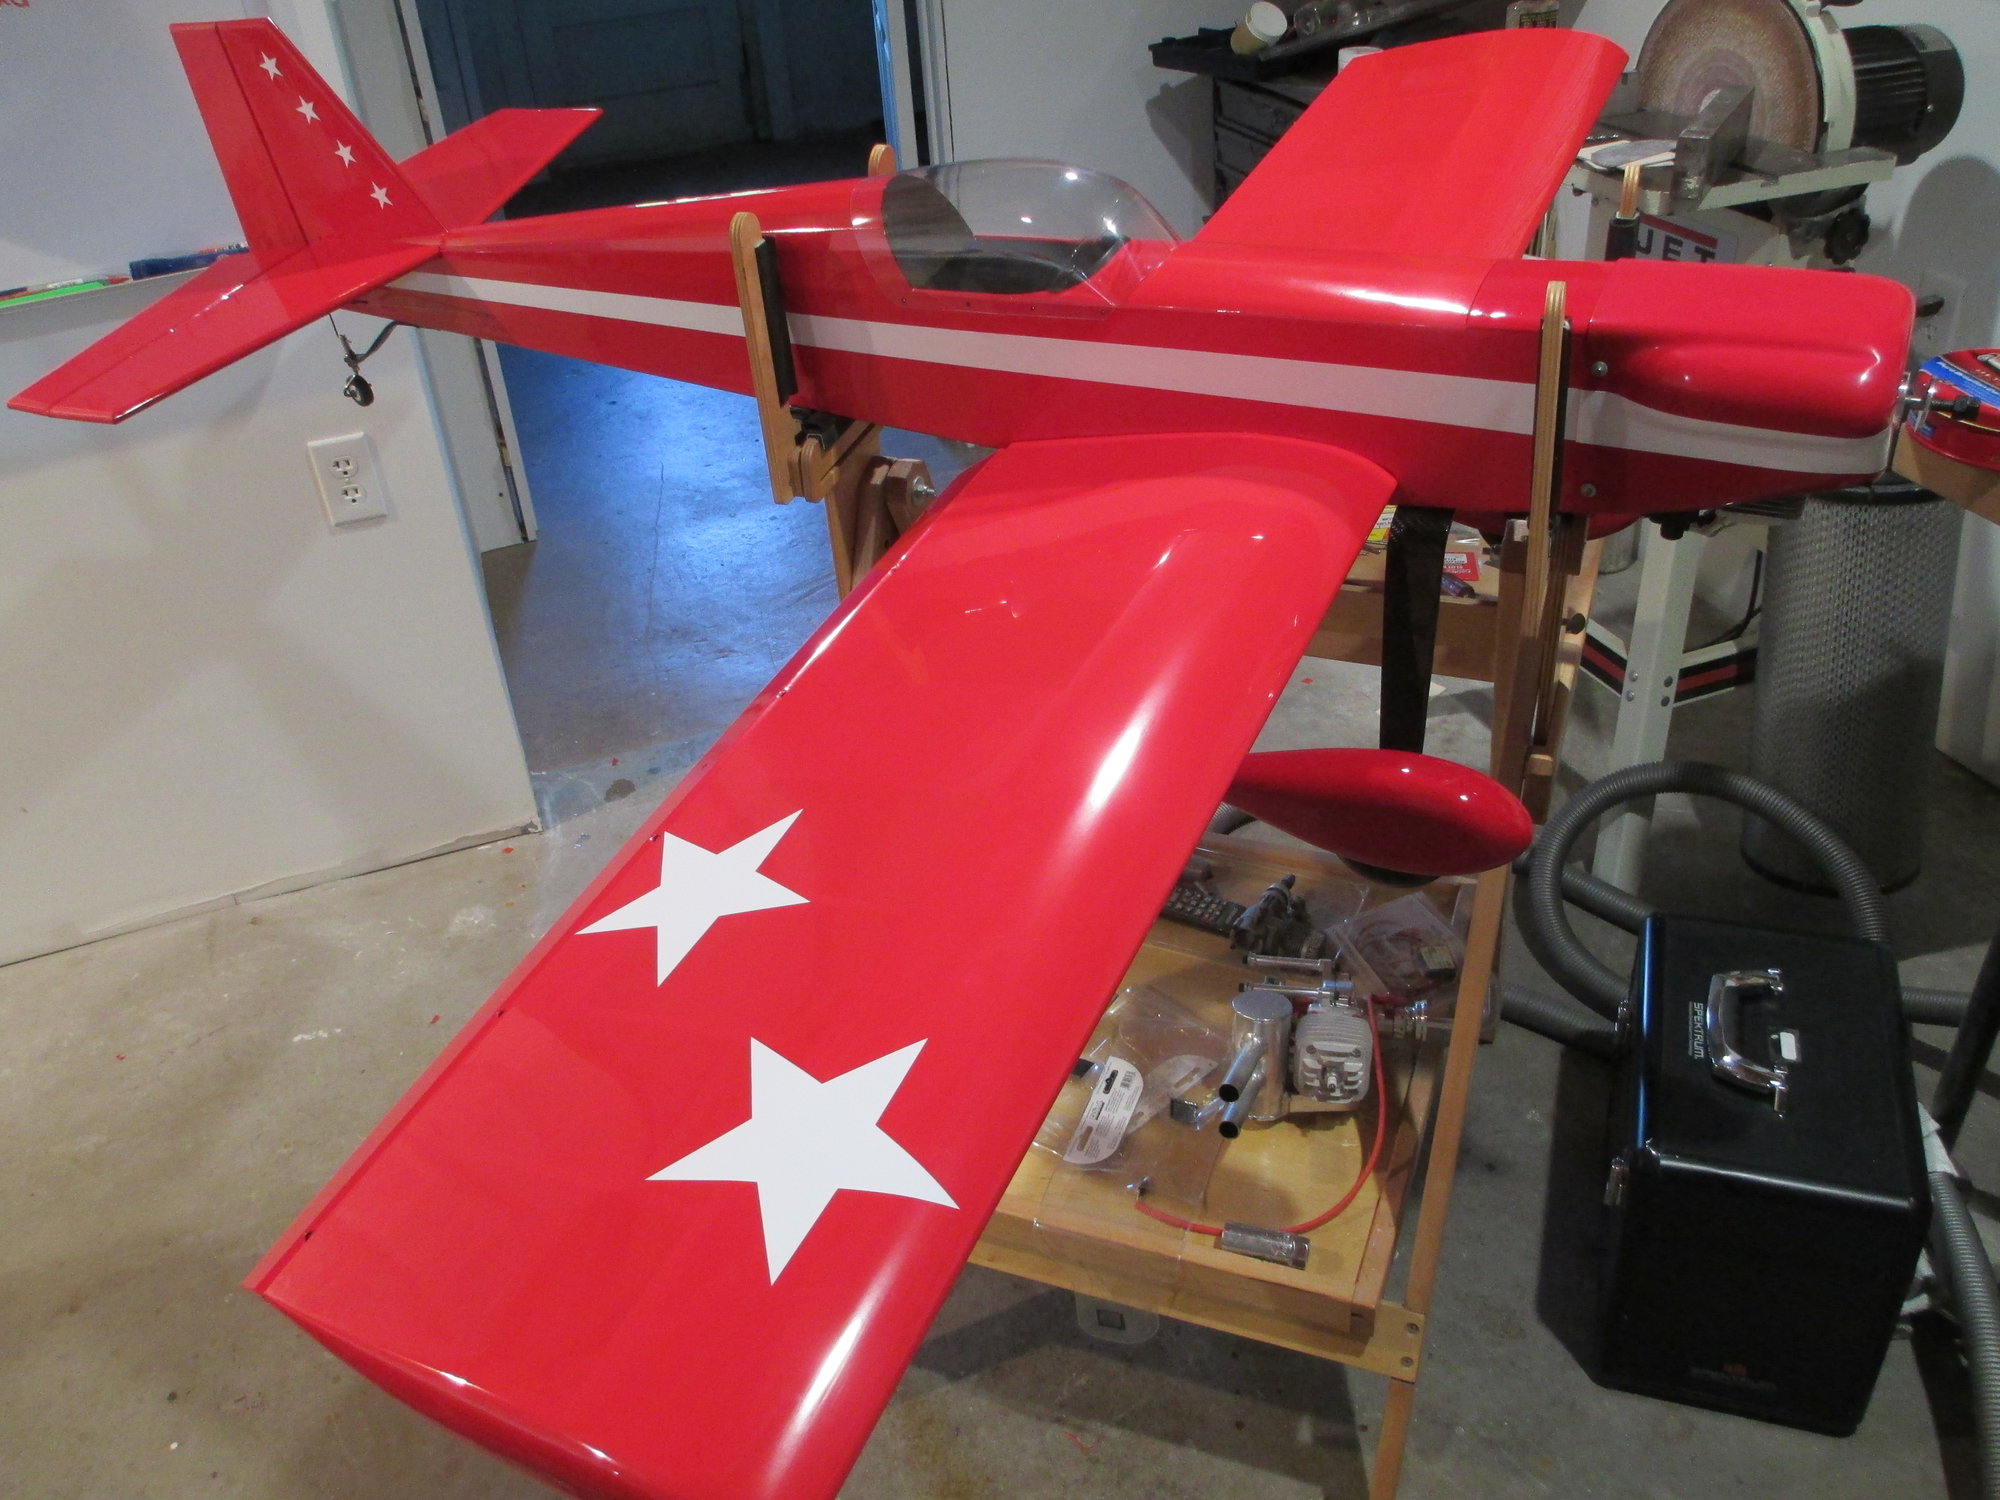
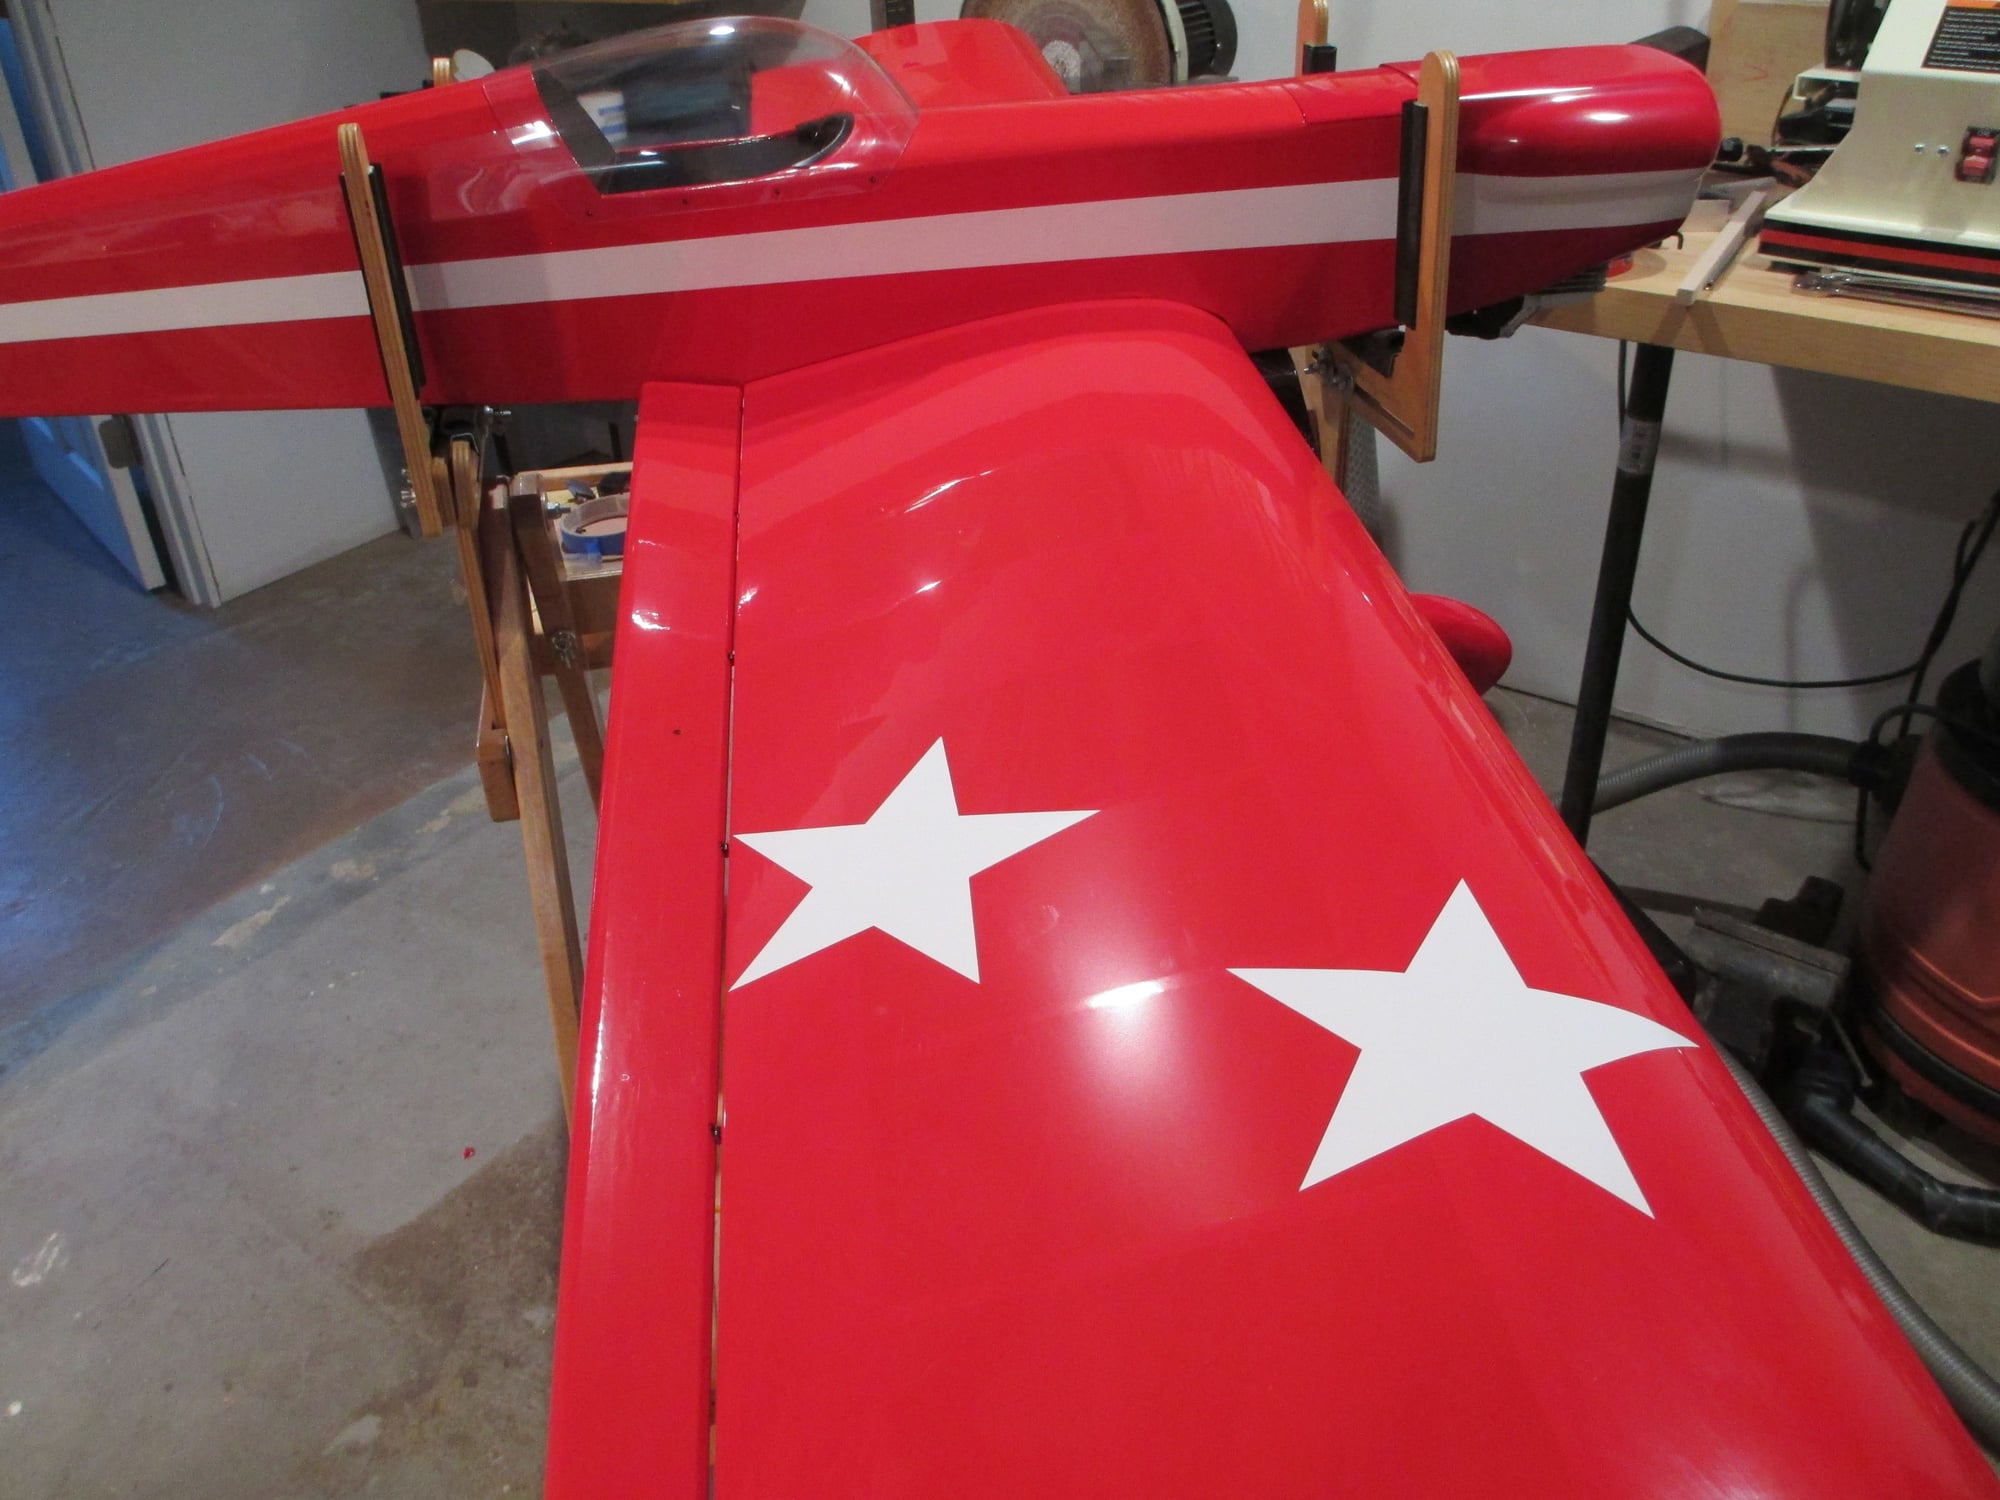
I cut out four large stars, two for each wing panel.
Last edited by VincentJ; 06-09-2019 at 12:37 AM.
 06-09-2019, 12:42 AM
#196
Thread Starter
06-09-2019, 03:57 PM
#197
Thread Starter
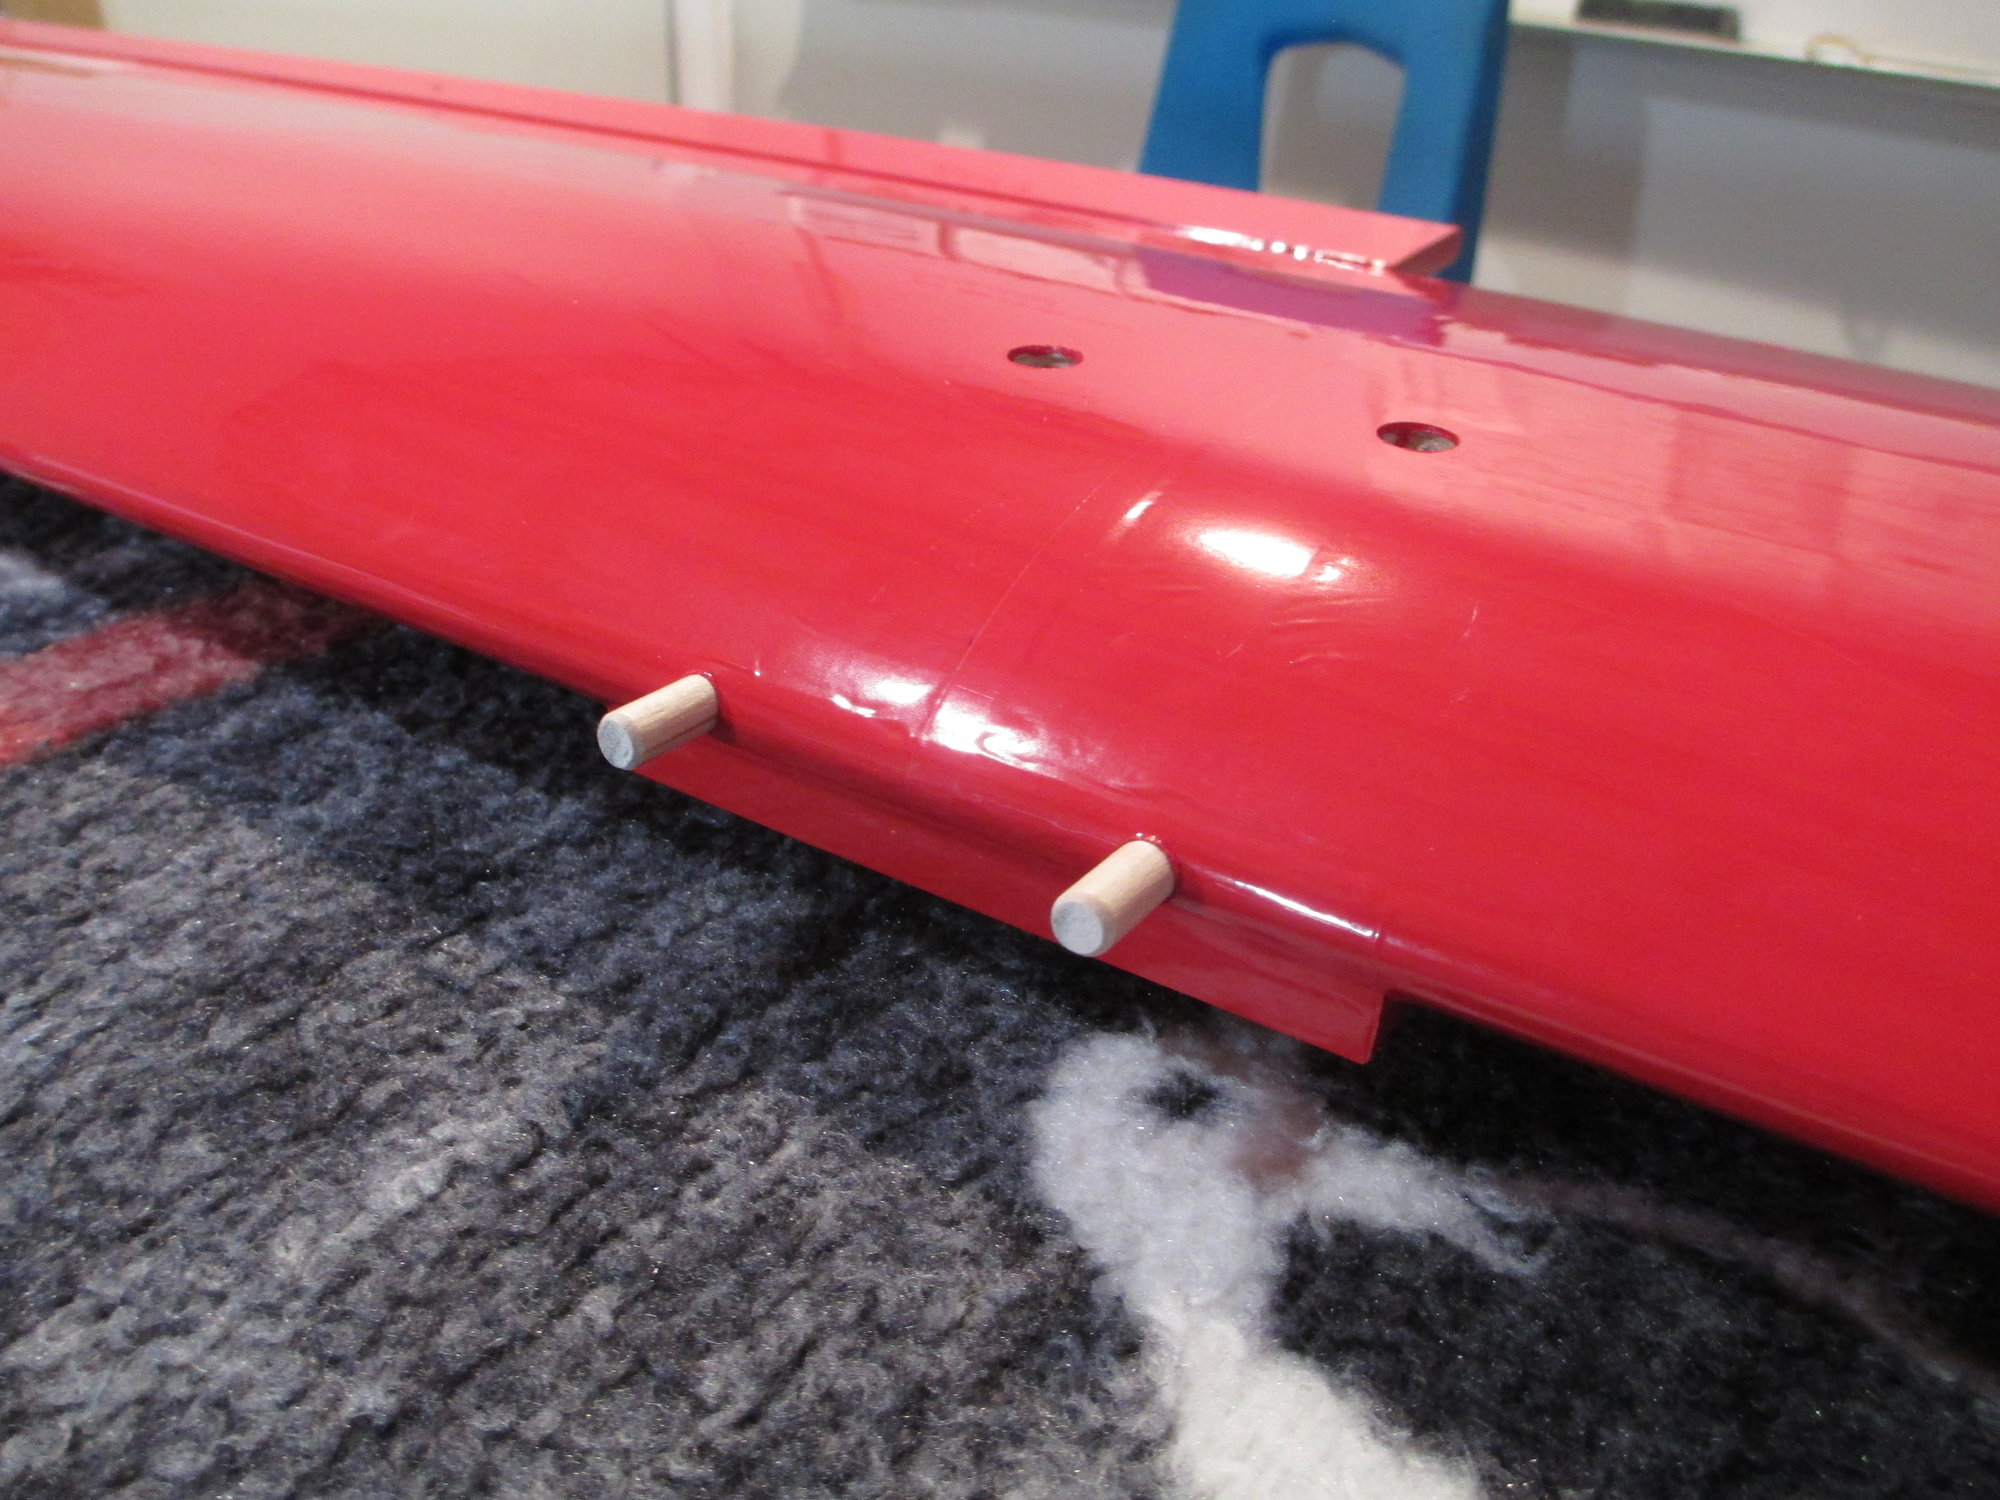
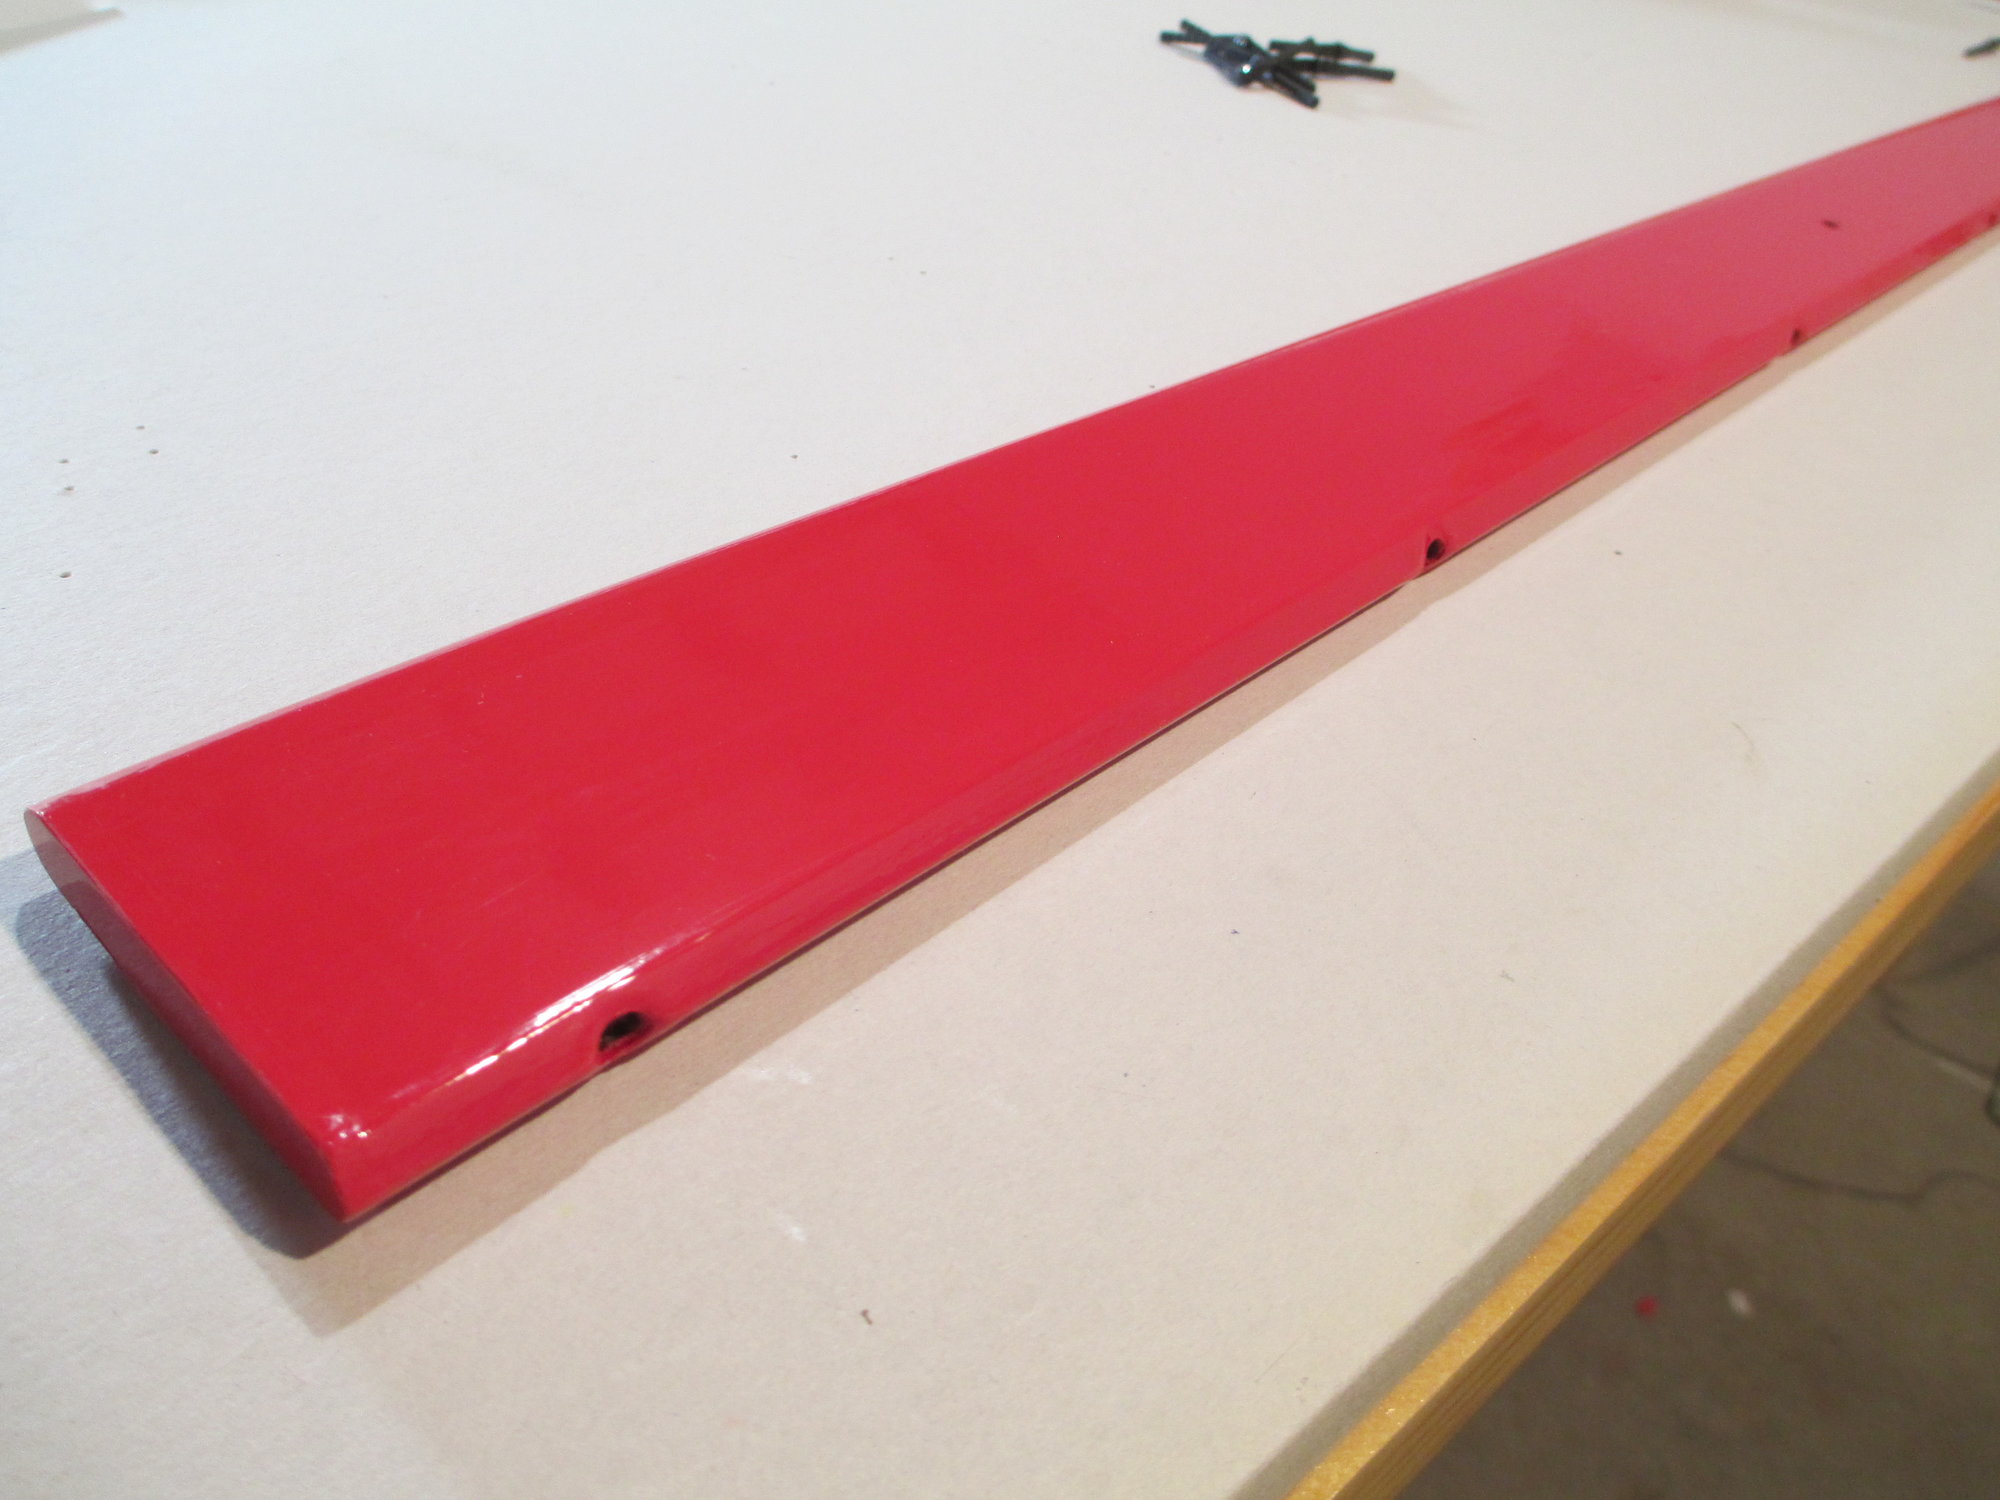
The long awaited wing dowels are finally epoxied into position.
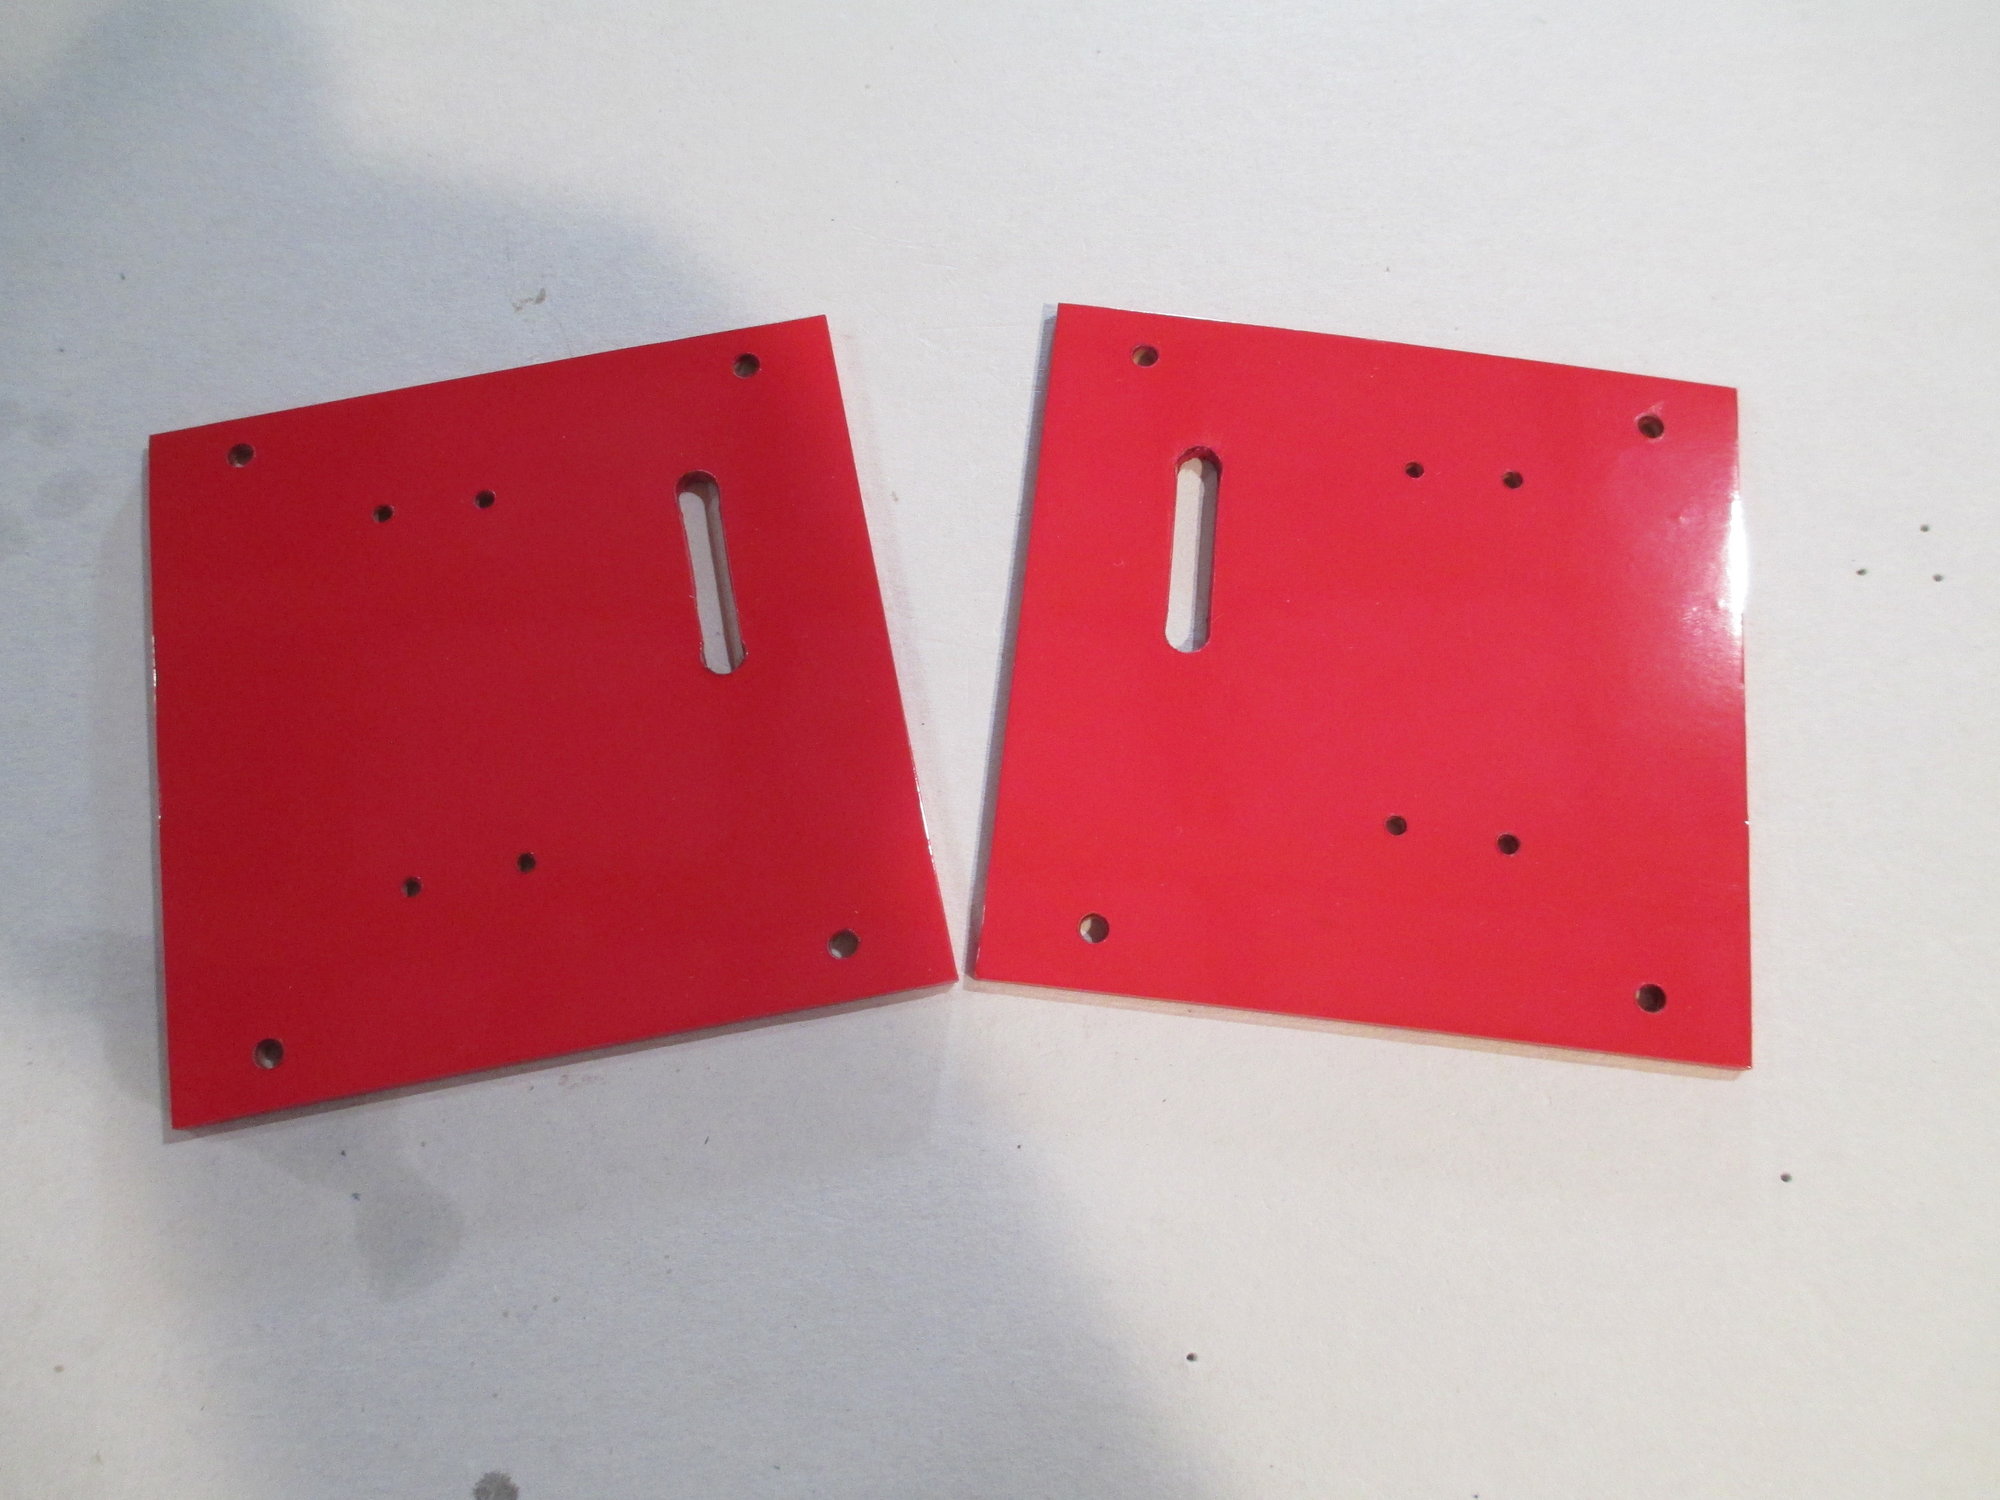
Servo hatches were covered.
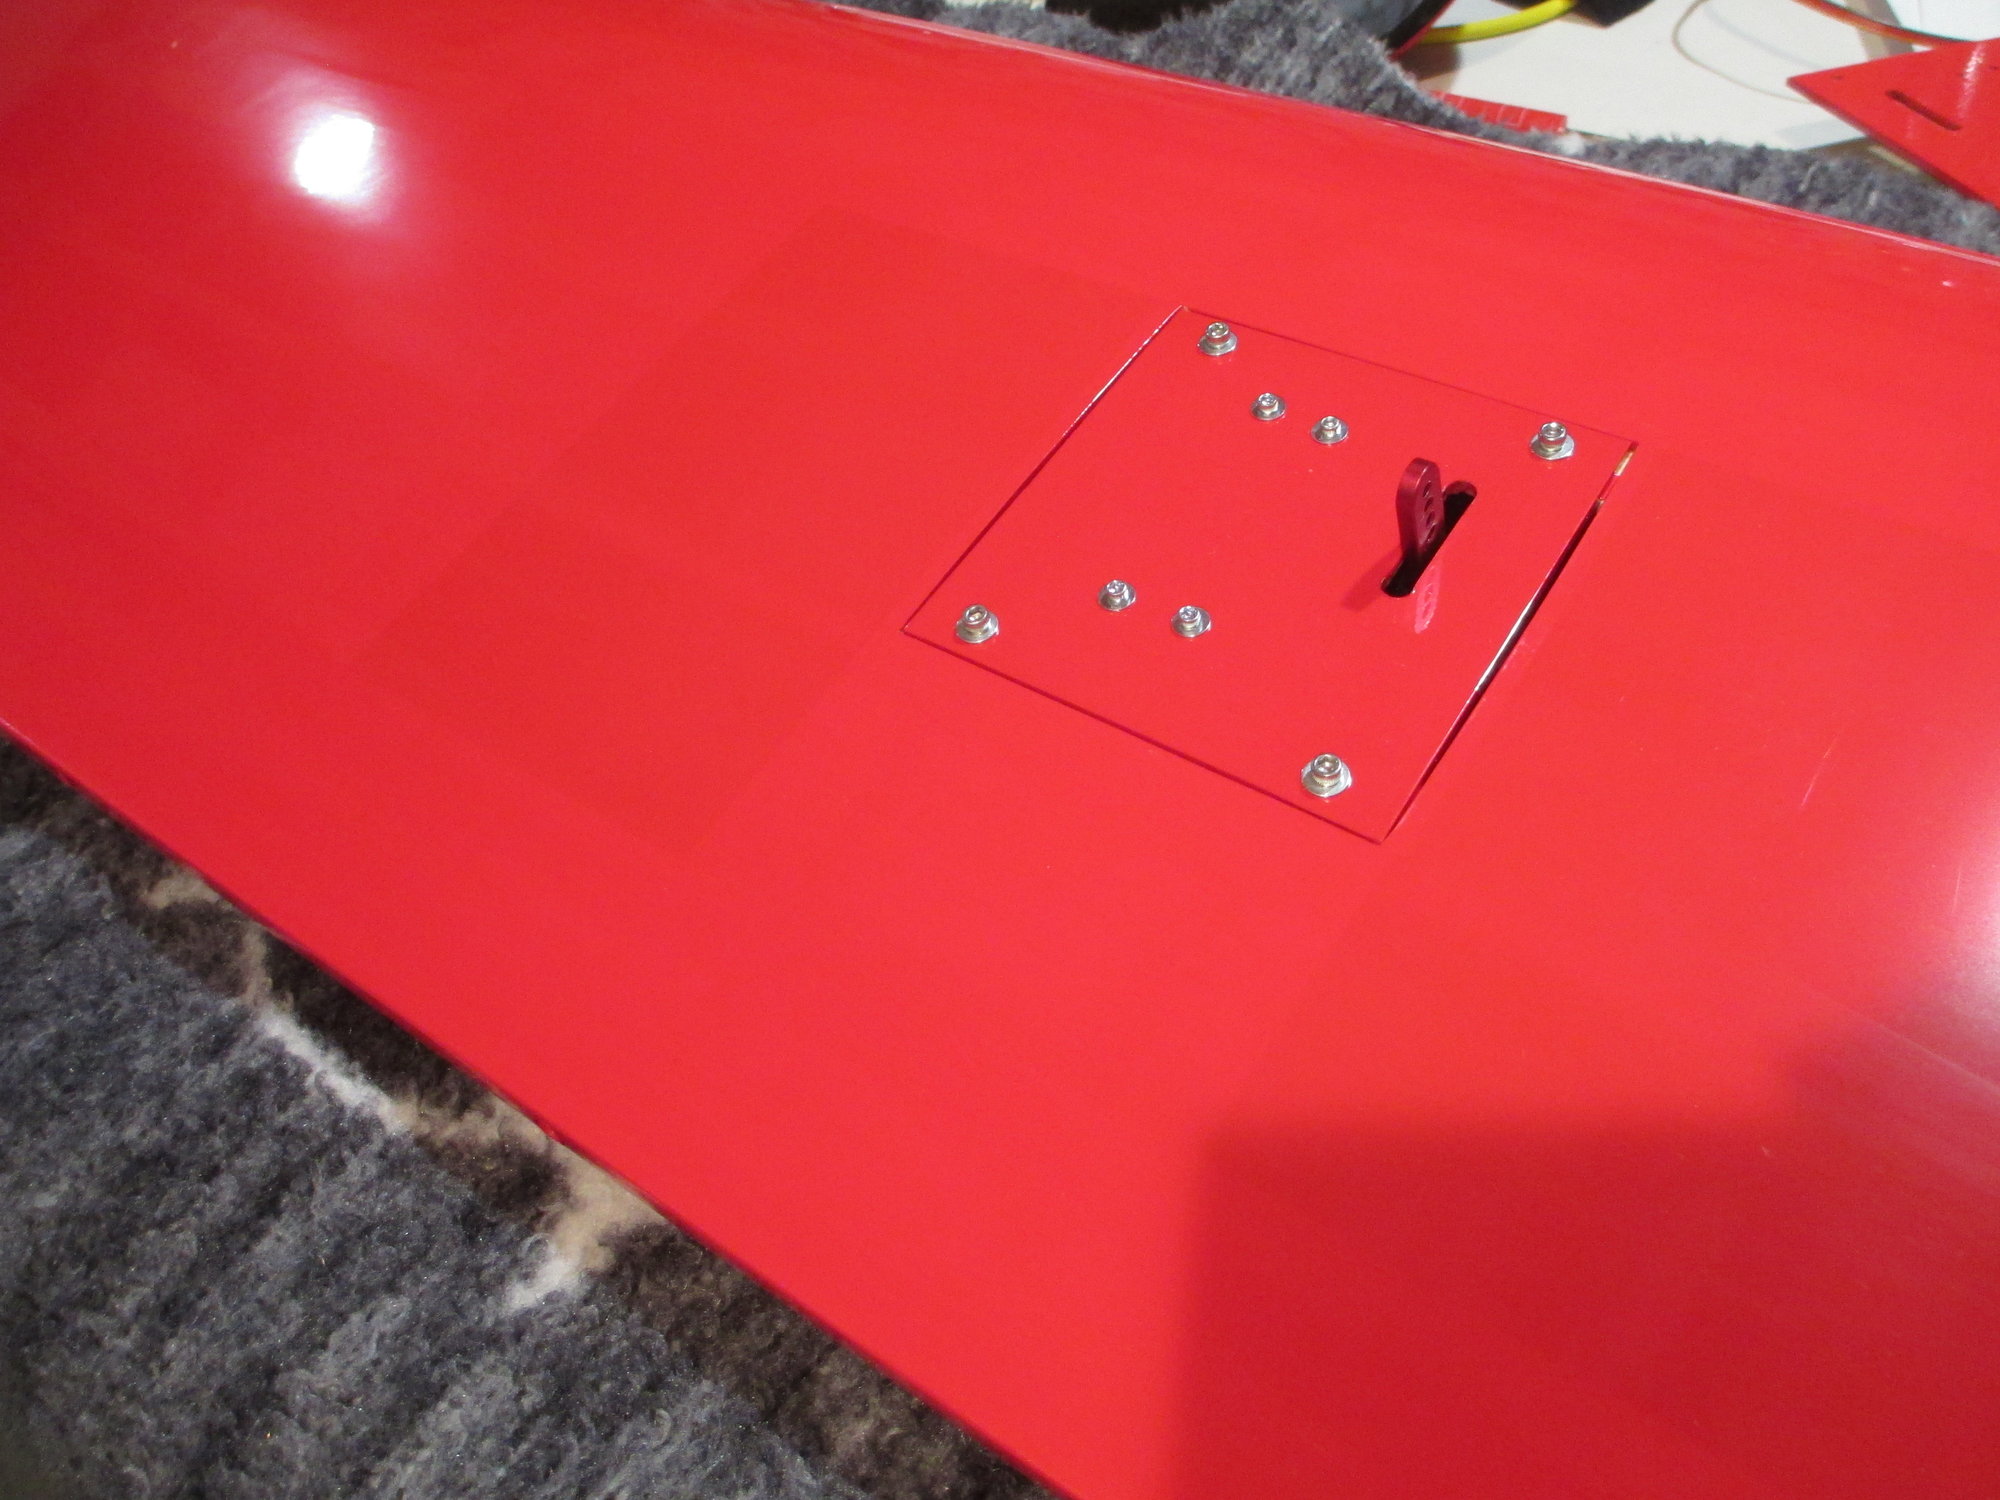
The aileron servo was mounted to the hatch using four 2-56 cap head screws. The hatch is held to the wing using four 4-40 cap head screws.

The aileron servo lead was too short, so an 18" extension lead was added and fished through the rocket tube that was previously installed in the wing. The lead terminates from the wing through a rubber grommet preventing any of the wires from chafing.
Last edited by VincentJ; 06-10-2019 at 02:39 AM.
 06-10-2019, 12:21 AM
#200
Thread Starter
I'm thinking that it may be on your end Lupe. I know that I had trouble posting those pics last night, I had to do it several times before it worked. Sometimes the RCU site acts very finicky! I will check on my computer when I get to work to confirm...
Last edited by VincentJ; 06-10-2019 at 12:41 AM.