


Great Planes Learjet 40
 04-02-2020, 12:41 PM
#1

Thread Starter
Dear sirs,
I and my son decided that it was time to start building the kits we have "in stock", and we would love to share our experiences with all the community.
We have just created a you tube channel were we will post the videos and we just got the idea to also post here photos of the projects, In order to provide a more complete experience to any person that might be interested in following this adventure.
This video is the first of the series...from wood to fiberglass, electric to turbines, we have a collection of models that we are going to build, from this rare Learjet 40 from Great Planes, or the Patriot 40 also from the same manufacturer up to an airbus A321 or even an SR-71 from Yellow Aircraft, not forgetting several Byron Originals kits...98% of them NIB.
I am not allowed to post links until I have 10 posts but you can easily find it searching for "RC Share"; Title is "Great planes Learjet 40 Remake"
Please excuse the quality of image and sound, still improving on that!
Please do comment and make suggestions...all are very welcome.
Fly safe, be safe
 04-03-2020, 05:11 AM
#2
Thread Starter
Updating the post with some pictures...more to come in the afternoon, daily updating.
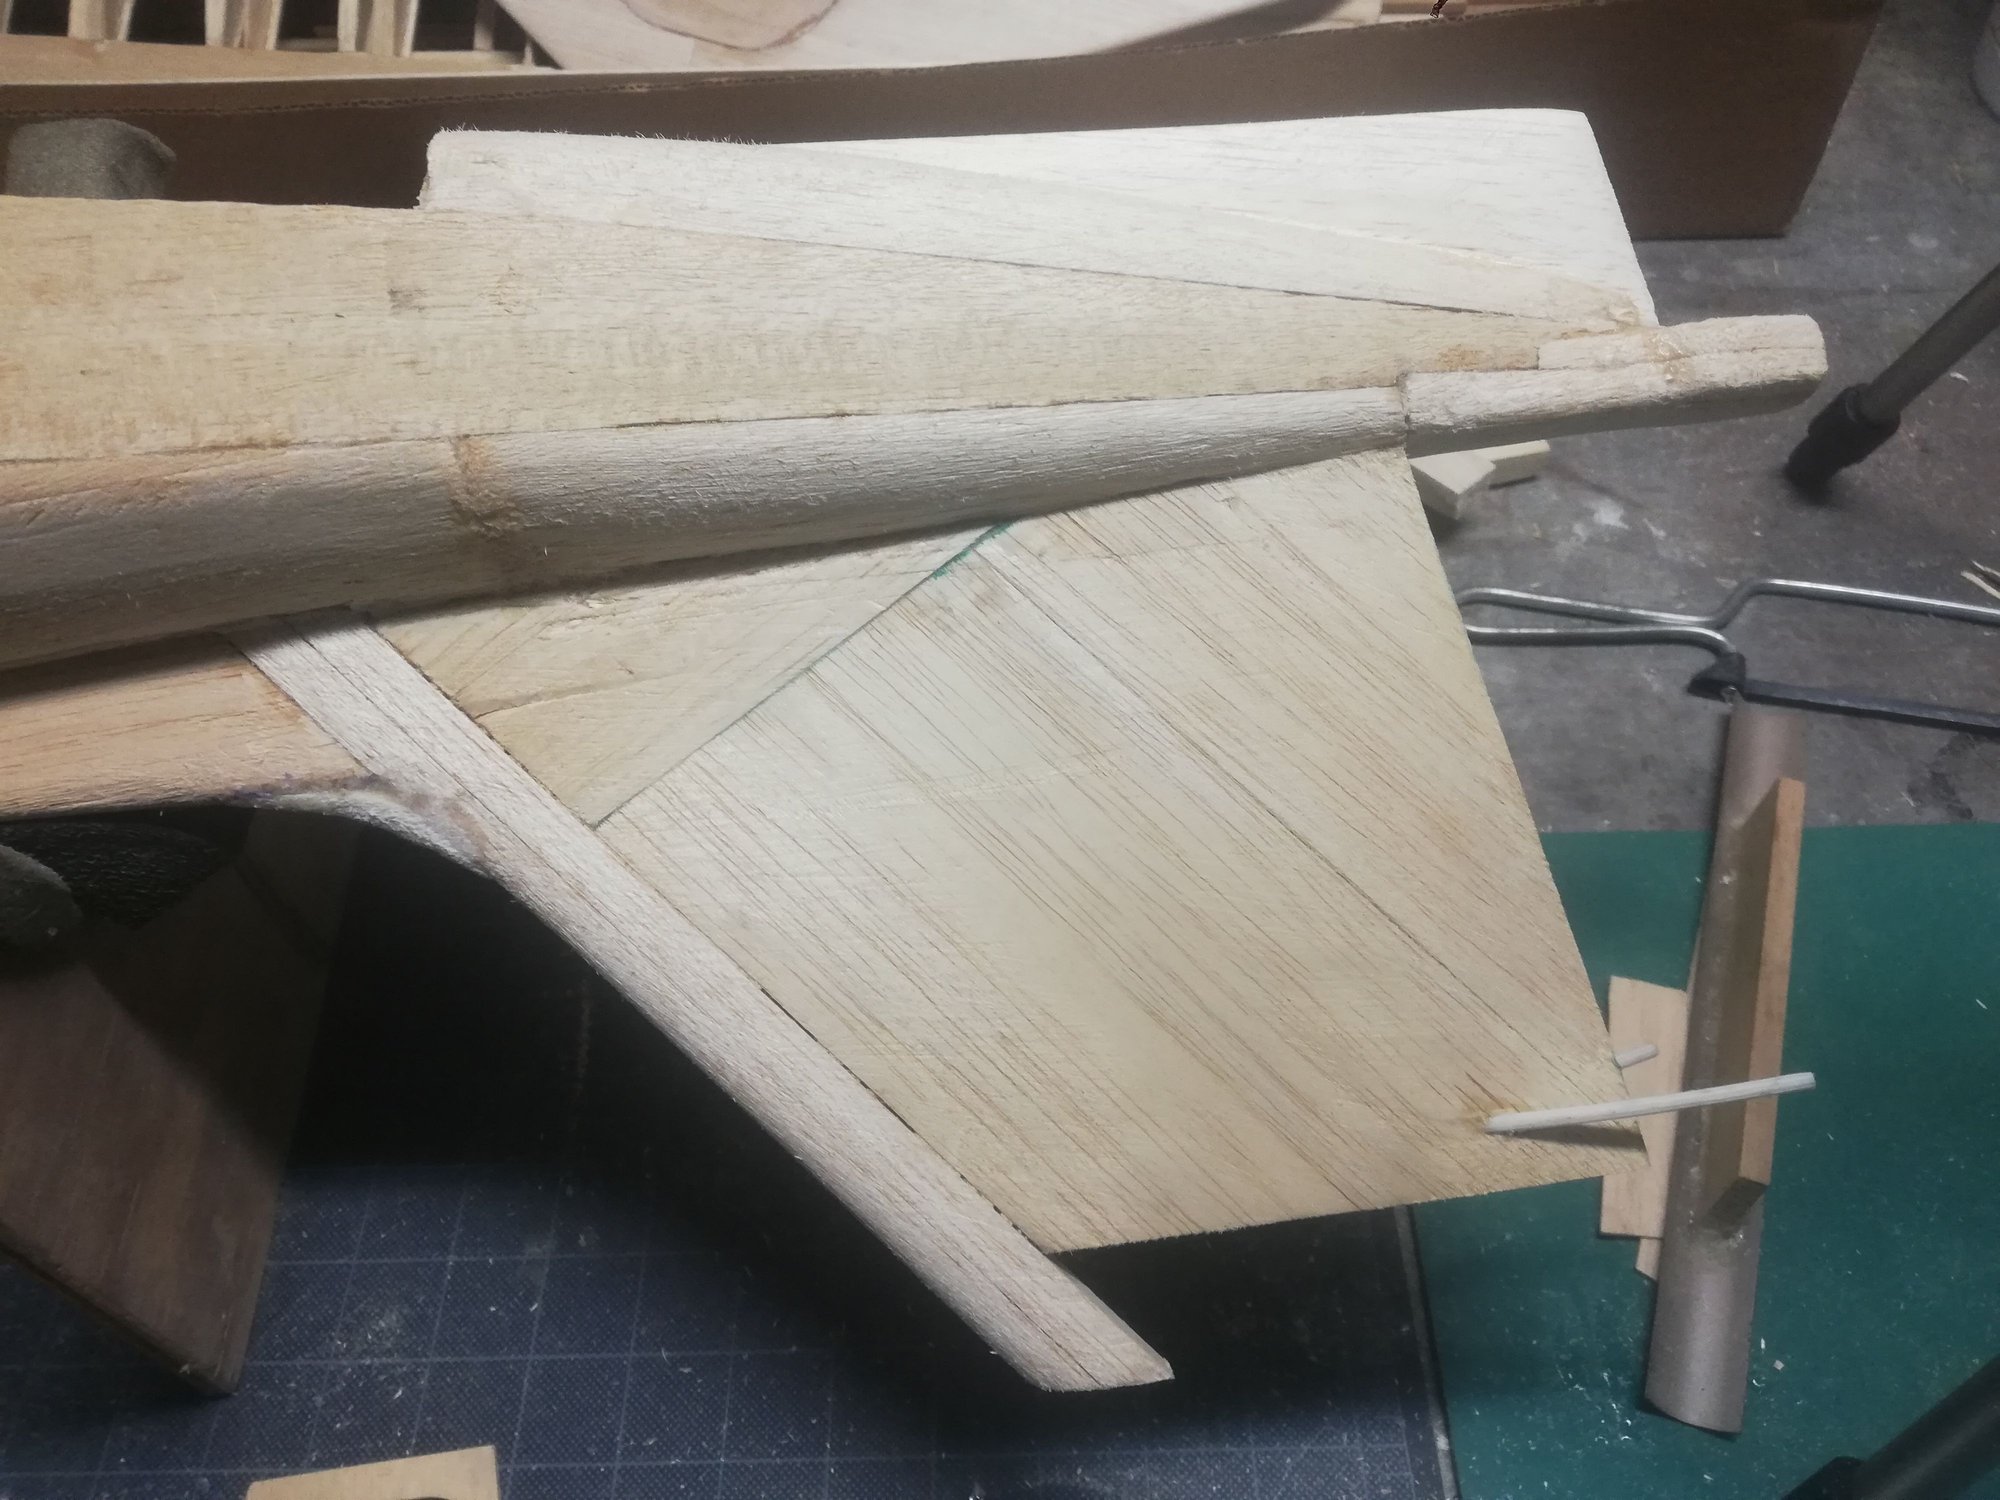
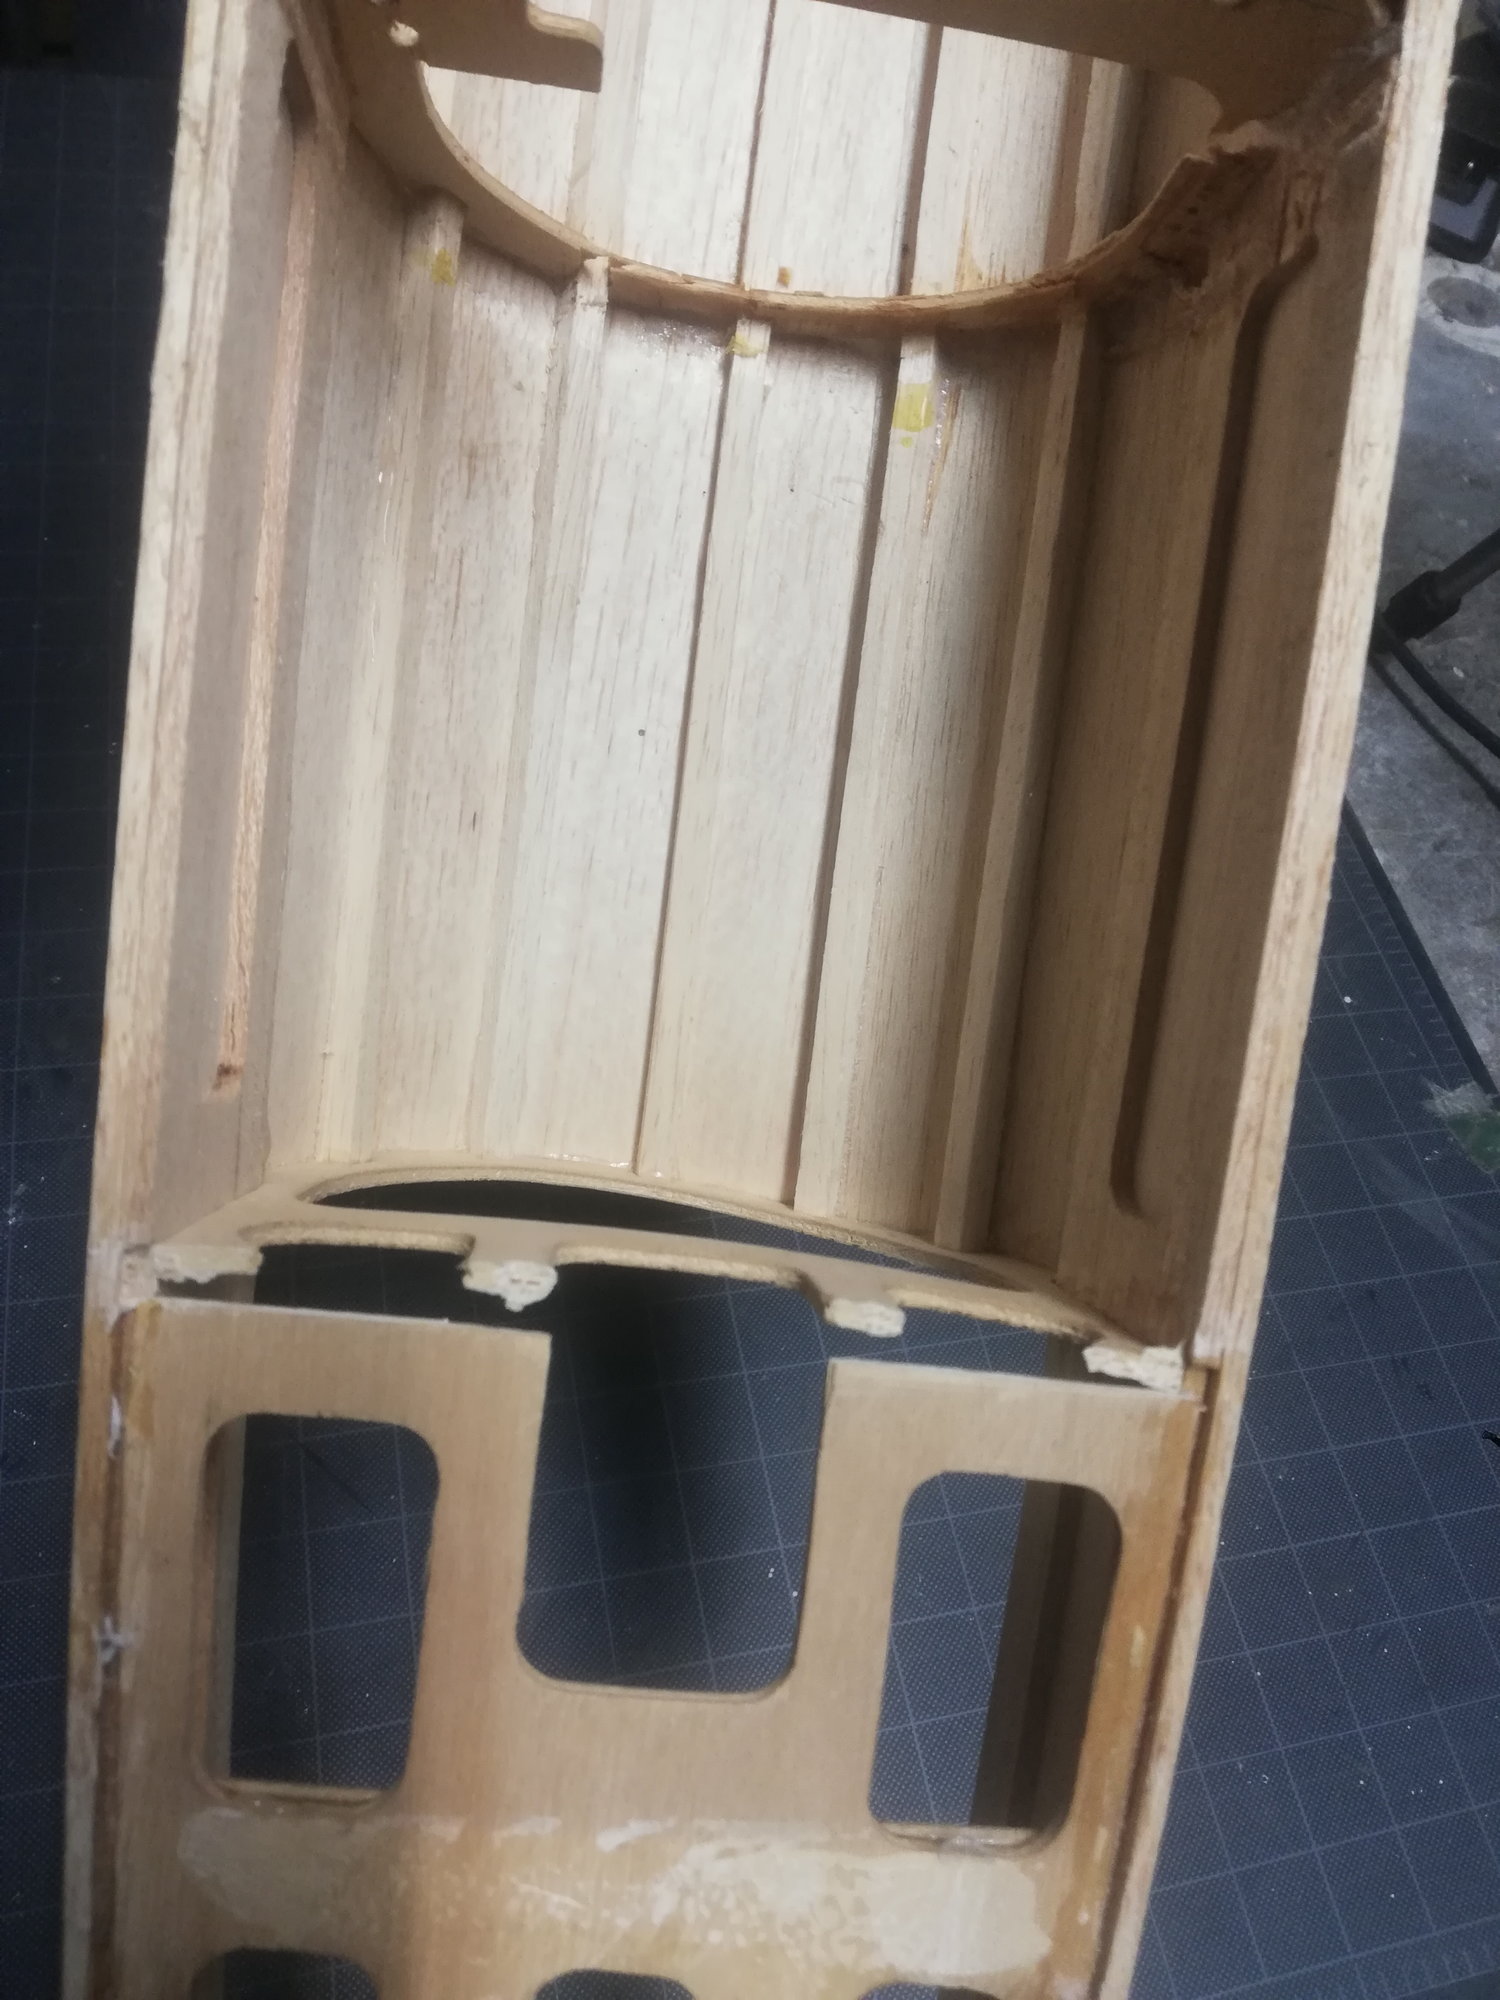
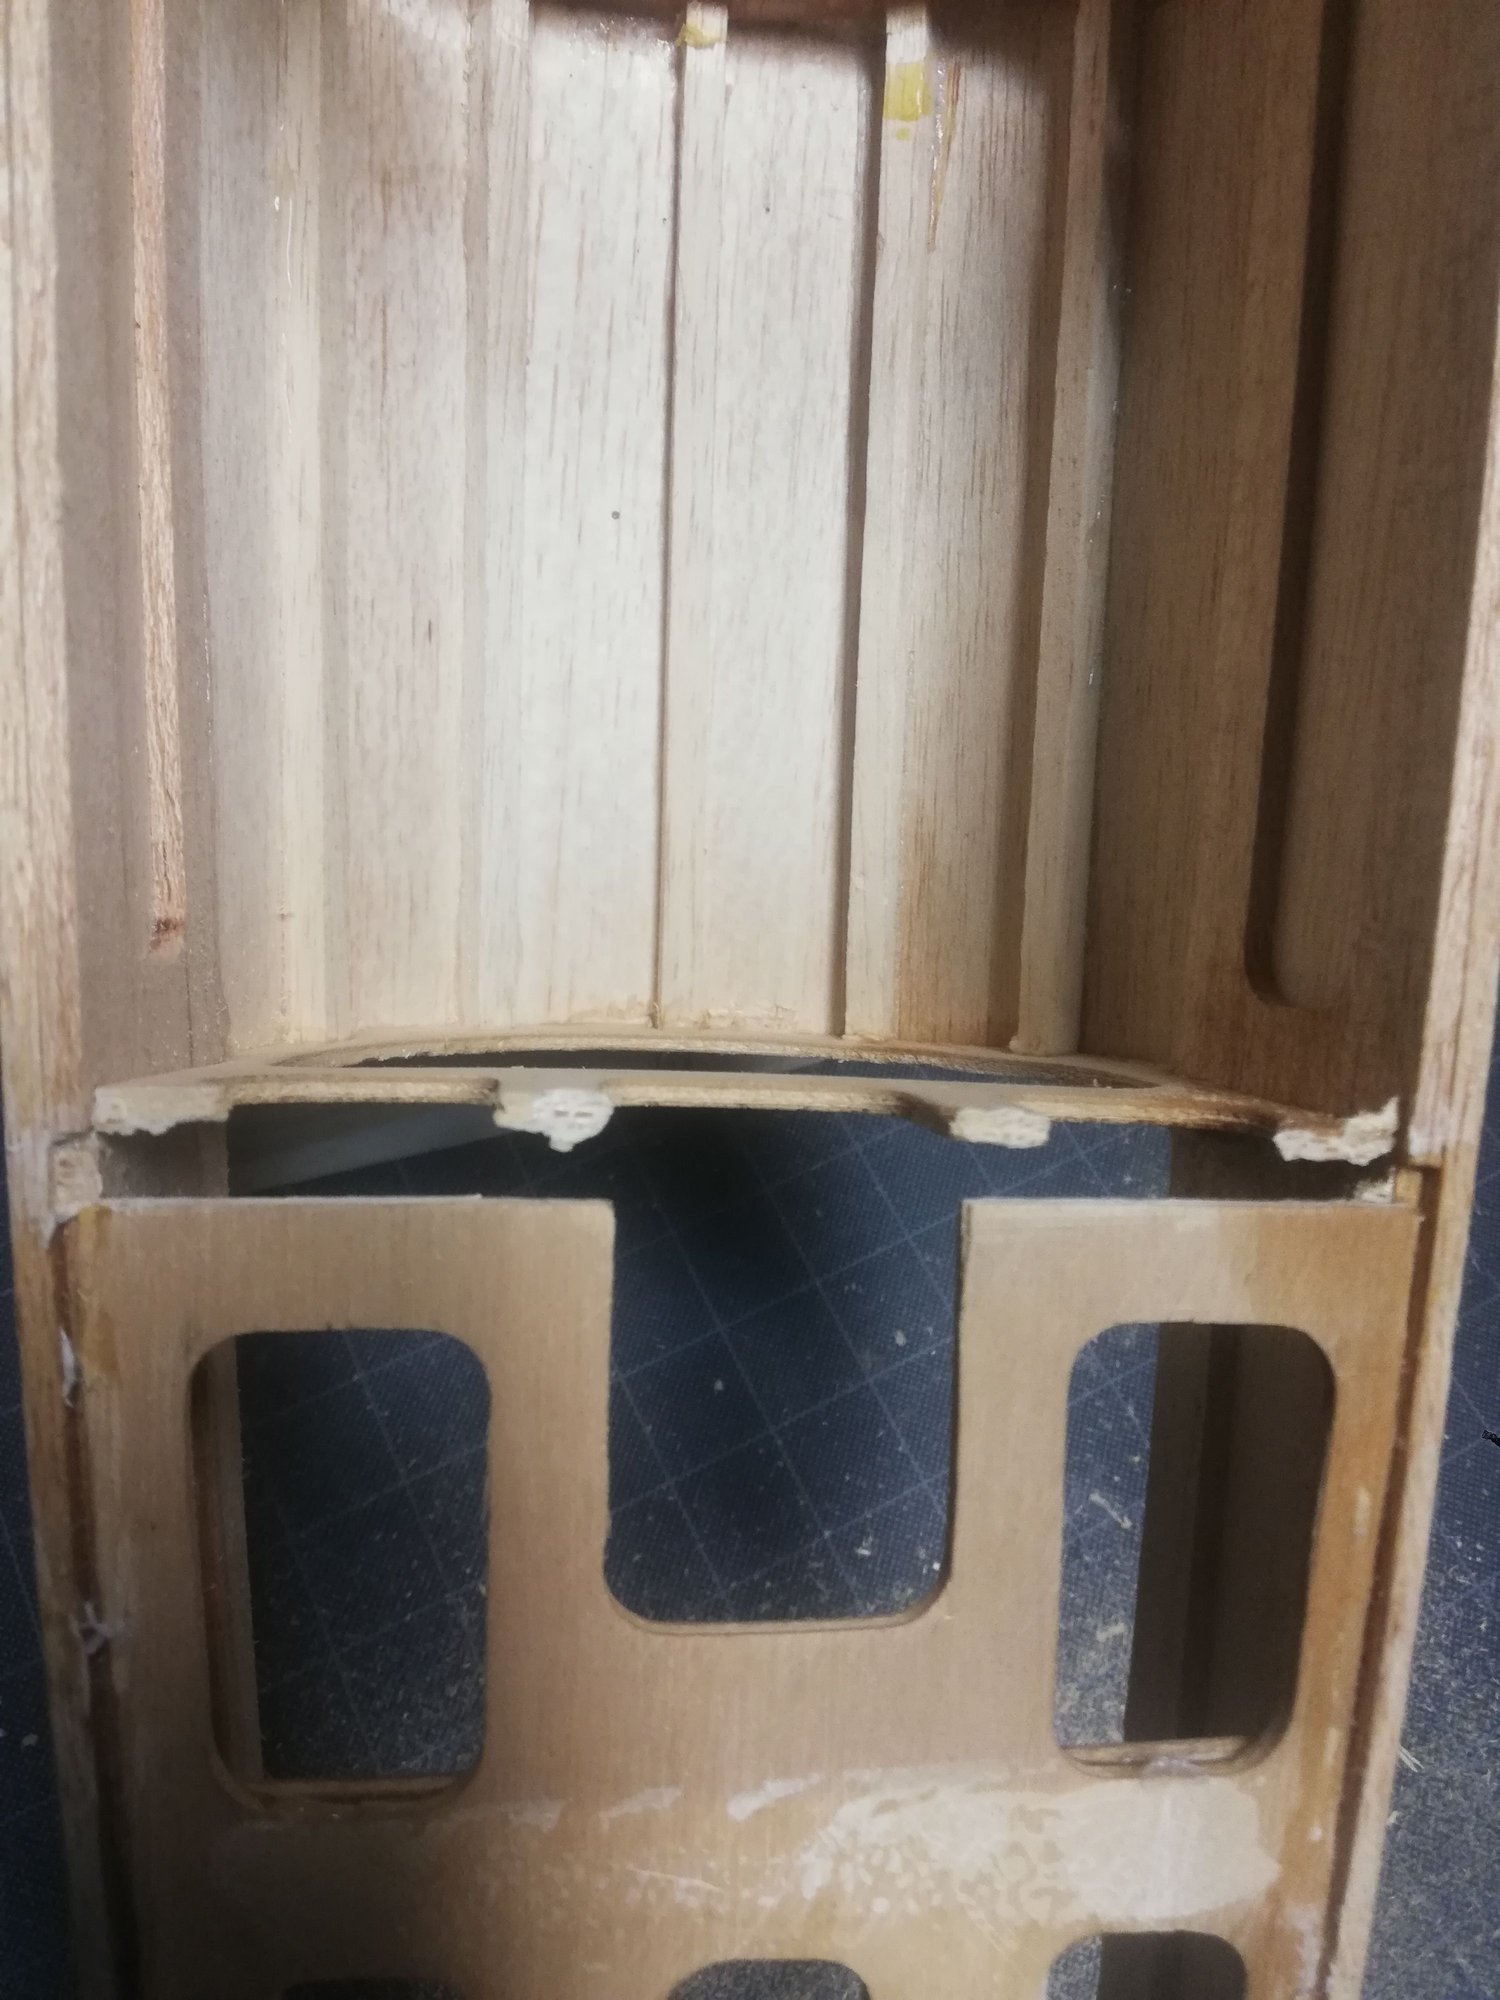
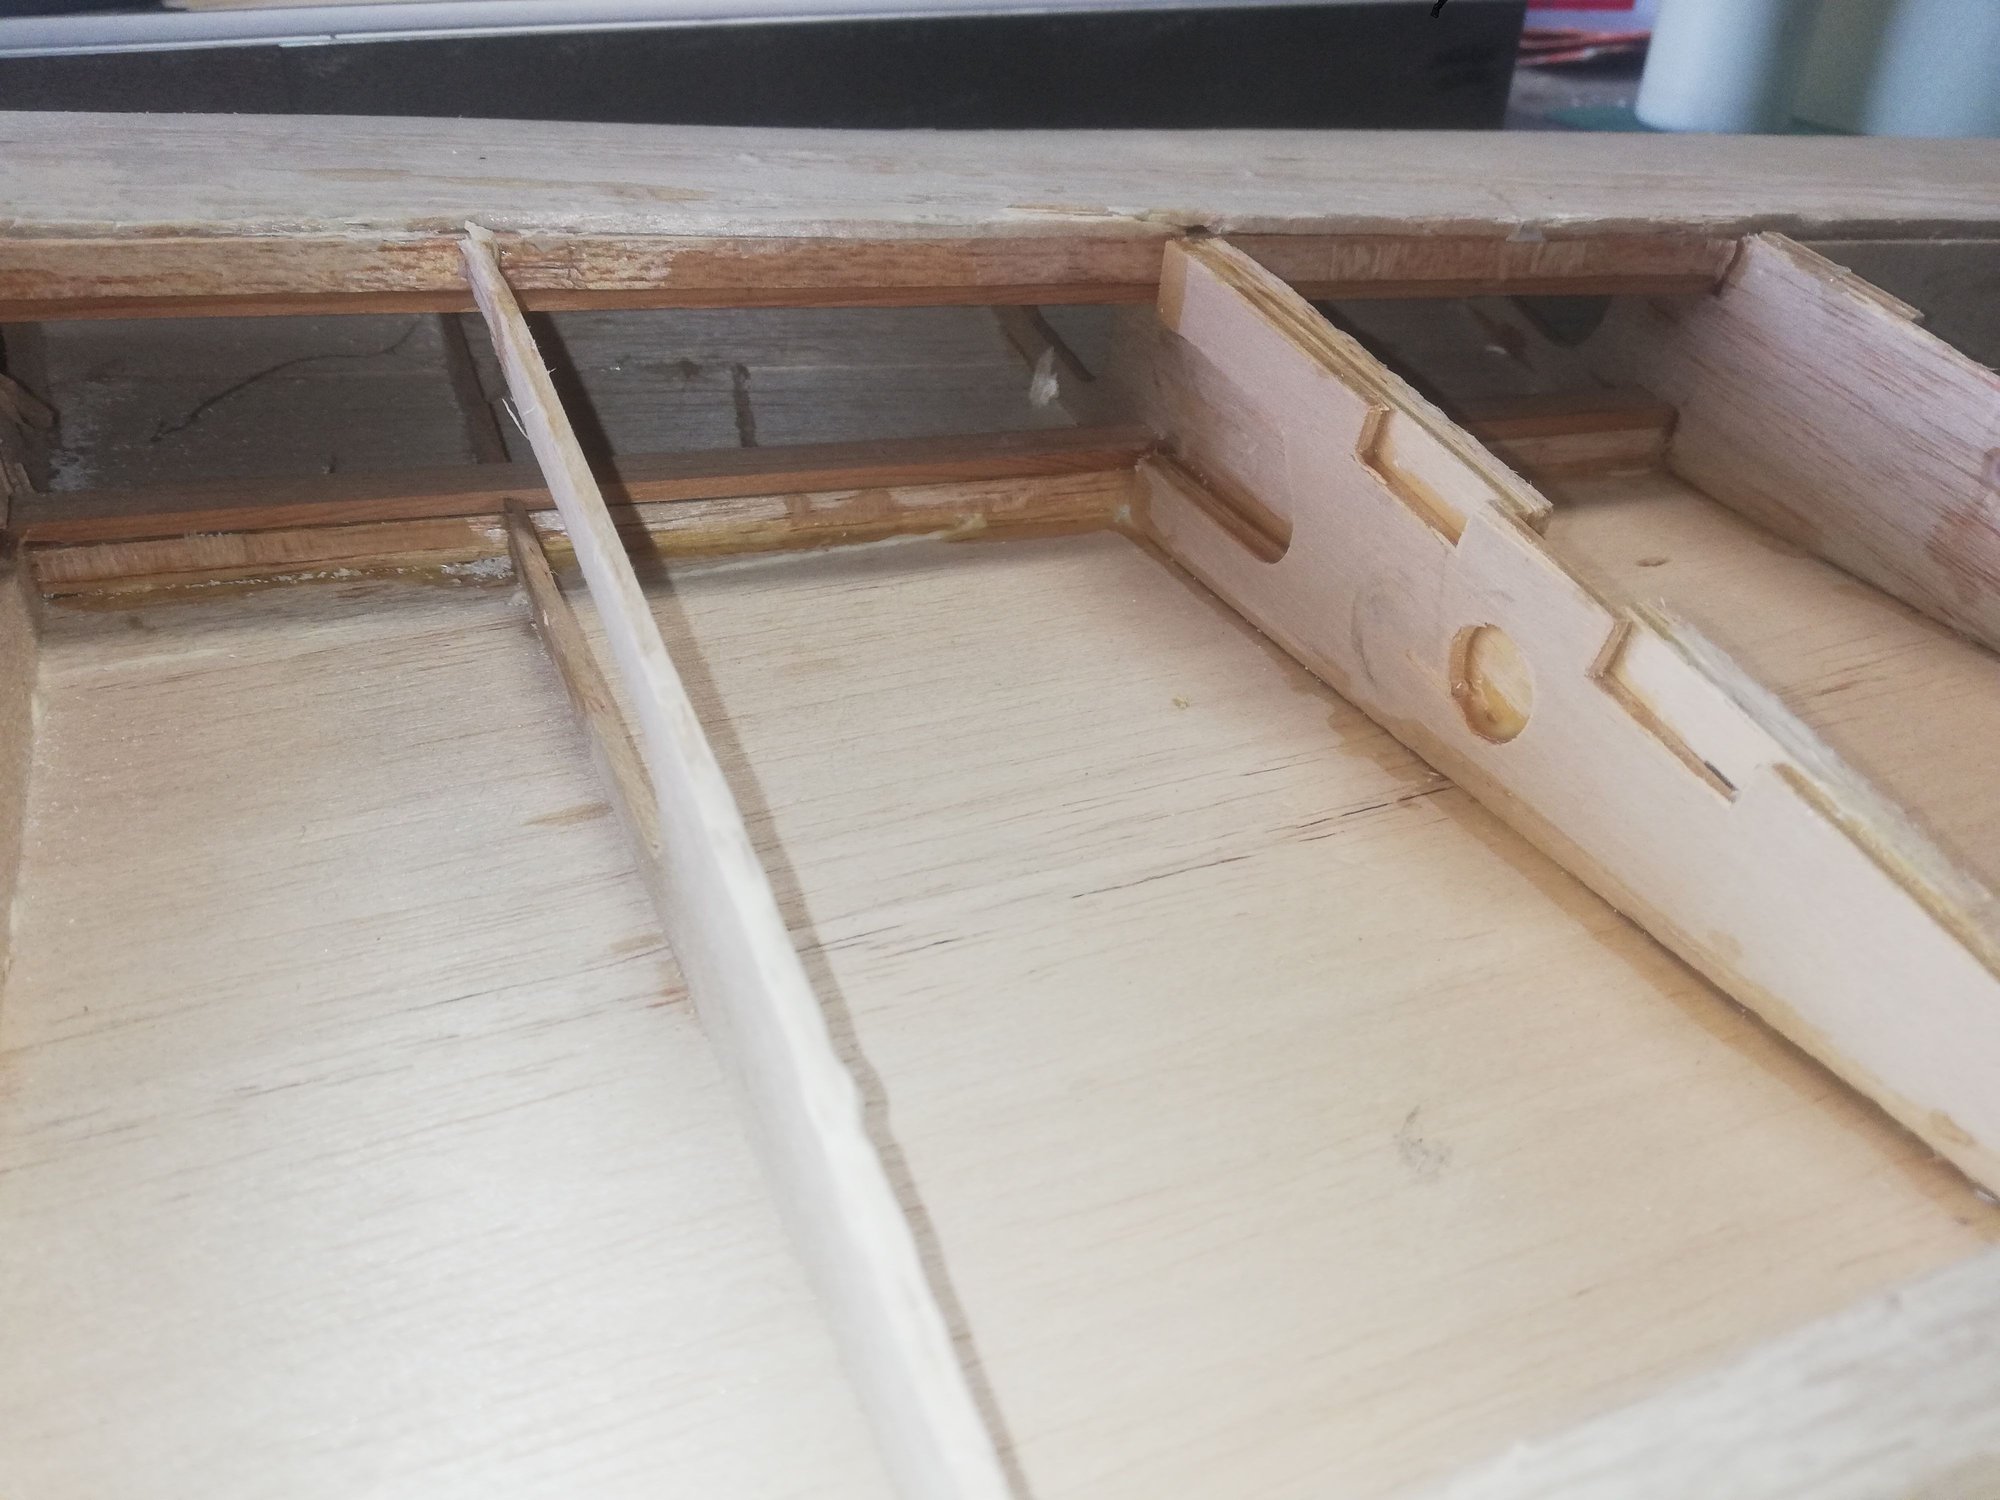
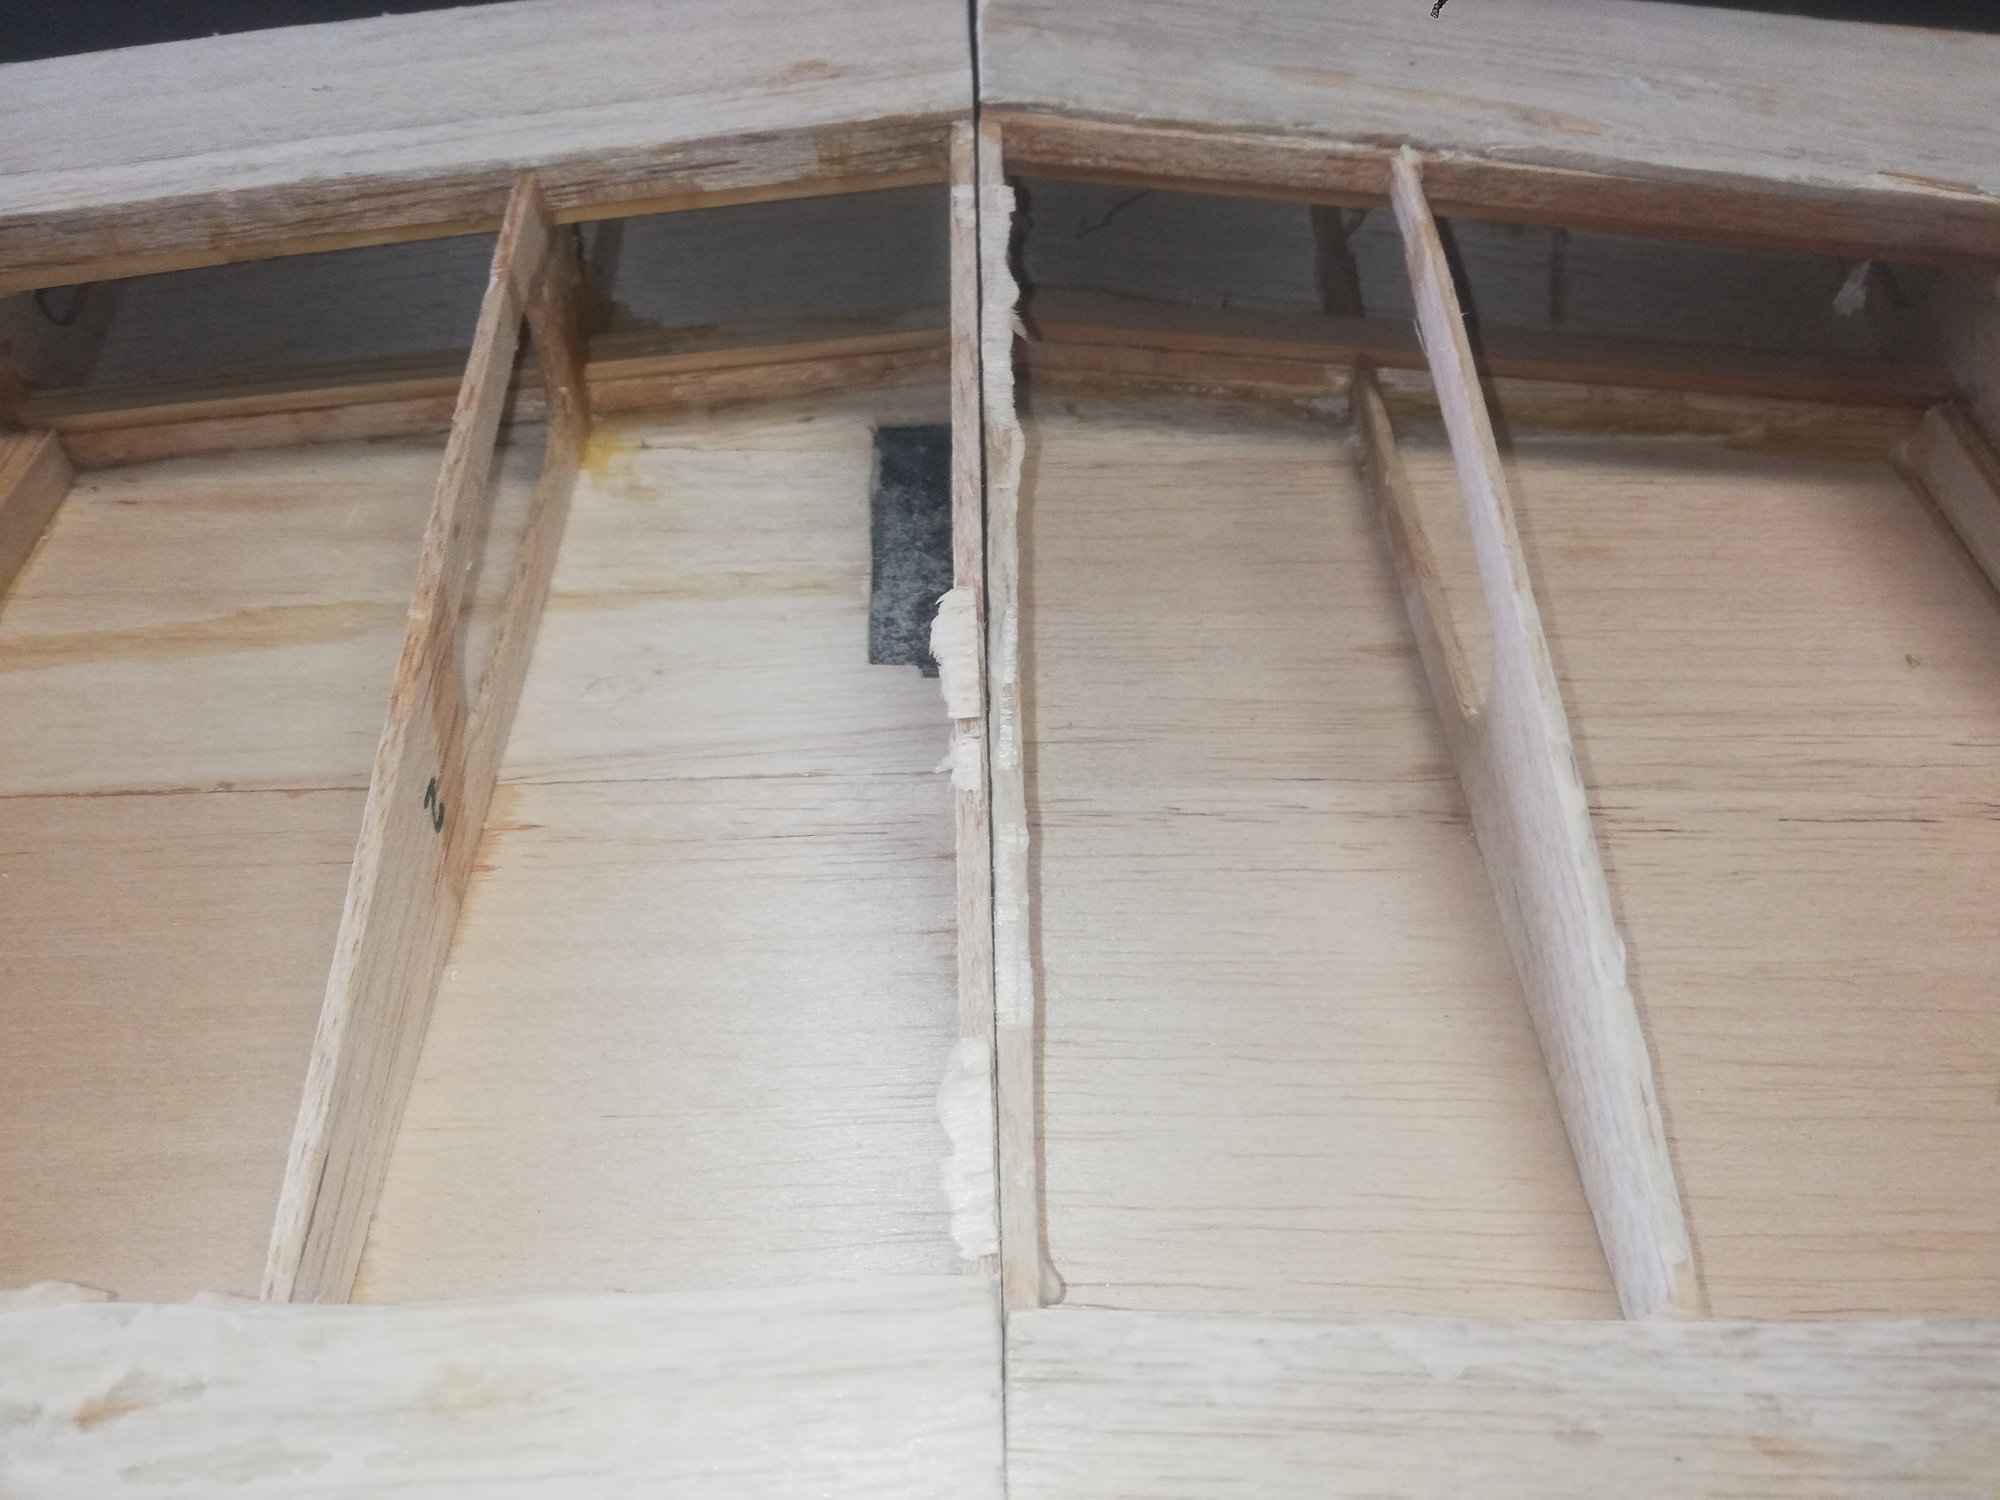
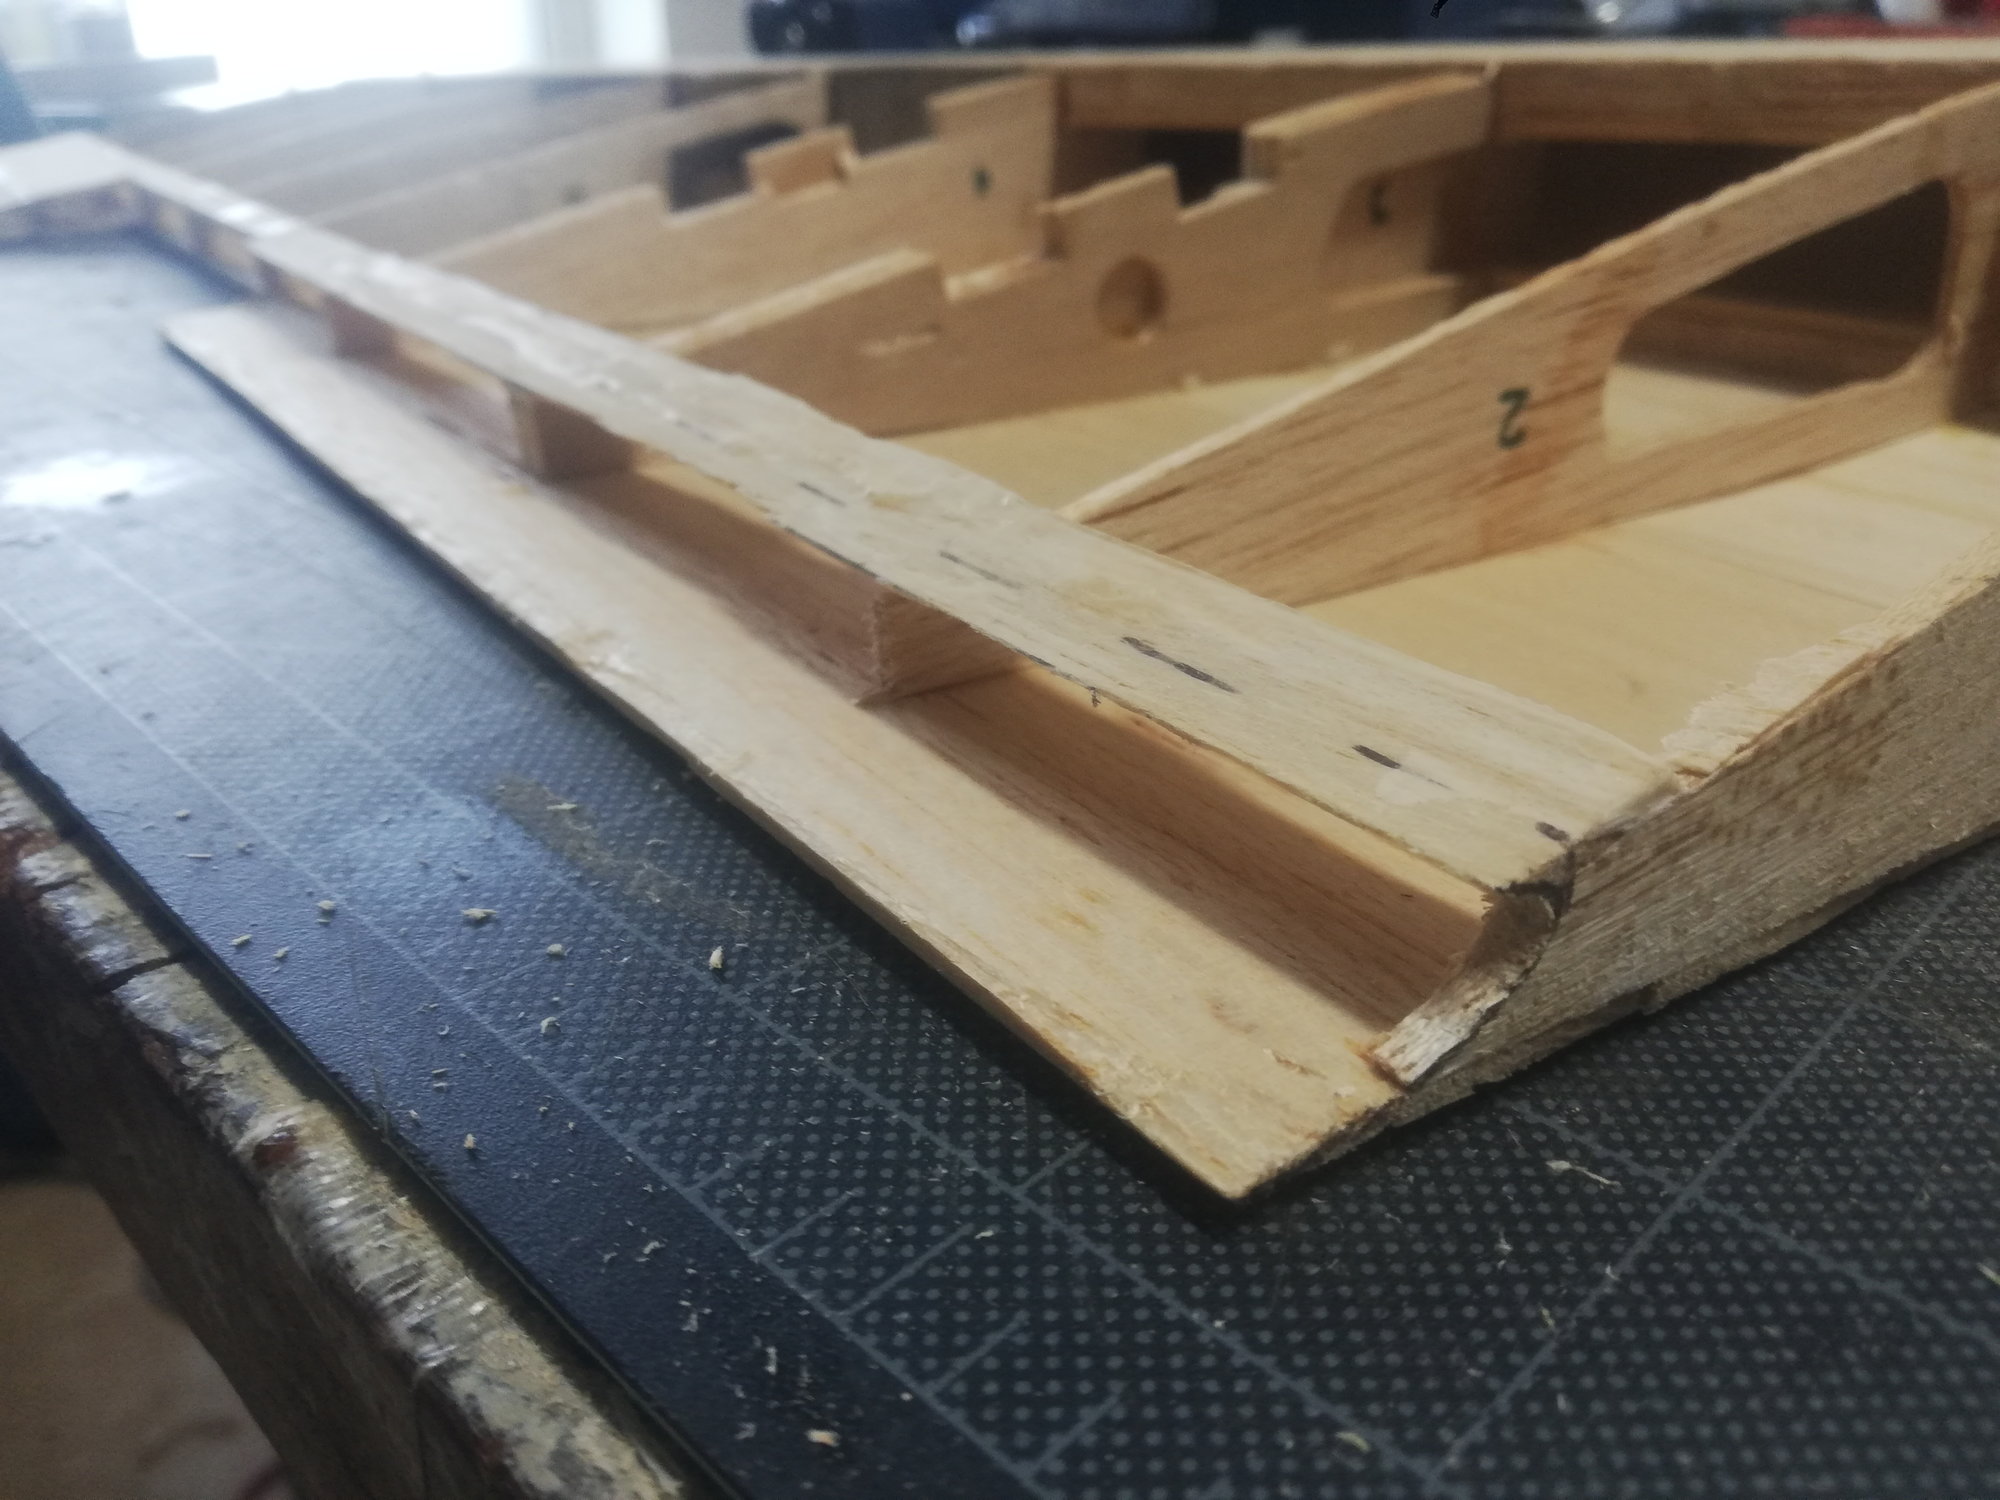
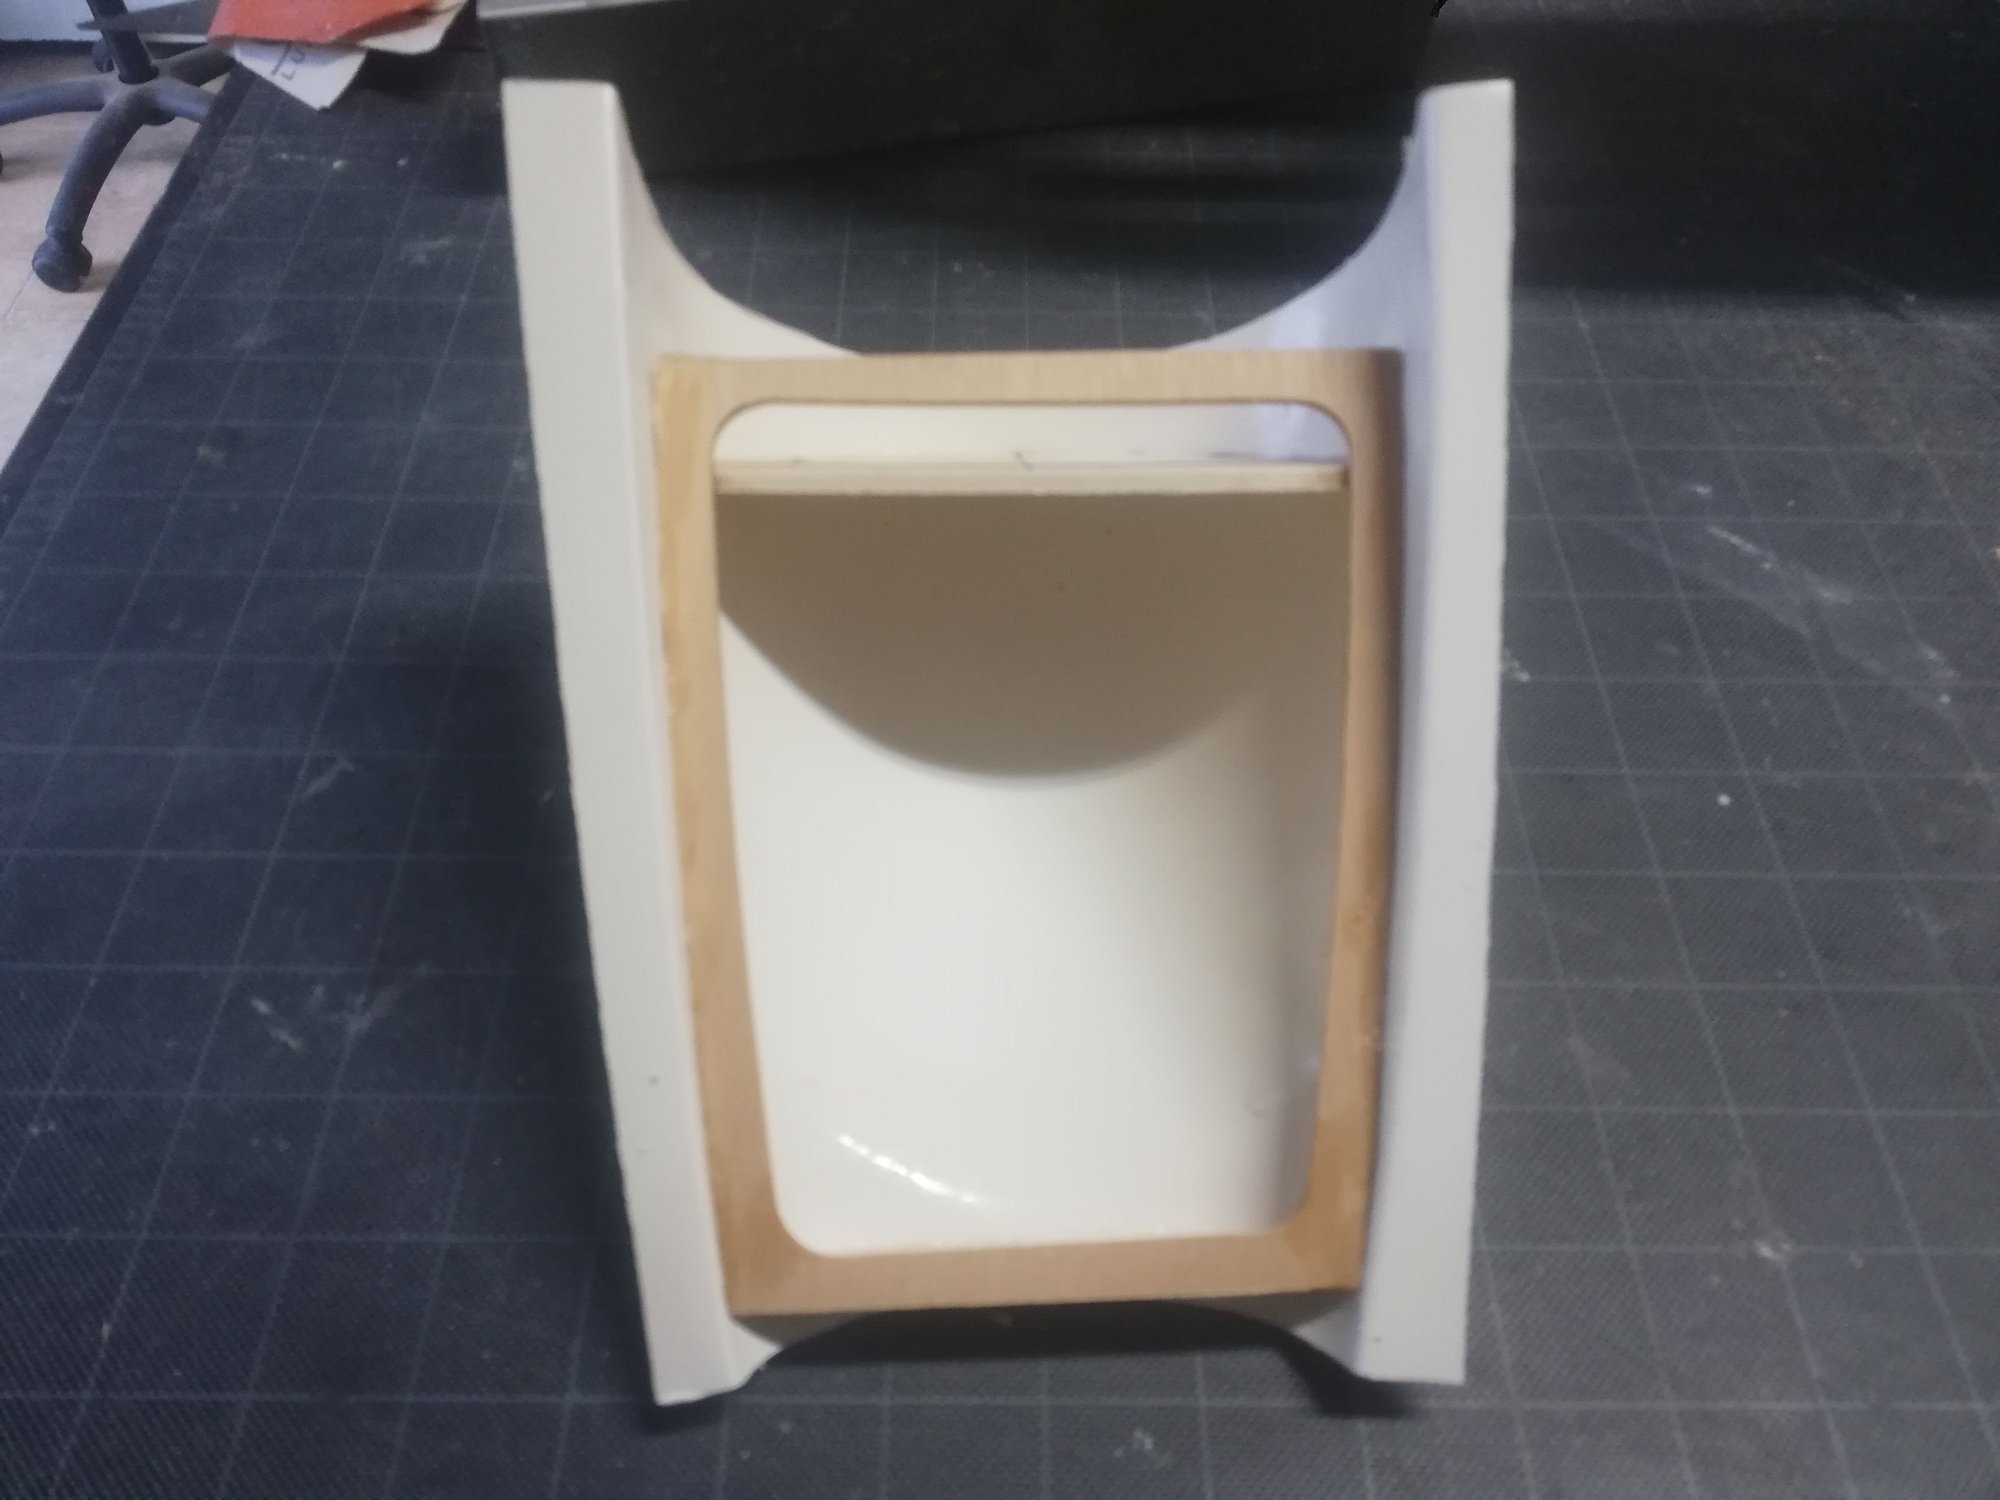
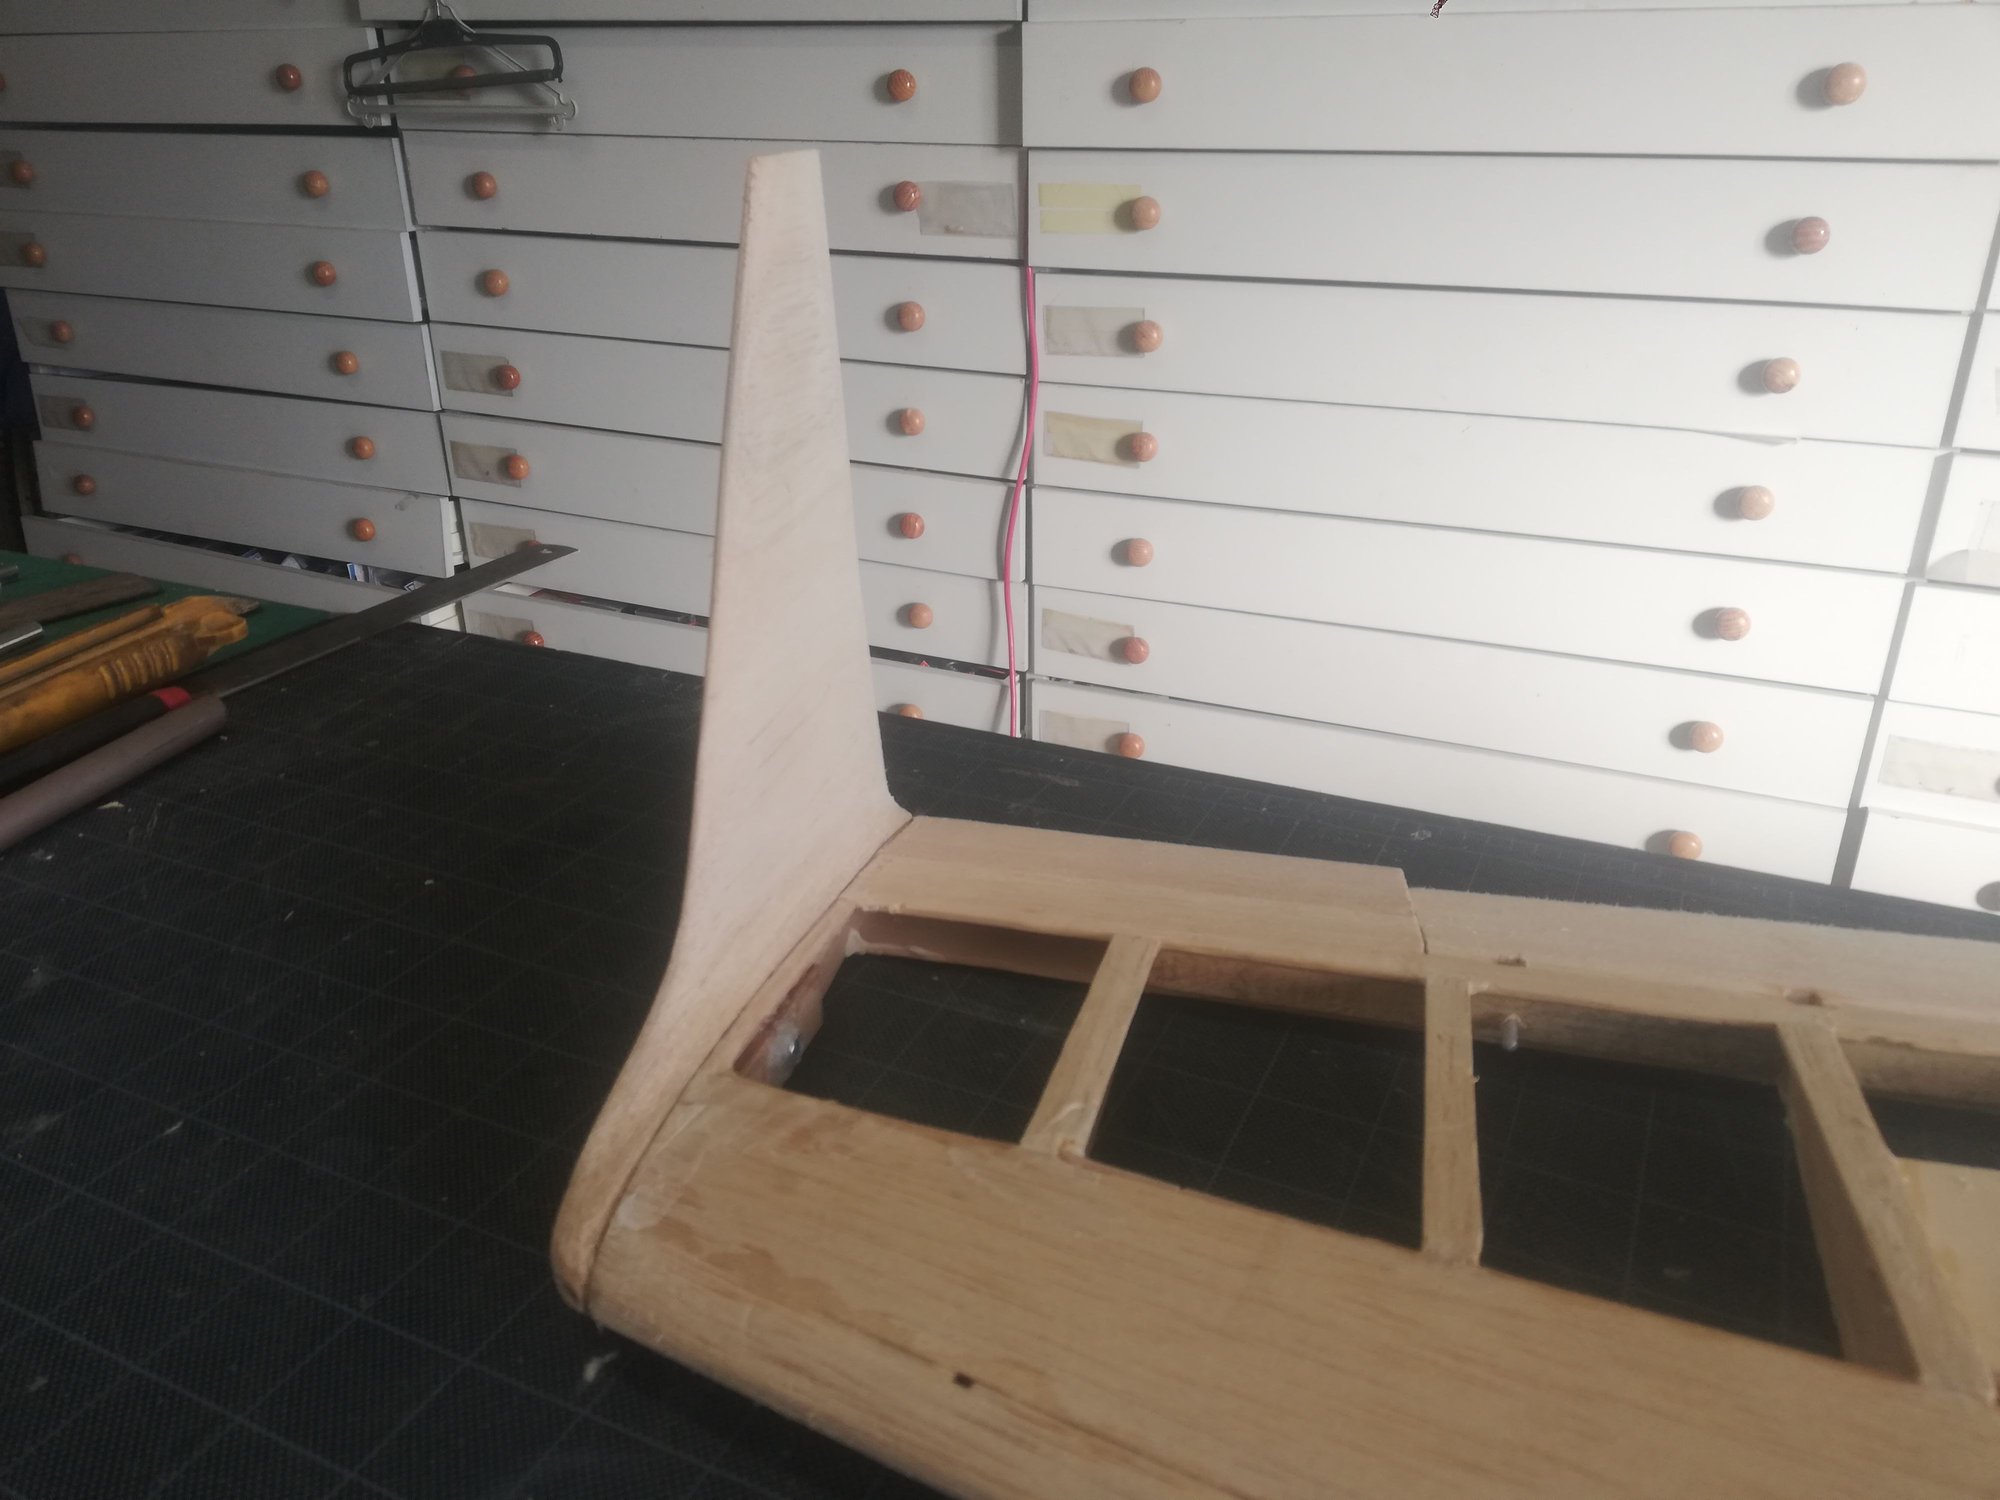
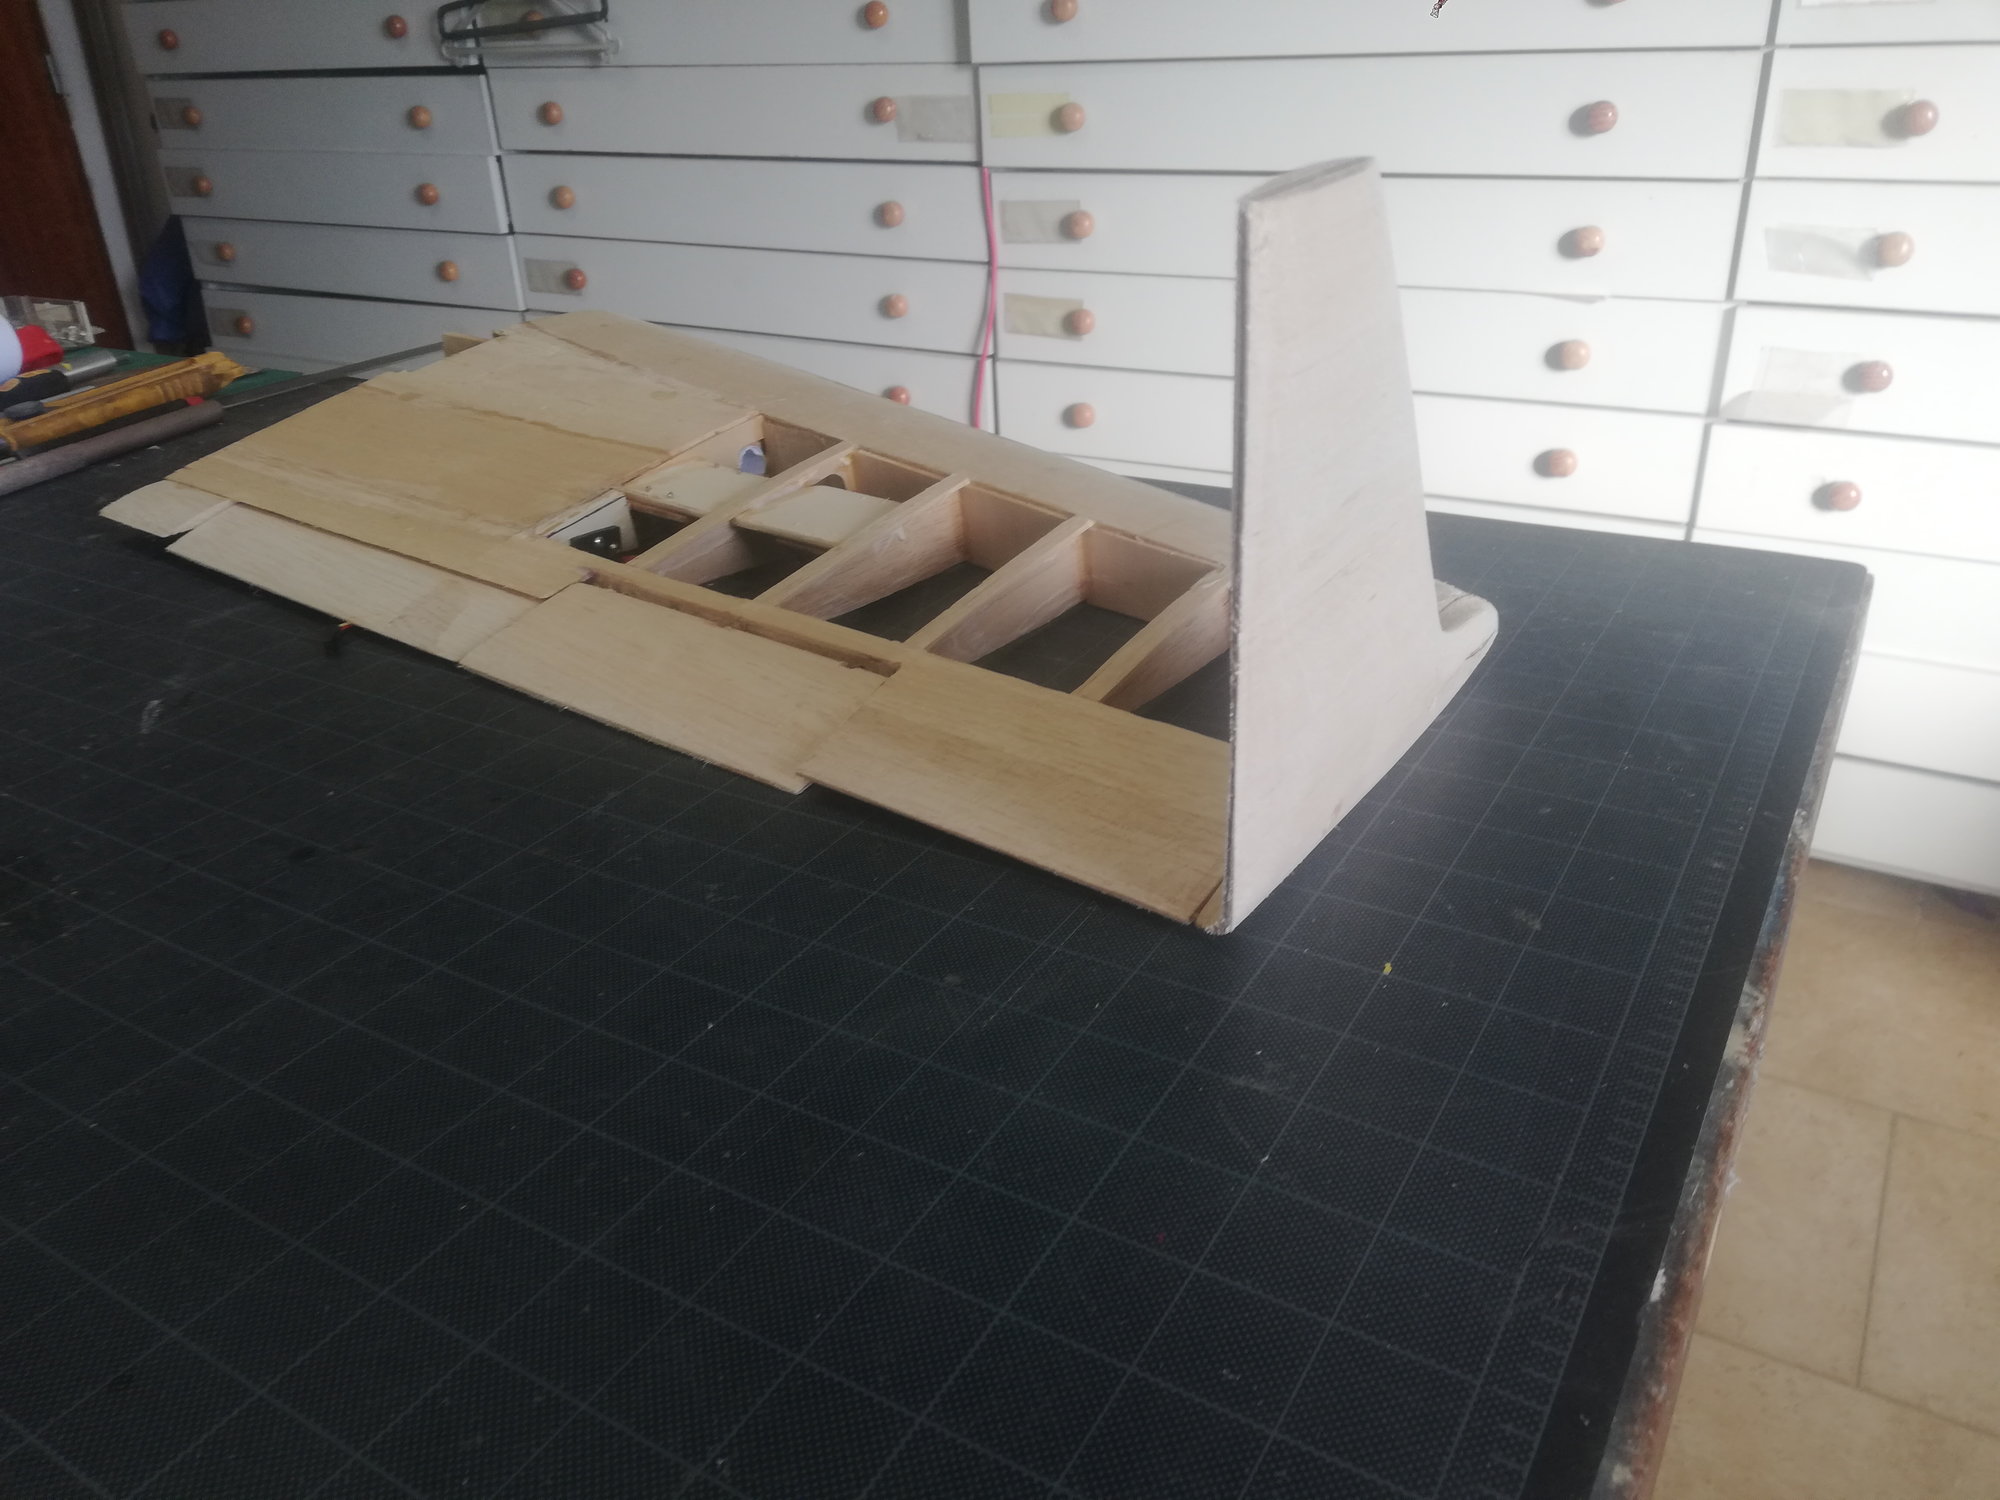
The tail part, a lot of work already done...ventral fin in place, delta fins to go.
The construction quality example

Another good example...

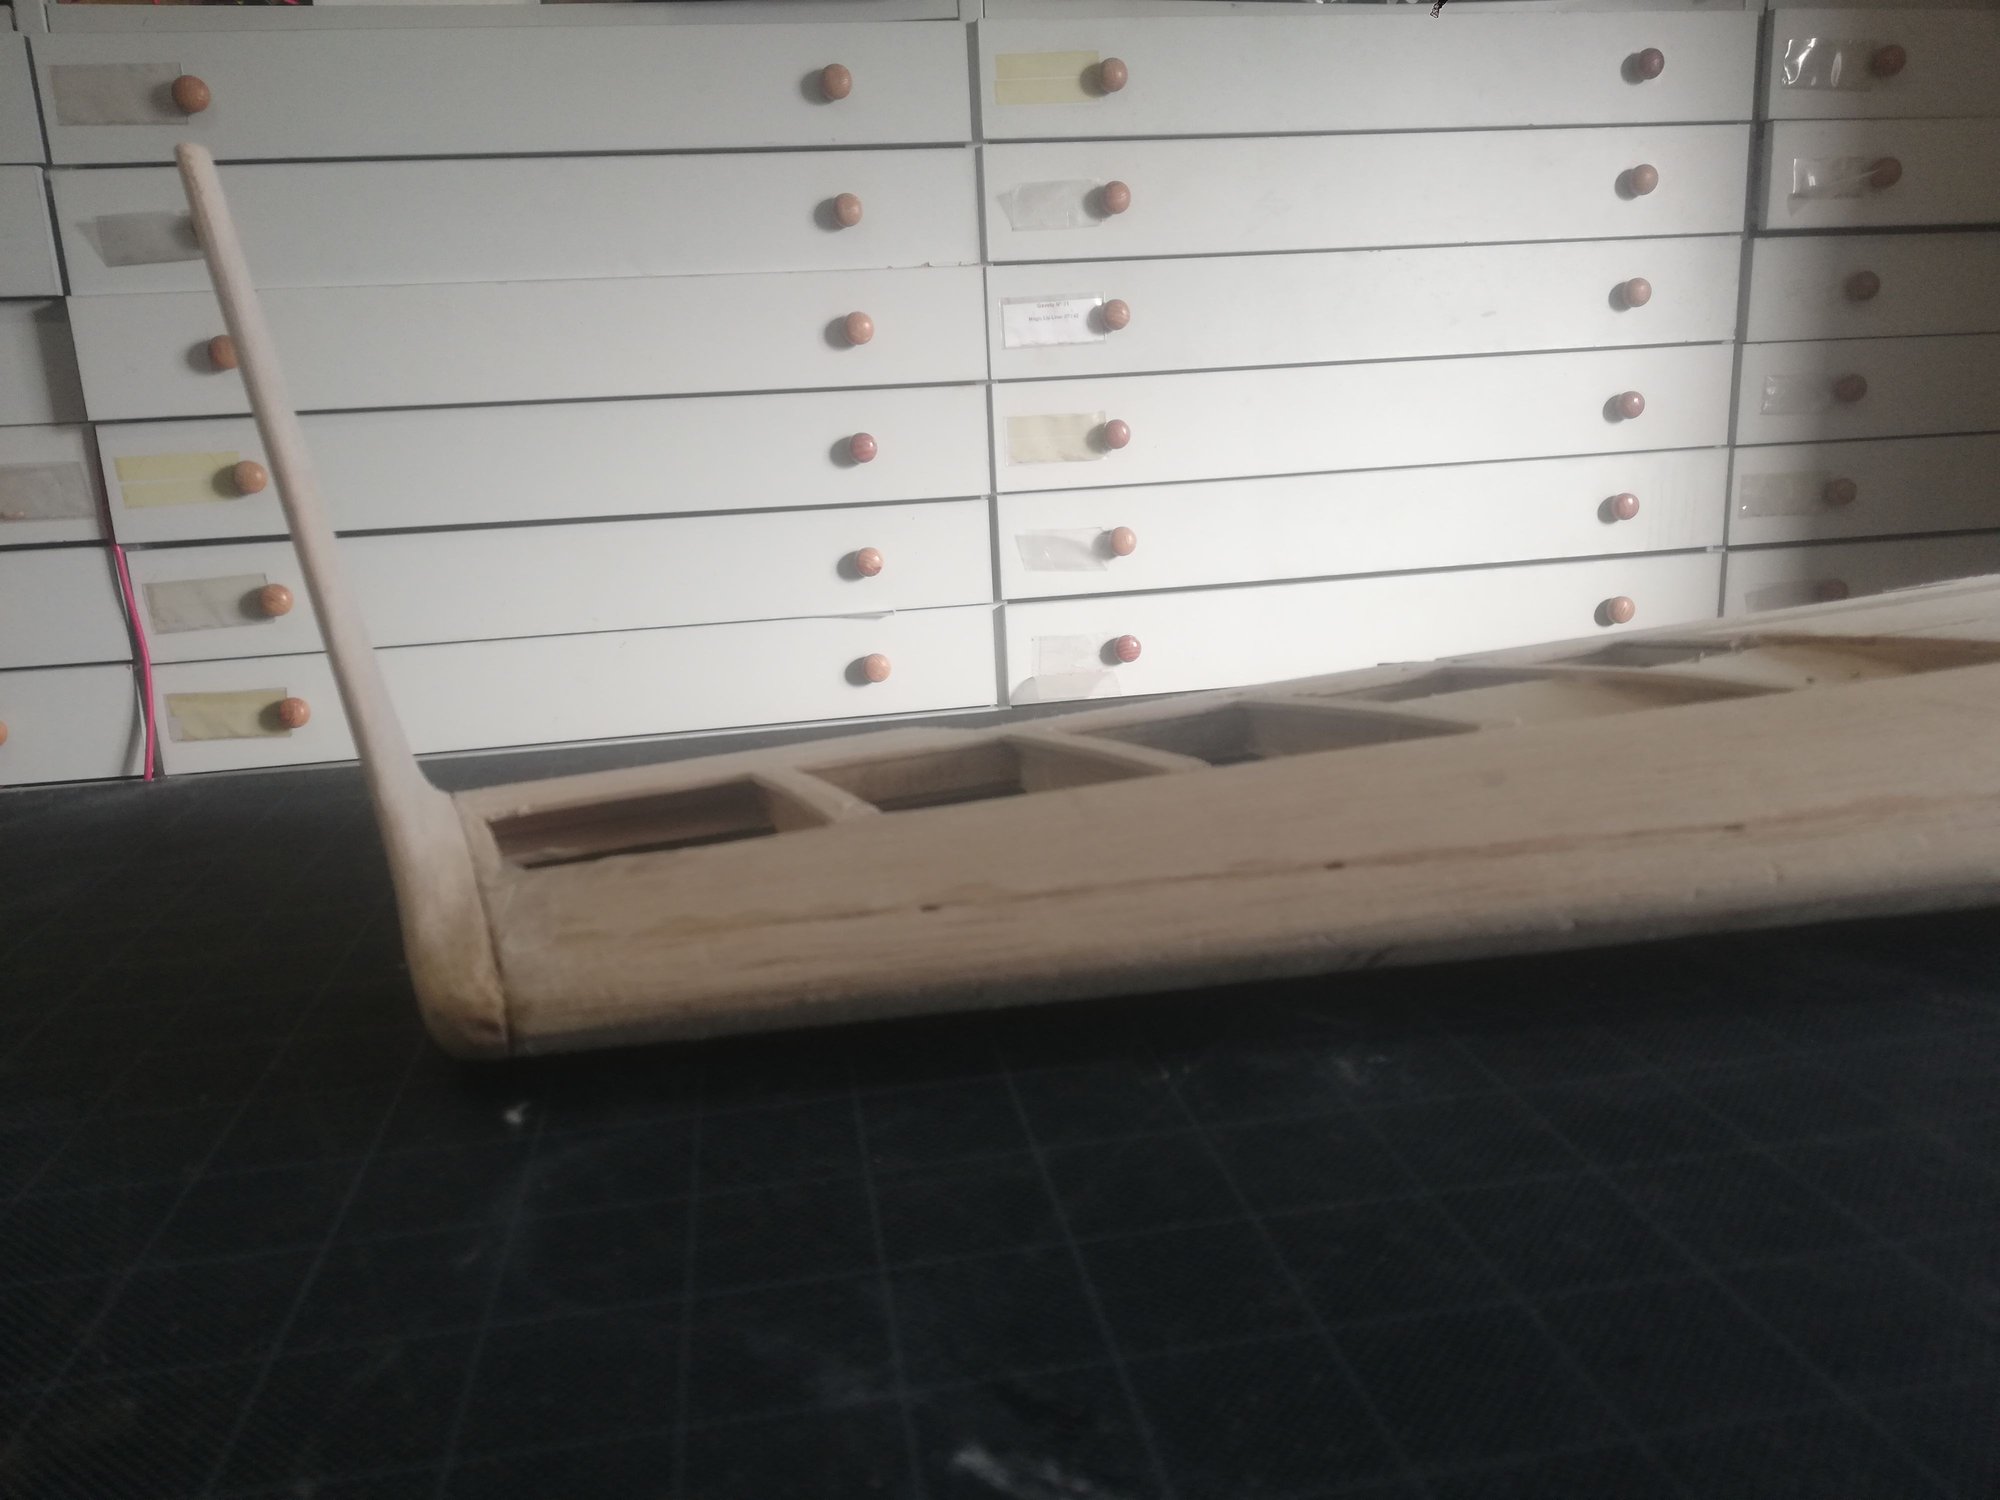
Horizontal stabilizer, made from 6mm balsa plank, solid, and 1mm plywood reinforcement
Again construction...
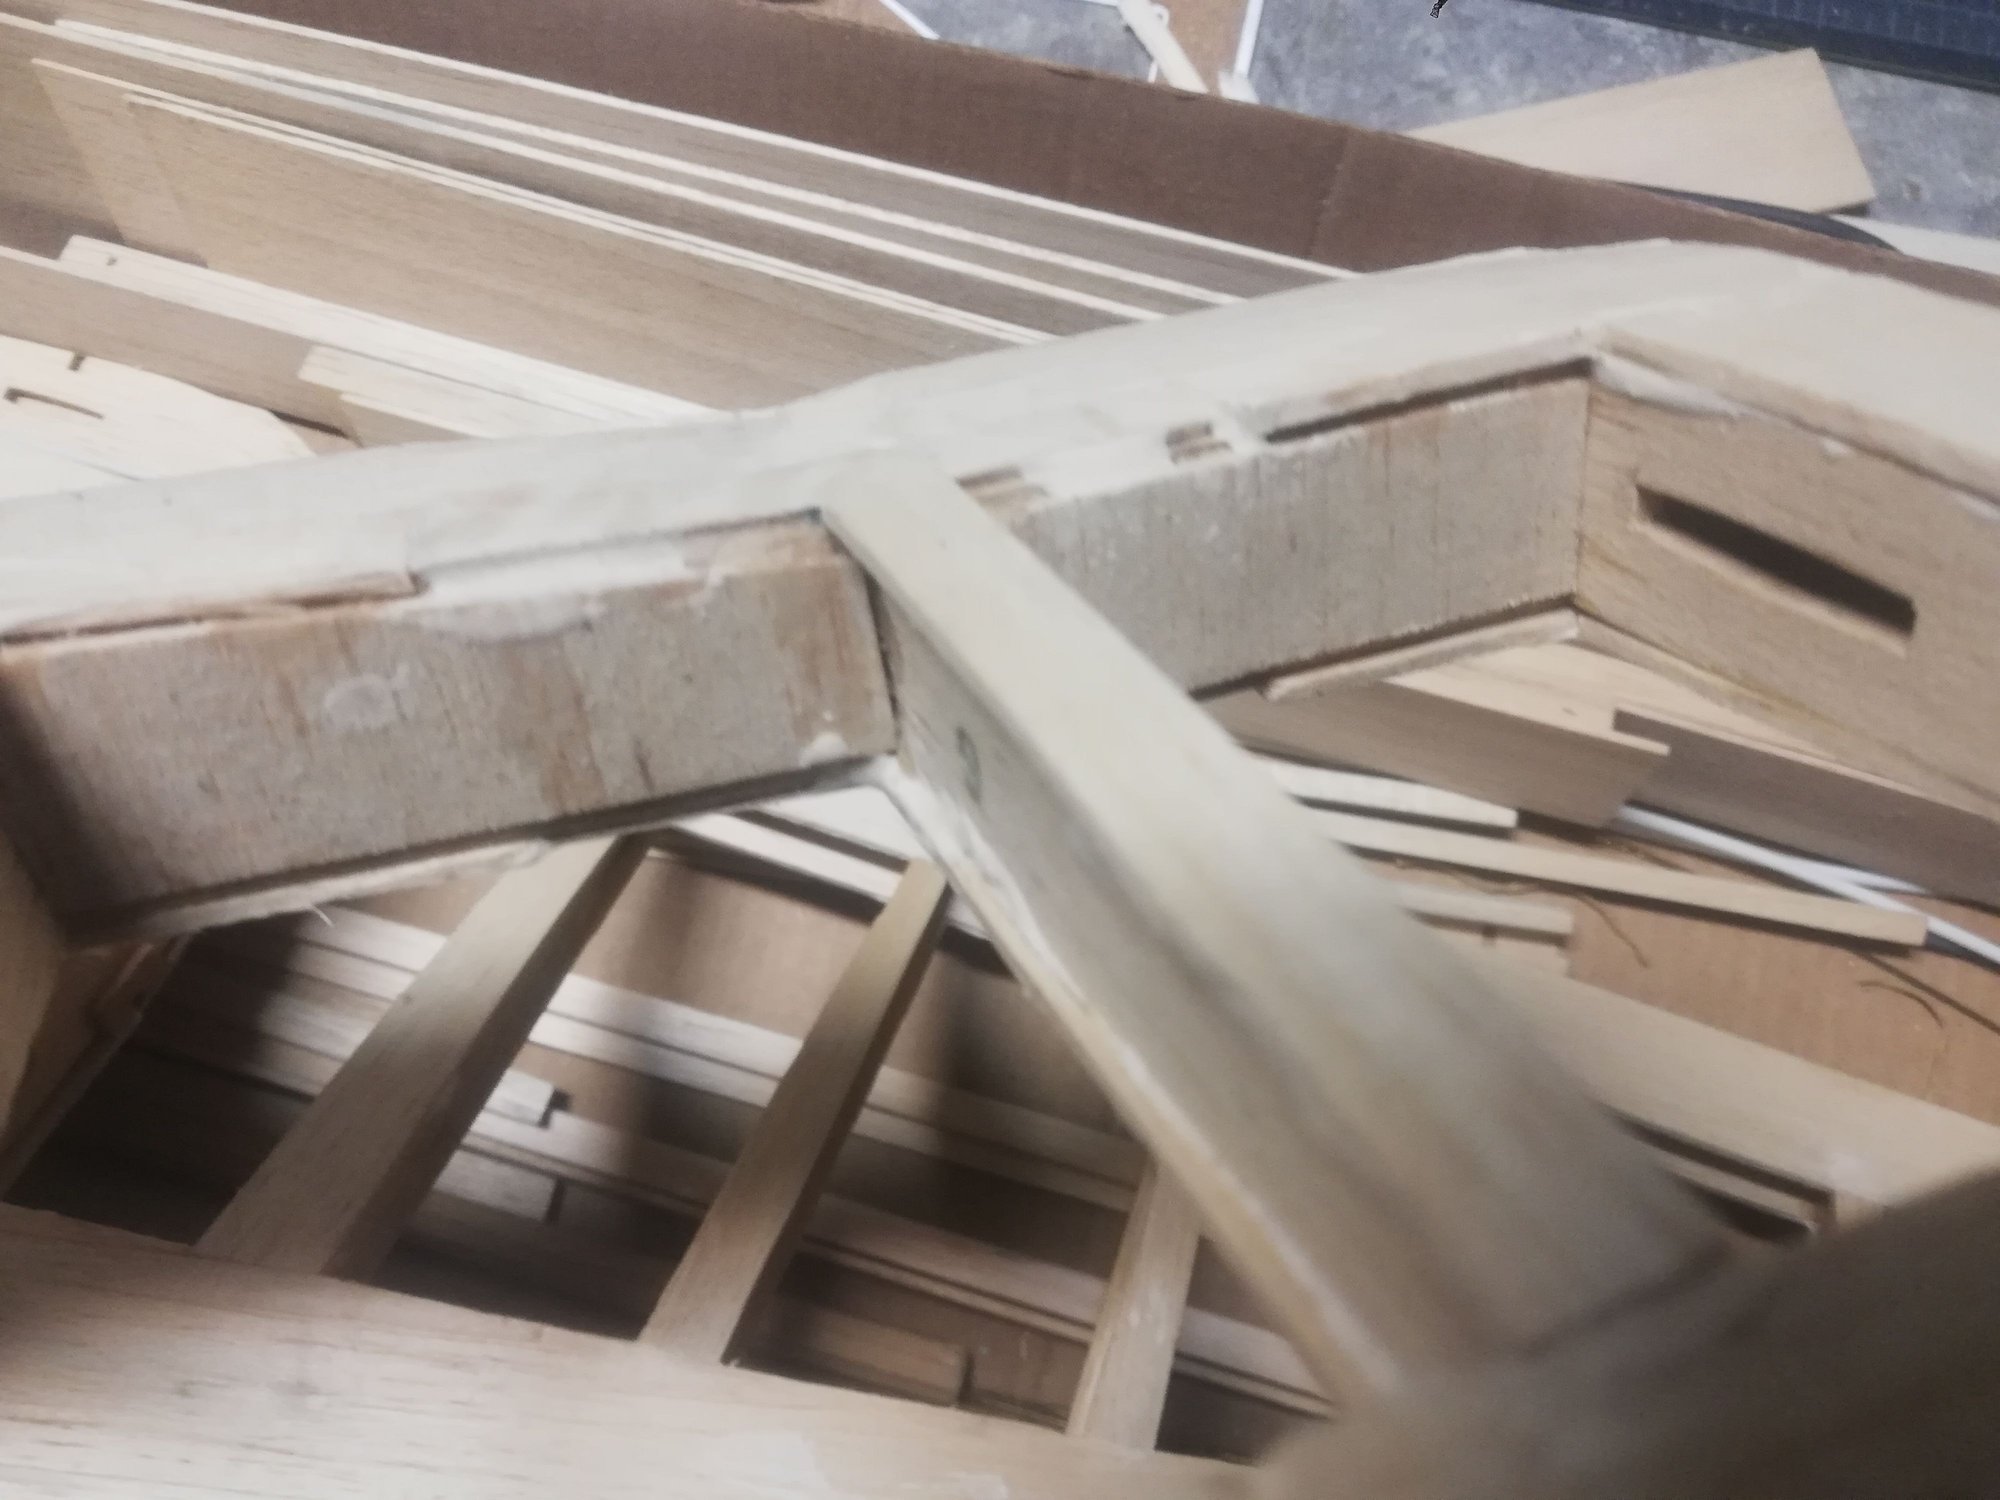
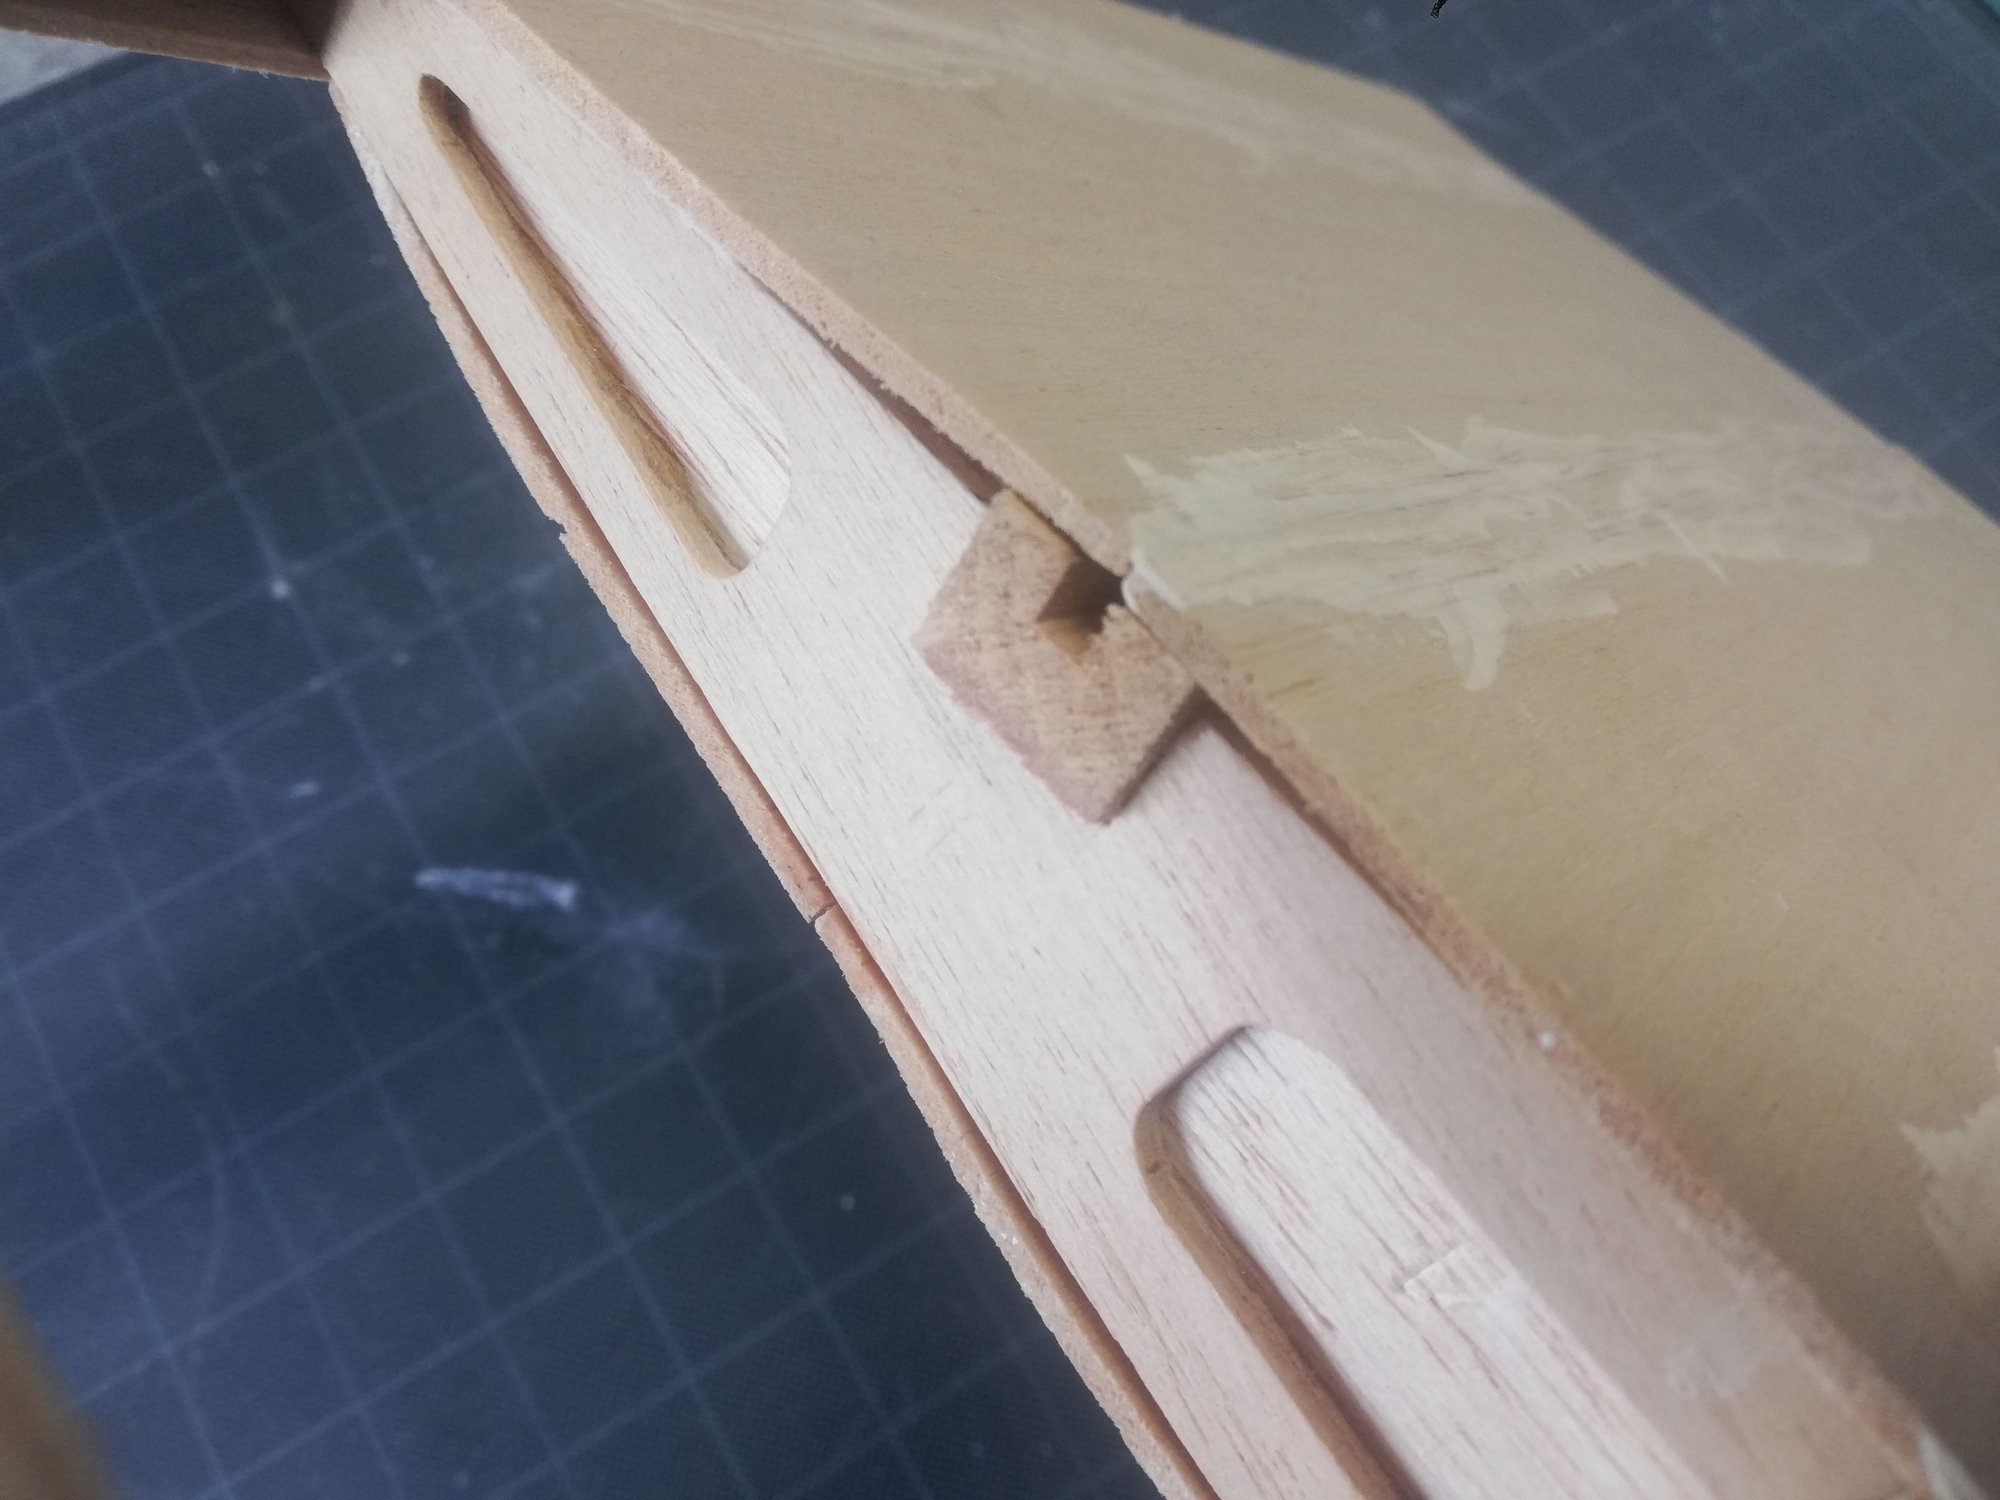
Evidence of problems
last vertical stabilizer parts and rudder.
The tail part, a lot of work already done...ventral fin in place, delta fins to go.
The construction quality example
Another good example...
Horizontal stabilizer, made from 6mm balsa plank, solid, and 1mm plywood reinforcement
Again construction...
Evidence of problems
last vertical stabilizer parts and rudder.
04-03-2020, 01:17 PM
#3
Thread Starter
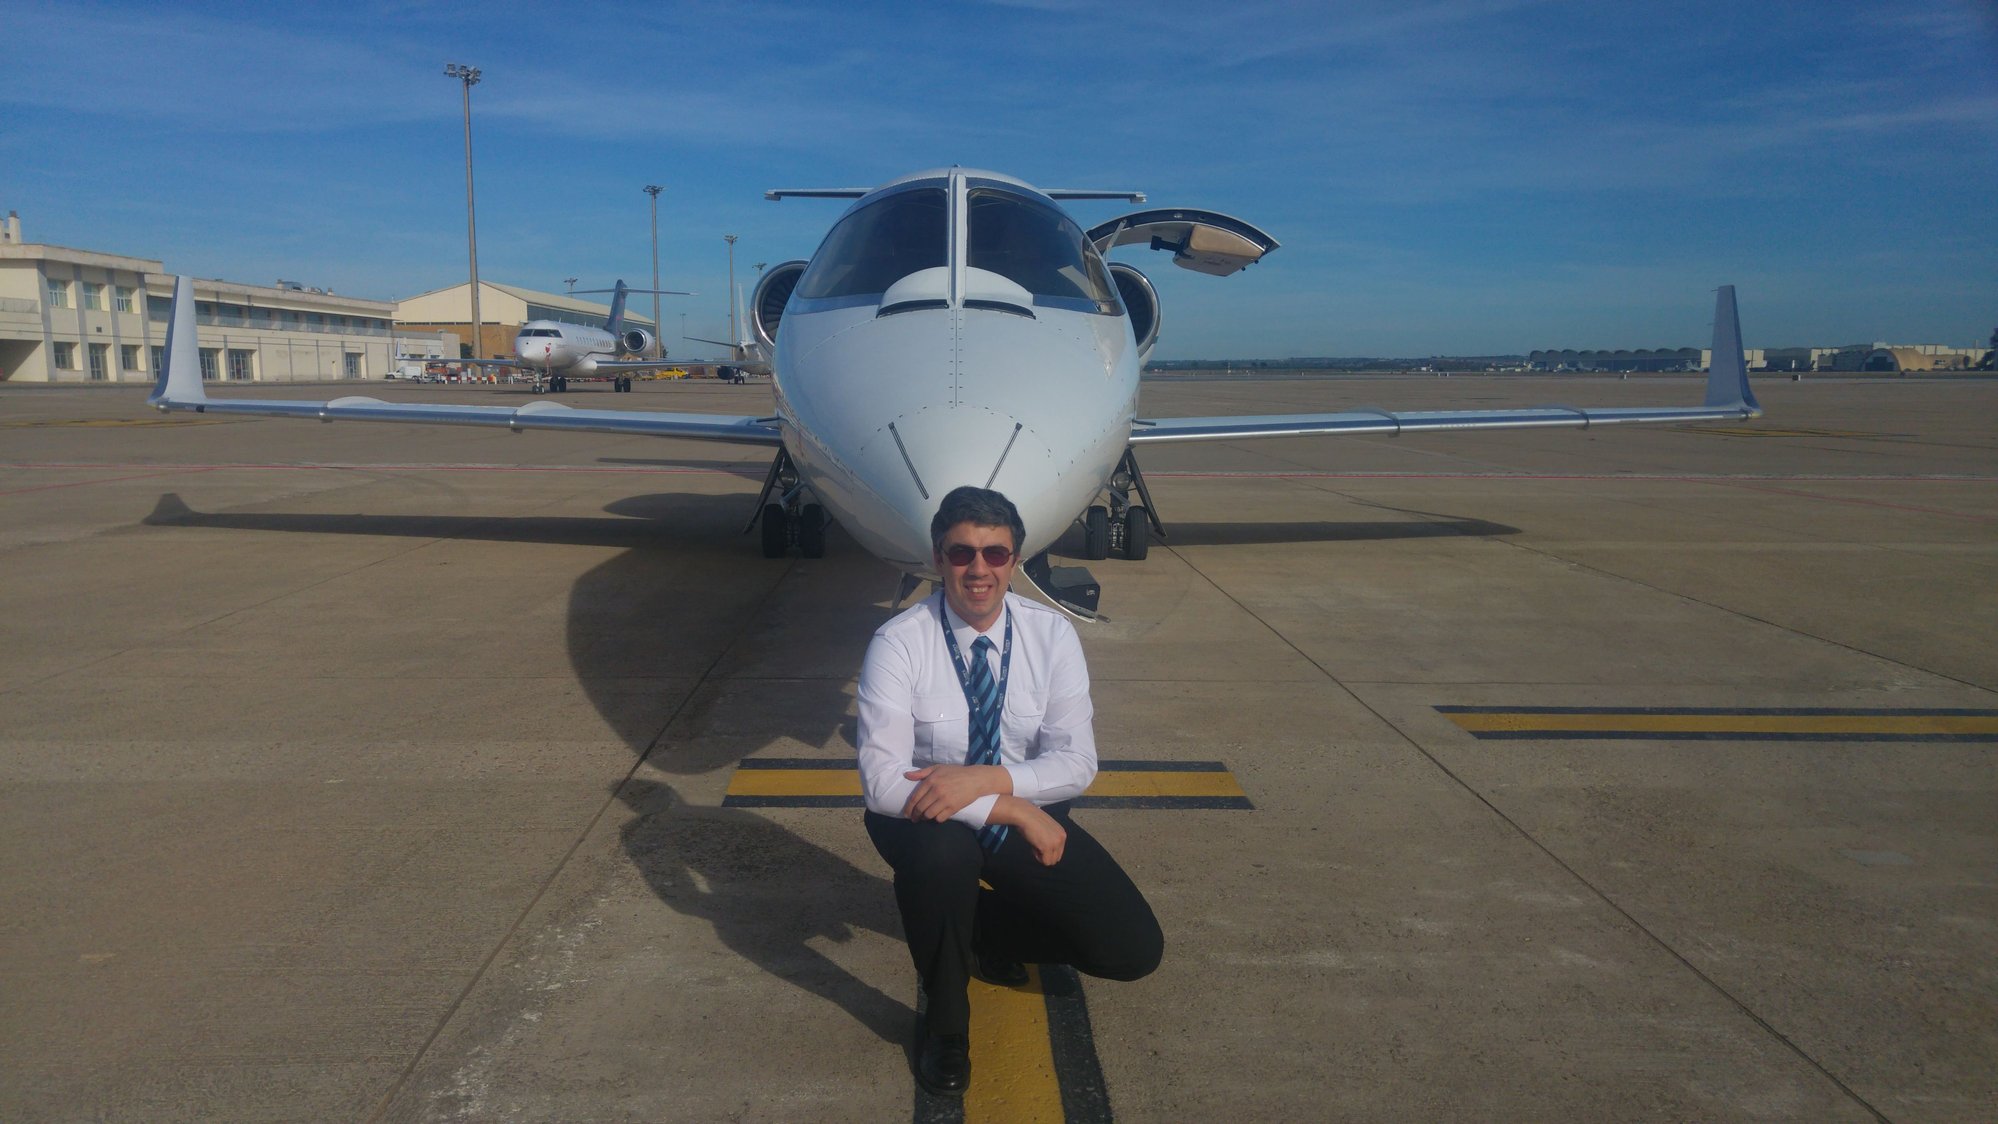
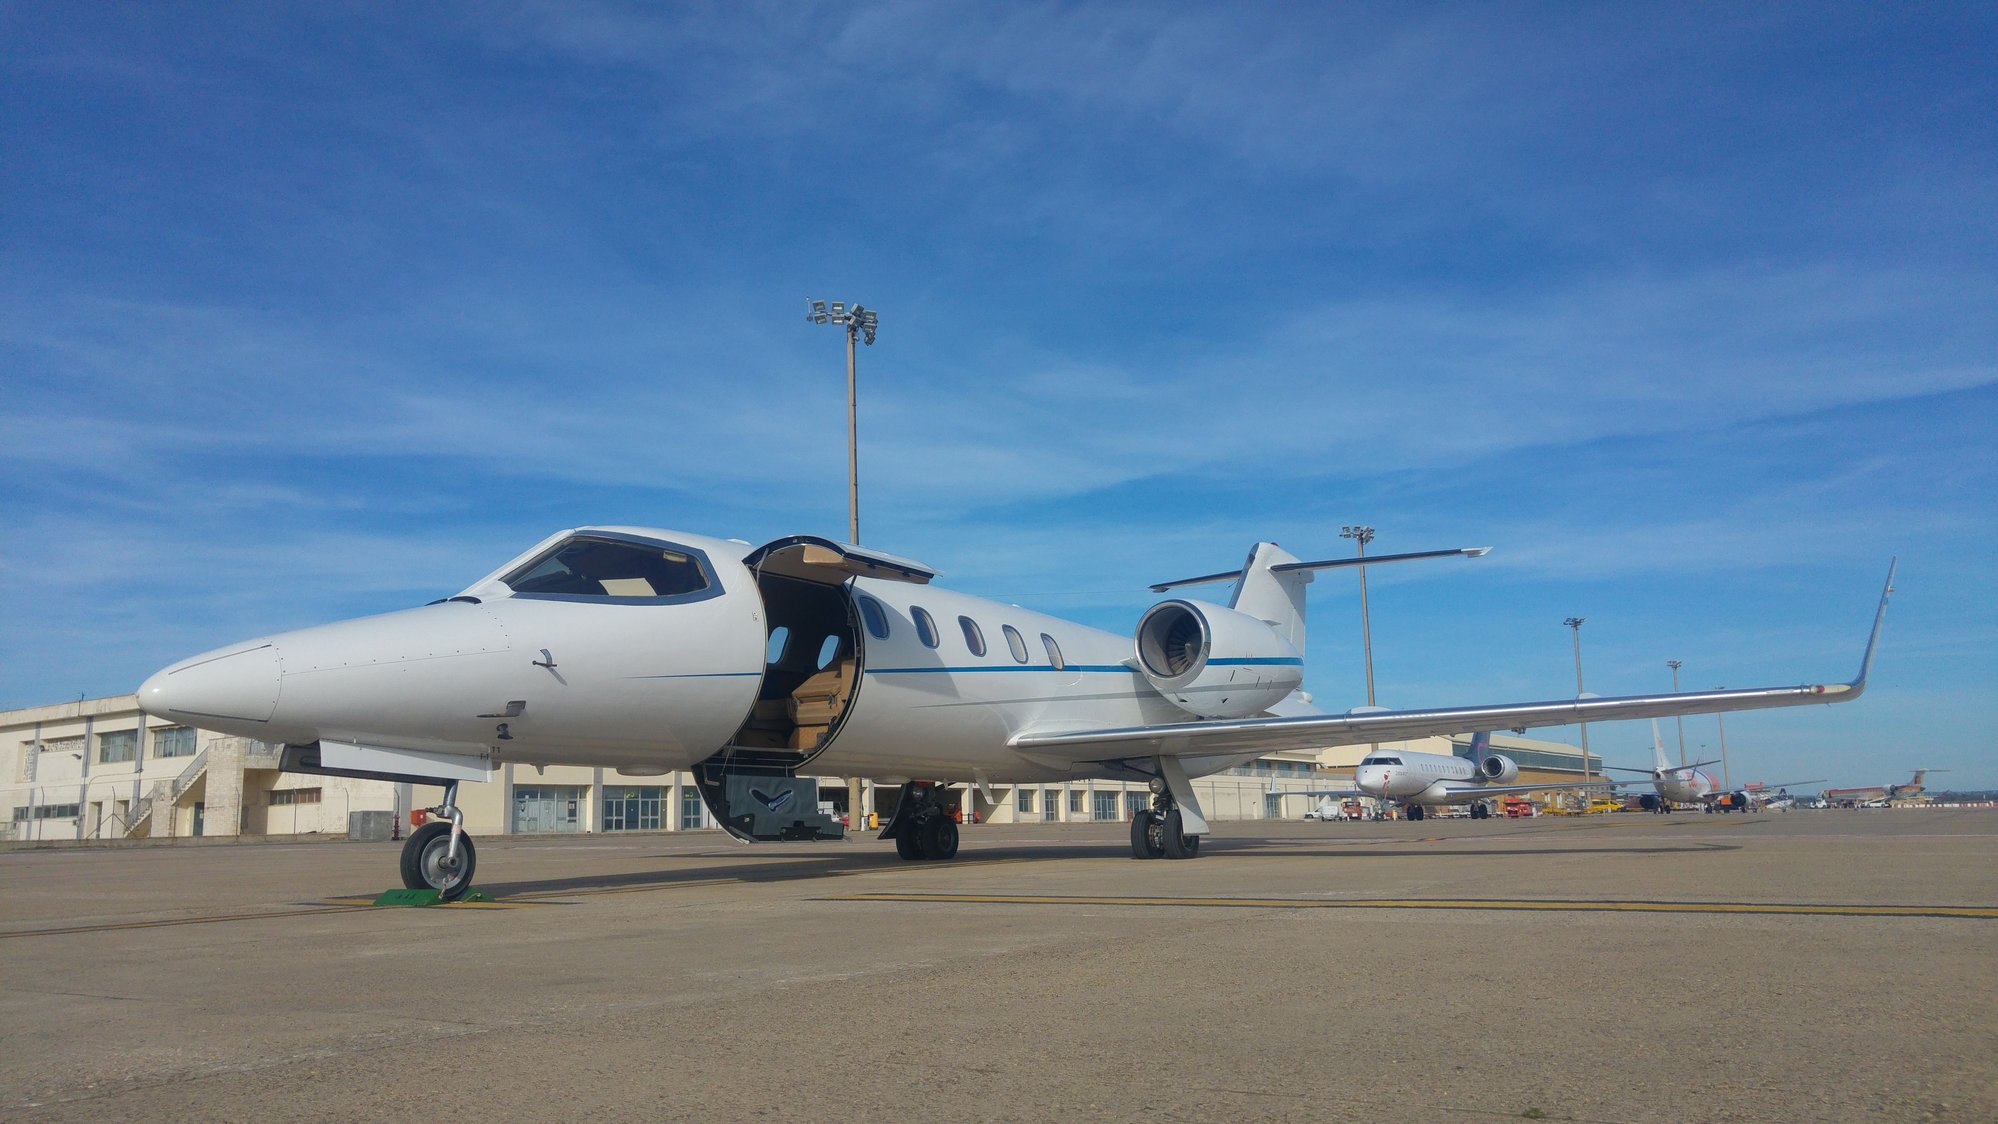
Just so you have an idea of the aircraft I flew, I leave here some pictures. It was my first High performance Jet aircraft, so there is a special feeling.
Of course this will be a "sport" Learjet, but nevertheless I will make an effort to build in some of the characteristic details the one I flew had, like the normal wing, winglets, delta fins, wing fences and vortex generators, some antennas, forward retracting nose gear and the paint, to allow me to remember the good times I had with it.
Winglets, wing fences, wheel position and cockpit window details
Nose gear, doors and probes

A lot of details here, raisbeck locker, huge flaps, delta fins
Of course this will be a "sport" Learjet, but nevertheless I will make an effort to build in some of the characteristic details the one I flew had, like the normal wing, winglets, delta fins, wing fences and vortex generators, some antennas, forward retracting nose gear and the paint, to allow me to remember the good times I had with it.
Winglets, wing fences, wheel position and cockpit window details
Nose gear, doors and probes
A lot of details here, raisbeck locker, huge flaps, delta fins
Last edited by JCavadas; 04-03-2020 at 11:00 PM. Reason: photo descriptions updates
04-05-2020, 10:46 AM
#4
Thread Starter
Today I started with some sanding of the fuselage and straightening a twisted former.
Then I casted the Cowl and canopy, you never know when you need one and I do not know how hard is to find one...and as I have a vacuum forming machine, I like to keep the moulds.
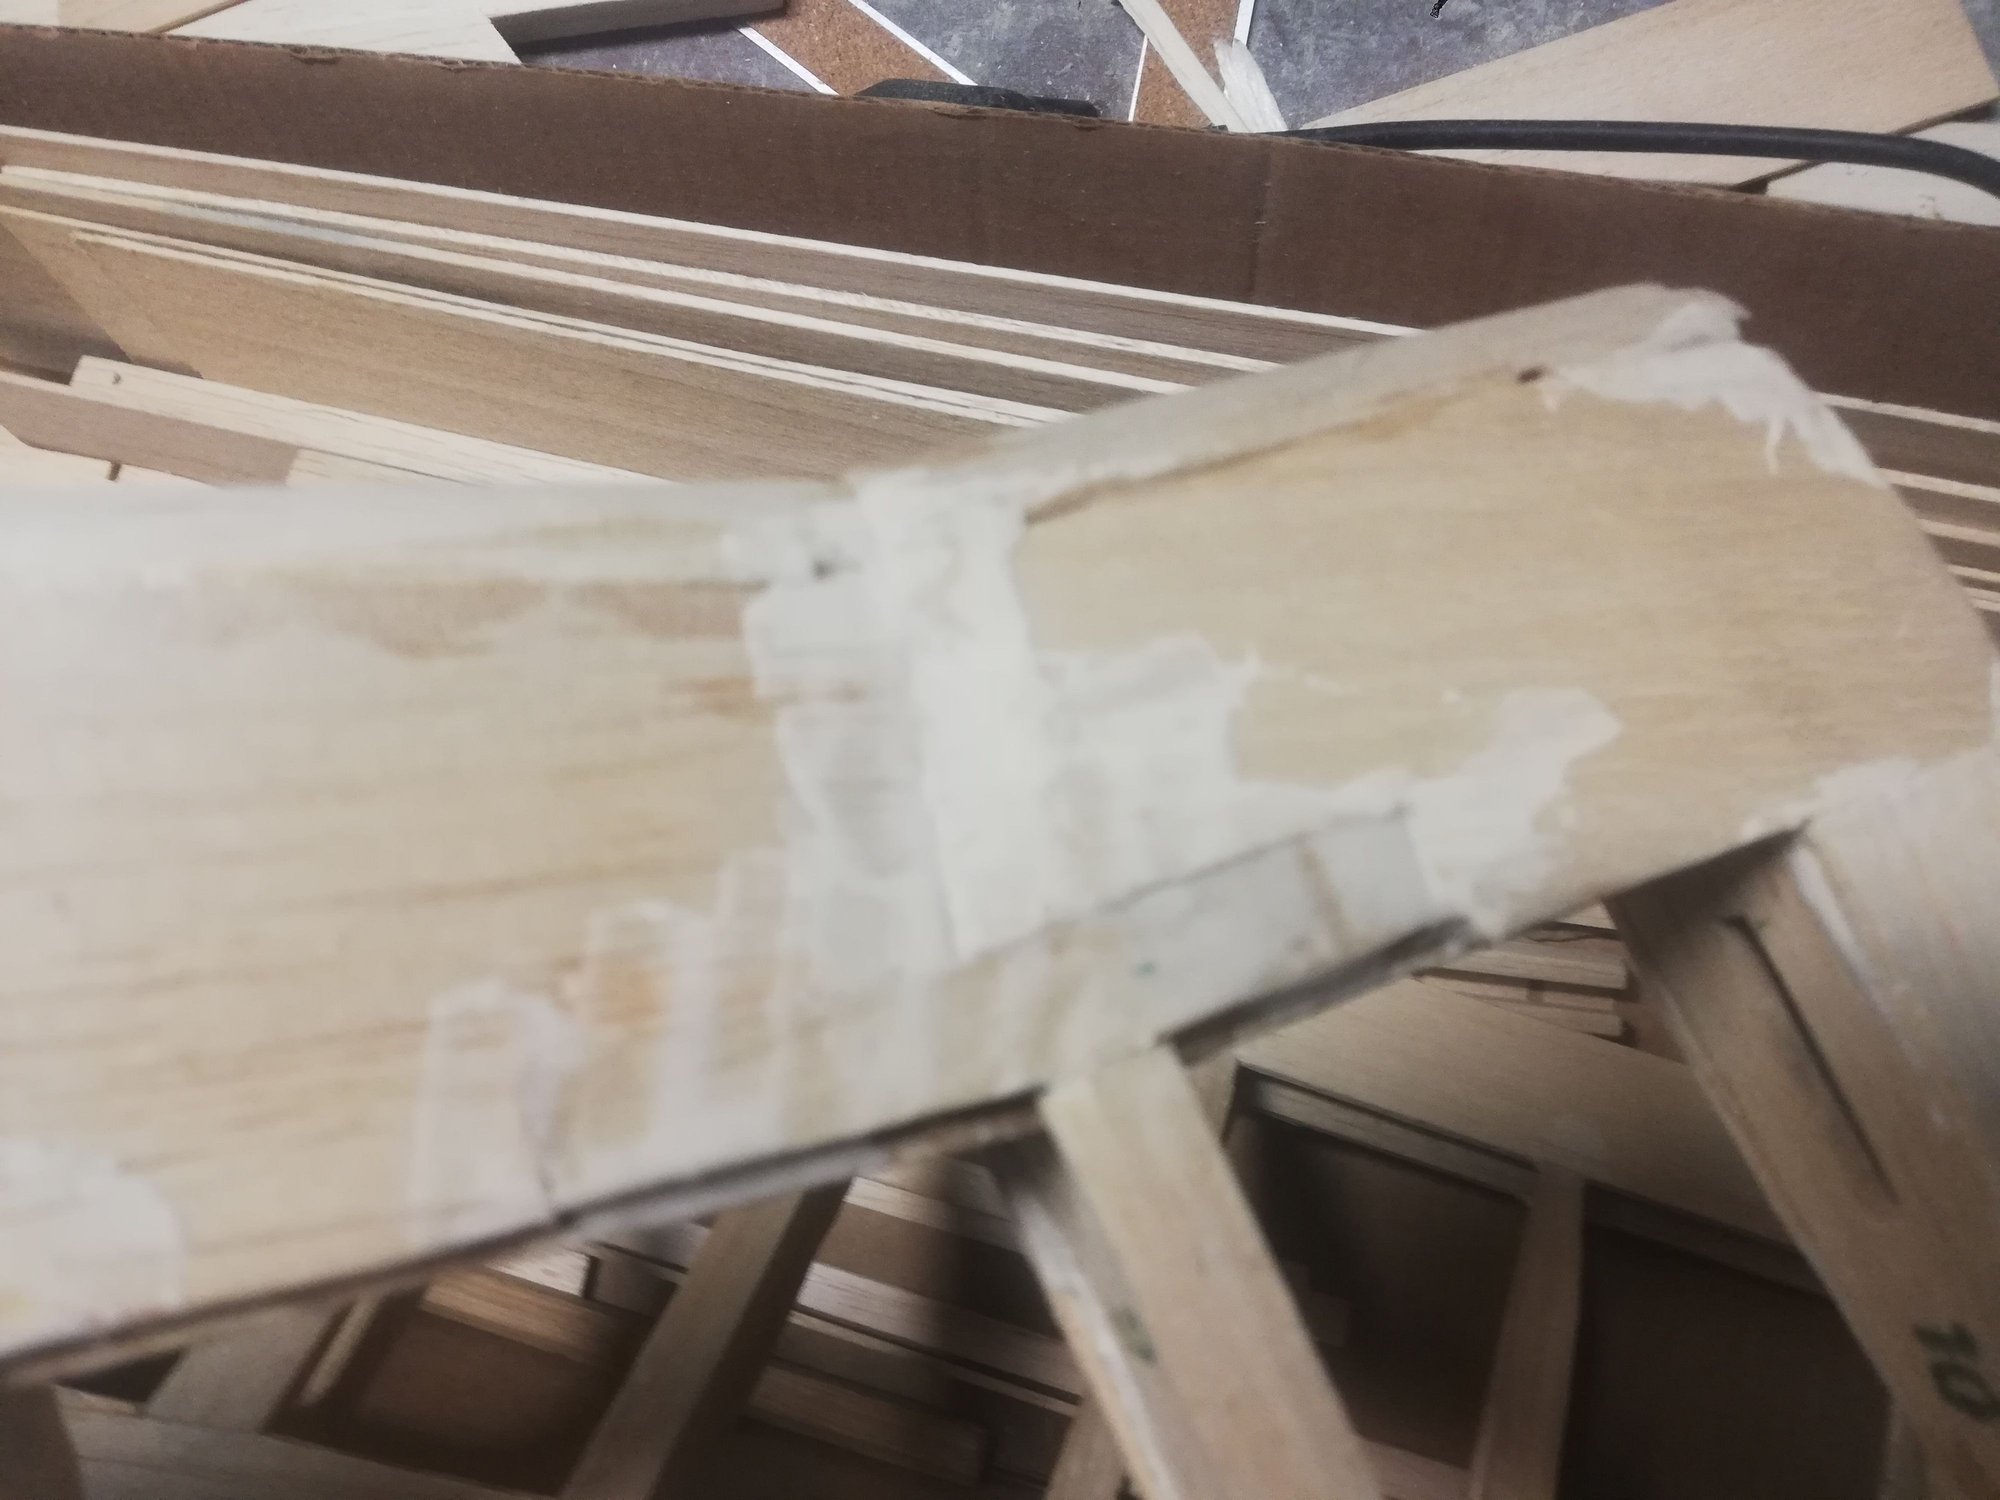
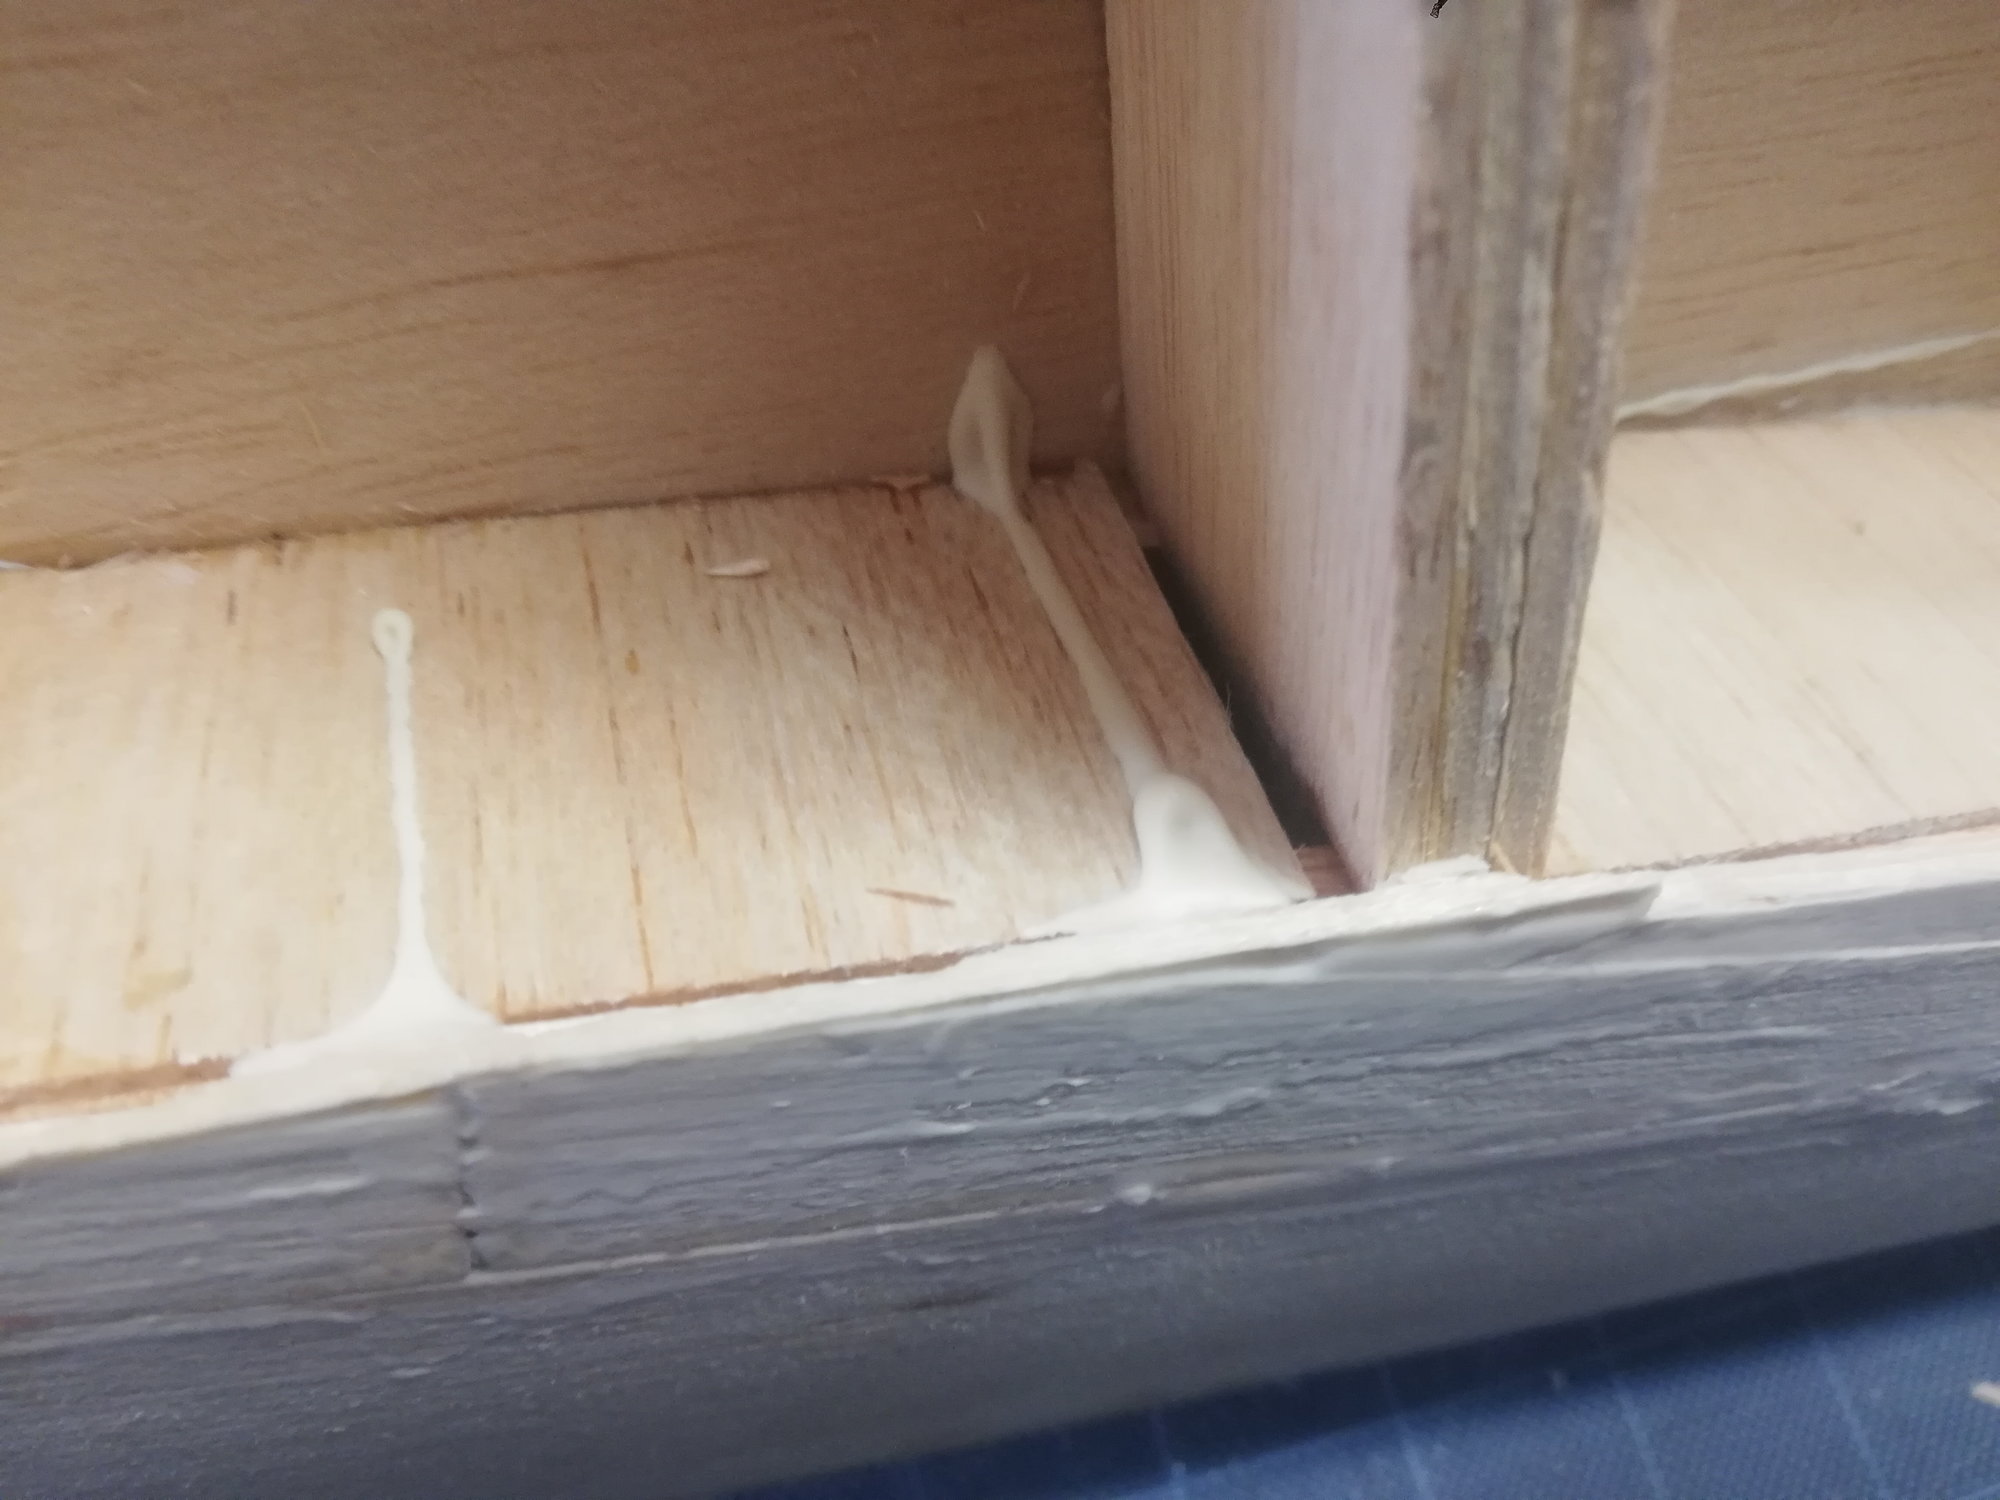
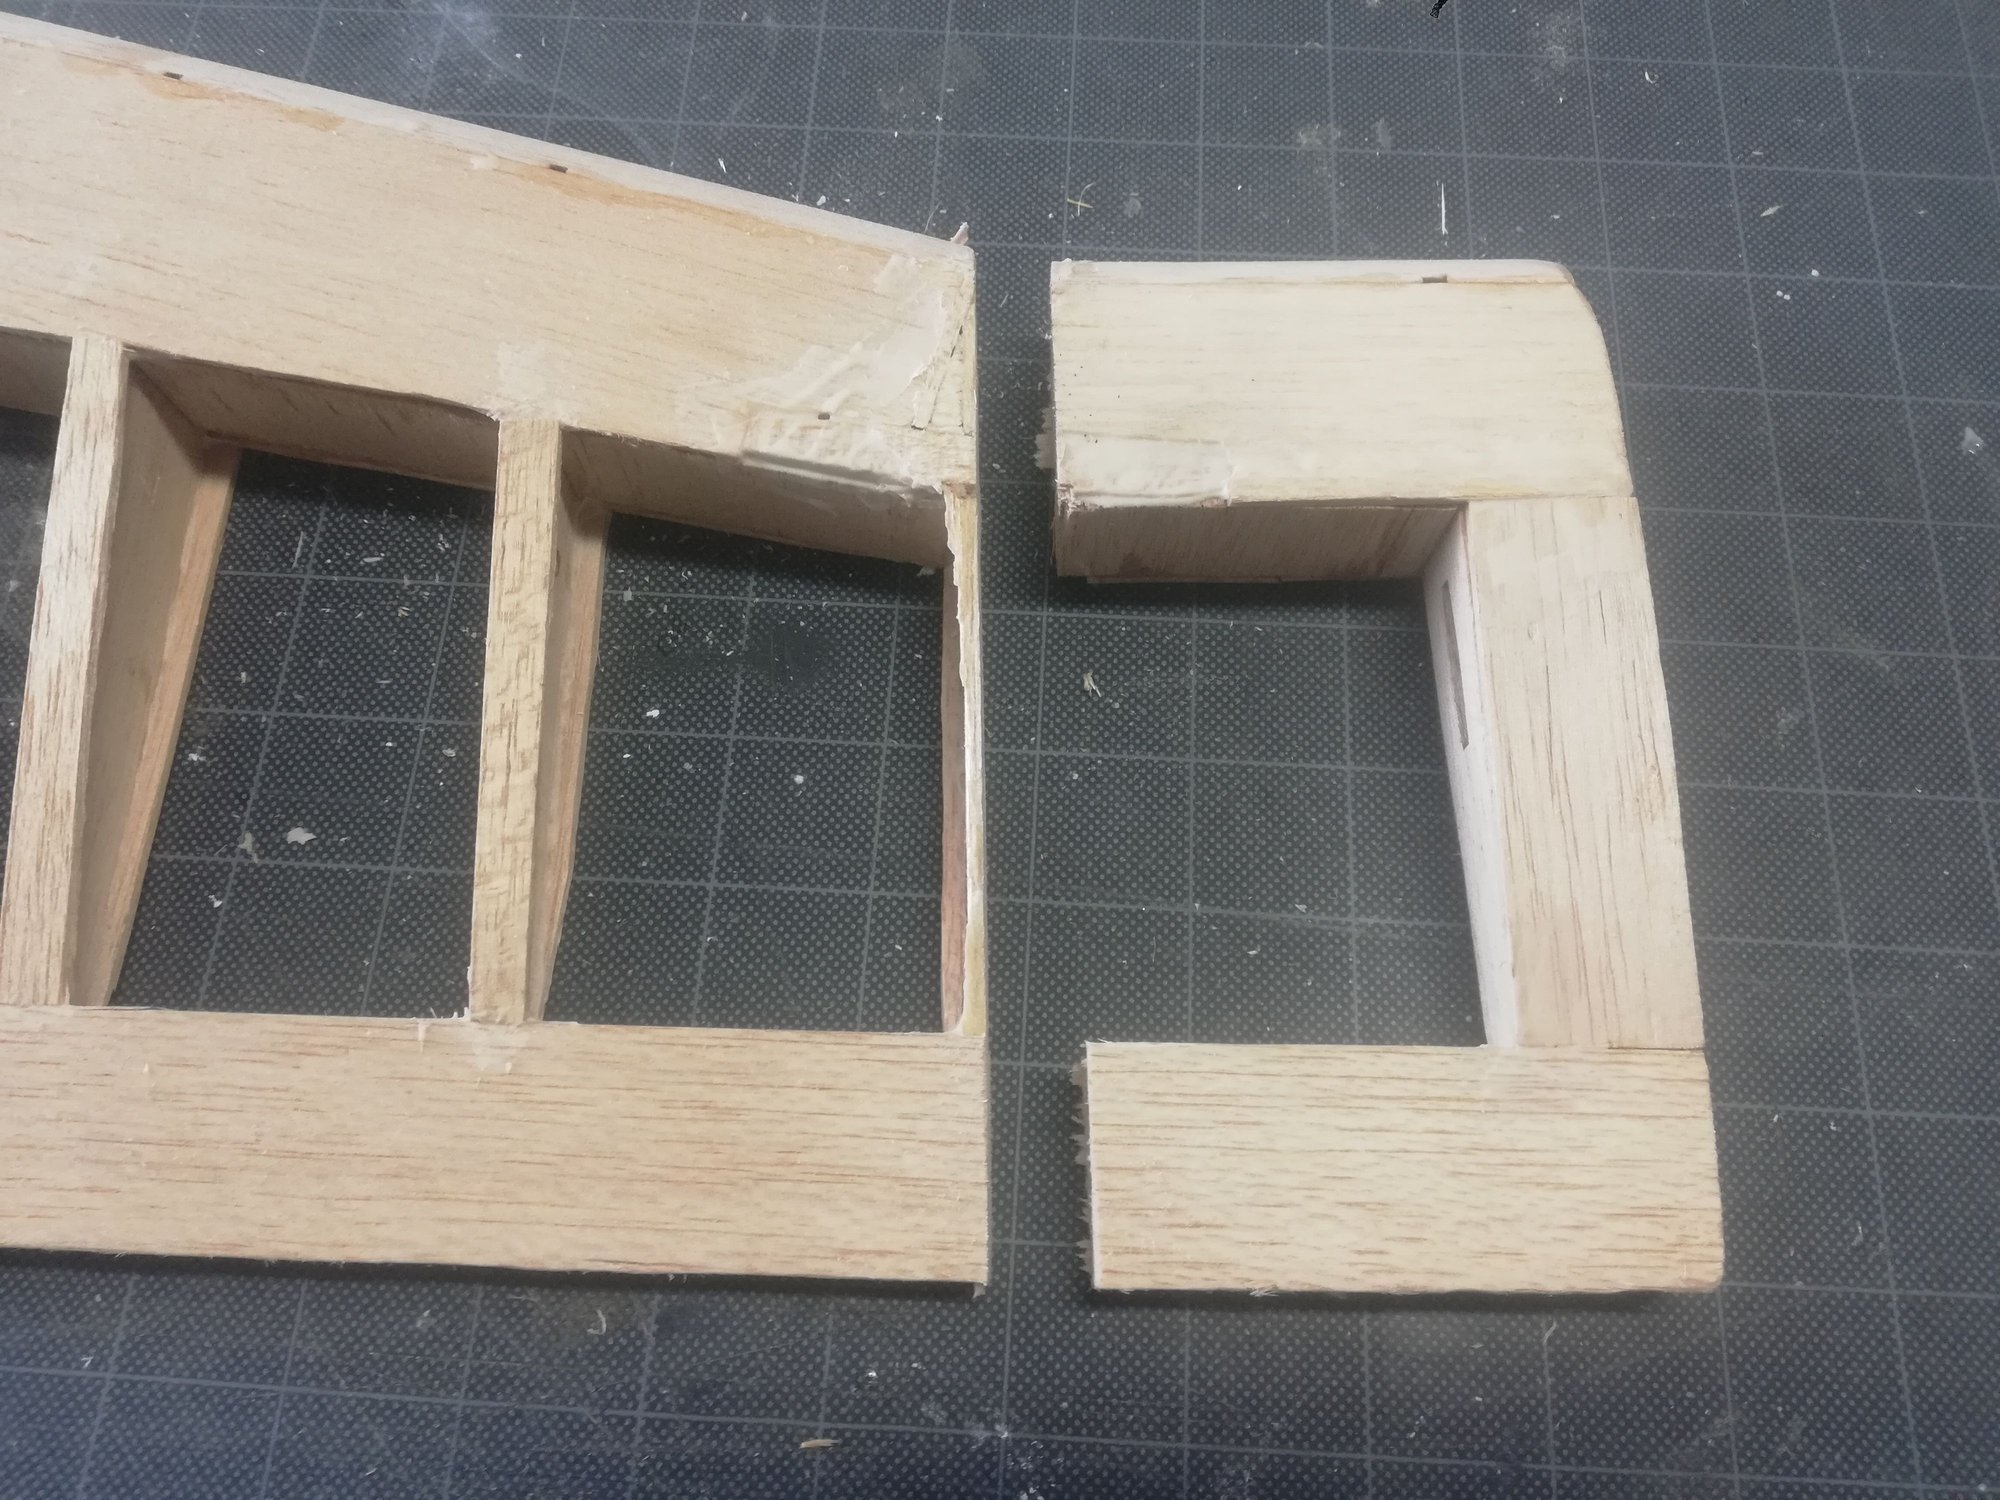
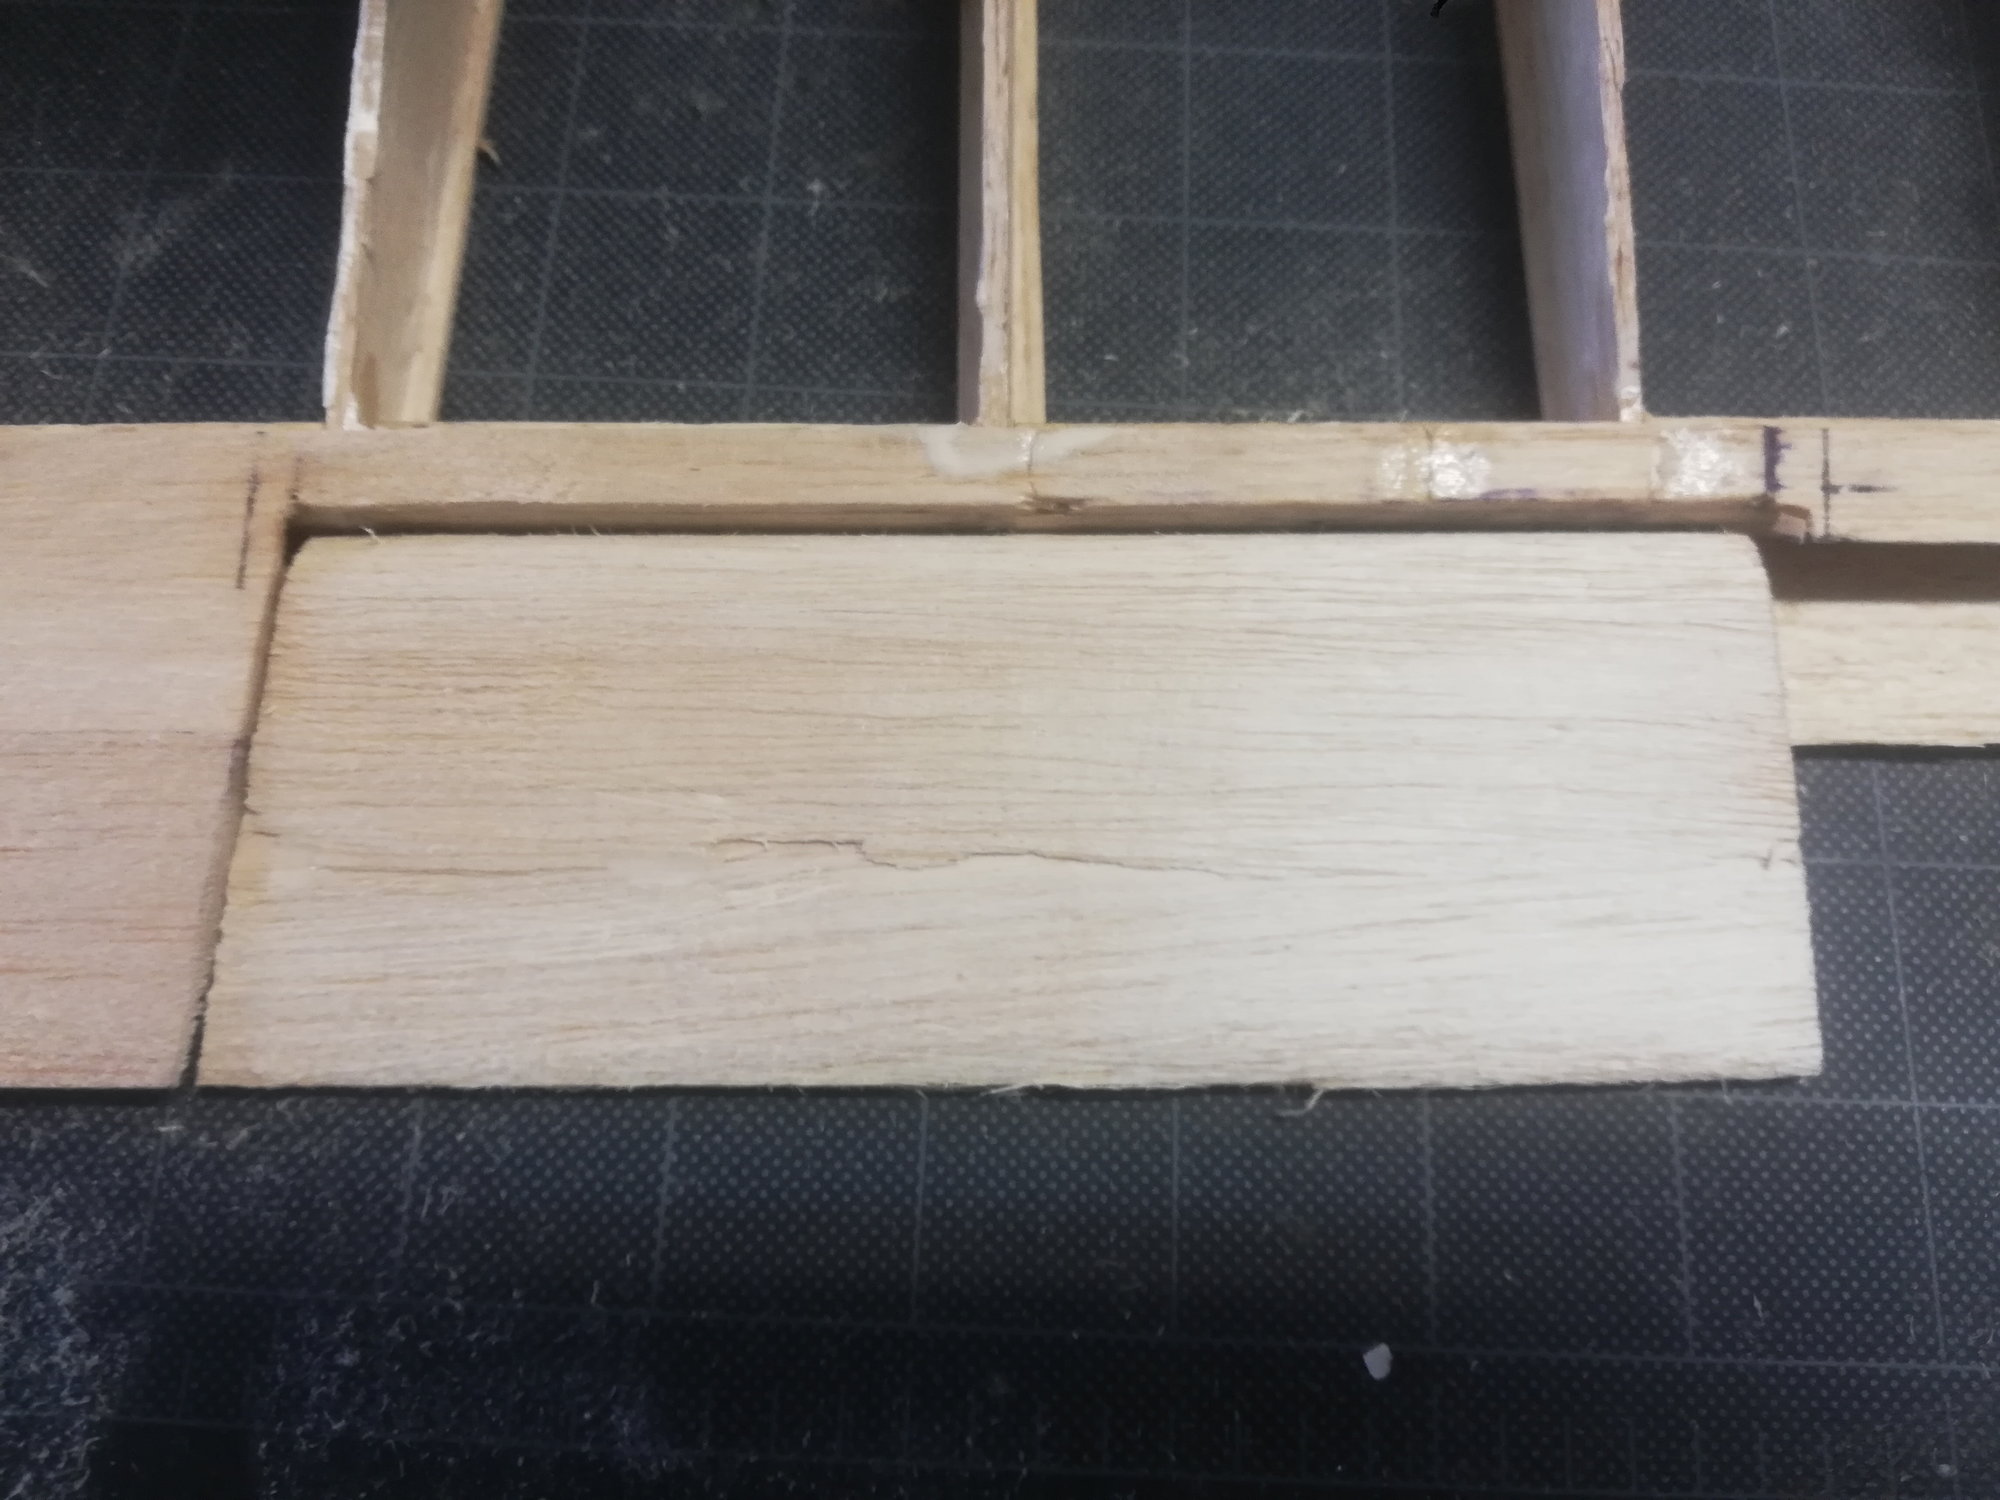
I decided to try to save the kit wings, but I was very worried with the construction so I removed the bottom wing skins...and I am glad I did: both fixed gear mounts were removed easily by hand, one of them coming attached to the wing skin and I believe that there is two wing spars missing on ea wing...photos and video will detail these issues.
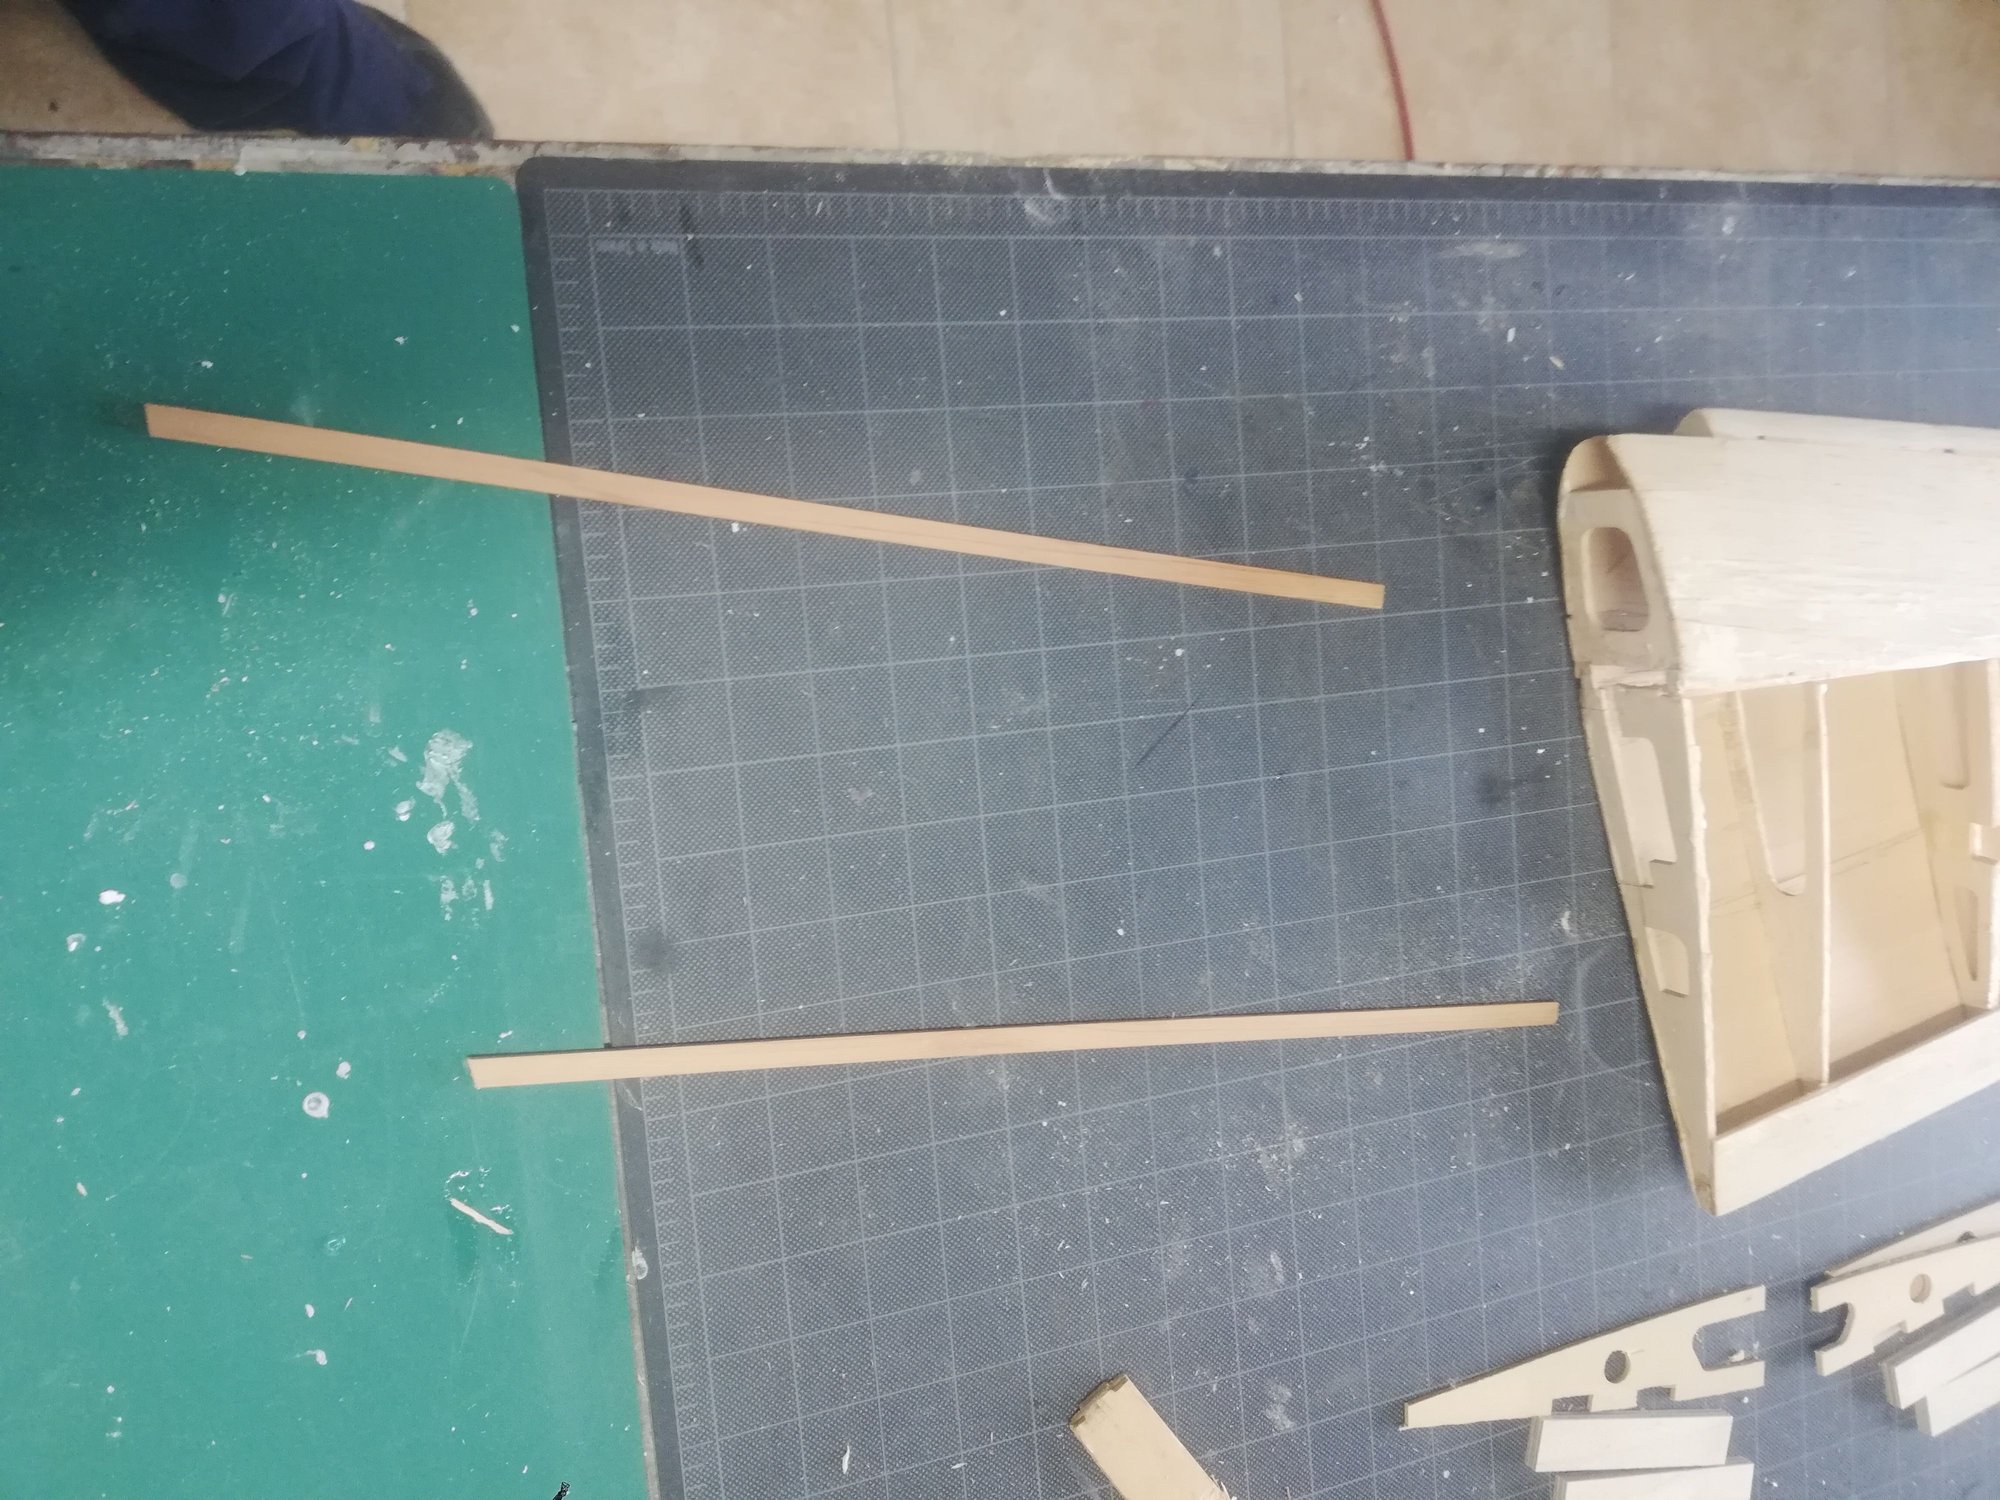
I also took the opportunity to saw the extensions of the wings off, and now starting to think on the winglets.
Last but not least disaster struck: I found out I am out of cyano
Quick trip to the computer to ordered some, but still some days to delivery. Well...I have a lot of carving and sanding to do, just the winglet molds will take at least a day only for the plug.
Fly safe, be safe, good health to you all.
Fuselage before sanding...

...and after sanding
Twisted former before correcting...
...and corrected to what I could do.

The motor I will use: Cyclon Power 55 3T, 1400W on 5 cell and 11x6 at least, maybe I can change for a 10x8.
Incorrectly applied wing skin
Dry fitting retractable landing gear wing rib doublers
poorly fitted shear webs
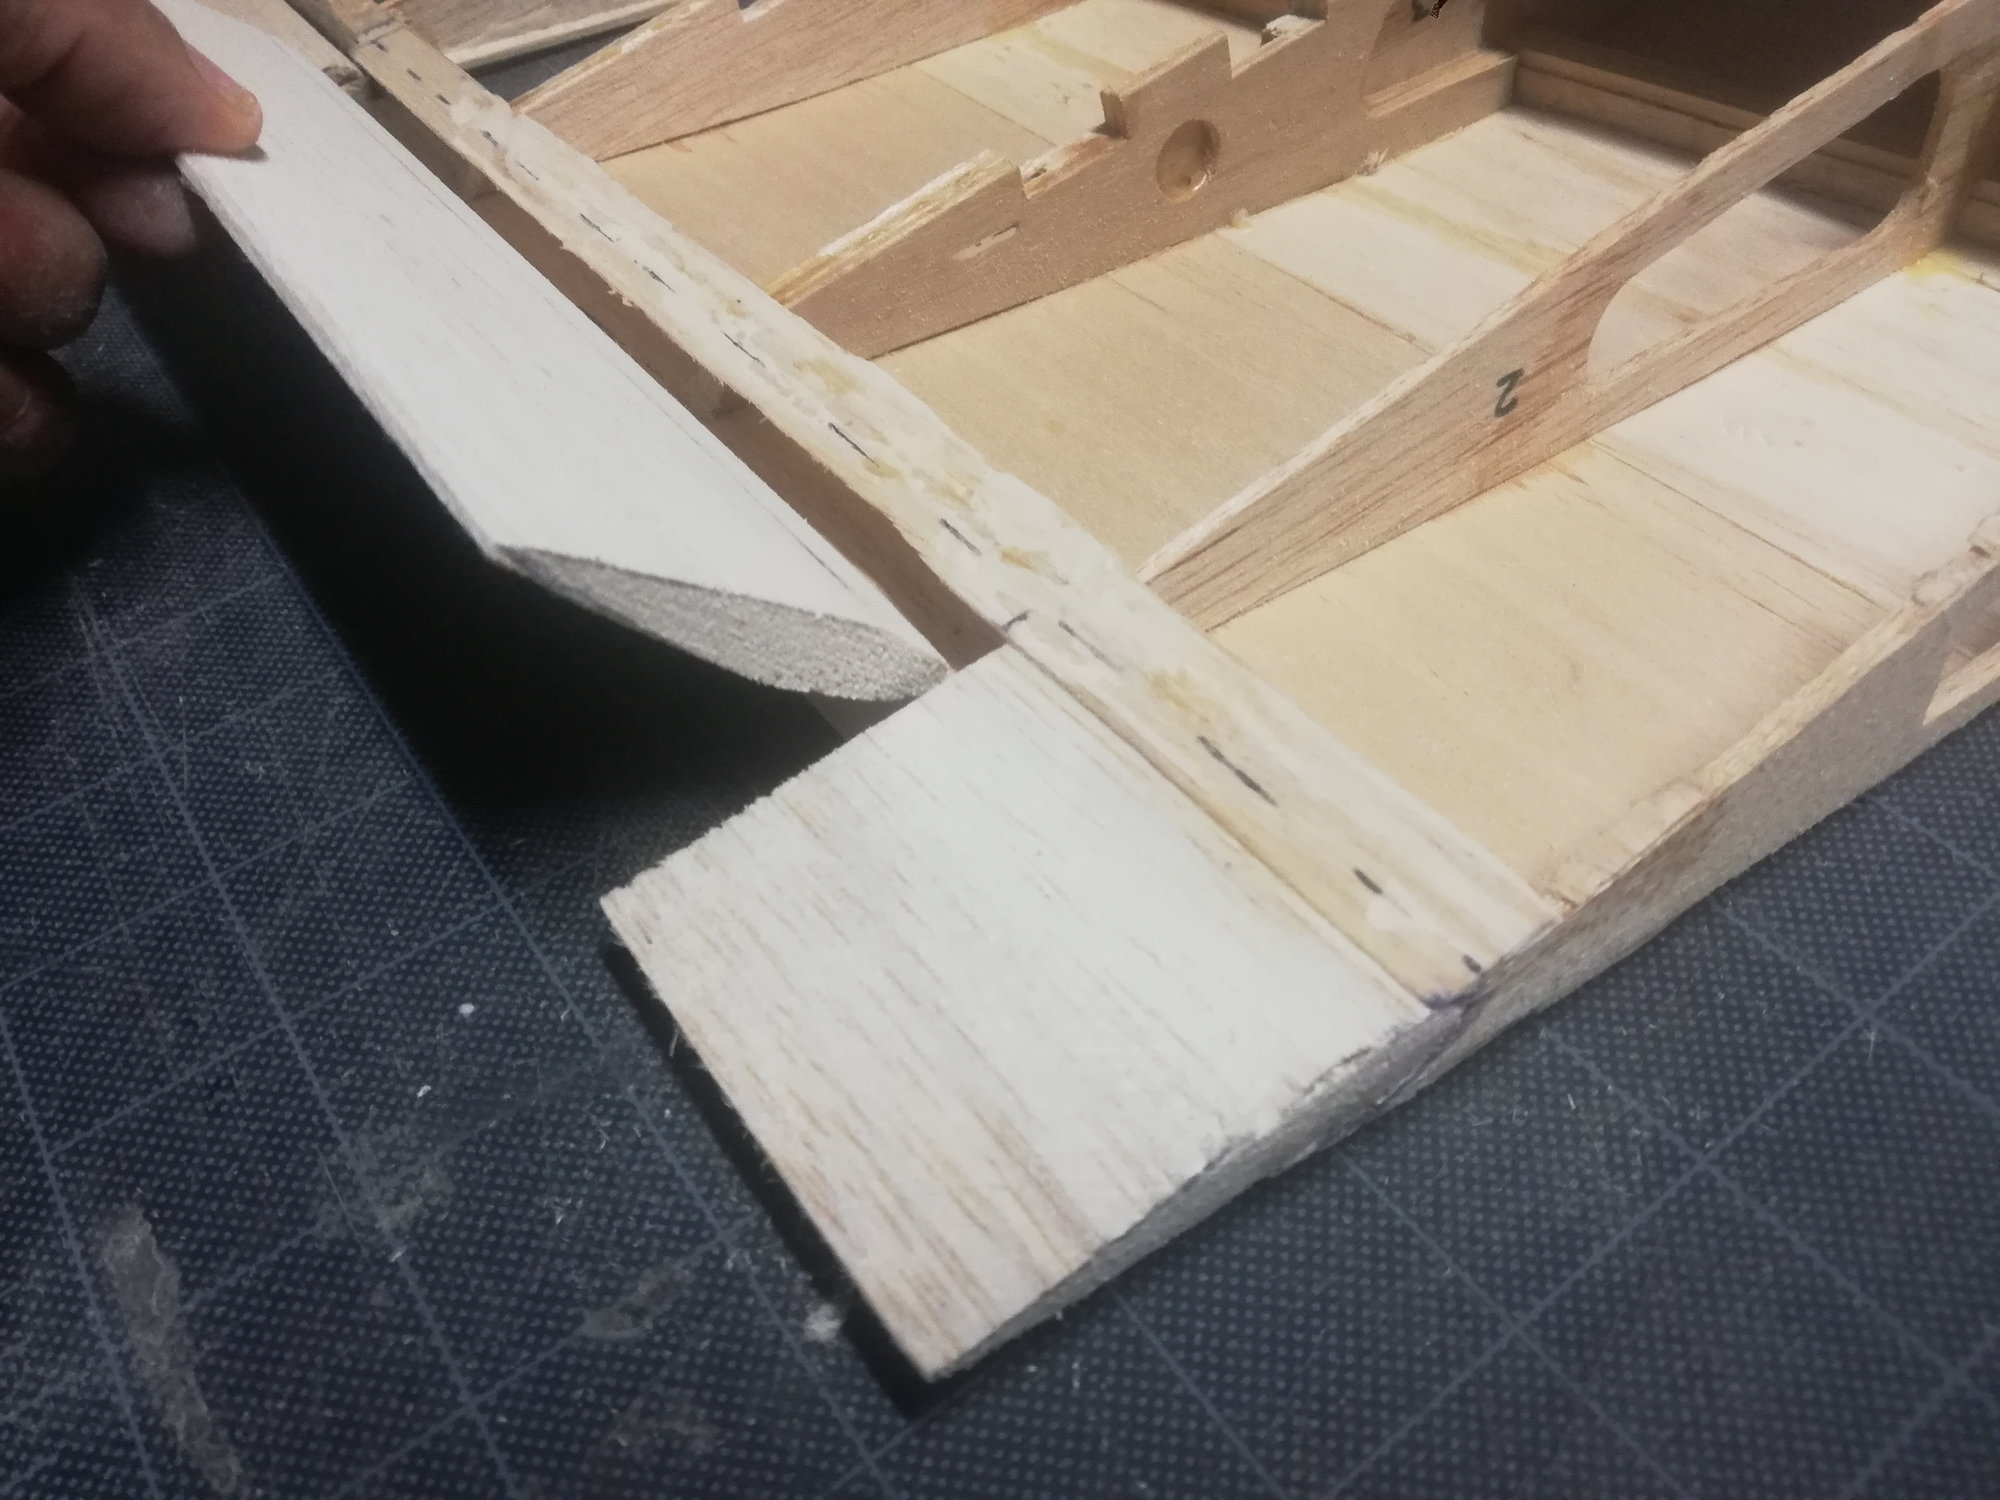
Extension out, now a Lear 31 wing , winglet to go
don't even know what to say...

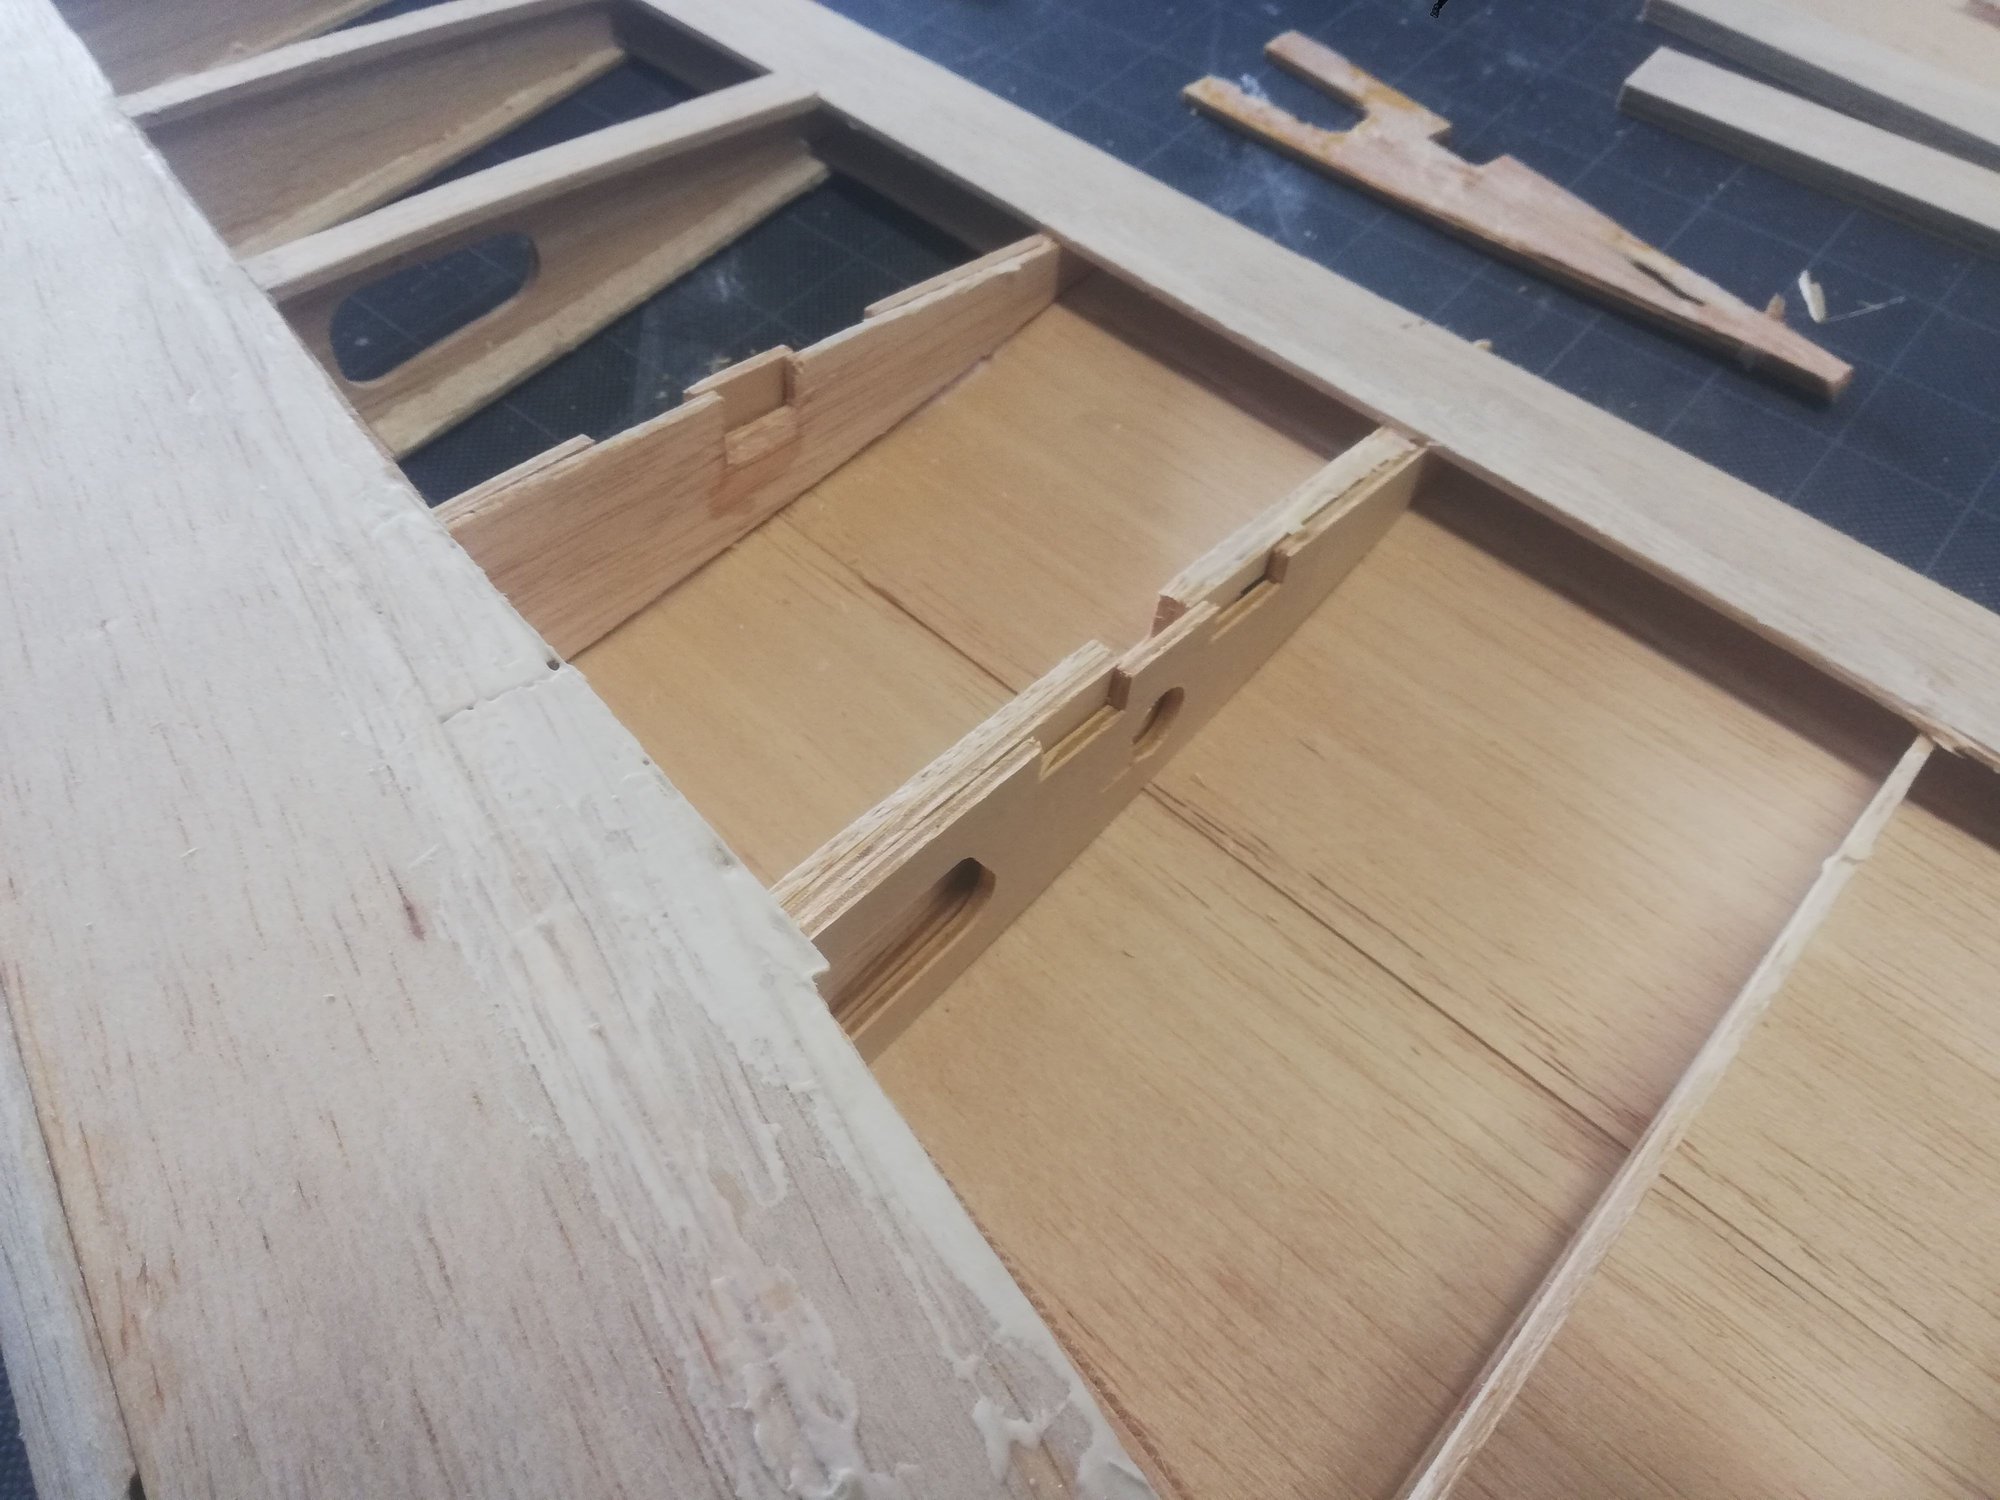
the space on the die cut wing ribs, one layer of wing spar missing. I glued in 2 pine 3 x 10mm spar, about 40cm long on ea wing
Additional spars ready to glue

spars and rib doublers in place

Casting the canopy
Cast for the canopy

Again the wing sheeting, now on the other wing
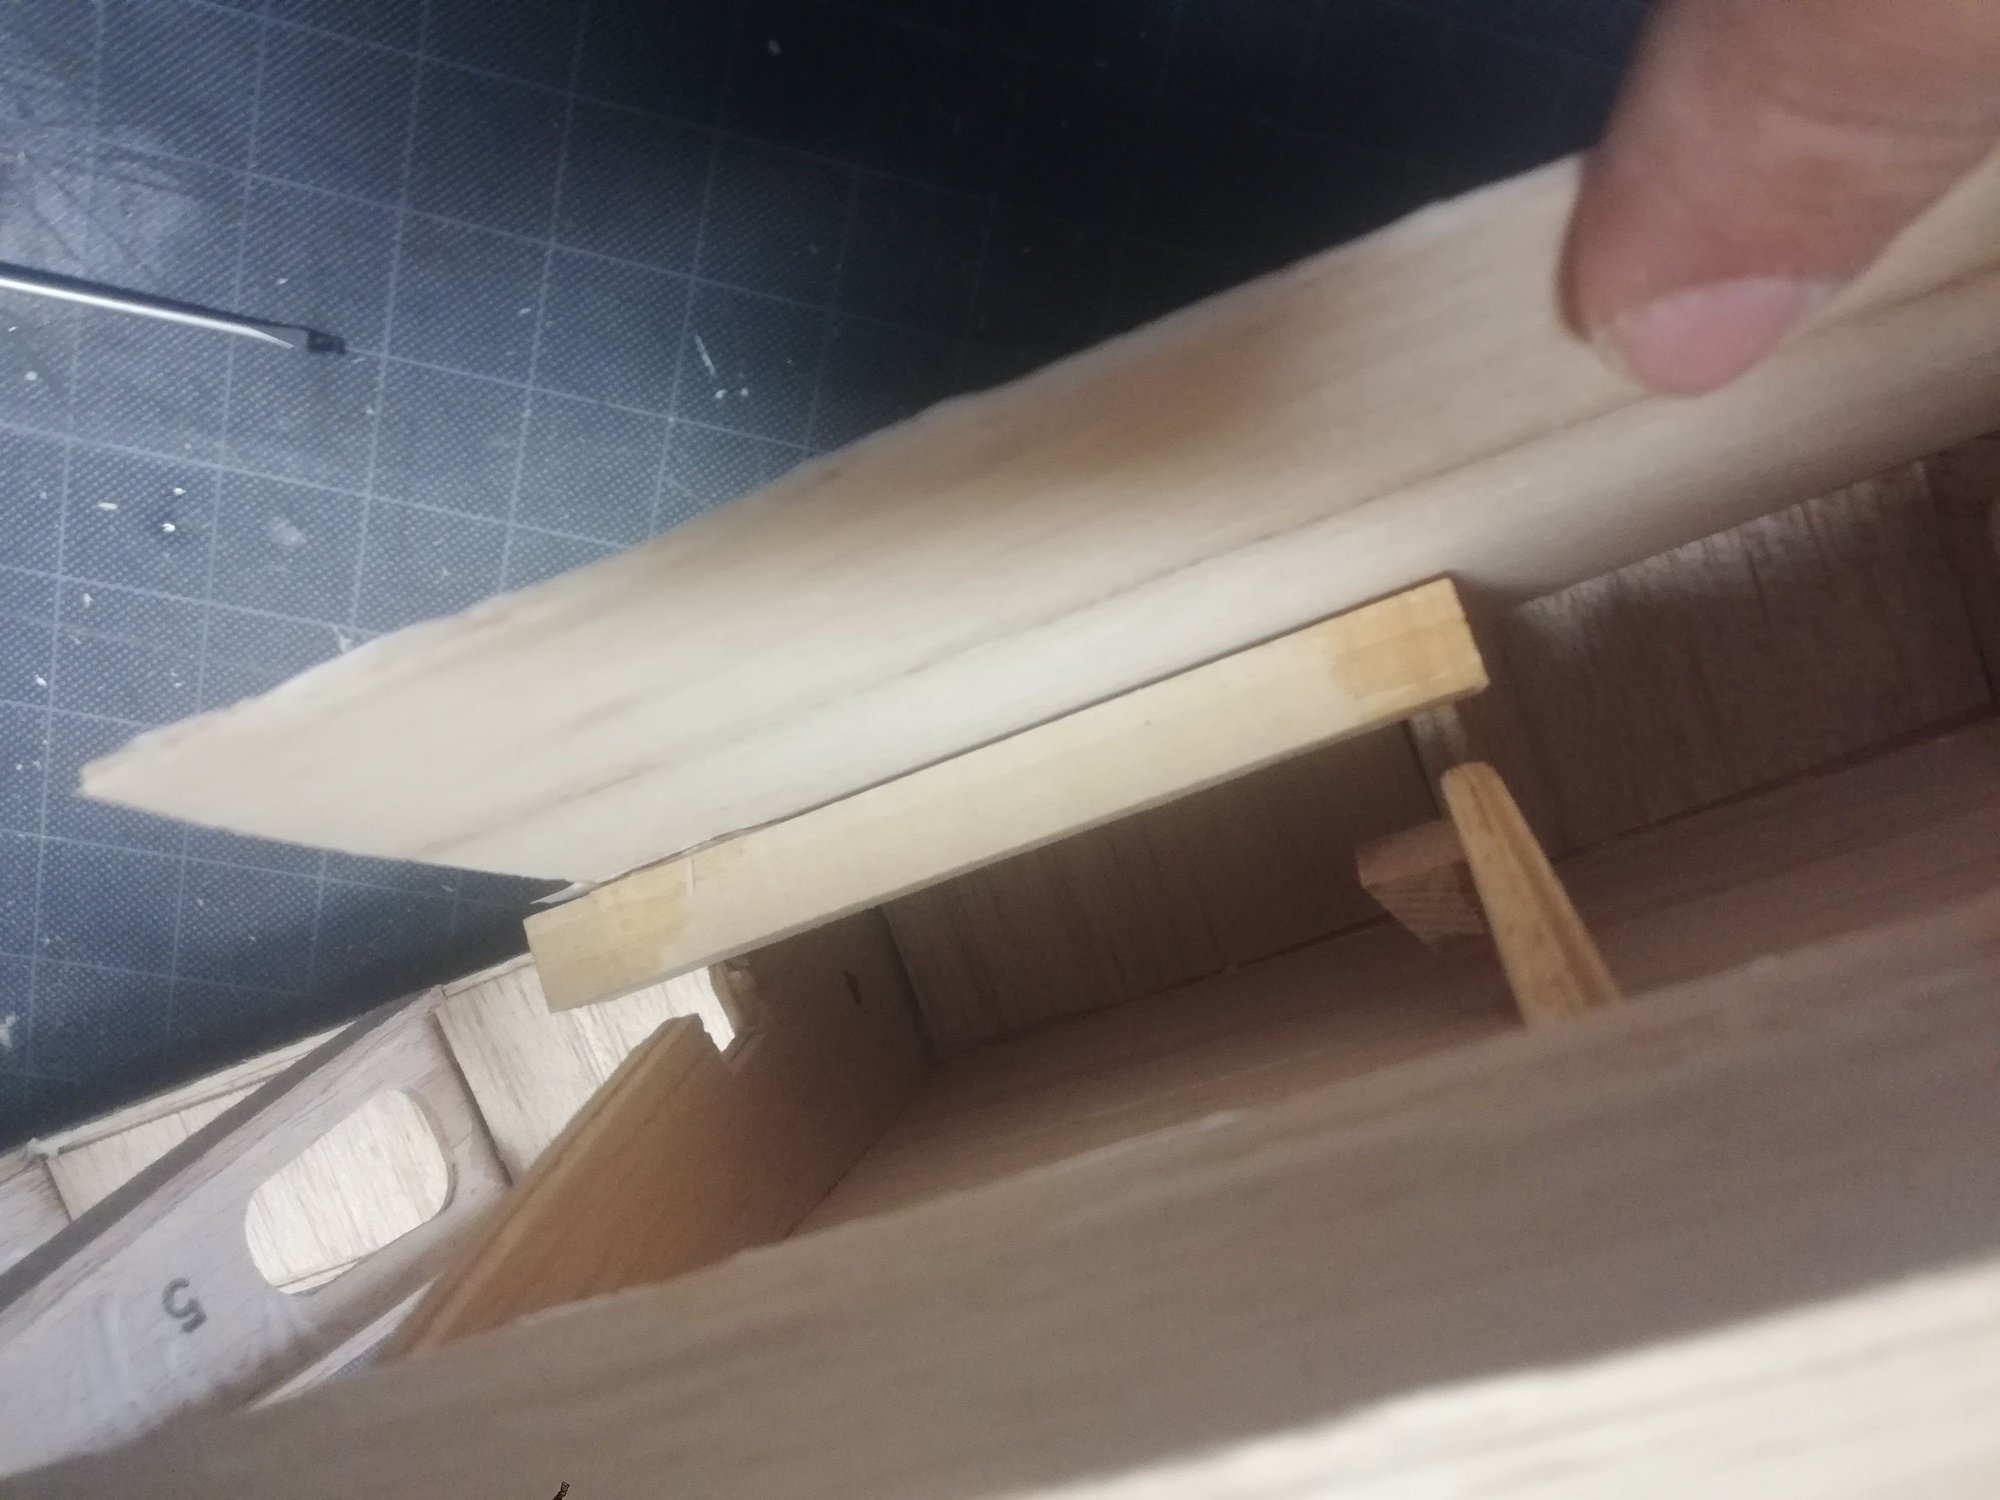
The fixed landing gear came attached to the wing skin, no torque block, no glue

A better view of the space on the ribs where now lies the additional pinewood spar
Then I casted the Cowl and canopy, you never know when you need one and I do not know how hard is to find one...and as I have a vacuum forming machine, I like to keep the moulds.
I decided to try to save the kit wings, but I was very worried with the construction so I removed the bottom wing skins...and I am glad I did: both fixed gear mounts were removed easily by hand, one of them coming attached to the wing skin and I believe that there is two wing spars missing on ea wing...photos and video will detail these issues.
I also took the opportunity to saw the extensions of the wings off, and now starting to think on the winglets.
Last but not least disaster struck: I found out I am out of cyano
Quick trip to the computer to ordered some, but still some days to delivery. Well...I have a lot of carving and sanding to do, just the winglet molds will take at least a day only for the plug.
Fly safe, be safe, good health to you all.
Fuselage before sanding...
...and after sanding
Twisted former before correcting...
...and corrected to what I could do.
The motor I will use: Cyclon Power 55 3T, 1400W on 5 cell and 11x6 at least, maybe I can change for a 10x8.
Incorrectly applied wing skin
Dry fitting retractable landing gear wing rib doublers
poorly fitted shear webs
Extension out, now a Lear 31 wing
, winglet to godon't even know what to say...
the space on the die cut wing ribs, one layer of wing spar missing. I glued in 2 pine 3 x 10mm spar, about 40cm long on ea wing
Additional spars ready to glue
spars and rib doublers in place
Casting the canopy
Cast for the canopy
Again the wing sheeting, now on the other wing
The fixed landing gear came attached to the wing skin, no torque block, no glue
A better view of the space on the ribs where now lies the additional pinewood spar
04-08-2020, 02:24 PM
#5
Thread Starter
it has been two days since my last update, but here is another one:
Additional wing spars glued in place
another view, with wing roots now matching nicely
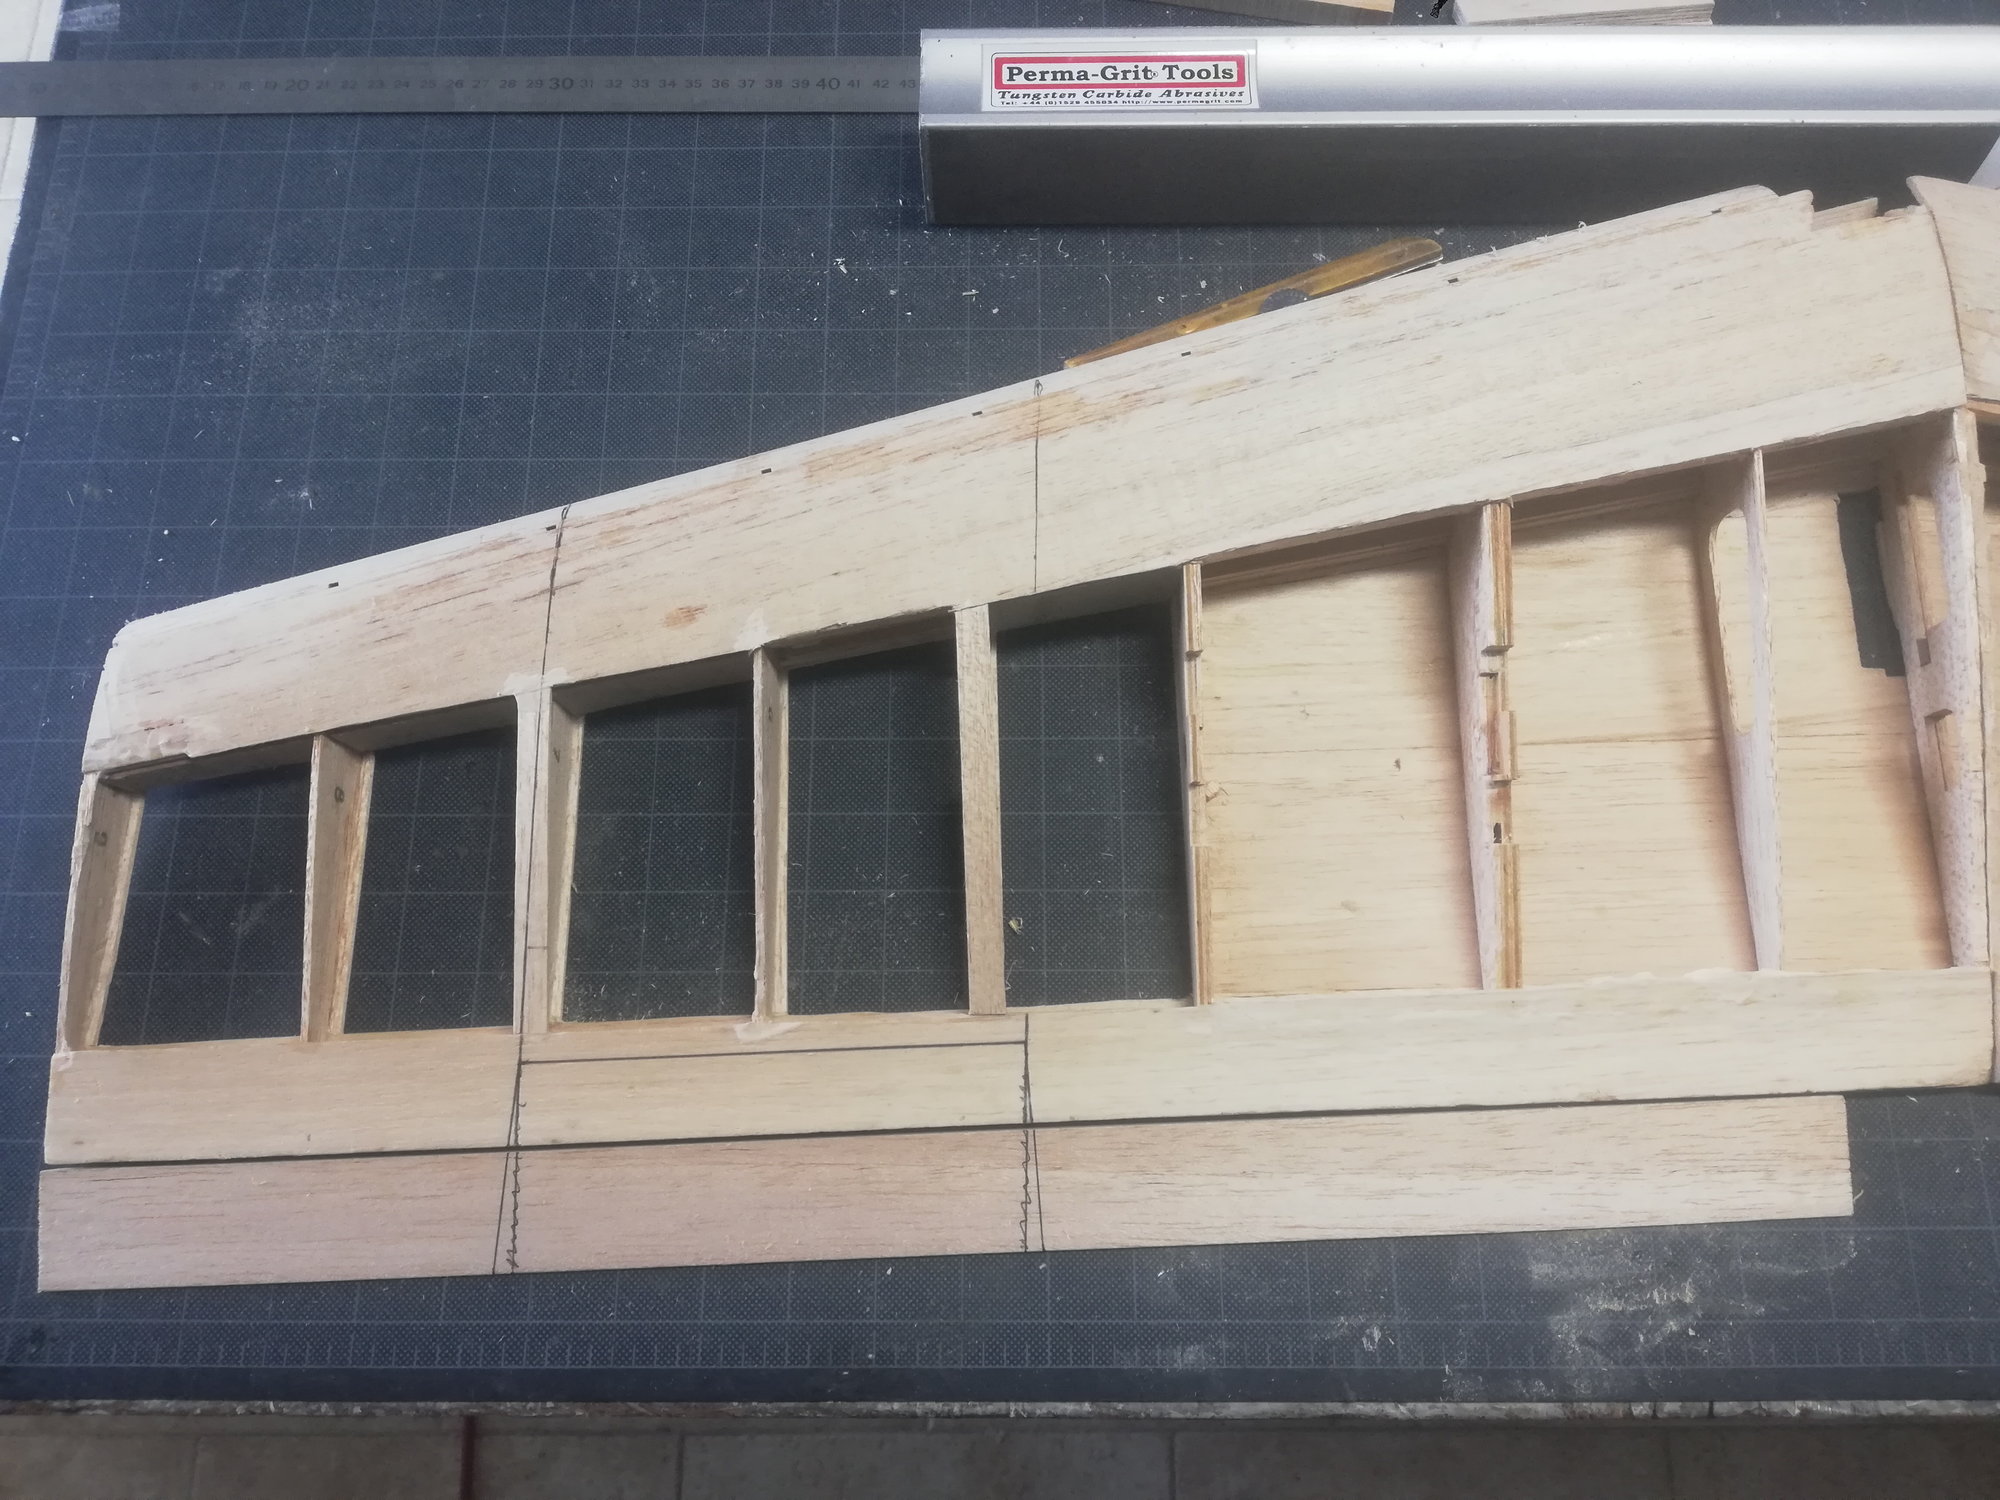
Wing platform with scale aileron drawn
Starting the work on the ailerons, and fitting the fixed tip trailing edge
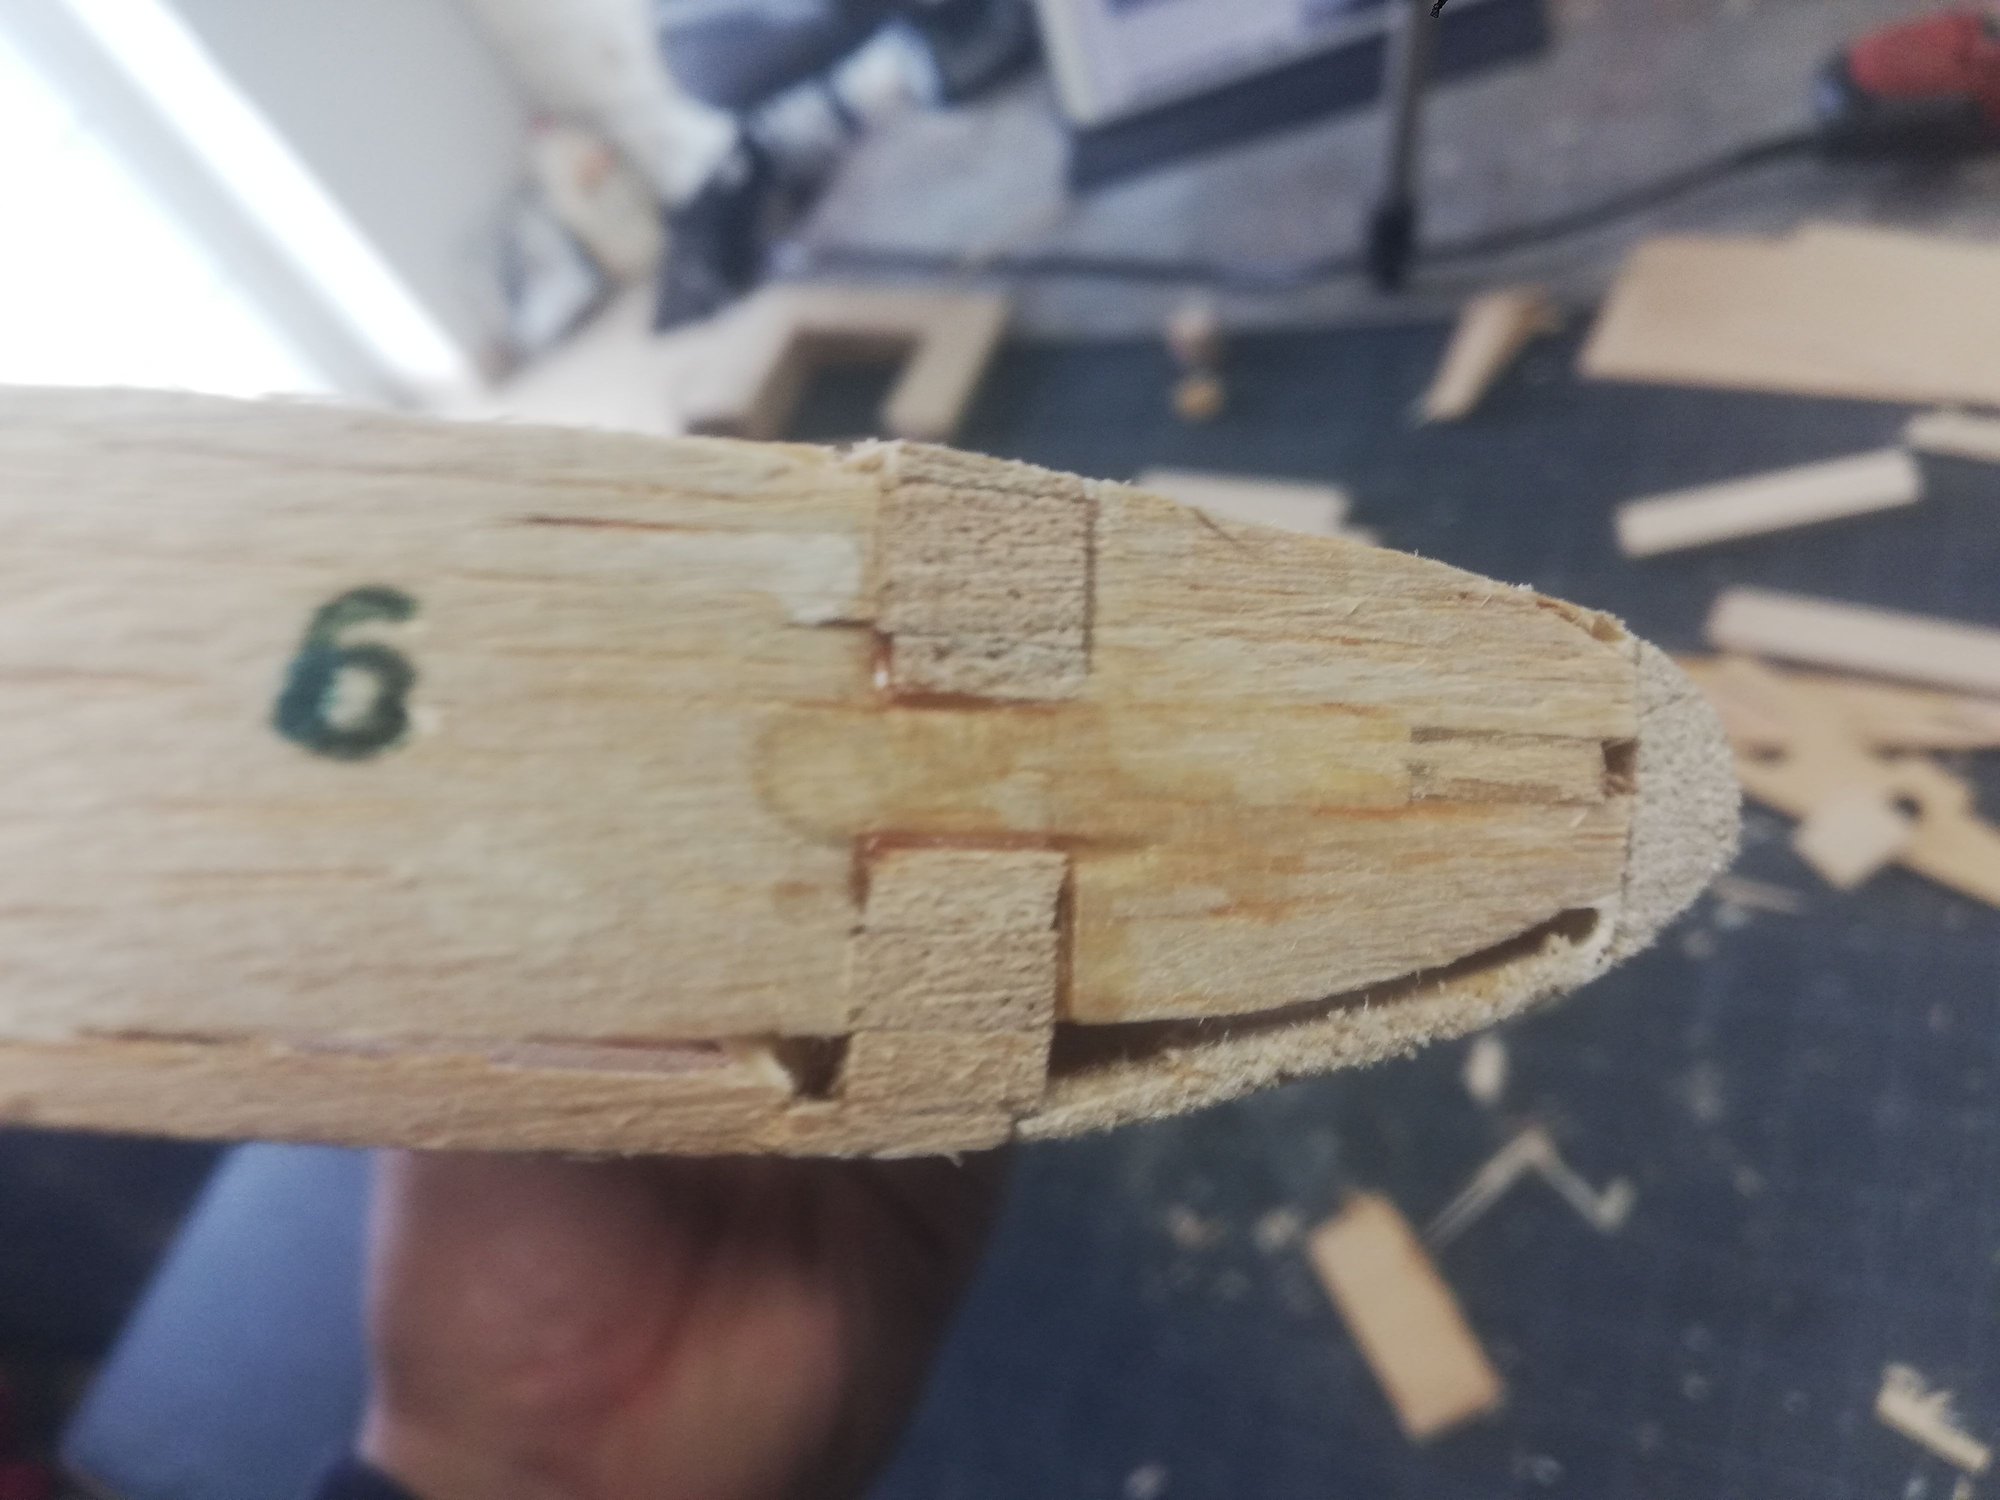
One piece solid balsa aileron
The hardwood to be glued between wing ribs and skins, to take the pin hinges.

Flap profile
Rough sanded aileron
Rough profiled slotted flap
Finished aileron and flap modification - Top side
Finished aileron and flap - Bottom side
About the wing, I made some quick calculations:
Wing area (actual): 39,44 dm2
Pessimistic TOW: 4000gr
Wing loading: 101,42 gr/dm2 or 32,5 oz/sq ft (Factory states 2950 to 3400gr and 29 oz/sq ft)
In my opinion these are not horrible figures (please note that 4000gr is an exaggerated value), and I am quite at ease with them.
Thank you for watching, I hope you enjoy.
Fly safe, be safe
Additional wing spars glued in place
another view, with wing roots now matching nicely
Wing platform with scale aileron drawn
Starting the work on the ailerons, and fitting the fixed tip trailing edge
One piece solid balsa aileron
The hardwood to be glued between wing ribs and skins, to take the pin hinges.
Flap profile
Rough sanded aileron
Rough profiled slotted flap
Finished aileron and flap modification - Top side
Finished aileron and flap - Bottom side
About the wing, I made some quick calculations:
Wing area (actual): 39,44 dm2
Pessimistic TOW: 4000gr
Wing loading: 101,42 gr/dm2 or 32,5 oz/sq ft (Factory states 2950 to 3400gr and 29 oz/sq ft)
In my opinion these are not horrible figures (please note that 4000gr is an exaggerated value), and I am quite at ease with them.
Thank you for watching, I hope you enjoy.
Fly safe, be safe
04-09-2020, 03:07 PM
#6
Thread Starter
Hello,
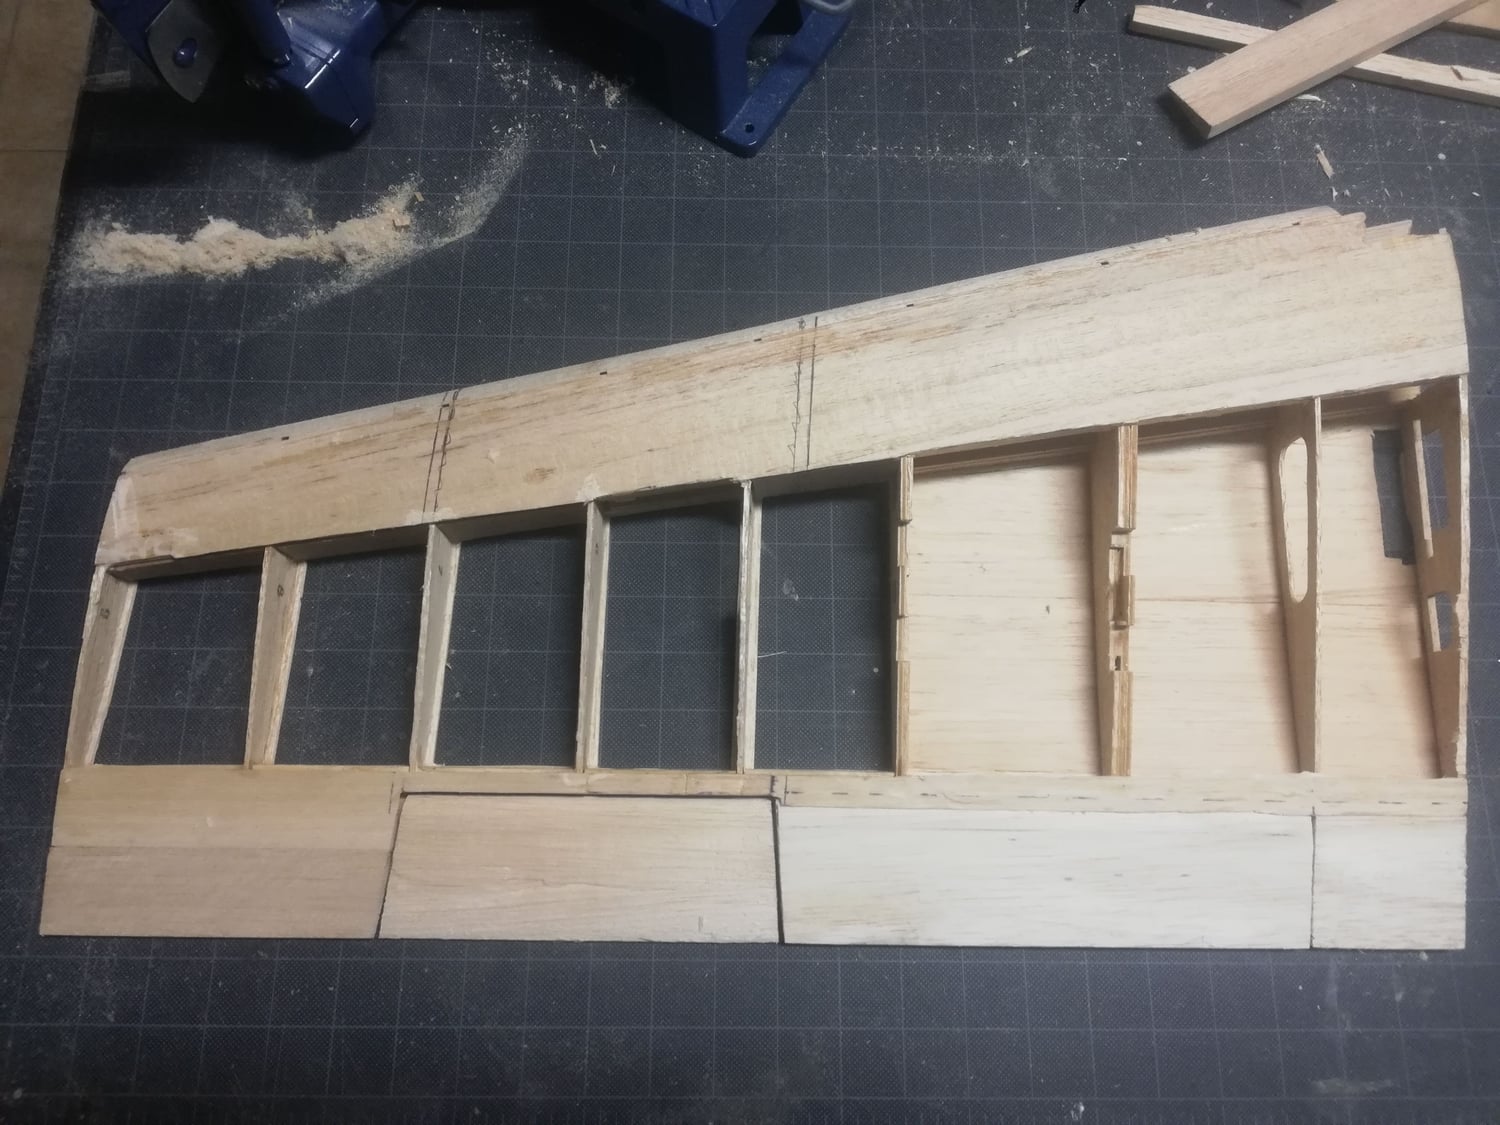
today I did not advance as much as I wanted, but I managed to install the right wing aileron and flap servos. It was very time consuming, as a lot of non-planned modifications are, but I am happy with the way things are looking. The other wing will be faster.
The aileron servos are going to be HITEC HS-85 MG servos and for the Flaps (flaperons) I went for the MULTIPLEX POLO DIGI 4, also metal geared.
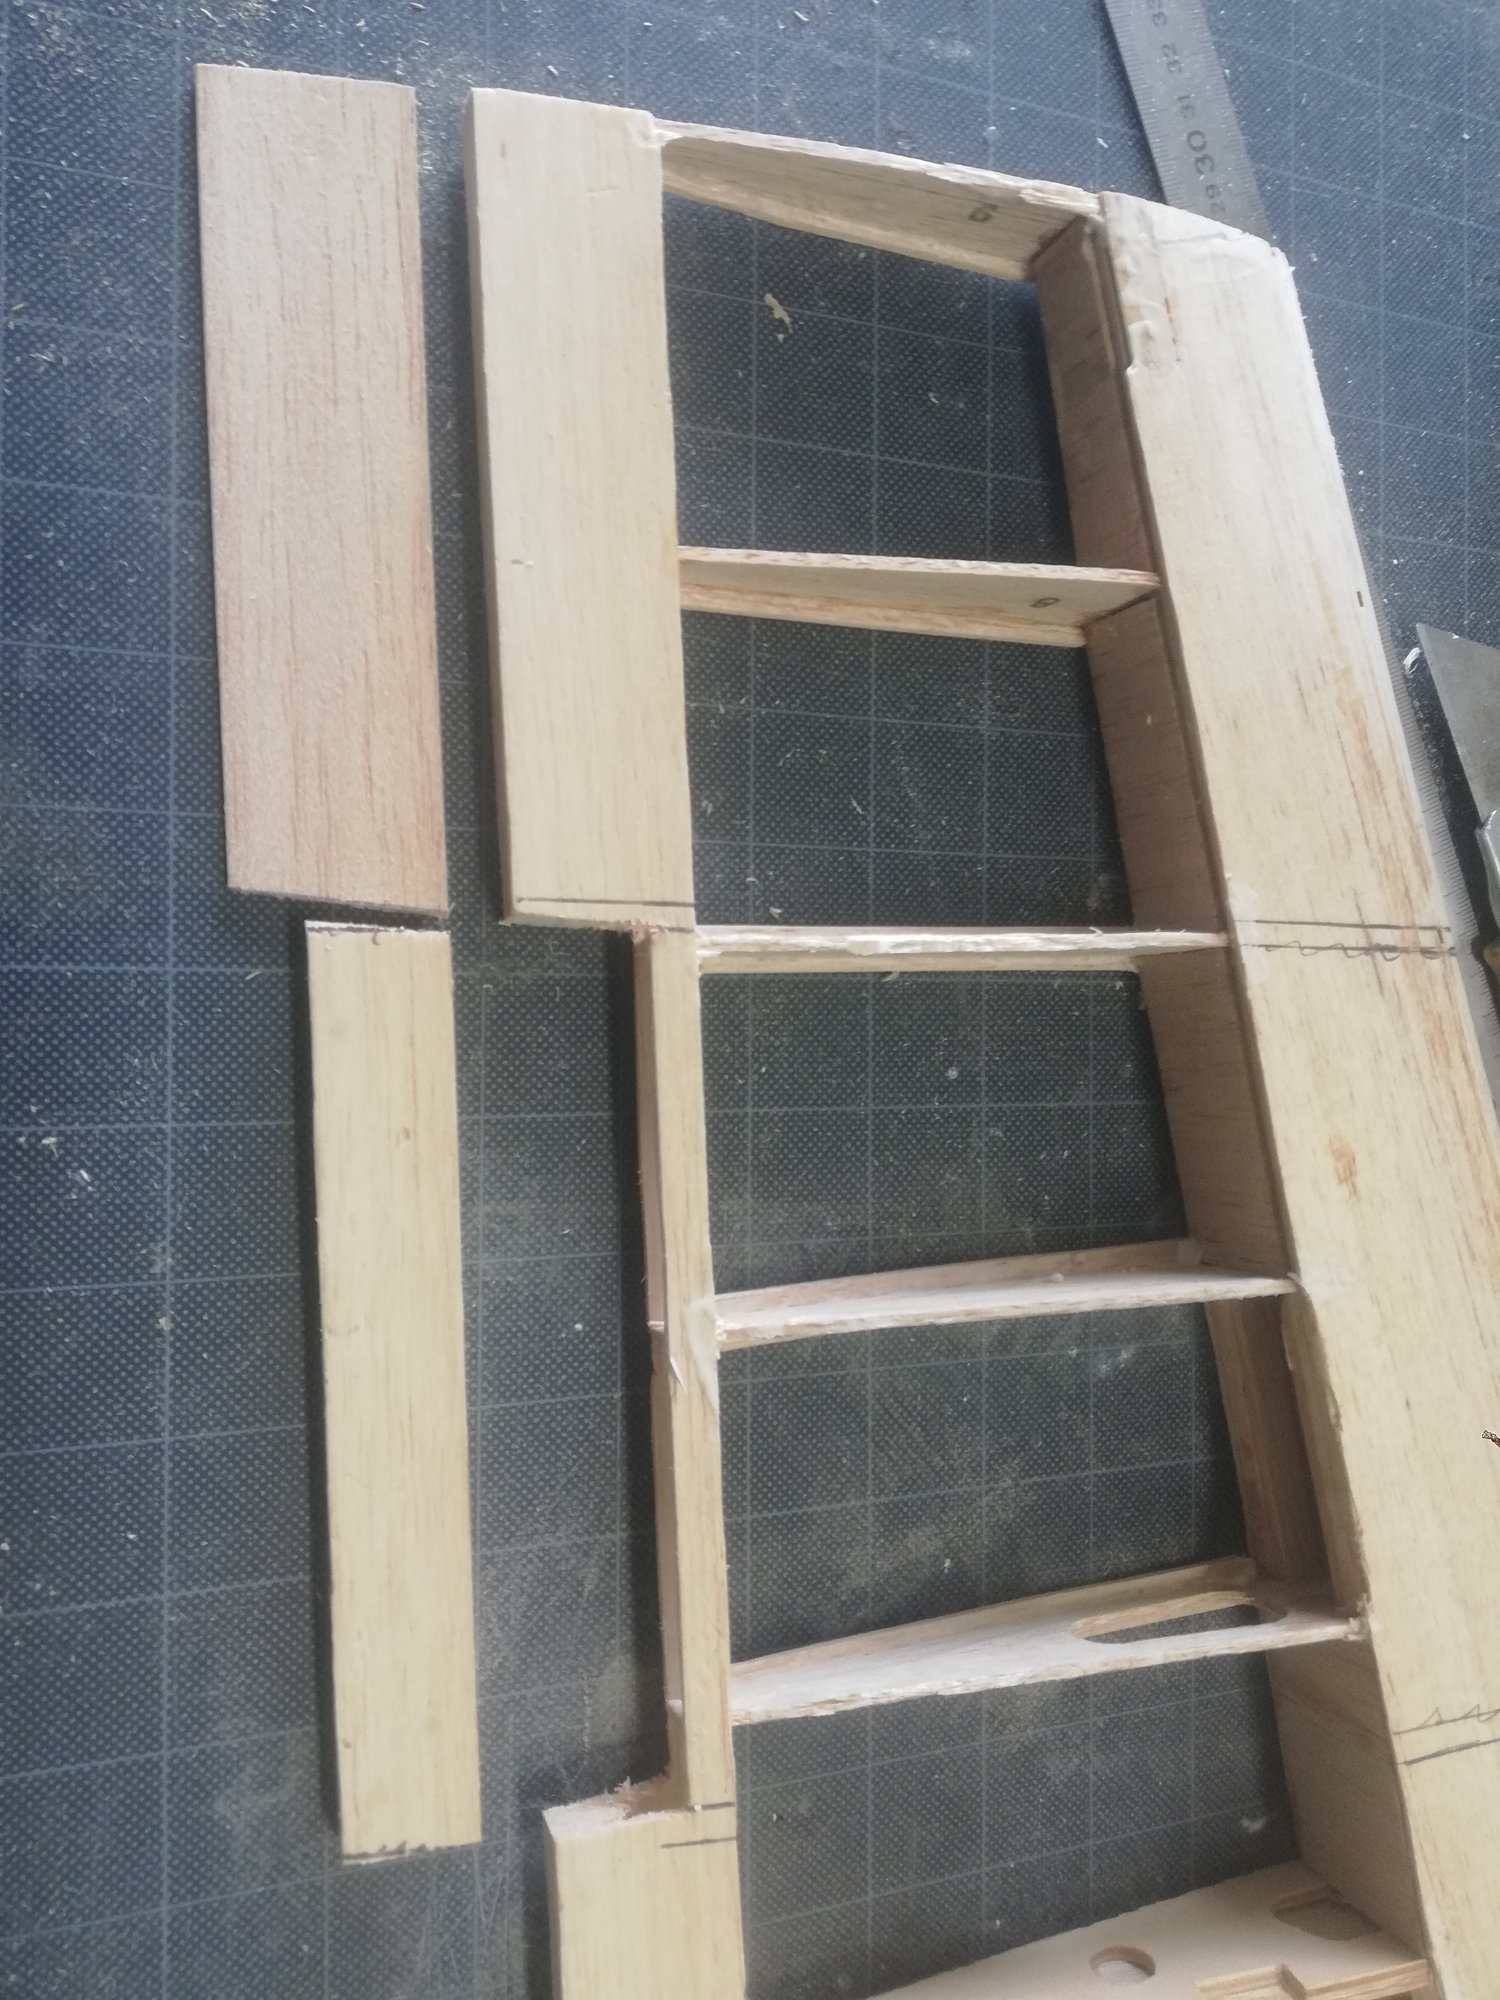
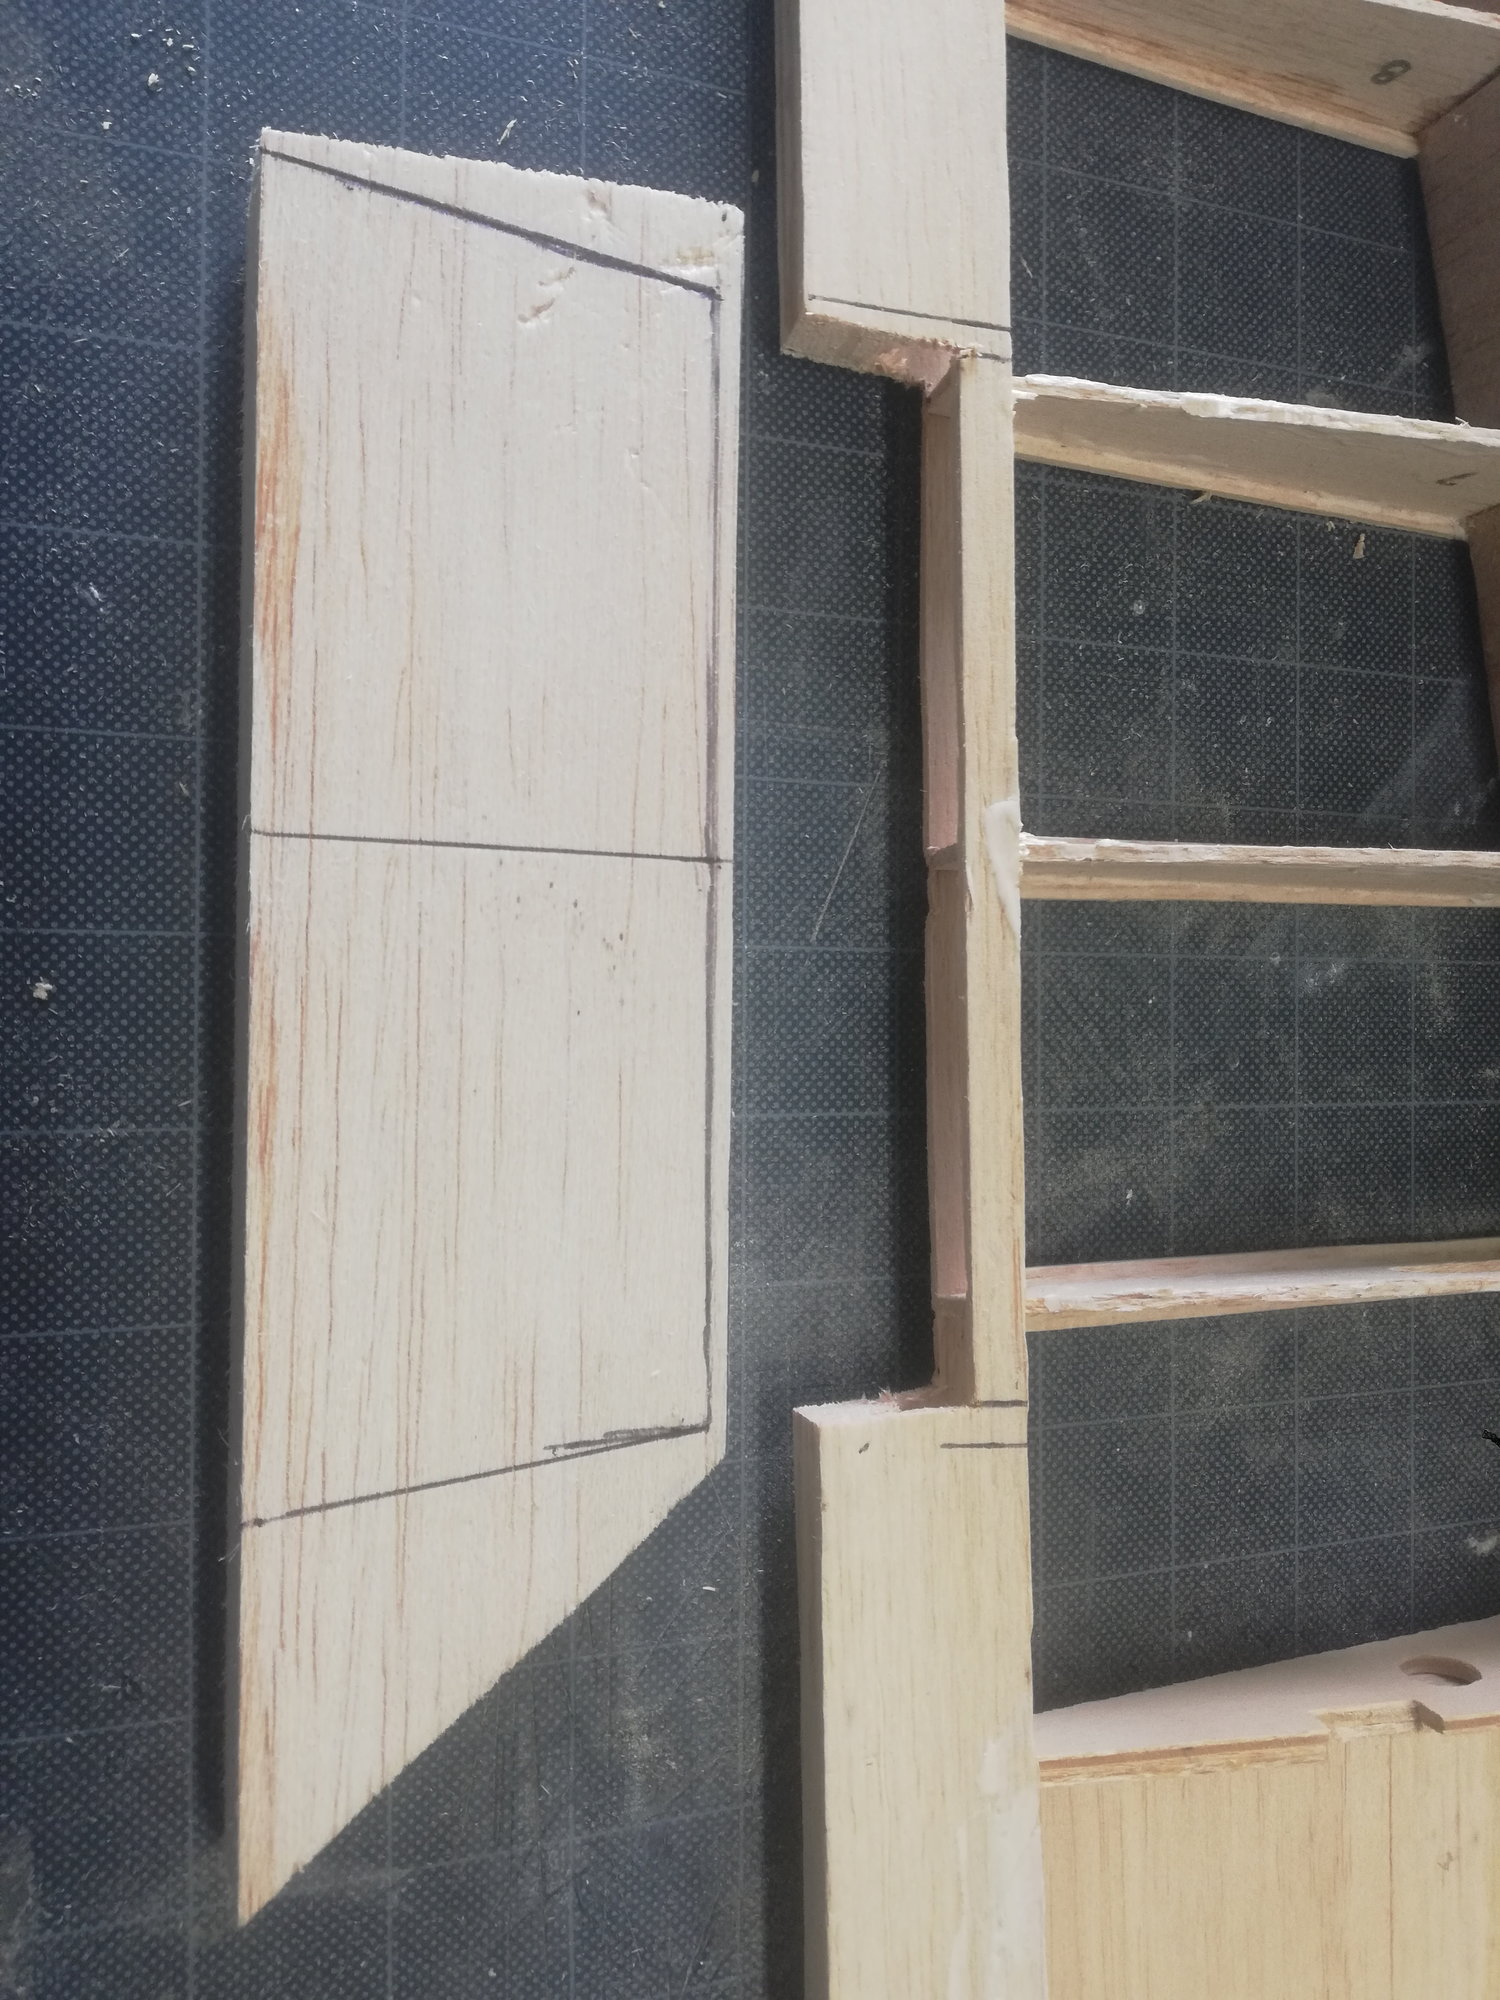
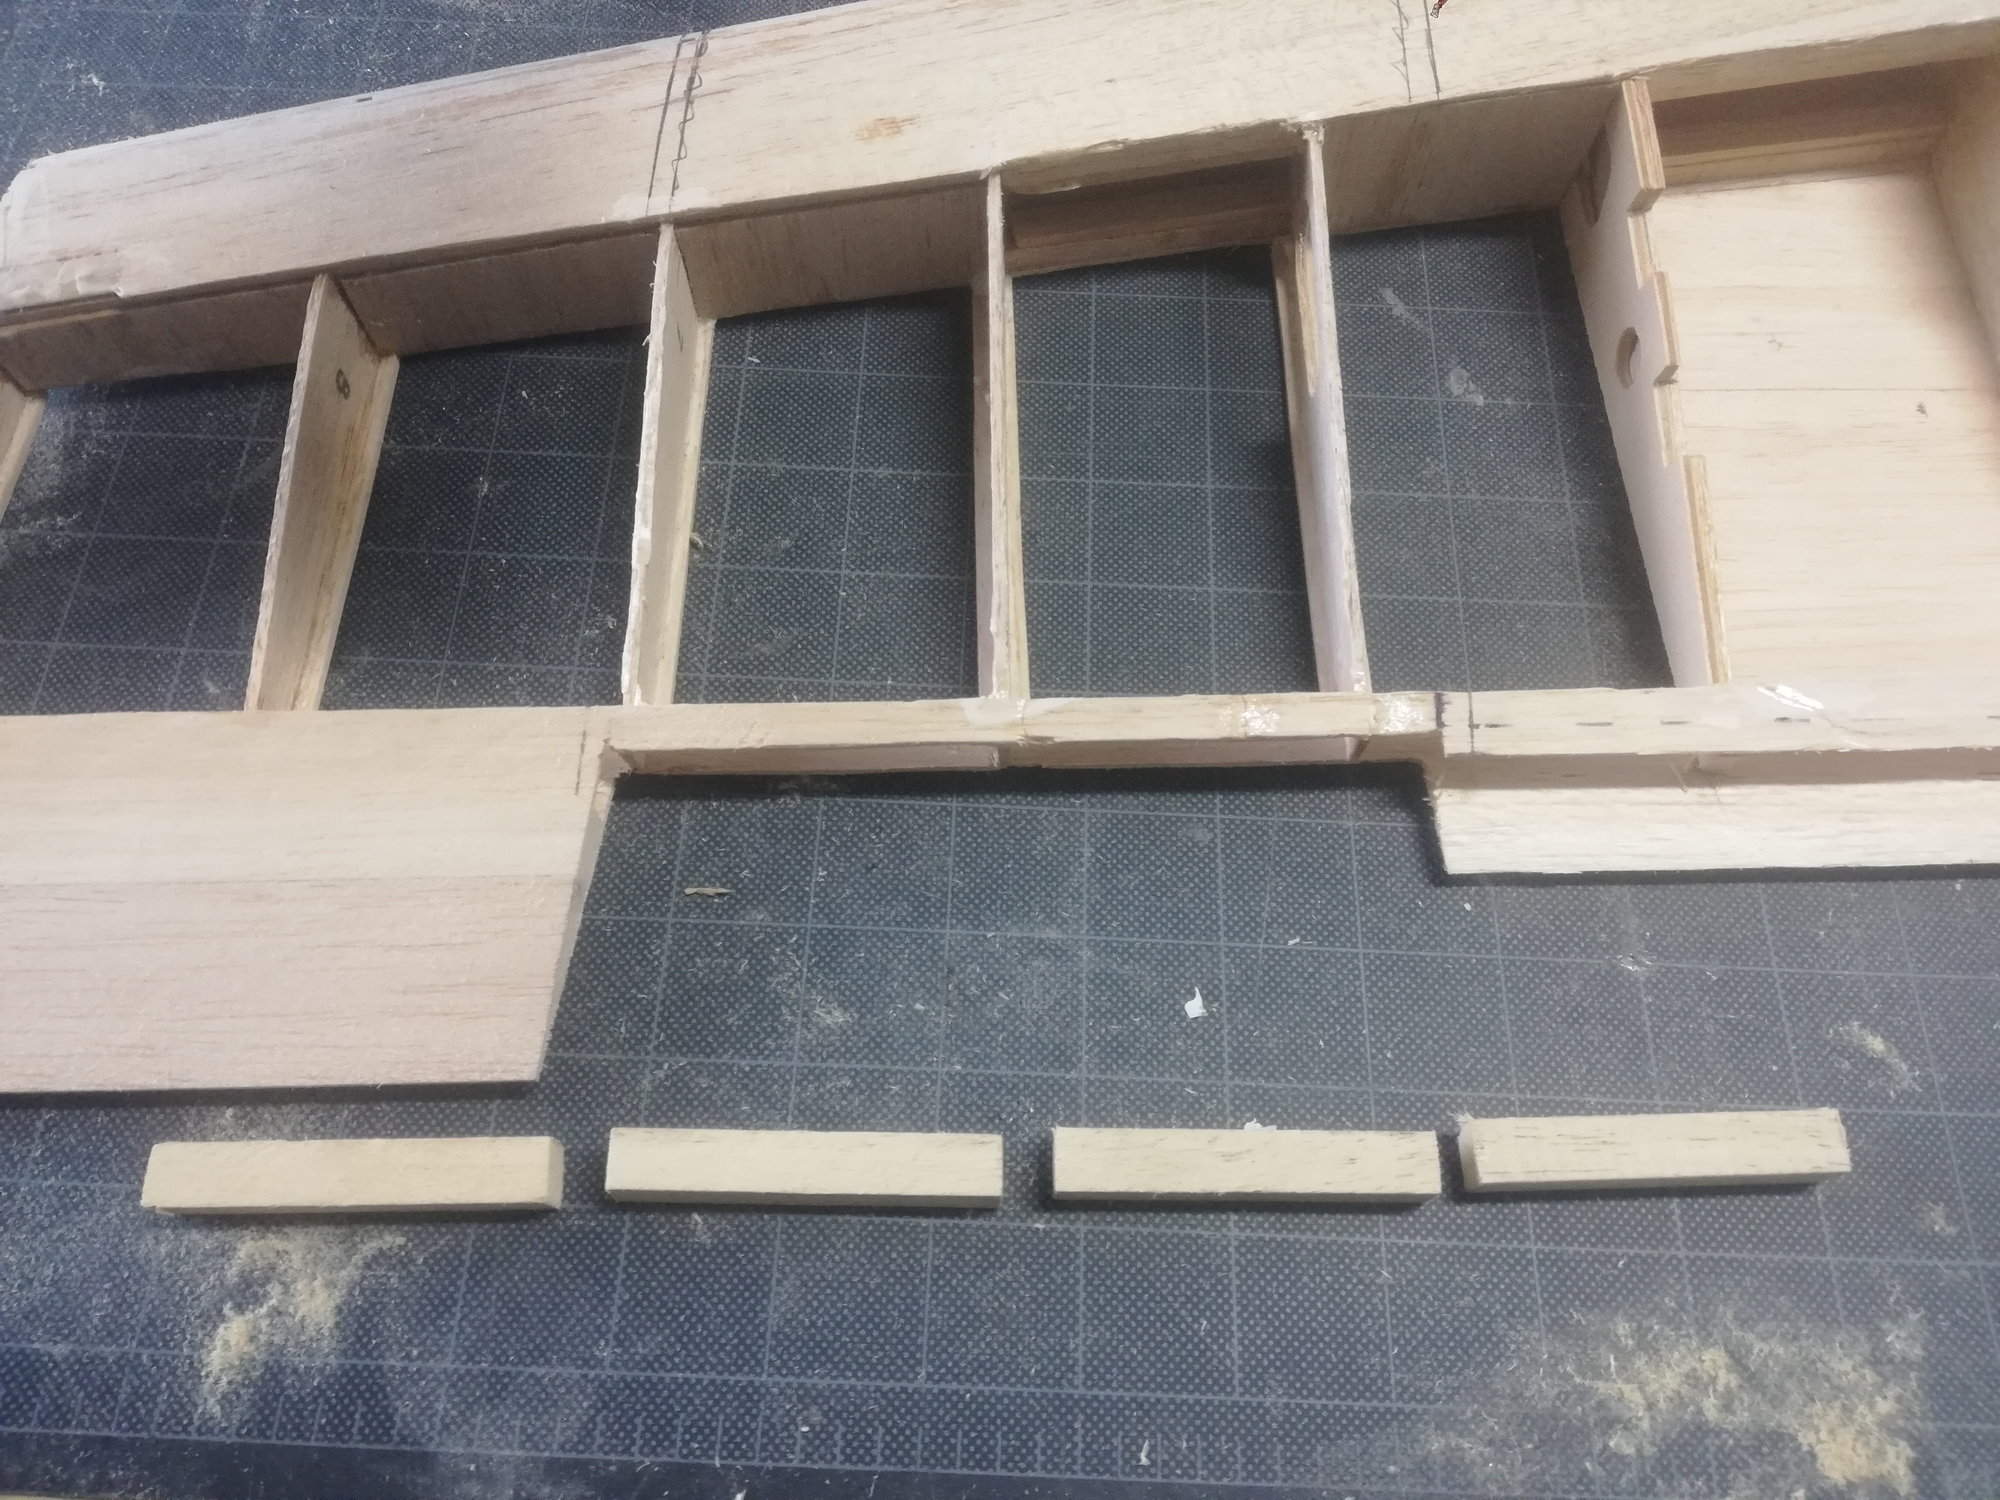
Remaining tasks to do on the wing:
Finish installing the servos (push-rods and wiring)
Shear webs
Bottom wing skin with access hatches to the servos
Electric retracts
Winglet
Wing joiner box
Sanding
Covering
At this moment the wing as seen on the last photo weights 348 gr. I estimate the TOW will be around 3300 to 3500 gr, with a 5 cell 4200 battery.
The third video was uploaded some minutes ago to the channel, and I will post tomorrow another update with more details on the flaps.
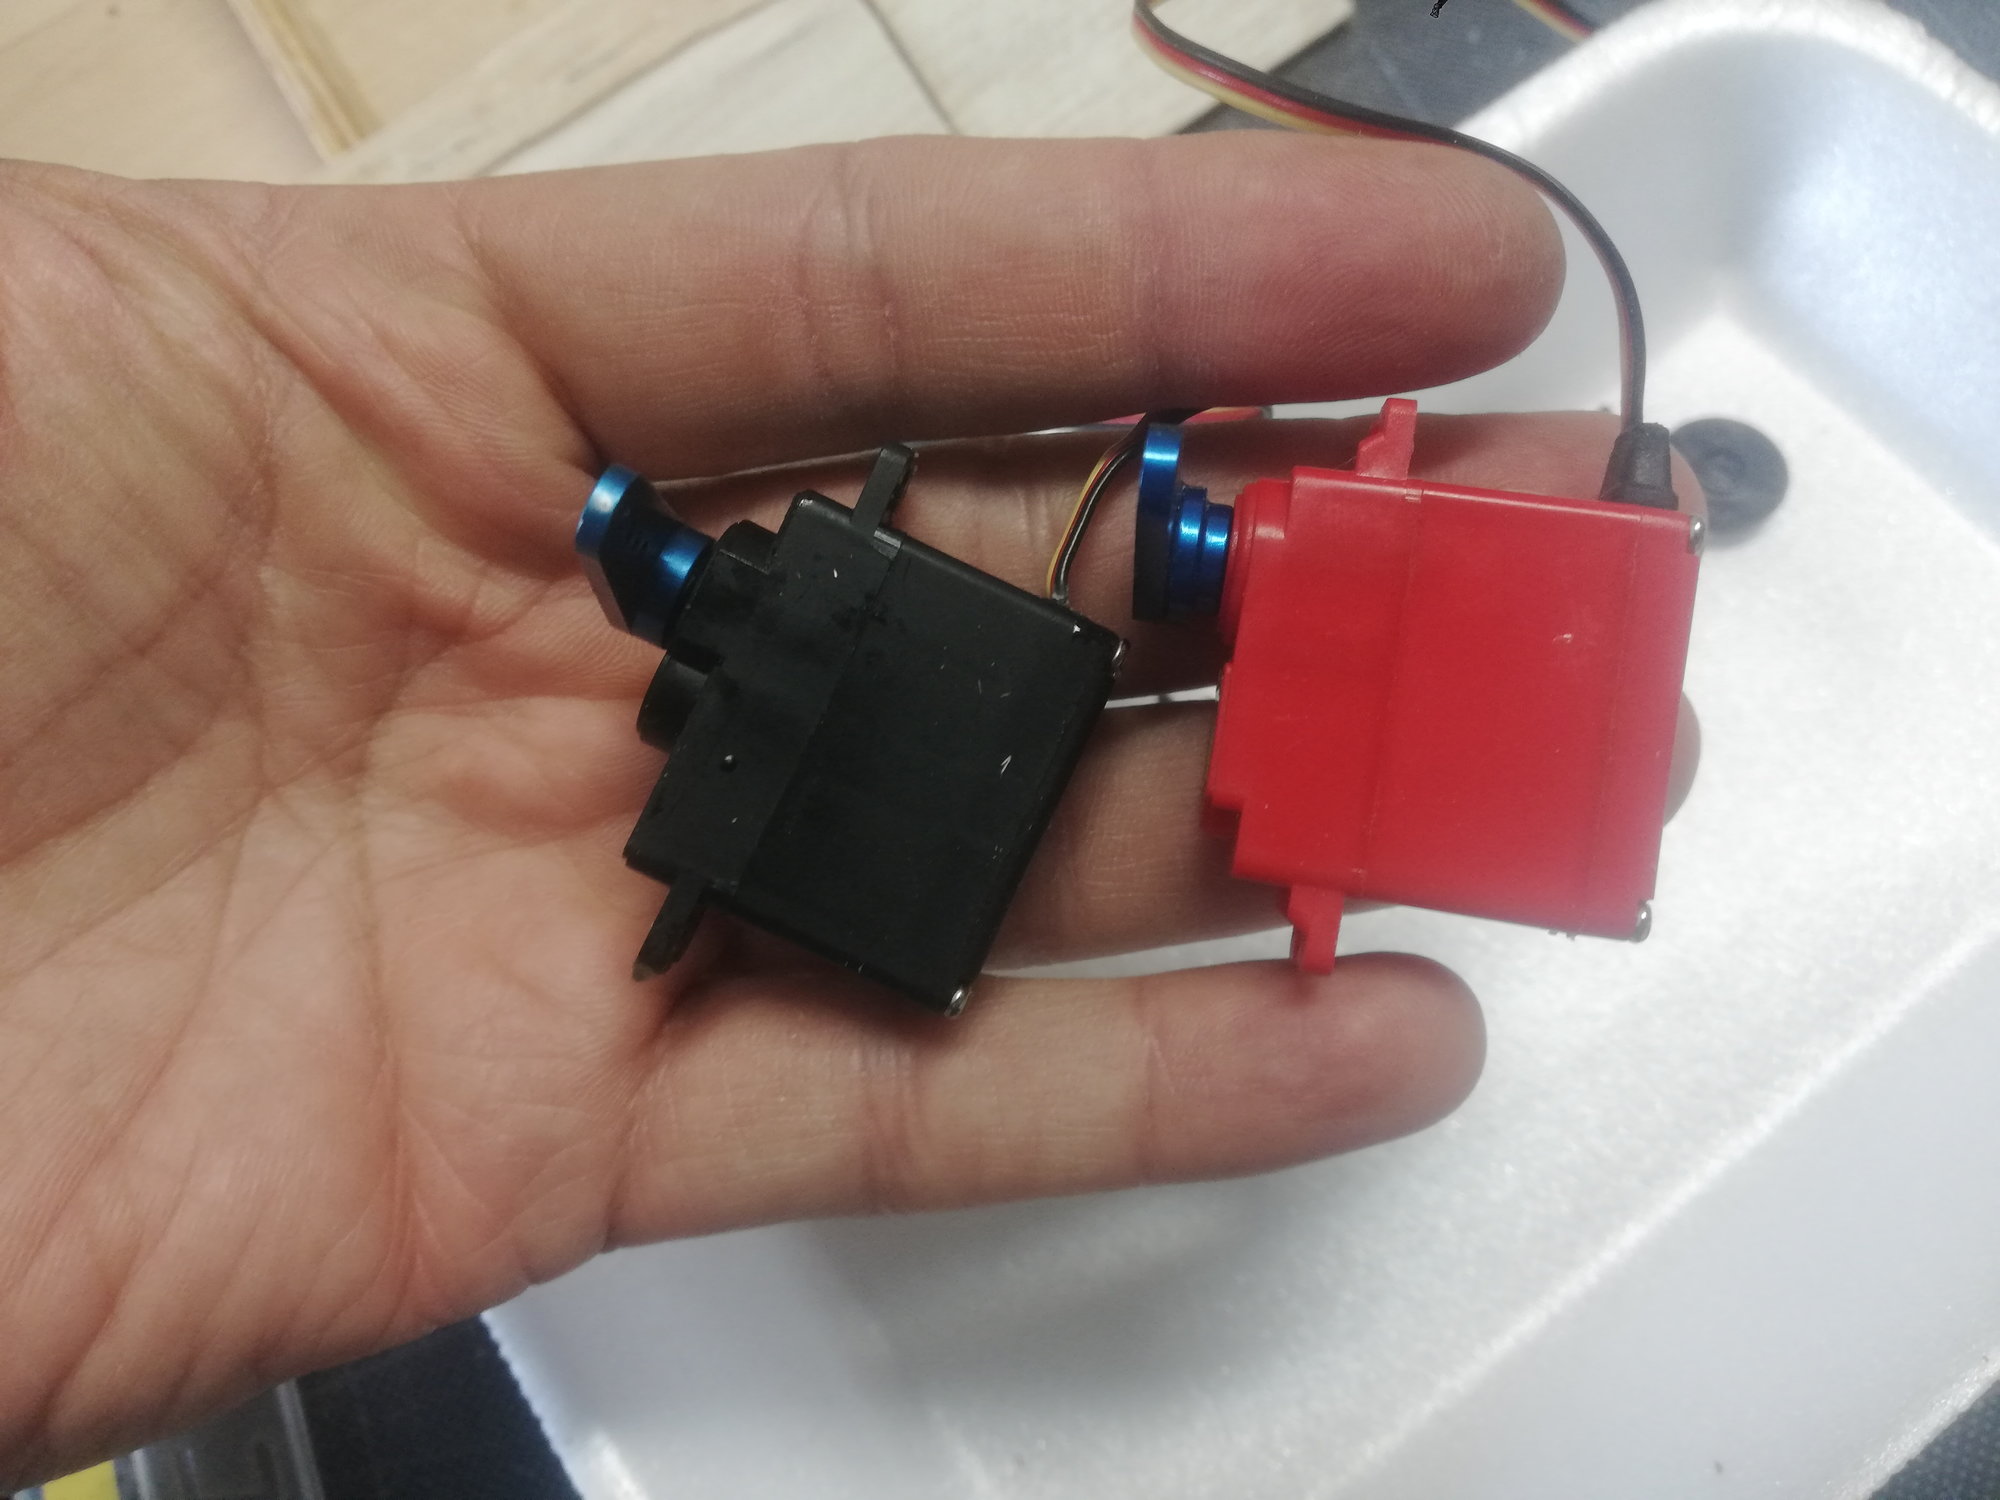
Aileron and Flap servo
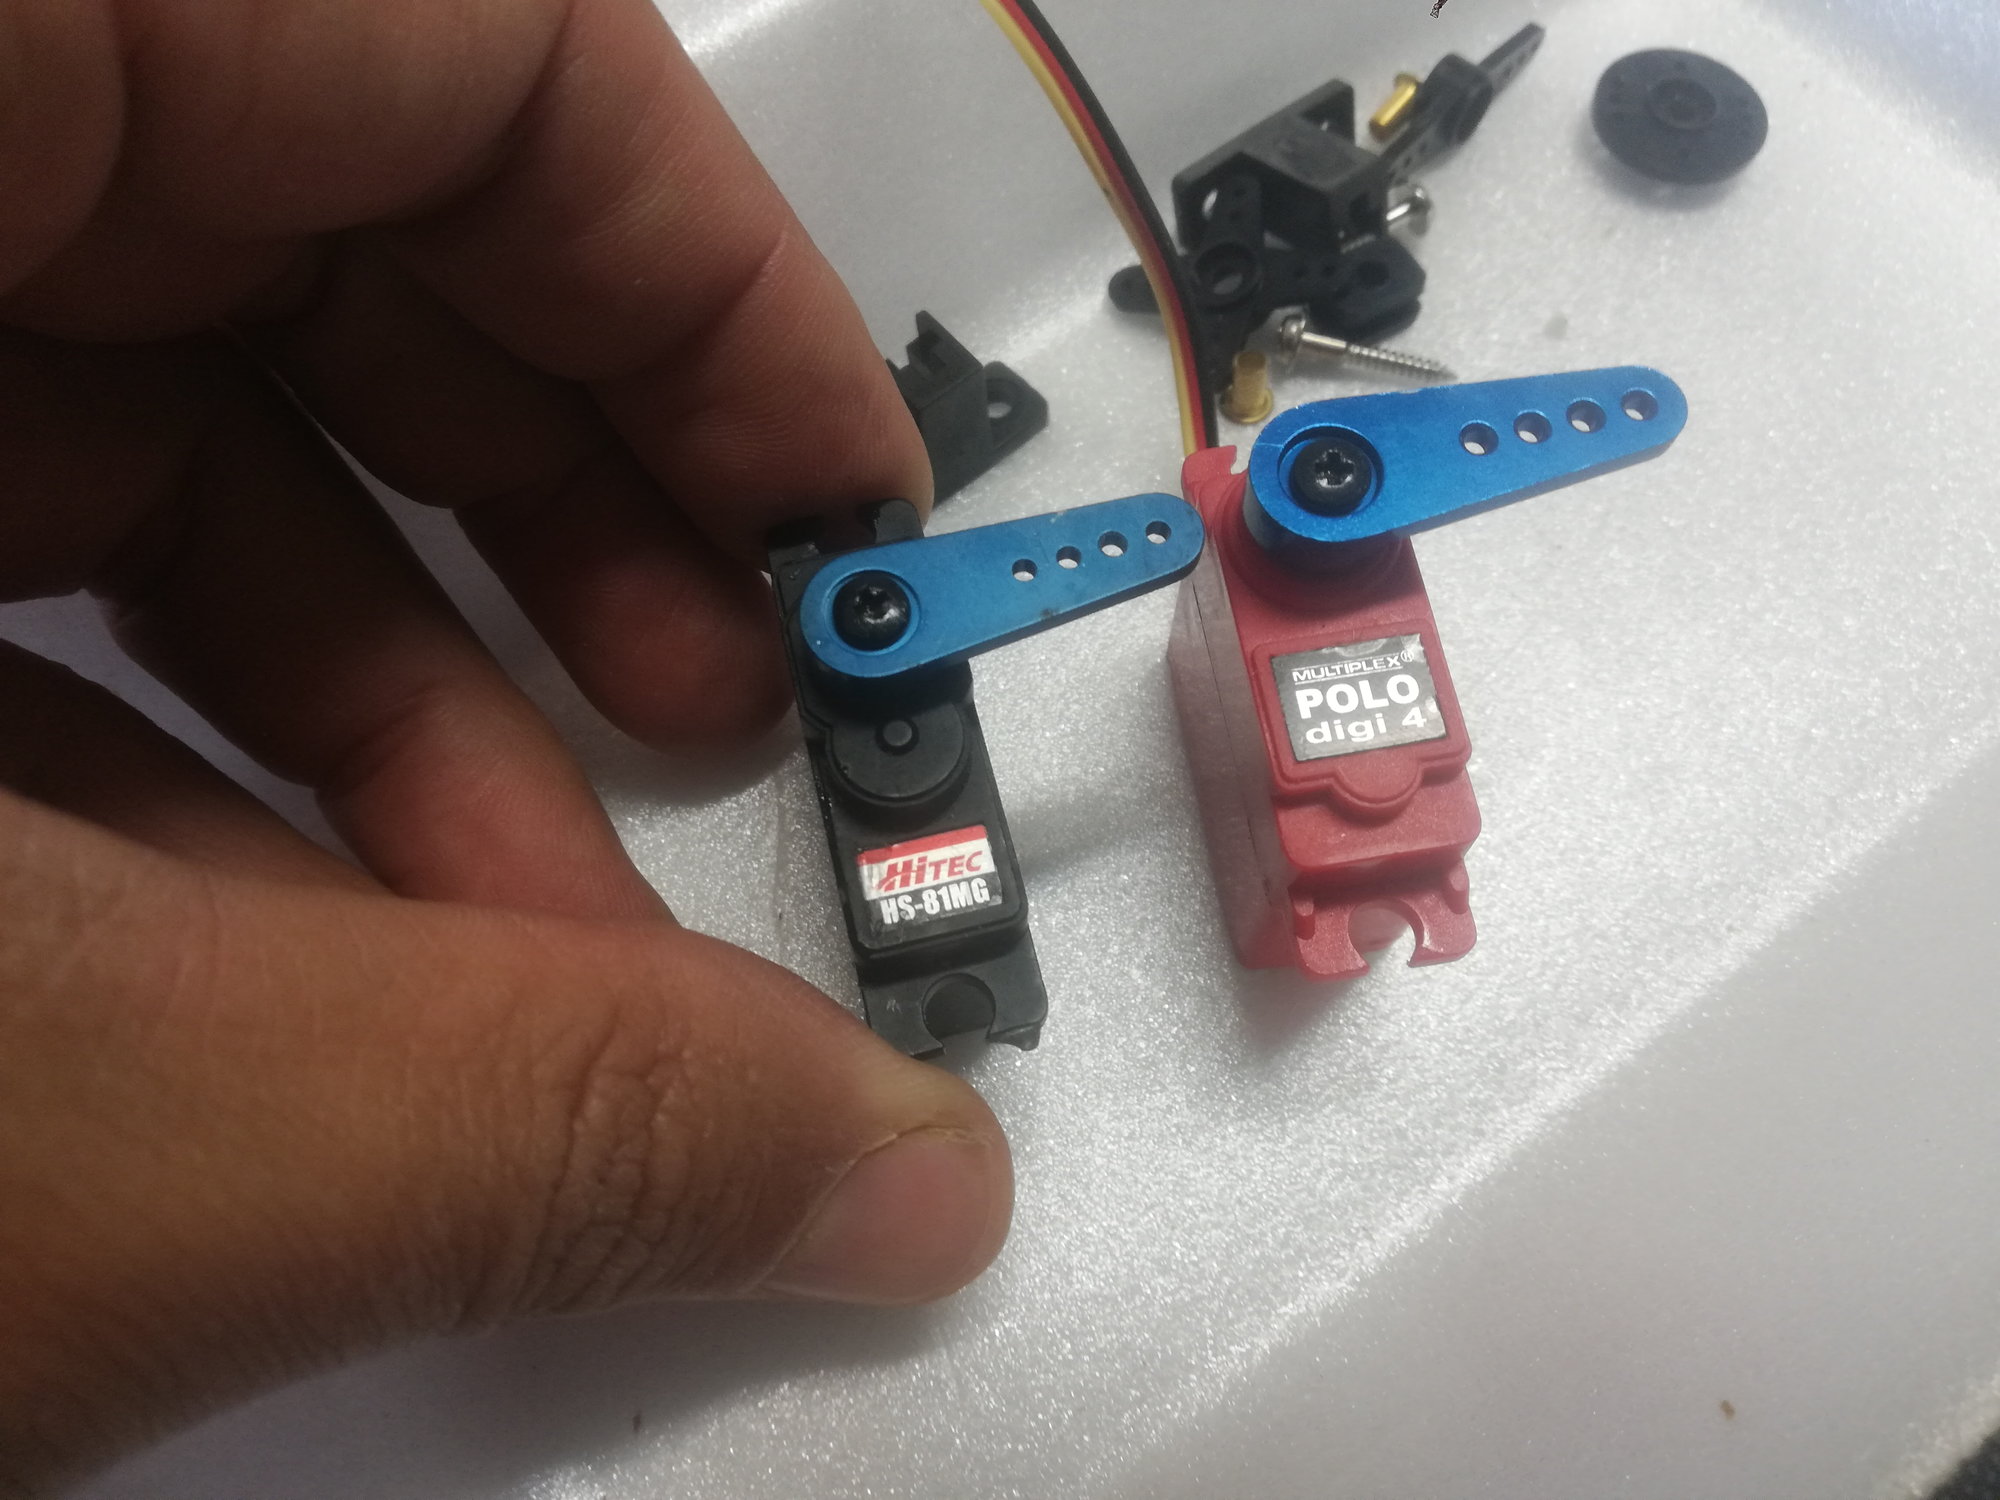
Both are metal geared, and with metal arms
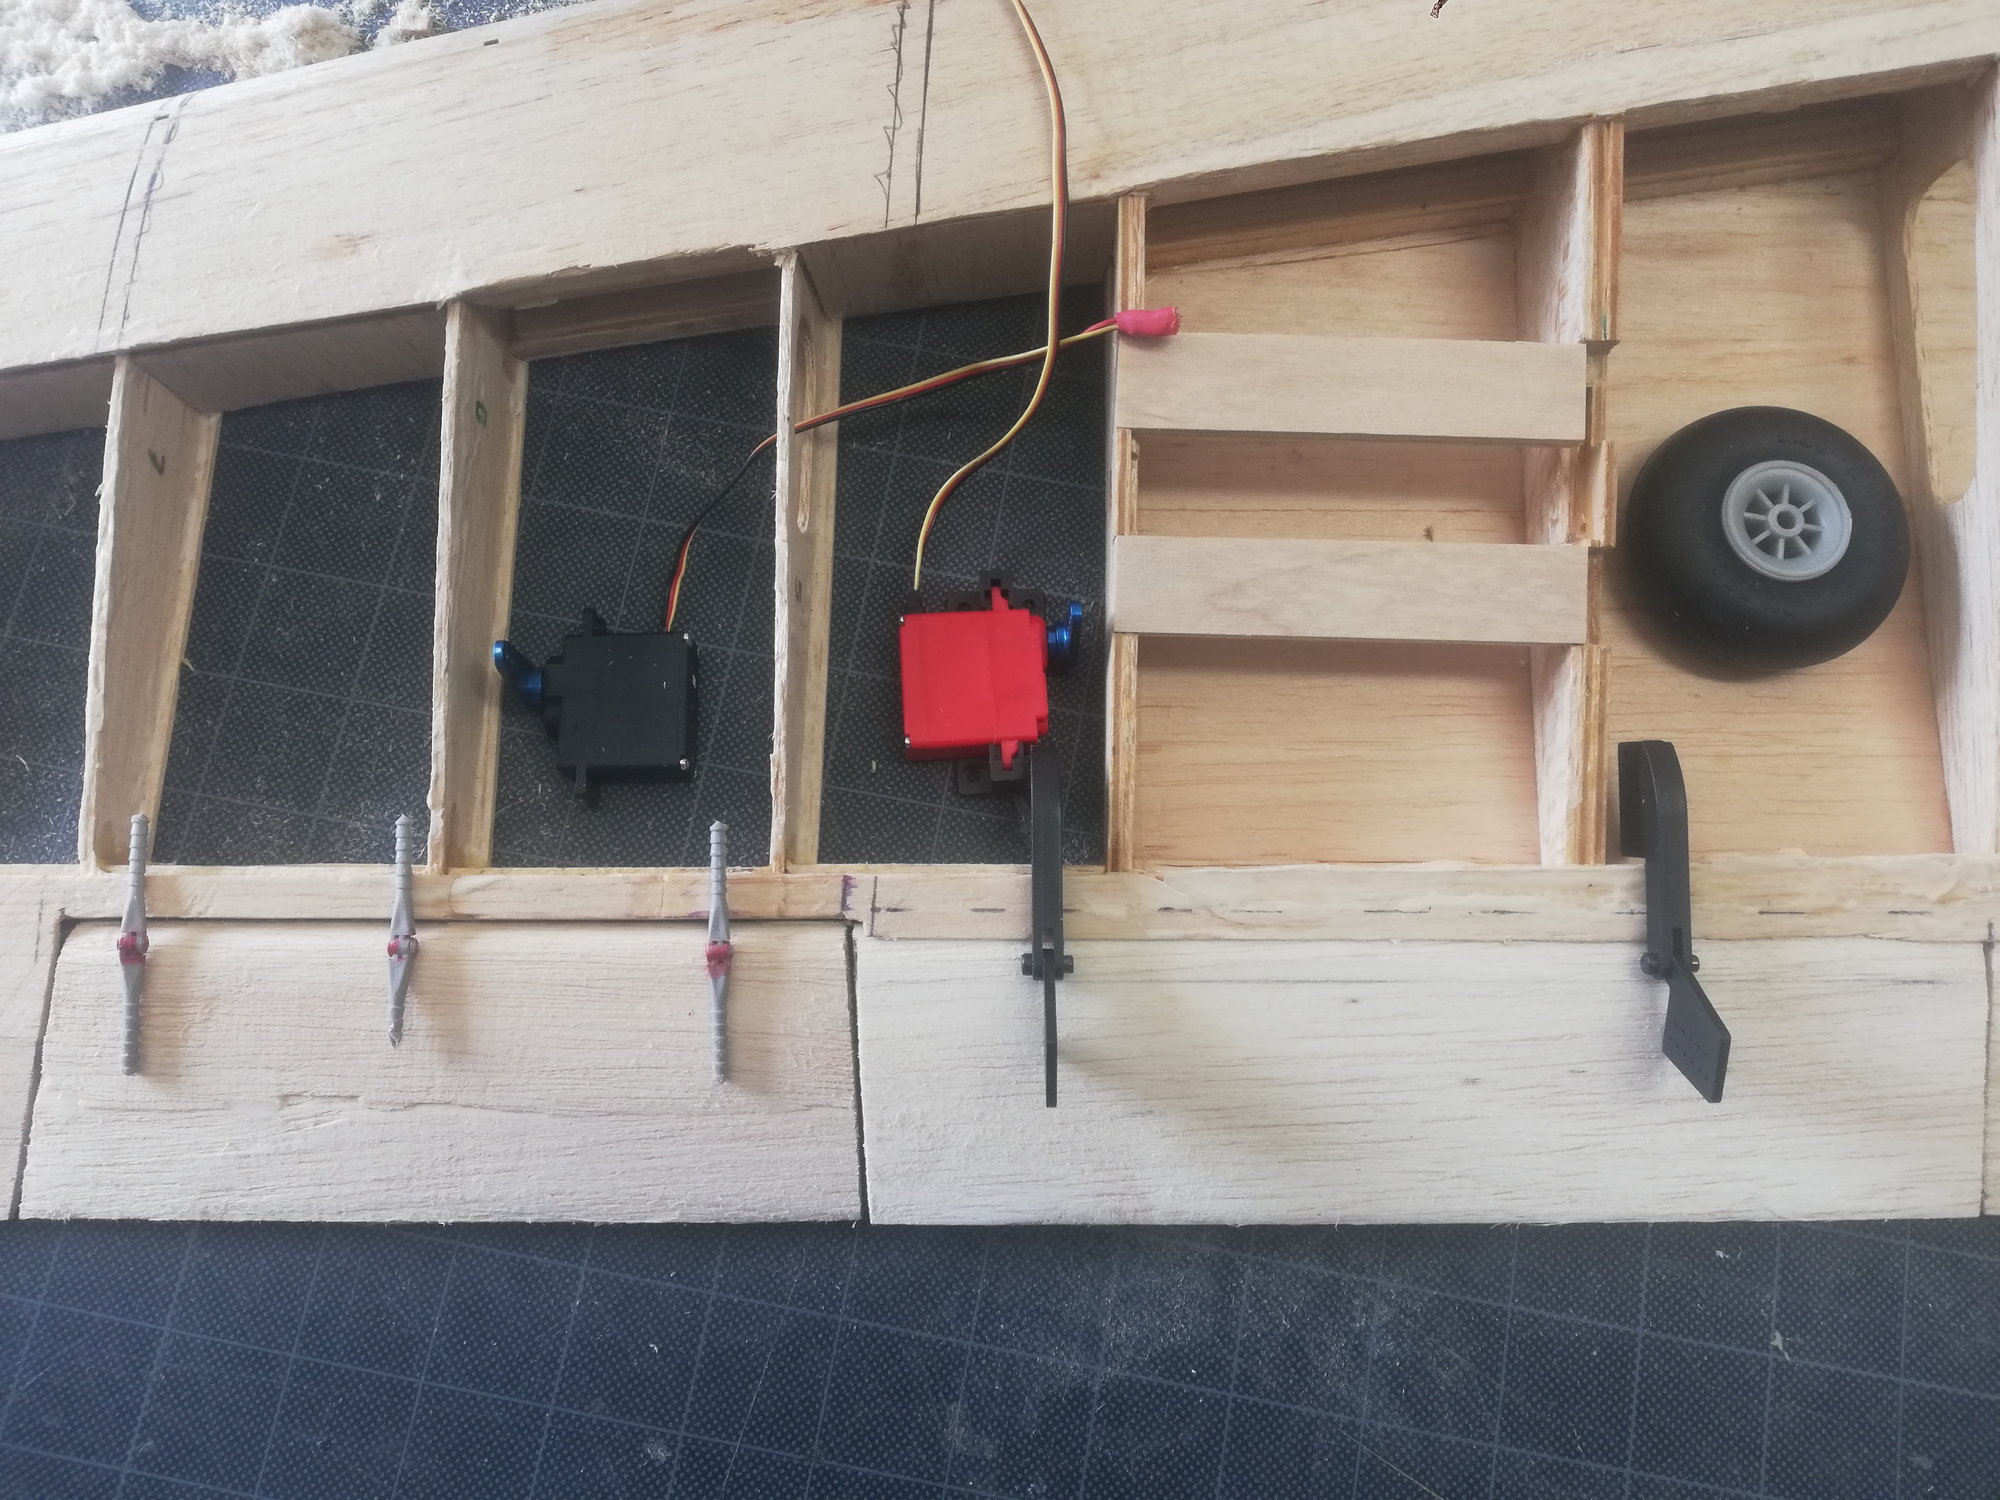
Disposition of components for planning
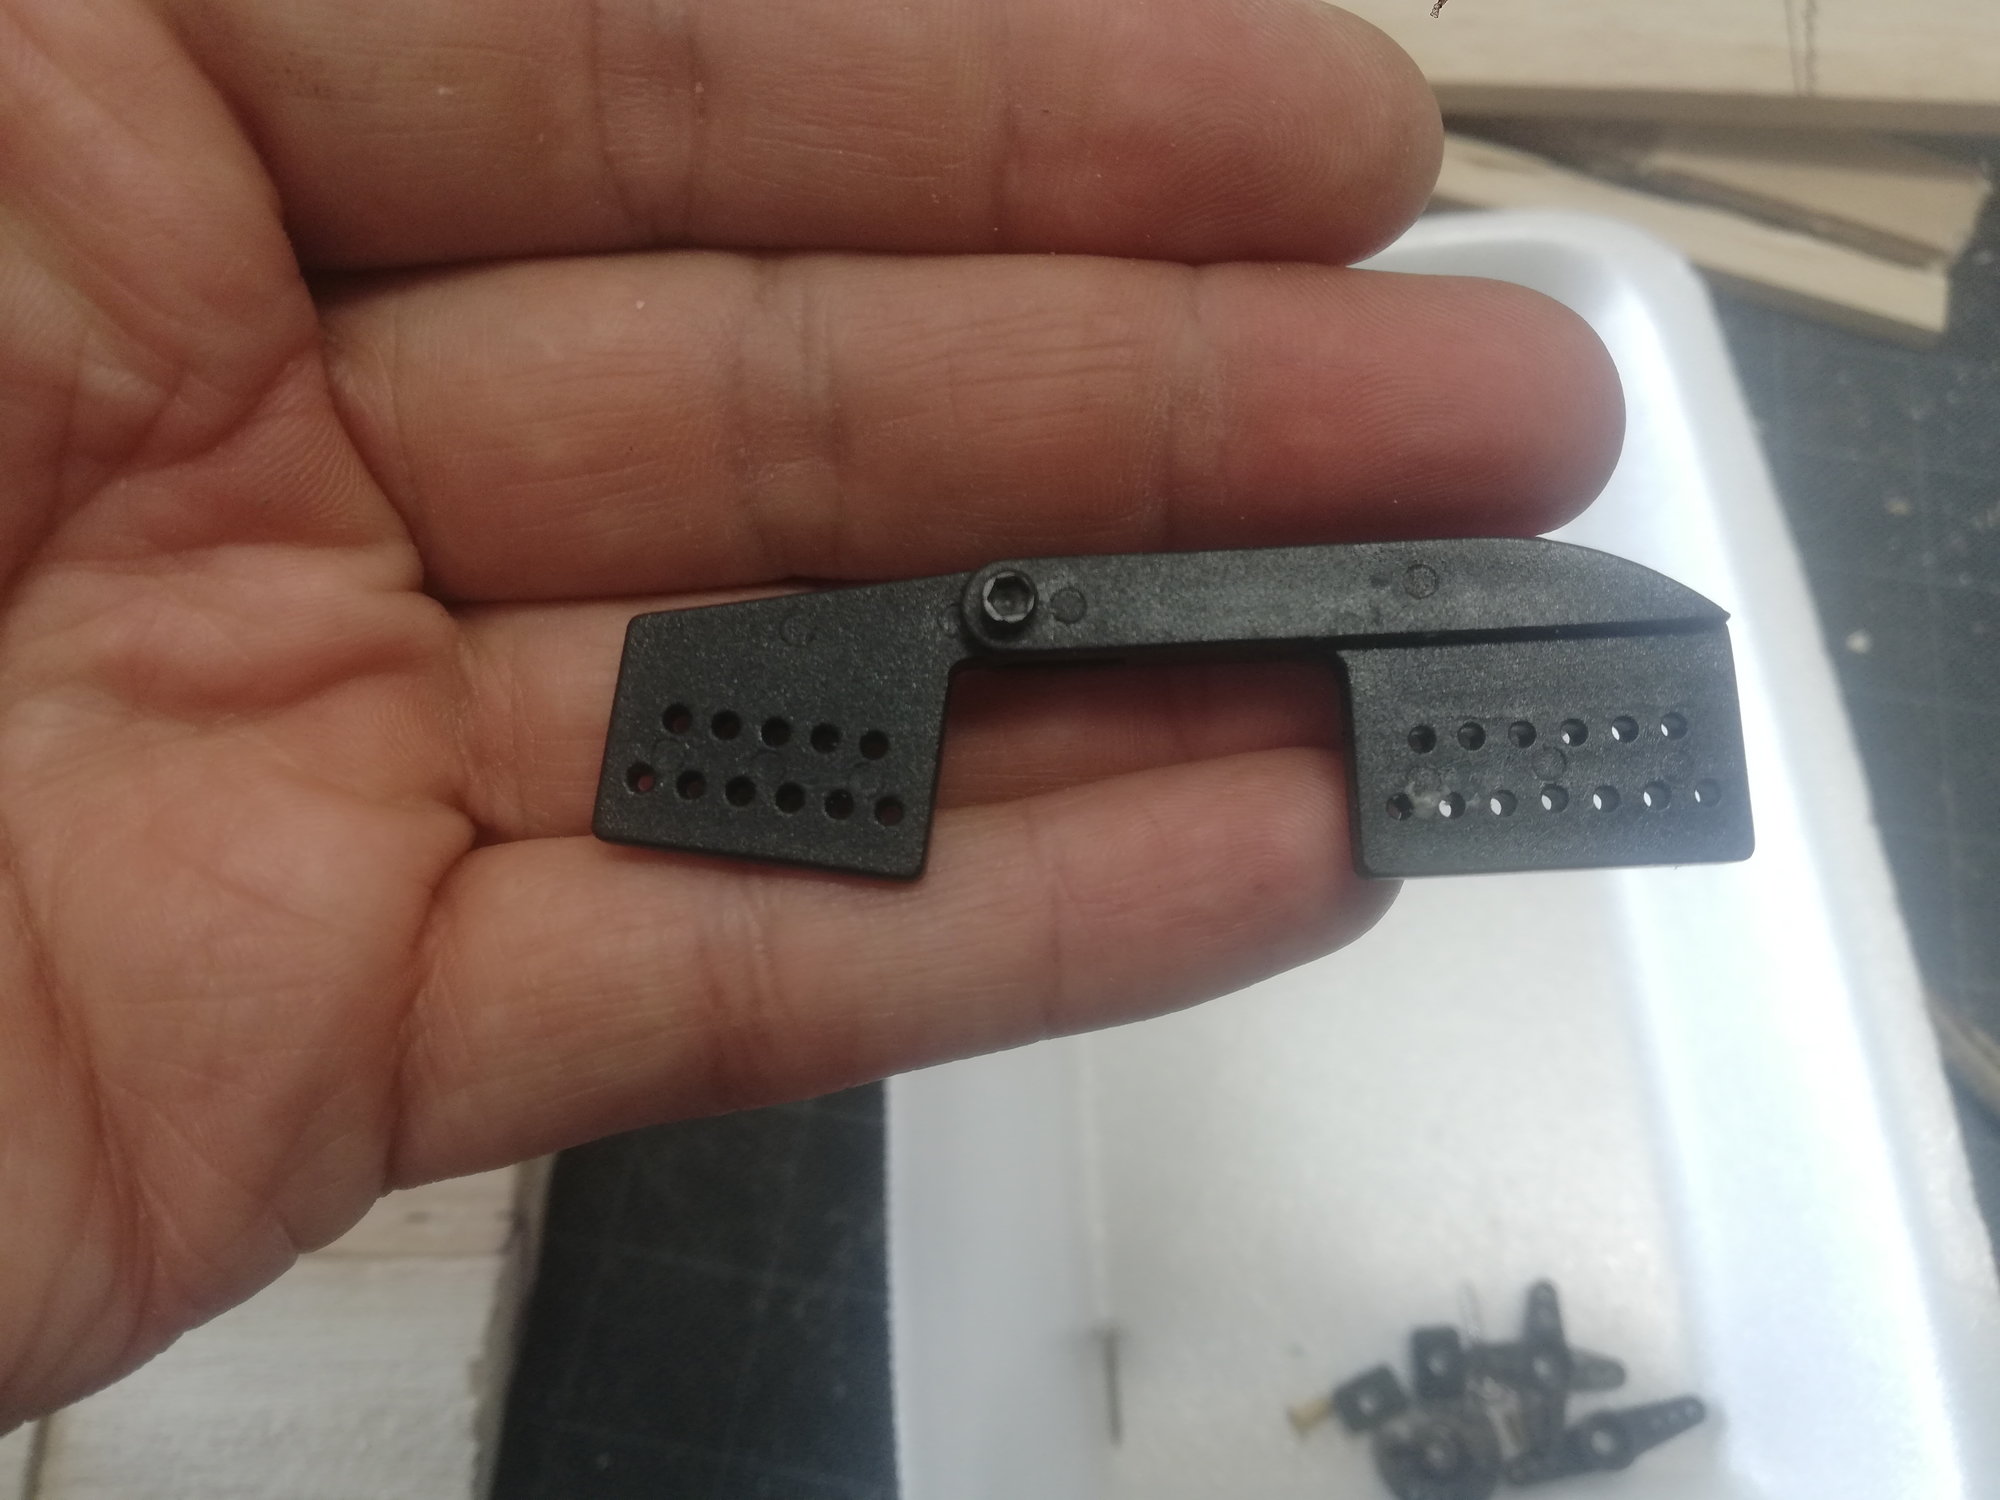
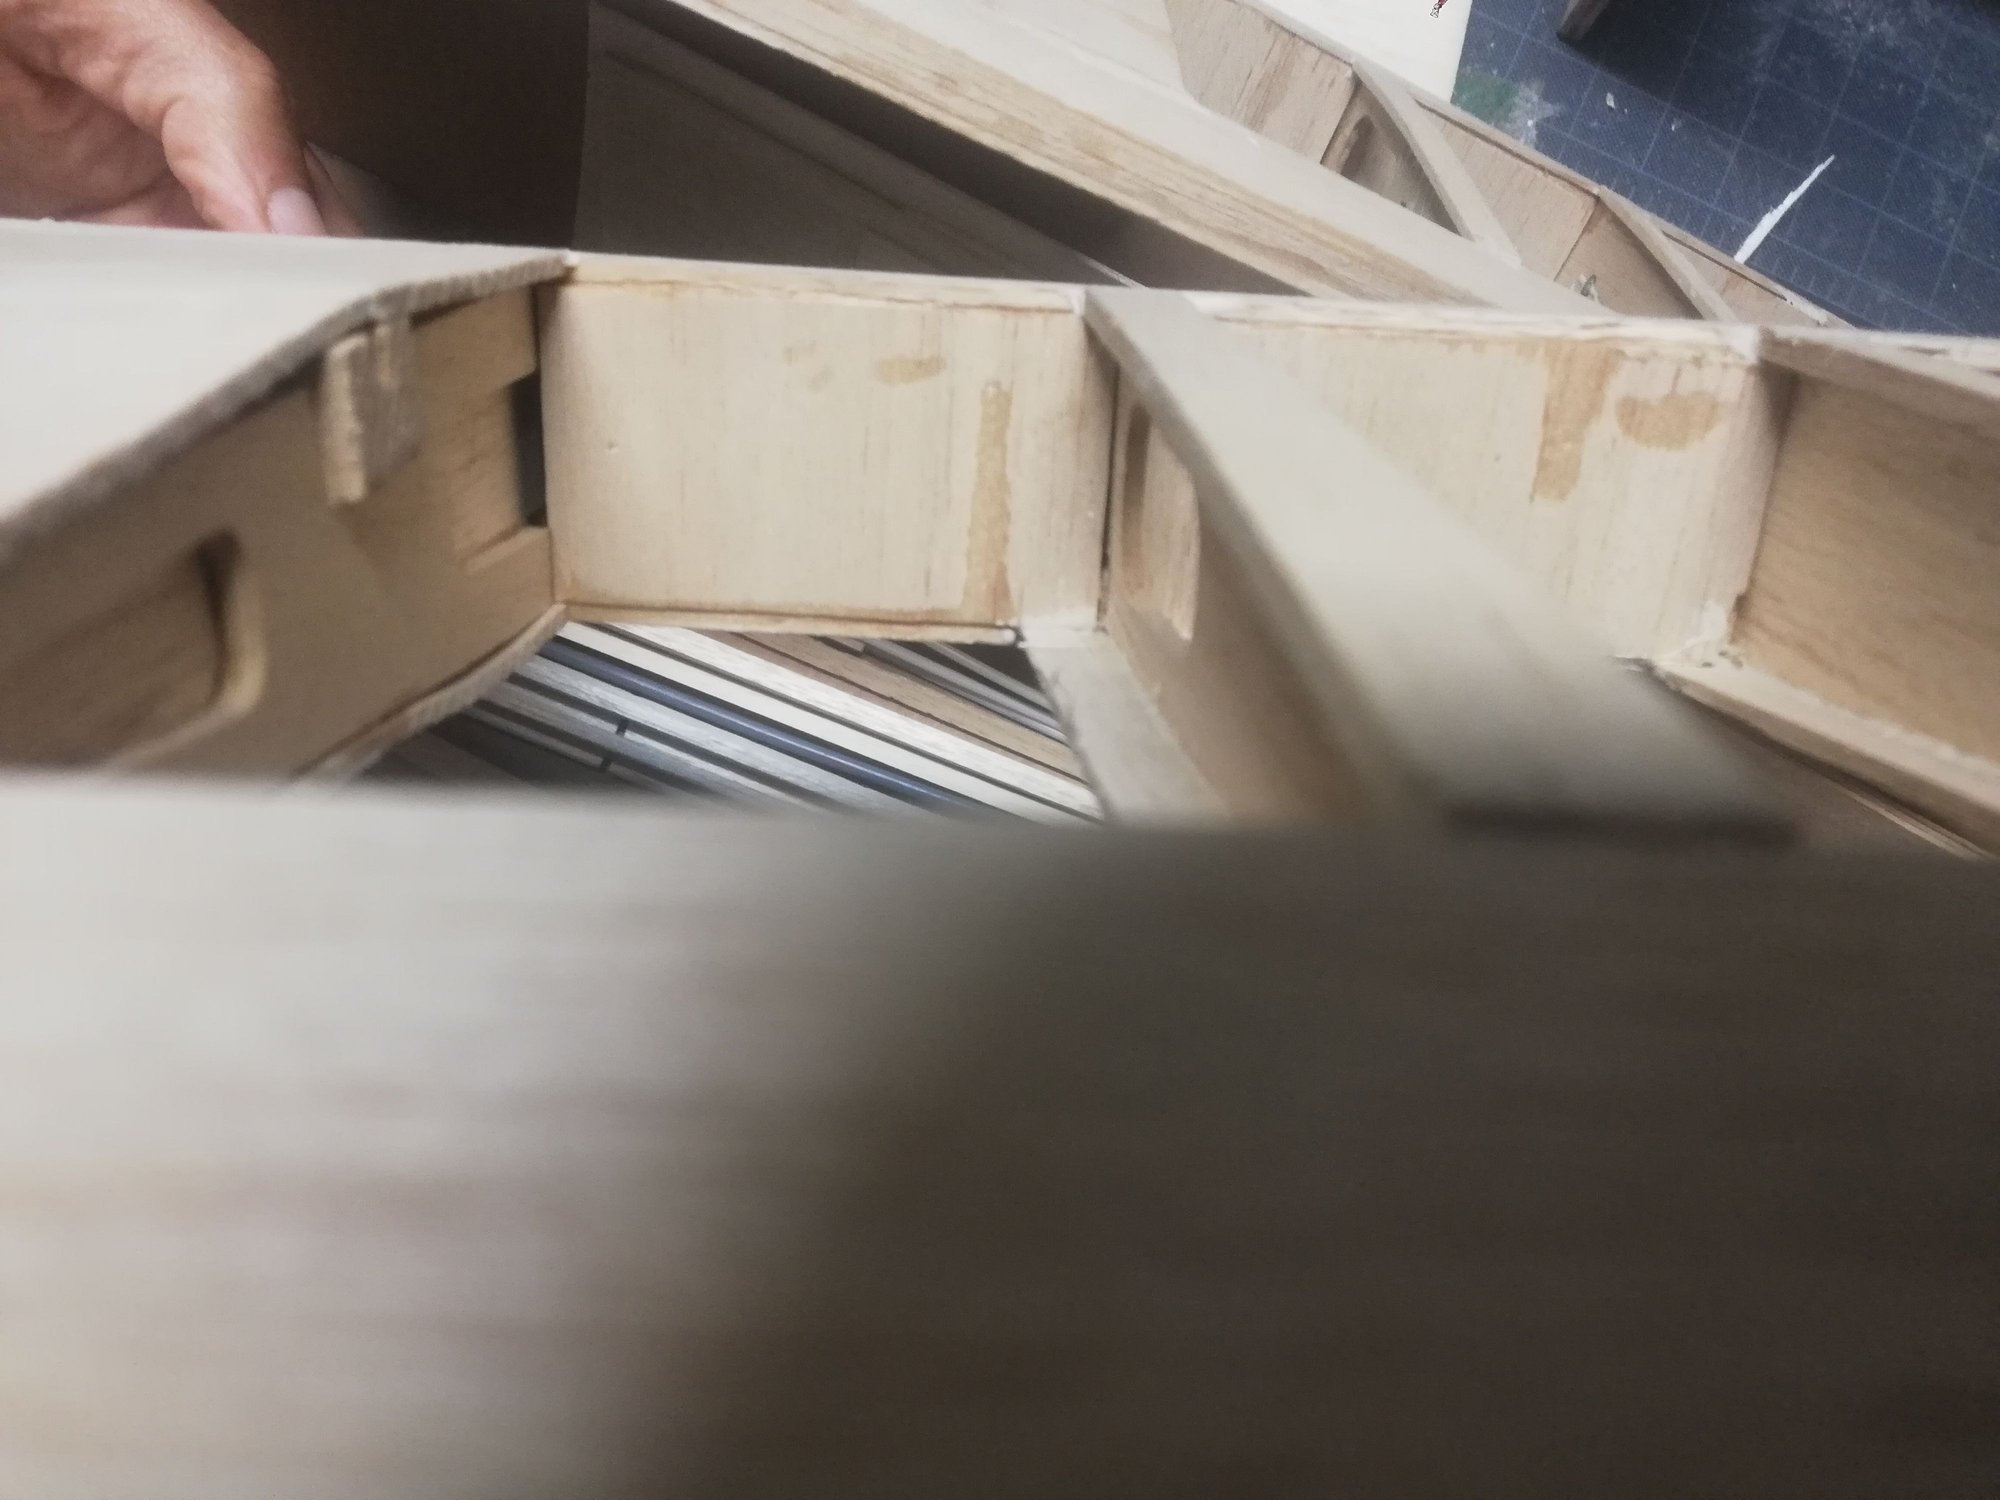
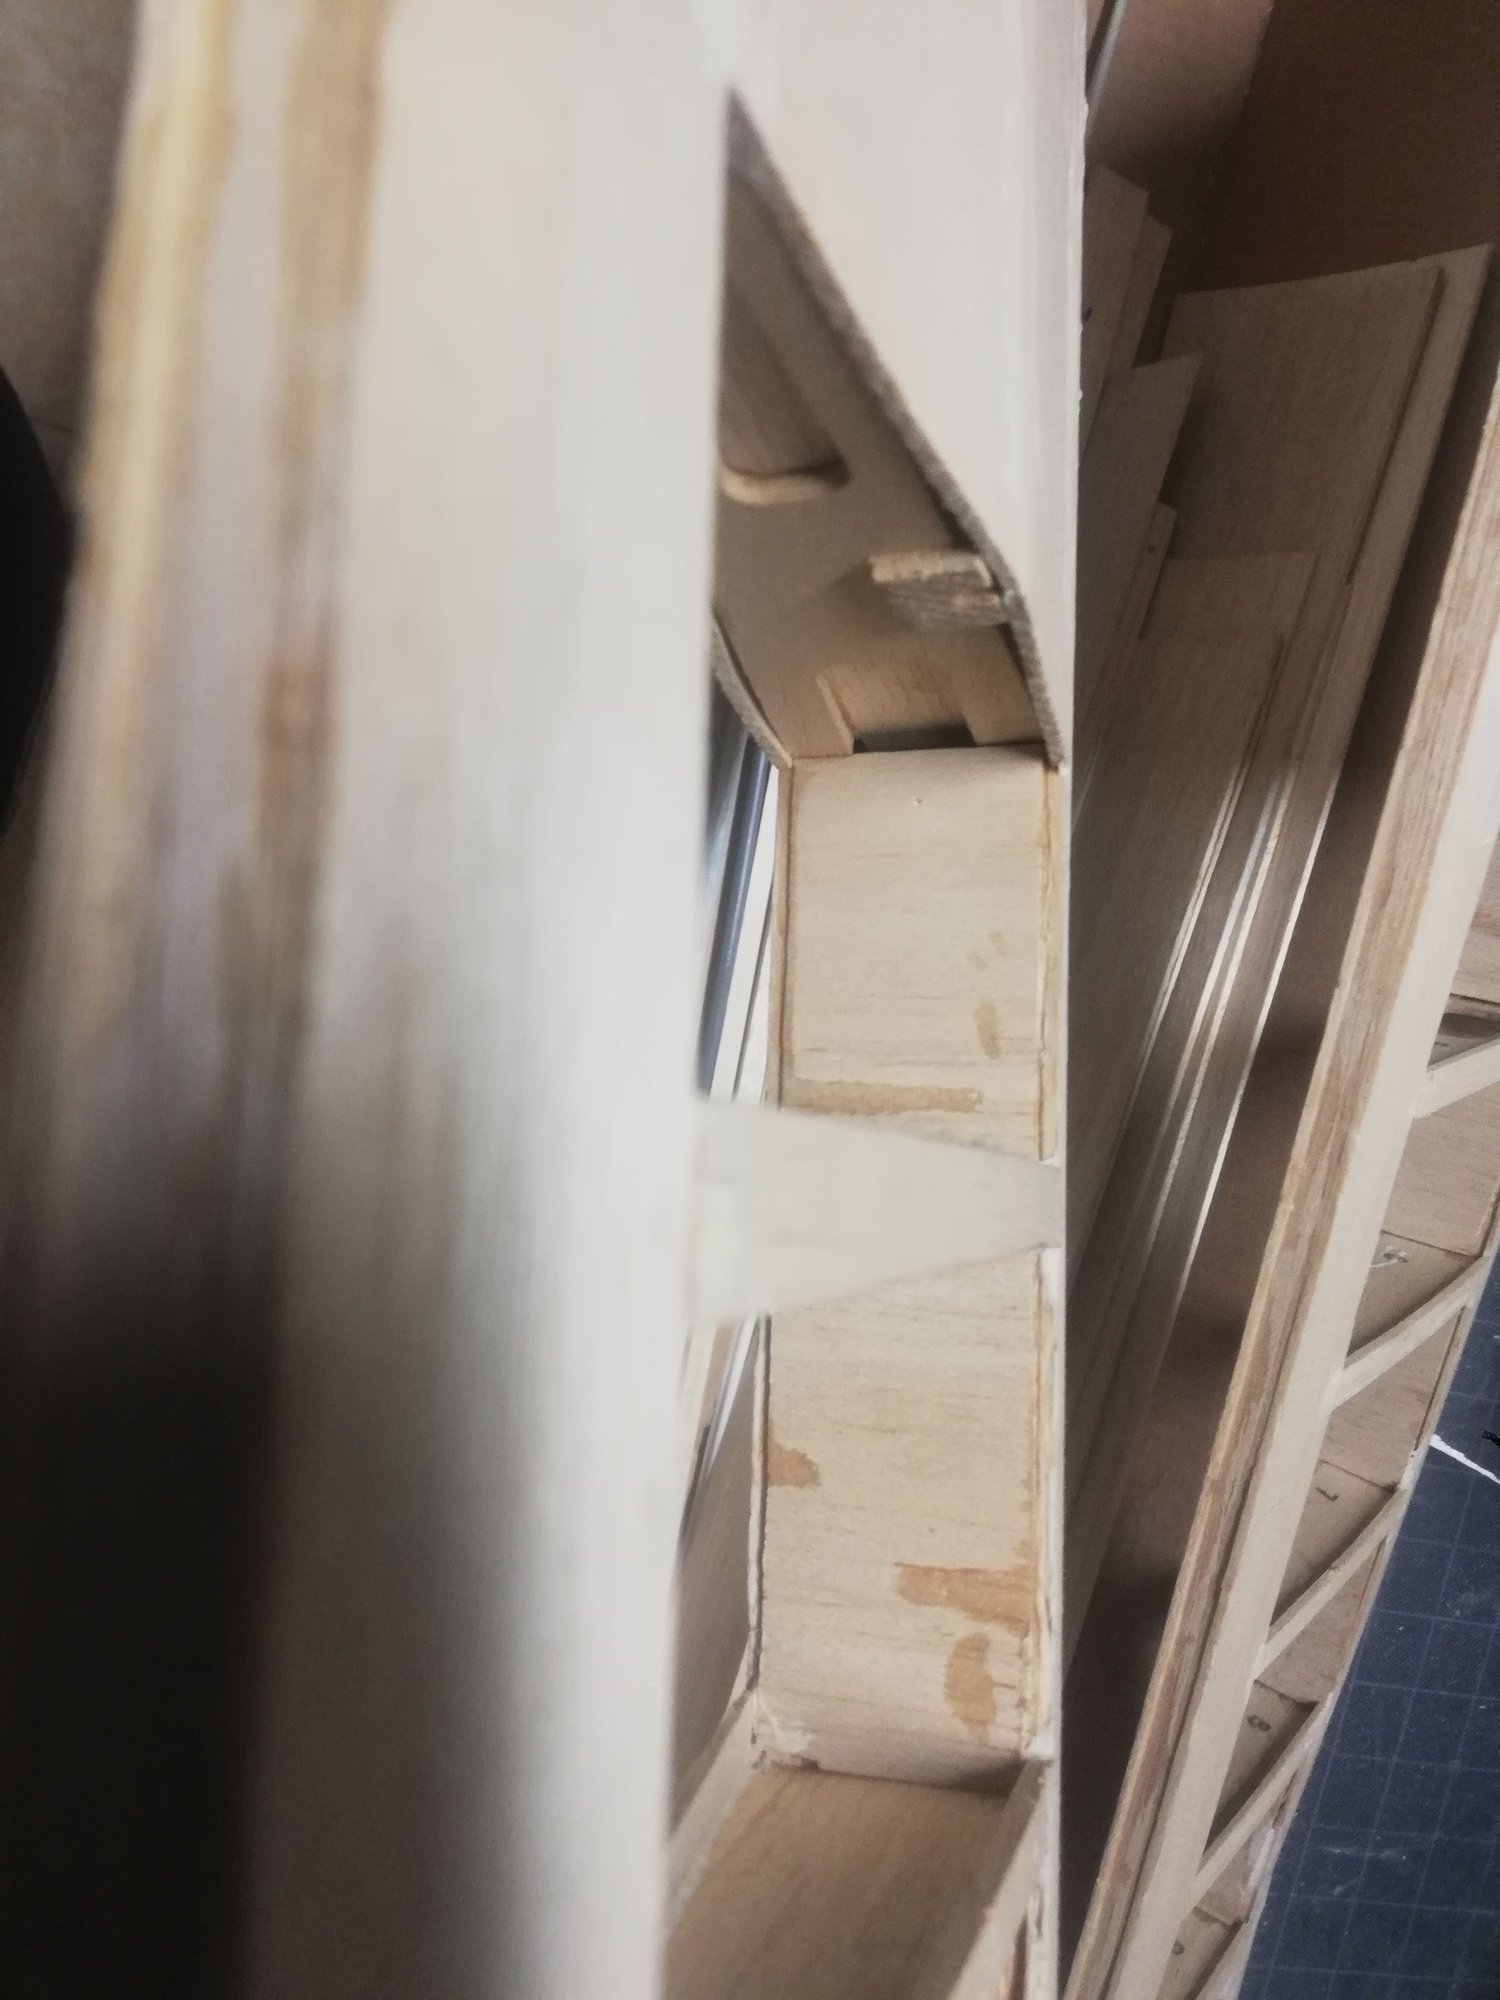
Flap hinge
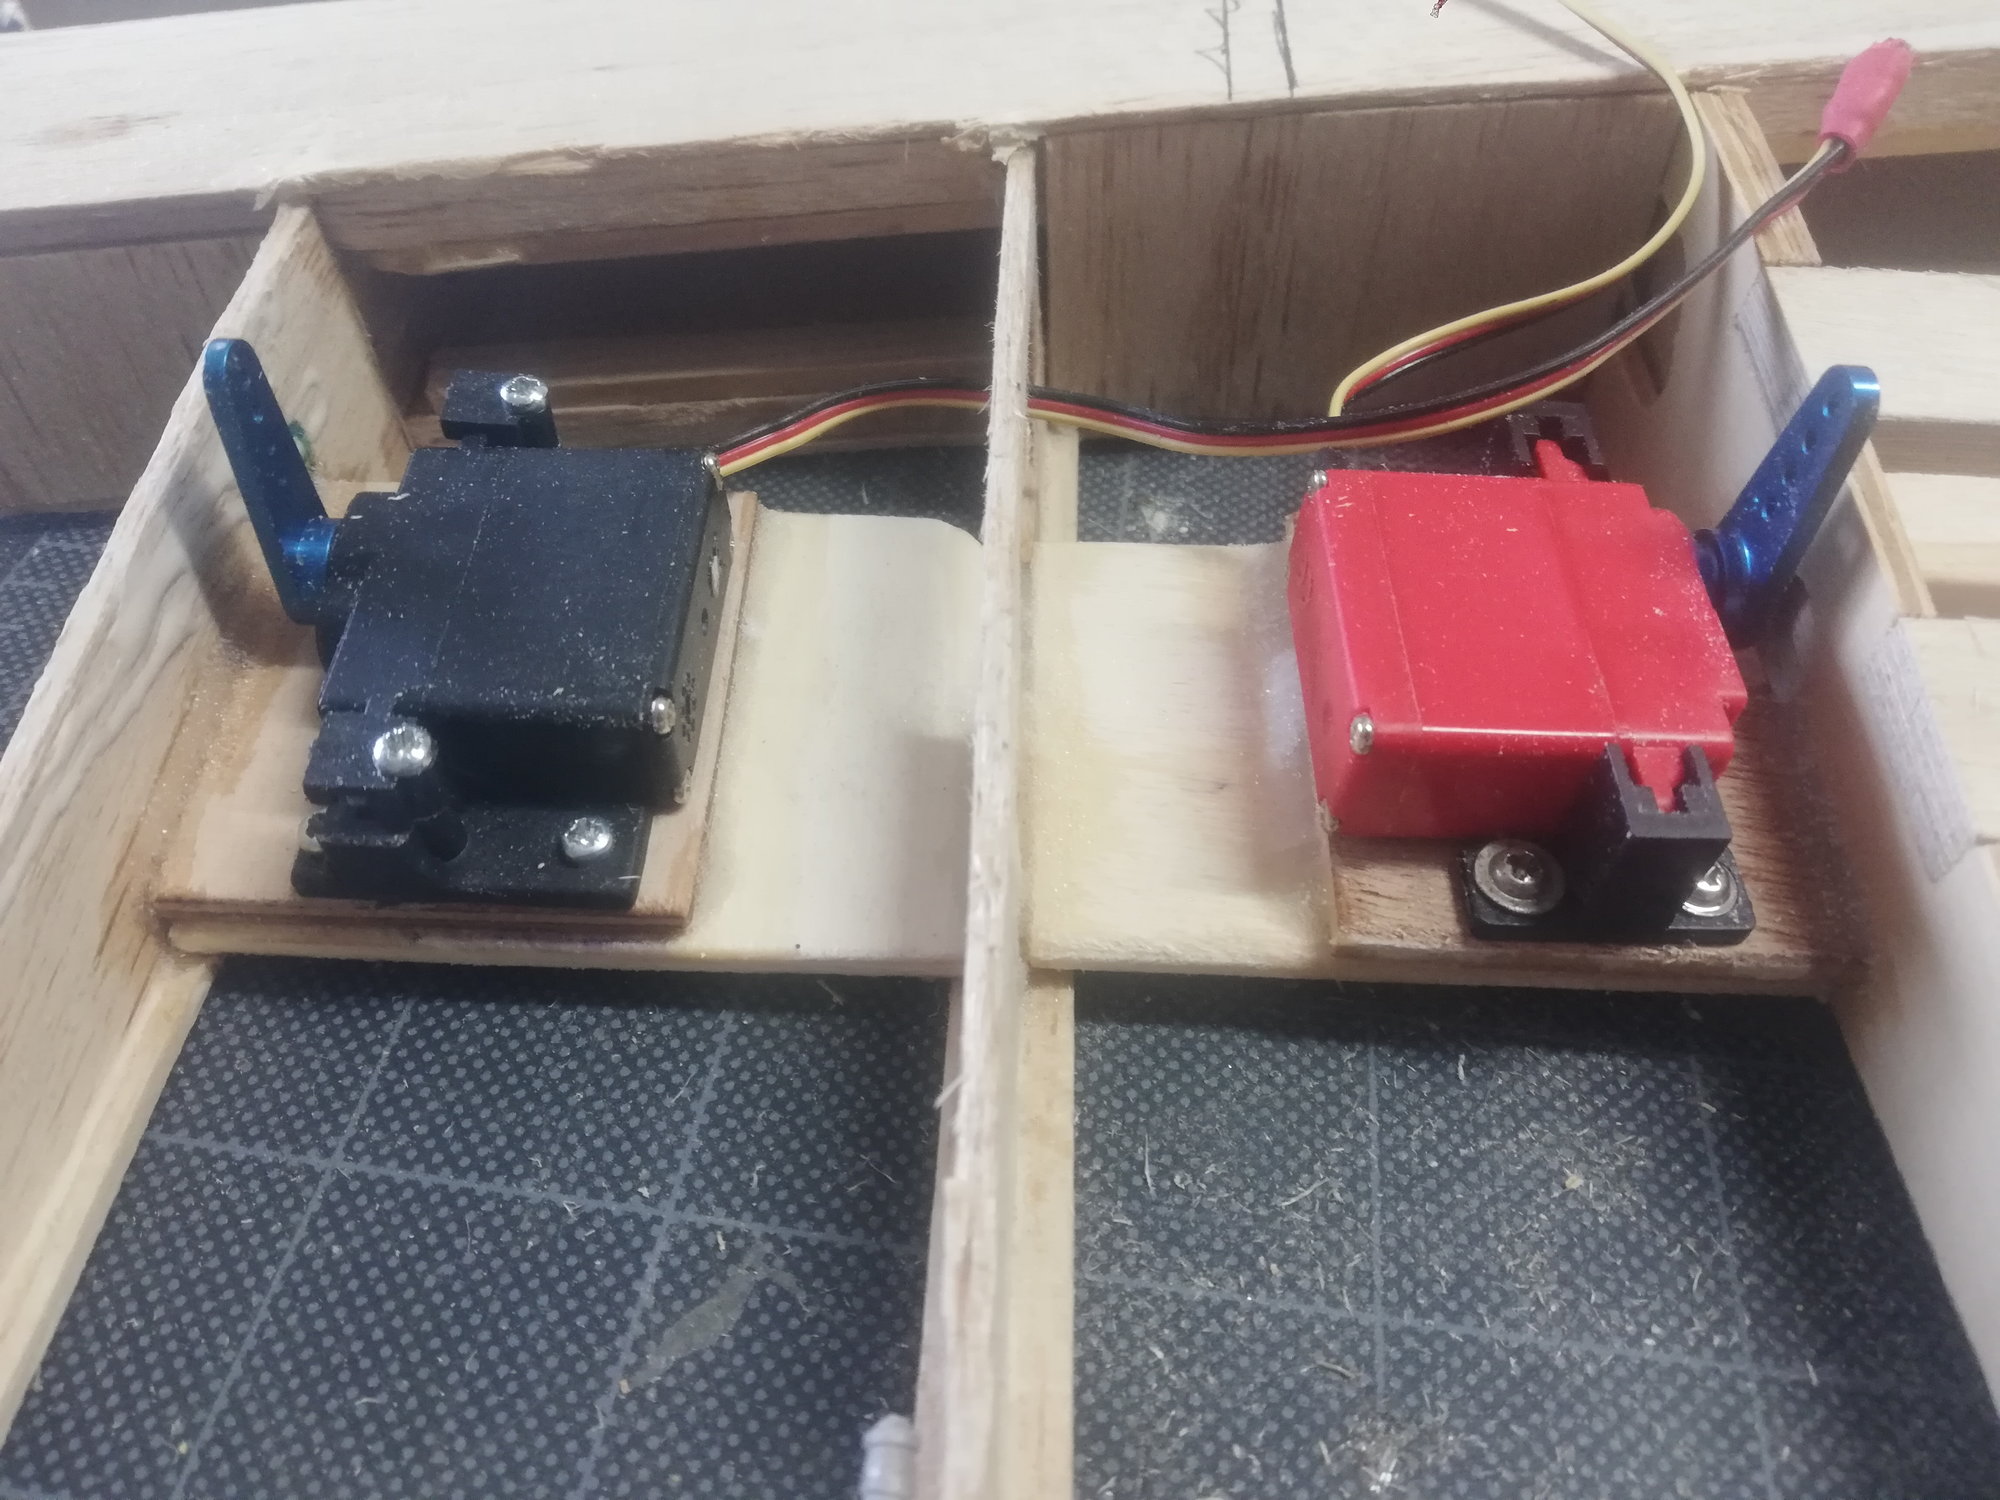
Servo mounts securely glued in place and servos installed
Flap hinges in place, triple fastened to plywood reinforcements glued to the retracts plywood wing ribs
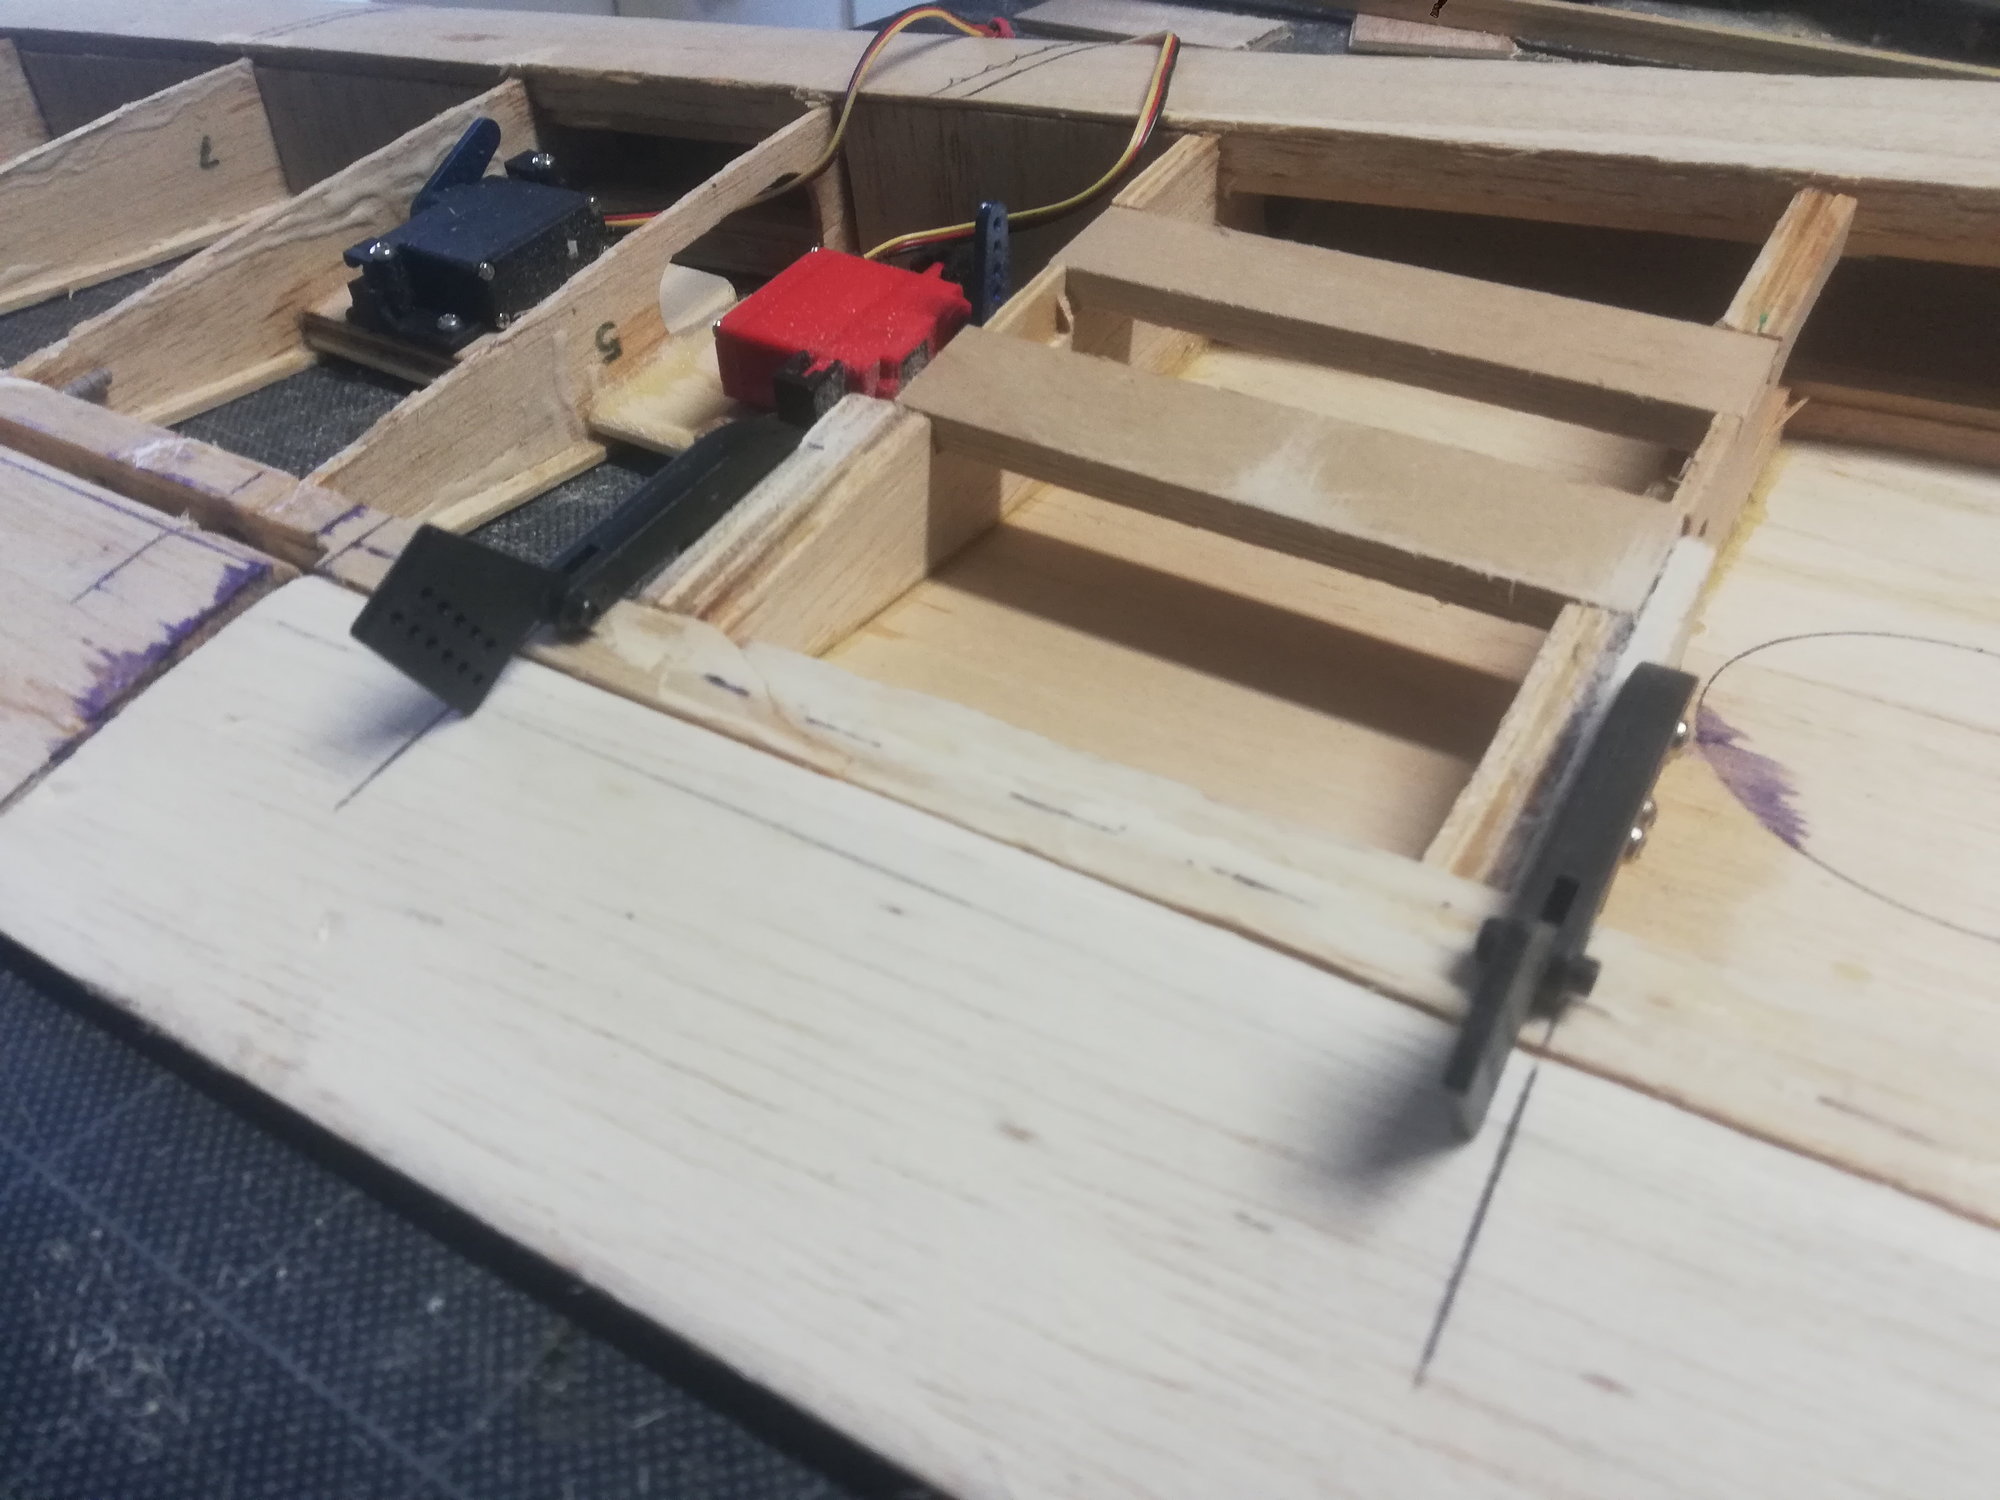
Top view of flap
Bottom view of the wing. The flap close to it's maximum deflection revealing the gap on its the leading edge.
I hope tomorrow I can at least finish this half of the wing except for the retracts. Thank you for watching!
Fly safe, be safe.
today I did not advance as much as I wanted, but I managed to install the right wing aileron and flap servos. It was very time consuming, as a lot of non-planned modifications are, but I am happy with the way things are looking. The other wing will be faster.
The aileron servos are going to be HITEC HS-85 MG servos and for the Flaps (flaperons) I went for the MULTIPLEX POLO DIGI 4, also metal geared.
Remaining tasks to do on the wing:
Finish installing the servos (push-rods and wiring)
Shear webs
Bottom wing skin with access hatches to the servos
Electric retracts
Winglet
Wing joiner box
Sanding
Covering
At this moment the wing as seen on the last photo weights 348 gr. I estimate the TOW will be around 3300 to 3500 gr, with a 5 cell 4200 battery.
The third video was uploaded some minutes ago to the channel, and I will post tomorrow another update with more details on the flaps.
Aileron and Flap servo
Both are metal geared, and with metal arms
Disposition of components for planning
Flap hinge
Servo mounts securely glued in place and servos installed
Flap hinges in place, triple fastened to plywood reinforcements glued to the retracts plywood wing ribs
Top view of flap
Bottom view of the wing. The flap close to it's maximum deflection revealing the gap on its the leading edge.
I hope tomorrow I can at least finish this half of the wing except for the retracts. Thank you for watching!
Fly safe, be safe.
04-11-2020, 02:21 PM
#7
Thread Starter
Hello!
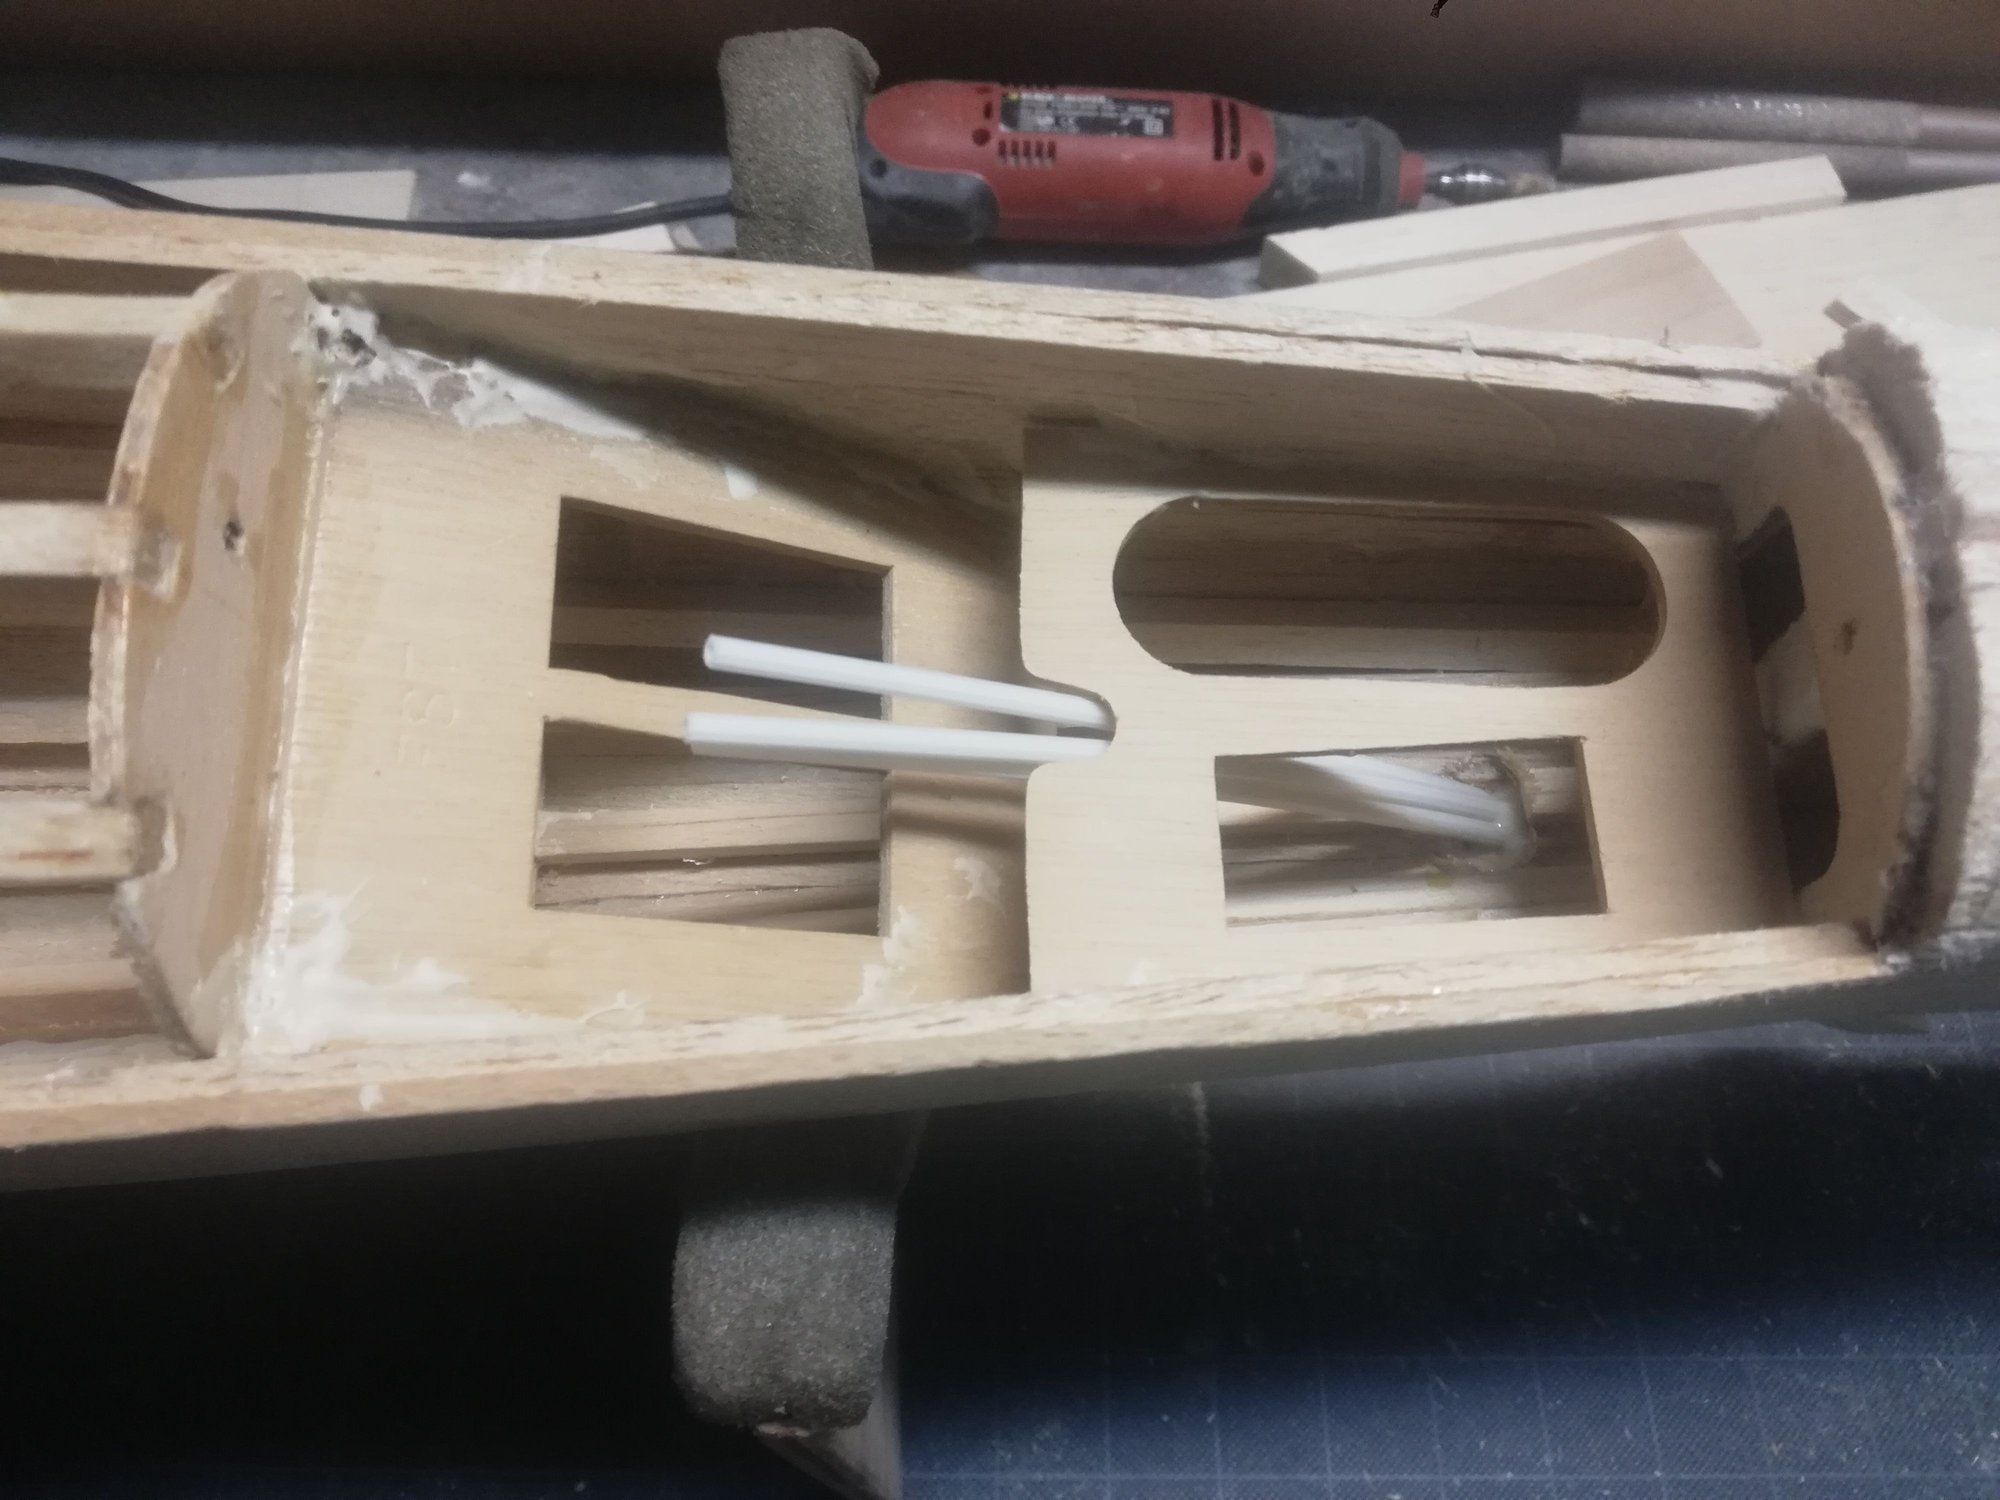
I have been able to make a decent progress on the rear of the fuselage, rear hatch, the engine mount. As I am making a lot of modifications on the kit, sometimes it takes a good time to make something happen...like for example the motor mount.
The videos I am uploading to my channel explain in more detail the modifications. For those who have not found it in the search, here is the link:
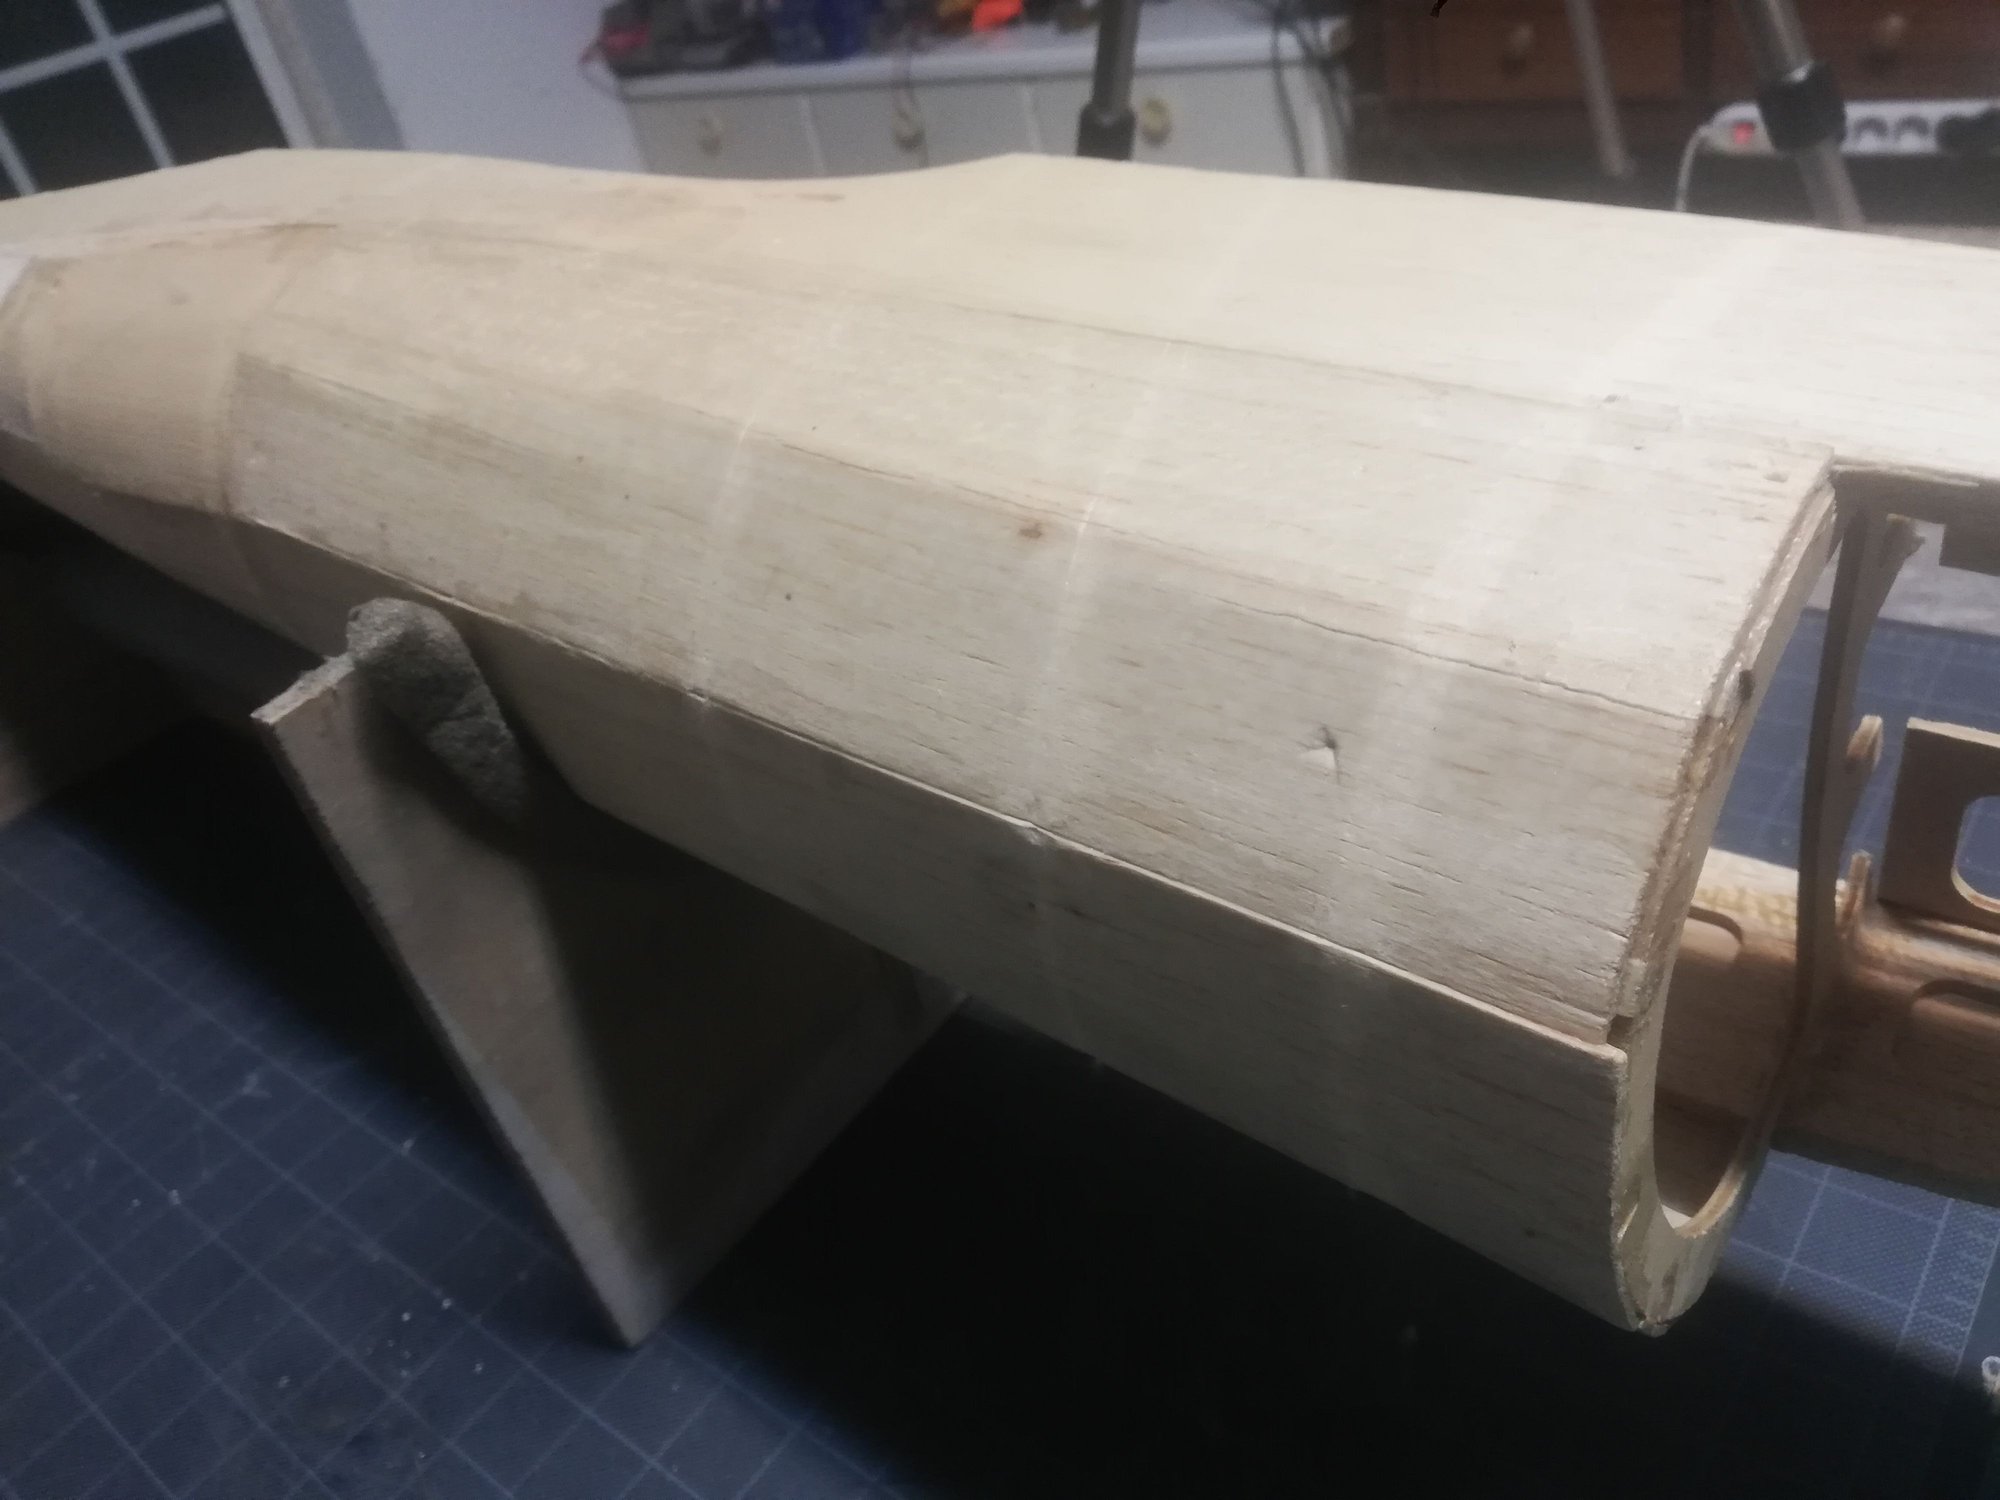
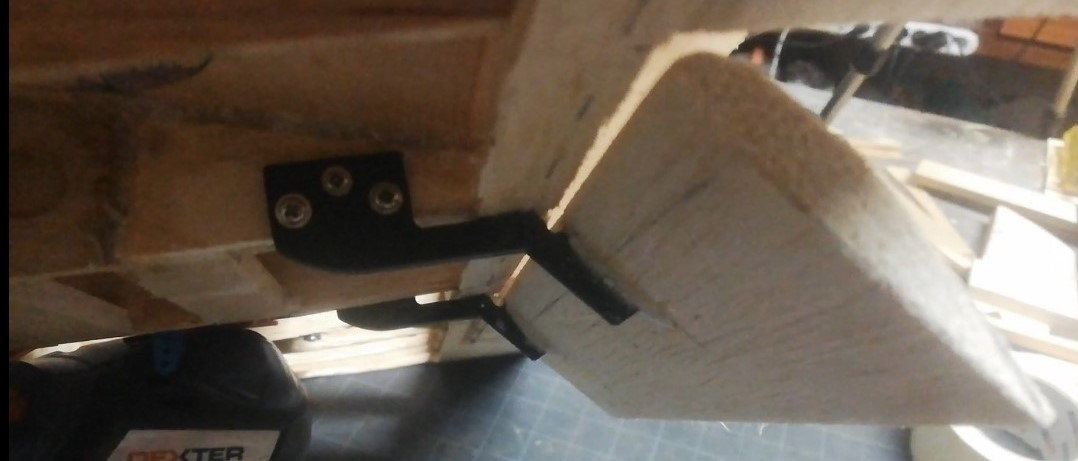
Rear underside of the fuselage profiling finished, only awaiting the Delta fins.

Rear hatch, Solid balsa (hollowed on the inside) instead of built up structure
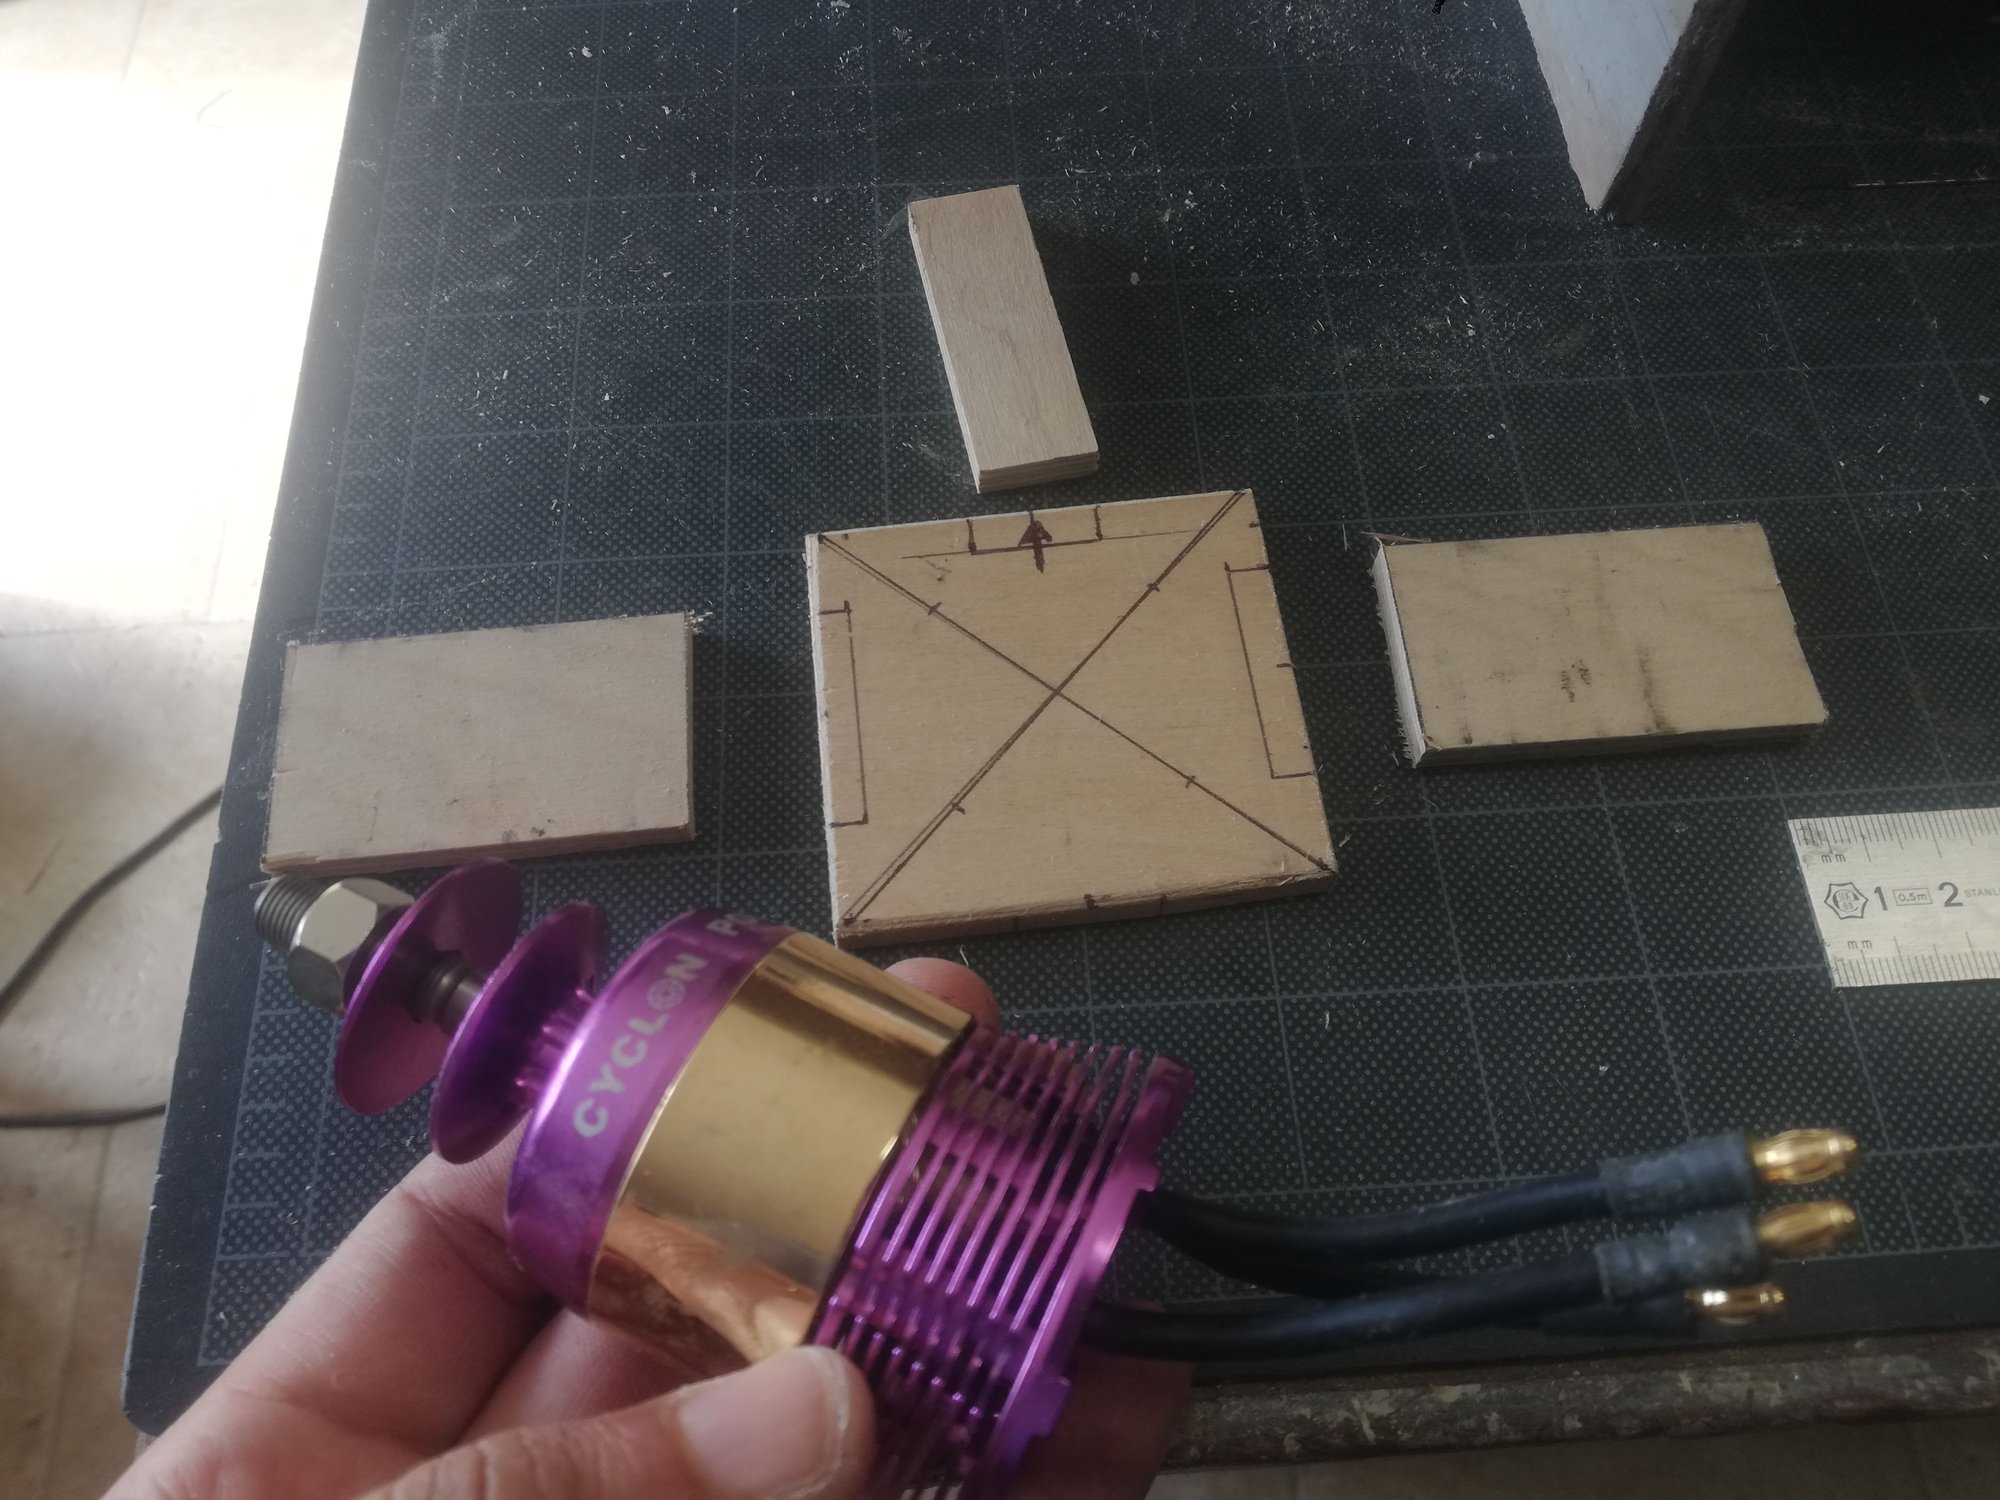
Fabricating the parts for the engine mount

EXCELENT! I Due to the motor need to be 45mm away from the original kit firewall, I have space to install the landing gear retracting the wheel FORWARD, as per the full size...so lucky!

Dry fitting to check
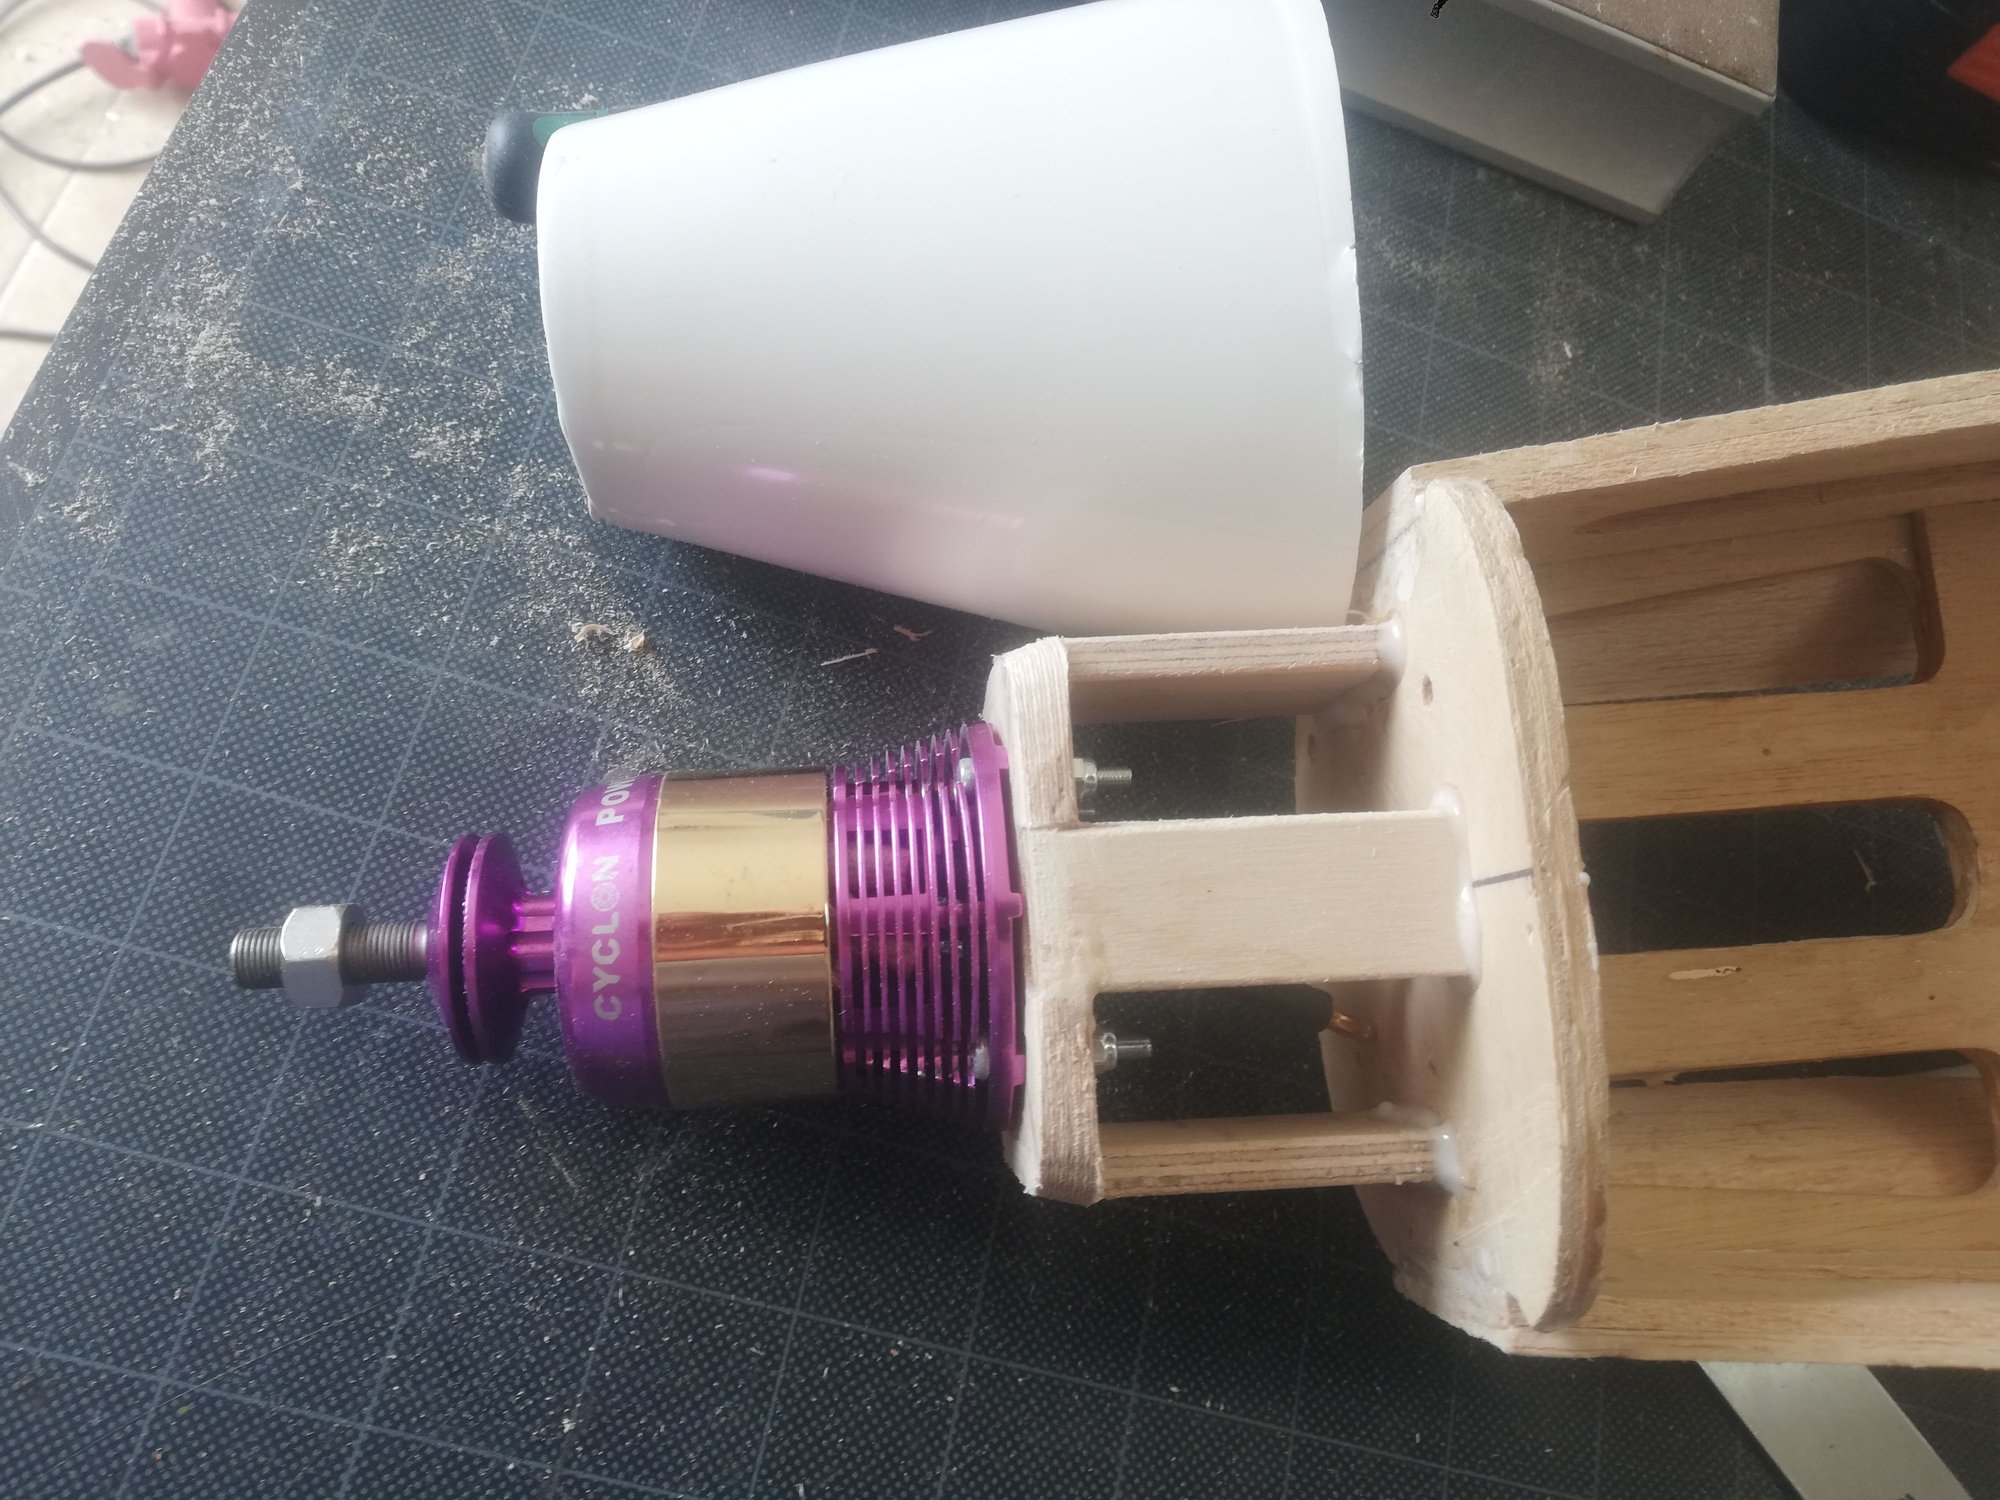
Motor mount glued with 5 min epoxy and motor attached to start cowl adjustments

Starting the canopy trim
Inside structure for the canopy

Almost there, but already looking nice...
Thank you for watching
I have been able to make a decent progress on the rear of the fuselage, rear hatch, the engine mount. As I am making a lot of modifications on the kit, sometimes it takes a good time to make something happen...like for example the motor mount.
The videos I am uploading to my channel explain in more detail the modifications. For those who have not found it in the search, here is the link:
Rear underside of the fuselage profiling finished, only awaiting the Delta fins.
Rear hatch, Solid balsa (hollowed on the inside) instead of built up structure
Fabricating the parts for the engine mount
EXCELENT! I Due to the motor need to be 45mm away from the original kit firewall, I have space to install the landing gear retracting the wheel FORWARD, as per the full size...so lucky!
Dry fitting to check
Motor mount glued with 5 min epoxy and motor attached to start cowl adjustments
Starting the canopy trim
Inside structure for the canopy
Almost there, but already looking nice...
Thank you for watching
The following users liked this post:
cacojet (04-12-2020)
 04-13-2020, 10:28 AM
#9
Thread Starter
Hello again,
Finally the Learjet is going at a good pace. Here are today's updates:

The horizontal Stabilator modified to use scale like control surfaces (standard elevators lines visible)...as f I already did not have anything else to worry about...but it is worth it!

The horizontal stabilator mount, ready to receive the stab. The small marks are from a phillips screw driver. I normally do these in order to give the epoxy some more gripping area.

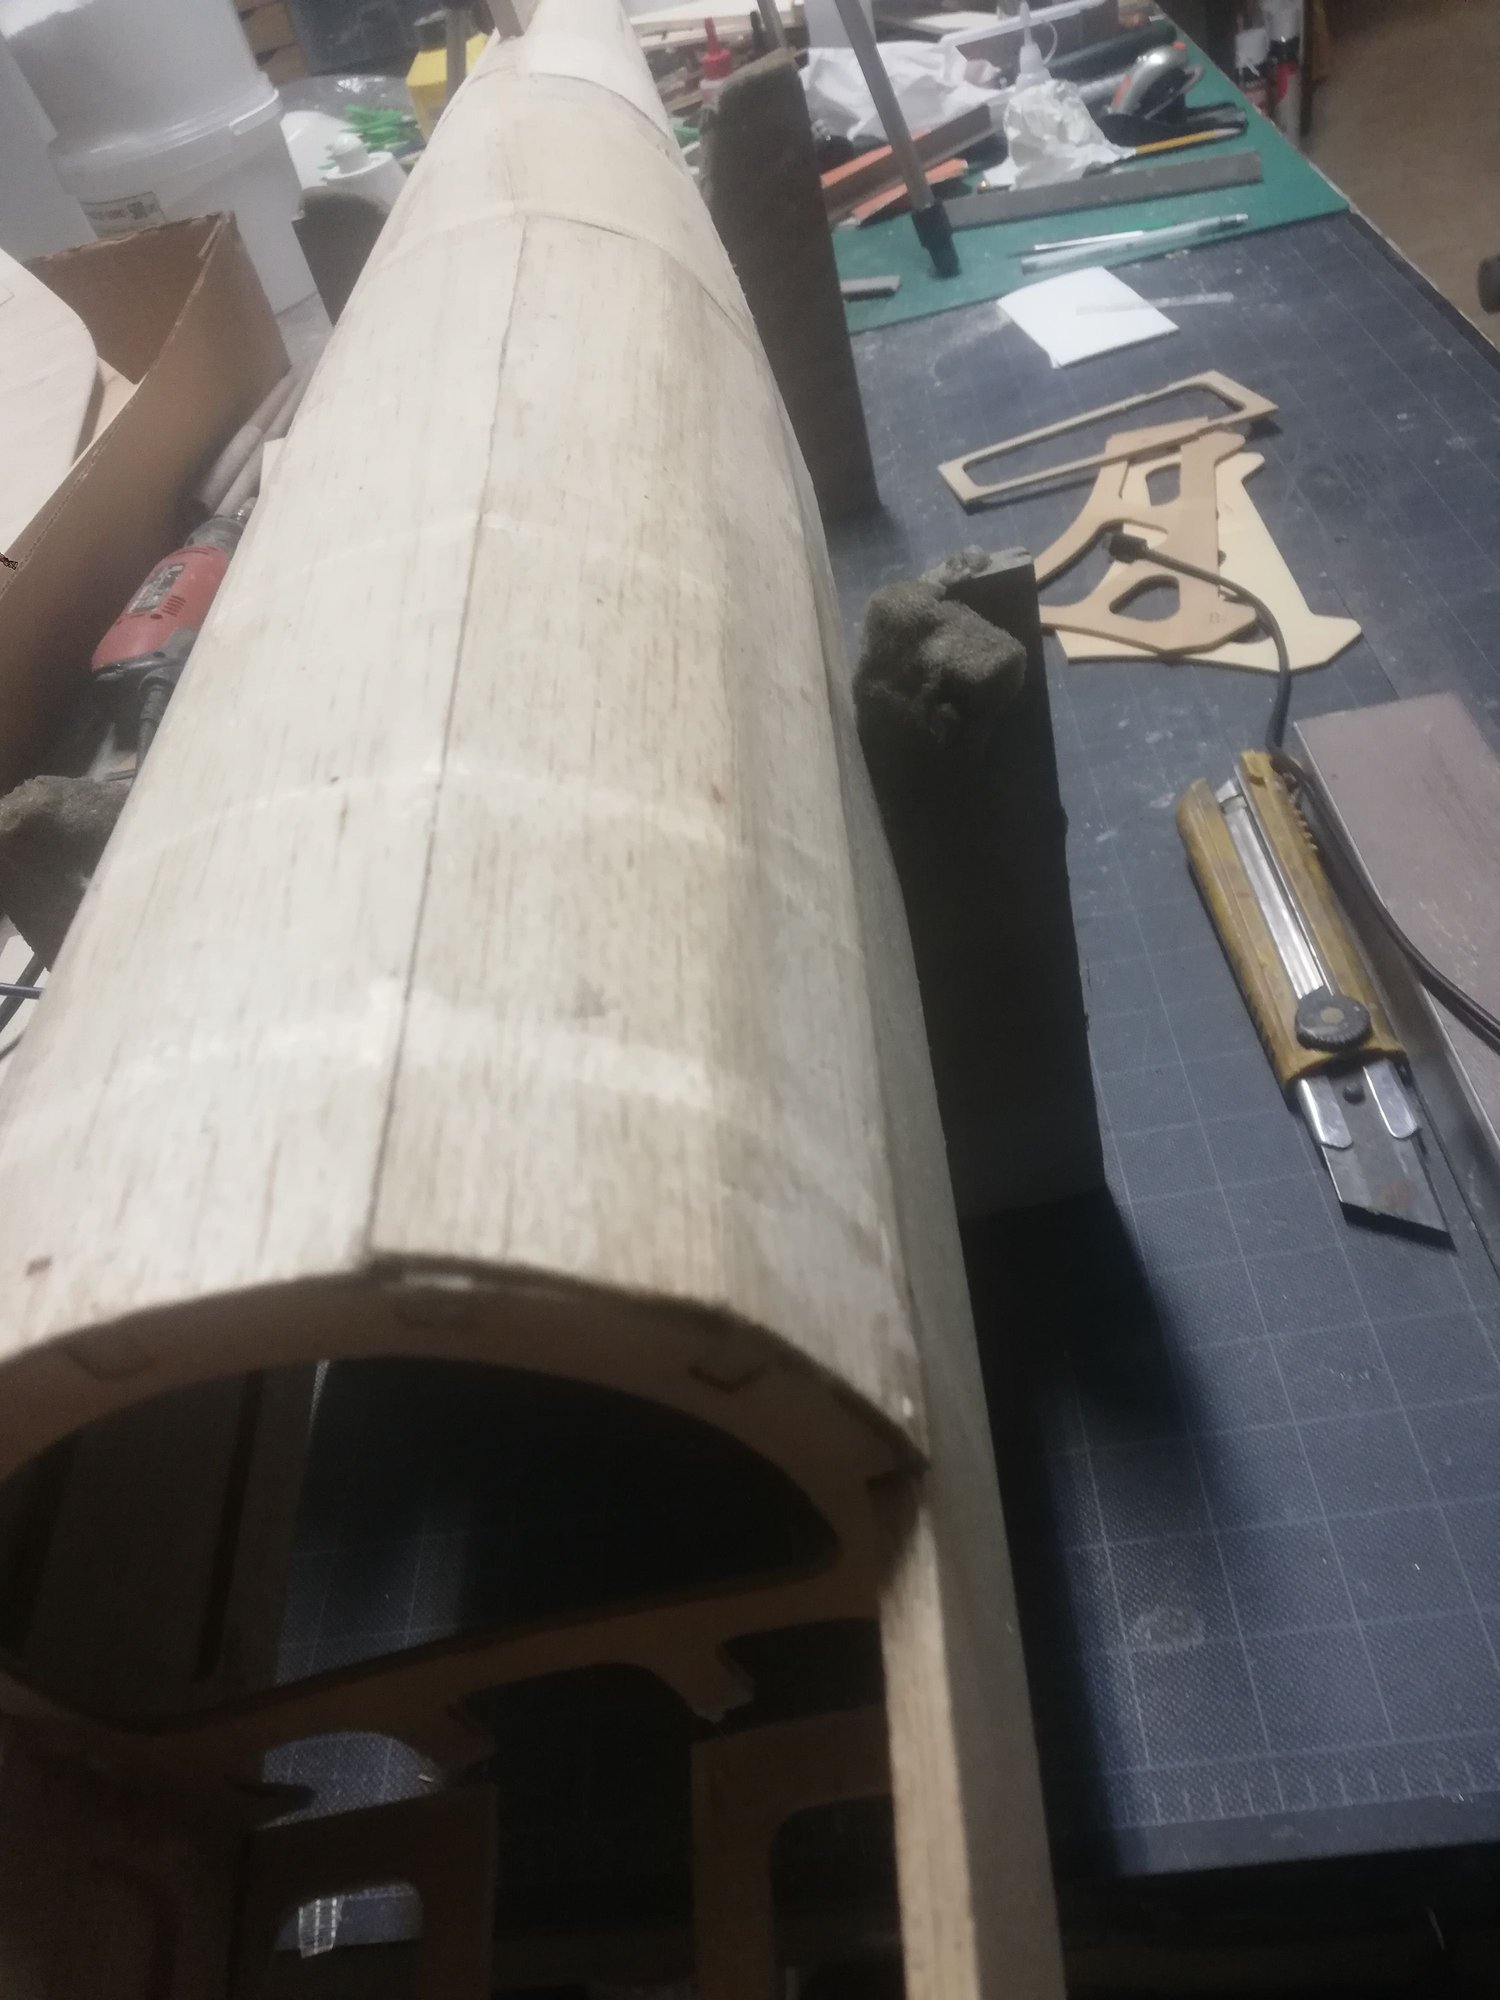
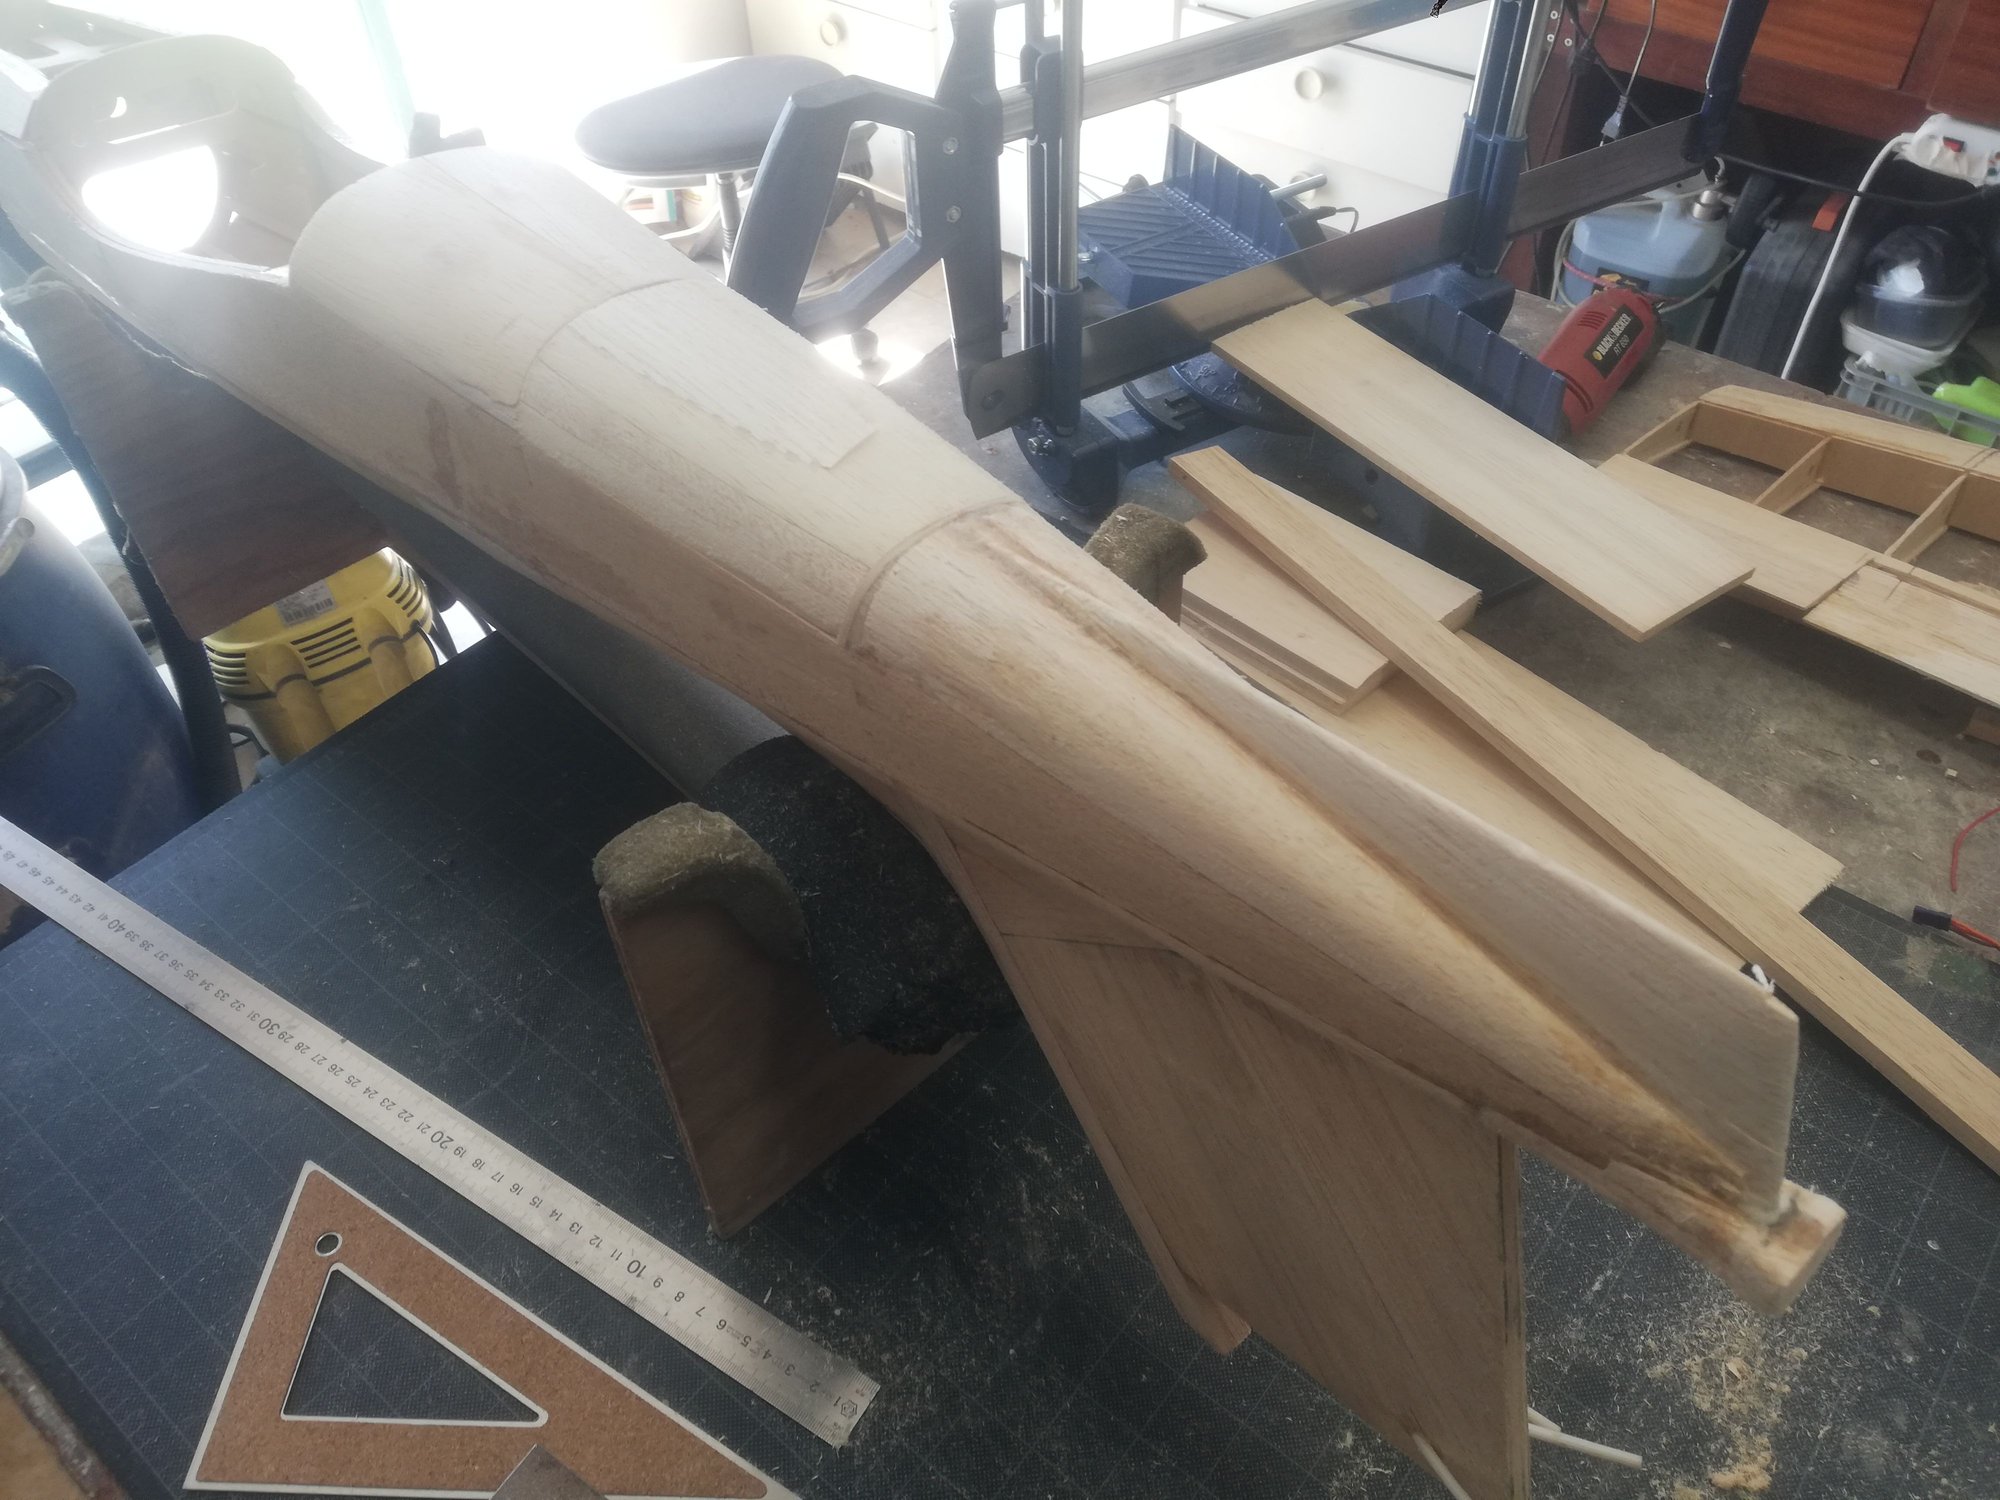
Almost finished fuselage. I have not decided yet if I cover it or if I fiberglass it...but probably cover.
Front view showing the nose cone-motor alignment (plywood ring still to be glued in place.
Always good motivation boosters these lets-see-how-it looks-already moments
Next video on my channel coming tomorrow.
Thank you for watching,
Fly safe, be safe.
Finally the Learjet is going at a good pace. Here are today's updates:
The horizontal Stabilator modified to use scale like control surfaces (standard elevators lines visible)...as f I already did not have anything else to worry about...but it is worth it!
The horizontal stabilator mount, ready to receive the stab. The small marks are from a phillips screw driver. I normally do these in order to give the epoxy some more gripping area.
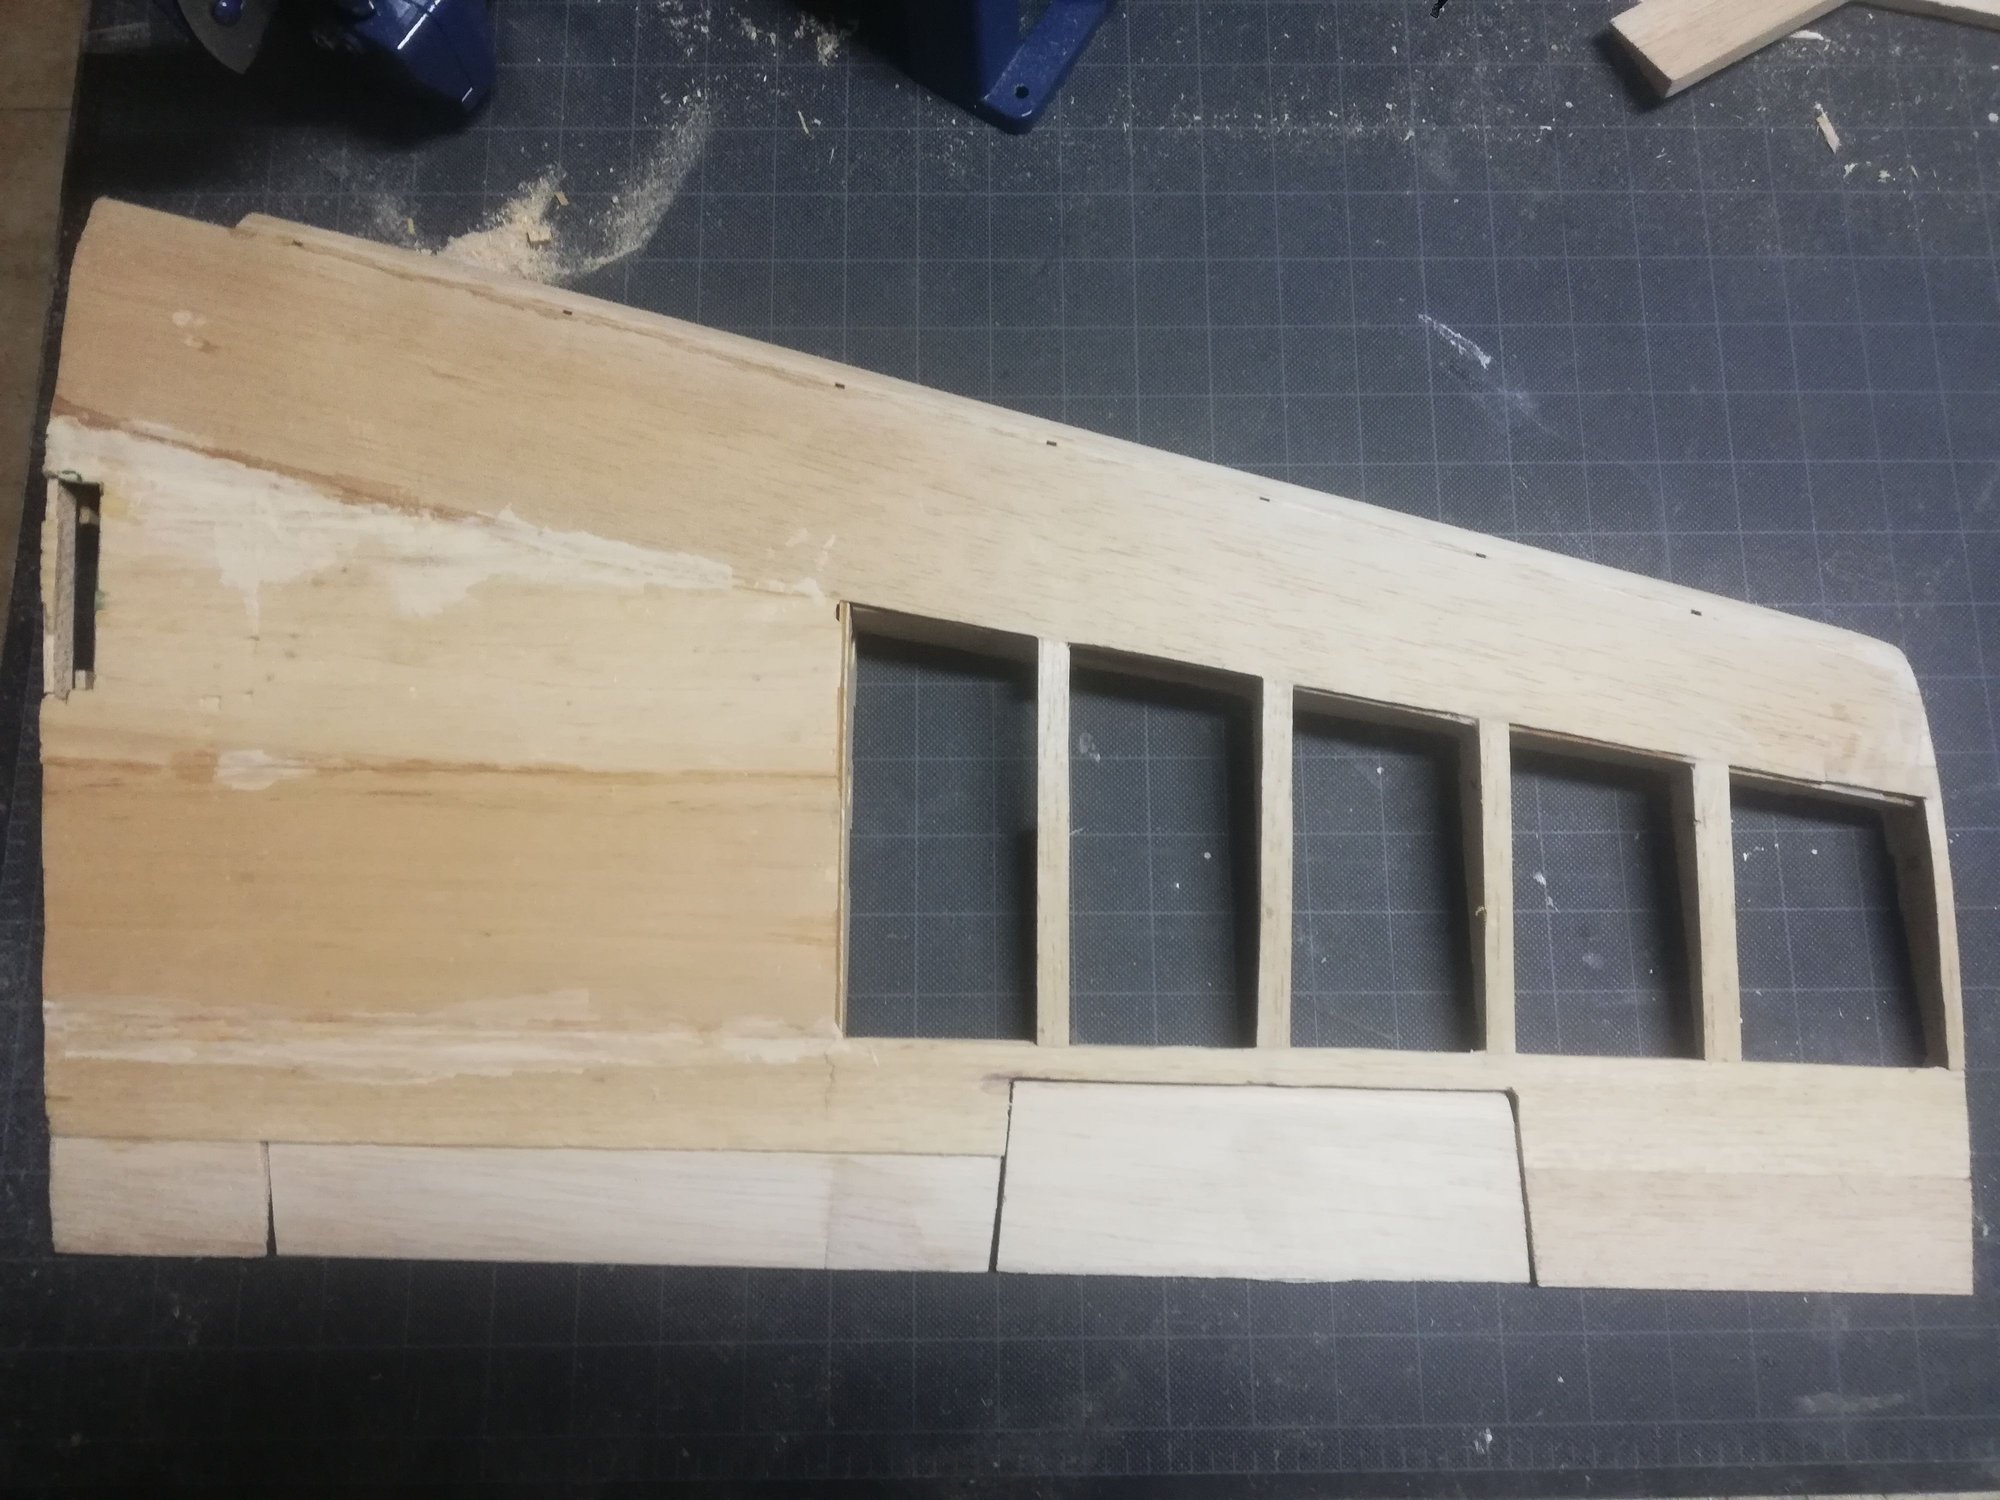
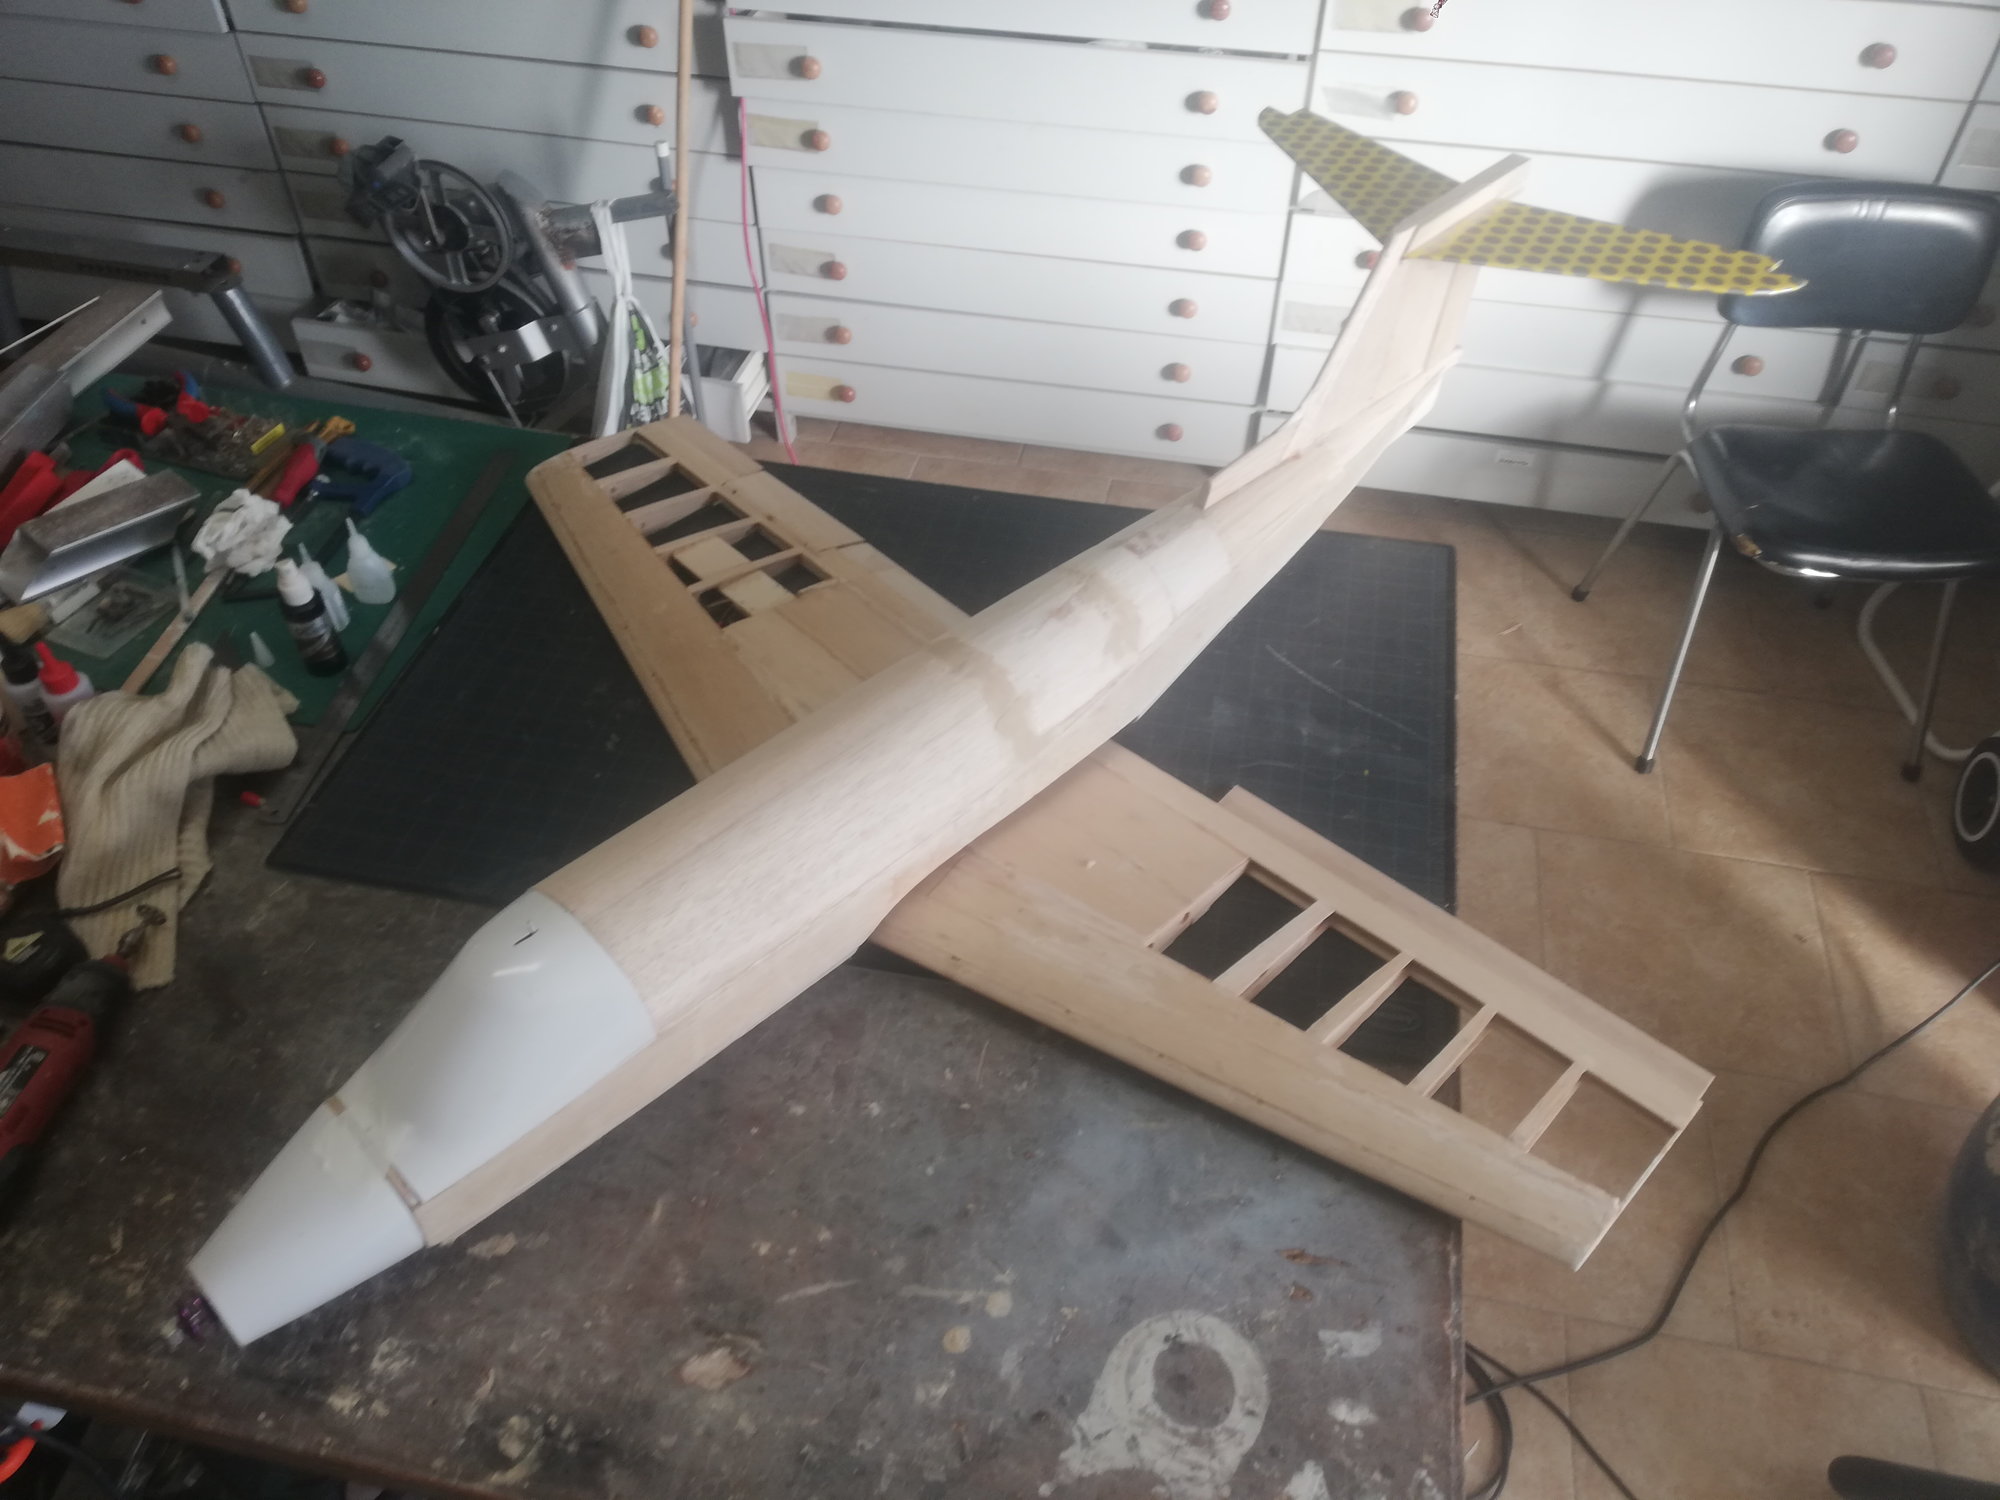
Almost finished fuselage. I have not decided yet if I cover it or if I fiberglass it...but probably cover.
Front view showing the nose cone-motor alignment (plywood ring still to be glued in place.
Always good motivation boosters these lets-see-how-it looks-already moments
Next video on my channel coming tomorrow.
Thank you for watching,
Fly safe, be safe.
04-13-2020, 11:50 AM
#10
Thread Starter
Hello again,
this project is nearing its completion, even closer because I still don't have the retracts for it, so I would like to ask you and let you decide which will be my next project
What do you want me to build next?
Great Planes Patriot .46
OR
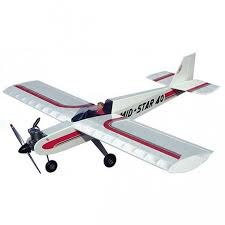
Sig Mid-Star 40
Both are NIB kits.
Thank you for your vote!
this project is nearing its completion, even closer because I still don't have the retracts for it, so I would like to ask you and let you decide which will be my next project
What do you want me to build next?
Great Planes Patriot .46
OR
Sig Mid-Star 40
Both are NIB kits.
Thank you for your vote!
Last edited by JCavadas; 04-13-2020 at 11:55 AM. Reason: Put pictures of the models
04-15-2020, 02:02 PM
#11
Thread Starter
Hello all,
today I finished the cowl and hatch, installed the elevator and rudder servos, and finished the woodwork on the fuselage and started covering.
I decided not to install the Delta fins on this model, because I am very concerned with the way they will affect the flight. On the real Learjet 31 they are positioned with an angle of attack of approximately -7�, but that is taking the effect of the raisbeck locker profile and engine positions, and this is not a full scale model, invalidating those conditions. Anyway, it would be a very time consuming task to make all necessary testing before the maiden flight.
The cowl is secured with 3 neodymium magnets and the hatch with 4. Both are completely secure. I really like the no screws options.
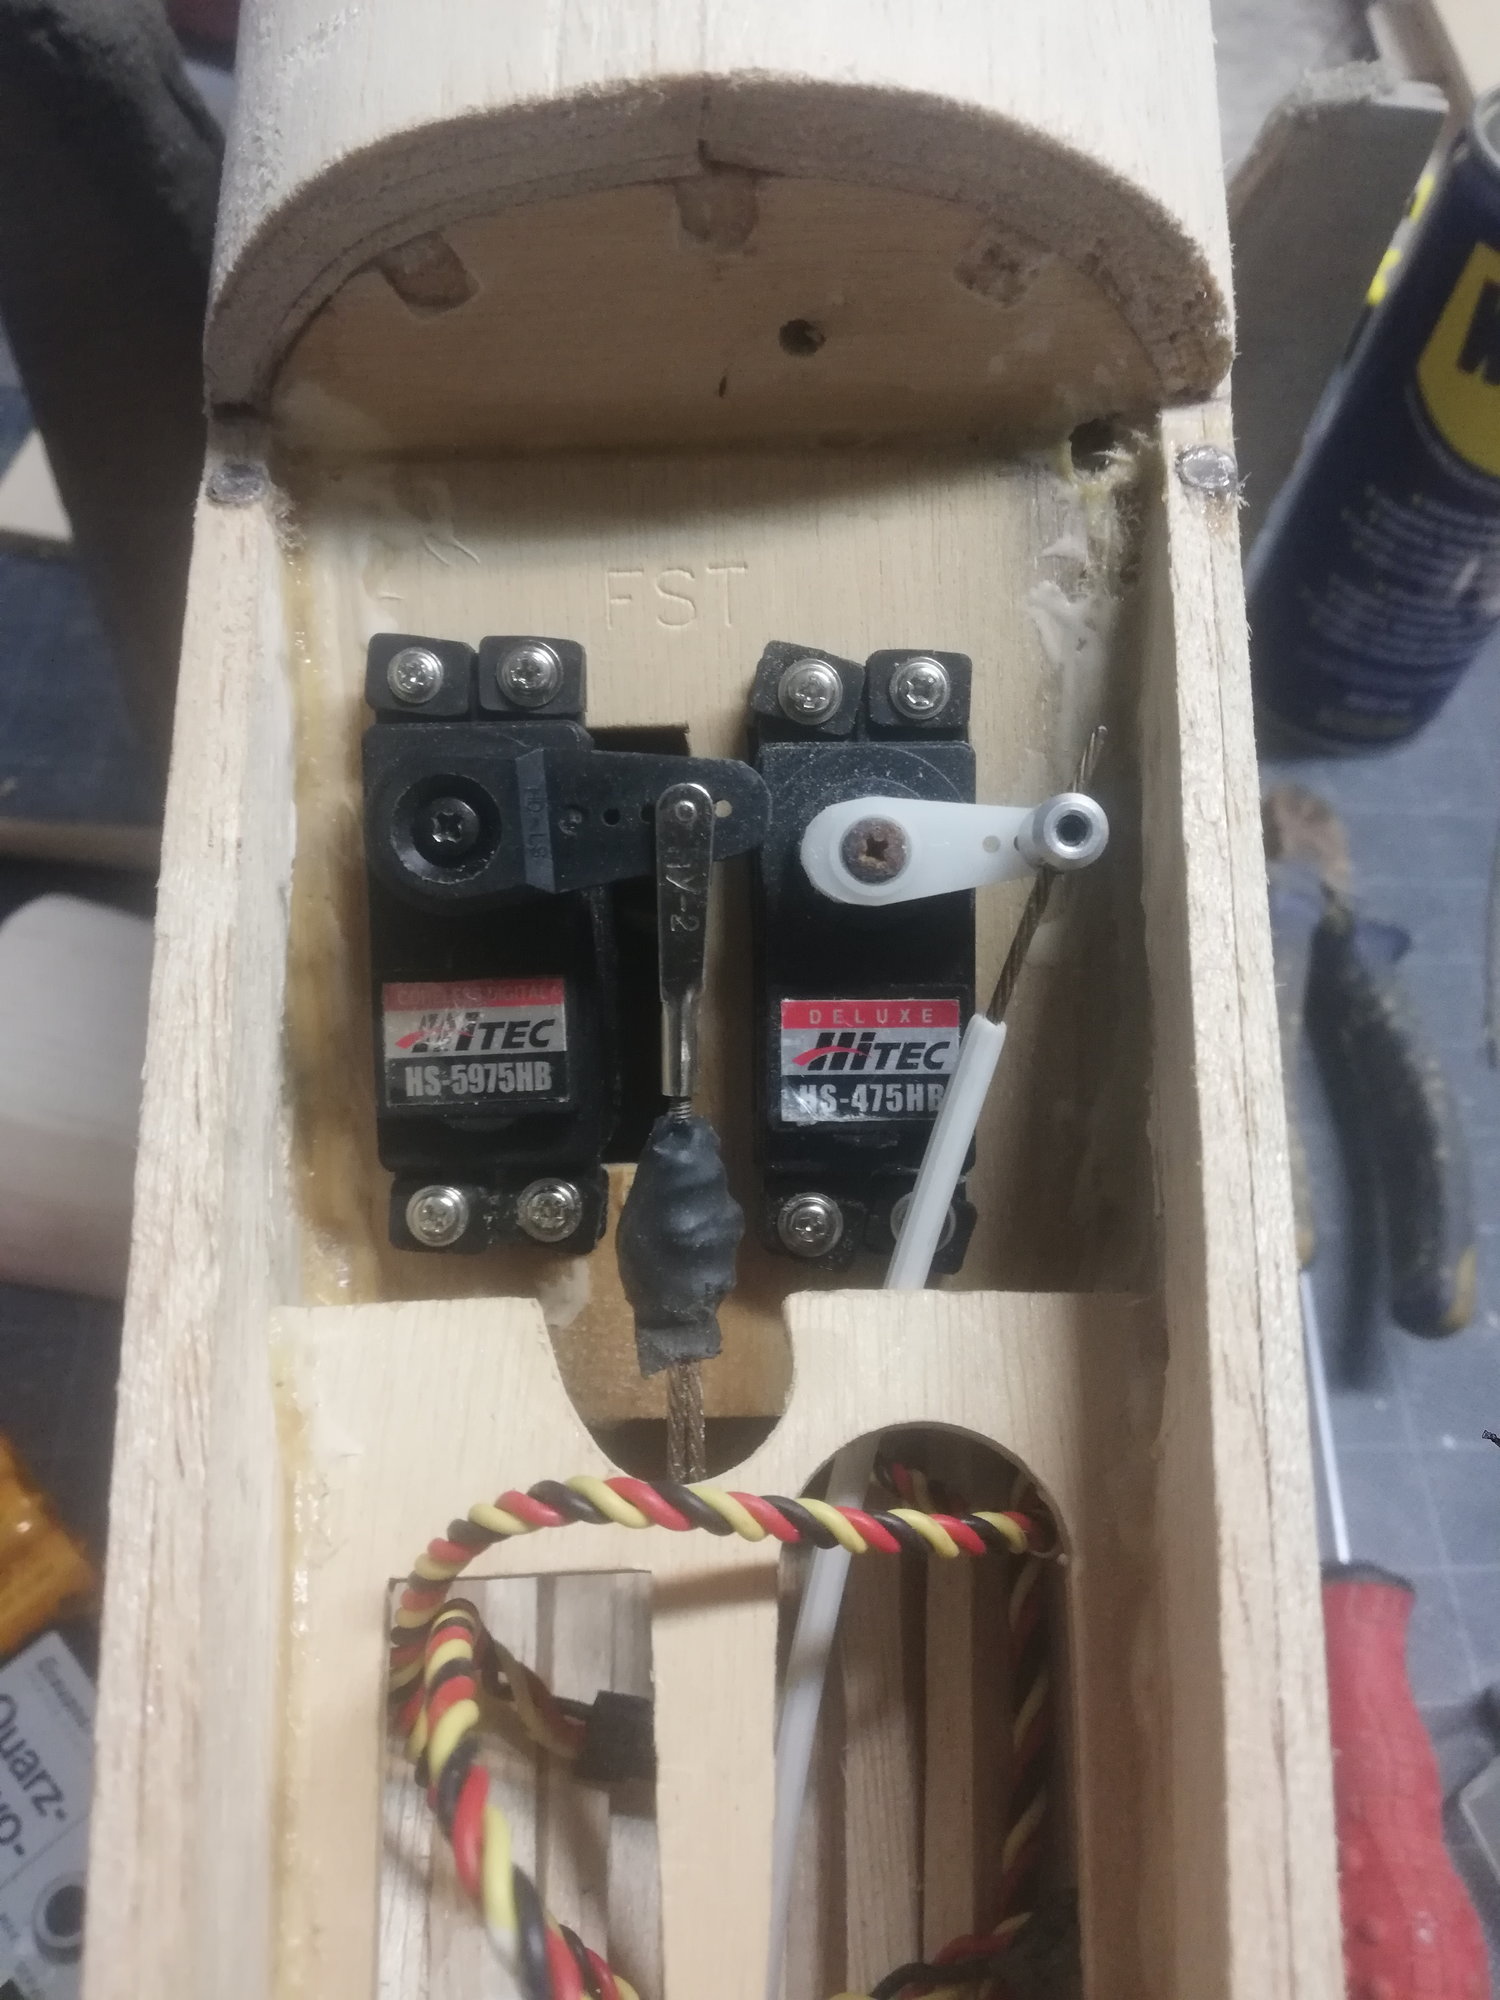
The elevators are controlled by a single HS-5745MG (7 Kg 0.12s) and the rudder with a HS-475HB (4.4Kg), both already installed.
Tomorrow I will post the video detailing a little more these subjects and with two tips/tricks.
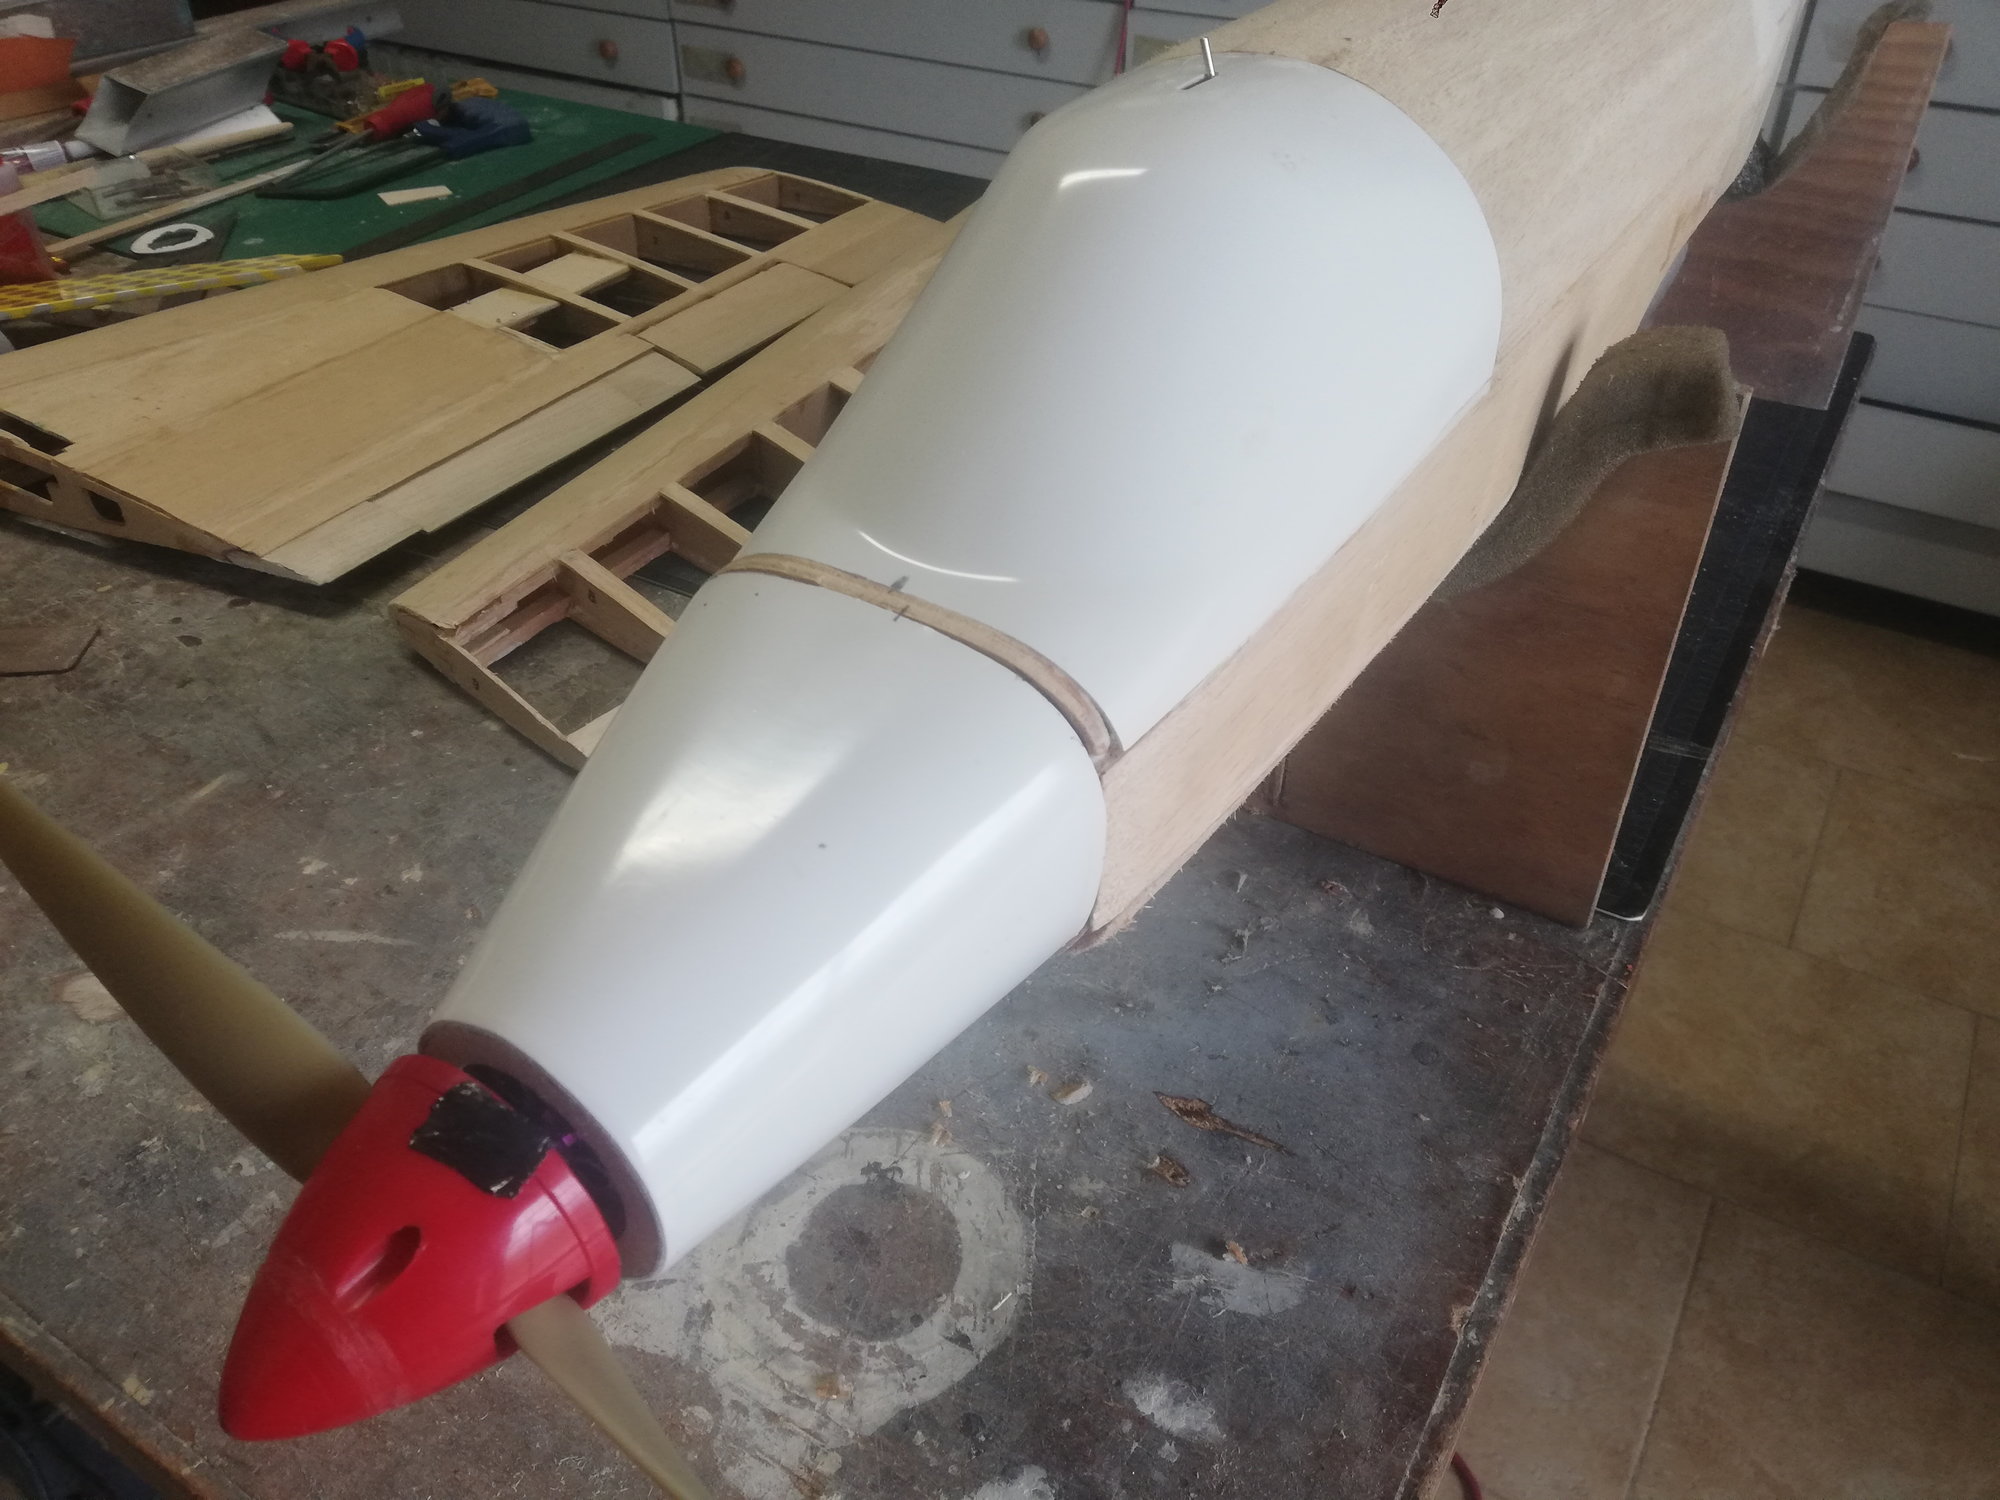
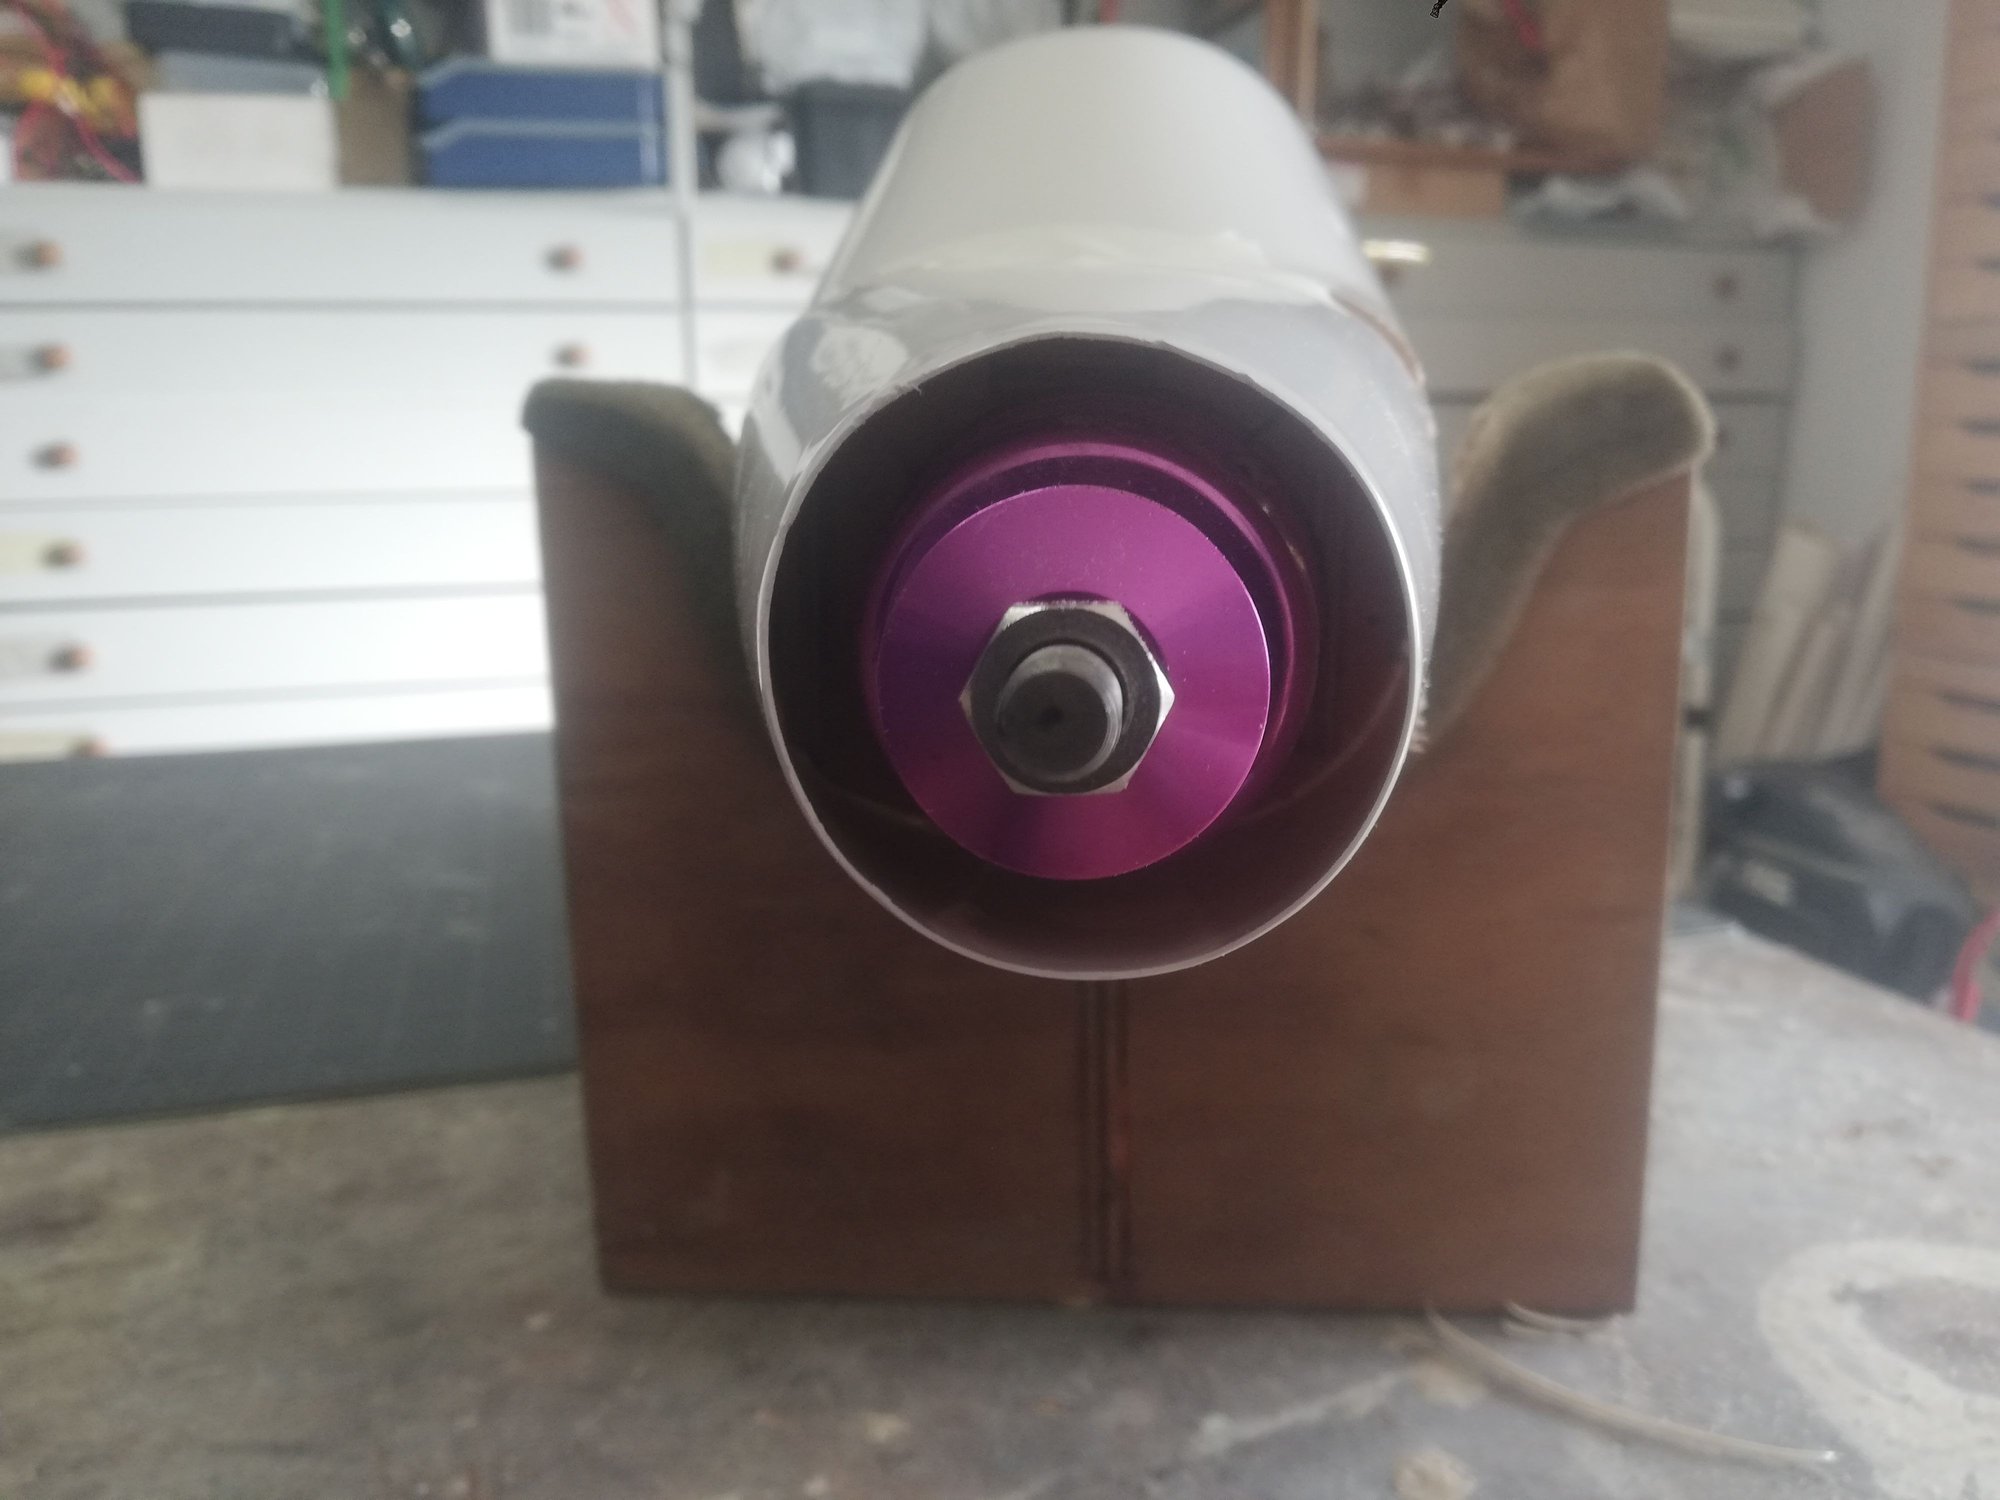
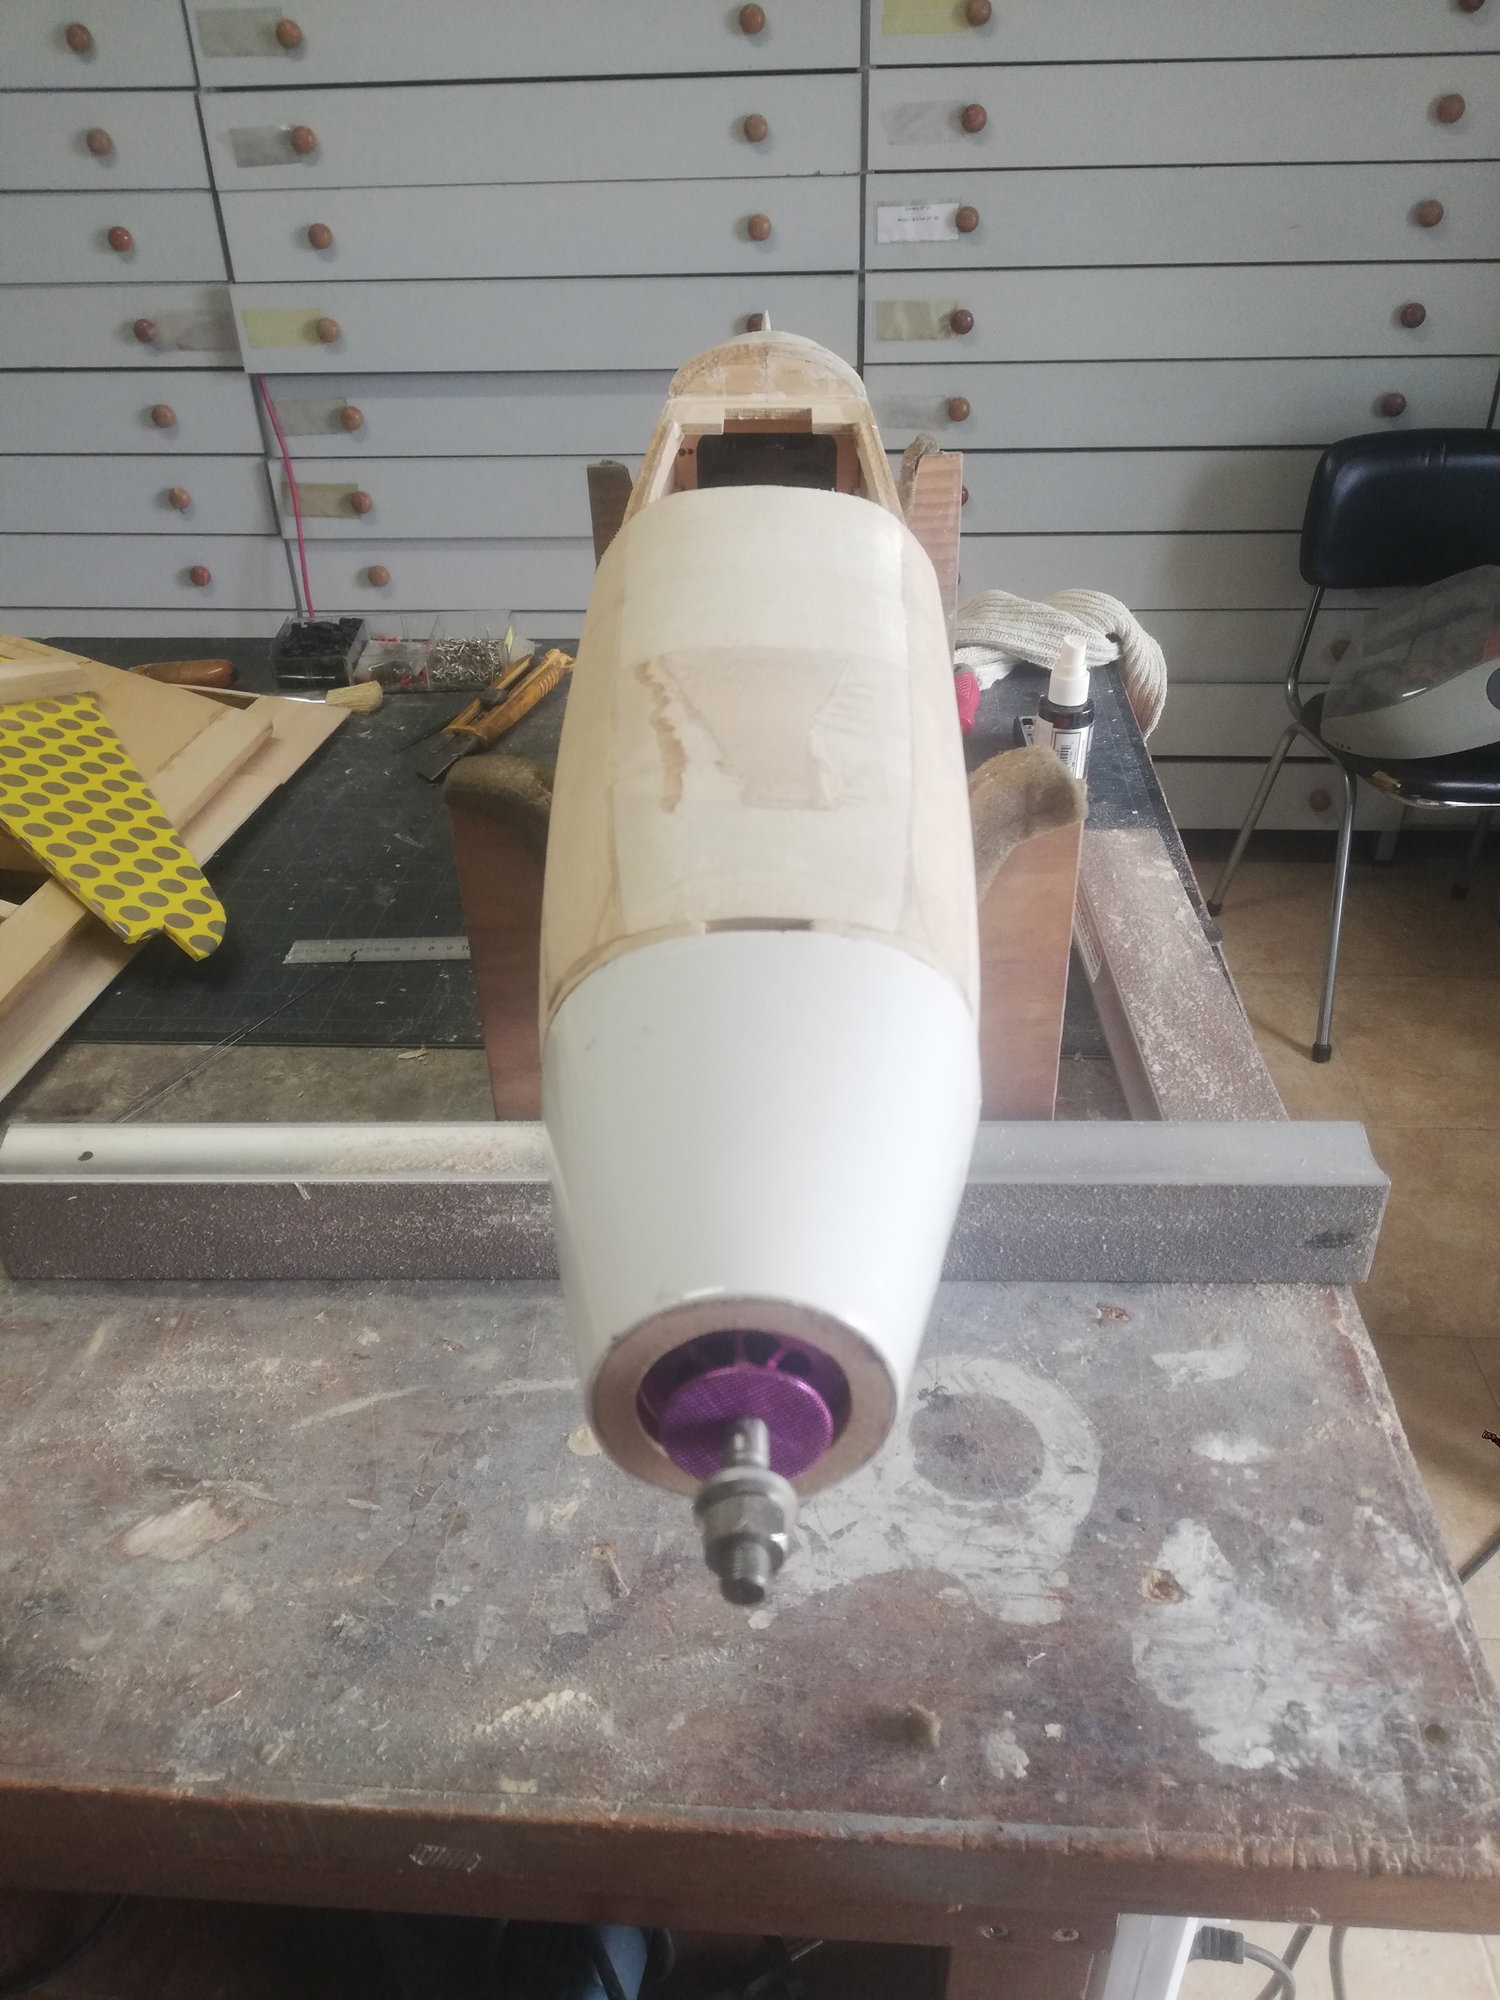
Front view: the spinner has a larger than noral gap to the cowl ring because there is no provision for cooling as this kit was intended for ic engines...this is were the cooling air will enter the cowl, and it will exit via the first two cm of the nose gear door.
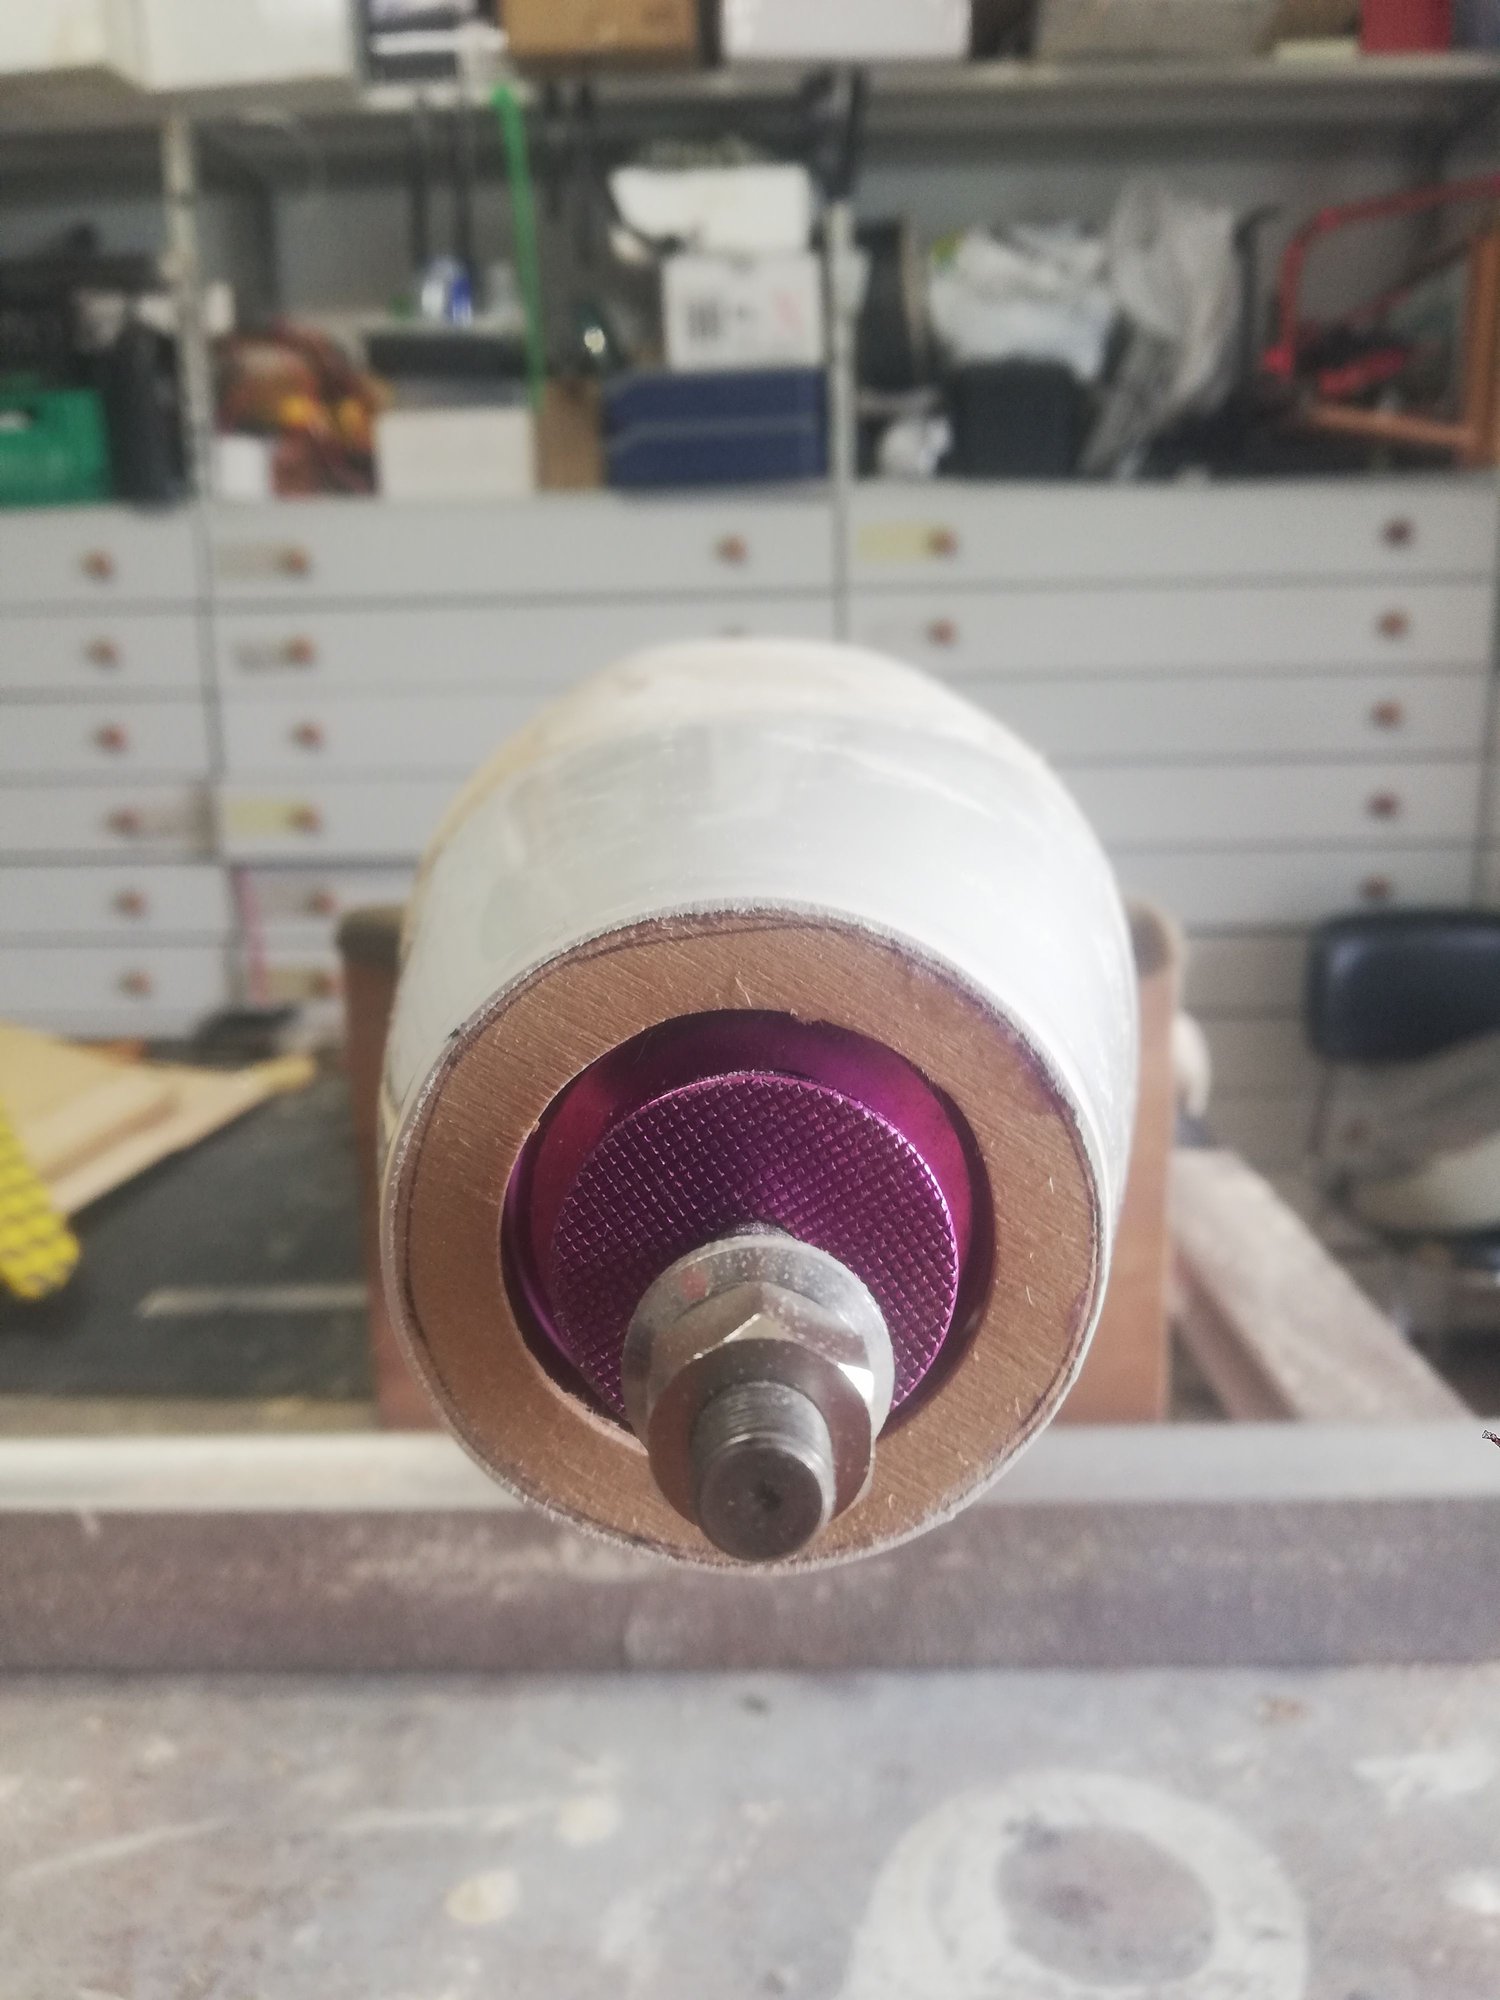
another view of the motor-cowl alignment
Finished fuselage bottom
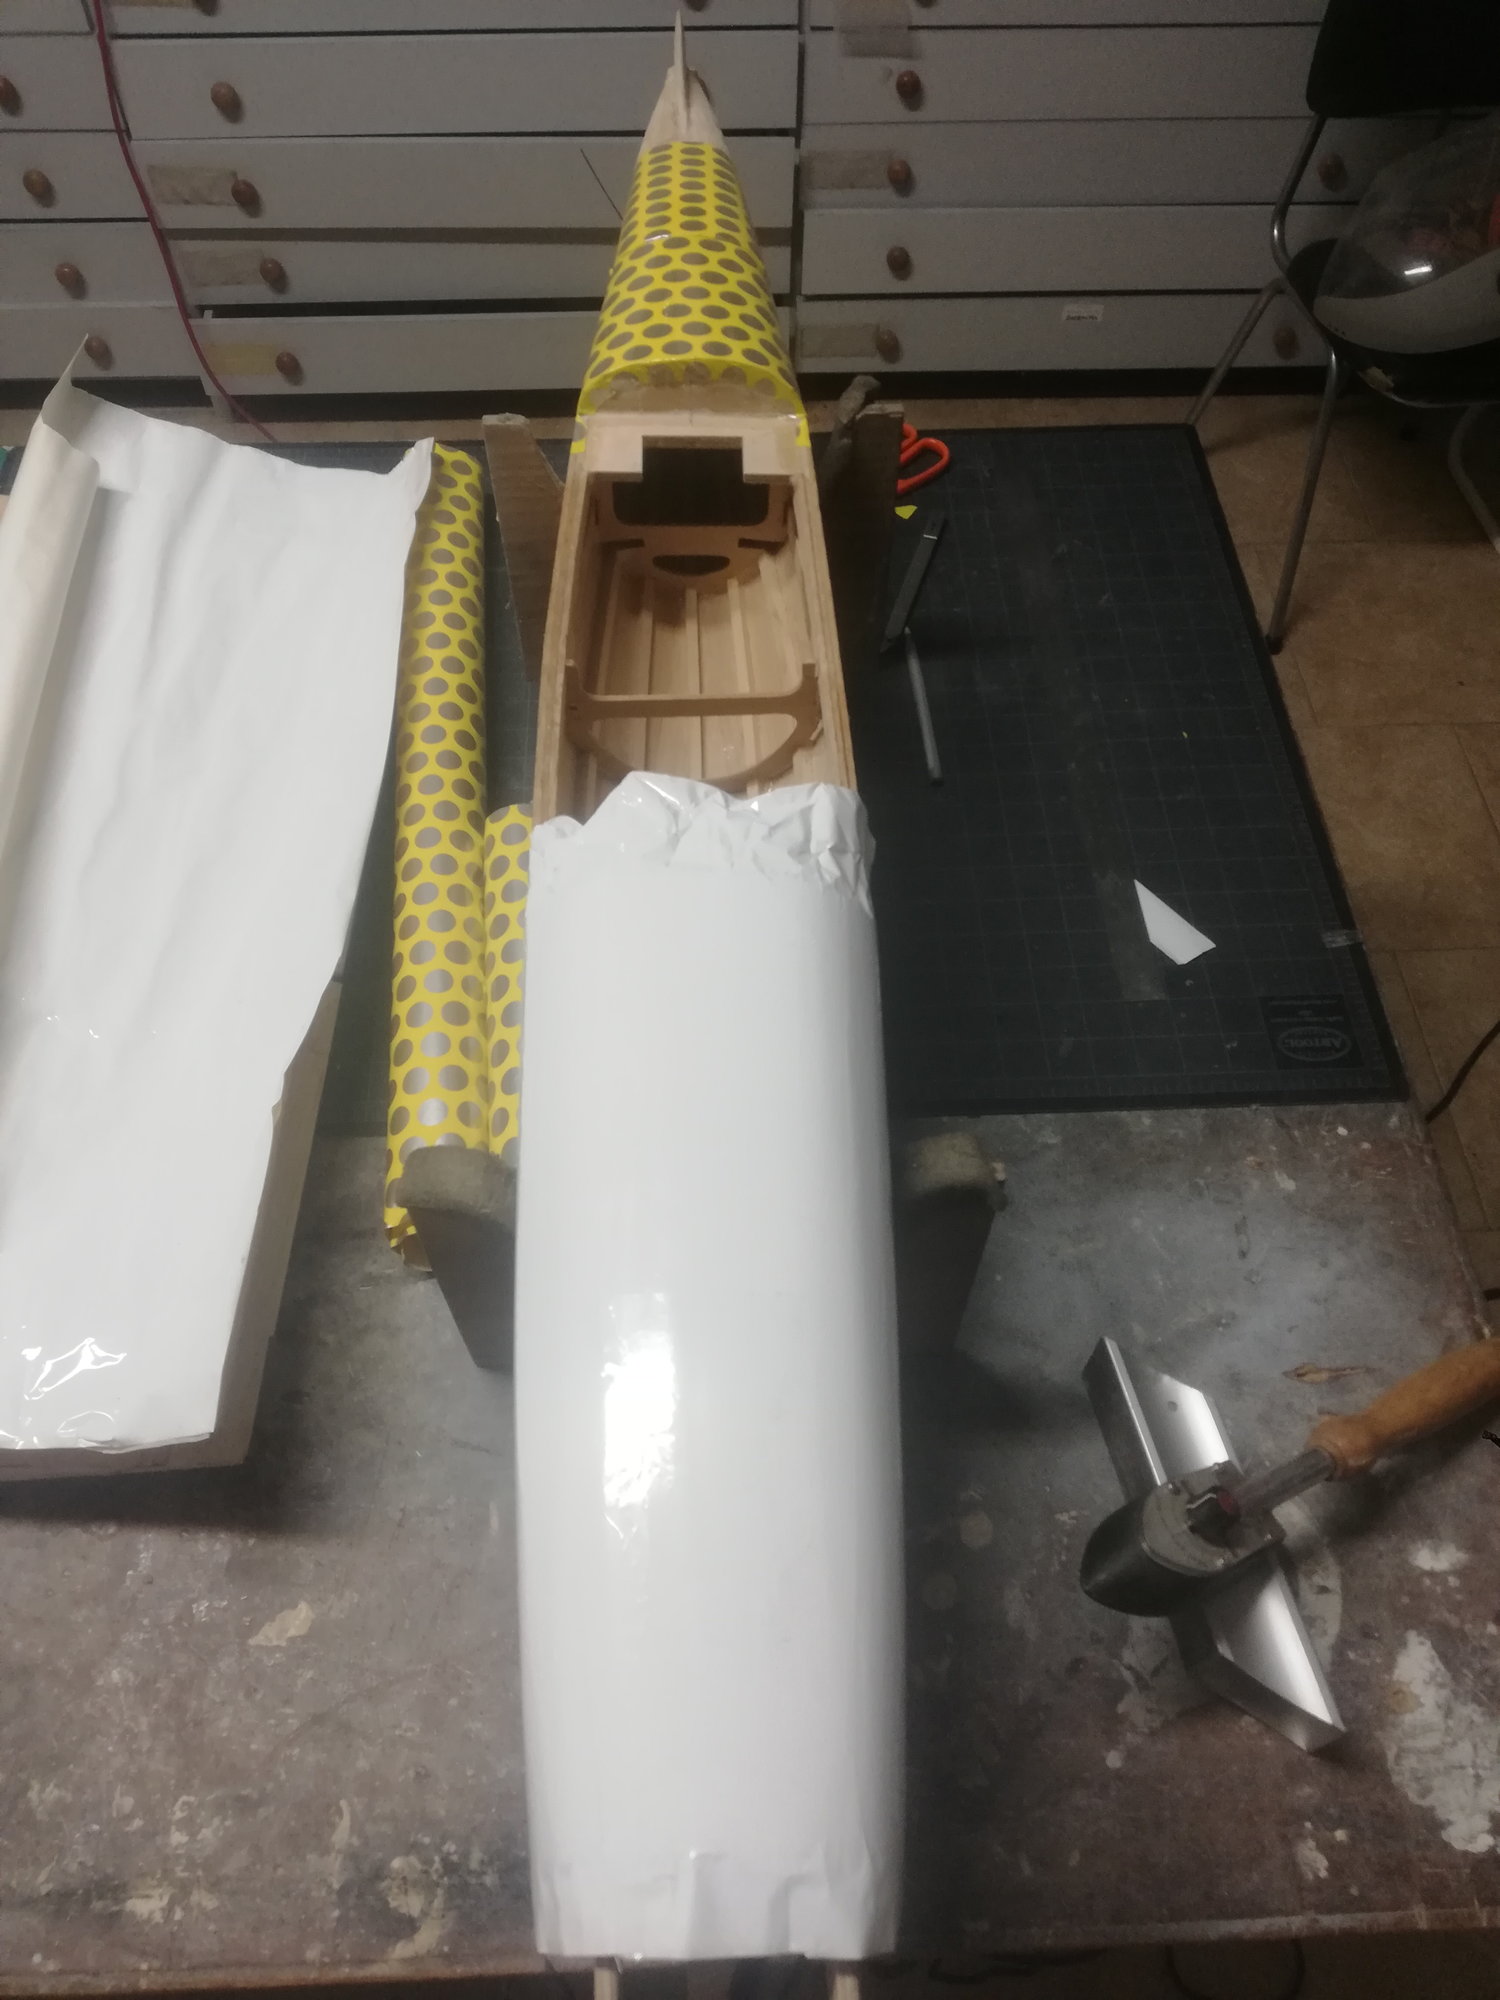
Starting covering. The scheme will be the one in the photo I posted earlier, all white and blue stripes. The problem is I did not find any white covering paper, so I used the scrap box to get some paper I would not use and will paint over it.
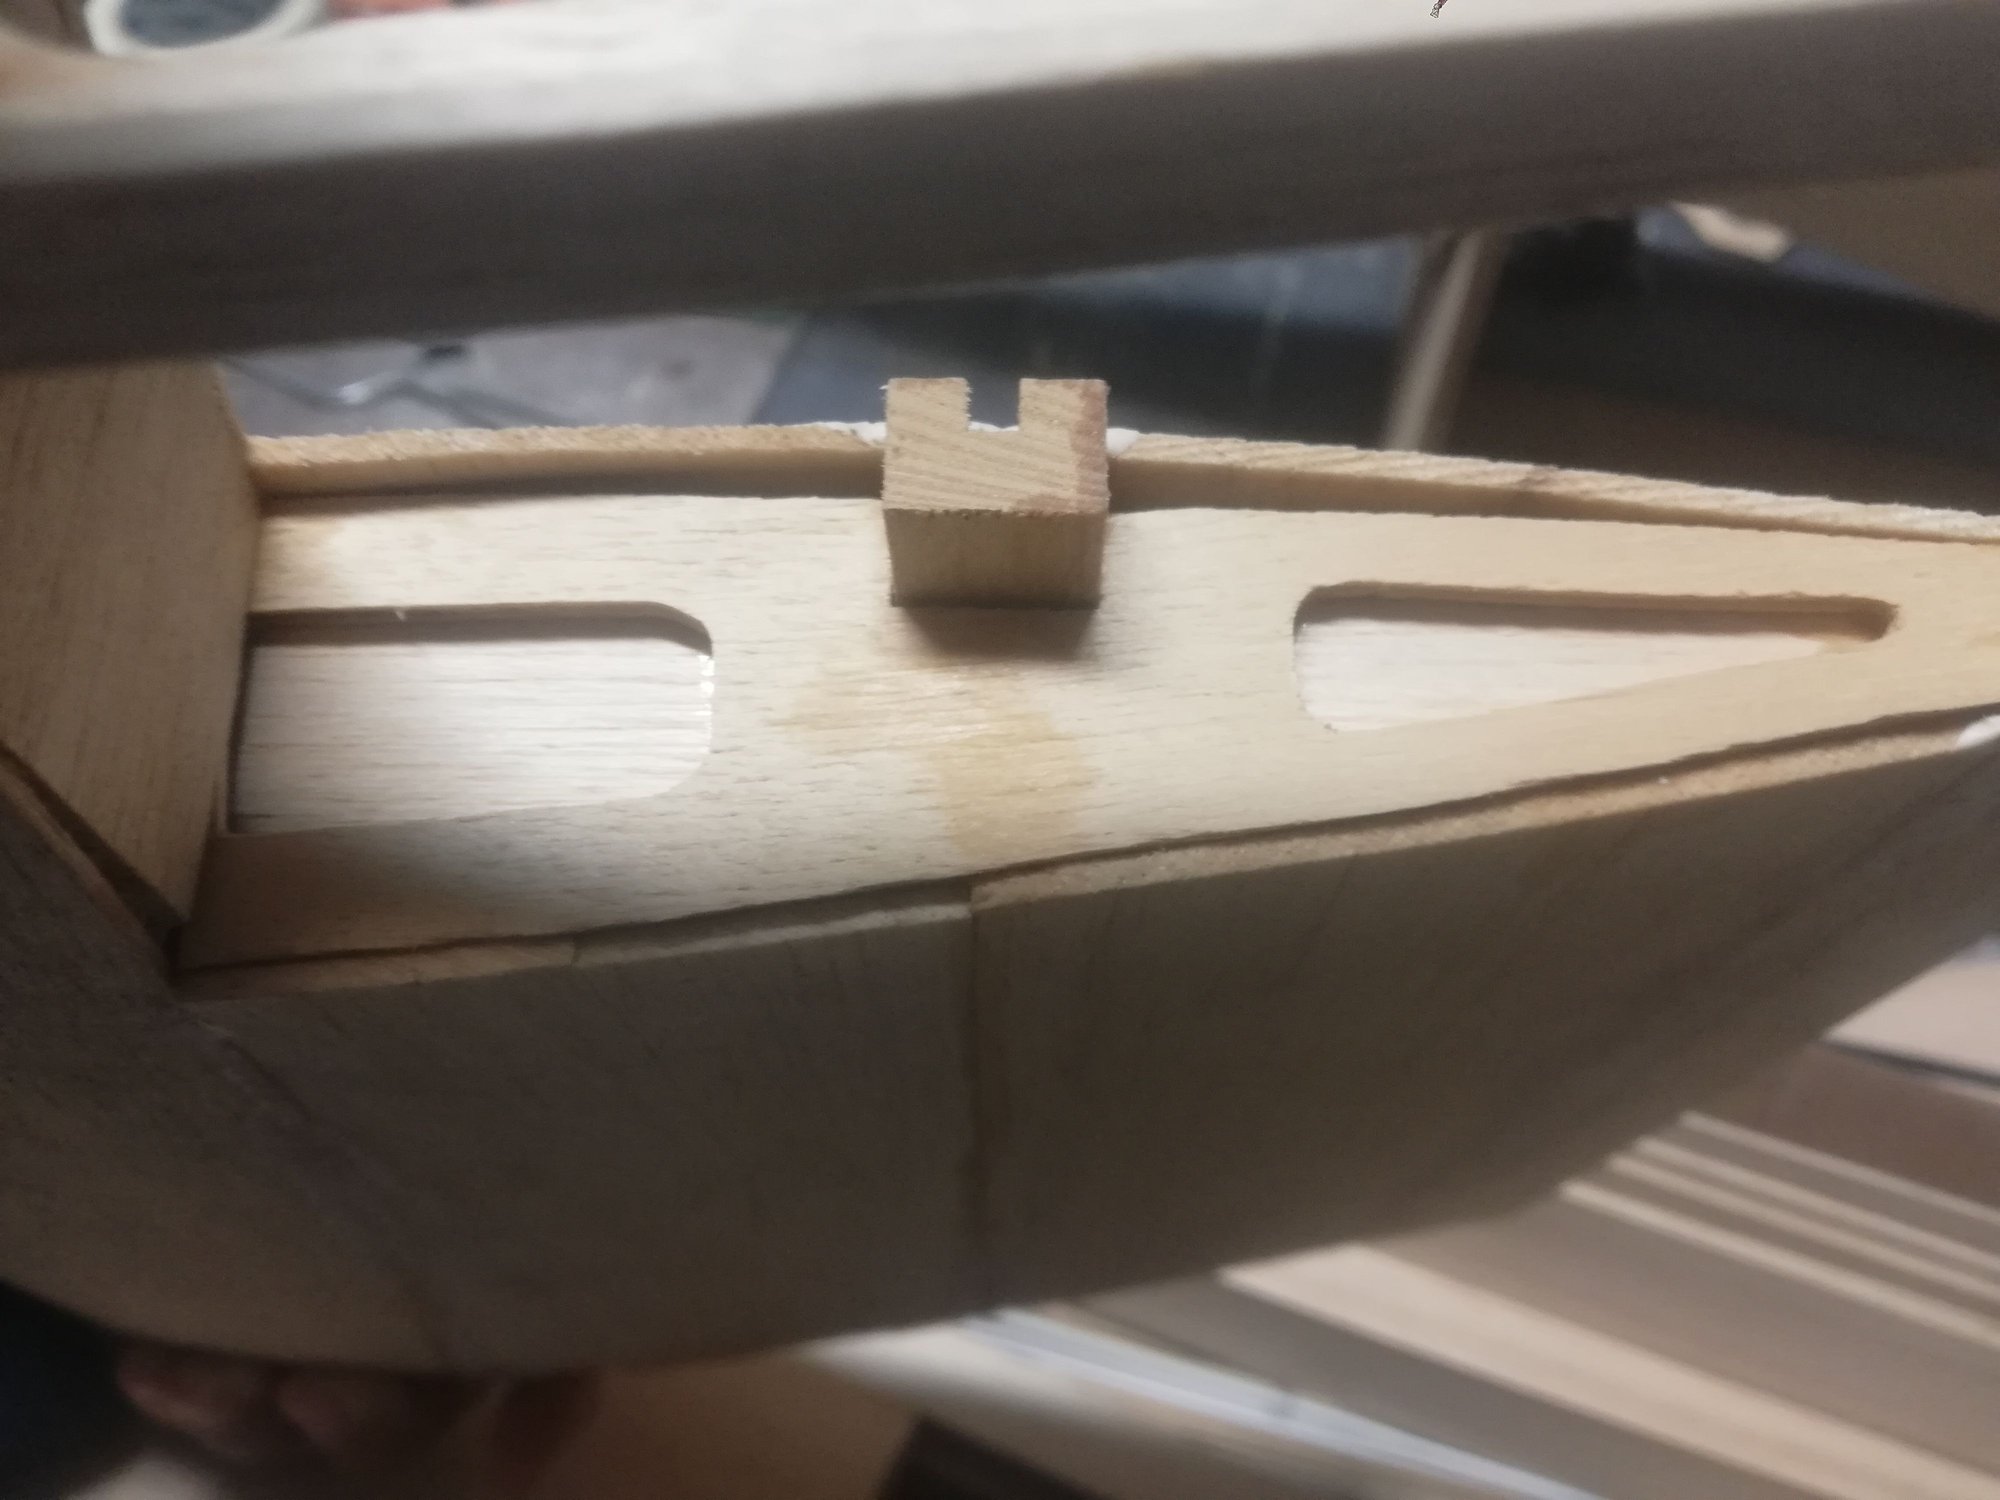
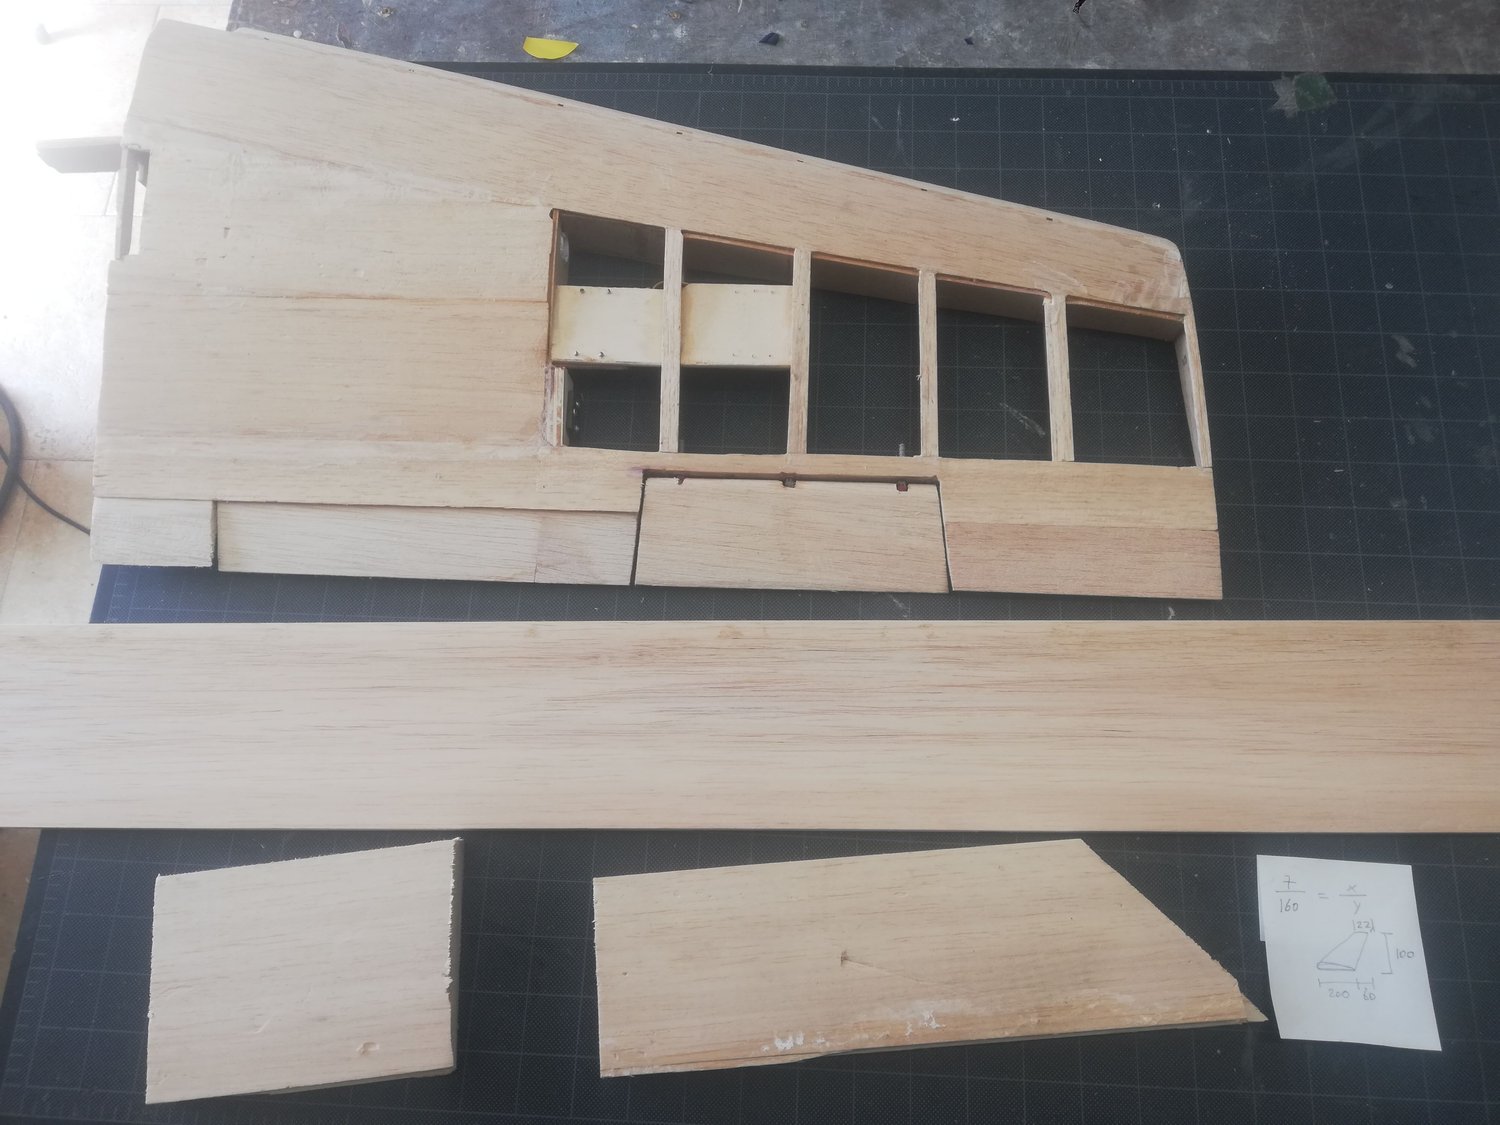
Fuselage servo installation. I had to enlarge the slot to the left in order to get some space for the elevator servo arm
That is all for today. All the best to you.
today I finished the cowl and hatch, installed the elevator and rudder servos, and finished the woodwork on the fuselage and started covering.
I decided not to install the Delta fins on this model, because I am very concerned with the way they will affect the flight. On the real Learjet 31 they are positioned with an angle of attack of approximately -7�, but that is taking the effect of the raisbeck locker profile and engine positions, and this is not a full scale model, invalidating those conditions. Anyway, it would be a very time consuming task to make all necessary testing before the maiden flight.
The cowl is secured with 3 neodymium magnets and the hatch with 4. Both are completely secure. I really like the no screws options.
The elevators are controlled by a single HS-5745MG (7 Kg 0.12s) and the rudder with a HS-475HB (4.4Kg), both already installed.
Tomorrow I will post the video detailing a little more these subjects and with two tips/tricks.
Front view: the spinner has a larger than noral gap to the cowl ring because there is no provision for cooling as this kit was intended for ic engines...this is were the cooling air will enter the cowl, and it will exit via the first two cm of the nose gear door.
another view of the motor-cowl alignment
Finished fuselage bottom
Starting covering. The scheme will be the one in the photo I posted earlier, all white and blue stripes. The problem is I did not find any white covering paper, so I used the scrap box to get some paper I would not use and will paint over it.
Fuselage servo installation. I had to enlarge the slot to the left in order to get some space for the elevator servo arm
That is all for today. All the best to you.
04-18-2020, 10:08 AM
#12
Thread Starter
Hello everyone,
today I finished covering the fuselage and will spray the primer on later in the day, after the glue on the horizontal stab has cured.
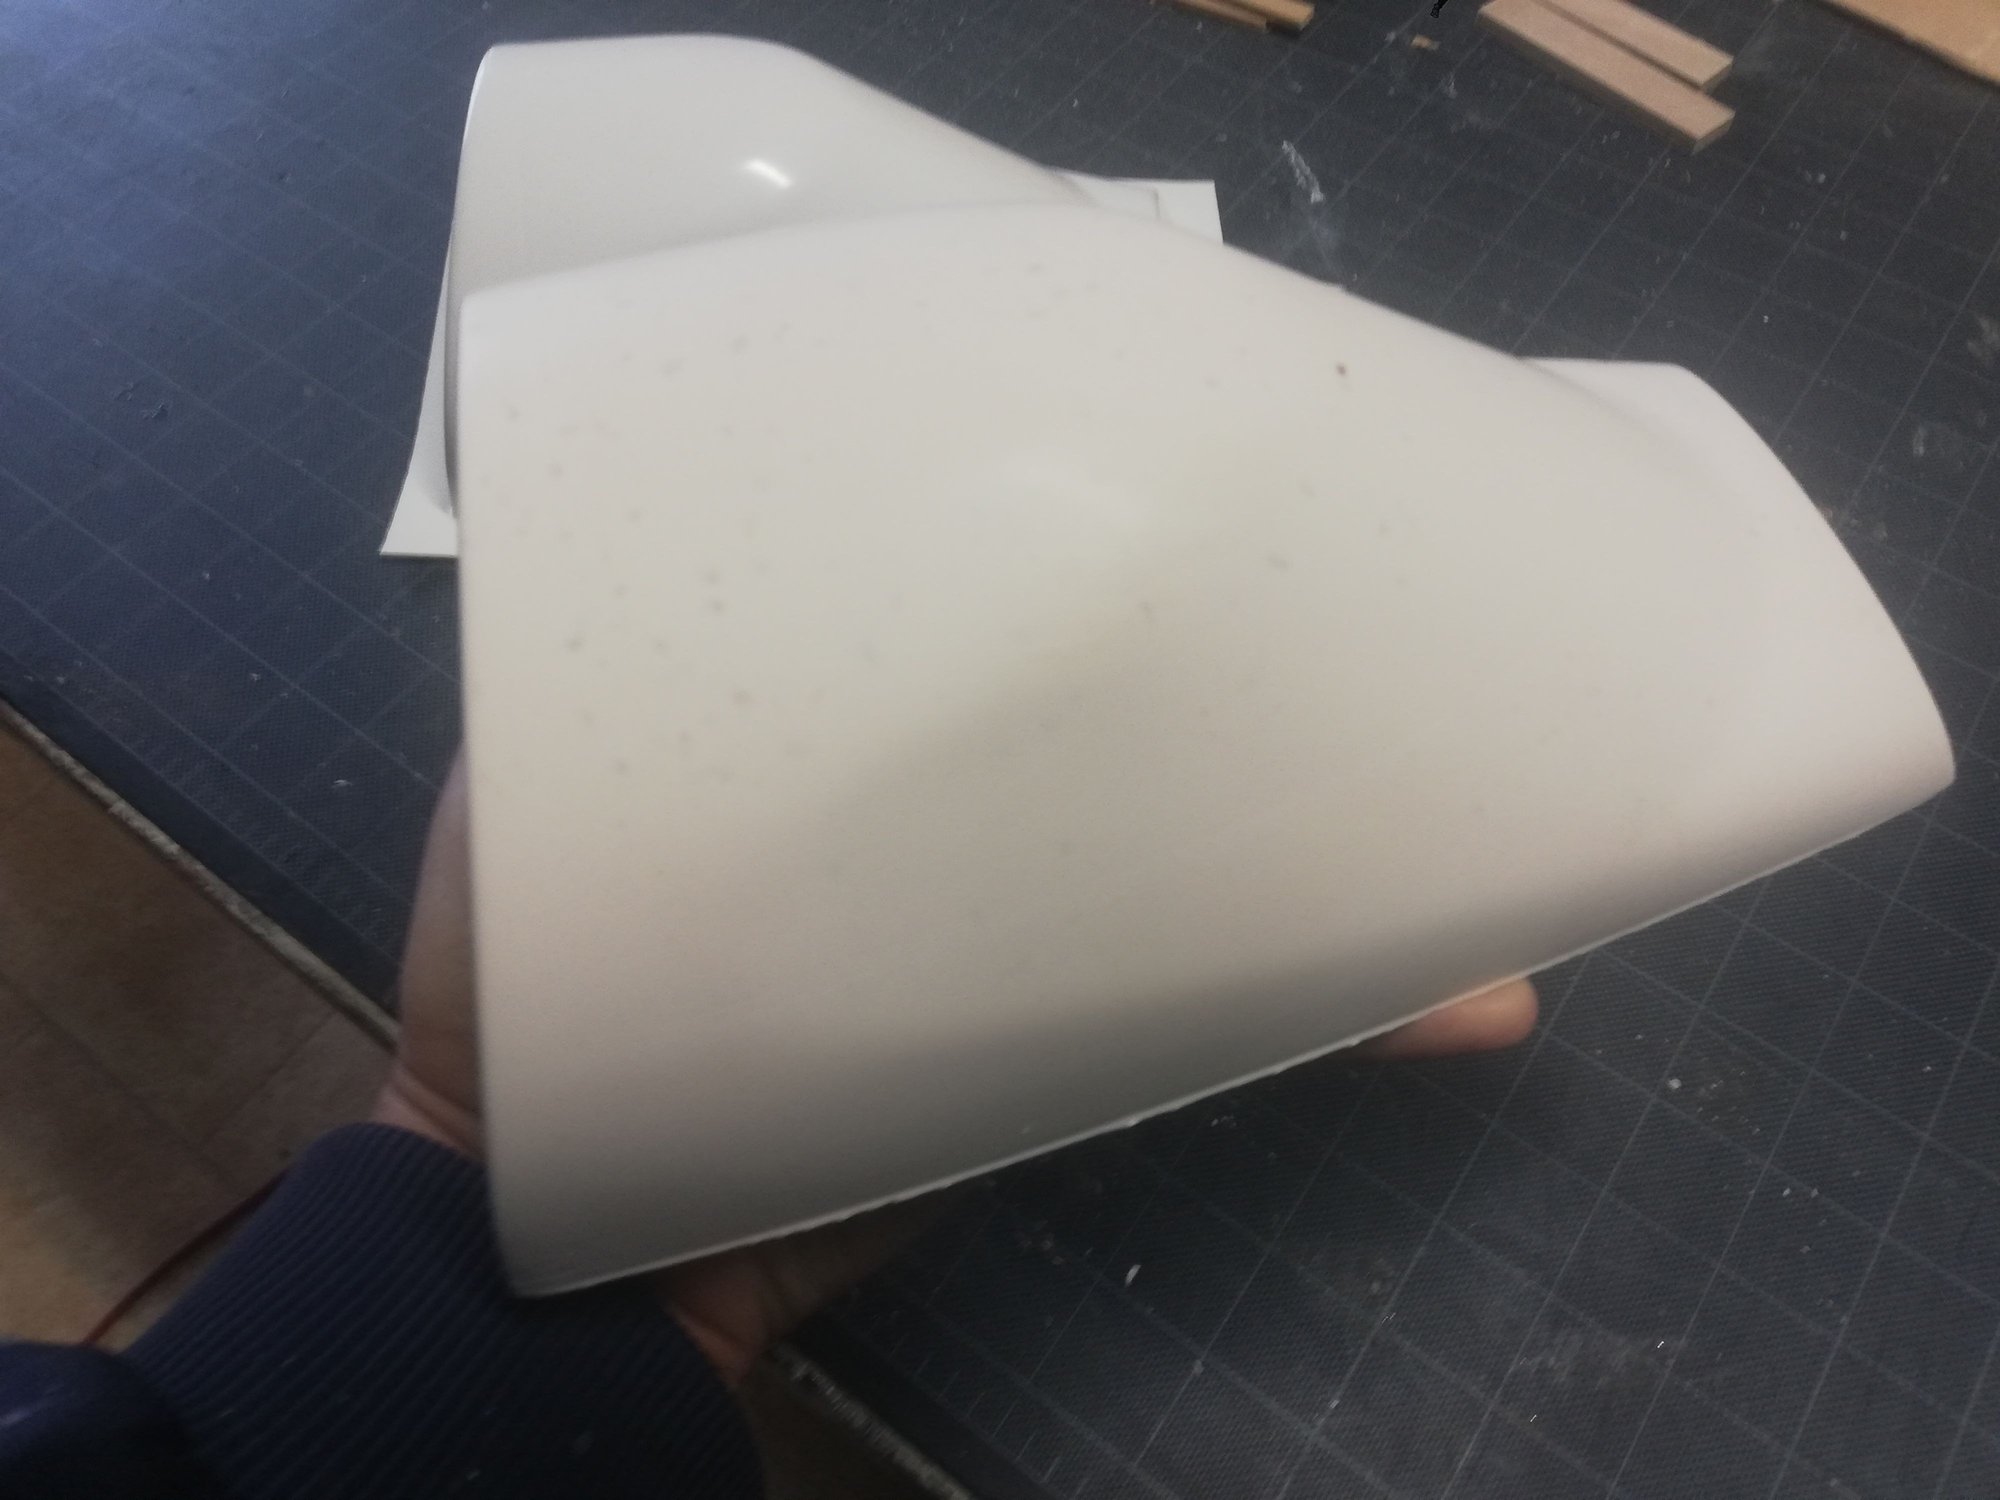
The big task was the winglet, I have finished one of them:
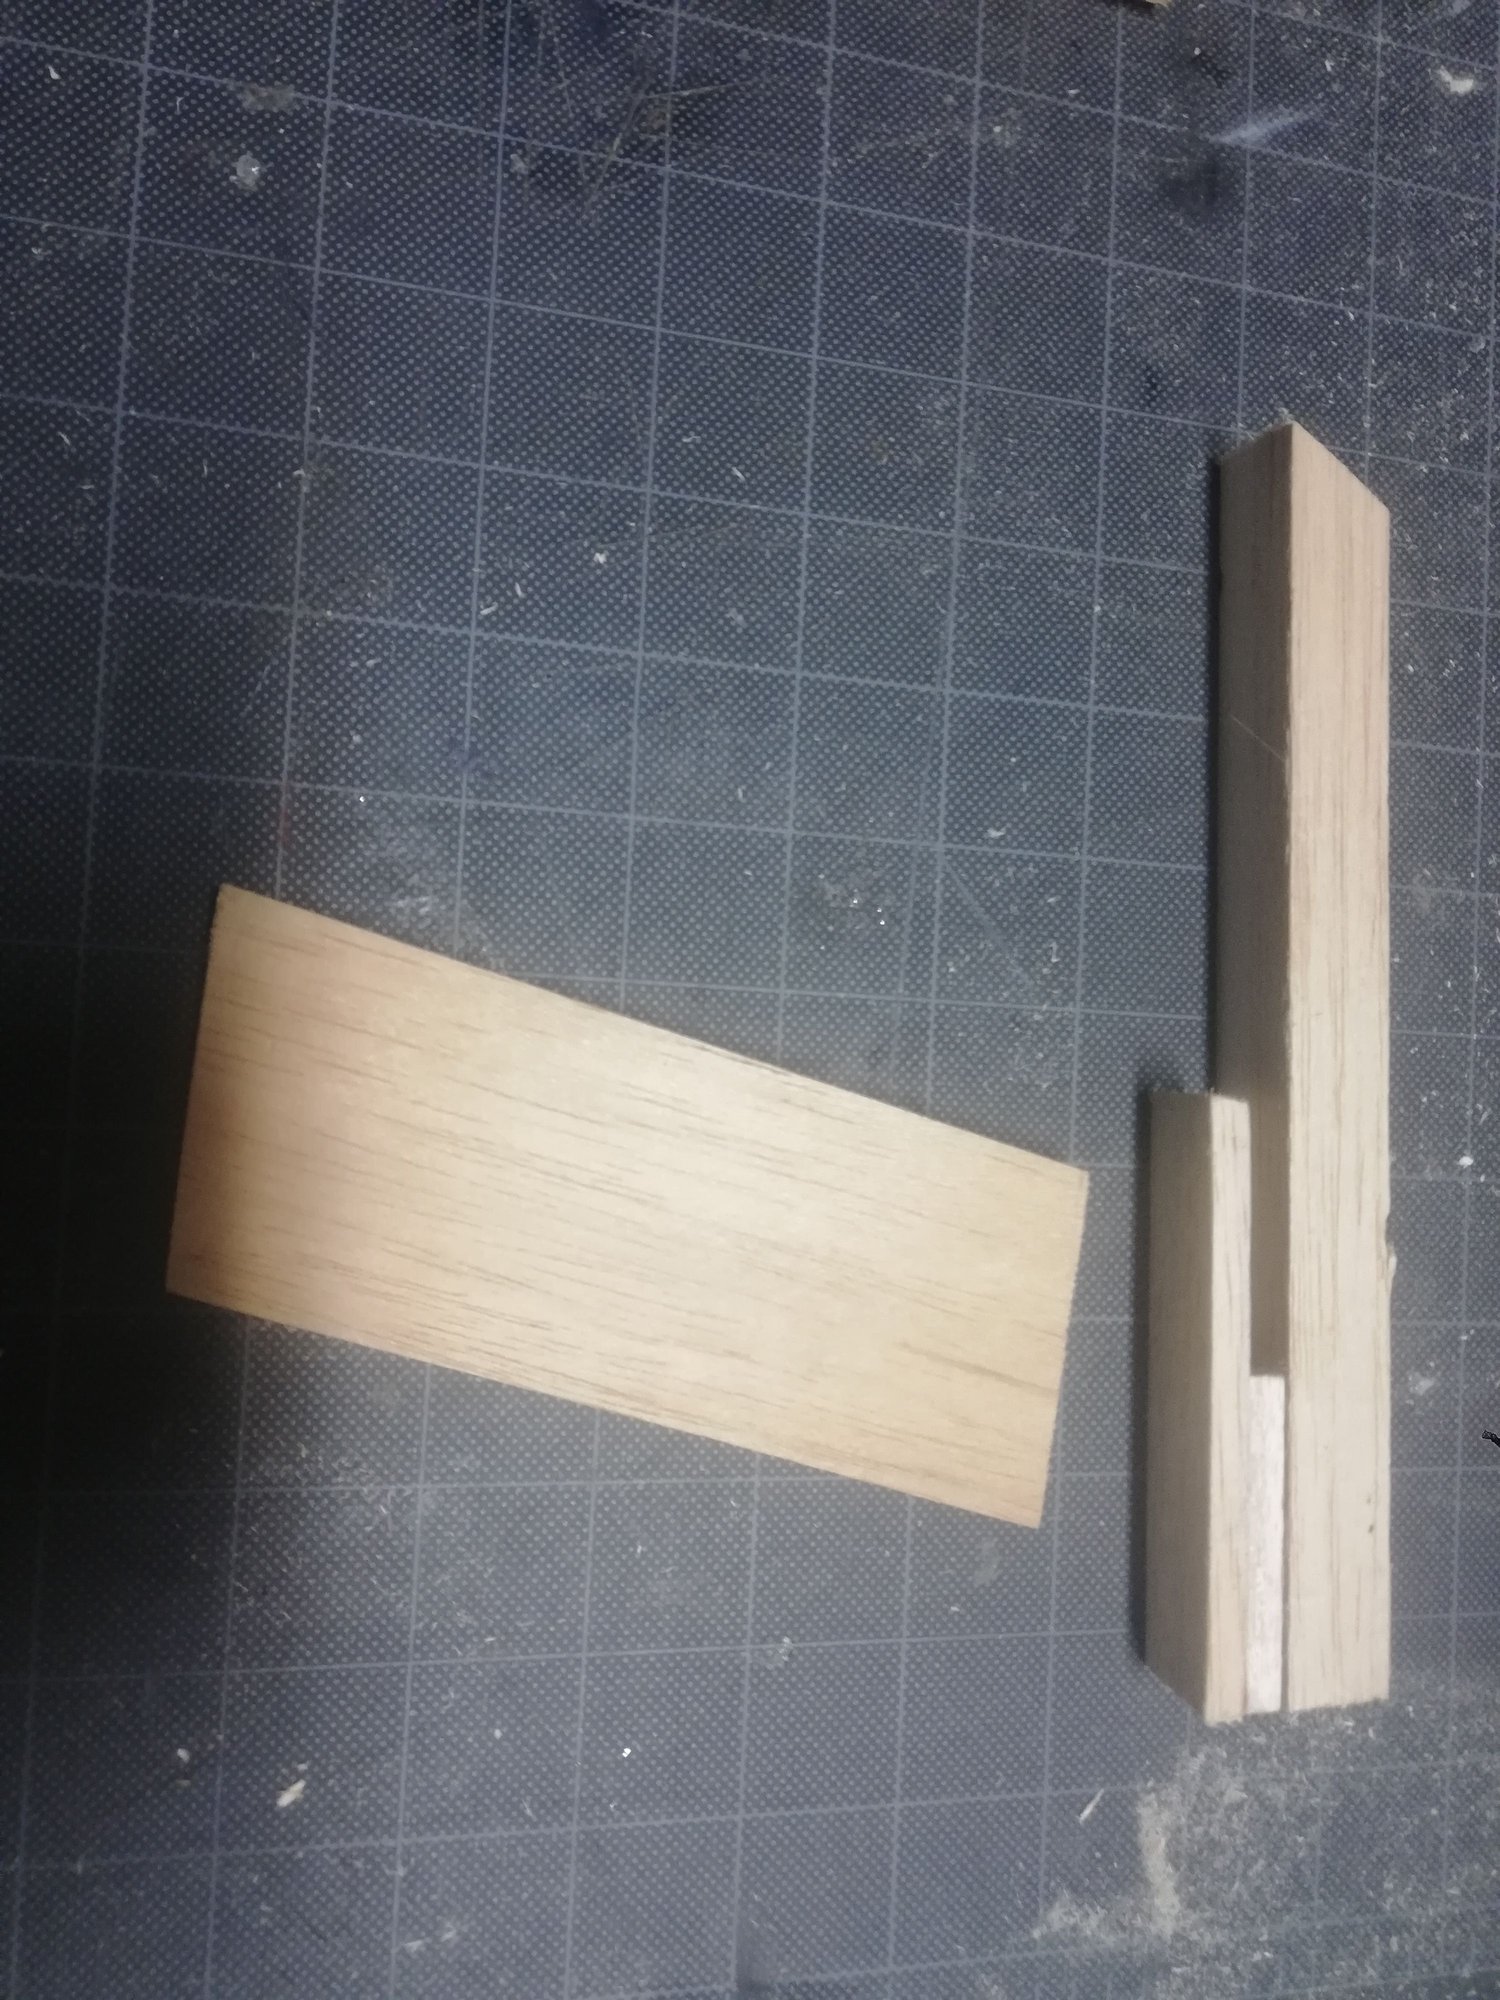
Starting the task: one 8mm balsa plank and some scrap pieces...now get the measurements. It will have scale dimensions to the kit wing tip chord (200mm)

After about half an hour, the profile is found. The strip of stock aileron was perfect to get the tilt angle
aligning and installing the two wood pins

After two and a half hours of a LOT of sanding and shaping and watching photos...the result. Again, the dimensions are scale.
front view showing tilt angle
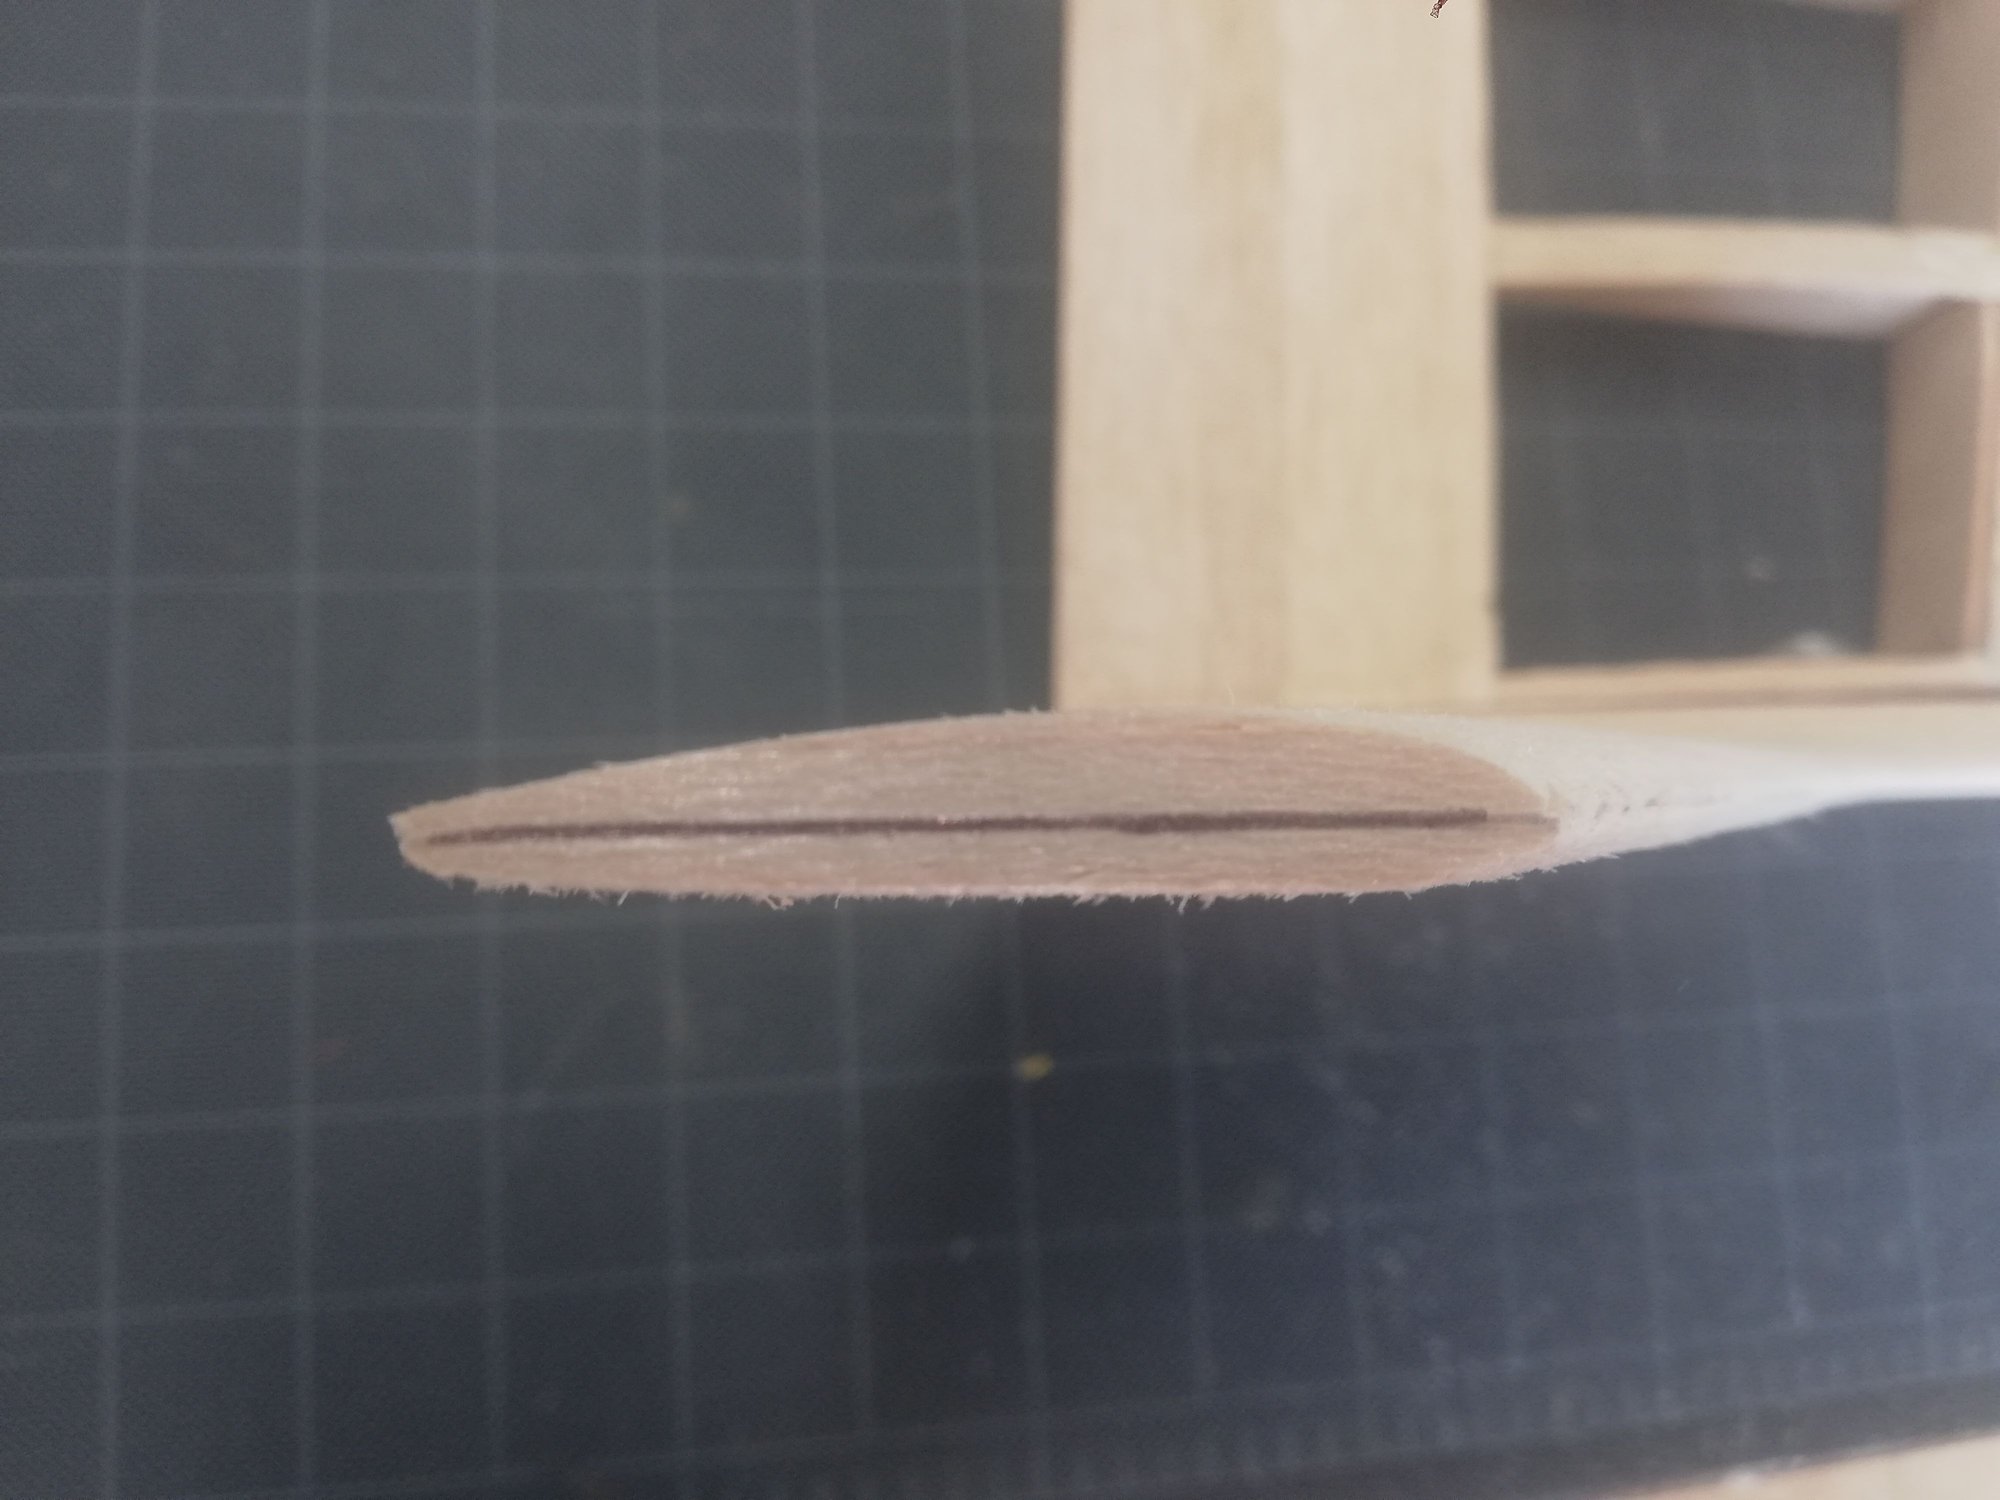
the leading edge blending to the winglet is very complex, 45 min here
rear view
top view
It takes a lot of time and effort to get these done...I will probably get the molds done, makes it a lot easier to replace.
I will upload the video to the channel in the next couple of hours, next update tomorrow
today I finished covering the fuselage and will spray the primer on later in the day, after the glue on the horizontal stab has cured.
The big task was the winglet, I have finished one of them:
Starting the task: one 8mm balsa plank and some scrap pieces...now get the measurements. It will have scale dimensions to the kit wing tip chord (200mm)
After about half an hour, the profile is found. The strip of stock aileron was perfect to get the tilt angle
aligning and installing the two wood pins
After two and a half hours of a LOT of sanding and shaping and watching photos...the result. Again, the dimensions are scale.
front view showing tilt angle
the leading edge blending to the winglet is very complex, 45 min here
rear view
top view
It takes a lot of time and effort to get these done...I will probably get the molds done, makes it a lot easier to replace.
I will upload the video to the channel in the next couple of hours, next update tomorrow
04-19-2020, 08:29 AM
#13
Thread Starter
Hello,
just to let you know the latest video of this remake is now published
https://www.youtube.com/channel/UCWx...ER2V8AaXya2XRw
Thanks
just to let you know the latest video of this remake is now published
https://www.youtube.com/channel/UCWx...ER2V8AaXya2XRw
Thanks
Last edited by JCavadas; 04-19-2020 at 08:31 AM. Reason: Not sure I can embed youtube videos, so I changed to the channel link.
