


Foamie jet for X45/K45 ?
 11-26-2020, 07:09 PM
#151
 01-28-2021, 10:47 AM
#152

My Feedback: (20)
The Tip22v JP brake mod complete!

Tip22v I finally got around to making the JP brake mod on my FW F-4. They work great on the table. Hope to flight test next weekend.
Your video was outstanding and a great guide. Then only thing I had trouble with was the getting out the set screws in the brake hub. The factory thread locker had them glued in hard. I used a soldering gun to heat the screw to finally got the set screws to turn. After that it was all easy.
Great tip. Thanks, Gary
01-28-2021, 11:18 AM
#153
The Tip22v JP brake mod complete!
Tip22v I finally got around to making the JP brake mod on my FW F-4. They work great on the table. Hope to flight test next weekend.
Your video was outstanding and a great guide. Then only thing I had trouble with was the getting out the set screws in the brake hub. The factory thread locker had them glued in hard. I used a soldering gun to heat the screw to finally got the set screws to turn. After that it was all easy.
Great tip. Thanks, Gary
I have recently started using a DigiTech brake controller that allows me to adjust braking on each wheel, from my Jeti transmitter. I simply check the brakes while taxing out for take-off, make small adjustments as needed and when I engage brakes on landing I get even braking on both wheels.
Thanks for the tip using the soldering iron to loosen the set screws, I have friend who is having difficulty getting them loose. I primarily use the v2 version of the brakes, which don�t have the set screws
 . -Tom
Last edited by Tip22v; 01-28-2021 at 11:23 AM.
01-28-2021, 06:10 PM
#154


Viper1GJ and Tip22v,
I did the mod on my wheels/brakes but also added the AG63 Gyro Assisted Brake Controller that comes as standard equipment on AeroFoam turbine jets.
Take off rolls and braking after touch down are straight as an arrow regardless of speed . . . well worth the $.
https://globaljet.club/collections/g...jet-brake-gyro
Greg Hames
AMA #8130
01-28-2021, 08:57 PM
#157
Viper1GJ and Tip22v,
I did the mod on my wheels/brakes but also added the AG63 Gyro Assisted Brake Controller that comes as standard equipment on AeroFoam turbine jets.
Take off rolls and braking after touch down are straight as an arrow regardless of speed . . . well worth the $.
https://globaljet.club/collections/g...jet-brake-gyro
Greg Hames
AMA #8130
01-29-2021, 11:06 AM
#159
I tried to order the controller from GJC, but it never asked me for payment, it said something about 50% due at order and the rest of the payment at shipping? Am I missing something?
Disregard, they just sent me a PayPal invoice, all is good.
Disregard, they just sent me a PayPal invoice, all is good.
Last edited by Tip22v; 01-29-2021 at 01:00 PM.
01-29-2021, 11:10 AM
#160
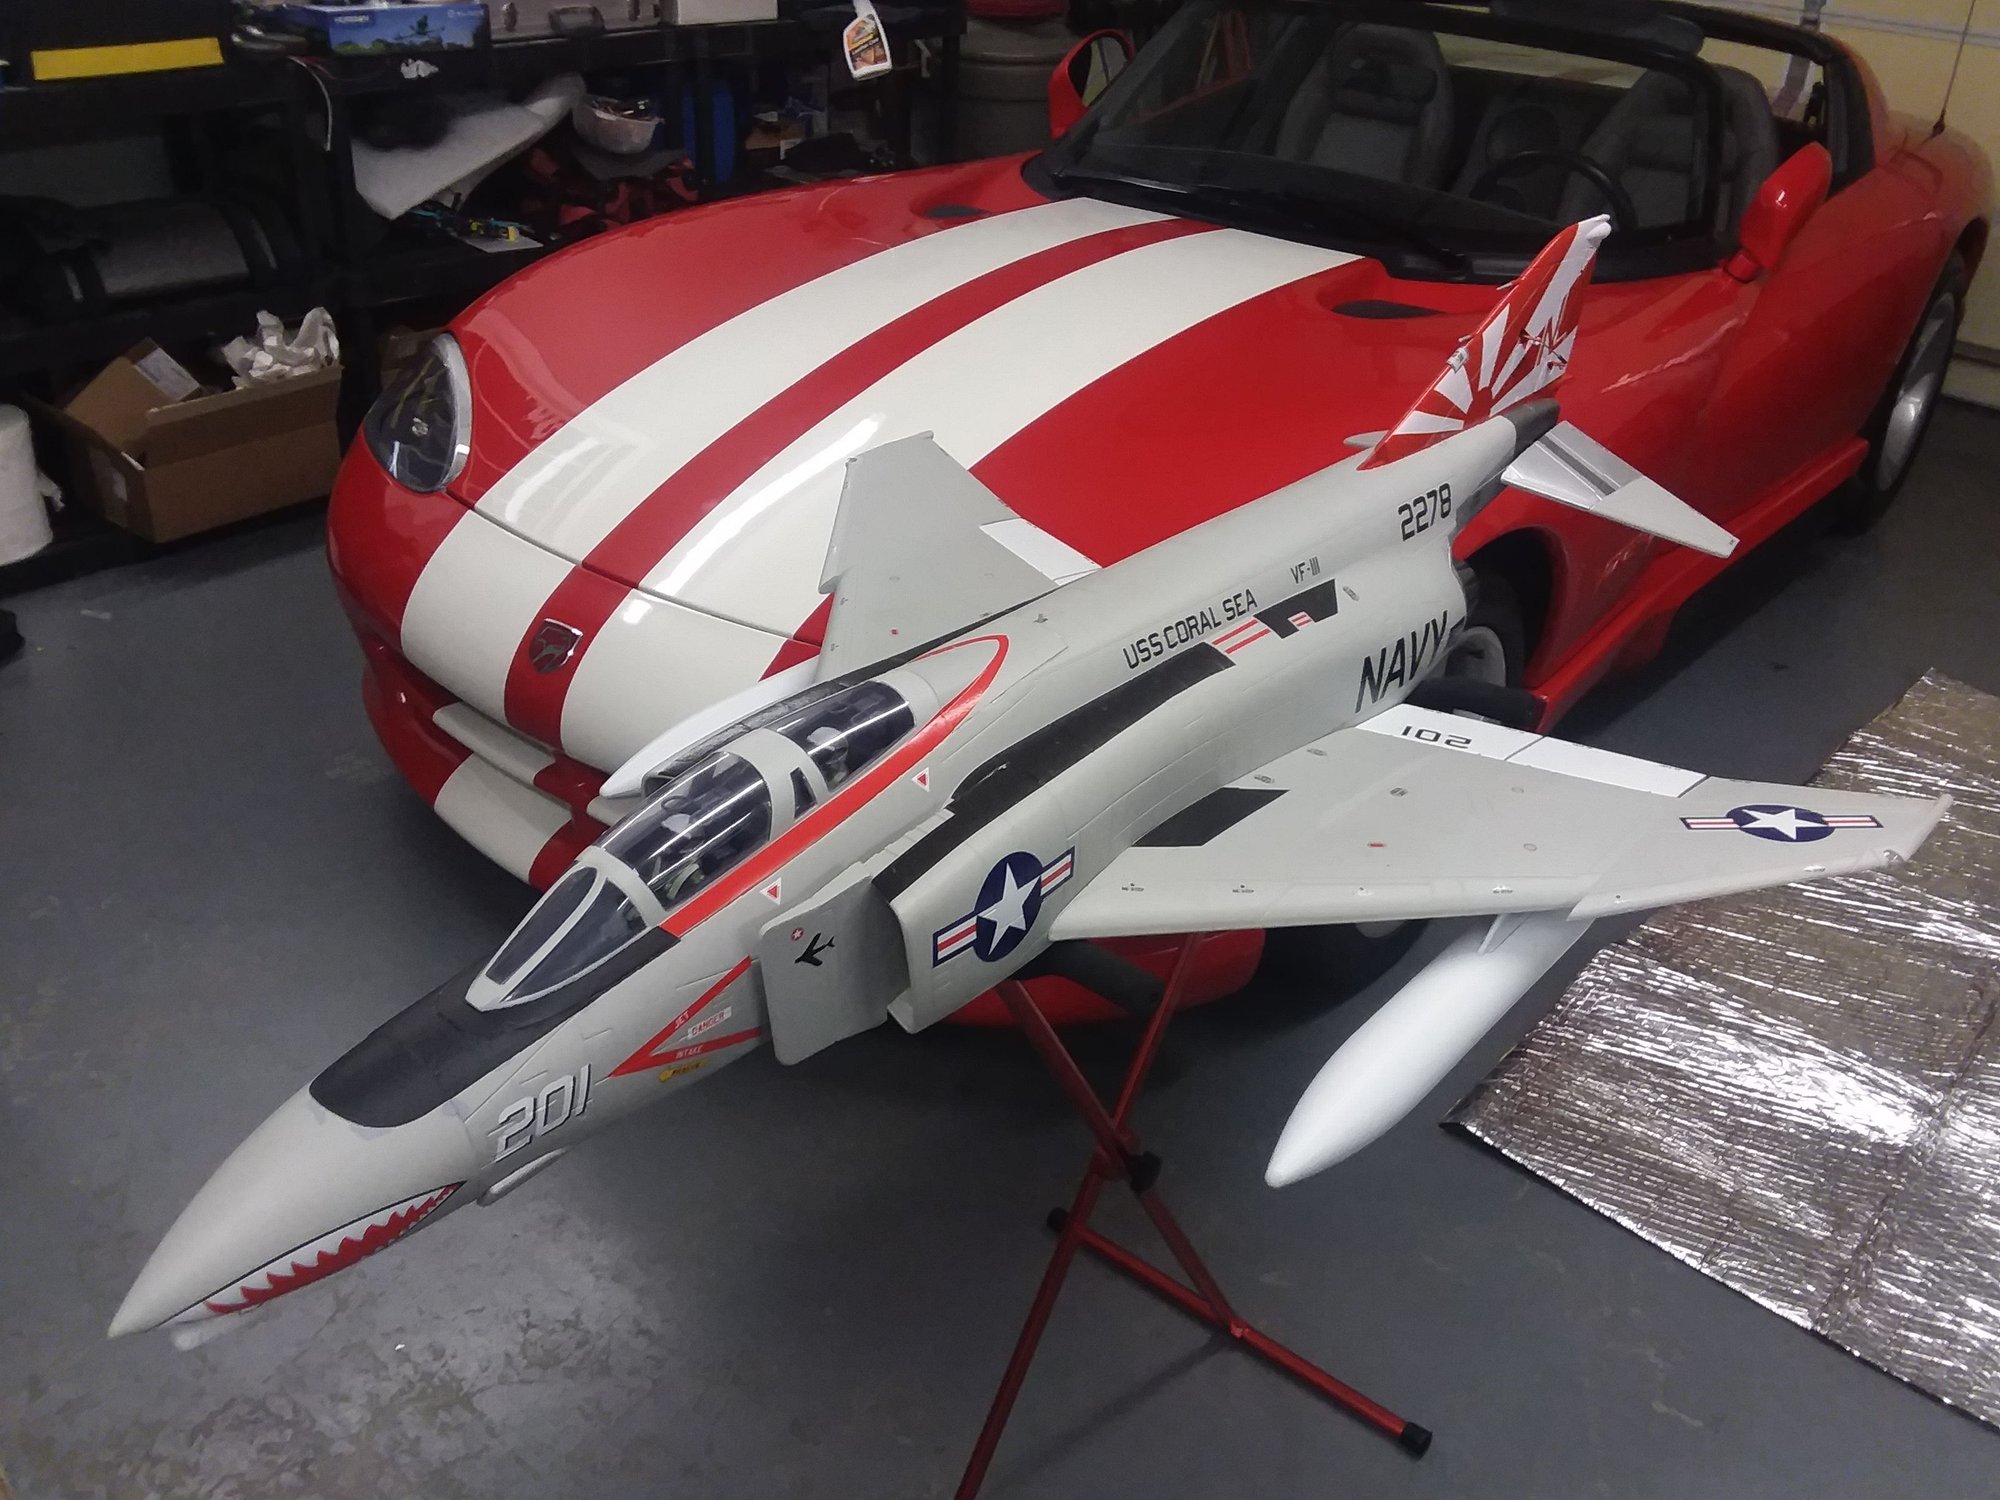
This does not look like the EFlite F4, the EFlite F4 has a fiberglass fuse and built up wing, the F4 in this picture looks like foam. I�m guessing this is the Freewing F4.
02-02-2021, 07:59 PM
#164
02-03-2021, 09:47 AM
#166
02-03-2021, 12:11 PM
#168
02-03-2021, 12:20 PM
#169
Okay, so I received an email from GJC with new instructions, which are different from the instructions included with the unit. I will give these instructions a try and see if I can get the unit to initialize.
Setup / Configure:
After installation is complete, when you supply power to the airplane, the gyro red and blue lights will begin to flash quickly at the same time, this means the gyroscope is being initialized, DO NOT move the airplane or any joysticks on your radio at this time. The initialization is complete, when the blue light is on or flashing. At this time, test your nose wheel steering to make sure direction of the steering wheel is correct. If it is not correct, reverse the travel for your Steering channel on your radio / remote control.
After confirming that the steering wheel direction is correct, set the aircraft level on a flat surface, move your remote control's steering joystick left full rudder, and then quickly turn the brakes switch on/off at least 3 times until the red and blue lights on your brakes start flashing alternately. This would indicate that the gyro is automatically adapting to your installation orientation and setting up steering signal direction. After 3 ~ 5 seconds, the automatic adaptation will be complete, your gyro can now use your normally.
If the red and blue lights on your gyro do not start flashing alternately, this would mean the set up has failed. 1. Please check whether the airplane is horizontal, in a flat and level surface. 2. Check that your transmitter is turn on. 3. Check that steering joystick is in neutral position. 4. Check that your receiver is correctly receiving your transmitters signal 5. Check that the gyro steering signal input line /servo cable is properly connected to the receiver.
If your gyros red and blue lights do not alternate flashing after you turned your brakes on/off at least three times, or more. the automatic adaptation did not complete. Please make sure that the travel on your steering servo is at 100% in each direction and try the setup procedure from the start. After the automatic adaptation or setup is complete, you can restore your original settings of the steering channel travel.
If the brake control function is not used on your jet, but you still want to use the wheel steering gyro function please connect the gyro's brake control signal line to any of the switch channels on the receiver to perform the gyro auto-adaptation / setup function.
02-03-2021, 01:34 PM
#170
Okay, so I received an email from GJC with new instructions, which are different from the instructions included with the unit. I will give these instructions a try and see if I can get the unit to initialize.
Setup / Configure:
After installation is complete, when you supply power to the airplane, the gyro red and blue lights will begin to flash quickly at the same time, this means the gyroscope is being initialized, DO NOT move the airplane or any joysticks on your radio at this time. The initialization is complete, when the blue light is on or flashing. At this time, test your nose wheel steering to make sure direction of the steering wheel is correct. If it is not correct, reverse the travel for your Steering channel on your radio / remote control.
After confirming that the steering wheel direction is correct, set the aircraft level on a flat surface, move your remote control's steering joystick left full rudder, and then quickly turn the brakes switch on/off at least 3 times until the red and blue lights on your brakes start flashing alternately. This would indicate that the gyro is automatically adapting to your installation orientation and setting up steering signal direction. After 3 ~ 5 seconds, the automatic adaptation will be complete, your gyro can now use your normally.
If the red and blue lights on your gyro do not start flashing alternately, this would mean the set up has failed. 1. Please check whether the airplane is horizontal, in a flat and level surface. 2. Check that your transmitter is turn on. 3. Check that steering joystick is in neutral position. 4. Check that your receiver is correctly receiving your transmitters signal 5. Check that the gyro steering signal input line /servo cable is properly connected to the receiver.
If your gyros red and blue lights do not alternate flashing after you turned your brakes on/off at least three times, or more. the automatic adaptation did not complete. Please make sure that the travel on your steering servo is at 100% in each direction and try the setup procedure from the start. After the automatic adaptation or setup is complete, you can restore your original settings of the steering channel travel.
If the brake control function is not used on your jet, but you still want to use the wheel steering gyro function please connect the gyro's brake control signal line to any of the switch channels on the receiver to perform the gyro auto-adaptation / setup function.
Setup / Configure:
After installation is complete, when you supply power to the airplane, the gyro red and blue lights will begin to flash quickly at the same time, this means the gyroscope is being initialized, DO NOT move the airplane or any joysticks on your radio at this time. The initialization is complete, when the blue light is on or flashing. At this time, test your nose wheel steering to make sure direction of the steering wheel is correct. If it is not correct, reverse the travel for your Steering channel on your radio / remote control.
After confirming that the steering wheel direction is correct, set the aircraft level on a flat surface, move your remote control's steering joystick left full rudder, and then quickly turn the brakes switch on/off at least 3 times until the red and blue lights on your brakes start flashing alternately. This would indicate that the gyro is automatically adapting to your installation orientation and setting up steering signal direction. After 3 ~ 5 seconds, the automatic adaptation will be complete, your gyro can now use your normally.
If the red and blue lights on your gyro do not start flashing alternately, this would mean the set up has failed. 1. Please check whether the airplane is horizontal, in a flat and level surface. 2. Check that your transmitter is turn on. 3. Check that steering joystick is in neutral position. 4. Check that your receiver is correctly receiving your transmitters signal 5. Check that the gyro steering signal input line /servo cable is properly connected to the receiver.
If your gyros red and blue lights do not alternate flashing after you turned your brakes on/off at least three times, or more. the automatic adaptation did not complete. Please make sure that the travel on your steering servo is at 100% in each direction and try the setup procedure from the start. After the automatic adaptation or setup is complete, you can restore your original settings of the steering channel travel.
If the brake control function is not used on your jet, but you still want to use the wheel steering gyro function please connect the gyro's brake control signal line to any of the switch channels on the receiver to perform the gyro auto-adaptation / setup function.
The following users liked this post:
PREACHHAMES (02-03-2021)
02-09-2021, 01:35 PM
#172
I finally picked up a Freewing F22 to do a turbine conversion and I had to decide on either a rear mount or a thrust tube and engine on the EDF mount. After some calculations, it worked out better to use a pipe, which I made myself and it only weights
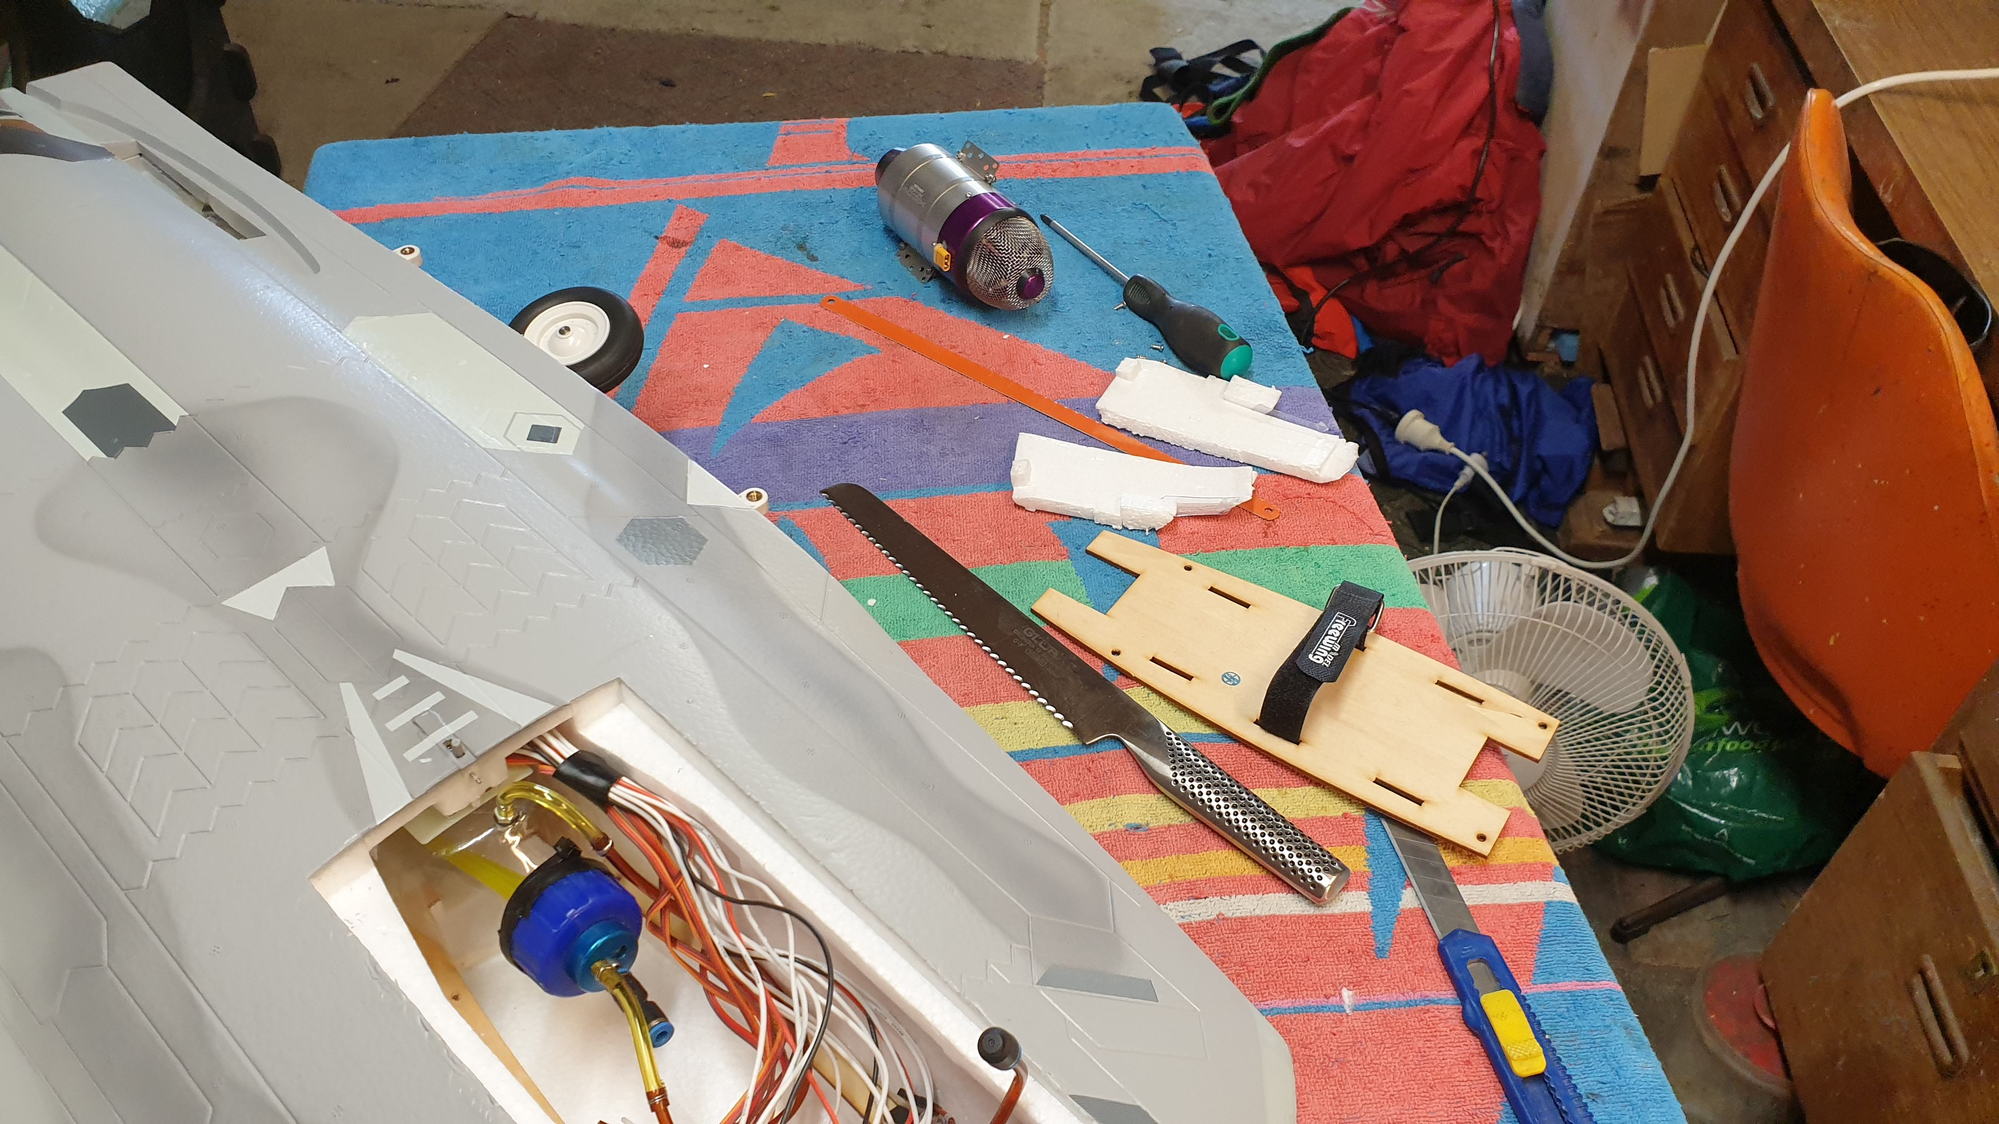
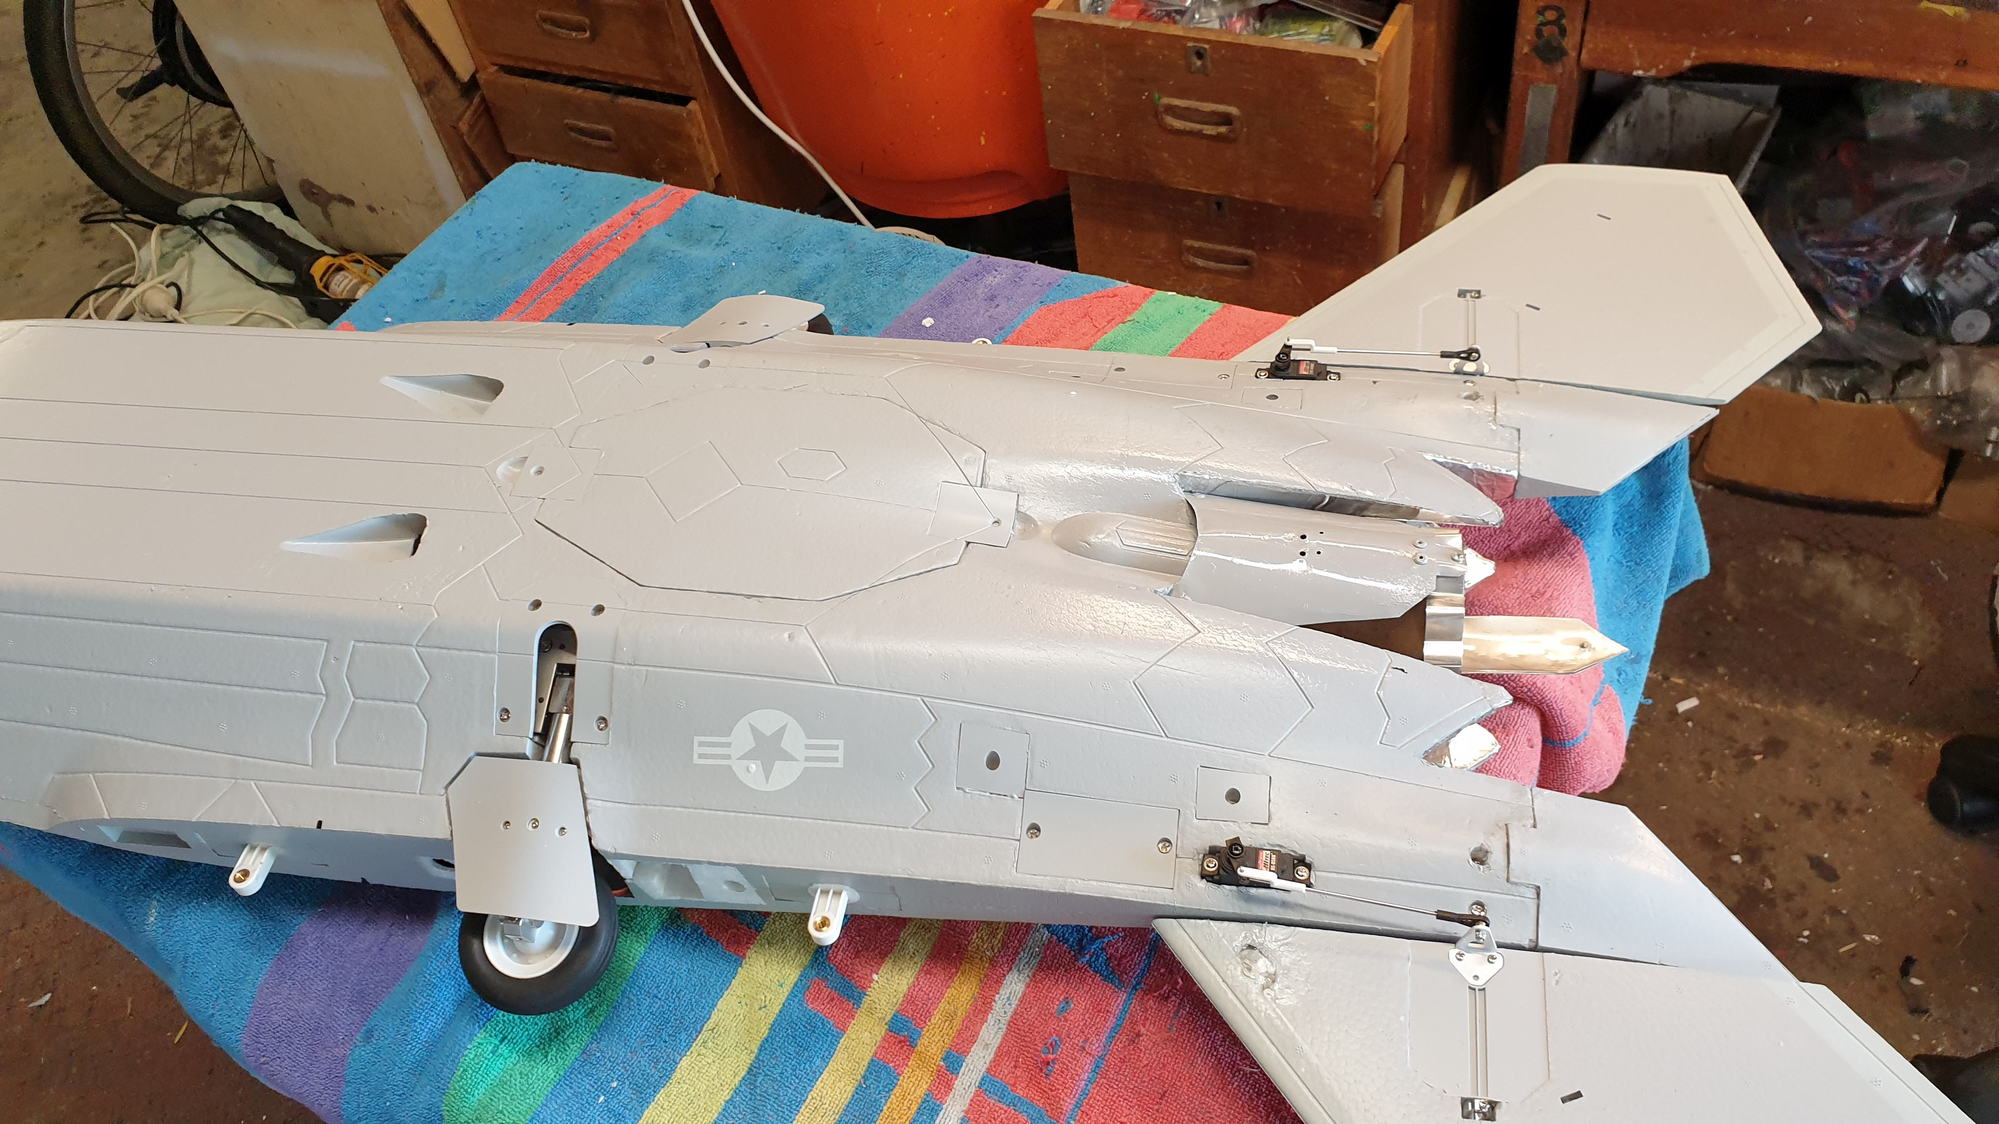
Final tank position. Kitchen knife great for carving foam!
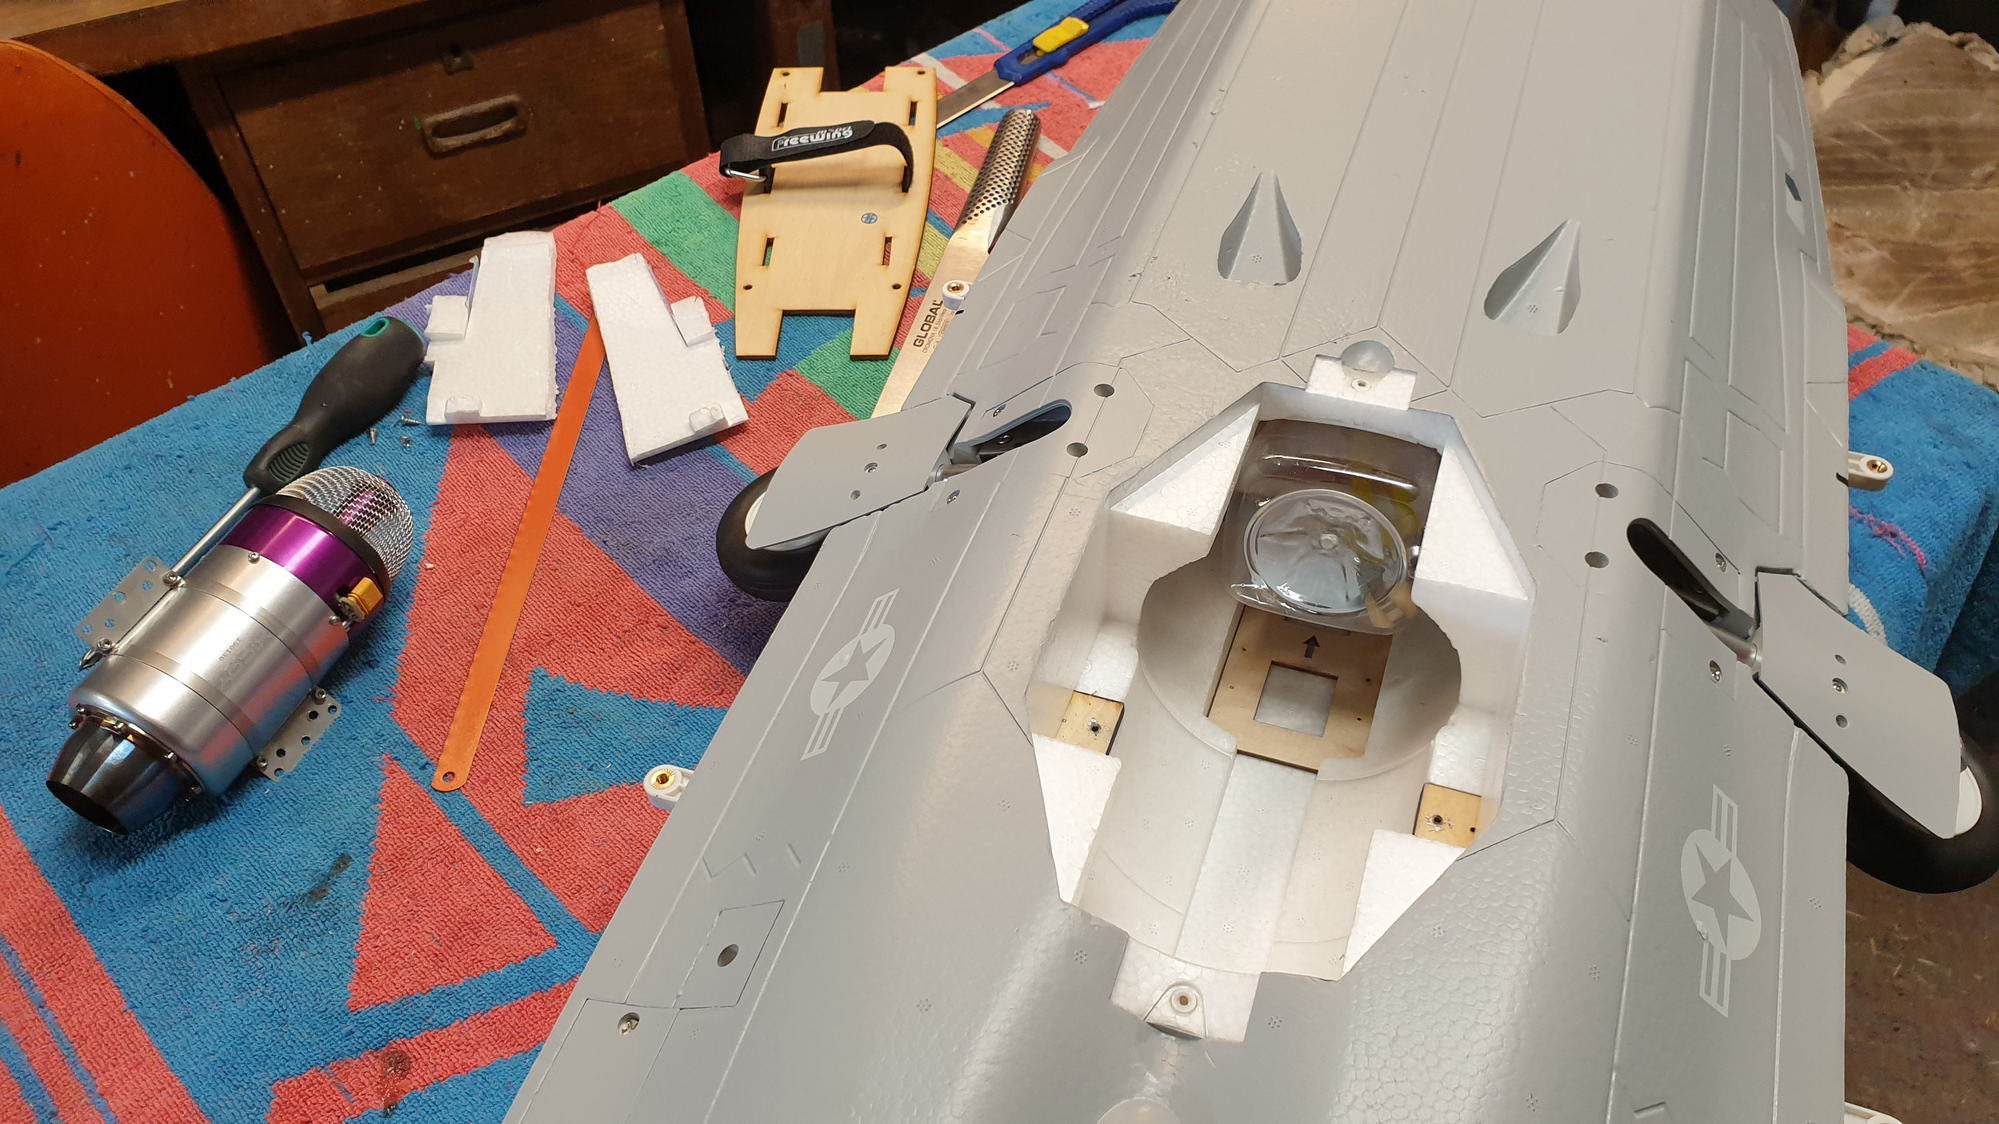
Centre duct clear, before lining with aluminium tape.
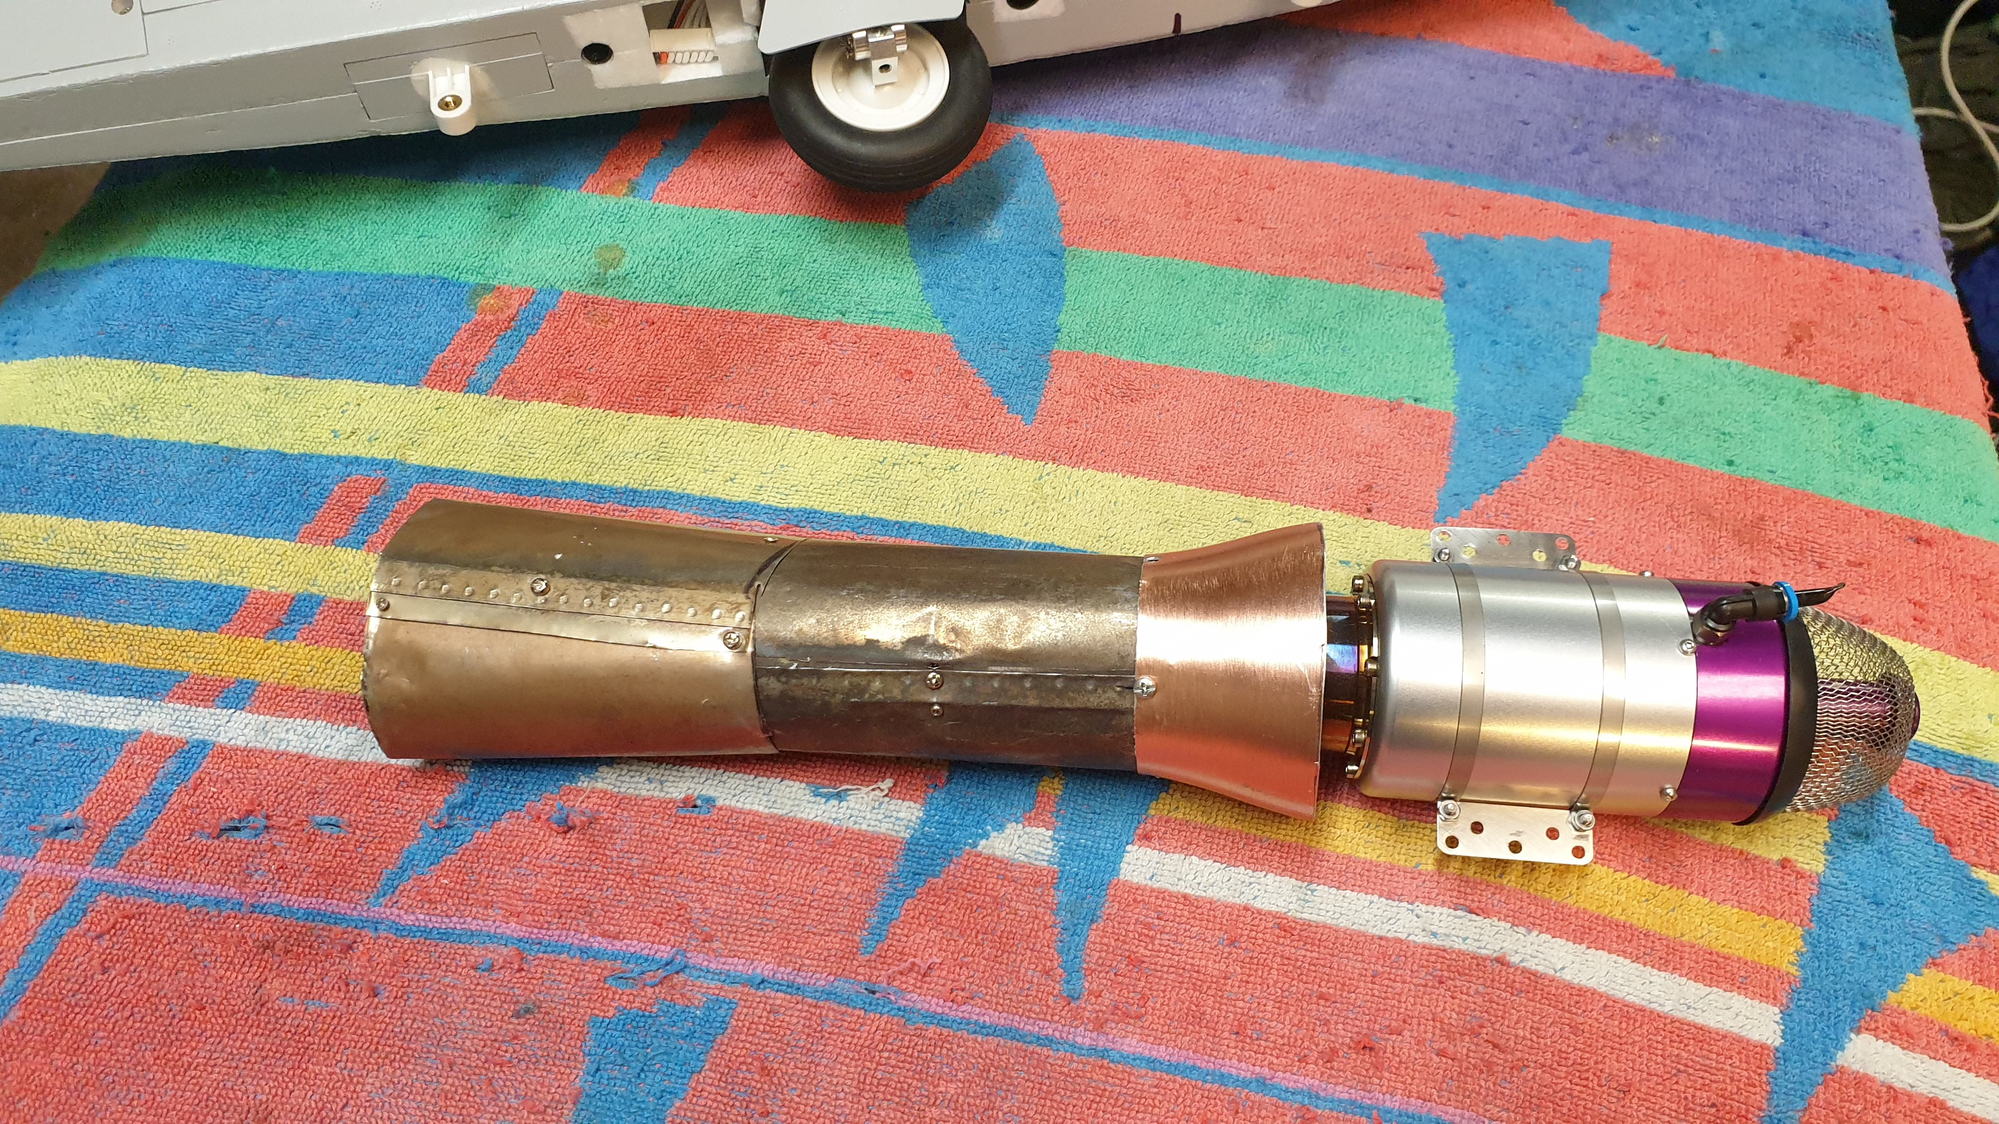
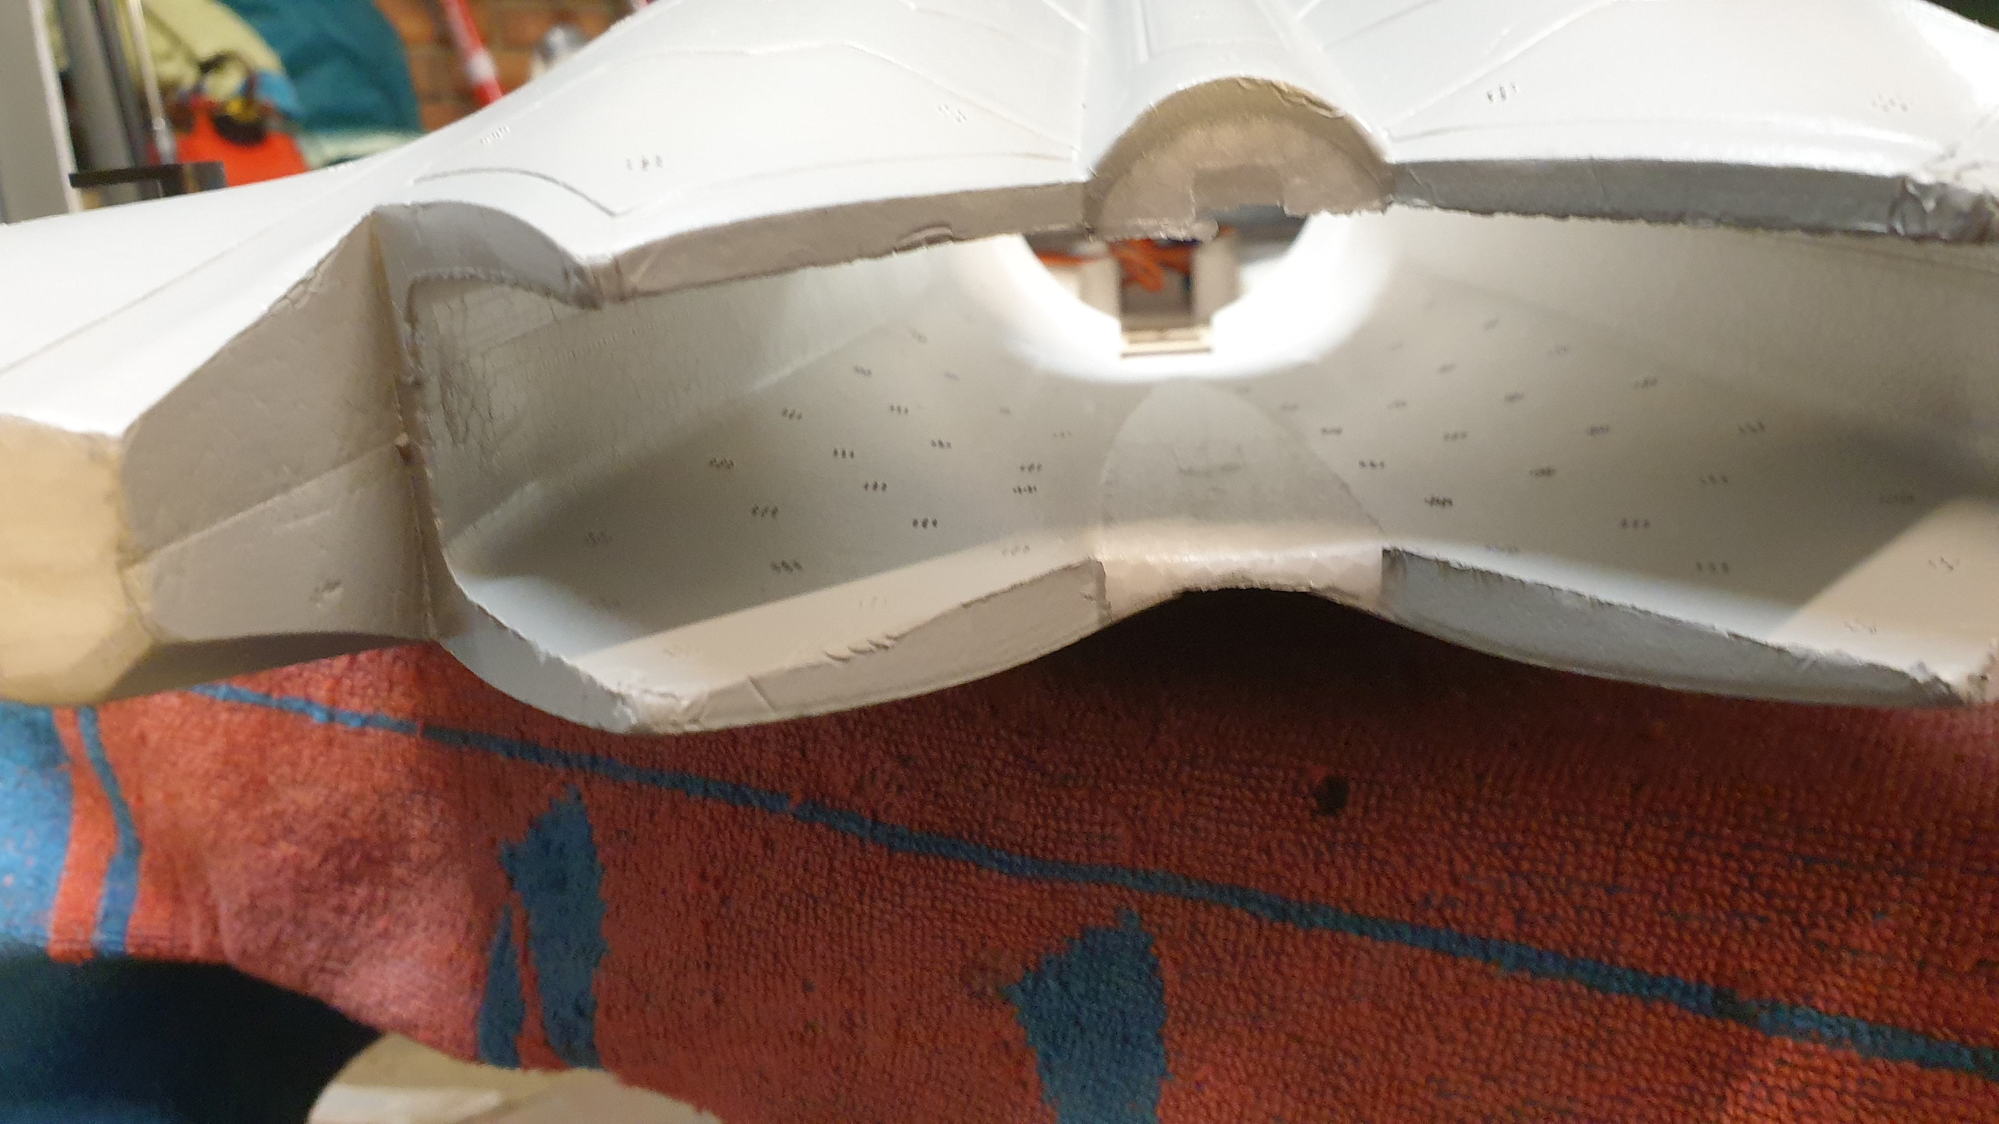
Duct is 55mm diverging to 60mm, then extension flattened to 70mm.

Oval outlet.
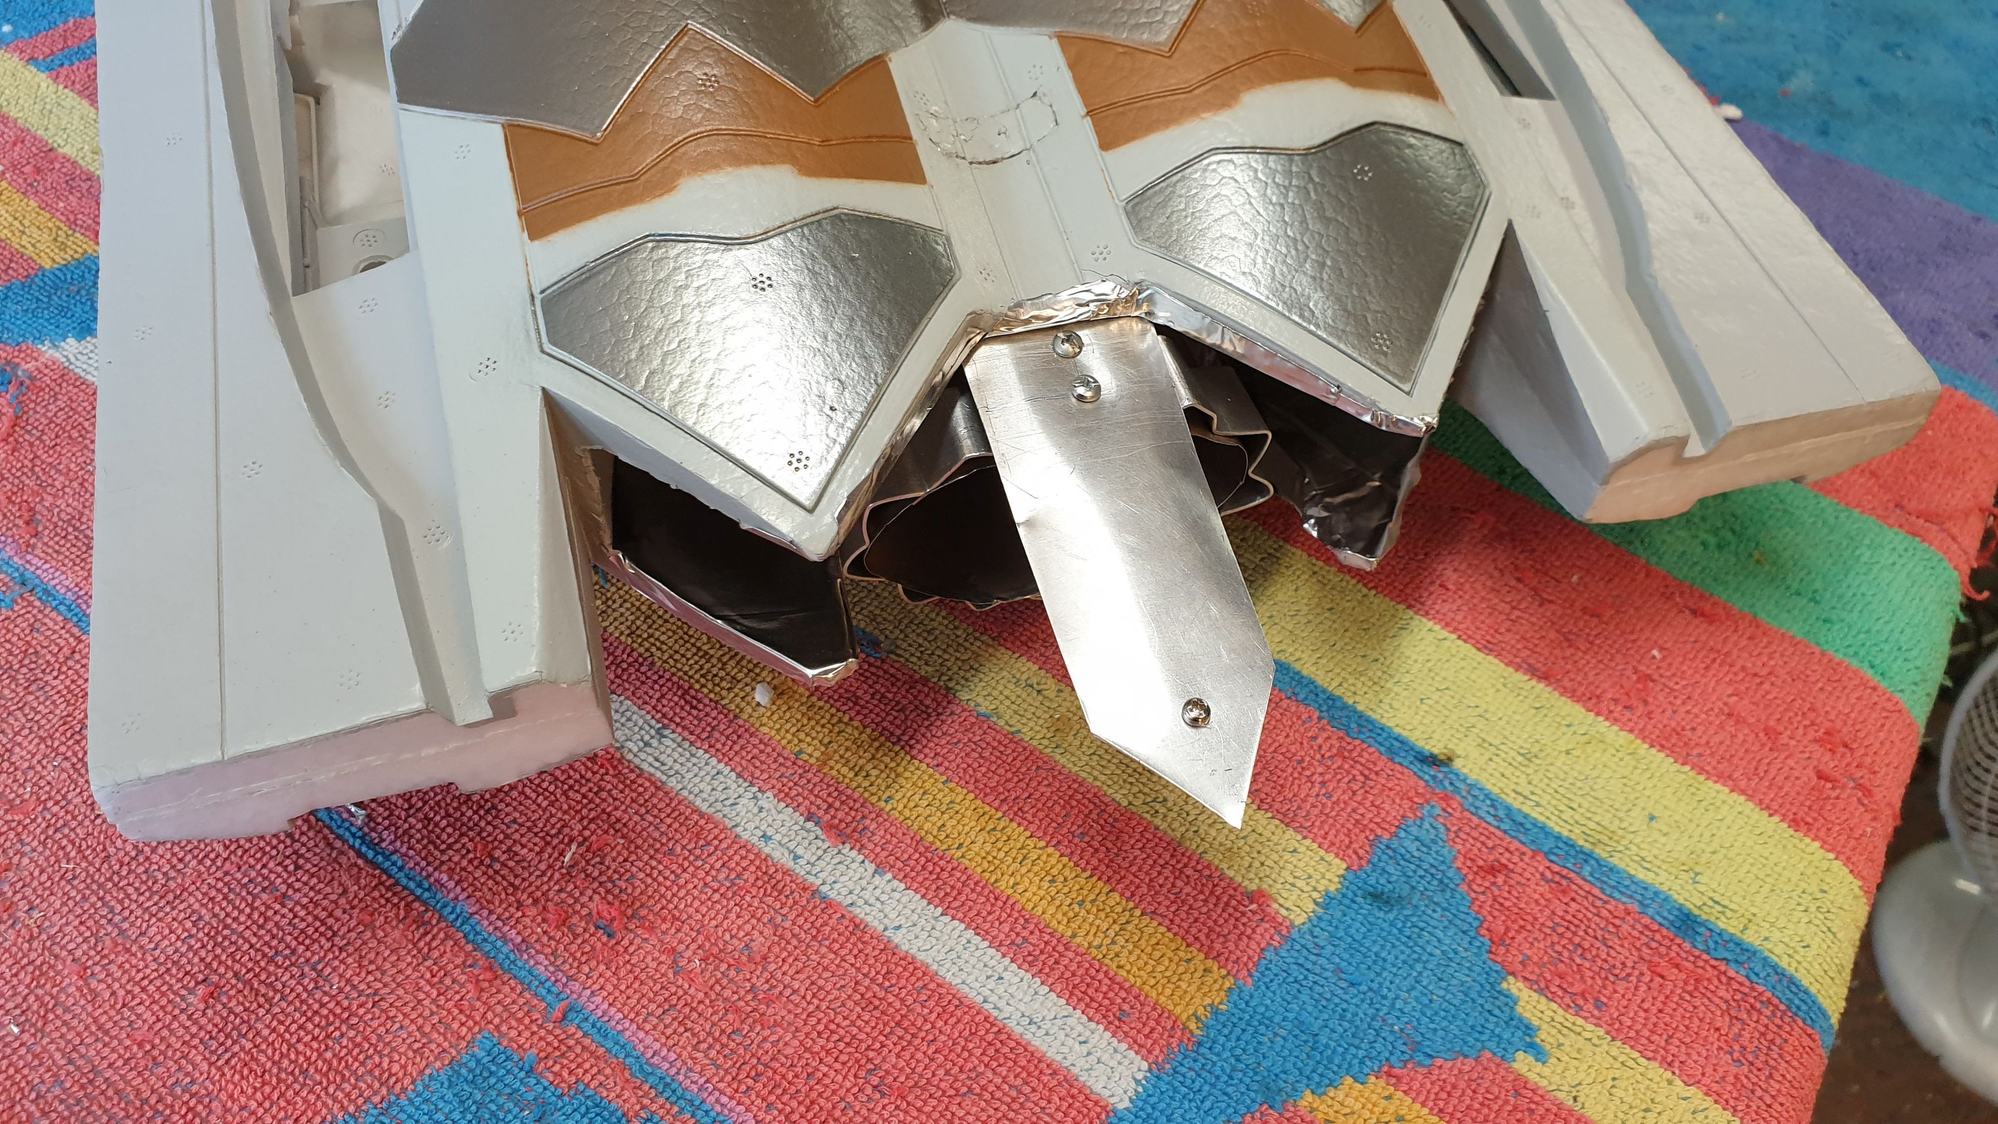
Turbine duct is mostly hidden from view plus engine is protected from FOD.
Could possibly make a better rear pipe cover, this one was just lying around!
75 grams. This is a very easy conversion, compared to others! My one litre tank fits underneath the spar, almost over the CG and I will be fitting centreburners either side of the pipe, for visual effect. Jet is not finished yet, but will balance without lead and a 3s LiPo 2200 in the nose cone, so may have to dial down the X45!!
Final tank position. Kitchen knife great for carving foam!
Centre duct clear, before lining with aluminium tape.
Duct is 55mm diverging to 60mm, then extension flattened to 70mm.
Oval outlet.
Turbine duct is mostly hidden from view plus engine is protected from FOD.
Could possibly make a better rear pipe cover, this one was just lying around!
75 grams. This is a very easy conversion, compared to others! My one litre tank fits underneath the spar, almost over the CG and I will be fitting centreburners either side of the pipe, for visual effect. Jet is not finished yet, but will balance without lead and a 3s LiPo 2200 in the nose cone, so may have to dial down the X45!!
02-09-2021, 01:35 PM
#173
I finally picked up a Freewing F22 to do a turbine conversion and I had to decide on either a rear mount or a thrust tube and engine on the EDF mount. After some calculations, it worked out better to use a pipe, which I made myself and it only weights
Final tank position. Kitchen knife great for carving foam!
Centre duct clear, before lining with aluminium tape.
Duct is 55mm diverging to 60mm, then extension flattened to 70mm.
Oval outlet.
Turbine duct is mostly hidden from view plus engine is protected from FOD.
Could possibly make a better rear pipe cover, this one was just lying around!
75 grams. This is a very easy conversion, compared to others! My one litre tank fits underneath the spar, almost over the CG and I will be fitting centreburners either side of the pipe, for visual effect. Jet is not finished yet, but will balance without lead and a 3s LiPo 2200 in the nose cone, so may have to dial down the X45!!
The following users liked this post:
PREACHHAMES (02-09-2021)
02-09-2021, 04:28 PM
#174
My Feedback: (20)
Could possibly make a better rear pipe cover, this one was just lying around!
75 grams. This is a very easy conversion, compared to others! My one litre tank fits underneath the spar, almost over the CG and I will be fitting centreburners either side of the pipe, for visual effect. Jet is not finished yet, but will balance without lead and a 3s LiPo 2200 in the nose cone, so may have to dial down the X45!!
75 grams. This is a very easy conversion, compared to others! My one litre tank fits underneath the spar, almost over the CG and I will be fitting centreburners either side of the pipe, for visual effect. Jet is not finished yet, but will balance without lead and a 3s LiPo 2200 in the nose cone, so may have to dial down the X45!!
The following users liked this post:
PREACHHAMES (02-09-2021)