


2008 the year of the Turbinator
 01-24-2017, 07:48 PM
#401
Thanks.
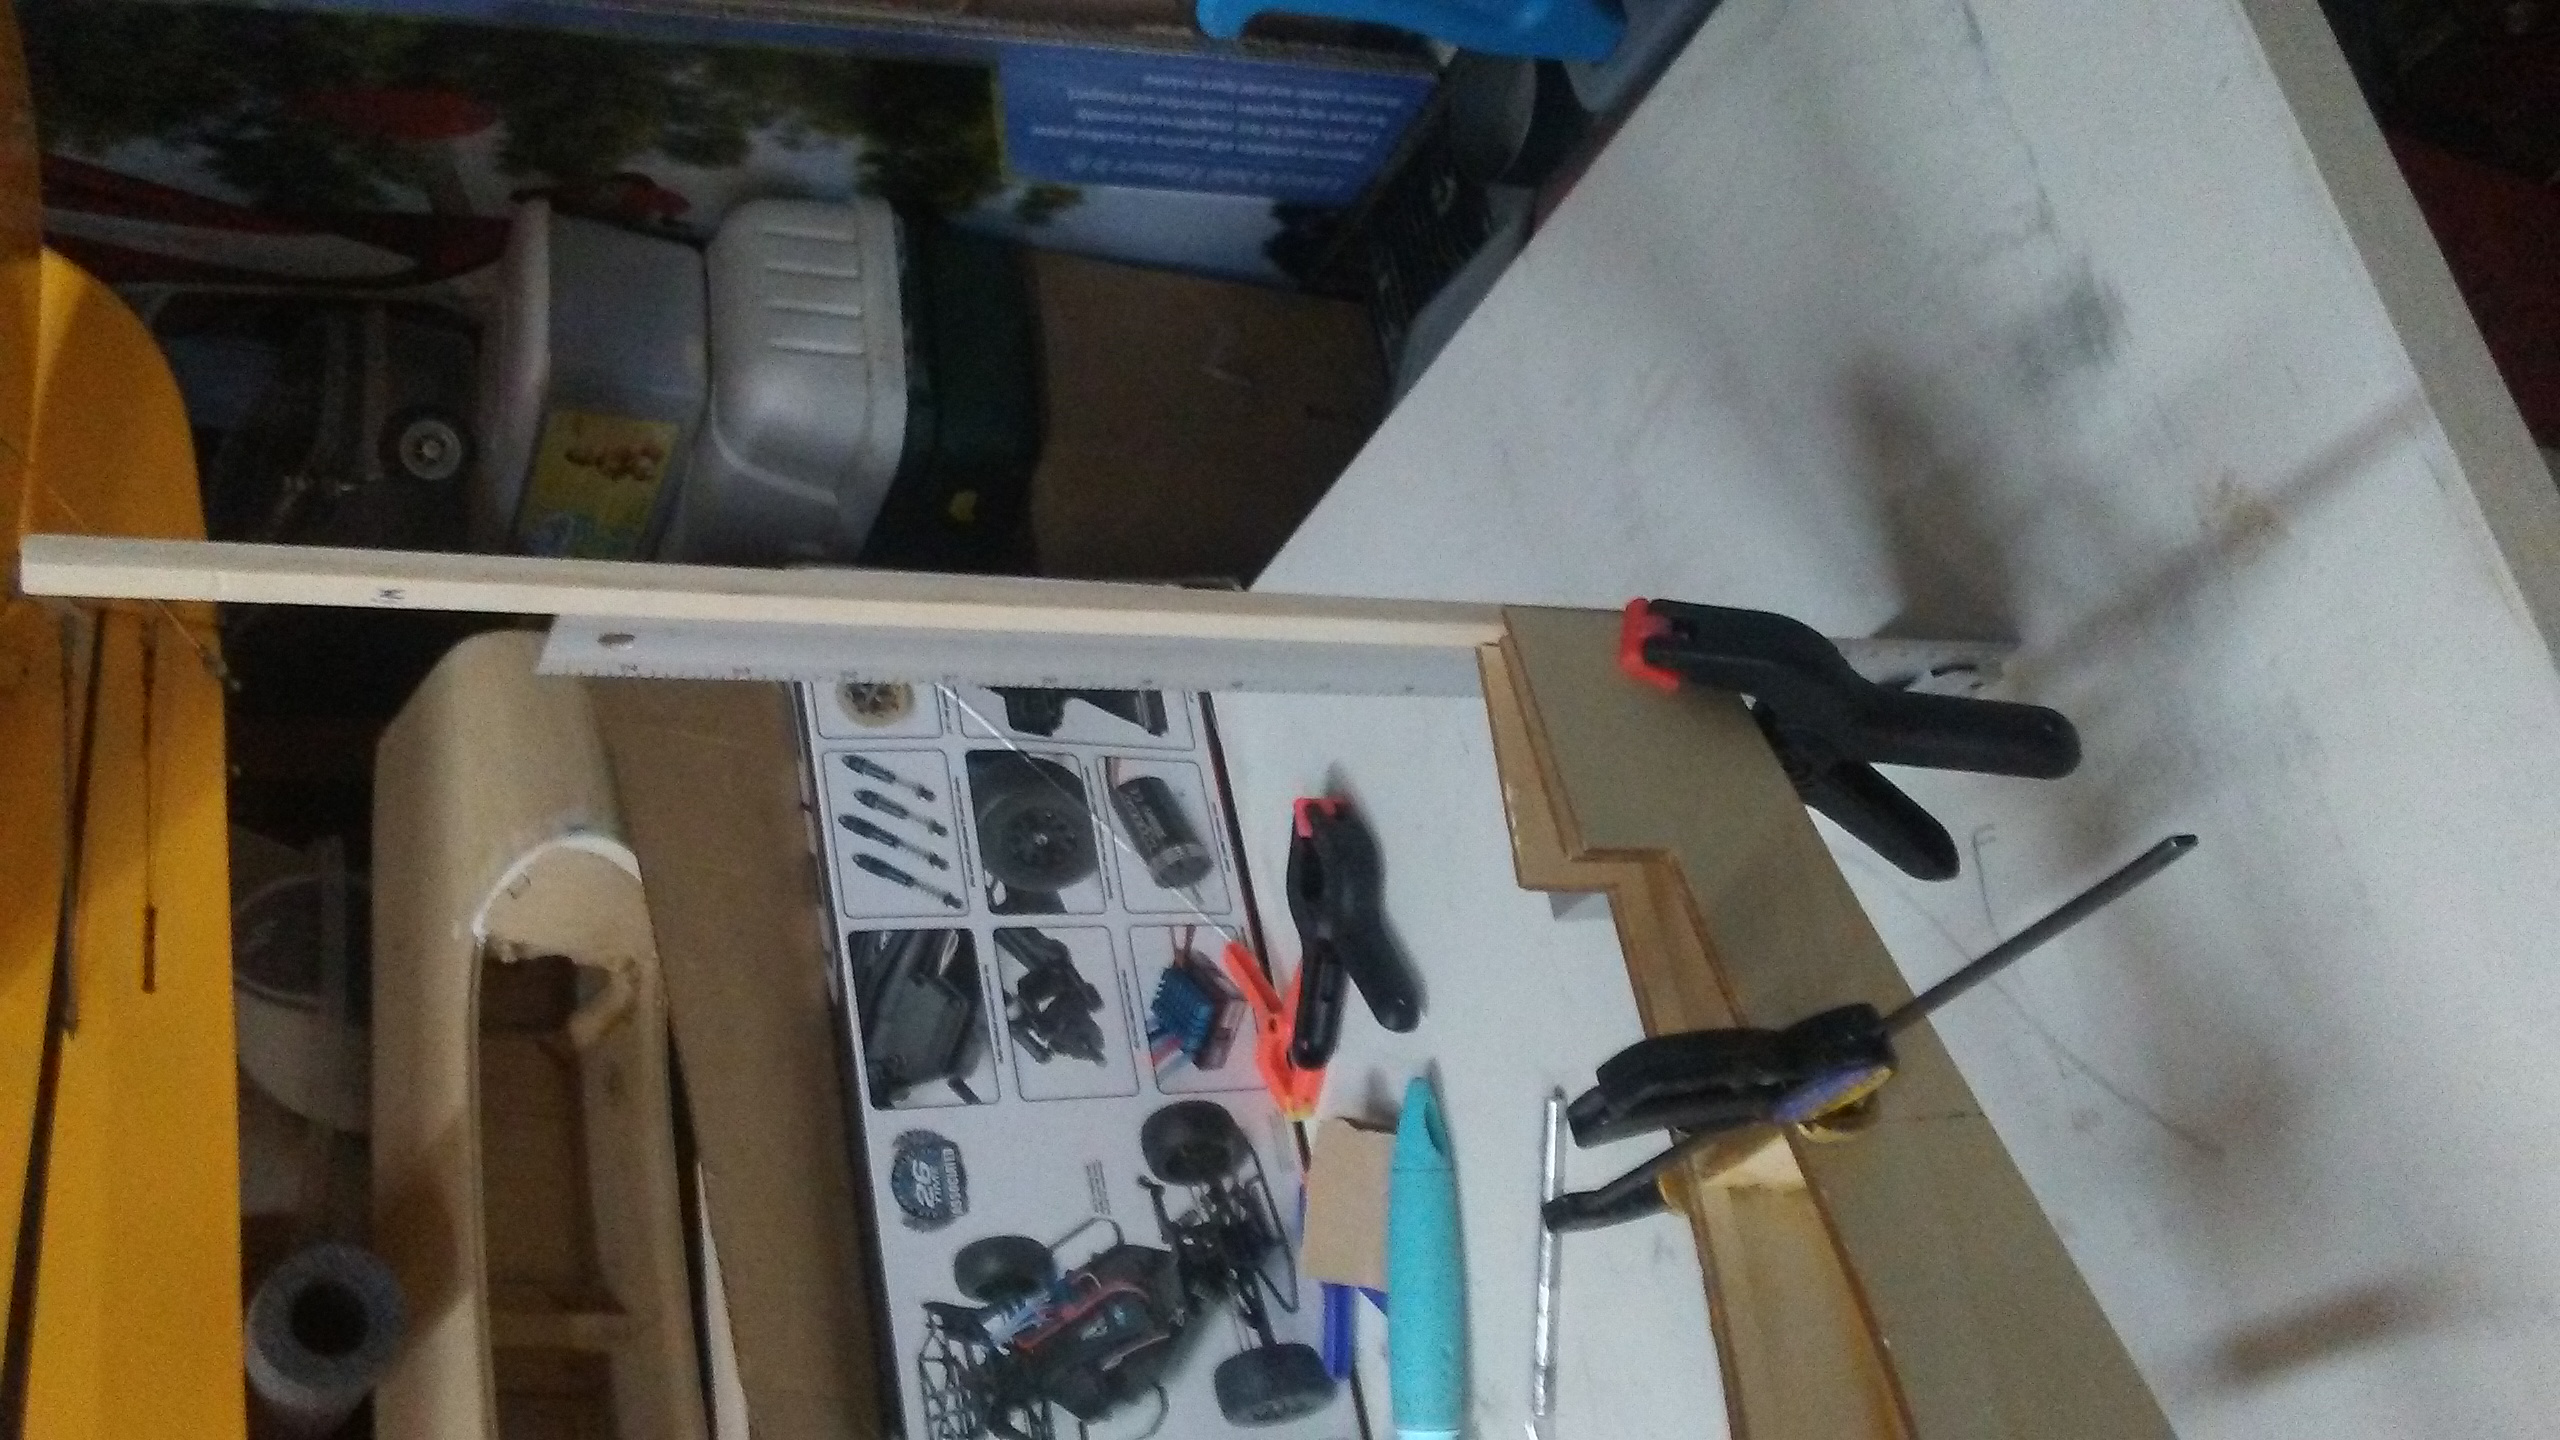
By all means not a perfect build but is not bad at all, this is a somewhat different build for this body.
The good thing is that with wood if you don't like the way it came out or if you want to change something it easy to do.


By all means not a perfect build but is not bad at all, this is a somewhat different build for this body.
The good thing is that with wood if you don't like the way it came out or if you want to change something it easy to do.
Last edited by CARS II; 01-25-2017 at 12:23 AM.
 01-24-2017, 09:27 PM
#402
Moving on to the vertical stab tomorrow.
Definitely this is not a beginner's kit having only three sheets of instructions reminds me of the old kits, the difference now is that we have pictures available and sites like this one to get help.
I noticed on the instructions that when you read the next step to do you better read at least three more lines ahead and some things are repeated to do ( this is no GP manual ) no problem, I can handle it, a question comes to mind, will I ever build a NZ scale kit? Probably not, another Turbinator? Sure, after all it's a handsome jet
Once I get going with the wing it should be a normal build ( all wings build the same )


Definitely this is not a beginner's kit having only three sheets of instructions reminds me of the old kits, the difference now is that we have pictures available and sites like this one to get help.
I noticed on the instructions that when you read the next step to do you better read at least three more lines ahead and some things are repeated to do ( this is no GP manual
) no problem, I can handle it, a question comes to mind, will I ever build a NZ scale kit? Probably not, another Turbinator? Sure, after all it's a handsome jet Once I get going with the wing it should be a normal build ( all wings build the same )
Last edited by CARS II; 01-25-2017 at 11:28 PM.
01-25-2017, 09:26 AM
#403
I was looking at the pictures from the 125% build Meganator ( Turbinator ) and found them to be very helpful for my two builds, Turbinator and DV8R, specially for the DV8R, since some mods have to be done to how the stabs and wings are build.
Nick himself helping on the 125% build, my 100oz fuel tank will be here today, it will be a tight fit but it will work, here is how it looks on the 125%.


) and found them to be very helpful for my two builds, Turbinator and DV8R, specially for the DV8R, since some mods have to be done to how the stabs and wings are build. Nick himself helping on the 125% build, my 100oz fuel tank will be here today, it will be a tight fit but it will work, here is how it looks on the 125%.
Last edited by CARS II; 01-25-2017 at 11:34 PM.
01-25-2017, 10:46 PM
#405
Here is the 100oz fuel tank install with some mods, overall is a nice fit.
Cleared the crutch from the fuel tank floor, added 1/8 squares sticks underneath the tank floor to make it a bit more solid, trimmed F7, F8, added about 5 in of 1/4X1/2 balsa to F7, 8 to support the fuel tank sides, I also added more dowels to the wing mounts, just trying something new here, I forgot to mention that two of the F 6As on the hatch were modified a bit to clear the tank.


Cleared the crutch from the fuel tank floor, added 1/8 squares sticks underneath the tank floor to make it a bit more solid, trimmed F7, F8, added about 5 in of 1/4X1/2 balsa to F7, 8 to support the fuel tank sides, I also added more dowels to the wing mounts, just trying something new here, I forgot to mention that two of the F 6As on the hatch were modified a bit to clear the tank.
Last edited by CARS II; 01-27-2017 at 01:06 AM.
01-26-2017, 10:31 AM
#406
I been meaning to mention that my Turbinator short kit was cut by Bob from LDS ( Laser Design Services ) Bob is a great guy to work with, the wood he uses for his kits is really good, Bob offers 5 diferent Turbinator sizes including the 125% Turbinator.
http://store.laser-design-services.c...e1fce82123eee7


http://store.laser-design-services.c...e1fce82123eee7
Last edited by CARS II; 01-26-2017 at 10:46 AM.
01-26-2017, 01:51 PM
#407
Scooterginie
How far are you on your build?
I can see that there is some interest on this build, probably from newcomers to the turbine side, this is an economical way to get into jets ( if you're willing to build ) the $700 difference between the short kit build ( S kit, monokote, glues, hardware ) and the arf can be used to help you buy the turbine, now days I see them for sale for a $1200 for one in good condition and some time on them for a P120 or P80.
Building the fuse is the part that will challenge your building skills because of the fuse shape but the rest follows the normal building techniques.
So, what are you waiting for? order a kit from Bob at LDS and jump in the wagon, it will be ready for the upcoming flying season
How far are you on your build?
I can see that there is some interest on this build, probably from newcomers to the turbine side, this is an economical way to get into jets ( if you're willing to build
) the $700 difference between the short kit build ( S kit, monokote, glues, hardware ) and the arf can be used to help you buy the turbine, now days I see them for sale for a $1200 for one in good condition and some time on them for a P120 or P80.Building the fuse is the part that will challenge your building skills because of the fuse shape but the rest follows the normal building techniques.
So, what are you waiting for? order a kit from Bob at LDS and jump in the wagon, it will be ready for the upcoming flying season
Last edited by CARS II; 01-26-2017 at 01:53 PM.
01-26-2017, 07:17 PM
#408
Here is another small mod, instead of using cardboard to block the fuel tank sides I used 3/32 balsa, its small enough to be strong, it doesn't touch the tank, I also added 1/4 soft balsa stick with a slanted shape to the 1/4 sticks tank floor supports to help the air flow backwards, in reality its not needed but it looks smooth that way.
With this done I now can build the vertical stab.


With this done I now can build the vertical stab.
Last edited by CARS II; 01-27-2017 at 12:04 AM.
01-26-2017, 08:28 PM
#410
The last time I work on it the fuse sides they were pushing the rudder post to the right, I found the fix, the last bulkhead was cut with a misalignment, it looks like it's fix so, moving on to build it.


Last edited by CARS II; 01-26-2017 at 11:31 PM.
01-27-2017, 12:56 PM
#413

My Feedback: (12)
Join Date: Dec 2001
Location: reisterstown, MD
Posts: 1,864
Likes: 0
Received 0 Likes
on
0 Posts
A trick I used was to sheet the fin after I preformed the skins by getting them very wet and soft and pinning them on until the dried overnight. Use as soft as you have of your balsa sheeting and its not that hard to do. Monocote is another story though
01-27-2017, 03:27 PM
#414
Thanks Ron.
I read that technique on your post on the 125% Turbinator thread.
Im on page 16, one year into the building of the two Turbos, this is around December 2011, I think?
Reading that thread is like been there with you guys, specially you Ron because you described what's going on at home with the wife and her sickness and Nick Sr. Working for you around the same time at the shop, the times you got sick, the dinners with Nick and him asking to glue some balsa, the storms, the model shows you guys attended and the bus to get there, the pick up truck that got destroyed when it kill the dear, and more stuff, its like reading a novel
Reading through your thread has helped me with this build, Im still on page 16, 4 more to go.
Thank you Ron
Last edited by CARS II; 01-27-2017 at 03:33 PM.
01-27-2017, 03:49 PM
#415
Member

Join Date: Aug 2016
Location: Stuart, Fl.
Posts: 78
Likes: 0
Received 0 Likes
on
0 Posts
Here are a few pics of where mine is now, kind of on the back burner until I return from Florida Jets in March. You know, my tail section wanted to bow to the right also. LDS cut my kit too, and it was the worst cutting I have ever seen. half of the wing ribs don't match the plans....had to re make 6 of the fuse formers.....it just goes on, and on. They will never cut another kit for me.


01-28-2017, 03:06 PM
#417
Preping the VS for covering, I added an extra 1/2 balsa block to R2 to use an extra robart hinge, the sanding is just to break the corners, hold the stab while this is been done, just to lightly to even the parts, that small piece of ply with the 220 reaped around is all I've been using since I restarted the built, it prevents me from digging into the balsa, I forgot to mention that if you can't stand seen your own blood you better get over it pronto because no matter what you do to prevent cuts on your fingers they will happen and you will bleed, I take that as the airplane has something very personal of mine


Last edited by CARS II; 01-29-2017 at 12:33 AM.
01-29-2017, 12:32 AM
#419
The fuse is complet I think the next step is to glue and shape the nose cone but I will do that much later.
I cut myself two times during the VS covering, I can only tell you that I won, why do I say that, because all the blood I left on the VS, the fight was epic, it resisted but at the end it got covered ( ouch )


I cut myself two times during the VS covering, I can only tell you that I won, why do I say that, because all the blood I left on the VS, the fight was epic, it resisted but at the end it got covered
( ouch ) Last edited by CARS II; 01-29-2017 at 11:17 AM.
01-30-2017, 11:49 PM
#424
The elevators are almost done, I have to get some 1/8 aircraft grade ply, the rudder next ( about 1 hour for that )
I wasn't happy with the first set of elevators, decided to make new skins and leading edges.


I wasn't happy with the first set of elevators, decided to make new skins and leading edges.
Last edited by CARS II; 01-31-2017 at 12:00 AM.
